Articles
How To Build Pantry Shelves
Modified: September 1, 2024
Looking for efficient pantry storage? Learn how to build sturdy and functional pantry shelves to keep your food items organized and easily accessible.
(Many of the links in this article redirect to a specific reviewed product. Your purchase of these products through affiliate links helps to generate commission for Storables.com, at no extra cost. Learn more)
Introduction
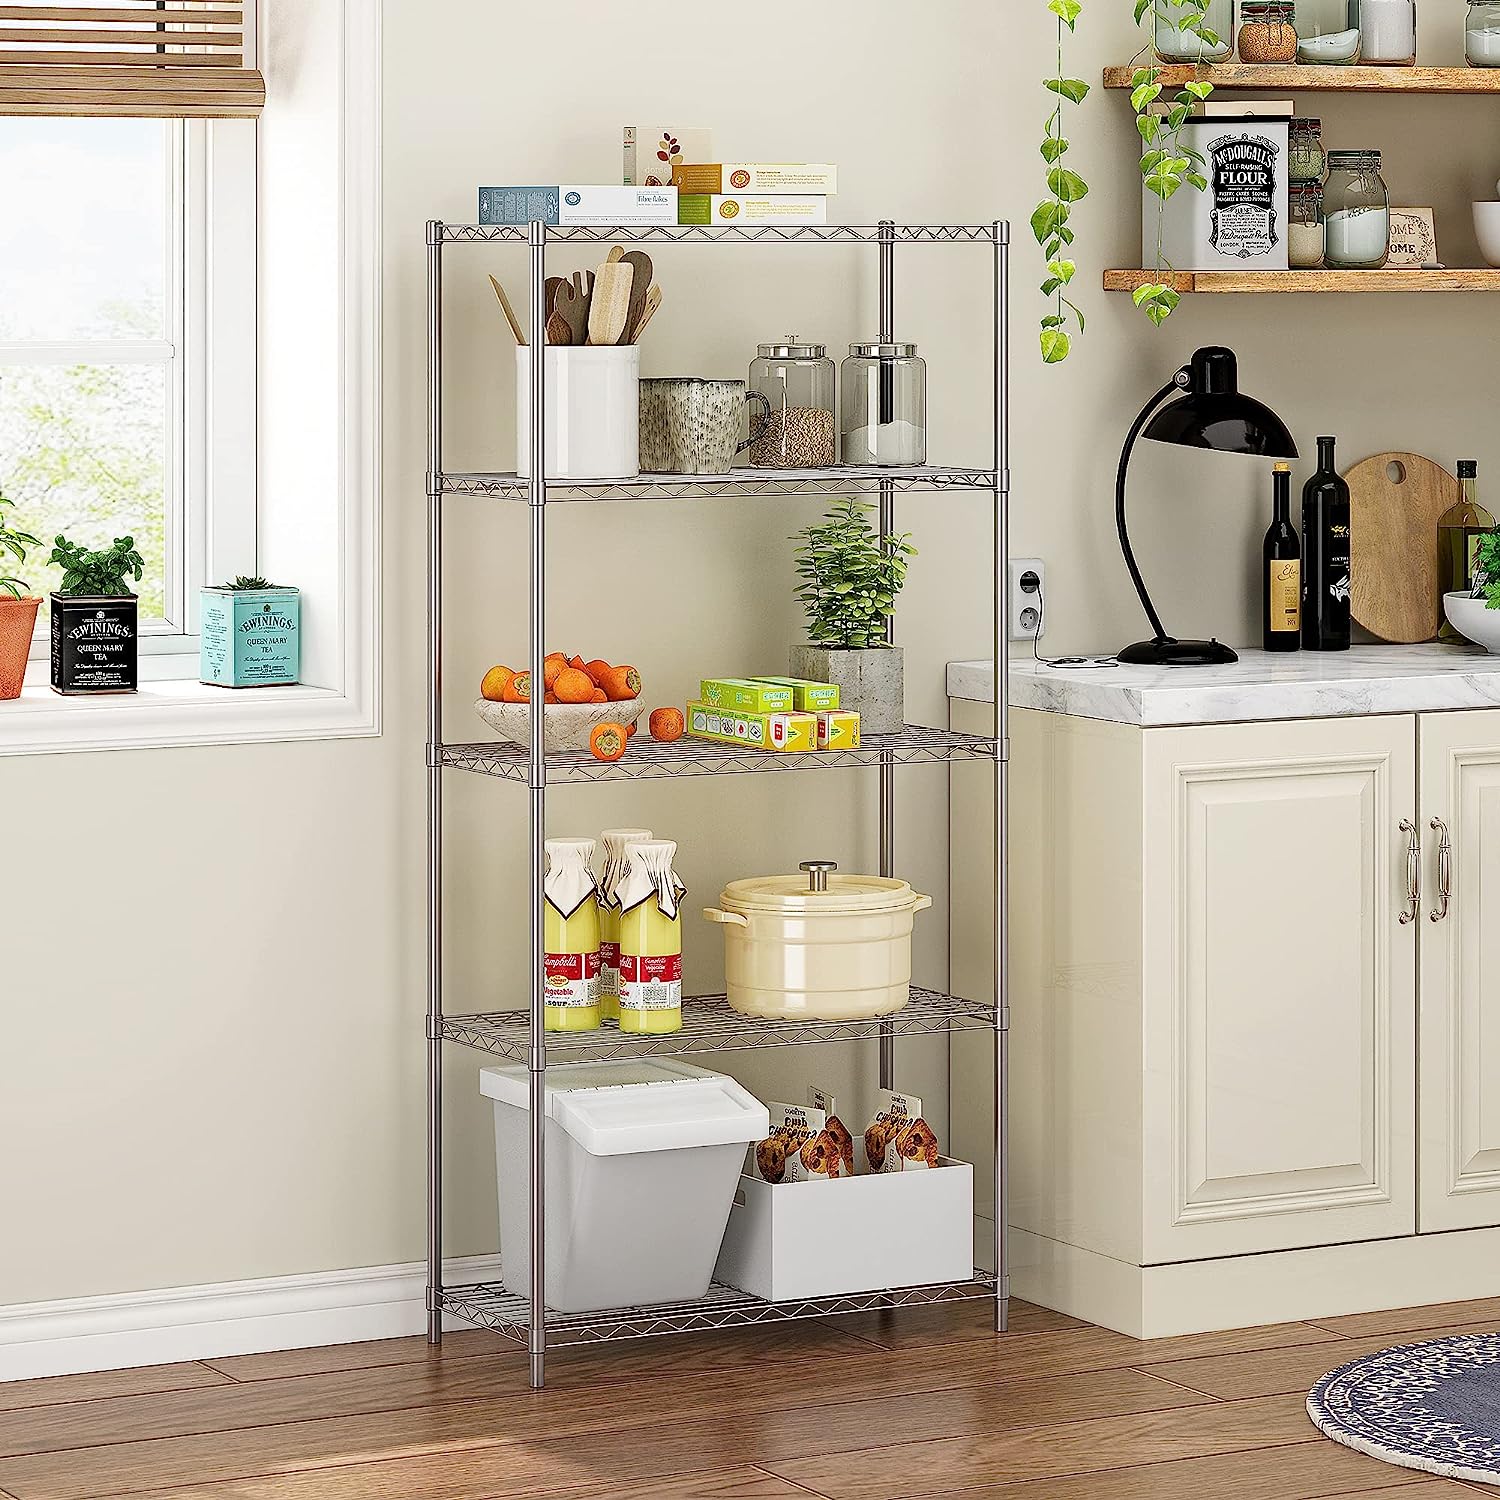
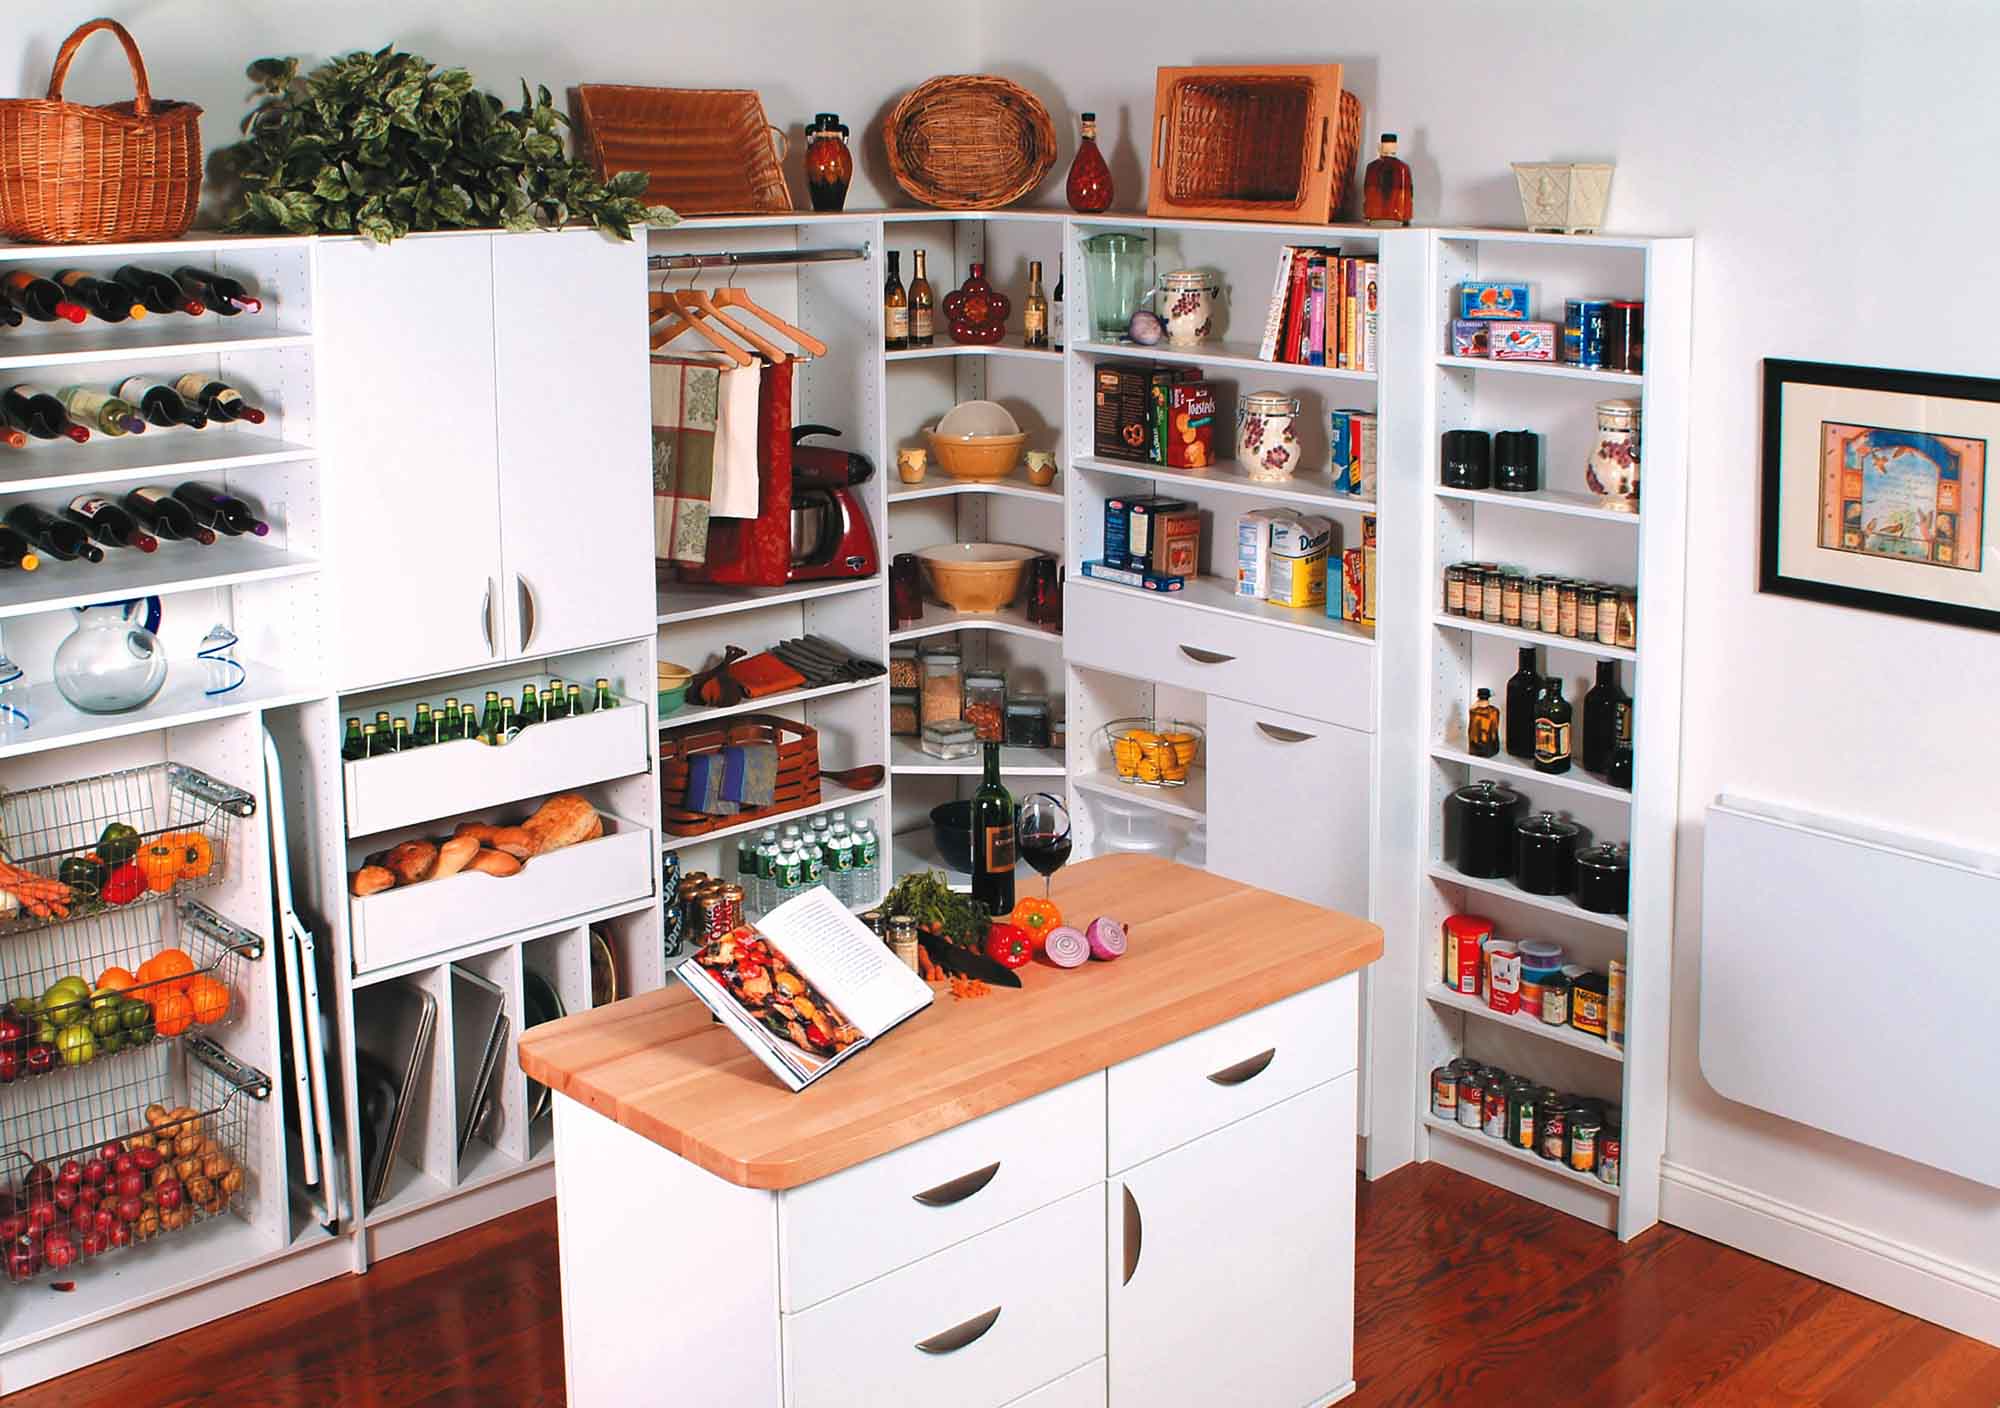
Welcome to this guide on how to build pantry shelves! If you’re tired of cluttered and disorganized pantry spaces, then building your own shelves can be a great solution. Not only will it allow you to maximize the available space, but it will also give you the freedom to design the shelves according to your specific needs and style.
A well-organized pantry is not only aesthetically pleasing, but it also makes it much easier to find and access the items you need. With custom-built pantry shelves, you can create designated spaces for different types of food items, kitchen supplies, and even small appliances. Whether you have a small closet-sized pantry or a larger walk-in pantry, this guide will provide you with the steps and tips to help you build functional and practical shelves.
Before jumping into the construction process, it’s important to plan and prepare accordingly. This will save you time and ensure that your shelves are not only sturdy but also meet your specific requirements. In the next section, we’ll walk through the essential steps of planning and preparing to build your pantry shelves.
Key Takeaways:
- Building custom pantry shelves allows for personalized organization, maximizing space and accessibility for different pantry items, creating a functional and aesthetically pleasing storage solution.
- Careful planning, precise measurements, and thoughtful shelf layout design are essential for successful pantry shelf construction, ensuring durability, stability, and efficient use of available space.
Planning and Preparation
Building pantry shelves requires careful planning and preparation to ensure that you have all the necessary materials and tools. Before you begin constructing your shelves, take the time to properly measure and assess the available space in your pantry. This will help you determine the size, design, and layout of your shelves.
Start by emptying out your pantry, removing all the items from the shelves. This will give you a clear view of the space you have to work with and allow you to determine how many shelves you can fit. Take measurements of the height, width, and depth of your pantry, including any corners or irregularities that you need to consider.
Next, think about the items you will be storing on the shelves. Consider the different sizes and types of food containers, kitchen supplies, and appliances that you need to accommodate. This will help you decide on the height and spacing between shelves.
Once you have a good understanding of your pantry space and storage needs, it’s time to gather the materials and tools required for the project. You will need sturdy wood or melamine board for the shelves, as well as brackets or support systems to hold the shelves in place. Additionally, you’ll need a measuring tape, pencil, level, drill, screws, and a saw for cutting the wood to size.
Make a list of all the materials and tools you will need to purchase, and consider any additional items like paint or stain to match the shelves with your existing pantry decor. It’s also a good idea to wear appropriate safety gear, such as safety goggles and gloves, when working with power tools and cutting materials.
Once you have all the necessary materials and tools ready, you’re one step closer to building your pantry shelves. In the next section, we’ll dive into the process of measuring and assessing the space to ensure accurate and precise shelf construction.
Measuring and Assessing Space
Measuring and assessing the space in your pantry is a crucial step in building pantry shelves. By taking accurate measurements and considering any constraints or irregularities, you can ensure that your shelves will fit perfectly and make the most of the available space.
Start by measuring the height, width, and depth of your pantry. Use a measuring tape and record the measurements in both inches and centimeters for convenience. Take multiple measurements at different points in the pantry to account for any variations or unevenness in the walls or floor.
Once you have the measurements, consider any obstacles or constraints that you need to work around. These can include pipes, outlets, ventilation, or any other fixtures that may limit the placement or size of your shelves. Take note of the locations of these obstacles and determine how they will impact your shelf design.
After assessing the constraints, think about the items you plan to store on the shelves. Measure the tallest and widest items to ensure that the shelves will have enough clearance to accommodate them. Leave some extra space beyond the measurements of the largest items to allow for easy access and movement.
In addition to measuring the overall space, it’s important to consider the spacing between shelves. This will depend on the items you plan to store. For example, if you have tall cereal boxes, you may need larger spacing between shelves to prevent them from being squished. On the other hand, if you have small jars or cans, you can place shelves closer together.
Take note of any corners or irregularities in the space and incorporate them into your shelf design. You may need to cut the shelves to fit around corners or install additional support in areas where the walls are uneven.
Once you have taken accurate measurements and assessed the space and its constraints, you can proceed to the next step of choosing materials and tools. By carefully considering your needs and the space available, you’ll be well-prepared for the construction process and can ensure that your pantry shelves will fit perfectly into your pantry. In the next section, we’ll discuss the different materials and tools you can use to build your shelves.
Choosing Materials and Tools
When it comes to building pantry shelves, choosing the right materials and tools is crucial for a successful and durable outcome. You want to select materials that are sturdy, easy to clean, and able to withstand the weight of your pantry items. Additionally, having the necessary tools will make the construction process much smoother.
One popular choice for pantry shelves is sturdy wood or melamine board. These materials are strong, durable, and available in various thicknesses. Consider using plywood or MDF (medium-density fiberboard) for the shelf panels, as they are both affordable and easy to work with. Melamine board is another option that has the advantage of being resistant to moisture and easy to clean.
For the support systems, you can choose between shelf brackets or a wall-mounted track system. Shelf brackets are typically made of metal or strong plastic and provide individual support for each shelf. They come in various sizes and styles, allowing you to customize the look of your shelves. On the other hand, a wall-mounted track system consists of a metal strip that is secured to the wall, and metal brackets or clips that attach to the strip to hold the shelves in place. This system offers flexibility in adjusting the height and spacing of the shelves.
In addition to the materials, you’ll need a few essential tools to construct your pantry shelves. These include a measuring tape, pencil, level, drill, screws, and a saw for cutting the wood to size. Make sure to choose the appropriate drill bits and screws based on the type of material you’re working with. Also, consider using a stud finder to locate the wall studs for secure and stable installation.
While not necessary, painting or staining the shelves can add a decorative touch and help protect the wood from moisture. Choose paint or stain that is food-safe and matches your pantry’s aesthetic. Sandpaper and a paintbrush or roller will be needed for this finishing step.
When selecting materials and tools, keep your specific pantry dimensions and storage needs in mind. Measure the height, width, and depth of your pantry again to ensure that you purchase the correct amount of material. Also, consider the weight capacity of the materials and choose accordingly to support the items you plan to store.
With the right materials and tools in hand, you’re ready to move on to the next step: designing the layout of your pantry shelves. In the next section, we’ll explore different strategies and tips for creating an efficient and functional shelf layout.
Designing the Shelf Layout
Designing the layout of your pantry shelves is a crucial step in ensuring optimal functionality and organization. By strategically planning the placement and spacing of your shelves, you can maximize the storage capacity and make it easier to access your pantry items.
Start by visualizing how you want your pantry to look and function. Consider the types of items you will be storing and how you want them to be organized. For example, you may want to designate certain shelves for canned goods, while others are dedicated to dry goods or kitchen appliances.
Next, take into account the height and depth of the items you plan to store. Adjust the spacing between shelves accordingly to accommodate taller containers or appliances. Keep in mind that adjustable shelves offer the flexibility to adapt to different storage needs over time.
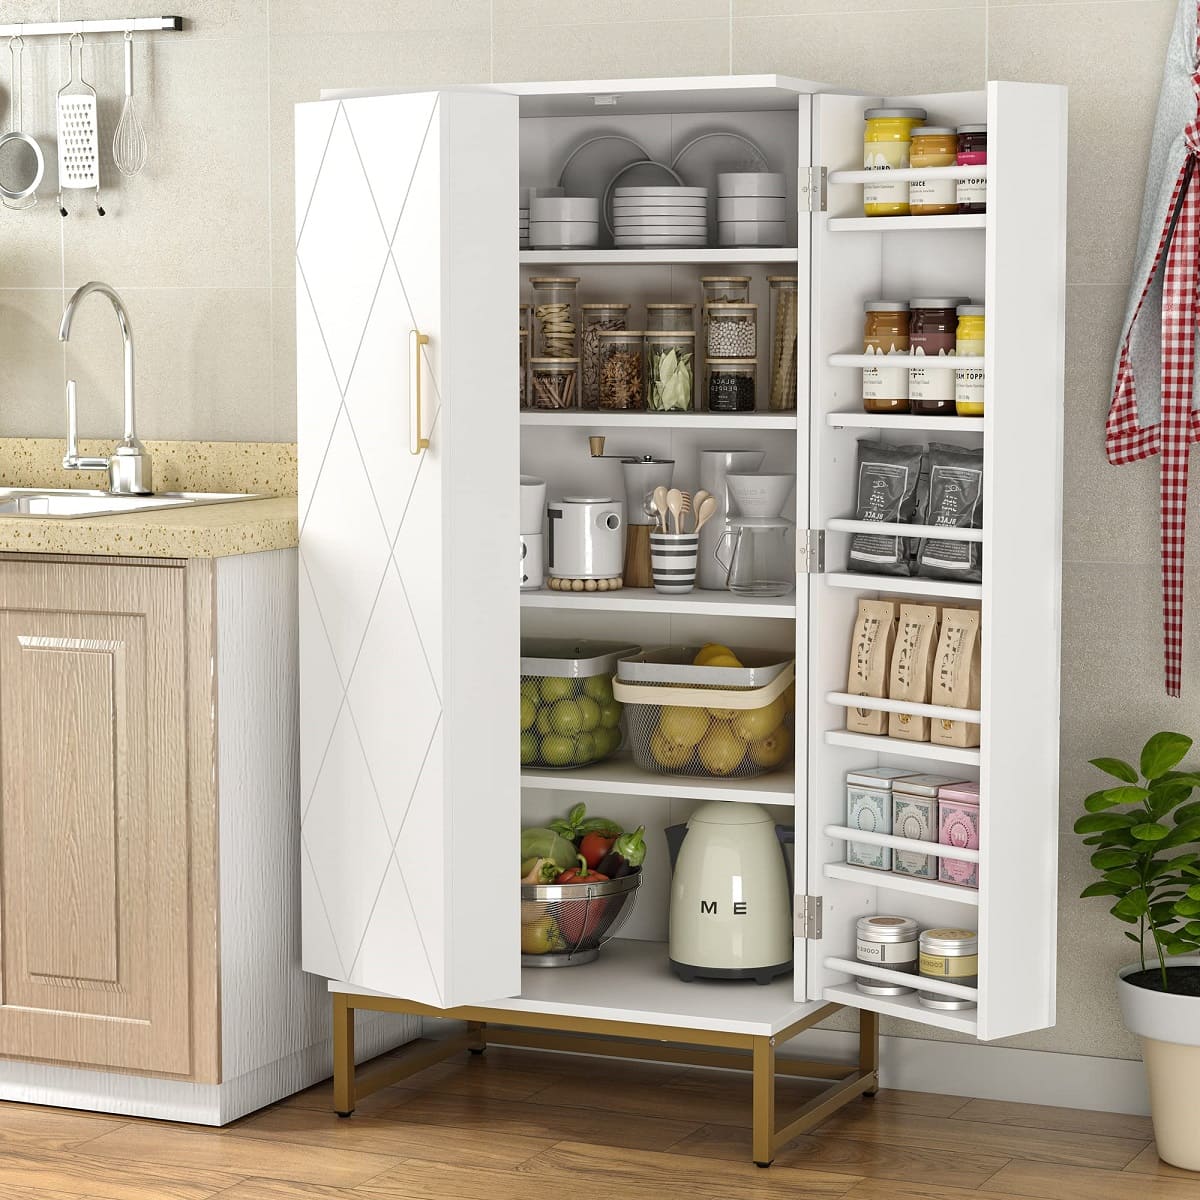
Consider using a combination of fixed and adjustable shelves to accommodate varying item sizes. Fixed shelves provide stability for heavier items, while adjustable shelves allow for flexibility as your storage needs change. Place fixed shelves towards the bottom of the pantry and adjustable shelves towards the top for easy access and adjustability.
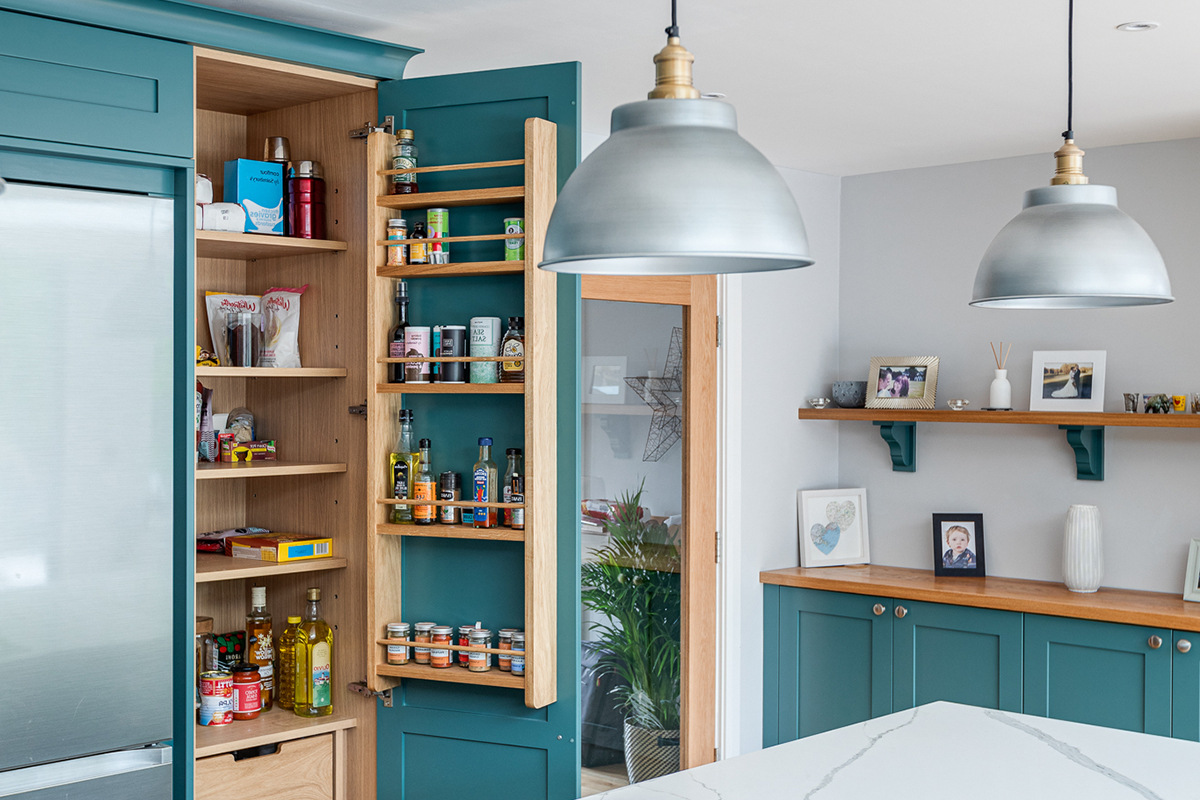
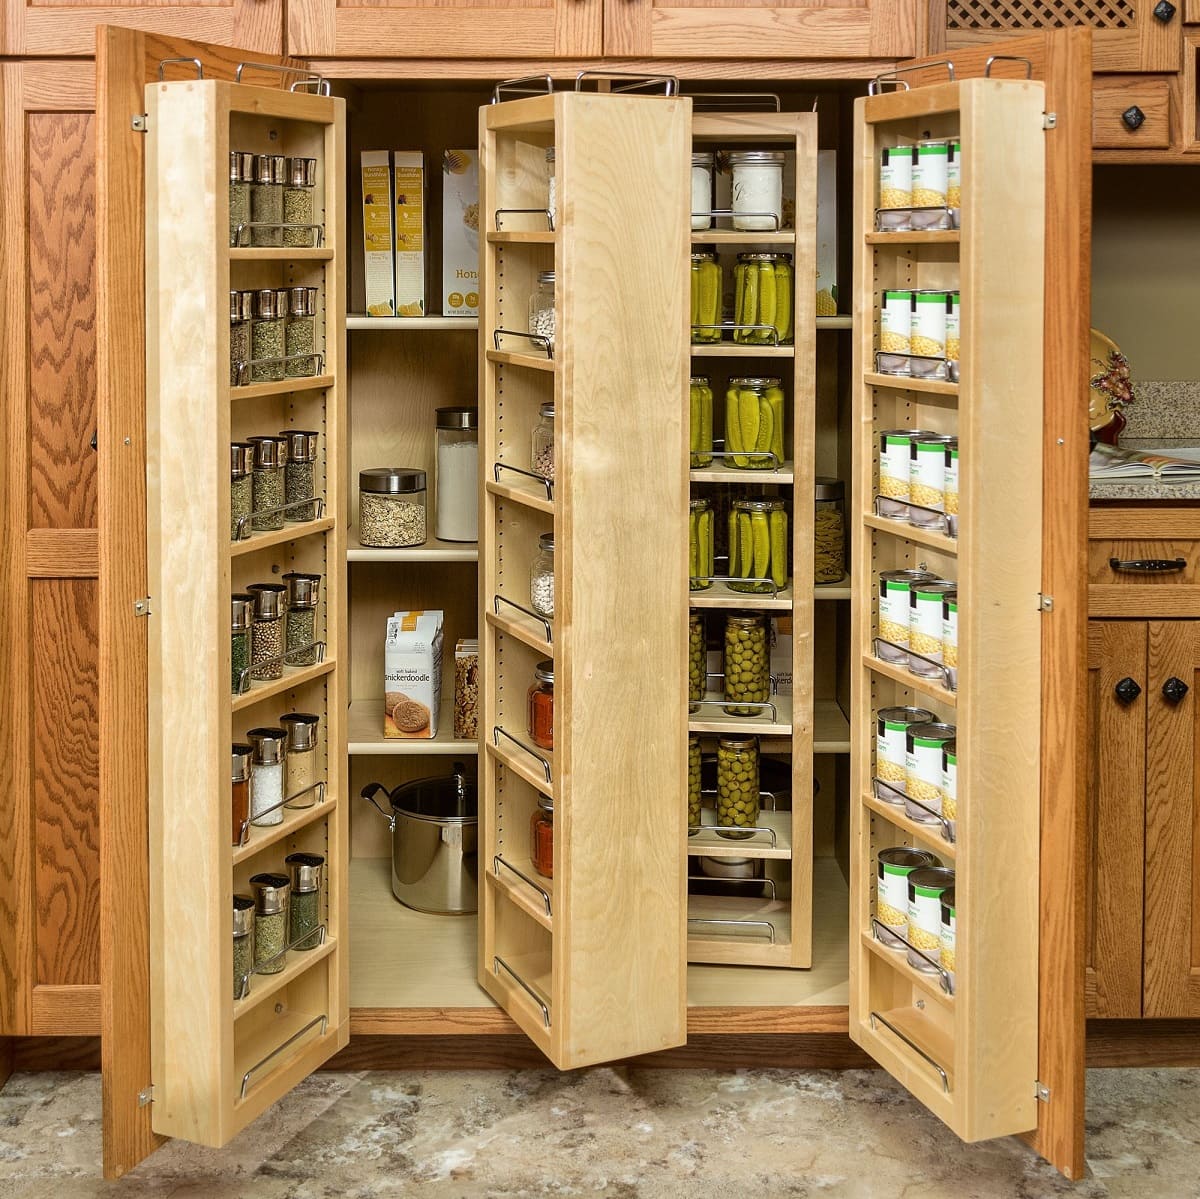
Take advantage of vertical space by incorporating taller shelves or installing additional hooks or racks on the back of the pantry door. This will maximize storage capacity and keep frequently used items within reach.
When designing your shelf layout, also consider the workflow and accessibility of items. Place frequently used items at eye level or within easy reach, while less frequently used items can be stored on higher or lower shelves.
Once you have a rough idea of your shelf layout, use a tape measure, pencil, and level to mark out the positions of the shelves on the walls of your pantry. Check the measurements and use a level to ensure your shelf markings are straight. Remember to account for the thickness of the shelf material when marking the height of the shelves.
If you’re using a wall-mounted track system, follow the manufacturer’s instructions to install the tracks at the desired heights. Position the brackets or clips along the tracks to support the shelves. For shelf brackets, mark and drill holes in the wall or use anchors for added stability.
Once your shelf layout is finalized and the markings or installation are complete, you’re ready to move on to the construction phase. In the next section, we’ll outline the steps for building the pantry shelves.
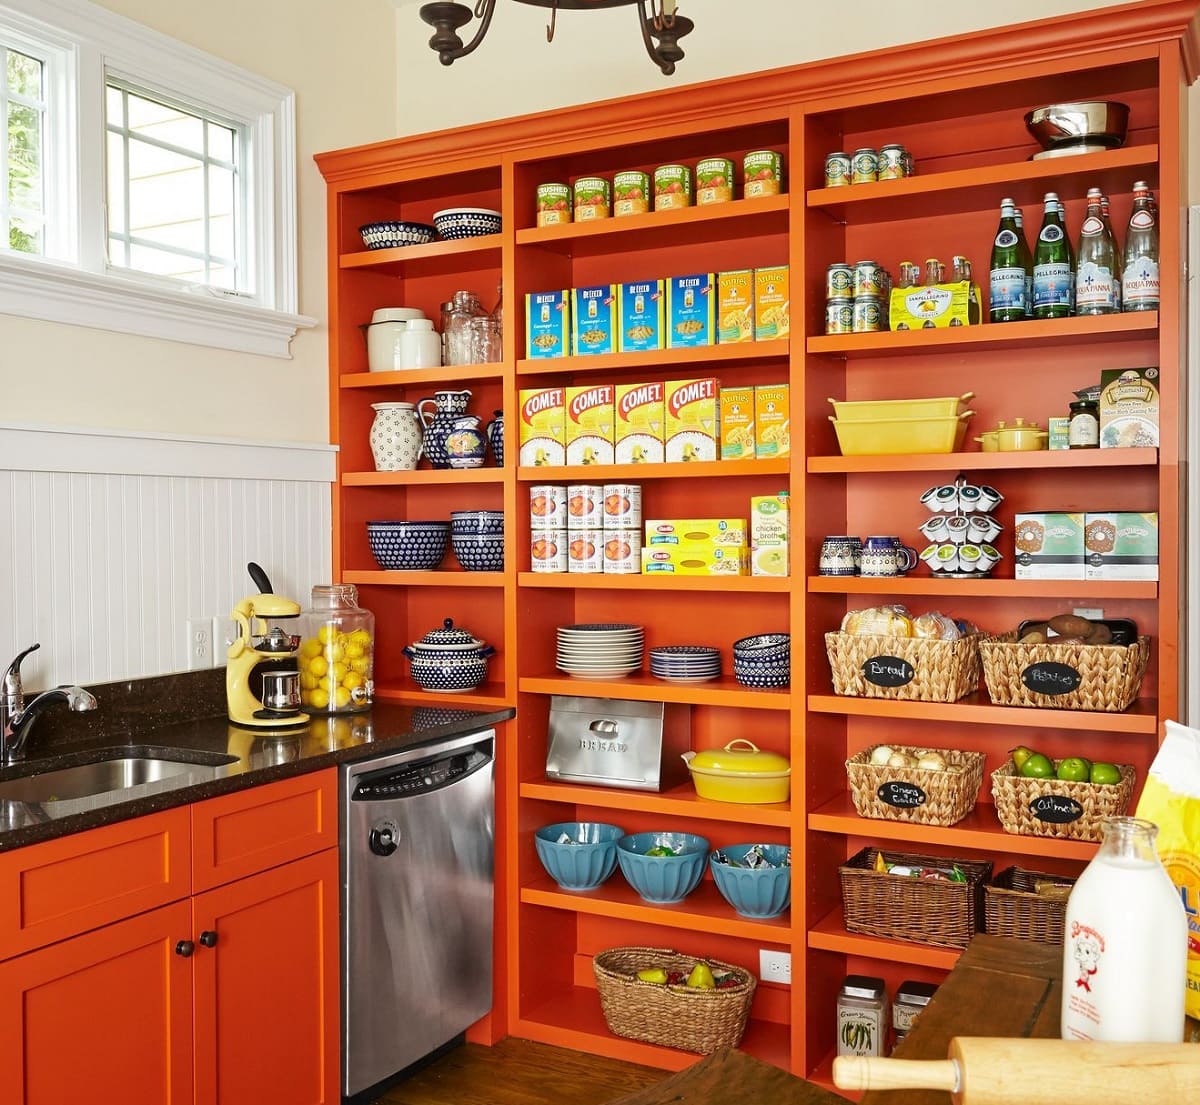
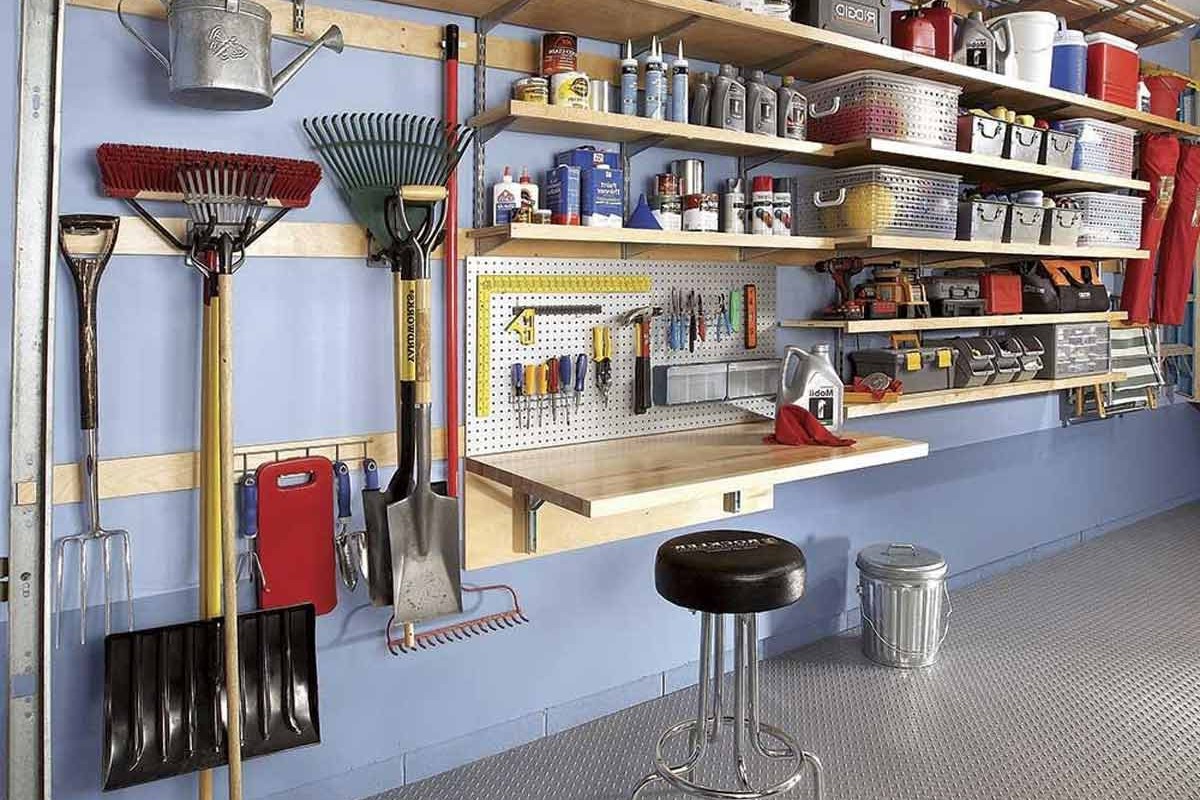
When building pantry shelves, make sure to use sturdy materials such as plywood or solid wood to support the weight of canned goods and other heavy items. Additionally, consider adding adjustable shelves to accommodate different sized items.
Read more: How Deep Are Pantry Shelves
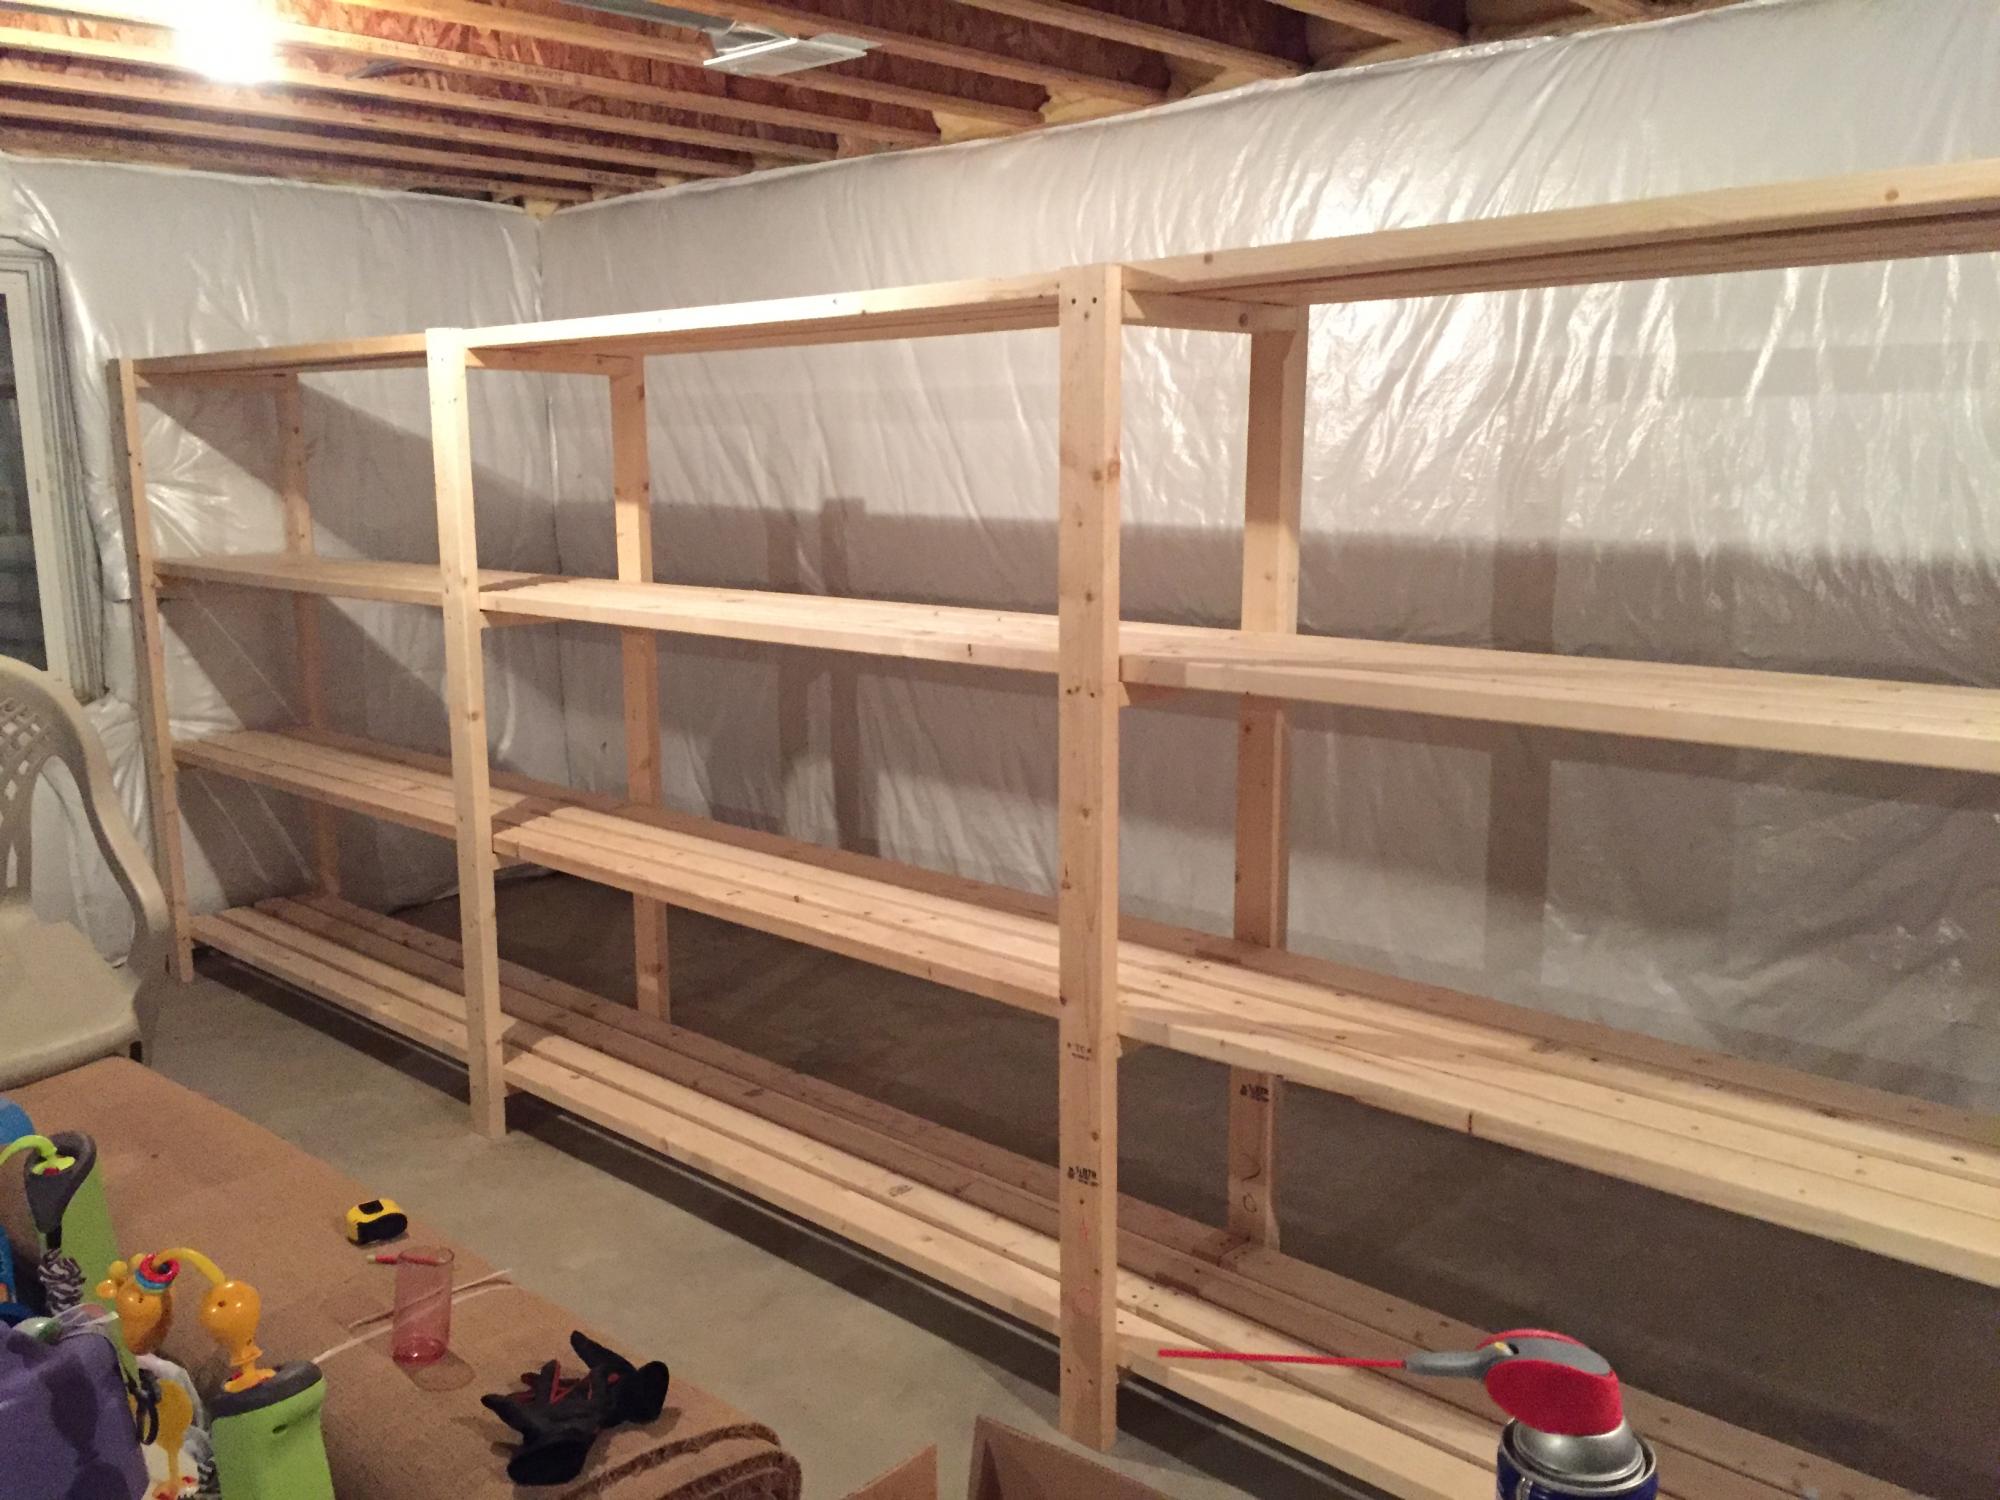
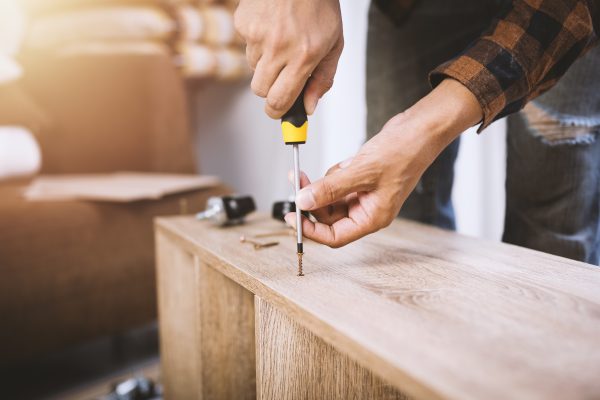
Building the Shelves
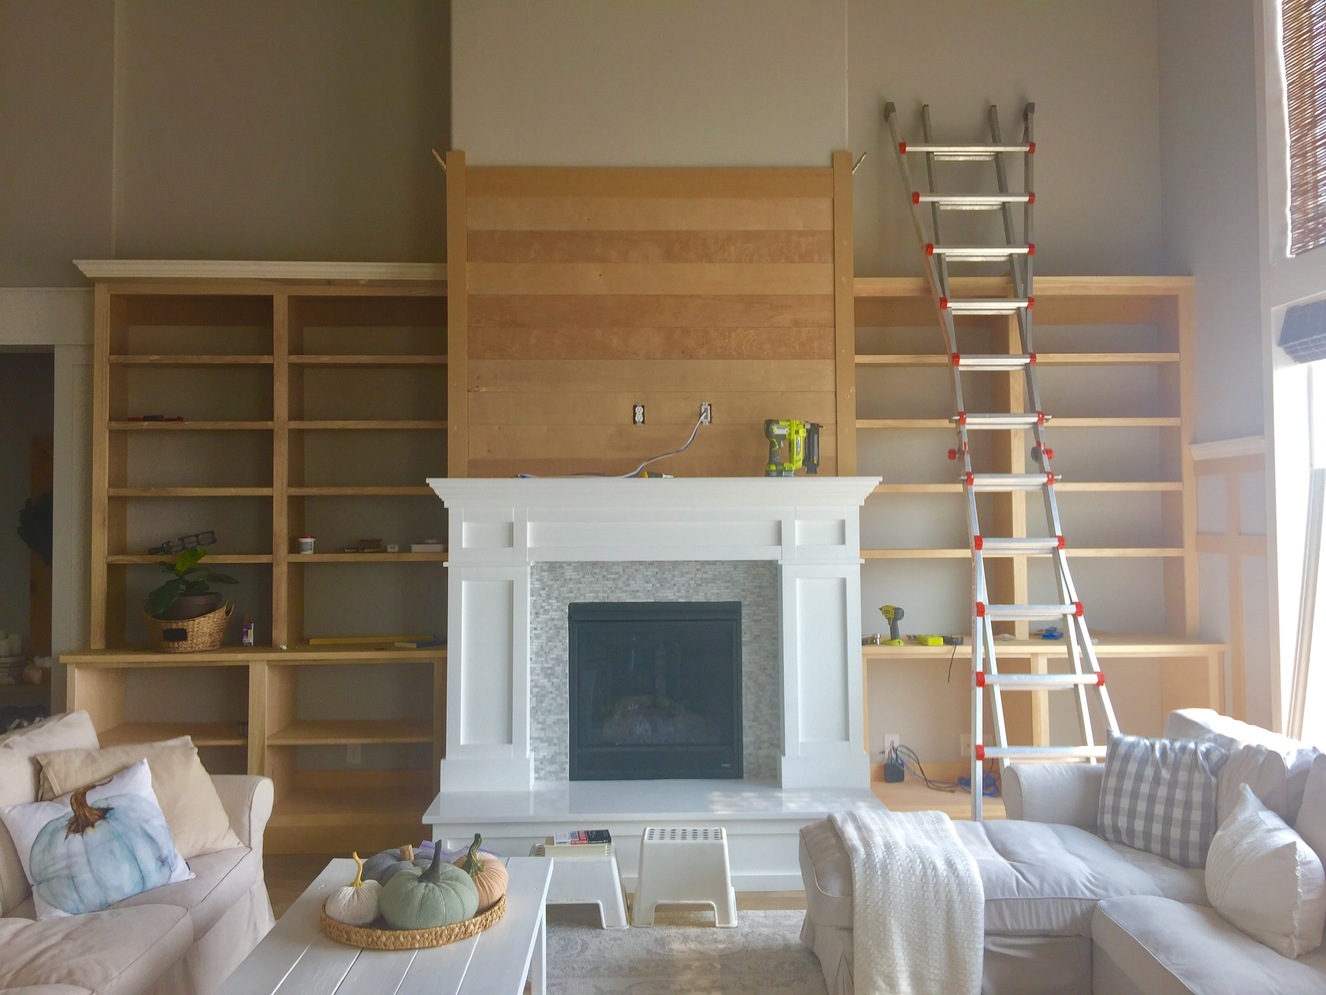
Now that you’ve designed the layout of your pantry shelves, it’s time to start building them. This step requires precision and attention to detail to ensure that your shelves are sturdy and properly constructed. Follow these steps to build your pantry shelves:
1. Start by cutting the wood or melamine board to the desired dimensions for each shelf. Use a saw or a table saw to make clean and straight cuts. Remember to account for the thickness of the support brackets or track system when measuring and cutting the shelves.
2. After cutting the shelves to size, sand the edges to smooth out any rough areas. Use sandpaper with a medium grit to gently sand along the edges until they feel smooth to the touch.
3. If you prefer, you can paint or stain the shelves at this stage. Apply a coat of primer if necessary, and then follow with your chosen paint or stain. Allow the shelves to dry completely before moving on to the next step.
4. Once the shelves are dry, it’s time to install the support system. If you’re using shelf brackets, position them on the marked spots on the wall. Attach the brackets securely using a drill and screws, making sure they are level and aligned with each other.
5. If you opted for a wall-mounted track system, follow the manufacturer’s instructions for installation. Secure the tracks to the wall at the desired heights and attach the brackets or clips onto the track to hold the shelves in place. Ensure the track is level and aligned before proceeding.
6. With the support system in place, carefully place the shelves onto the brackets or attach them to the support clips on the track. Double-check that all shelves are level and evenly spaced before proceeding.
7. For added stability and support, you may choose to screw the shelves to the brackets or track system. This is especially recommended for heavy items or if you want a more secure fit.
8. Once all the shelves are installed, give them a gentle shake or test for stability. If any shelves feel unstable or wobbly, check the brackets or track system and make any necessary adjustments or reinforcements.
9. Finally, step back and admire your newly built pantry shelves! Take a moment to ensure that the shelves are level and visually appealing. If needed, make any final adjustments or touch-ups to achieve the desired look.
Building your own pantry shelves can be a rewarding and cost-effective solution for organizing your pantry space. With sturdy and well-constructed shelves, you’ll be ready to move on to the next step: installing the shelves in your pantry. In the following section, we’ll guide you through the process of installing your newly built pantry shelves.
Installing Pantry Shelves
With your pantry shelves built, it’s time to install them in your pantry space. Proper installation ensures that the shelves are secure and stable, allowing you to confidently organize your pantry items. Follow these steps to install your pantry shelves:
1. Clear out your pantry space and remove any existing shelves or obstacles that may hinder the installation process. This will provide you with a clean and unobstructed area to work with.
2. Begin by positioning the first shelf at the desired height in your pantry. Use a level to ensure that the shelf is perfectly horizontal. If you’re using a wall-mounted track system, attach the shelf to the brackets or clips on the track. If you’re using shelf brackets, place the shelf on top of the brackets.
3. Once the first shelf is in place, check that it is level and adjust as needed. Ensure that it is securely attached to the support system, either by screws or by locking it into the track system.
4. Repeat the process for the remaining shelves, working your way from bottom to top. Take care to align the shelves horizontally and maintain consistent spacing between them.
5. As you install each shelf, periodically check for levelness and adjust as necessary. Use a tape measure to ensure the vertical spacing between shelves is uniform.
6. Double-check the stability of each shelf by giving them a gentle shake. If any shelves feel loose or unstable, reinforce them by tightening the screws or adjusting the brackets or track system as needed.
7. Take a step back and visually inspect the installed shelves. Ensure that they are aligned, level, and visually appealing. Use a touch-up paint or stain, if necessary, to address any scuffs or marks that may have occurred during the installation process.
8. Once all the shelves are securely installed and meet your satisfaction, it’s time to start organizing your pantry items. Consider categorizing items by type or frequency of use for easy access and efficient storage.
Remember, maintaining the organization of your pantry is just as important as installing the shelves. Regularly declutter and reorganize your pantry to ensure that it remains functional and efficient.
With the installation of your pantry shelves complete, you can now enjoy a well-organized and easily accessible pantry space. In the final section, we’ll explore some tips on organizing and styling your shelves to make your pantry even more visually appealing.
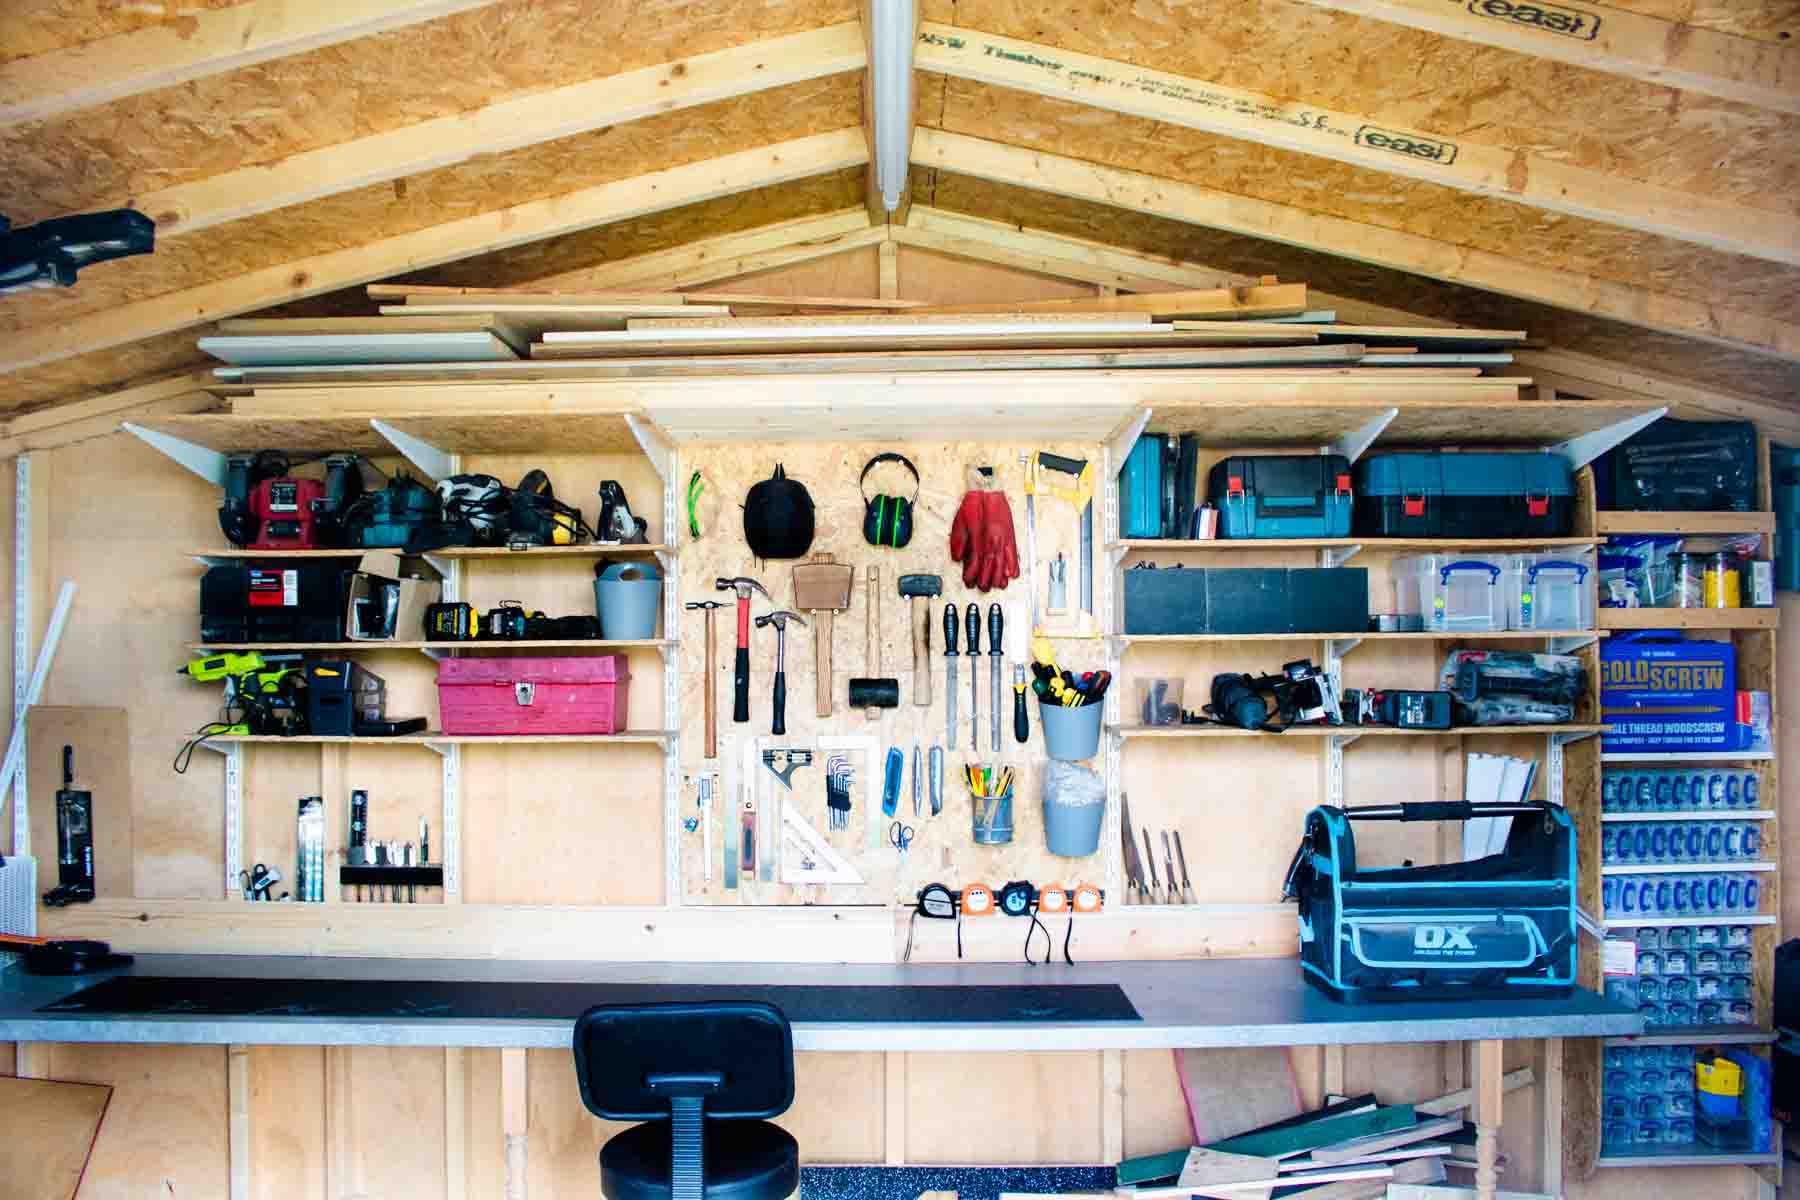
Organizing and Styling Your Shelves
Now that your pantry shelves are installed, it’s time to transform your pantry into a functional and visually appealing space. Organizing and styling your shelves will not only make it easier to find and access your pantry items but also create an inviting atmosphere. Follow these tips to organize and style your pantry shelves:
1. Categorize and group similar items together. Arrange your pantry items in categories such as baking supplies, canned goods, spices, snacks, etc. This will make it easier to locate items when you need them and maintain an organized pantry.
2. Consider using storage containers or bins to further organize your items. Clear or labeled containers can help keep small items tidy and prevent clutter. Utilize stackable containers to optimize vertical space.
3. Use shelf dividers or tension rods to create separate sections on your shelves. This can help keep items from falling over and create a neat and organized look.
4. Take advantage of vertical space by adding hooks or racks to the back of your pantry door. These can be used to hang aprons, oven mitts, or small kitchen tools to free up space on the shelves.
5. Arrange items based on frequency of use. Place frequently used items at eye level or on the most accessible shelves to easily grab them. Reserve higher or lower shelves for less frequently used items or seasonal items.
6. Consider utilizing labels or clear storage containers to easily identify and locate items. This can help maintain an organized system and prevent any confusion when searching for specific items.
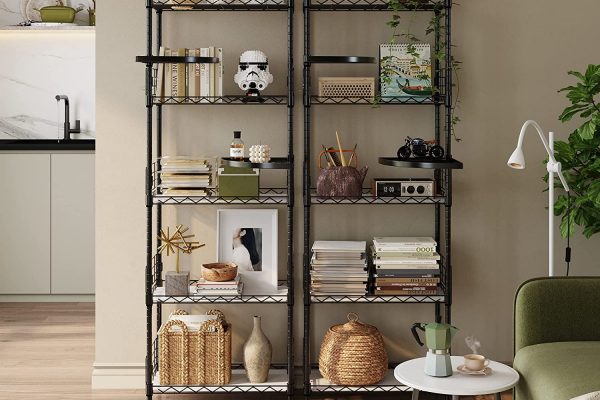
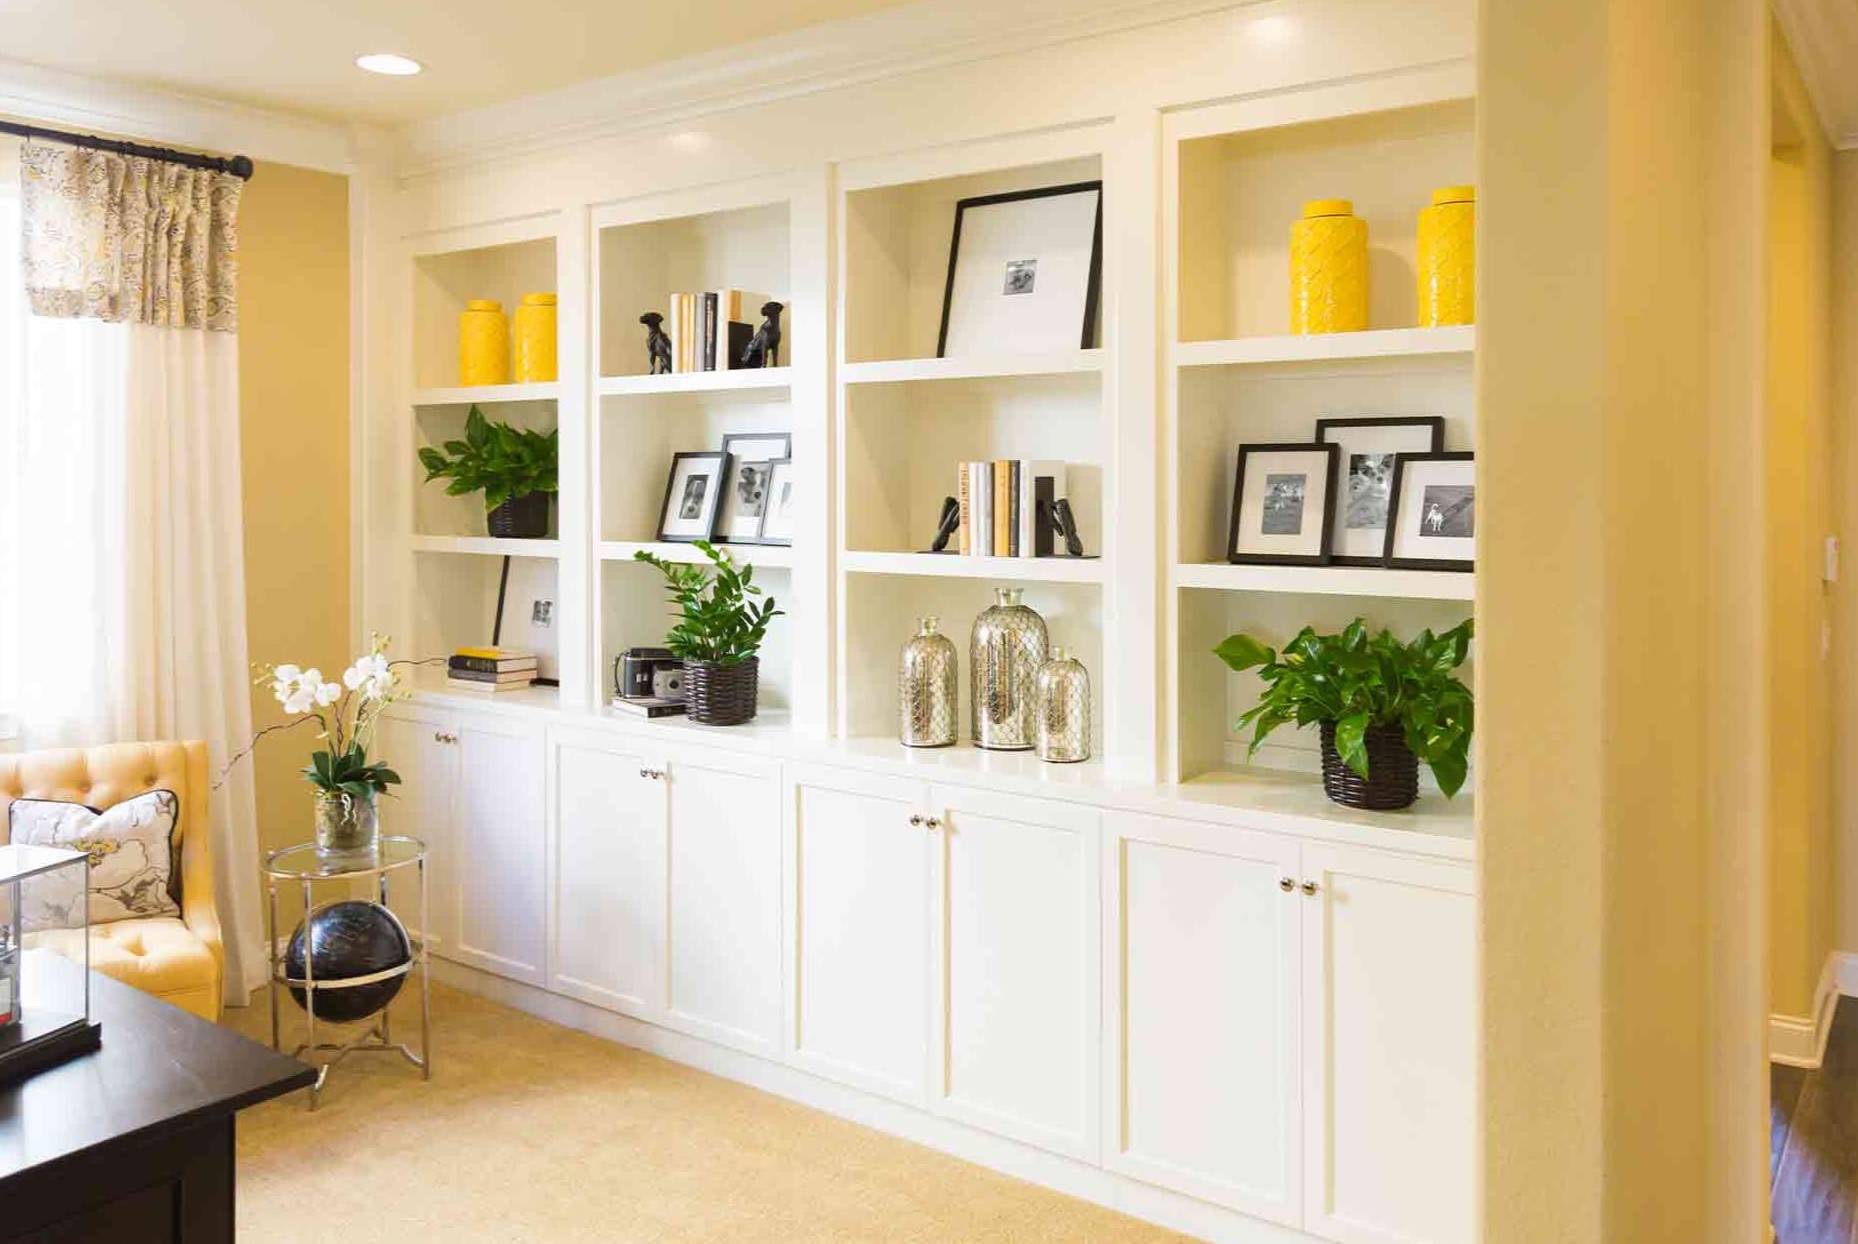
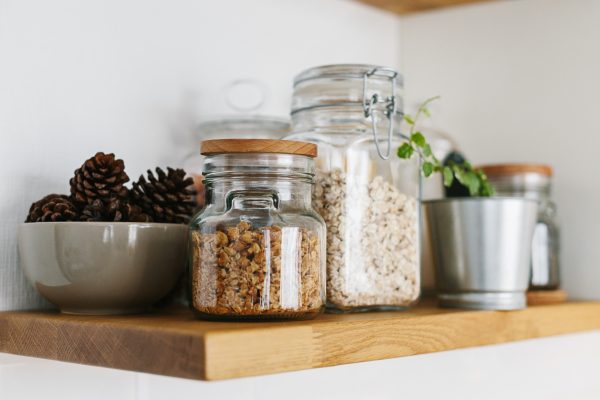
7. Style your shelves by incorporating some decorative elements. Add a few plants, decorative baskets, or jars filled with colorful grains or spices to add visual interest. This can make your pantry feel more inviting and personalized.
8. Keep your pantry shelves clean and tidy. Regularly wipe down the shelves to remove any dust or spills. This will maintain a fresh and appealing look while also ensuring the longevity of your pantry items.
9. Periodically review and declutter your pantry. Get rid of any expired or unused items and reorganize as needed. This will help keep your pantry clutter-free and efficient.
Remember, organizing and styling your pantry shelves is a personal process. Tailor it to your preferences and needs. Experiment with different arrangements and find what works best for you. With a well-organized and visually appealing pantry, you’ll enjoy a stress-free cooking and meal-preparation experience.
Now that you’ve learned the steps to build, install, and organize your pantry shelves, you can confidently transform your pantry into a functional and beautiful space. With a little planning and effort, you’ll be amazed at how much easier it is to access and enjoy your pantry items. Happy organizing!
Conclusion
Congratulations! You’ve reached the end of this comprehensive guide on how to build pantry shelves. By following the steps outlined in this guide, you have gained the knowledge and skills necessary to create a well-organized and visually appealing pantry space.
Building pantry shelves allows you to customize the layout and design according to your specific needs and space constraints. By measuring and assessing your pantry area, choosing the right materials and tools, and designing an efficient shelf layout, you set the foundation for a successful project.
With precision and attention to detail, you learned how to construct your shelves, ensuring stability and durability. The installation process ensured that the shelves are securely in place, ready to accommodate your pantry items without compromise.
Organizing and styling your pantry shelves added the finishing touches to create a functional and visually appealing space. By categorizing and grouping items, using containers and dividers, and paying attention to both organization and aesthetics, you’ve transformed your pantry into an inviting and efficient area.
Remember that maintaining the organization of your pantry is an ongoing process. Regularly declutter, reorganize, and clean your pantry to ensure it remains functional and efficient.
Building your own pantry shelves not only saves you money but also gives you the satisfaction of creating a personalized space that meets your specific needs. By investing time and effort into building, installing, and organizing your pantry shelves, you’ve created a space that will make cooking, baking, and meal preparation a delight.
Now it’s time to gather your tools, grab the materials, and start transforming your pantry. Embrace the creative process, enjoy the journey, and revel in the end result – a well-organized pantry that enhances both the functionality and beauty of your home.
Here’s to a pantry that brings joy and efficiency into your daily life! Happy building and organizing!
Frequently Asked Questions about How To Build Pantry Shelves
Was this page helpful?
At Storables.com, we guarantee accurate and reliable information. Our content, validated by Expert Board Contributors, is crafted following stringent Editorial Policies. We're committed to providing you with well-researched, expert-backed insights for all your informational needs.

0 thoughts on “How To Build Pantry Shelves”