Home>Garden Essentials>Garden Storage>How To Move A Wardrobe

Garden Storage
How To Move A Wardrobe
Modified: October 23, 2024
Need to store your wardrobe? Learn how to move a wardrobe safely and efficiently with our step-by-step guide. Find the best storage options for your needs.
(Many of the links in this article redirect to a specific reviewed product. Your purchase of these products through affiliate links helps to generate commission for Storables.com, at no extra cost. Learn more)
Introduction
When it comes to moving to a new home, one of the most challenging tasks is moving large furniture items, such as a wardrobe. Wardrobes are not only heavy and bulky but also delicate due to the fragile items they contain. However, with proper planning and organization, moving a wardrobe can be a smooth and hassle-free process. In this article, we will guide you through the steps to successfully move a wardrobe to your new location.
Moving a wardrobe requires careful preparation, as well as the right tools and equipment to ensure its safety and integrity during the transportation process. By following these steps, you can ensure that your wardrobe arrives at its destination intact, allowing you to start organizing your clothes and belongings in your new home without any hassle.
Ready to get started? Let’s dive into the detailed steps involved in moving a wardrobe!
Key Takeaways:
- Properly preparing and organizing your wardrobe for a move not only ensures its safety and integrity but also presents an opportunity to declutter and simplify your belongings, creating a fresh start in your new home.
- Utilizing the right tools, employing proper lifting techniques, and maintaining clear communication during the moving process are essential for safely and efficiently relocating your wardrobe to its new location.
Step 1: Emptying the Wardrobe
The first step in moving a wardrobe is to empty its contents. Begin by taking out all the clothes, shoes, and accessories from the wardrobe. Sort them into separate piles or boxes based on their category to make it easier to organize them later.
As you remove the items from the wardrobe, take the opportunity to declutter and get rid of any items that you no longer need or want. Consider donating them to charity or selling them online to lighten your load and make packing and moving more efficient.
Once the wardrobe is completely empty, take the time to clean and dust the interior. Wipe down the shelves, drawers, and hanging rods with a clean cloth or use a gentle cleaning solution if necessary. This will ensure that your wardrobe is clean and ready for use when you arrive at your new location.
Remember to keep any valuable or fragile items separate and pack them securely in padded boxes or wrap them in bubble wrap for extra protection during transport. Place these items in a safe place away from the moving path to prevent any accidental damage.
By emptying and organizing the items in your wardrobe, you not only make it easier to move but also create an opportunity to declutter and simplify your belongings before settling into your new location. This is a great time to start fresh and create a more organized wardrobe space.
Step 2: Disassembling the Wardrobe
Disassembling the wardrobe is essential to make the moving process easier and to avoid any damage during transportation. Before starting, gather the necessary tools such as screwdrivers, a hammer, and pliers.
Begin by removing any removable parts of the wardrobe, such as shelves, drawers, and hanging rods. Carefully unscrew or detach them, keeping any screws or small pieces in a labeled bag or container to avoid misplacement.
If the wardrobe has doors, remove them by unscrewing the hinges. Place the doors in a safe location, protecting them from scratches or dents by wrapping them in blankets or using foam padding.
Next, dismantle the main frame of the wardrobe. Start with the top and bottom sections, unscrewing any screws or bolts connecting them to the sides. Use the appropriate tools to gently remove any stubborn screws or fittings.
Once the main frame is disassembled, wrap each component in furniture blankets or bubble wrap to protect them from scratches and bumps during transport. Secure the wrapped pieces with packing tape to ensure they stay in place.
Keep all the disassembled parts together, ideally in labeled boxes or containers, and make sure to mark them as “wardrobe” for easy identification during the unpacking process.
By disassembling the wardrobe, you not only save space when moving but also reduce the risk of damaging the furniture during transit. It also makes it easier to navigate narrow hallways, doorways, or staircases when moving the wardrobe out of your old home and into your new one.
Step 3: Wrapping and Protecting the Wardrobe
Properly wrapping and protecting the wardrobe is crucial to prevent any scratches, dents, or damage during the moving process. Here’s how to ensure your wardrobe stays in pristine condition:
1. Use Moving Blankets: Wrap the disassembled parts of the wardrobe with furniture blankets. These blankets provide an extra layer of cushioning and protection against bumps and knocks during transportation.
2. Secure with Plastic Wrap: After wrapping the wardrobe with moving blankets, use sturdy plastic wrap to hold everything securely in place. Wrap it tightly around the furniture to prevent any shifting or movement during transit.
3. Protect the Corners: The corners of the wardrobe are especially susceptible to damage. Use cardboard corner protectors or foam padding to safeguard them against any impact or rough handling.
4. Dismantle Fragile Components: If your wardrobe has any fragile components, such as mirrors or glass panels, remove them carefully and wrap them separately with bubble wrap or packing paper. Label them as fragile and handle them with extra care during the moving process.
5. Use Mattress Bags for Doors: For wardrobe doors, especially those with glass panels or delicate finishes, consider using mattress bags or protective covers. These can help safeguard the doors from scratches and provide an additional layer of protection.
6. Pad the Interior: To prevent the contents of the wardrobe from shifting during transit, place extra padding or blankets inside the wardrobe. This will help cushion the items and minimize any potential damage.
Remember to label the wrapped wardrobe with its destination and indicate “fragile” or “handle with care” to ensure it receives proper attention during the moving and unpacking process.
By taking the time to wrap and protect your wardrobe, you can rest assured that it will arrive at your new home in the same condition it left, keeping your furniture looking as good as new.
Step 4: Preparing the Moving Equipment
Before you can begin moving the wardrobe, it’s important to ensure that you have the necessary moving equipment on hand. Here’s what you’ll need:
1. Moving Dolly or Hand Truck: A moving dolly or hand truck is a valuable tool for transporting heavy and bulky items, such as your disassembled wardrobe. Choose a dolly or hand truck with a weight capacity that can support the weight of your wardrobe.
2. Furniture Straps or Tie-Downs: Secure your wrapped and protected wardrobe to the moving dolly or hand truck using furniture straps or tie-downs. These straps will keep the wardrobe in place and prevent it from shifting or falling during the move.
3. Moving Blankets or Pads: Along with the blankets used to wrap the wardrobe, have extra moving blankets or pads available to provide cushioning and protection for the wardrobe during the moving process.
4. Furniture Sliders: Furniture sliders are useful when moving the wardrobe across different surfaces, such as hardwood floors or carpets. They reduce friction and make it easier to slide the wardrobe smoothly without damaging the flooring.
5. Safety Gloves and Heavy-Duty Tape: To ensure your safety and the integrity of the furniture, wear safety gloves when handling the wardrobe. Also, have heavy-duty tape readily available to secure any loose parts or to reinforce the moving blankets if needed.
Check that all the moving equipment is in good condition and functioning properly before you start the actual move. Properly set up and secure the straps and tie-downs to ensure the wardrobe is tightly held in place.
Having the right moving equipment not only makes the process more efficient but also minimizes the risk of accidents and damage to your wardrobe and surroundings.
Now that you have all the necessary equipment ready, you’re one step closer to safely moving your wardrobe to its new location!
When moving a wardrobe, make sure to empty it completely before attempting to move it. This will make it lighter and easier to handle, reducing the risk of damage to the wardrobe or injury to yourself.
Read more: How To Update Wardrobe
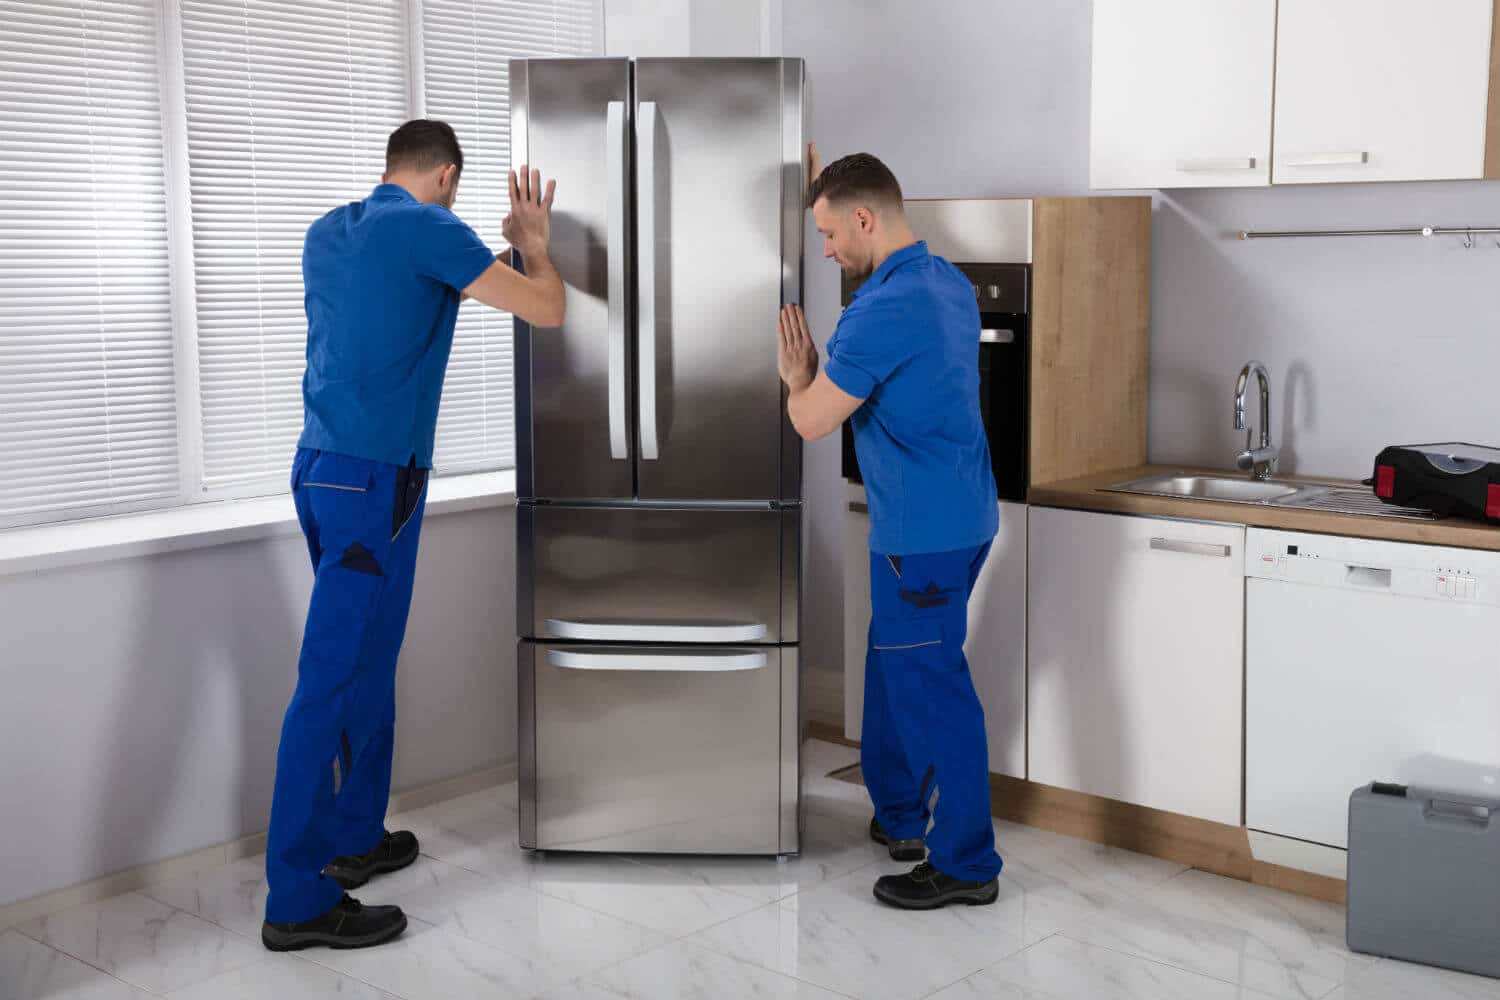
Step 5: Moving the Wardrobe
Now that you have prepared the wardrobe and the moving equipment, it’s time to start moving it to its new location. Follow these steps for a successful and smooth transfer:
1. Clear Pathways: Before you begin moving the wardrobe, ensure that all pathways are clear of obstacles. Remove any furniture, rugs, or other items that may obstruct your way and create a safe and unobstructed path.
2. Use Proper Lifting Techniques: When lifting and moving the wardrobe, be sure to use proper lifting techniques to prevent injuries. Bend at your knees, keep your back straight, and lift the wardrobe with your legs rather than your back.
3. Secure the Wardrobe to the Moving Dolly: If using a moving dolly or hand truck, position it next to the wardrobe and carefully secure the wardrobe to the dolly using the furniture straps or tie-downs. Double-check that the wardrobe is stable and firmly attached to the dolly.
4. Slow and Steady Movement: Start moving the wardrobe slowly and steadily. Ensure that the furniture remains balanced on the dolly and that you have a clear view of the pathway. Avoid any sudden movements or jerks that could cause the wardrobe to shift and potentially fall.
5. Utilize Furniture Sliders: If necessary, use furniture sliders to move the wardrobe smoothly across different surfaces, such as from hardwood floors to carpeted areas or vice versa. This will help minimize friction and make the process easier.
6. Teamwork and Communication: If the wardrobe is particularly heavy or large, it’s advisable to have a second person assist you in moving it. Clear and effective communication is key to ensure coordination and prevent accidents.
7. Watch Out for Stairs and Narrow Passages: If you have to navigate stairs or narrow passageways, take extra precautions. Move slowly and carefully, ensuring that you have a clear path and that the wardrobe is securely balanced and supported.
8. Take Breaks if Needed: Moving a wardrobe can be physically demanding. If you feel tired or strain during the process, take short breaks to rest and recharge. Properly hydrate yourself to stay energized throughout the move.
By following these steps, you can safely and efficiently move your wardrobe from one location to another without any major difficulties. The key is to stay focused, use proper lifting techniques, and maintain open communication with your moving partner.
Now let’s move on to the next step: reassembling the wardrobe in its new location.
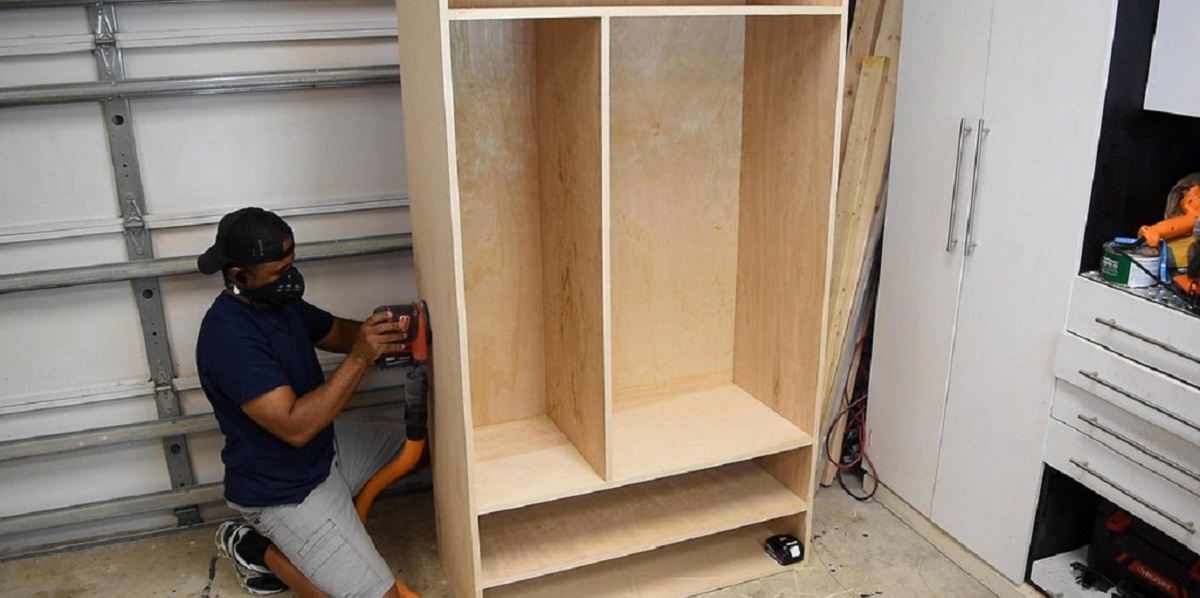
Step 6: Reassembling the Wardrobe
Once you have successfully moved the wardrobe to its new location, it’s time to reassemble it. Follow these steps to ensure a smooth and hassle-free reassembly process:
1. Organize the Disassembled Parts: Gather all the disassembled parts of the wardrobe and make sure they are easily accessible. Arrange them in the order you will need them for reassembly.
2. Refer to the Assembly Instructions: If you have the assembly instructions for the wardrobe, refer to them to guide you through the reassembly process. If not, you can search online for the specific model’s assembly instructions or use any notes or pictures you took during the disassembly process as a reference.
3. Start with the Main Frame: Begin by reassembling the main frame of the wardrobe. Connect the top and bottom sections to the sides, ensuring that all the screw holes align properly. Use a screwdriver or any necessary tools to secure the components together.
4. Reattach Shelves and Drawers: Once the main frame is assembled, reattach the shelves and drawers to their designated positions. Refer to your notes or pictures from the disassembly process to ensure proper placement.
5. Install Hanging Rods and Doors: If your wardrobe has hanging rods, install them securely in the appropriate slots or brackets inside the wardrobe. Then, reattach the doors using the hinges and screws or bolts. Take your time to align them properly and ensure they open and close smoothly.
6. Check for Stability: Once the wardrobe is reassembled, give it a gentle shake to check for stability. Make any necessary adjustments to screws or fittings to ensure everything is securely in place.
7. Clean and Touch Up: Before organizing your clothes and belongings in the wardrobe, take a moment to clean any fingerprints, dust, or smudges that may have accumulated during the reassembly process. If needed, touch up any scratches or marks with wood polish or touch-up paint.
By following these steps, you can confidently reassemble your wardrobe, ensuring that it is sturdy, functional, and ready to be utilized in your new home.
Now that you have successfully reassembled the wardrobe, it’s time to move on to the final step: organizing your clothes and belongings in its new location.
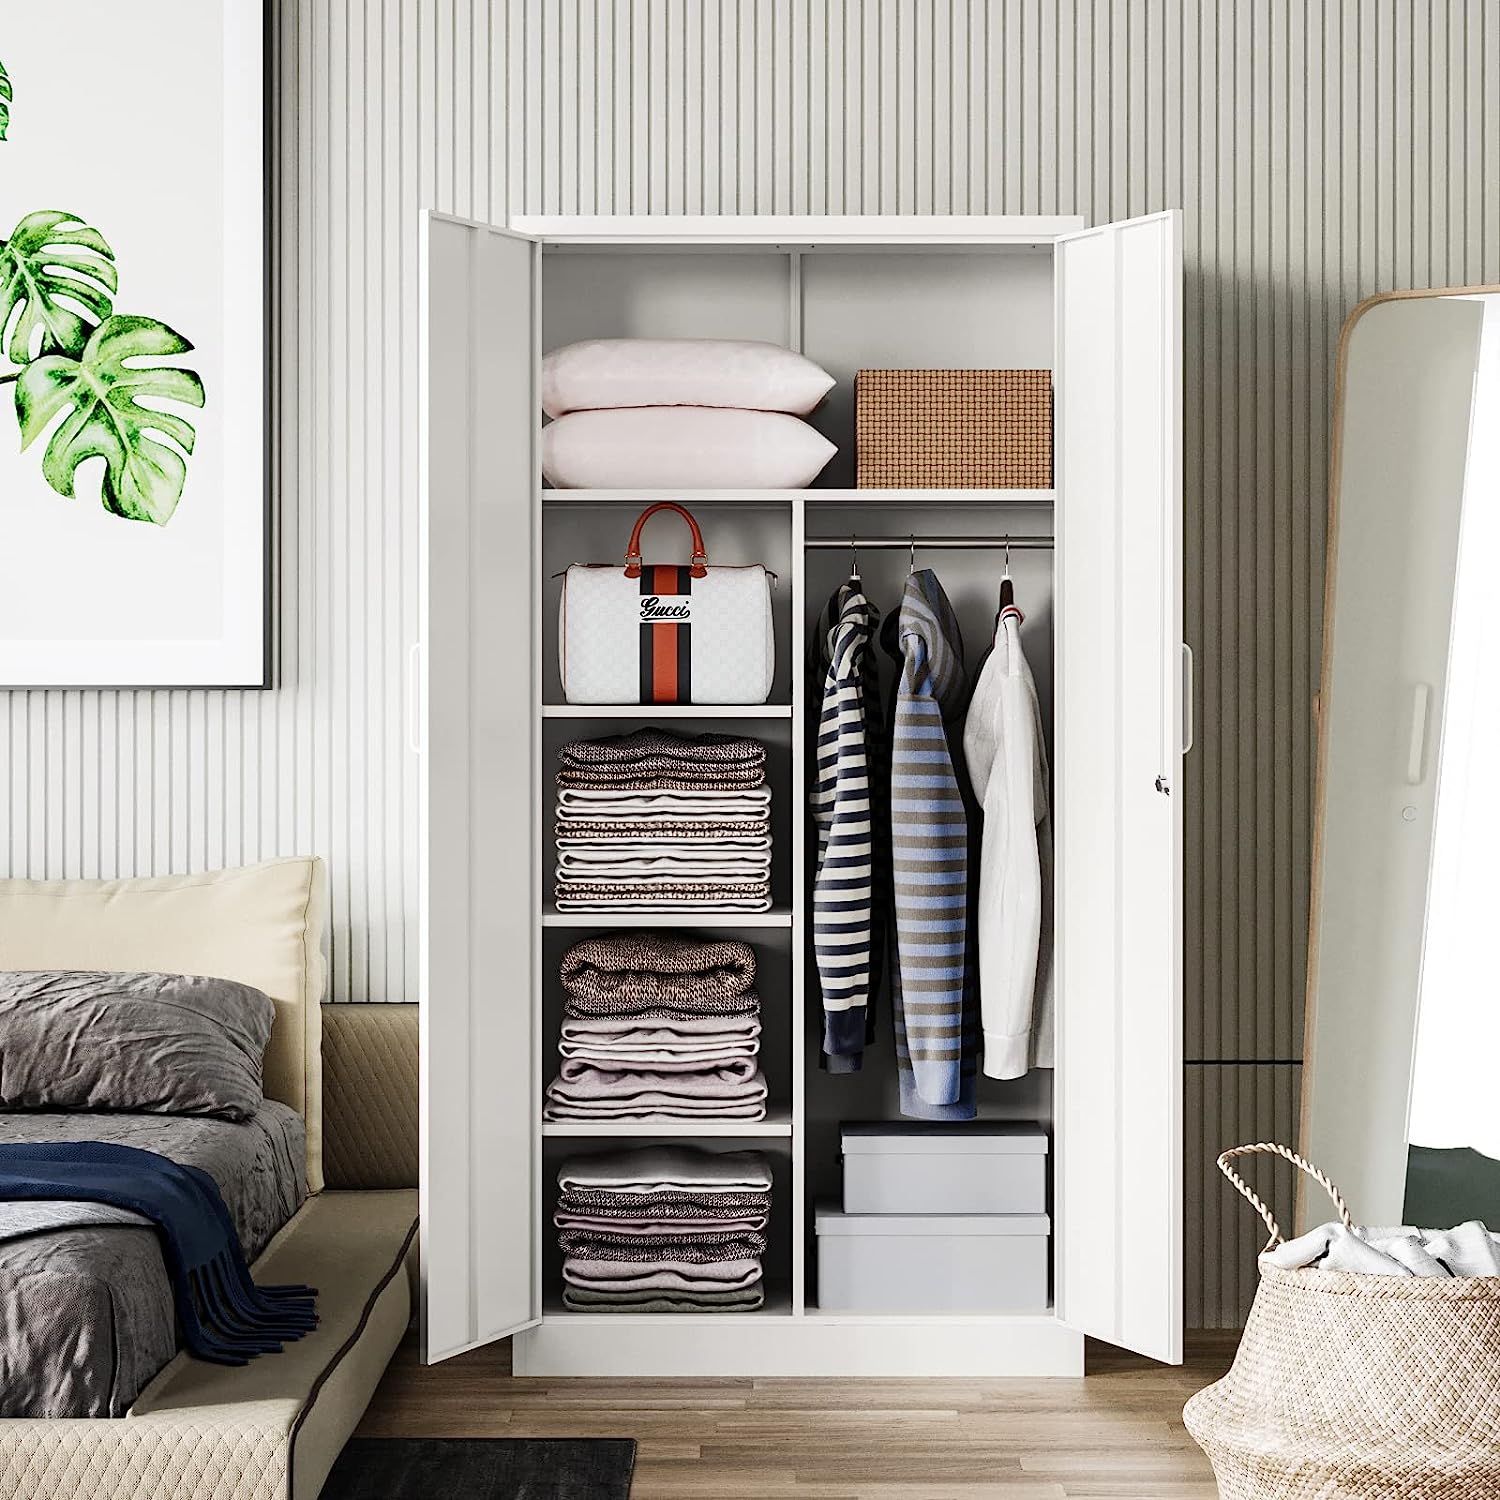
Step 7: Organizing the Wardrobe in the New Location
Now that your wardrobe is reassembled and ready, it’s time to organize your clothes and belongings in its new location. Here are some tips to ensure an efficient and well-organized wardrobe:
1. Plan Ahead: Before you start putting items back into the wardrobe, take a moment to plan and visualize how you want to organize everything. Consider the best way to utilize the available space and create a functional layout.
2. Sort and Categorize: Sort your clothes and belongings into categories, such as shirts, pants, dresses, and accessories. This will make it easier to find what you need and maintain an organized wardrobe in the long run.
3. Utilize Storage Solutions: Make use of storage solutions such as dividers, bins, or baskets to keep smaller items neatly organized. Drawer organizers and hanging organizers can also help maximize the use of space.
4. Prioritize Frequently Used Items: Place frequently used items within easy reach, such as on the top shelves or in the front rows of drawers. This will save you time and effort when getting dressed or accessing everyday essentials.
5. Fold and Hang Clothing Properly: Fold garments neatly to maximize space and avoid unnecessary wrinkles. Hang delicate or easily wrinkled clothes on hangers to maintain their shape and preserve their quality.
6. Consider Seasonal Rotation: If you have limited wardrobe space, consider storing out-of-season clothing in vacuum-sealed bags or under-bed storage containers. This will free up space for the clothes appropriate for the current season.
7. Label or Color-Code: Consider labeling shelves or using color-coded hangers to further organize your wardrobe. This will make finding specific items easier and help maintain order within the wardrobe.
8. Regularly Declutter and Reorganize: As you settle into your new home, make it a habit to regularly declutter and reorganize your wardrobe. Remove any items you no longer use or need to keep your wardrobe clutter-free.
By following these tips, you can create an organized and functional wardrobe that makes getting dressed and finding items a breeze. Take the time to create a system that works for you and maintain it on a regular basis for long-term organization.
Congratulations! You have successfully organized your wardrobe in its new location and completed the entire wardrobe moving process. Take a moment to appreciate your hard work and enjoy the satisfaction of a well-organized and functional wardrobe.
Conclusion
Moving a wardrobe to a new location may seem like a daunting task, but with proper planning, organization, and the right tools, it can be a smooth and successful process. By following the steps outlined in this guide, you can ensure that your wardrobe remains protected, stays intact, and arrives at its destination ready to be reassembled and utilized.
From emptying the wardrobe and disassembling it to wrapping and protecting it during transportation, each step plays a crucial role in ensuring the safety and integrity of your wardrobe. Properly preparing the moving equipment and employing proper lifting techniques are also important to prevent injuries and accidents.
Reassembling the wardrobe in its new location allows you to create a fresh and organized space for your clothes and belongings. By carefully organizing your wardrobe, categorizing items, and utilizing storage solutions, you can make the most of the available space and maintain an efficient and tidy wardrobe.
Remember, the moving process is not just about physically relocating furniture. It’s also an opportunity to declutter, reevaluate your belongings, and start fresh in your new home. Take the time to assess your wardrobe and get rid of any items you no longer need or want. This will not only lighten your load but also make it easier to organize and maintain your wardrobe going forward.
Throughout the entire process, keep in mind the importance of safety, clear communication, and taking breaks when needed. Moving a wardrobe can be physically demanding, so listen to your body and pace yourself accordingly.
With these tips and guidelines, you can successfully move your wardrobe to its new location, ensuring its safety, preserving its condition, and creating an organized space for your clothes and belongings. Congratulations on completing this task! Now, take a moment to appreciate your hard work and enjoy the satisfaction of a well-organized and functional wardrobe in your new home.
Frequently Asked Questions about How To Move A Wardrobe
Was this page helpful?
At Storables.com, we guarantee accurate and reliable information. Our content, validated by Expert Board Contributors, is crafted following stringent Editorial Policies. We're committed to providing you with well-researched, expert-backed insights for all your informational needs.


0 thoughts on “How To Move A Wardrobe”