Home>Gardening & Outdoor>Landscaping Ideas>How To Make Fondant Grass
Landscaping Ideas
How To Make Fondant Grass
Modified: August 17, 2024
Learn how to make realistic fondant grass for your cake decorating with our easy landscaping ideas. Create stunning edible landscapes today!
(Many of the links in this article redirect to a specific reviewed product. Your purchase of these products through affiliate links helps to generate commission for Storables.com, at no extra cost. Learn more)
Introduction
Welcome to the wonderful world of fondant grass! Adding a touch of nature to your cake or pastry creations can elevate them to a whole new level. Fondant grass is a versatile and visually stunning decoration that can be used to enhance a wide range of baked goods, from birthday cakes to cupcakes. Whether you are a professional baker or a passionate home cook, learning how to make fondant grass can open up a world of creative possibilities for your confectionery designs.
In this guide, we will walk you through the step-by-step process of creating lifelike fondant grass to adorn your sweet treats. With a few simple materials and a bit of creativity, you can bring a touch of the outdoors into your kitchen and delight your friends, family, or customers with your beautifully crafted edible grass. So, let’s roll up our sleeves and get ready to dive into the art of making fondant grass!
Key Takeaways:
- Creating fondant grass is a fun and easy way to add natural beauty to your baked creations. With just a few materials and a touch of creativity, you can bring the outdoors into your kitchen and delight everyone with your edible grassy designs!
- Once you’ve mastered the art of making fondant grass, you can elevate your cakes, cupcakes, and cookies to new levels of artistry. Add finishing touches like edible butterflies and shimmer dust to bring your edible masterpieces to life!
Read more: Directions On How To Make Fondant Tool Belt
Materials Needed
Before we embark on our fondant grass-making adventure, let’s gather the essential materials that will help us bring our edible grass to life. Here’s what you’ll need:
- Fondant: Choose a vibrant green fondant to emulate the lush, natural hue of grass. You can find pre-colored fondant at baking supply stores, or you can tint white fondant with food coloring to achieve your desired shade of green.
- Cornstarch or powdered sugar: This will be used for dusting your work surface and preventing the fondant from sticking.
- Rolling pin: Select a smooth rolling pin to evenly flatten the fondant without leaving marks.
- Grass piping tip: This specialized piping tip will help you create thin, uniform strands of grass with ease.
- Parchment paper or a silicone mat: You’ll use this to roll out the fondant and cut the grass strands without them sticking to your work surface.
- Sharp knife or pizza cutter: You’ll need a precise cutting tool to create the individual grass blades.
- Cake or pastry to decorate: Once your fondant grass is ready, you can adorn your baked creations with this delightful edible embellishment.
With these materials at your disposal, you’re all set to dive into the delightful process of crafting fondant grass. Now that we have our supplies lined up, let’s move on to the first step: coloring the fondant.
Step 1: Coloring the Fondant
Before we can begin shaping our fondant into lifelike grass, we need to ensure that it boasts the perfect shade of green. If you’ve purchased pre-colored fondant that matches your vision for the grass, you can skip this step. However, if you’re starting with white fondant, it’s time to bring it to life with a vibrant green hue.
Start by kneading the white fondant until it becomes soft and pliable. This will make it easier to incorporate the food coloring evenly. Next, add a small amount of green food coloring to the fondant. Remember, it’s always better to start with a conservative amount of coloring and gradually add more as needed to achieve the desired shade.
Knead the fondant thoroughly, ensuring that the color is evenly distributed. If the fondant becomes too sticky during this process, you can dust your hands with a bit of cornstarch to prevent it from adhering. Continue to knead and add food coloring until you achieve the perfect grassy green color that reflects the vibrancy of real grass.
Once your fondant reaches the ideal hue, you’re ready to move on to the next step: rolling out the fondant to prepare it for shaping into individual grass strands.
Now that our fondant is beautifully tinted, we’re ready to roll it out and bring our fondant grass to life. Let’s move on to the next step: rolling out the fondant.
Step 2: Rolling Out the Fondant
With our fondant now sporting a delightful green hue, it’s time to roll it out and prepare it for transformation into lifelike grass. Before we begin, lightly dust your work surface with cornstarch or powdered sugar to prevent the fondant from sticking.
Place the colored fondant on the prepared surface and use a smooth rolling pin to gently flatten it to a uniform thickness. Aim for a thickness of around ⅛ to ¼ inch, ensuring that the fondant is neither too thin nor too thick. This step is crucial as it sets the foundation for the texture and appearance of the grass strands.
Once the fondant is evenly rolled out, it’s time to move on to the exciting process of shaping it into individual grass blades. This will require precision and a steady hand to achieve a natural and realistic look. Let’s proceed to the next step: cutting the fondant.
Now that our fondant is flawlessly rolled out, we’re ready to bring our grass to life by shaping it into individual blades. Let’s move on to the next step: cutting the fondant.
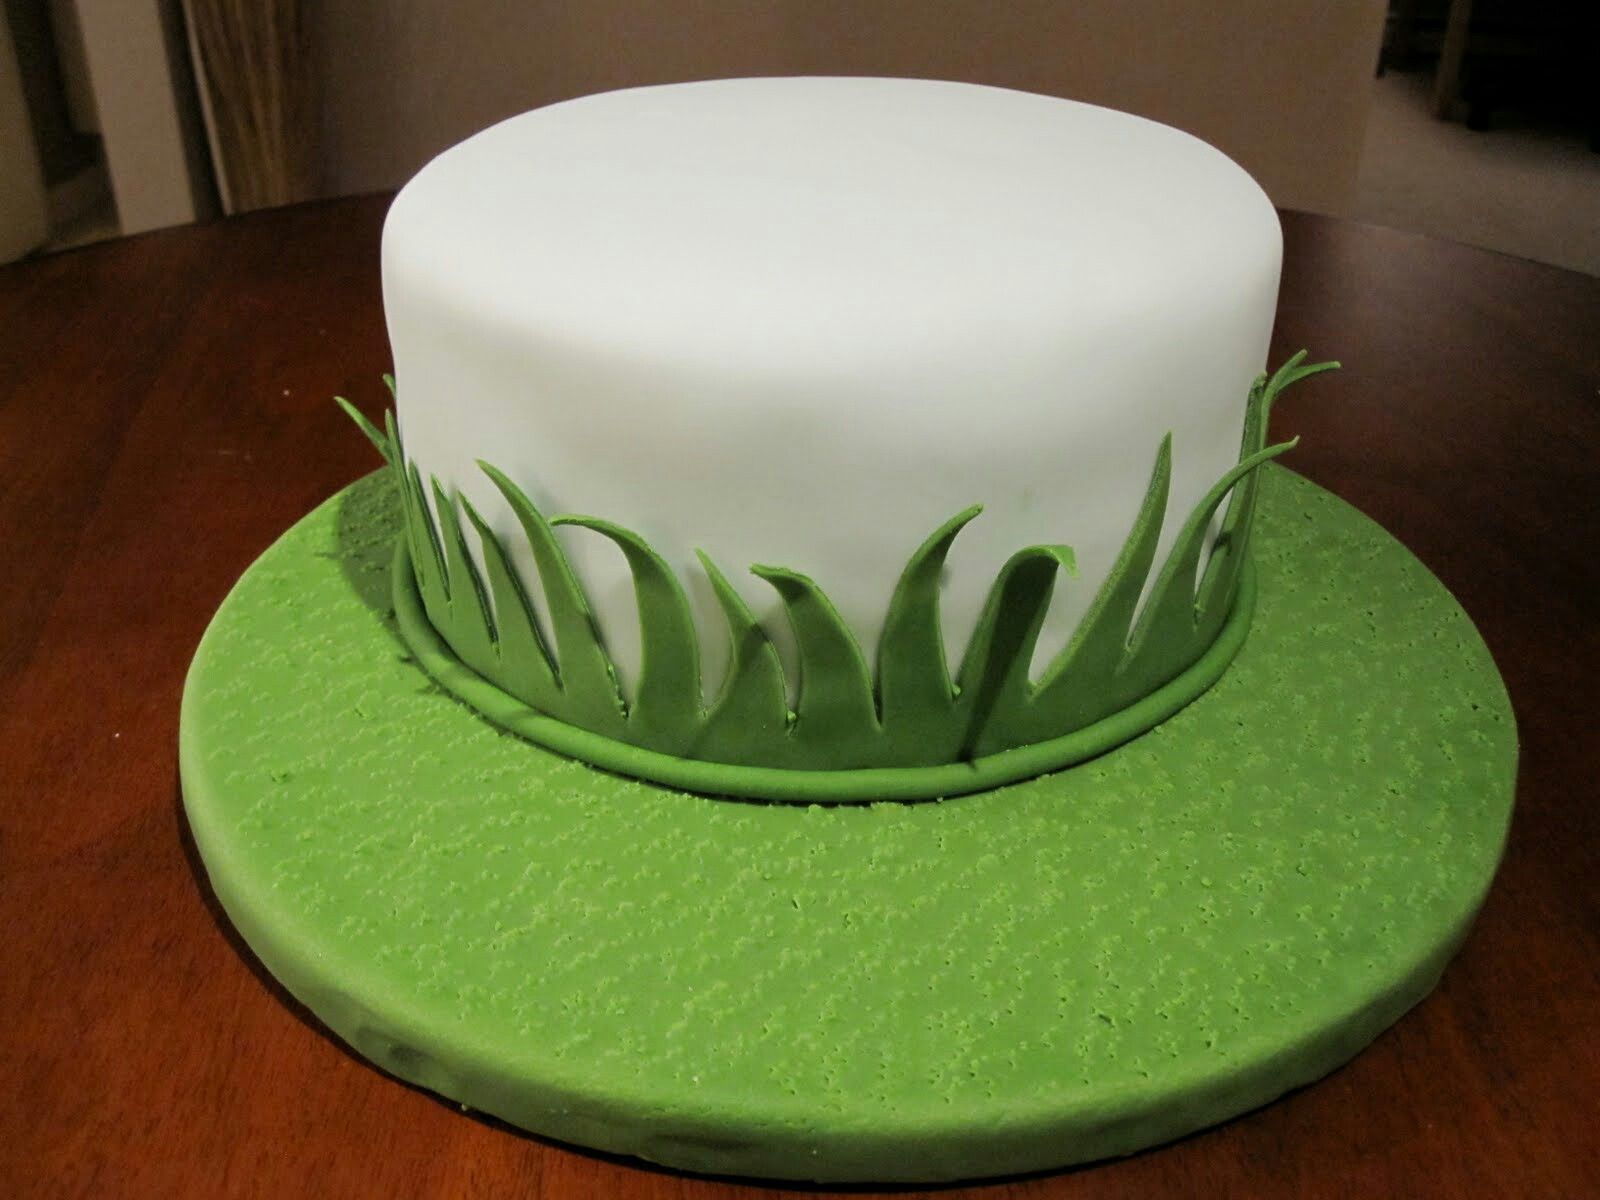
To make fondant grass, use a grass piping tip to create strands of grass on a flat surface. Start from the base and pull up to create varying lengths. Use different shades of green for a realistic look.
Step 3: Cutting the Fondant
With our fondant expertly rolled out, we’re ready to transform it into a lush bed of lifelike grass. To achieve this, we’ll use a sharp knife or a pizza cutter to cut the fondant into individual grass blades. The key here is to create thin, uniform strands that closely resemble the appearance of real grass.
Begin by carefully slicing the rolled-out fondant into long, narrow strips. These strips will serve as the basis for our grass blades. Ensure that the strips are of a consistent width to maintain a natural and cohesive look once the grass is assembled.
Once you have your strips in place, it’s time to create the individual grass blades. Using a sharp knife or a pizza cutter, make small, vertical incisions along the length of each strip. These incisions should be close together and extend almost to the top of the strip, creating the illusion of multiple grass blades sprouting from a single stem.
As you make these incisions, take care to vary the length and angle of the cuts slightly to mimic the organic and irregular appearance of natural grass. This attention to detail will contribute to the overall realism of your fondant grass.
With the cutting process complete, you should now have a delightful collection of fondant grass blades ready to adorn your confectionery creations. The next step will see us applying the grass to our cakes or pastries, bringing them to life with a touch of natural beauty. Let’s move on to the next step: applying the grass.
Now that our fondant has been expertly transformed into individual grass blades, we’re ready to bring them to life by adorning our cakes or pastries. Let’s move on to the next step: applying the grass.
Read more: How To Store Fondant
Step 4: Applying the Grass
With our fondant grass blades beautifully crafted, it’s time to bring them to life by adorning our cakes or pastries with their natural charm. Before we begin, ensure that your baked creation is ready to receive its delightful grassy embellishment. Whether it’s a cake, cupcakes, or cookies, the surface should be prepared and awaiting the touch of nature that the fondant grass will provide.
To apply the grass, you can use a small amount of edible glue or water as an adhesive. Lightly brush the surface of your cake or pastry with the edible glue or water, focusing on the areas where you intend to place the fondant grass. This will provide a secure attachment for the grass blades and ensure that they stay in place once applied.
Now, it’s time to let your creativity flourish as you arrange the fondant grass on your baked creation. Consider the natural flow and movement of grass, and arrange the blades in a way that mimics the organic appearance of a lush meadow. You can create patches of grass, scatter individual blades, or even fashion small tufts to add depth and dimension to your design.
As you position the grass, take care to vary the lengths and angles of the blades, creating a dynamic and naturalistic effect. This will add visual interest and a sense of movement to your confectionery masterpiece, elevating it to a new level of artistry.
Once the grass is in place, gently press down on the blades to ensure they adhere to the surface. Take a step back and admire the transformation as your baked creation comes to life with the vibrant, lifelike touch of fondant grass. With the grass applied, we’ll move on to the final step: adding the finishing touches.
Now that our fondant grass has breathed new life into our confectionery creation, it’s time to add the finishing touches. Let’s move on to the last step: finishing touches.
Step 5: Finishing Touches
With the fondant grass adorning your confectionery creation, it’s time to add the final touches that will elevate its visual appeal and bring the entire design together. Whether you’re working on a cake, cupcakes, or cookies, these finishing touches will enhance the overall presentation and ensure that your edible masterpiece captivates all who behold it.
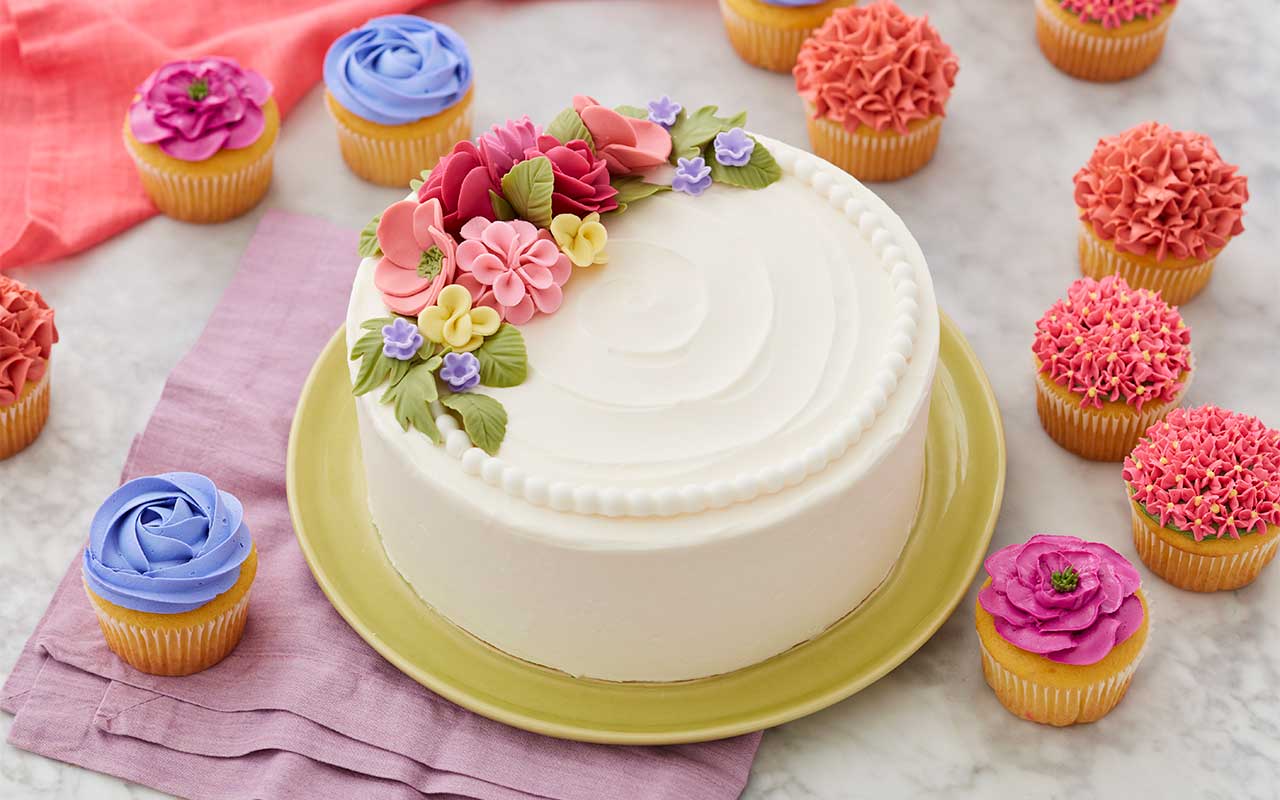
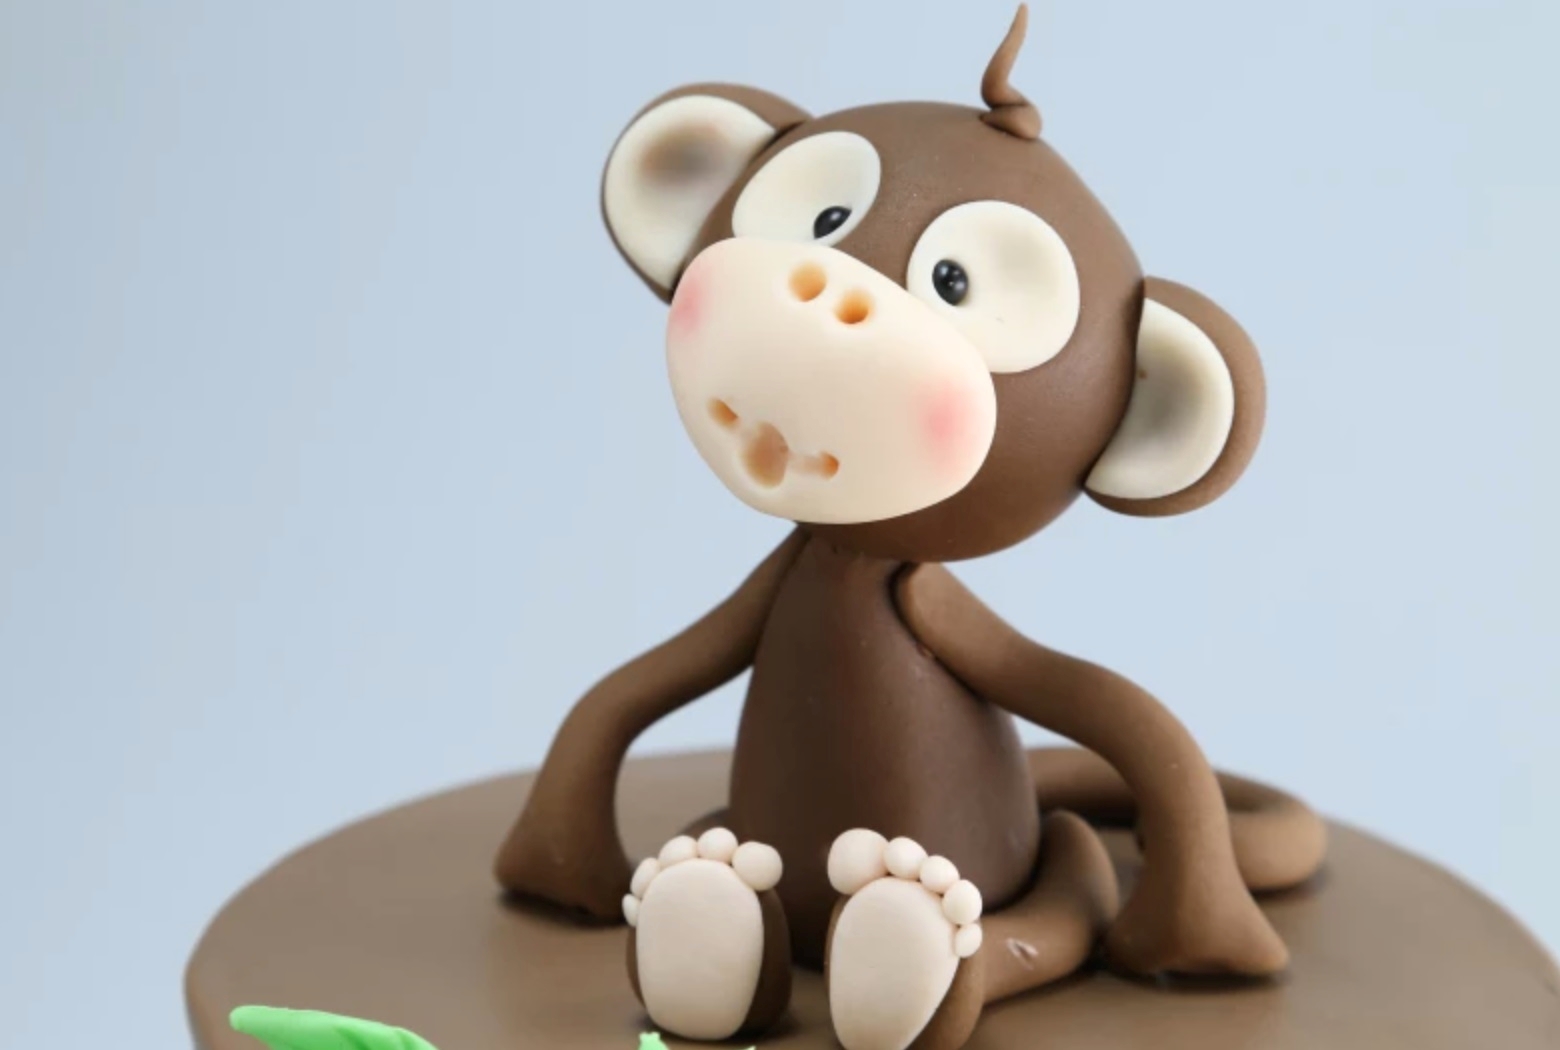
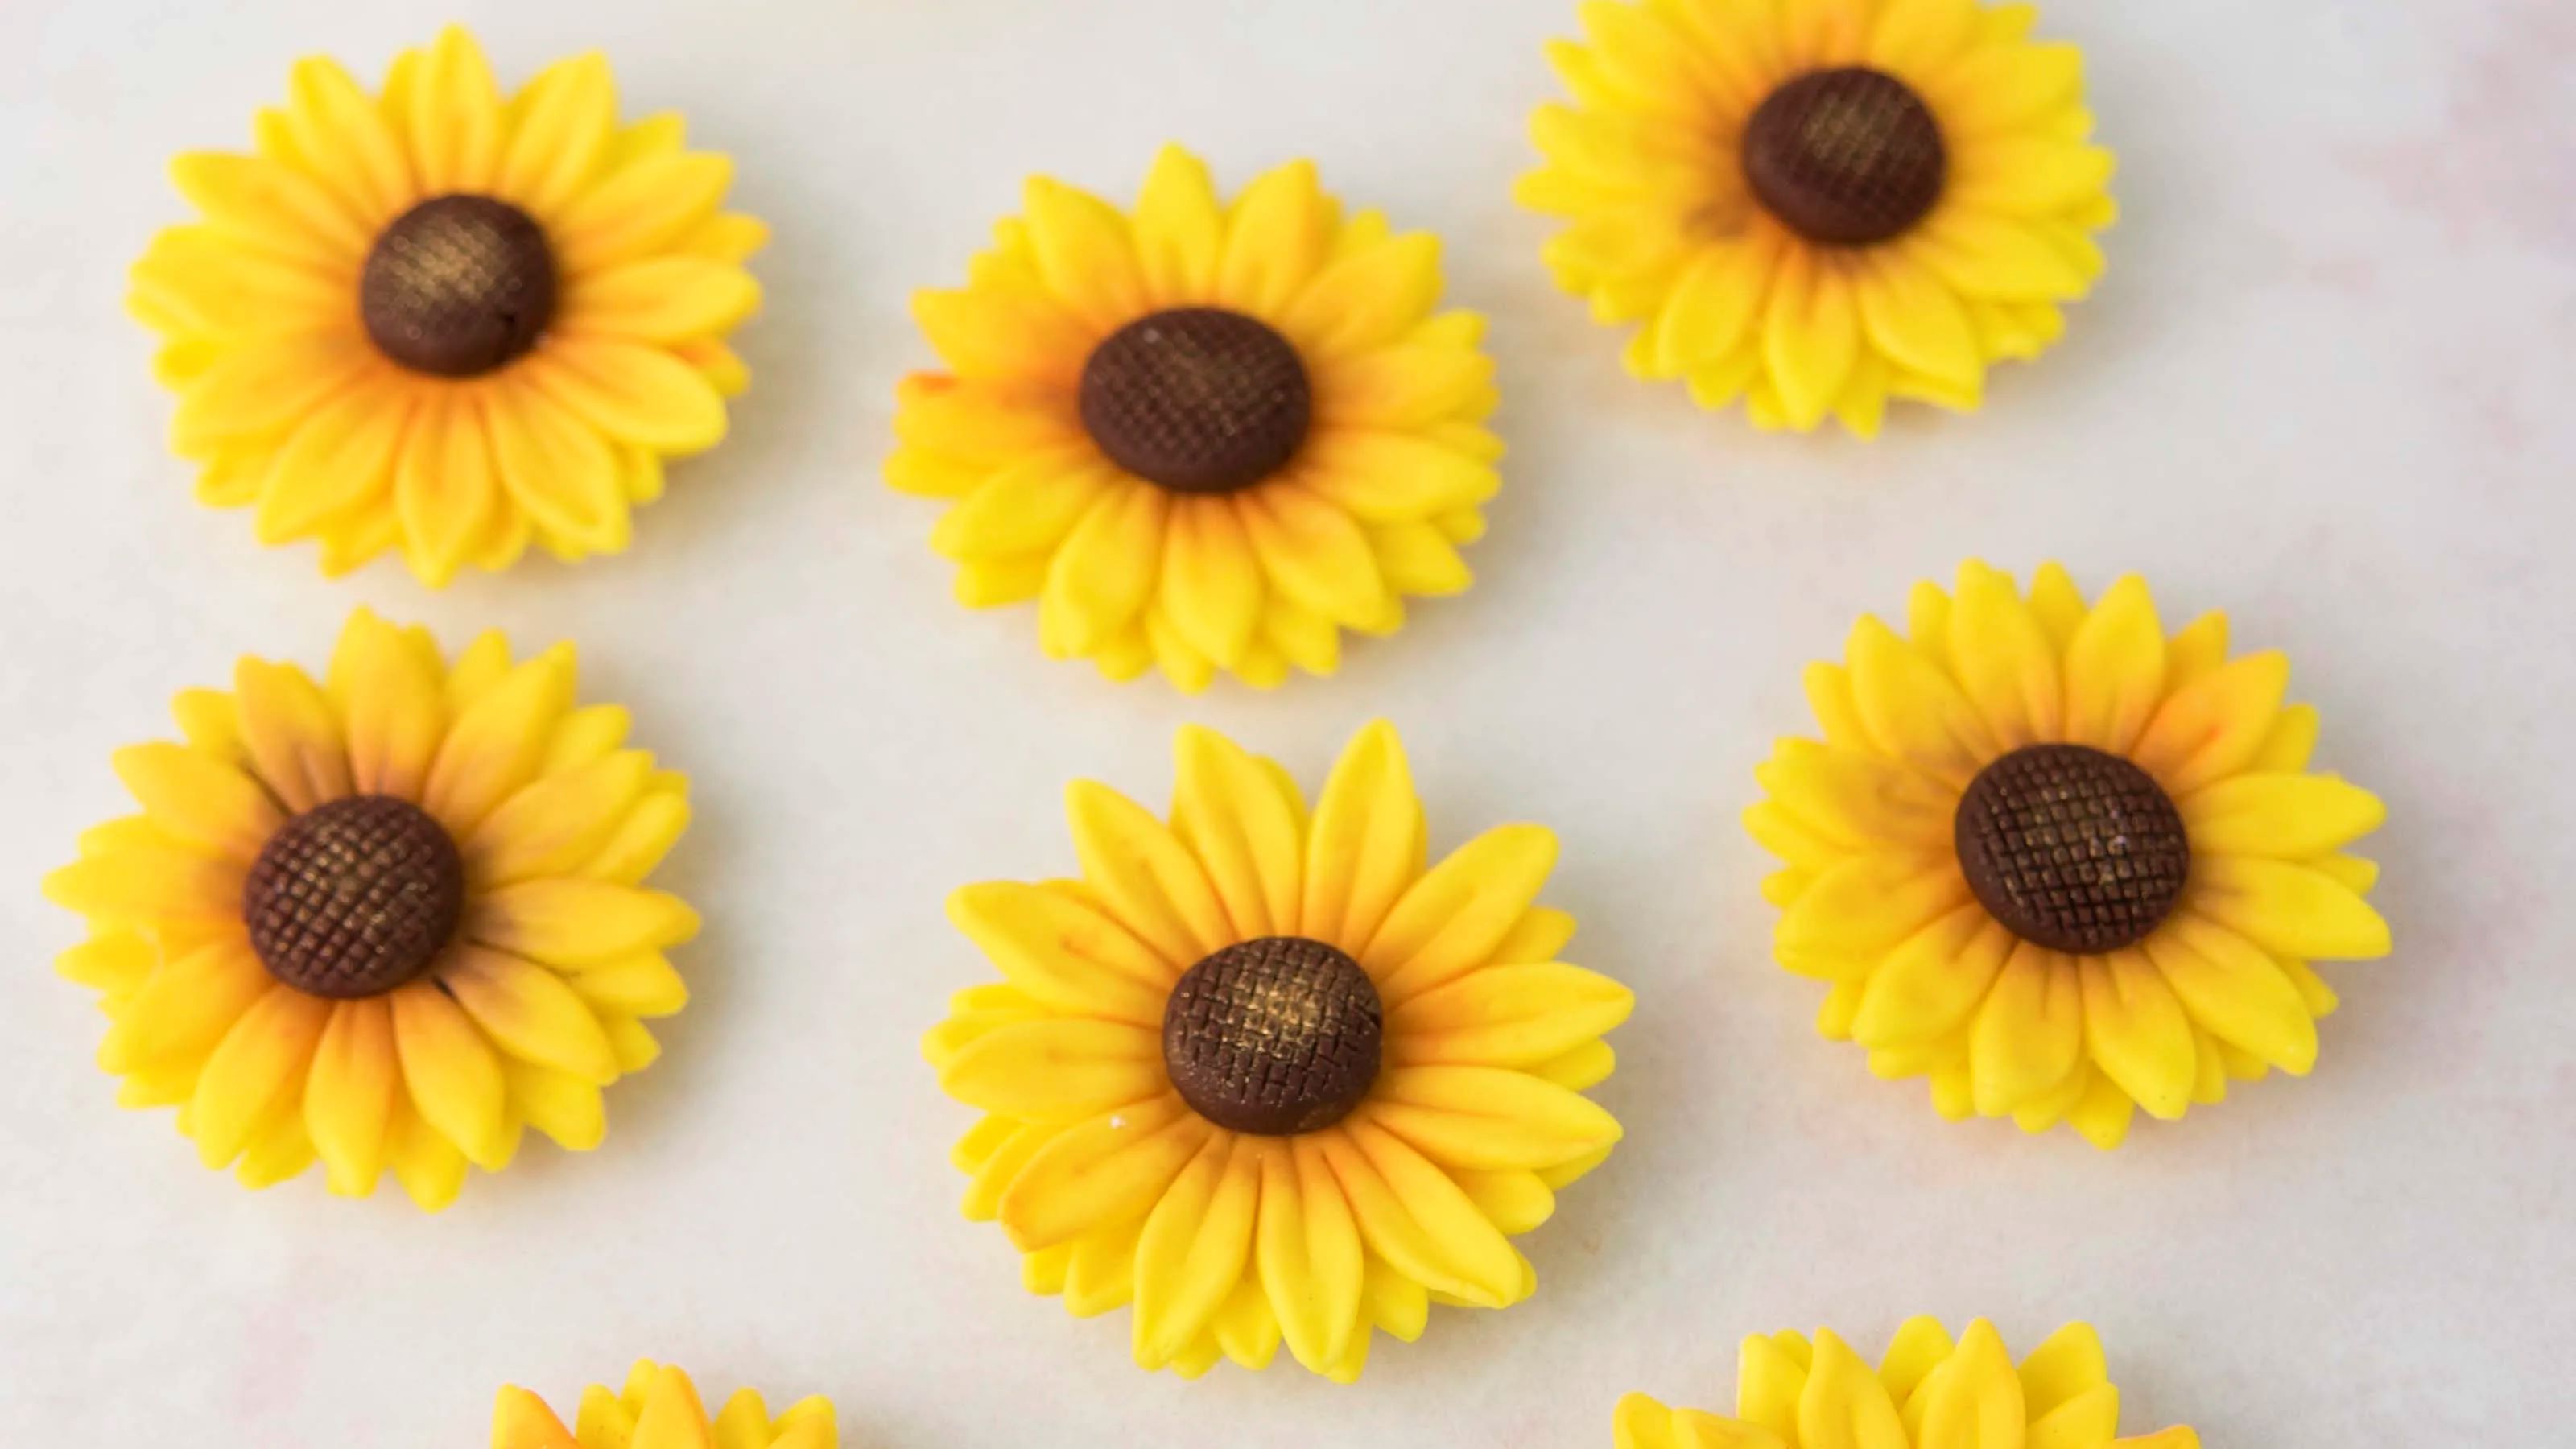
Consider incorporating complementary elements to enhance the natural theme of the grass. This could include fondant flowers, edible butterflies, or tiny fondant ladybugs nestled amidst the grass blades. These additional details will infuse your creation with a sense of whimsy and enchantment, transforming it into a delightful edible work of art.
Furthermore, you can enhance the realism of your fondant grass by adding subtle details such as edible shimmer dust to simulate the dew-kissed appearance of fresh grass. Lightly dusting the tips of the grass blades with shimmer will impart a glistening, lifelike quality, adding depth and dimension to your design.
As a final flourish, consider incorporating fondant or edible printed toppers that complement the natural aesthetic of the grass. These could feature woodland creatures, delicate foliage, or charming garden scenes, tying the entire composition together in a harmonious and visually captivating manner.
Once you’ve added these finishing touches, step back and admire the artistry and creativity that have gone into bringing your confectionery creation to life. The fondant grass, along with these carefully considered embellishments, has transformed your baked goods into a stunning display of edible beauty.
With the finishing touches in place, your confectionery creation is now a testament to your skill and artistry as a baker. The fondant grass, with its lifelike appearance and natural charm, has imparted a touch of whimsy and elegance to your edible masterpiece, ensuring that it will be remembered and cherished by all who have the pleasure of experiencing it.
With the finishing touches complete, you’ve brought your confectionery creation to its full potential, showcasing the beauty and artistry of fondant grass in all its splendor.
Conclusion
Congratulations on mastering the art of creating fondant grass! Through this step-by-step guide, you’ve learned how to transform simple fondant into a vibrant and lifelike embellishment that can elevate your confectionery creations to new heights. The addition of fondant grass brings a touch of natural beauty and whimsy to cakes, cupcakes, and cookies, captivating the eyes and delighting the senses of all who behold these edible works of art.
As you continue to explore the world of cake decorating and pastry design, remember that fondant grass is just one of many creative possibilities at your fingertips. Experiment with different colors, textures, and arrangements to infuse your baked goods with your unique vision and style. Whether you’re crafting a woodland-themed cake, a garden-inspired dessert spread, or a whimsical fairy tale creation, fondant grass can be a versatile and enchanting addition to your repertoire.
Furthermore, the skills you’ve honed in crafting fondant grass can be applied to a wide range of other fondant decorations, from intricate floral designs to delicate lace patterns. As you continue to expand your expertise in the world of cake decorating, these foundational techniques will serve as the building blocks for your future confectionery masterpieces.
Embrace the creativity and artistry that fondant grass affords, and allow it to inspire you to explore new realms of edible design. Whether you’re a professional baker, a passionate home cook, or an aspiring cake decorator, the addition of fondant grass to your repertoire will undoubtedly enrich your culinary journey and delight those who have the pleasure of savoring your delectable creations.
So, as you embark on your next baking adventure, remember the magic of fondant grass and the transformative power it holds. With a bit of fondant, a touch of creativity, and a sprinkle of imagination, you can bring the beauty of the outdoors into your kitchen and onto your delectable treats, creating moments of joy and wonder for all who indulge in your edible works of art.
Here’s to the enchanting world of fondant grass and the endless possibilities it brings to your confectionery creations. Happy decorating!
Frequently Asked Questions about How To Make Fondant Grass
Was this page helpful?
At Storables.com, we guarantee accurate and reliable information. Our content, validated by Expert Board Contributors, is crafted following stringent Editorial Policies. We're committed to providing you with well-researched, expert-backed insights for all your informational needs.


0 thoughts on “How To Make Fondant Grass”