Articles
Directions On How To Make Fondant Tool Belt
Modified: January 9, 2024
Learn how to make a fondant tool belt in this comprehensive step-by-step guide. Find articles and tips on creating the perfect cake decorating accessory.
(Many of the links in this article redirect to a specific reviewed product. Your purchase of these products through affiliate links helps to generate commission for Storables.com, at no extra cost. Learn more)
Introduction
Welcome to a fun and creative tutorial on how to make a fondant tool belt! Whether you’re a baking enthusiast or planning a special celebration for a handyman in your life, this edible tool belt will surely impress. Imagine the delight on their face when they see a realistic fondant tool belt nestled atop a delicious cake or cupcakes.
Making a fondant tool belt may seem daunting at first, but with the right materials and step-by-step instructions, it becomes an achievable and enjoyable project. In this tutorial, we will guide you through the process of creating a fondant tool belt, from making the fondant to decorating it with incredible detail.
Before we dive into the creative process, let’s gather the materials we’ll need for this project.
Key Takeaways:
- Impress your friends and family by creating a realistic and visually stunning edible tool belt using fondant. Follow the step-by-step instructions to achieve a professional-looking masterpiece and let your creativity shine.
- From making the fondant to adding intricate details and tools, this tutorial guides you through creating a fantastic fondant tool belt. Have fun, experiment with designs, and savor the joy of decorating!
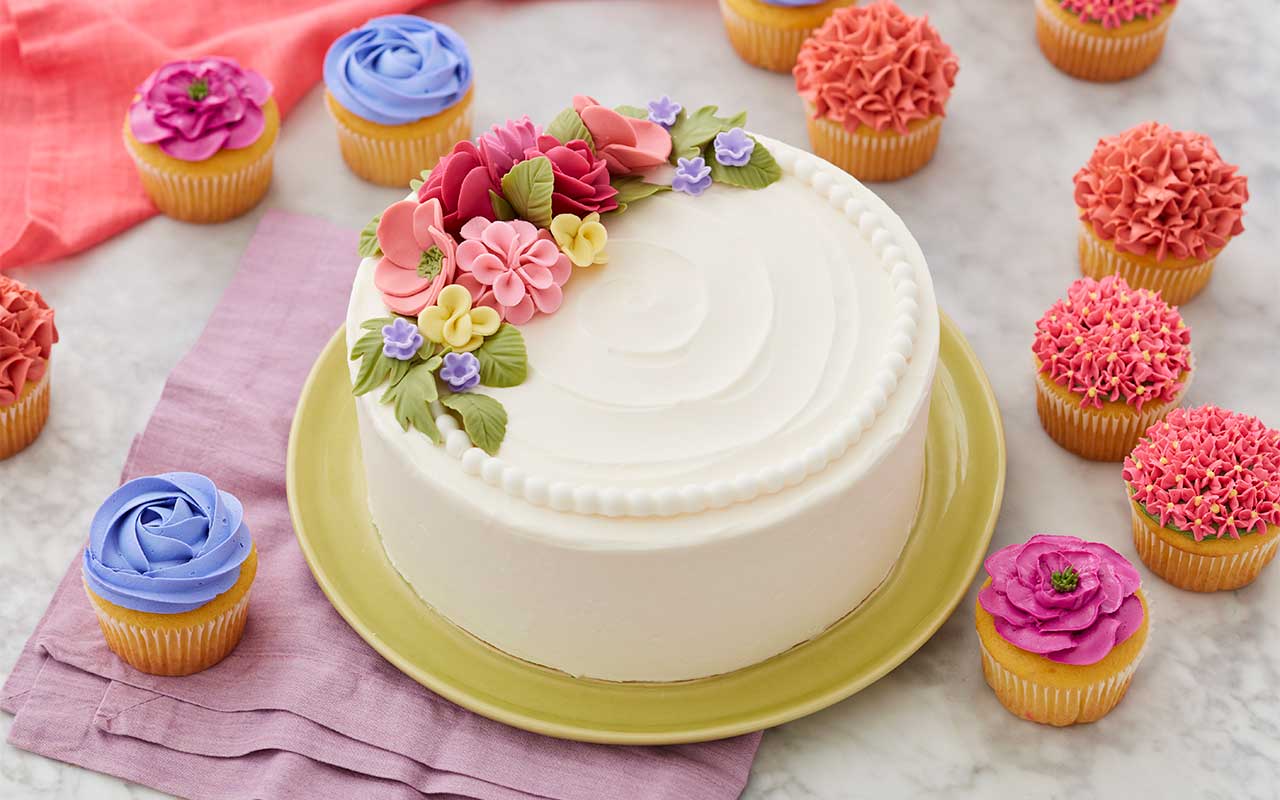
Read more: How To Make Fondant Grass
Materials Needed
Before you get started, make sure you have the following materials on hand:
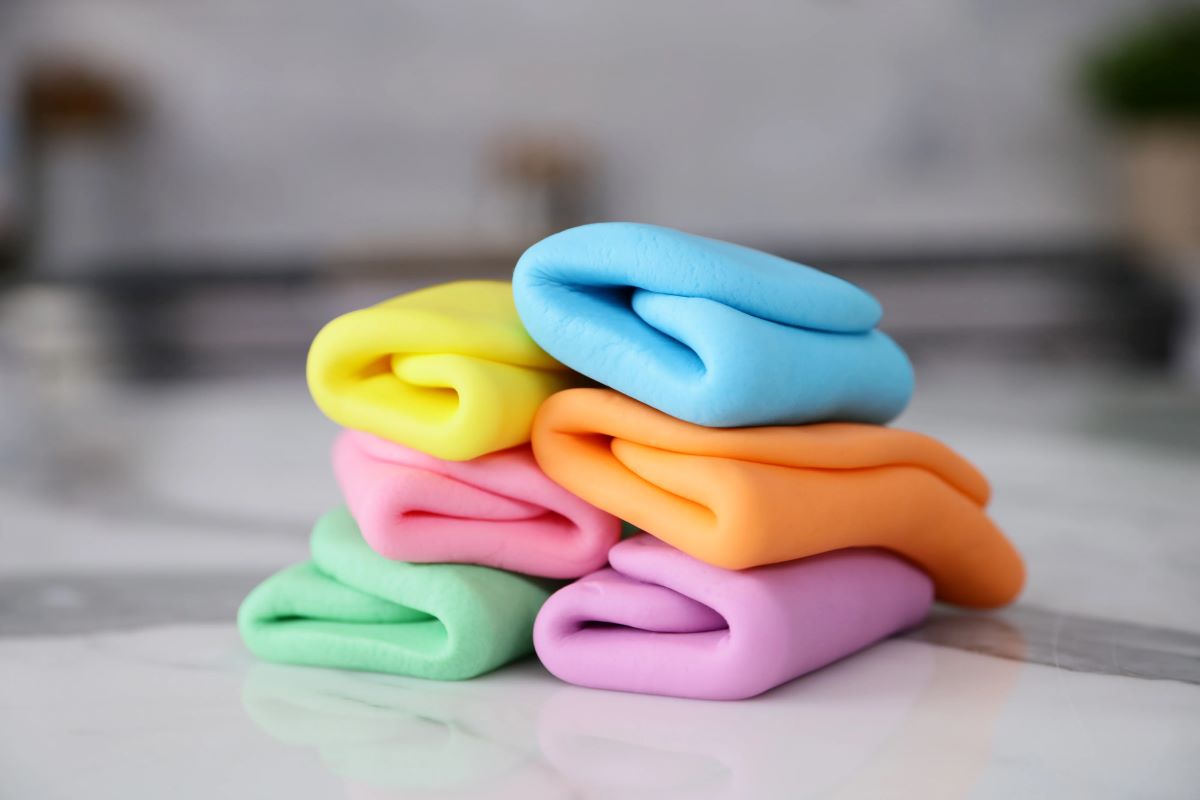
- Fondant (in colors of your choice)
- Fondant rolling pin
- Knife or fondant cutter
- Fondant shaping tools
- Edible glue or water
- Paintbrush
- Gel food coloring
- Parchment paper or non-stick mat
- Small paint palette or dish
- Decorating brushes
- Optional: Edible shimmer powder or luster dust
- Optional: Small fondant extruder tool
- Optional: Edible marker pens for added detailing
Ready to dive in? Let’s move on to the first step: making the fondant.
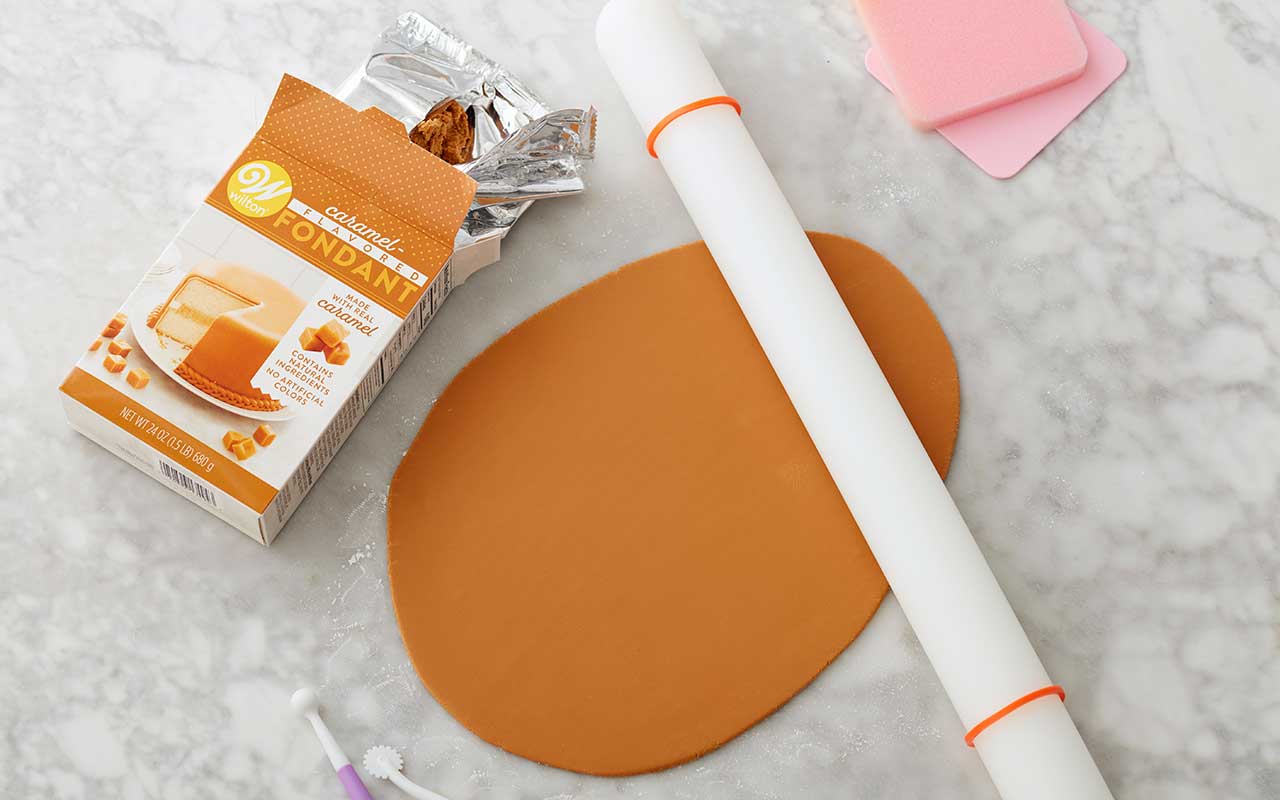
Step 1: Making the Fondant
The first step in creating your fondant tool belt is to make the fondant itself. You can either make your own fondant from scratch or purchase pre-made fondant from a baking supply store. If you choose to make your own, here’s a simple recipe to follow:
- In a large mixing bowl, combine 1 pound (450 grams) of sifted powdered sugar and 1 tablespoon of unflavored gelatin.
- In a separate microwave-safe bowl, combine 2 tablespoons of water and 2 tablespoons of light corn syrup. Microwave the mixture for about 30 seconds or until it becomes hot.
- Pour the hot mixture into the powdered sugar and gelatin mixture and stir until it forms a sticky dough.
- Dust a clean surface with powdered sugar and knead the dough until it becomes smooth and pliable. If the dough is too sticky, add more powdered sugar as needed.
- Wrap the fondant tightly in plastic wrap and let it rest for at least 1 hour before using.
If you’re using pre-made fondant, simply knead it until it becomes soft and pliable. You can also add a small amount of powdered sugar if it’s too sticky.
Once you have your fondant ready, it’s time to move on to shaping the tool belt in the next step.
Step 2: Shaping the Tool Belt
Now that you have your fondant prepared, it’s time to shape it into a tool belt. Follow these steps to create the base of the tool belt:
- Start by rolling out a portion of fondant into a rectangular shape on a clean, powdered sugar-dusted surface. The size of the rectangle will depend on how big you want your tool belt to be.
- Using a clean knife or fondant cutter, trim the edges of the rectangle to achieve straight and even sides.
- To create the belt loops, fold the top edge of the rectangle down and press it lightly to adhere it to the fondant below. Leave enough space in between to accommodate the tools later.
- Smooth out any air bubbles or wrinkles on the surface of the fondant using your fingertips or a fondant smoother.
- Place the shaped fondant on a parchment paper or non-stick mat to dry and harden. This may take a few hours or overnight, depending on the humidity in your environment.
Once the base of the tool belt is dry and firm, it’s time to add the intricate details in the next step.
When making a fondant tool belt, be sure to use a sturdy, non-stick surface for rolling out the fondant and use powdered sugar to prevent sticking. Keep the fondant covered when not in use to prevent it from drying out.
Step 3: Adding Details to the Tool Belt
Now that you have the foundation of your tool belt, it’s time to add some realistic details to make it truly special. Here’s how you can bring your tool belt to life:
- Using a fondant shaping tool or the back of a knife, create stitching lines along the edges of the tool belt. This will add a realistic touch and make it resemble a real leather belt.
- Add texture to the surface of the tool belt by lightly pressing a textured mat or fabric onto the fondant. This will give it a textured and worn appearance.
- Next, create belt buckle details by rolling out a small piece of fondant in a contrasting color. Use a square or rectangular cutter to create the shape of the buckle.
- Attach the buckle to the front of the tool belt using a small amount of edible glue or water.
- Finish off the details by adding loops, rivets, or other embellishments using small pieces of fondant. Get creative and add your own personal touch to make the tool belt unique.
- Set the tool belt aside to dry and harden before moving on to the next step.
Now that the tool belt is taking shape, it’s time to decorate it to make it even more visually appealing. We’ll explore various decorating techniques in the next step.
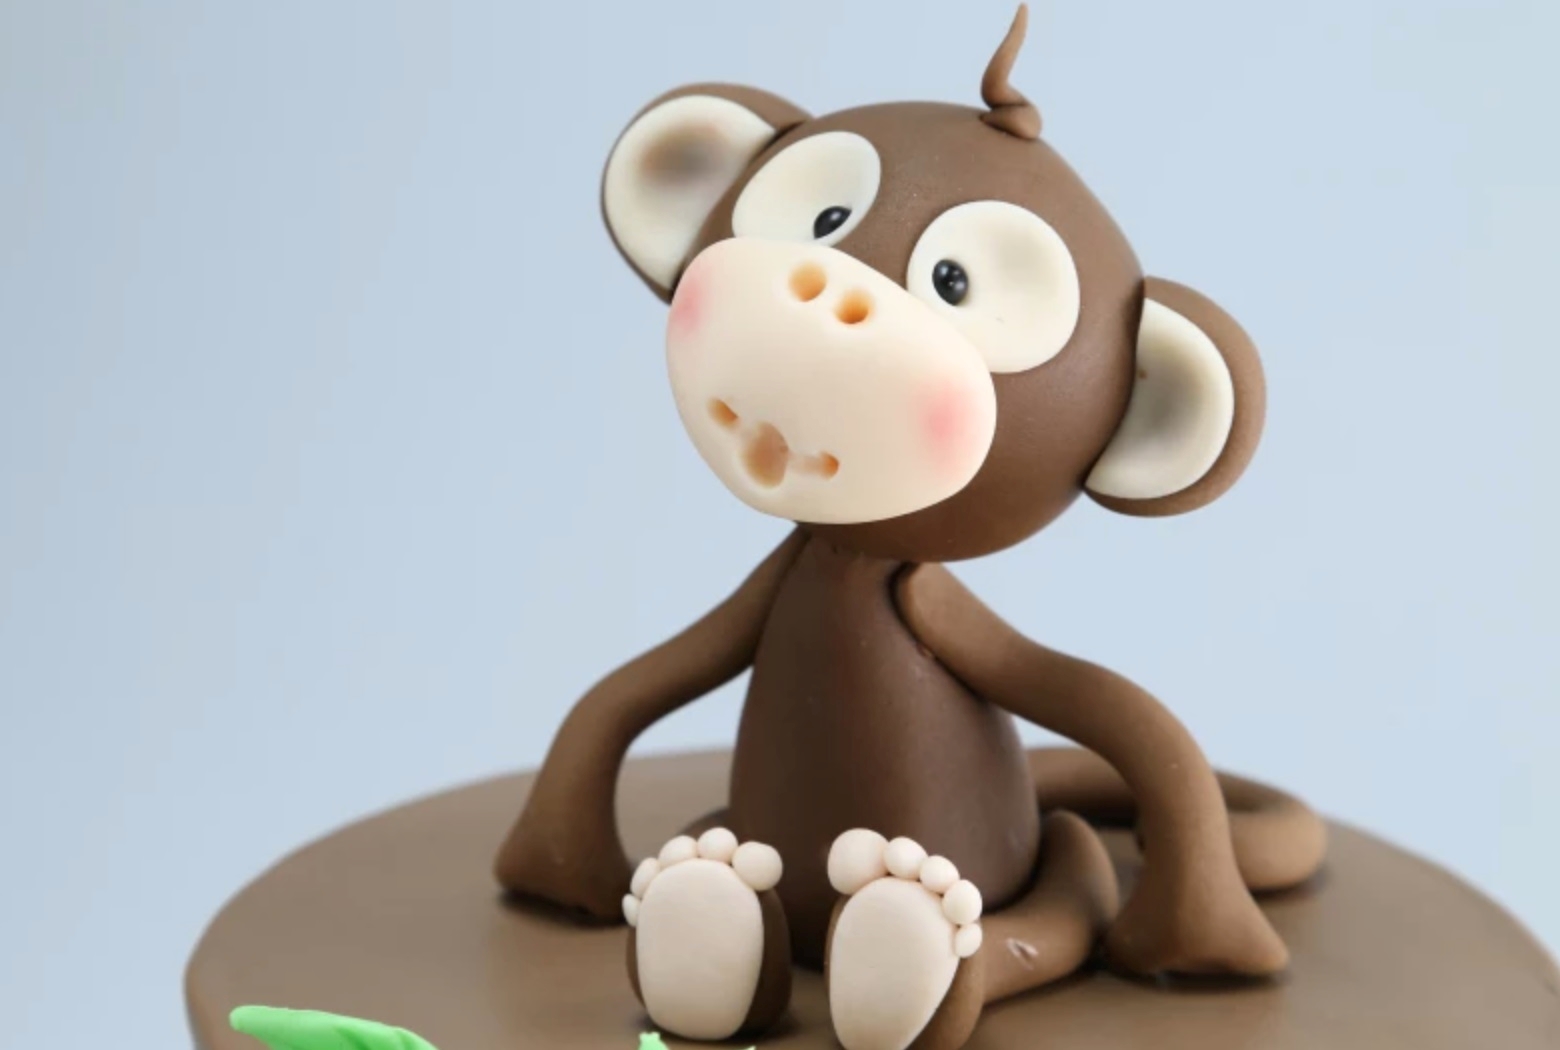
Read more: How To Make Leather Tool Belt
Step 4: Decorating the Tool Belt
The decorating stage is where you can let your creativity shine and make your fondant tool belt truly stand out. Here are some decorating ideas to inspire you:
- Paint the tool belt with edible food coloring or edible dust to give it a realistic leather appearance. Mix a small amount of gel food coloring with a few drops of clear alcohol or water to create a paint-like consistency.
- Using a clean decorating brush, lightly brush the colored mixture onto the surface of the tool belt. Focus on the stitching lines, belt buckle, and any other areas you desire.
- If you want to add a subtle shine to the belt, you can dust it with edible shimmer powder or luster dust. Simply dip a clean brush into the powder and lightly dust it onto the fondant surface.
- Consider adding additional details such as tool pockets or tool holders. You can shape small rectangles or circles of fondant and attach them to the tool belt using edible glue or water.
- Personalize the tool belt by adding a name or initials using edible marker pens. This will make it even more special and customized for the recipient.
Allow the decorated tool belt to dry and set completely before adding the final step: the tools!
Step 5 will focus on adding the tools to the belt to complete the edible masterpiece.
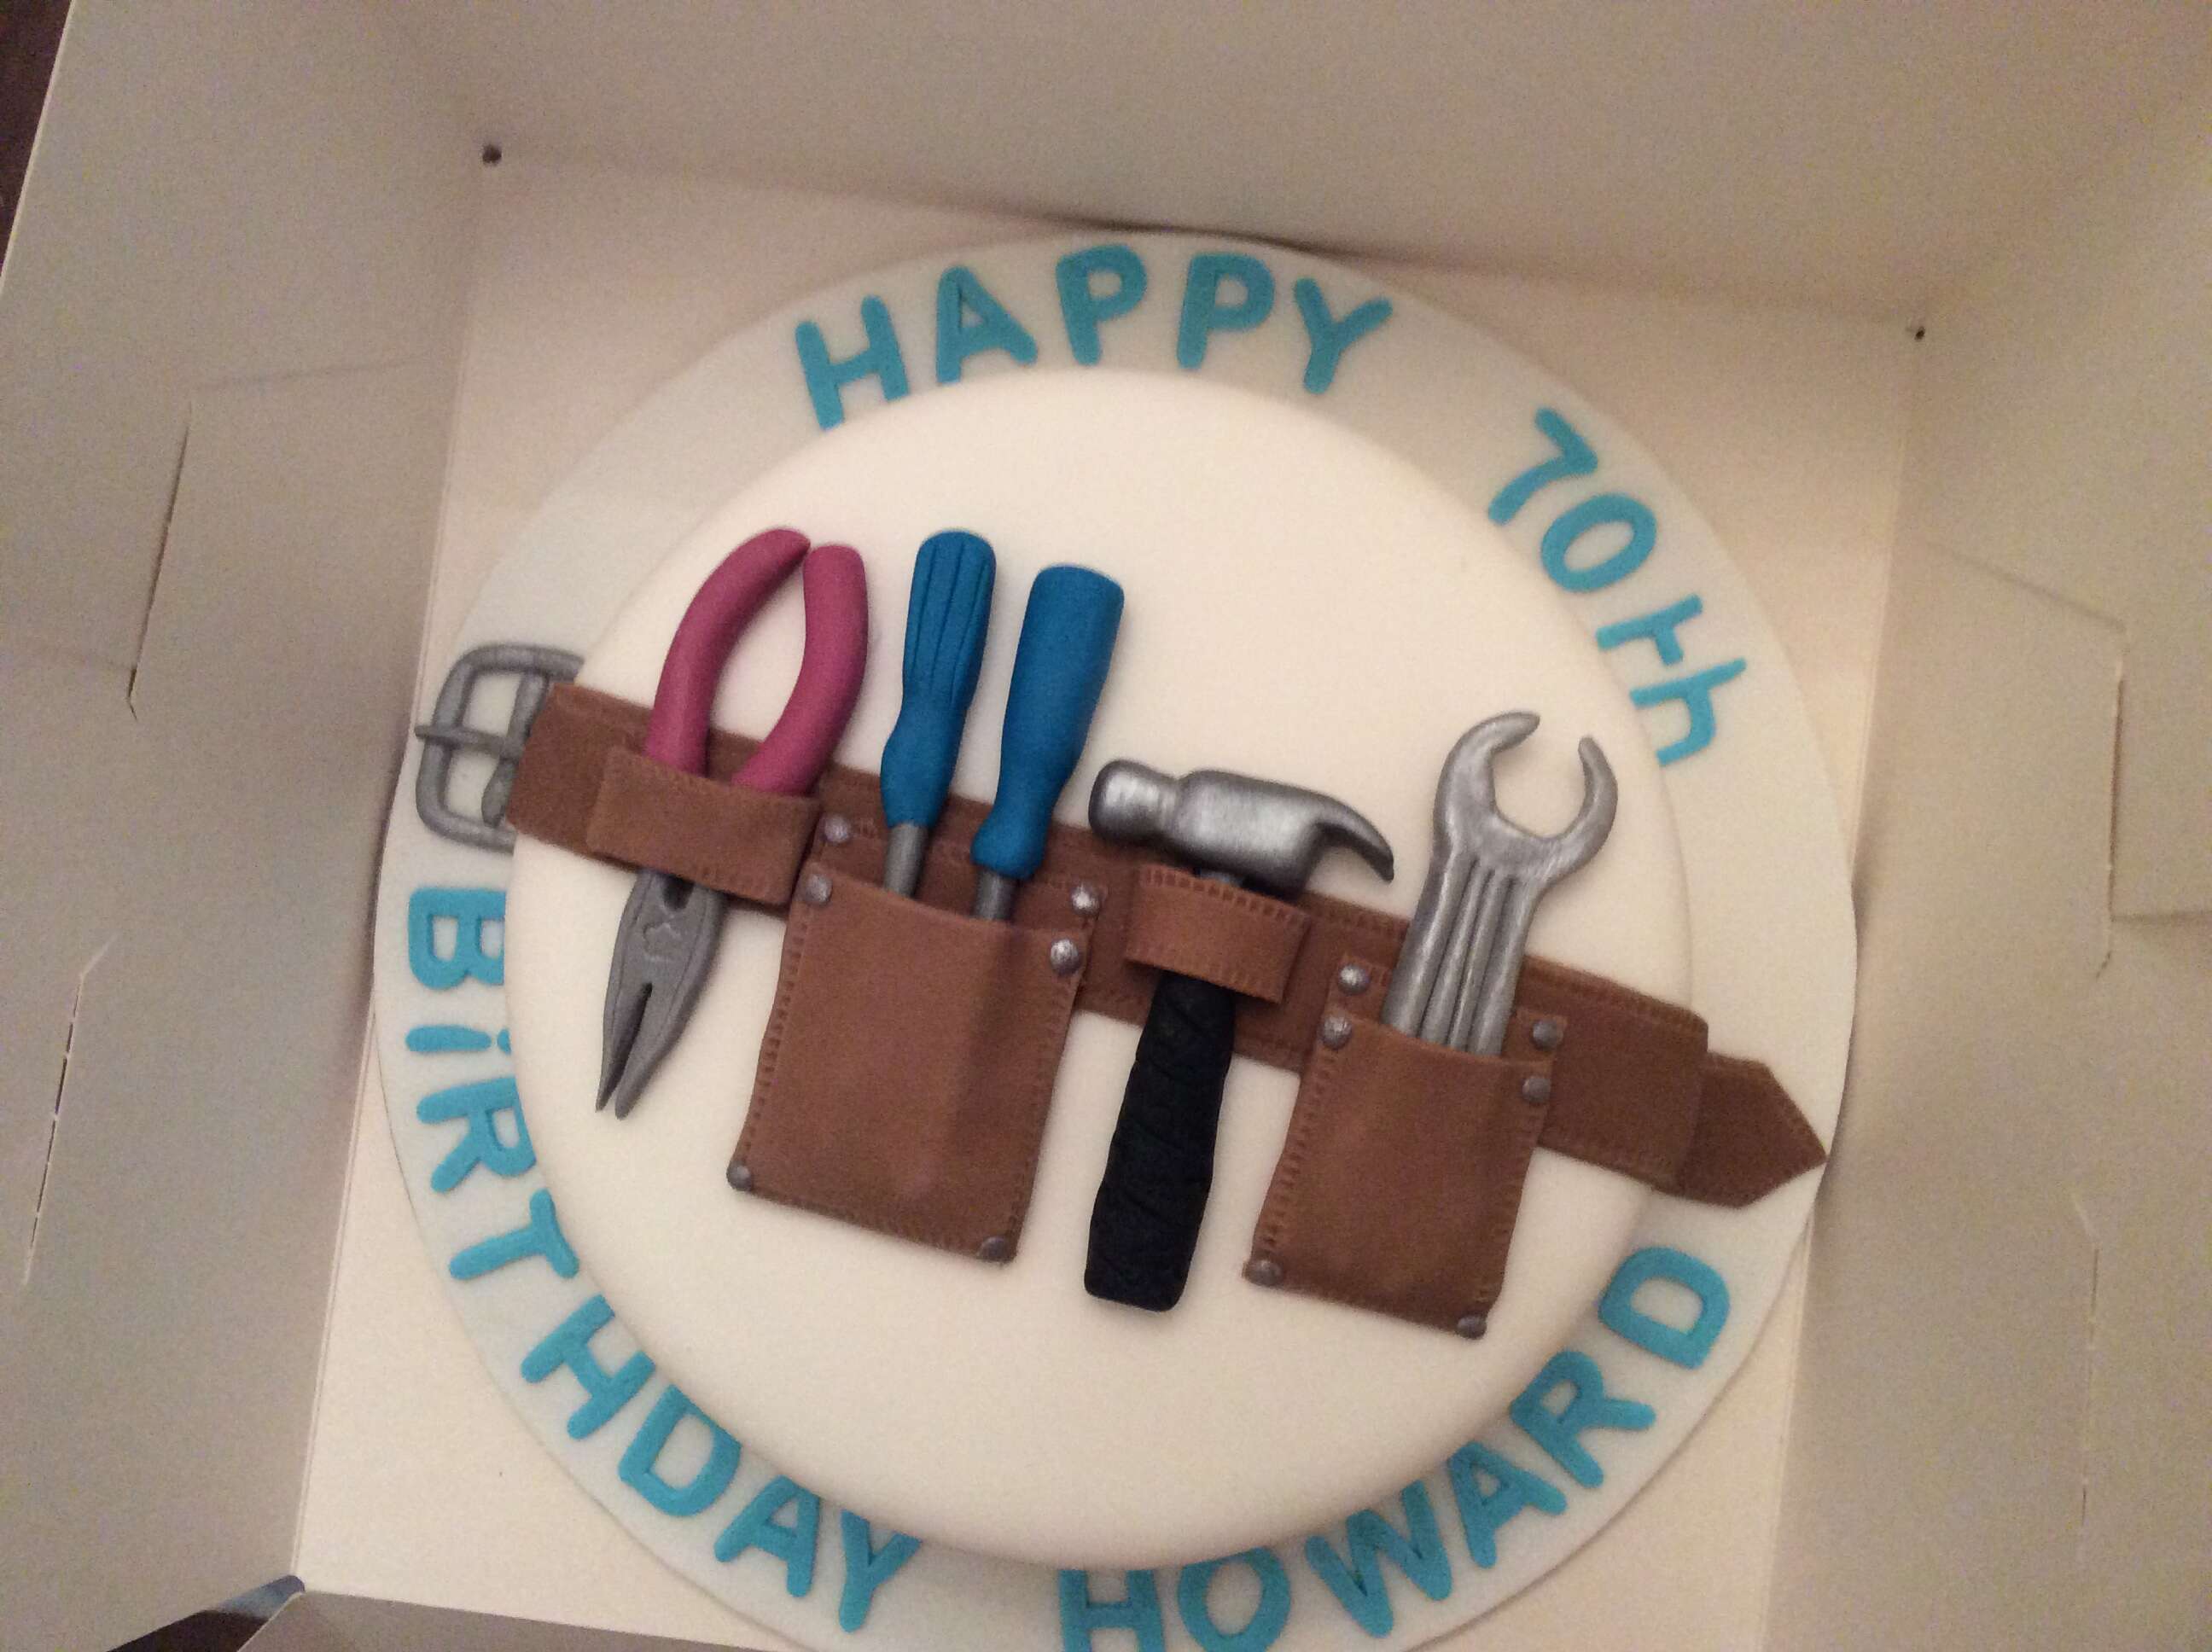
Step 5: Adding Tools to the Belt
The final step is to add the finishing touch to your fondant tool belt by adding the tools themselves. Here’s how you can do it:
- Decide which tools you want to include on your tool belt. Common tools like hammers, screwdrivers, wrenches, and pliers work well.
- Take small pieces of fondant in different colors and shape them into the desired tool shapes. Feel free to use reference images for guidance.
- Use fondant shaping tools to add details like handles, grips, or textured surfaces to the tools.
- Attach the tools to the tool belt using small amounts of edible glue or water. Position them in the belt loops or secure them directly to the belt itself.
- Arrange the tools in a visually appealing way, making sure they are secure and won’t fall off.
Once you’ve added the tools, your fondant tool belt is complete! Admire your creation and showcase it on top of a cake or cupcakes. It will surely impress your friends, family, or party guests.
Remember, have fun and let your creativity flow while making your fondant tool belt. Don’t be afraid to experiment with different shapes, colors, and designs to make it truly unique.
With these step-by-step instructions, you can now confidently create a fantastic fondant tool belt that will be the highlight of any celebration or baking project. Enjoy the process and savor the joy of creating something truly special!
Good luck and happy decorating!
Conclusion
Congratulations on completing your fondant tool belt masterpiece! By following the steps outlined in this tutorial, you’ve learned how to create a realistic and visually stunning edible tool belt. Whether you’re a baking enthusiast or looking to impress a handyman in your life, this fondant creation is sure to delight.
From making the fondant from scratch to shaping the tool belt, adding intricate details, decorating, and finally adding the tools, each step has brought you closer to achieving a professional-looking fondant creation. Remember, the key to success is to have fun and let your creativity shine.
As you embark on future fondant projects, feel free to explore different designs, colors, and shapes to personalize your creations even further. With each new project, your skills and confidence will grow, making the possibilities endless.
Don’t forget to share your fondant tool belt masterpiece with friends, family, or on social media. It’s a great way to showcase your baking skills and inspire others to embark on their own fondant adventures.
Thank you for following along with this tutorial. We hope you’ve enjoyed the process of making a fondant tool belt. Keep exploring the world of fondant and let your imagination run wild. Happy baking, decorating, and creating!
Frequently Asked Questions about Directions On How To Make Fondant Tool Belt
Was this page helpful?
At Storables.com, we guarantee accurate and reliable information. Our content, validated by Expert Board Contributors, is crafted following stringent Editorial Policies. We're committed to providing you with well-researched, expert-backed insights for all your informational needs.


0 thoughts on “Directions On How To Make Fondant Tool Belt”