Home>Gardening & Outdoor>Landscaping Ideas>How To Plug Bermuda Grass

Landscaping Ideas
How To Plug Bermuda Grass
Modified: February 18, 2024
Learn effective landscaping ideas for plugging Bermuda grass in your lawn. Discover step-by-step instructions and expert tips for successful grass plugging. Boost your lawn's health and appearance with our comprehensive guide.
(Many of the links in this article redirect to a specific reviewed product. Your purchase of these products through affiliate links helps to generate commission for Storables.com, at no extra cost. Learn more)
Introduction
Welcome to the world of Bermuda grass, where lush green lawns and vibrant landscapes come to life. If you're looking to transform your outdoor space into a verdant oasis, Bermuda grass is a fantastic choice. In this comprehensive guide, we'll explore the ins and outs of plugging Bermuda grass, from understanding its unique characteristics to the essential steps for successful planting and maintenance.
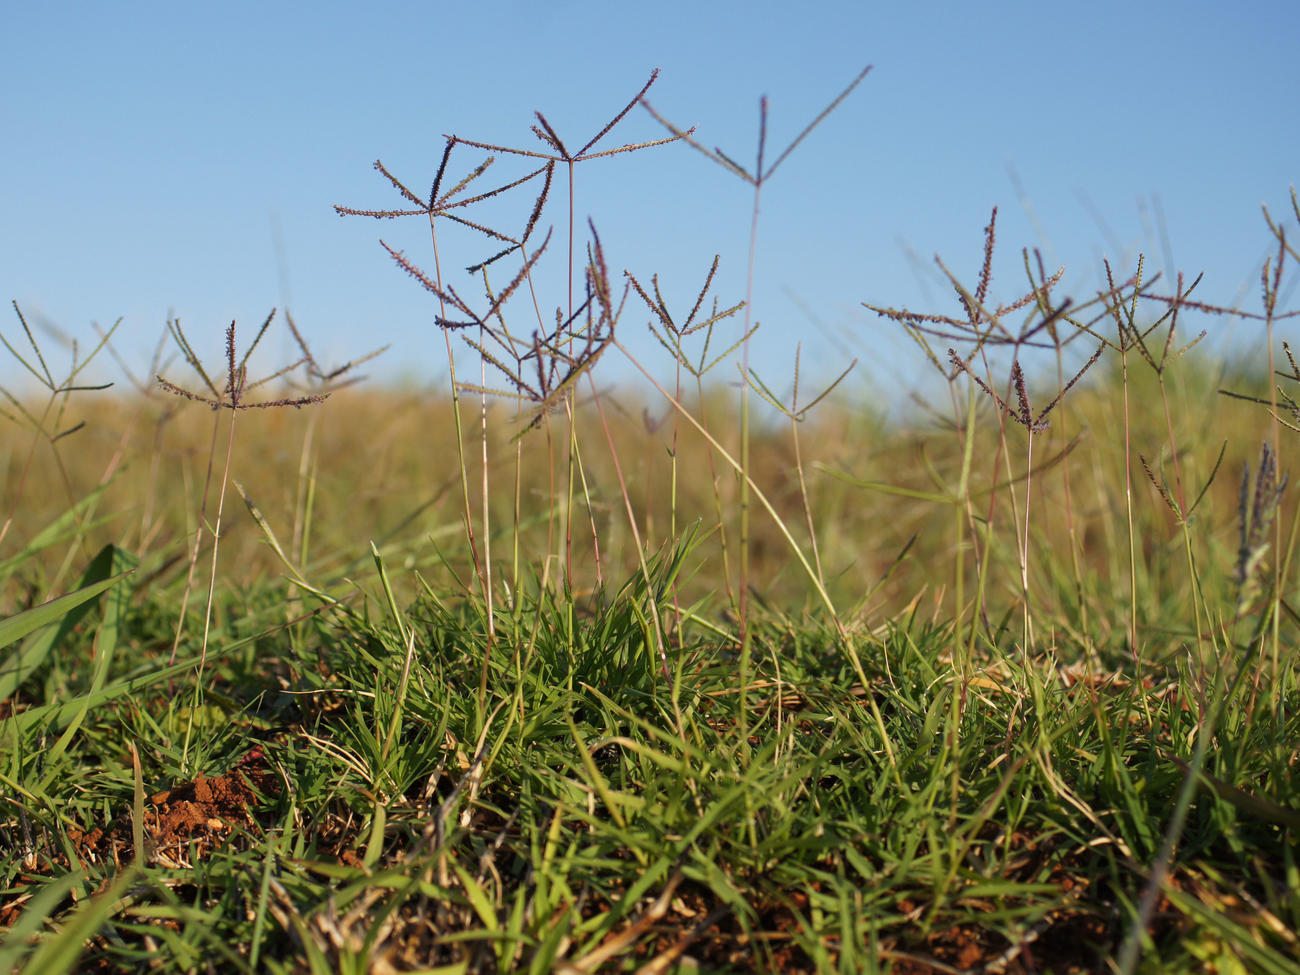
Bermuda grass, scientifically known as Cynodon dactylon, is a warm-season grass celebrated for its durability, drought resistance, and rapid growth. It thrives in sunny environments and can withstand heavy foot traffic, making it an ideal option for lawns, parks, athletic fields, and golf courses. Its resilience and adaptability have made it a popular choice for landscaping projects across the globe.
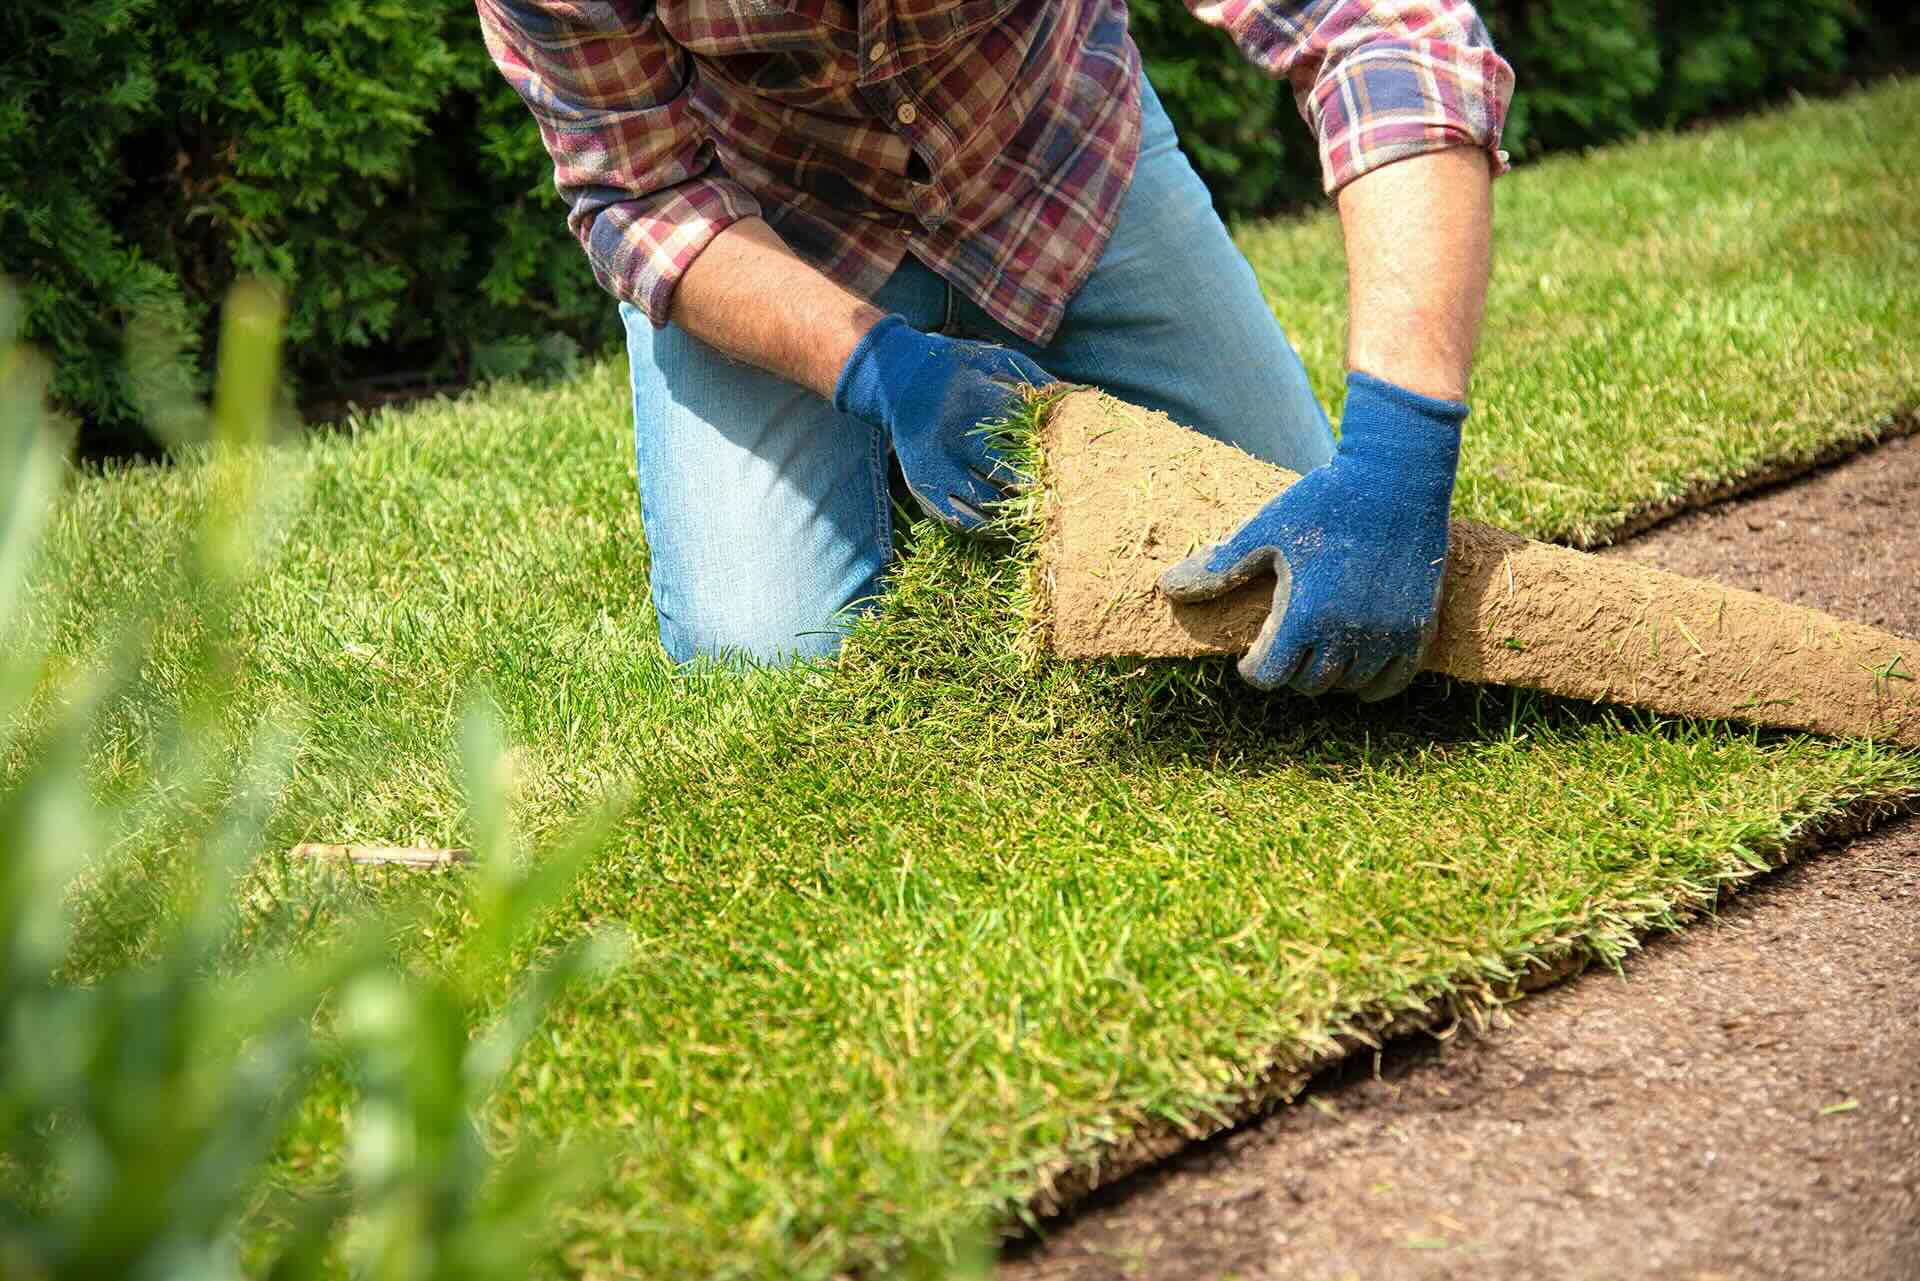
Plugging Bermuda grass involves establishing new growth by planting small sections of sod, known as plugs, into prepared soil. This method allows for efficient coverage and encourages healthy, uniform growth. Whether you're revitalizing an existing lawn or starting from scratch, the process of plugging Bermuda grass is a rewarding endeavor that yields stunning results.
Throughout this guide, we'll delve into the essential aspects of plugging Bermuda grass, including soil preparation, planting techniques, watering and maintenance practices, fertilization tips, and effective weed control strategies. By the end of this journey, you'll be equipped with the knowledge and confidence to cultivate a thriving Bermuda grass landscape that's the envy of the neighborhood.
So, roll up your sleeves, grab your gardening tools, and let's embark on this exciting venture to plug Bermuda grass and elevate your outdoor space to new heights of natural beauty and vitality.
Key Takeaways:
- Plugging Bermuda grass involves planting small sections of sod, known as plugs, into prepared soil. This method allows for efficient coverage and encourages healthy, uniform growth, creating a lush and resilient lawn.
- Proper soil preparation, strategic planting, and attentive maintenance are essential for nurturing Bermuda grass plugs and cultivating a vibrant, inviting lawn. Embrace the joy of nature’s splendor and find solace in the tranquil beauty of your outdoor sanctuary.
Read more: How To Grow Bermuda Grass Seeds
Understanding Bermuda Grass
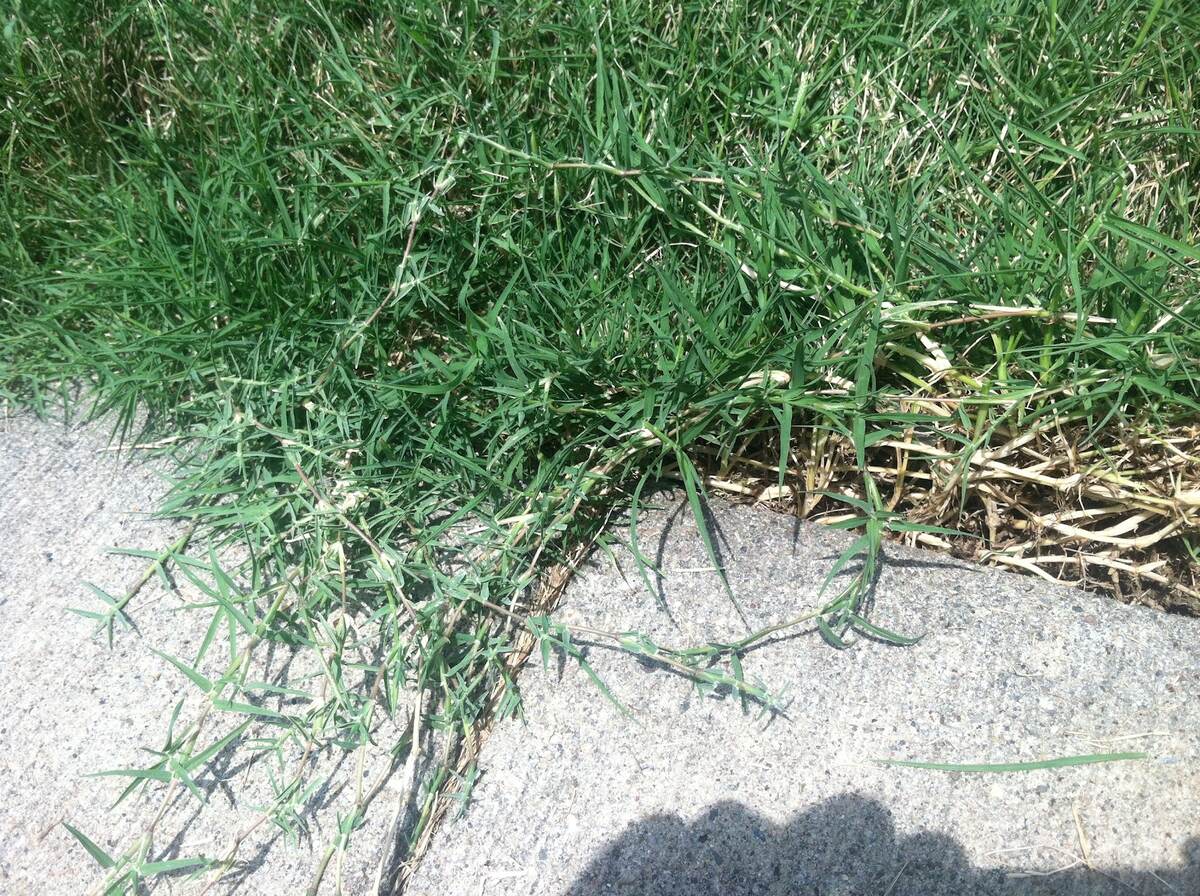
Before delving into the process of plugging Bermuda grass, it’s essential to grasp the unique characteristics and growth habits of this resilient turfgrass. Bermuda grass, a warm-season perennial, thrives in regions with hot summers and mild winters. Its fine texture, vibrant green hue, and exceptional tolerance to heat and drought make it a sought-after choice for lawns and recreational areas.
One of the key attributes of Bermuda grass is its remarkable adaptability to various soil types, including sandy, loamy, or clay-based soils. This versatility allows it to flourish in diverse environments, from residential landscapes to professional sports fields. Additionally, Bermuda grass exhibits excellent wear resistance, making it an excellent option for high-traffic areas.
When it comes to sunlight requirements, Bermuda grass is a sun-loving species that thrives in full sun exposure. It’s well-suited for landscapes that receive ample sunlight throughout the day, enabling it to photosynthesize efficiently and maintain its vibrant color and dense growth. While it can tolerate partial shade, Bermuda grass achieves its optimal performance in sunny locations.
Furthermore, Bermuda grass is renowned for its rapid growth and regenerative capabilities. Once established, it spreads vigorously through aboveground stolons and belowground rhizomes, creating a dense and uniform turf. Its aggressive growth habit allows Bermuda grass to recover quickly from damage, such as foot traffic or mowing, ensuring that the lawn remains lush and resilient.
As a low-maintenance grass variety, Bermuda grass requires minimal water compared to cool-season grasses, making it an eco-friendly choice for water-conscious landscapes. Its deep root system enables it to withstand periods of drought, maintaining its color and vitality during dry spells. Additionally, Bermuda grass exhibits natural pest and disease resistance, reducing the need for chemical interventions.
By understanding the inherent traits of Bermuda grass, you’ll gain valuable insights into its preferences and growth patterns, laying the groundwork for successful plugging and long-term lawn maintenance. With this knowledge in hand, you’re ready to embark on the next steps of preparing the soil and planting Bermuda grass plugs to create a stunning and resilient lawn.
Preparing the Soil
Creating an optimal environment for Bermuda grass plugs to take root and thrive begins with thorough soil preparation. By addressing key factors such as soil composition, drainage, and nutrient levels, you can lay the foundation for healthy and robust grass growth. Here’s a step-by-step guide to preparing the soil for plugging Bermuda grass:
1. Soil Analysis:
Before initiating any soil preparation, conduct a soil test to assess its pH levels and nutrient content. This analysis provides crucial insights into the soil’s composition and guides the necessary amendments for creating an ideal growing medium for Bermuda grass. Most warm-season grasses, including Bermuda grass, thrive in slightly acidic soils with a pH range of 6.0 to 7.0.
2. Soil Aeration:
Utilize a core aerator to perforate the soil, alleviating compaction and enhancing air circulation. Aeration promotes root development and improves water and nutrient absorption, fostering an environment conducive to Bermuda grass establishment. This process is particularly beneficial for compacted or heavy clay soils, allowing for better root penetration and overall turf health.
Read more: How To Get Rid Of Bermuda Grass
3. Weed Removal:
Prior to planting Bermuda grass plugs, eliminate any existing weeds or unwanted vegetation from the planting area. This can be achieved through manual removal or the application of a non-selective herbicide, ensuring that the Bermuda grass has minimal competition for resources and space as it establishes itself in the soil.
4. Soil Amendments:
Based on the results of the soil analysis, incorporate necessary amendments to optimize the soil structure and nutrient levels. Adding organic matter, such as compost or well-rotted manure, enhances soil fertility and improves moisture retention. Additionally, adjusting the pH with lime or sulfur as recommended by the soil test fosters an environment conducive to Bermuda grass growth.
5. Raking and Leveling:
After incorporating soil amendments, use a garden rake to evenly distribute the amendments and create a smooth, level surface. Raking also helps to break up large clumps of soil and remove debris, preparing the area for the next phase of planting Bermuda grass plugs.
By meticulously preparing the soil, you’re setting the stage for successful Bermuda grass establishment. The diligent effort invested in soil preparation ensures that the newly plugged grass receives the support it needs to flourish and create a vibrant, resilient lawn.
Planting Bermuda Grass
Once the soil is meticulously prepared, it’s time to embark on the exciting process of planting Bermuda grass plugs. This pivotal step sets the stage for the lush, vibrant lawn you envision, and the following guidelines will ensure a successful and gratifying planting experience:
Read more: How To Care For Bermuda Grass
1. Selecting High-Quality Plugs:
Acquire Bermuda grass plugs from a reputable nursery or garden center, ensuring that they are healthy, disease-free, and well-suited for the local climate. Opt for plugs with robust root systems and vibrant green foliage, as these indicators signify the potential for vigorous growth and establishment.
2. Spacing and Planting Technique:
When planting Bermuda grass plugs, adhere to the recommended spacing guidelines to achieve optimal coverage and uniform growth. Typically, spacing plugs at intervals of 6 to 12 inches allows for efficient coverage and encourages the development of a dense turf. Use a hand trowel or bulb planter to create holes for the plugs, ensuring that they are planted at the same level as the surrounding soil.
3. Watering Immediately:
Upon planting each Bermuda grass plug, provide immediate irrigation to facilitate root establishment and minimize transplant shock. Gently water the newly planted plugs, ensuring that the soil is moist but not waterlogged. Adequate moisture is essential for promoting root development and ensuring the initial survival and acclimation of the plugs to their new environment.
4. Post-Planting Care:
Following the initial planting, monitor the newly installed Bermuda grass plugs closely and maintain consistent soil moisture. Avoid excessive watering that leads to waterlogged conditions, as this can impede root growth and invite fungal issues. As the plugs begin to establish, gradually reduce the frequency of watering while ensuring that the soil remains evenly moist.
Read more: How To Recognize Bermuda Grass
5. Encouraging Growth:
As the Bermuda grass plugs take root and begin to exhibit new growth, provide light fertilization to support their development. Utilize a balanced, slow-release fertilizer specifically formulated for Bermuda grass, following the manufacturer’s recommendations for application rates and timing. This gentle fertilization encourages healthy growth and helps the plugs establish a robust root system.
By following these planting guidelines, you’ll set the stage for the successful establishment of Bermuda grass plugs, paving the way for a resilient, vibrant lawn that enhances your outdoor space. With proper care and attention, the newly planted plugs will flourish and transform your landscape into a lush and inviting haven.
Watering and Maintenance
Proper watering and maintenance practices play a pivotal role in nurturing the health and vitality of newly planted Bermuda grass plugs, ensuring their successful establishment and long-term resilience. By adhering to the following guidelines, you can cultivate a thriving Bermuda grass lawn that remains lush and vibrant throughout the growing season:
1. Initial Watering:
Following the planting of Bermuda grass plugs, it’s crucial to provide consistent and adequate irrigation to support their initial establishment. Water the newly plugged area thoroughly immediately after planting, ensuring that the soil is moist to a depth of the root zone. This initial watering promotes root development and minimizes stress on the newly transplanted plugs.
2. Watering Frequency:
During the initial phase of establishment, maintain regular watering to keep the soil consistently moist, but not waterlogged. Depending on the climate and soil conditions, this may involve watering the Bermuda grass plugs 1-2 times per day for the first few weeks. As the plugs take root and exhibit new growth, gradually transition to a deeper, less frequent watering schedule to encourage deep root development.
Read more: How To Identify Coastal Bermuda Grass
3. Monitoring Soil Moisture:
Regularly monitor the soil moisture levels to ensure that the Bermuda grass plugs receive adequate hydration. Utilize a soil moisture meter or perform a manual assessment by checking the soil’s moisture content at varying depths. Adjust the watering frequency and duration based on the specific needs of the Bermuda grass and the prevailing environmental conditions.
4. Mowing Practices:
Once the Bermuda grass plugs have established and reached a height of 1.5 to 2 inches, initiate mowing to promote a dense, uniform turf. Set the mower blade at the recommended height for Bermuda grass, typically around 1 to 1.5 inches, to prevent scalping and maintain the grass’s resilience. Regular mowing encourages lateral growth and enhances the overall appearance of the lawn.
5. Maintenance Considerations:
Throughout the growing season, implement routine maintenance practices such as edging, dethatching, and aerating to promote the health and vigor of the Bermuda grass lawn. Additionally, inspect the lawn for signs of pests, diseases, or nutrient deficiencies, addressing any issues promptly to prevent their escalation and preserve the lawn’s vitality.
By prioritizing proper watering and maintenance, you can nurture the growth and longevity of your Bermuda grass lawn, creating a verdant and inviting outdoor space that enhances the beauty and enjoyment of your landscape.
Fertilizing Bermuda Grass
Fertilization is a fundamental aspect of maintaining the health and vibrancy of Bermuda grass, providing essential nutrients that support robust growth and vitality. By implementing a strategic fertilization regimen tailored to the specific needs of Bermuda grass, you can cultivate a lush, resilient lawn that thrives throughout the growing season. Here’s a comprehensive guide to fertilizing Bermuda grass for optimal results:
Read more: How To Top Dress Bermuda Grass
1. Understanding Nutritional Requirements:
Bermuda grass has distinct nutritional needs, requiring a balanced supply of essential nutrients to sustain its vigorous growth and vibrant color. Key nutrients, including nitrogen (N), phosphorus (P), and potassium (K), play critical roles in supporting the grass’s metabolic processes, root development, and stress tolerance. Understanding these requirements is crucial for formulating an effective fertilization plan.
2. Soil Testing:
Prior to initiating a fertilization program, conduct a soil test to assess the existing nutrient levels and pH of the soil. This analysis provides valuable insights into the specific deficiencies or imbalances that may exist, guiding the selection of fertilizers and the determination of application rates. Soil testing helps tailor the fertilization approach to the precise needs of the Bermuda grass lawn, optimizing its health and resilience.
3. Selecting the Right Fertilizer:
Choose a high-quality, slow-release fertilizer specifically formulated for Bermuda grass, with a nutrient ratio that aligns with its requirements. Look for fertilizers with a balanced N-P-K ratio, such as 3-1-2 or 4-1-2, designed to promote steady growth and long-term health. Slow-release formulations provide a consistent nutrient supply over an extended period, minimizing the risk of leaching and promoting efficient nutrient uptake.
4. Application Timing:
For established Bermuda grass lawns, divide the total annual fertilizer application into multiple smaller doses applied throughout the growing season. Initiate the first application in late spring as the grass begins active growth, followed by subsequent applications at intervals of 6 to 8 weeks. Avoid fertilizing during periods of drought or heat stress, as this can place undue strain on the grass and impede its recovery.
Read more: How To Repair Bermuda Grass Lawn
5. Application Technique:
Apply the fertilizer evenly and at the recommended rates, utilizing a calibrated spreader to ensure uniform coverage. Water the lawn immediately after fertilization to facilitate the incorporation of nutrients into the soil and minimize the risk of leaf burn. Adhering to proper application techniques prevents over-fertilization and promotes efficient nutrient utilization by the Bermuda grass.
6. Monitoring and Adjustment:
Regularly monitor the lawn’s response to fertilization, assessing its color, density, and overall health. Adjust the fertilization regimen based on the grass’s performance and the results of subsequent soil tests, fine-tuning the nutrient supply to sustain optimal growth and vitality. By maintaining a proactive approach to fertilization, you can ensure that the Bermuda grass receives the nourishment it needs to flourish and adorn your landscape with its lush, vibrant presence.
Controlling Weeds
Effective weed control is essential for maintaining the pristine appearance and vigor of a Bermuda grass lawn. By implementing proactive strategies and targeted interventions, you can thwart the encroachment of weeds and preserve the lush, uniform expanse of your turf. Here’s a comprehensive guide to controlling weeds in Bermuda grass, ensuring a resilient and aesthetically pleasing lawn:
1. Pre-Emergent Herbicides:
Prevention is key when combating weeds in Bermuda grass. Utilize pre-emergent herbicides specifically formulated for warm-season grasses to inhibit the germination and establishment of annual grassy and broadleaf weeds. Timing is critical, as these herbicides should be applied before the target weed seeds begin to sprout, typically in early spring and late summer to early fall, based on the local climate and weed species.
Read more: How To Treat Weeds In Bermuda Grass
2. Post-Emergent Herbicides:
In instances where weeds have already emerged in the Bermuda grass lawn, select post-emergent herbicides tailored to the specific weed species present. Choose herbicides that target broadleaf weeds, sedges, or grassy weeds without harming the Bermuda grass. Carefully follow the application instructions and safety precautions provided by the herbicide manufacturer to effectively eradicate the weeds while safeguarding the health of the turf.
3. Manual Weed Removal:
Supplement herbicidal treatments with manual weed removal to address isolated or stubborn weed growth. Use a hand tool, such as a dandelion digger or hand weeder, to carefully uproot individual weeds, ensuring that their entire root systems are extracted to prevent regrowth. Regular scouting and prompt removal of weeds help maintain the Bermuda grass’s pristine appearance and prevent weed encroachment.
4. Cultural Practices:
Implement cultural practices that bolster the competitiveness of Bermuda grass against weeds. Maintaining the recommended mowing height for Bermuda grass, typically around 1 to 1.5 inches, promotes a dense turf that shades the soil and inhibits weed seed germination. Additionally, proper irrigation and fertilization foster vigorous Bermuda grass growth, further reducing opportunities for weed establishment.
5. Vigilant Observation:
Regularly inspect the Bermuda grass lawn for signs of weed encroachment and address any emerging weed populations promptly. Early intervention is crucial for preventing weeds from proliferating and competing with the turf for essential resources. By maintaining a vigilant stance against weeds, you can preserve the pristine beauty and resilience of your Bermuda grass lawn.
By integrating these proactive measures and targeted interventions, you can effectively control weeds in your Bermuda grass lawn, ensuring that it remains a verdant, inviting expanse that enhances the beauty and enjoyment of your outdoor space.
Read more: What Is Bermuda Grass
Conclusion
Congratulations on embarking on the rewarding journey of plugging Bermuda grass and cultivating a vibrant, resilient lawn that captivates the senses and elevates your outdoor environment. By embracing the unique attributes and growth habits of Bermuda grass, and implementing the essential steps for soil preparation, planting, and maintenance, you’ve set the stage for a landscape of enduring beauty and vitality.
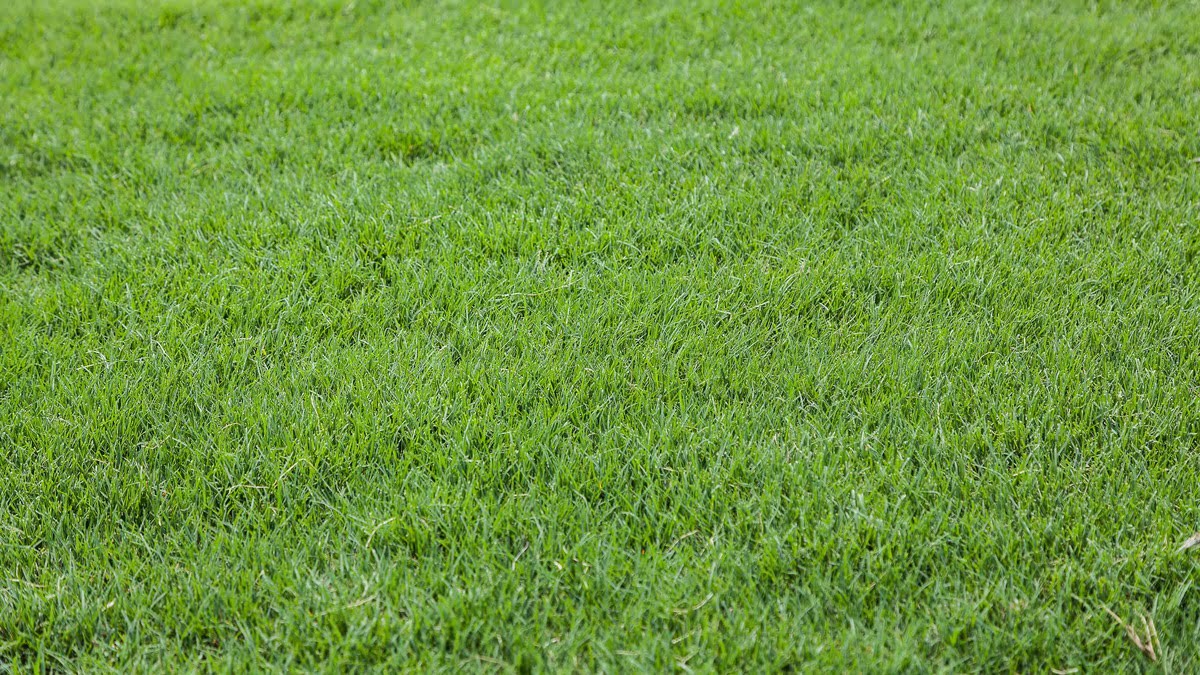
As you witness the Bermuda grass plugs take root, flourish, and weave a lush tapestry across your lawn, remember the dedication and care you’ve invested in nurturing their growth. The lush green expanse that emerges is a testament to your commitment to creating a welcoming outdoor haven that beckons with its natural allure.
Through meticulous soil preparation, strategic planting, and attentive maintenance, you’ve cultivated a Bermuda grass lawn that embodies resilience and vibrancy. Its ability to withstand the rigors of foot traffic, drought, and environmental challenges is a testament to the enduring strength and adaptability of this warm-season grass variety.
As you revel in the beauty of your Bermuda grass lawn, remember the ongoing care it requires to preserve its lush appearance and vitality. From conscientious watering and fertilization to vigilant weed control and regular maintenance, your attentive stewardship will ensure that your Bermuda grass landscape remains a source of pride and enjoyment throughout the seasons.
Embrace the joy of outdoor gatherings, leisurely strolls, and tranquil moments amidst the verdant embrace of your Bermuda grass lawn. Its resilient, inviting nature invites you to savor the simple pleasures of nature and find solace in the tranquil beauty it bestows upon your outdoor sanctuary.
May your Bermuda grass lawn stand as a testament to the harmony between human hands and nature’s splendor, a living canvas that evolves with the seasons and enriches your life with its timeless allure. As you revel in the verdant expanse you’ve cultivated, take pride in the transformative impact of plugging Bermuda grass and the enduring beauty it brings to your landscape.
With each blade of grass, a testament to your dedication, and each vibrant expanse, an embodiment of nature’s resilience, your Bermuda grass lawn stands as a testament to the enduring beauty and vitality that enriches your outdoor sanctuary.
Frequently Asked Questions about How To Plug Bermuda Grass
Was this page helpful?
At Storables.com, we guarantee accurate and reliable information. Our content, validated by Expert Board Contributors, is crafted following stringent Editorial Policies. We're committed to providing you with well-researched, expert-backed insights for all your informational needs.


0 thoughts on “How To Plug Bermuda Grass”