Articles
How To Hang A Valance Over Blinds
Modified: August 27, 2024
Discover expert articles on how to hang a valance over blinds. Get step-by-step instructions and helpful tips to add style to your windows with ease.
(Many of the links in this article redirect to a specific reviewed product. Your purchase of these products through affiliate links helps to generate commission for Storables.com, at no extra cost. Learn more)
Introduction
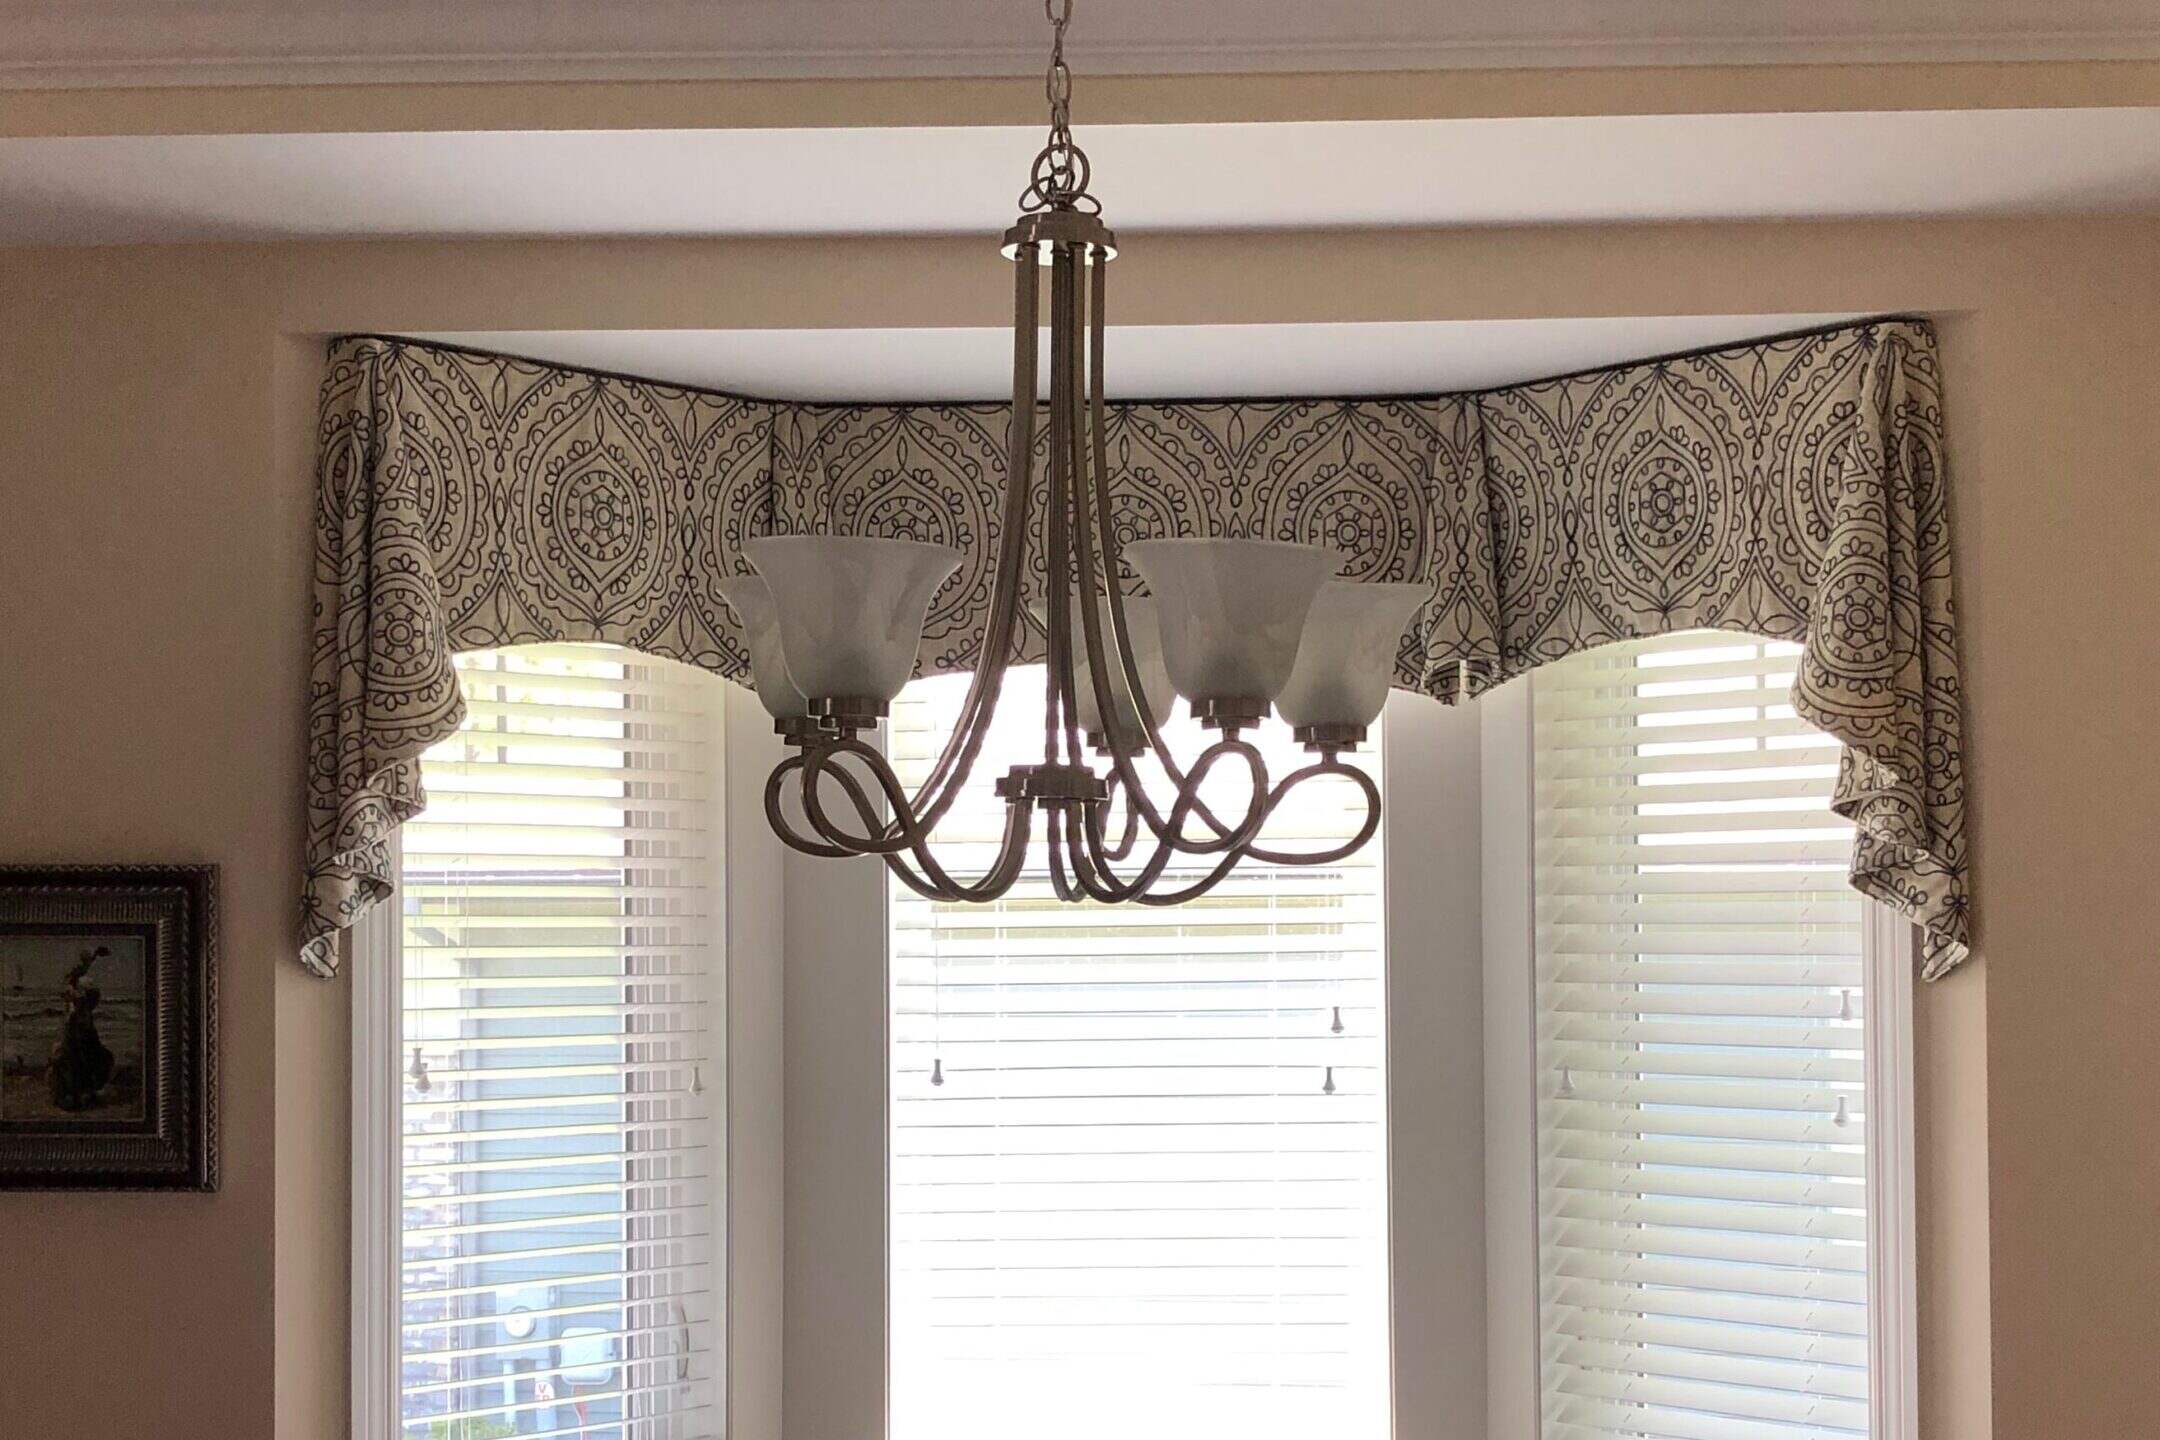
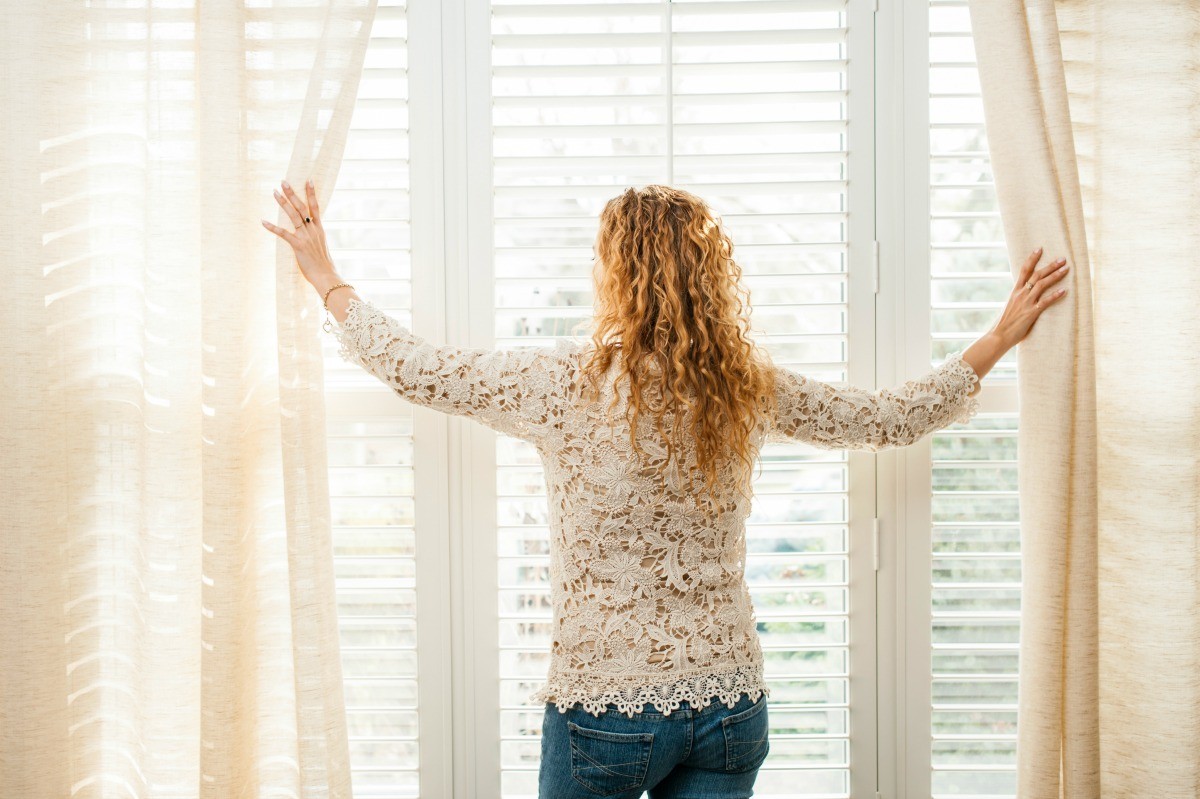
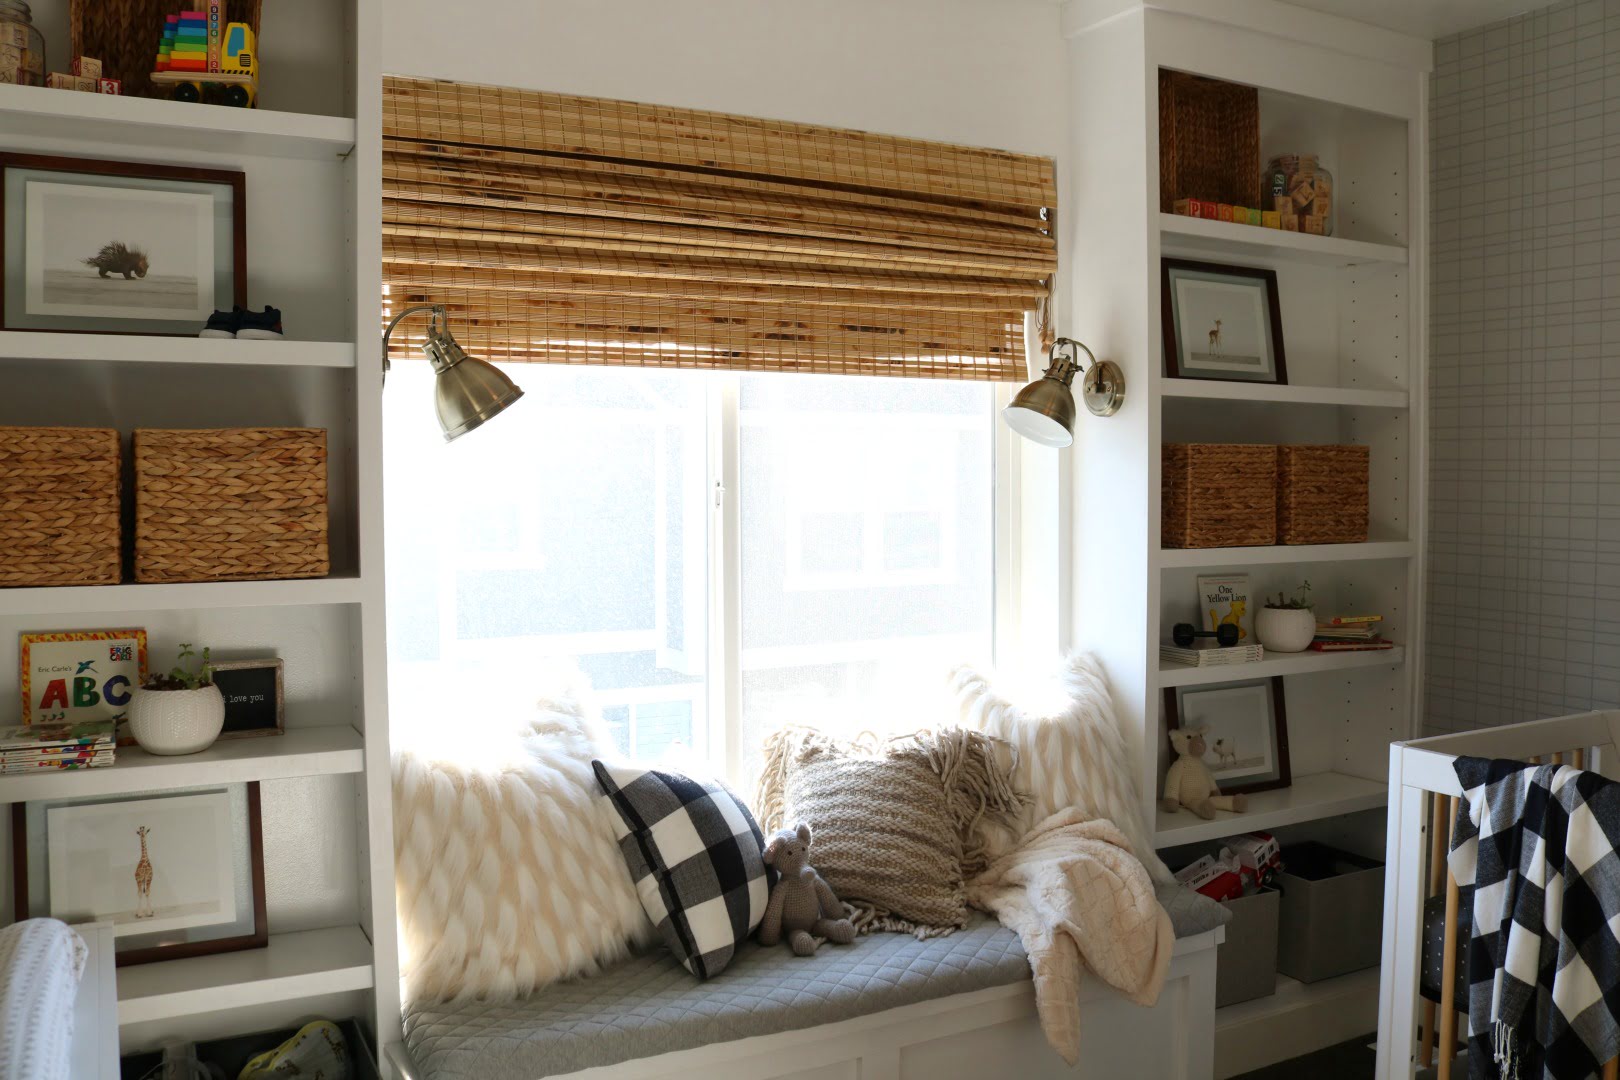
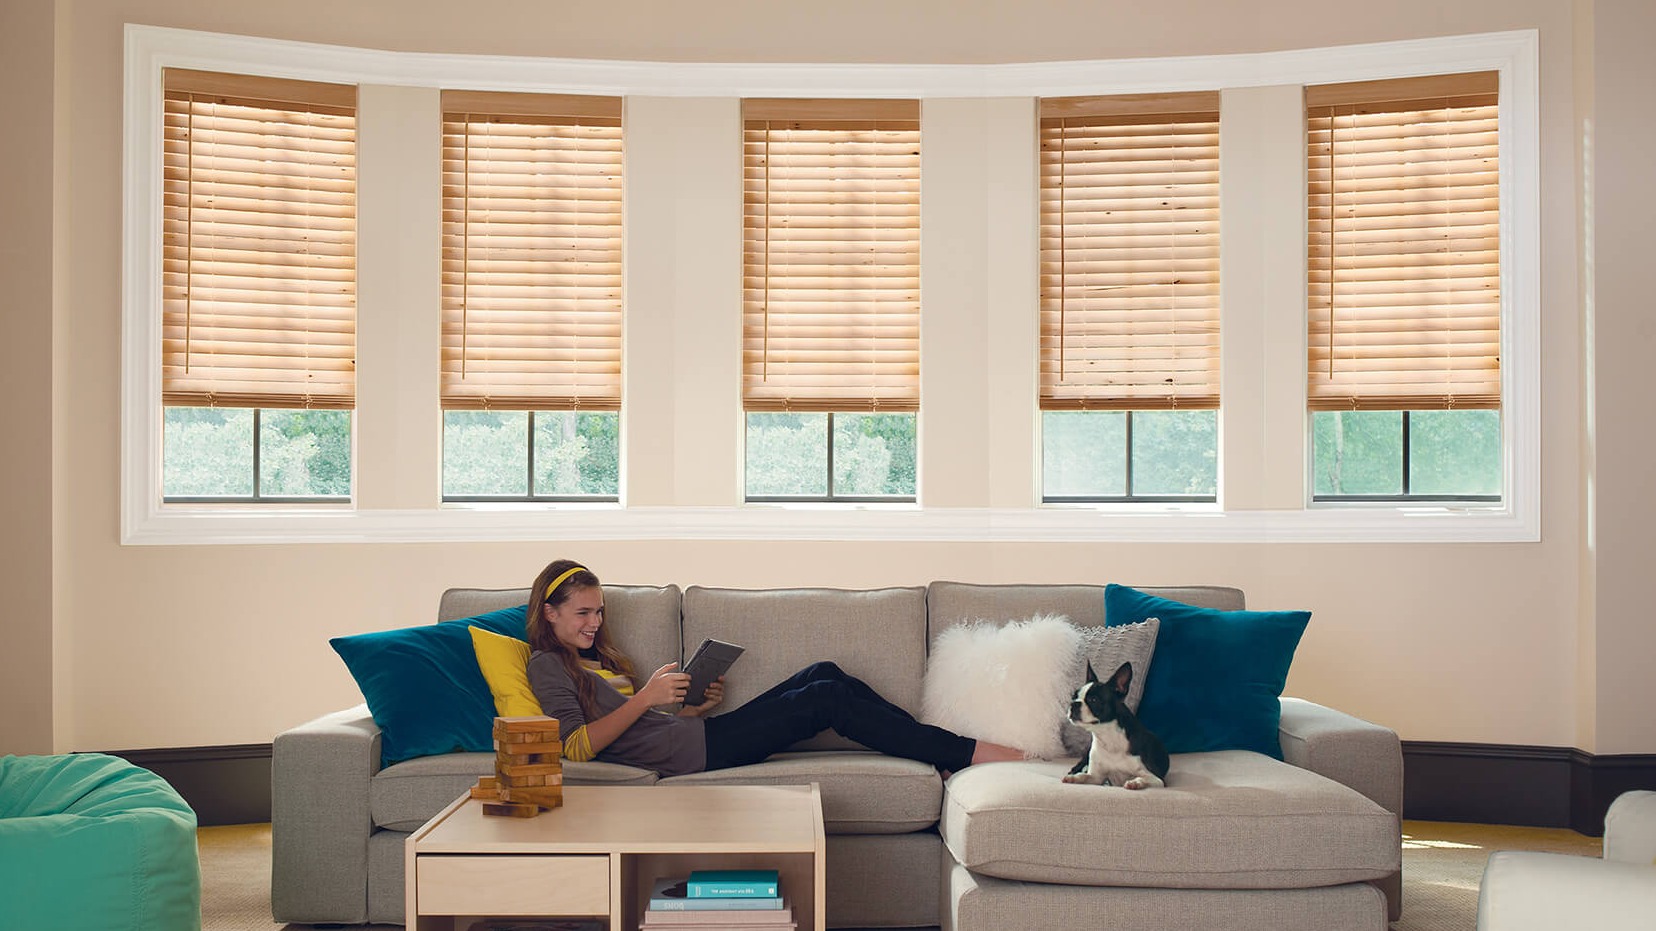
Welcome to our guide on how to hang a valance over blinds! A valance is a decorative fabric treatment that adds a touch of style and elegance to your windows. It is often used to conceal the hardware of blinds or curtains, creating a polished and finished look. Hanging a valance over blinds is a simple yet effective way to enhance the aesthetic appeal of your windows and elevate the overall design of your space.
In this article, we will take you through a step-by-step guide on how to properly hang a valance over blinds. Whether you are a DIY enthusiast or simply looking to freshen up your window decor, this guide will provide you with the necessary instructions and tips to achieve a professional and seamless installation.
Before we dive into the process, let’s quickly go over the tools and materials you will need:
- Measuring tape
- Pencil
- Valance and blinds
- Valance brackets
- Drill and screws
- Screwdriver
- Level
- Step ladder
- Optional: Anchors for extra support
Now that we’ve got the essentials covered, let’s move on to the first step: measuring the window.
Key Takeaways:
- Elevate your window decor with a stylish valance that adds elegance and charm to your space. Follow our step-by-step guide for a professional and seamless installation over blinds.
- Achieve a cohesive and visually appealing window treatment by carefully selecting the right valance and blinds, ensuring proper measurements, and securing a polished and symmetrical installation.
Read more: How To Hang Curtains Over Blinds And Shades
Step 1: Measure the Window
The first step in hanging a valance over blinds is to accurately measure your window. This step is crucial to ensure that your valance fits properly and looks proportionate to the window size.
Start by using a measuring tape to measure the width of your window. Measure from the outer edge of the window frame or casing on one side to the outer edge on the other side. Note down the measurement.
Next, measure the height of the window. Start from the top of the window frame or casing and measure down to your desired length for the valance. Keep in mind that valances typically range from 12 to 18 inches in height, but you can adjust it based on your personal preference and the style you want to achieve.
Once you have the width and height measurements, add a few extra inches to each measurement to account for any desired overhang or decorative elements. This will ensure that the valance fully covers the blinds and creates a visually appealing look.
It’s important to measure each window individually, as window sizes may vary within the same room or house. Taking precise measurements will help you avoid any sizing issues and ensure that your valance fits perfectly over the blinds.
With the window measurements in hand, you’re ready to move on to the next step: choosing the valance and blinds.
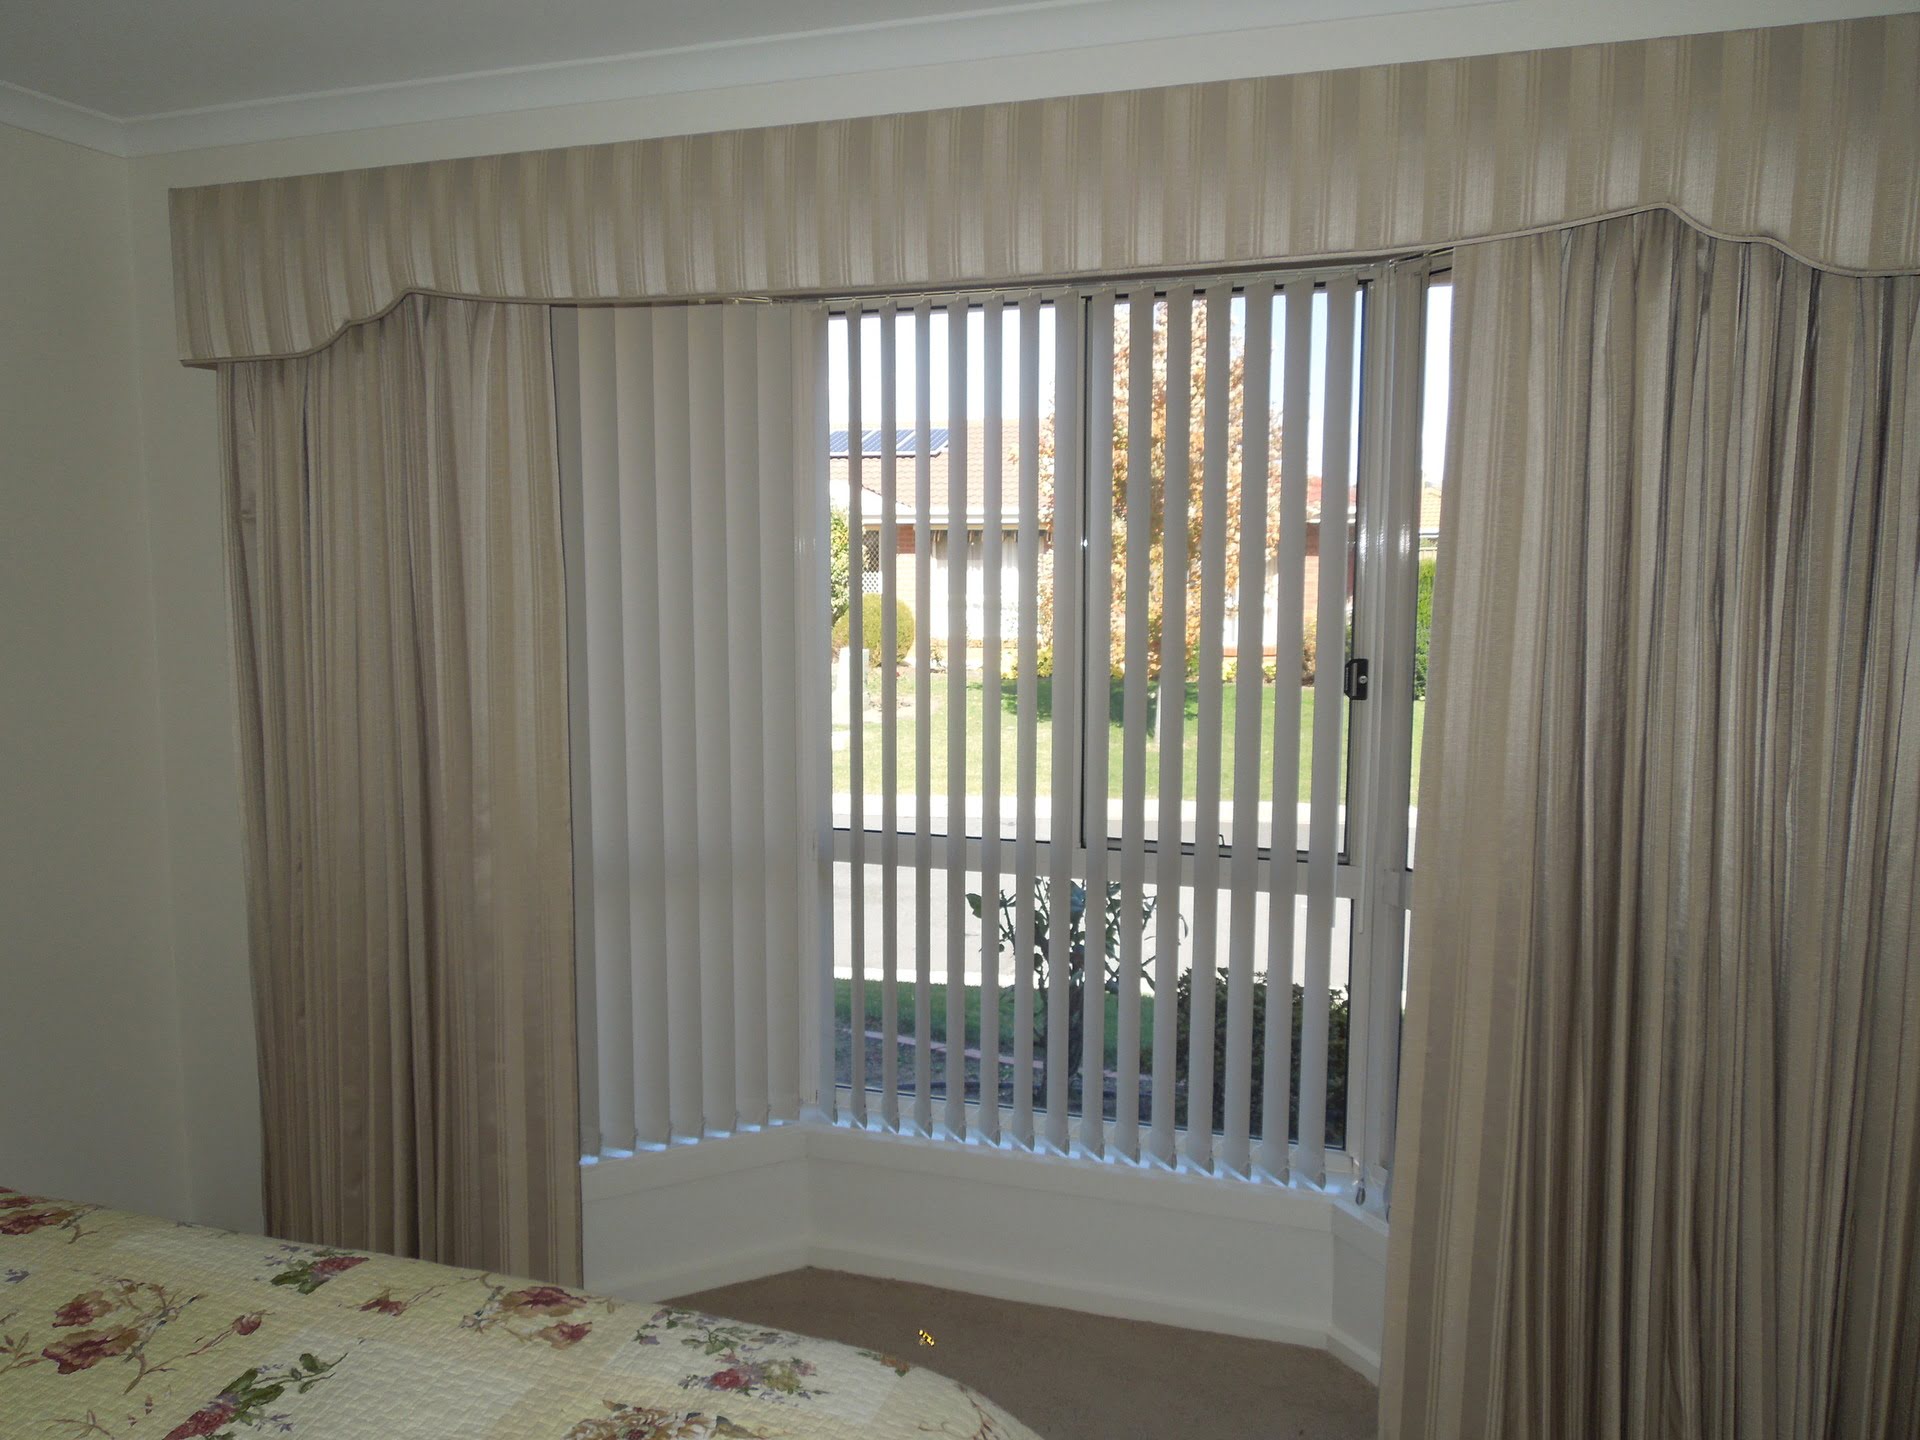
Step 2: Choose the Valance and Blinds
Choosing the right valance and blinds is essential to create a cohesive and visually appealing window treatment. The valance should complement the style and color scheme of your room while also coordinating with the blinds or curtains.
Consider the following factors when selecting your valance:
- Style: Decide on the overall style you want to achieve. Valances come in a variety of styles, including tailored, swag, scarf, and balloon. Choose a style that matches the aesthetic of your room, whether it’s traditional, modern, or eclectic.
- Color and Pattern: Take into account the color scheme and patterns in your room. Opt for a valance that either complements or contrasts with your existing window treatments and furniture. If your blinds are patterned, choose a solid color valance to create a balanced look, or vice versa.
- Fabric: Consider the type of fabric that will work best for your valance. Lighter fabrics like cotton and linen are great for a casual and airy feel, while heavier fabrics like velvet or brocade can add a touch of luxury and formality.
When choosing blinds, take into account their design and function:
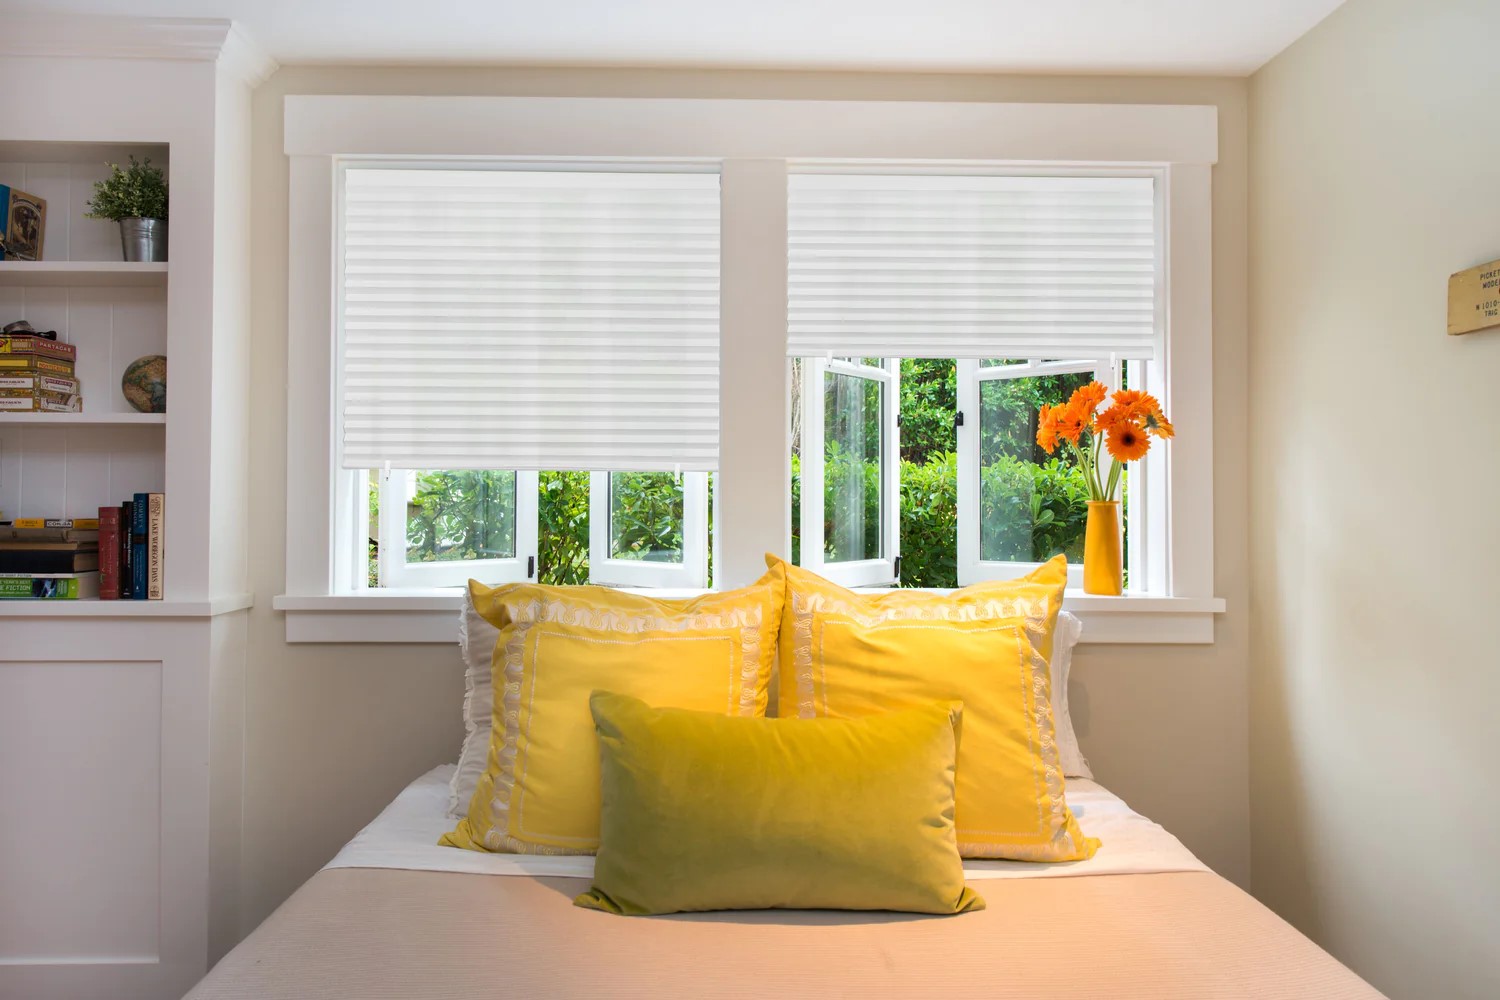
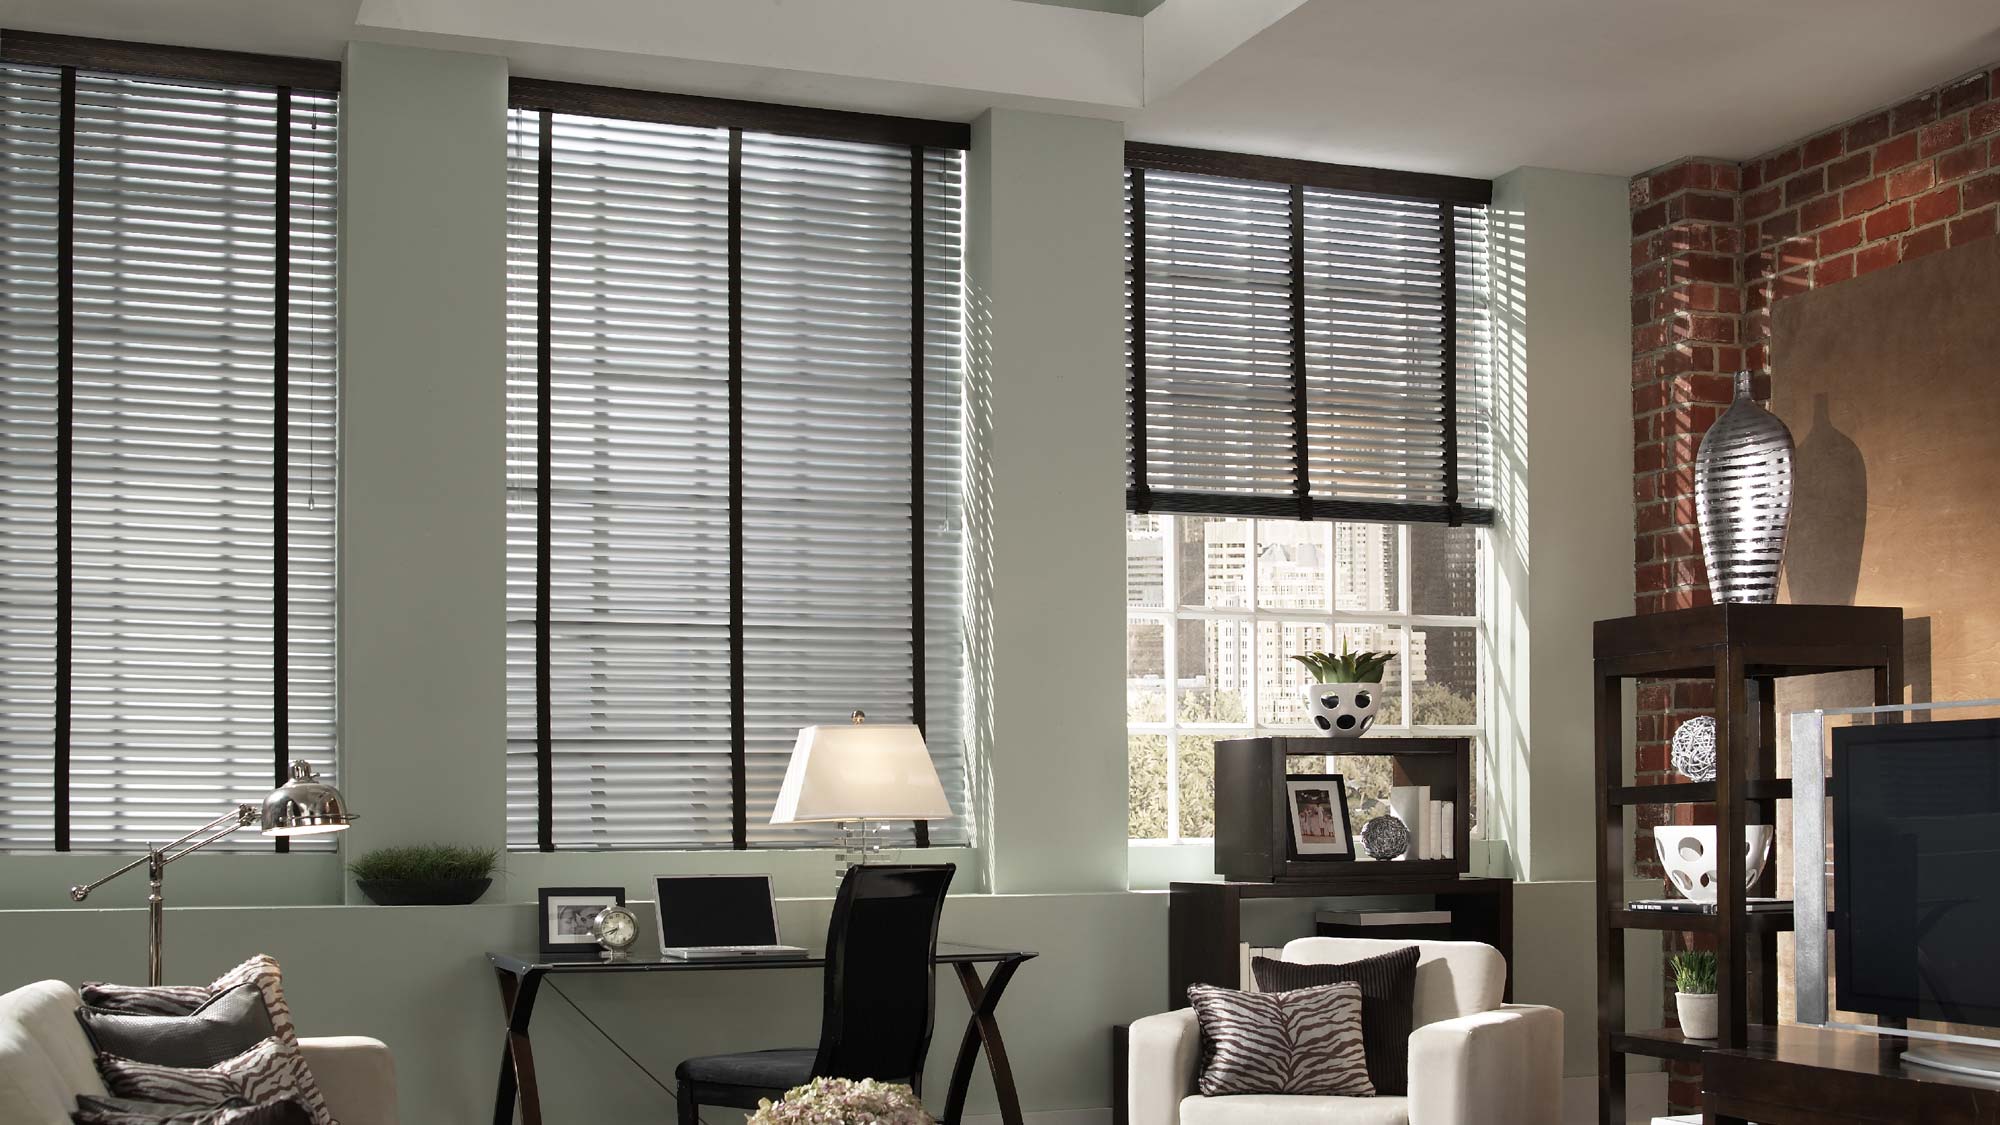
- Type of Blinds: Select the type of blinds that best suits your needs and preferences. Options include vertical blinds, horizontal blinds, roller blinds, or Roman blinds.
- Material: Consider the material of the blinds. Common options include aluminum, wood, faux wood, or fabric blinds. Choose a material that complements your window and room style.
- Color: Opt for a color that coordinates with the overall color scheme of the room.
Once you’ve chosen the perfect valance and blinds, you’re ready to move on to the next step: preparing the valance and blinds for installation.
Step 3: Prepare the Valance and Blinds
Before you can hang the valance over the blinds, it’s important to prepare both the valance and blinds for installation. This step involves checking for any necessary adjustments, cleaning the blinds, and ironing or steaming the valance to remove any wrinkles.
Start by inspecting the valance for any loose threads or imperfections. If you notice any, use scissors or a thread cutter to carefully trim them. This will ensure that the valance looks neat and presentable once it’s hung.
If your valance requires ironing or steaming, follow the fabric care instructions to remove any wrinkles. Place the valance on an ironing board or use a handheld steamer to gently press out any creases. Be cautious not to use excessive heat or pressure, as this may damage the fabric.
In the case of blinds, it’s a good idea to give them a thorough cleaning before hanging the valance. Dust and dirt can accumulate on the blinds over time, dulling their appearance. Use a duster, microfiber cloth, or a vacuum cleaner attachment to remove any dust or debris from the blinds. If the blinds are particularly dirty, consider using a mild soapy solution and a soft cloth to wipe them down.
Once the valance is prepared and the blinds are clean, you’re ready to move on to the next step: installing the brackets for the valance.
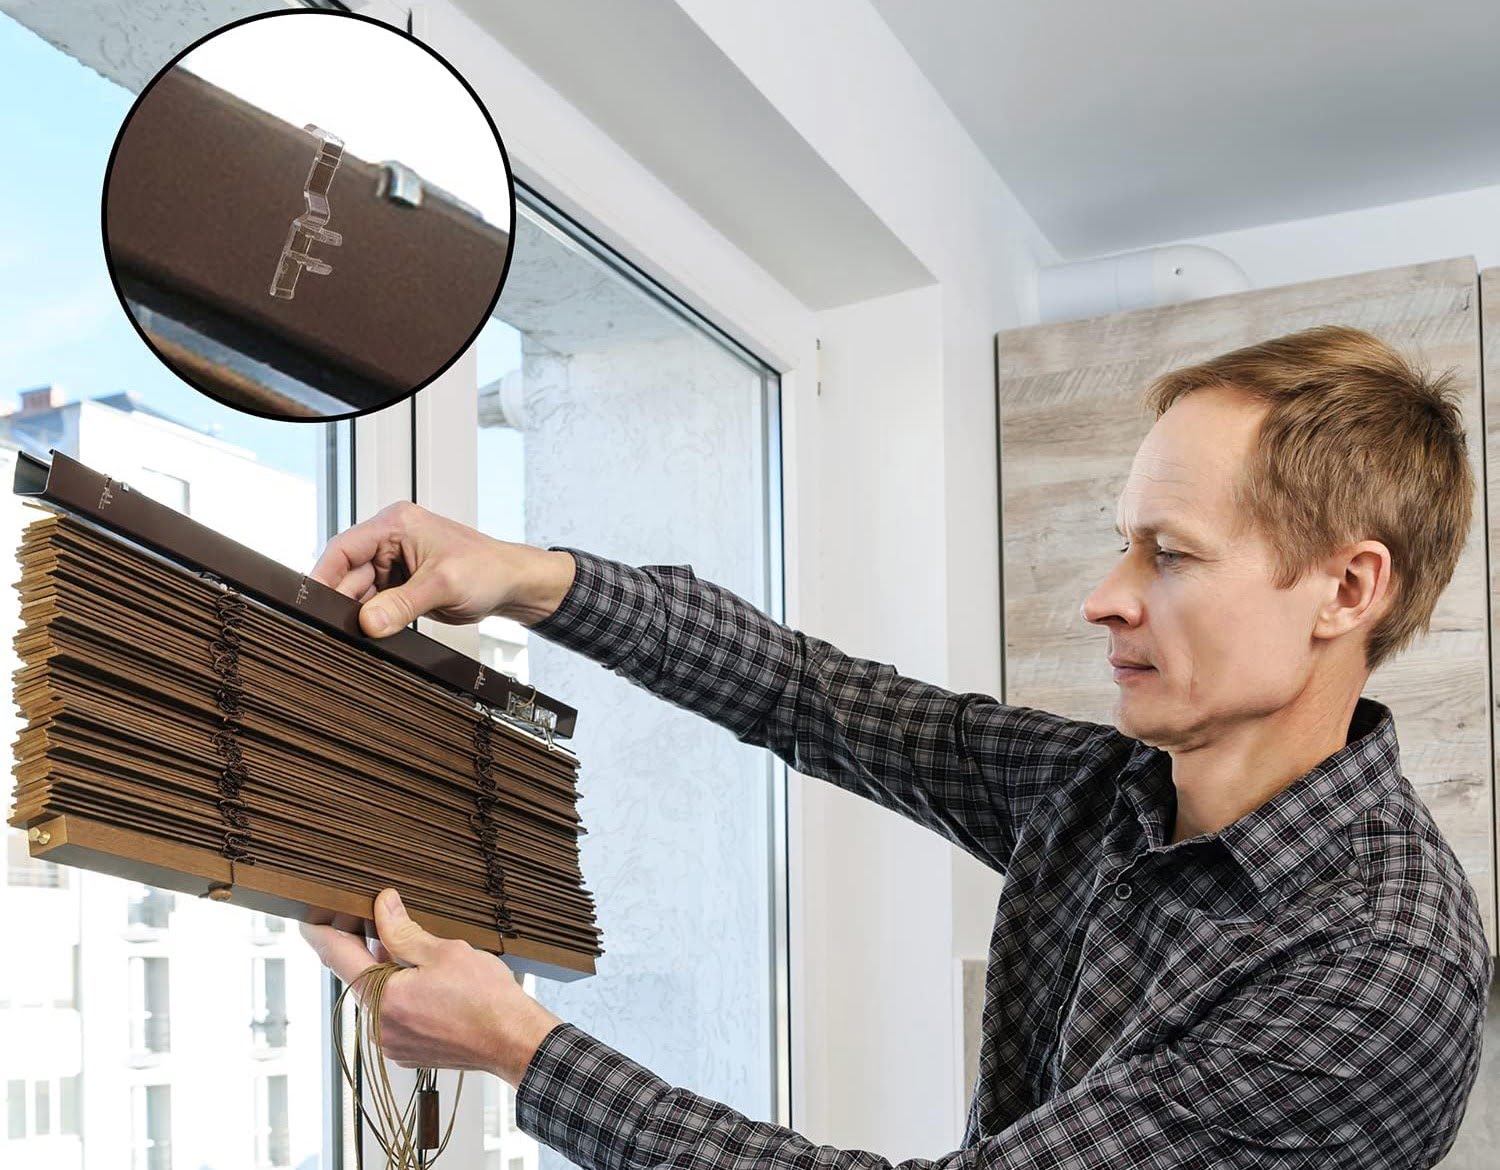
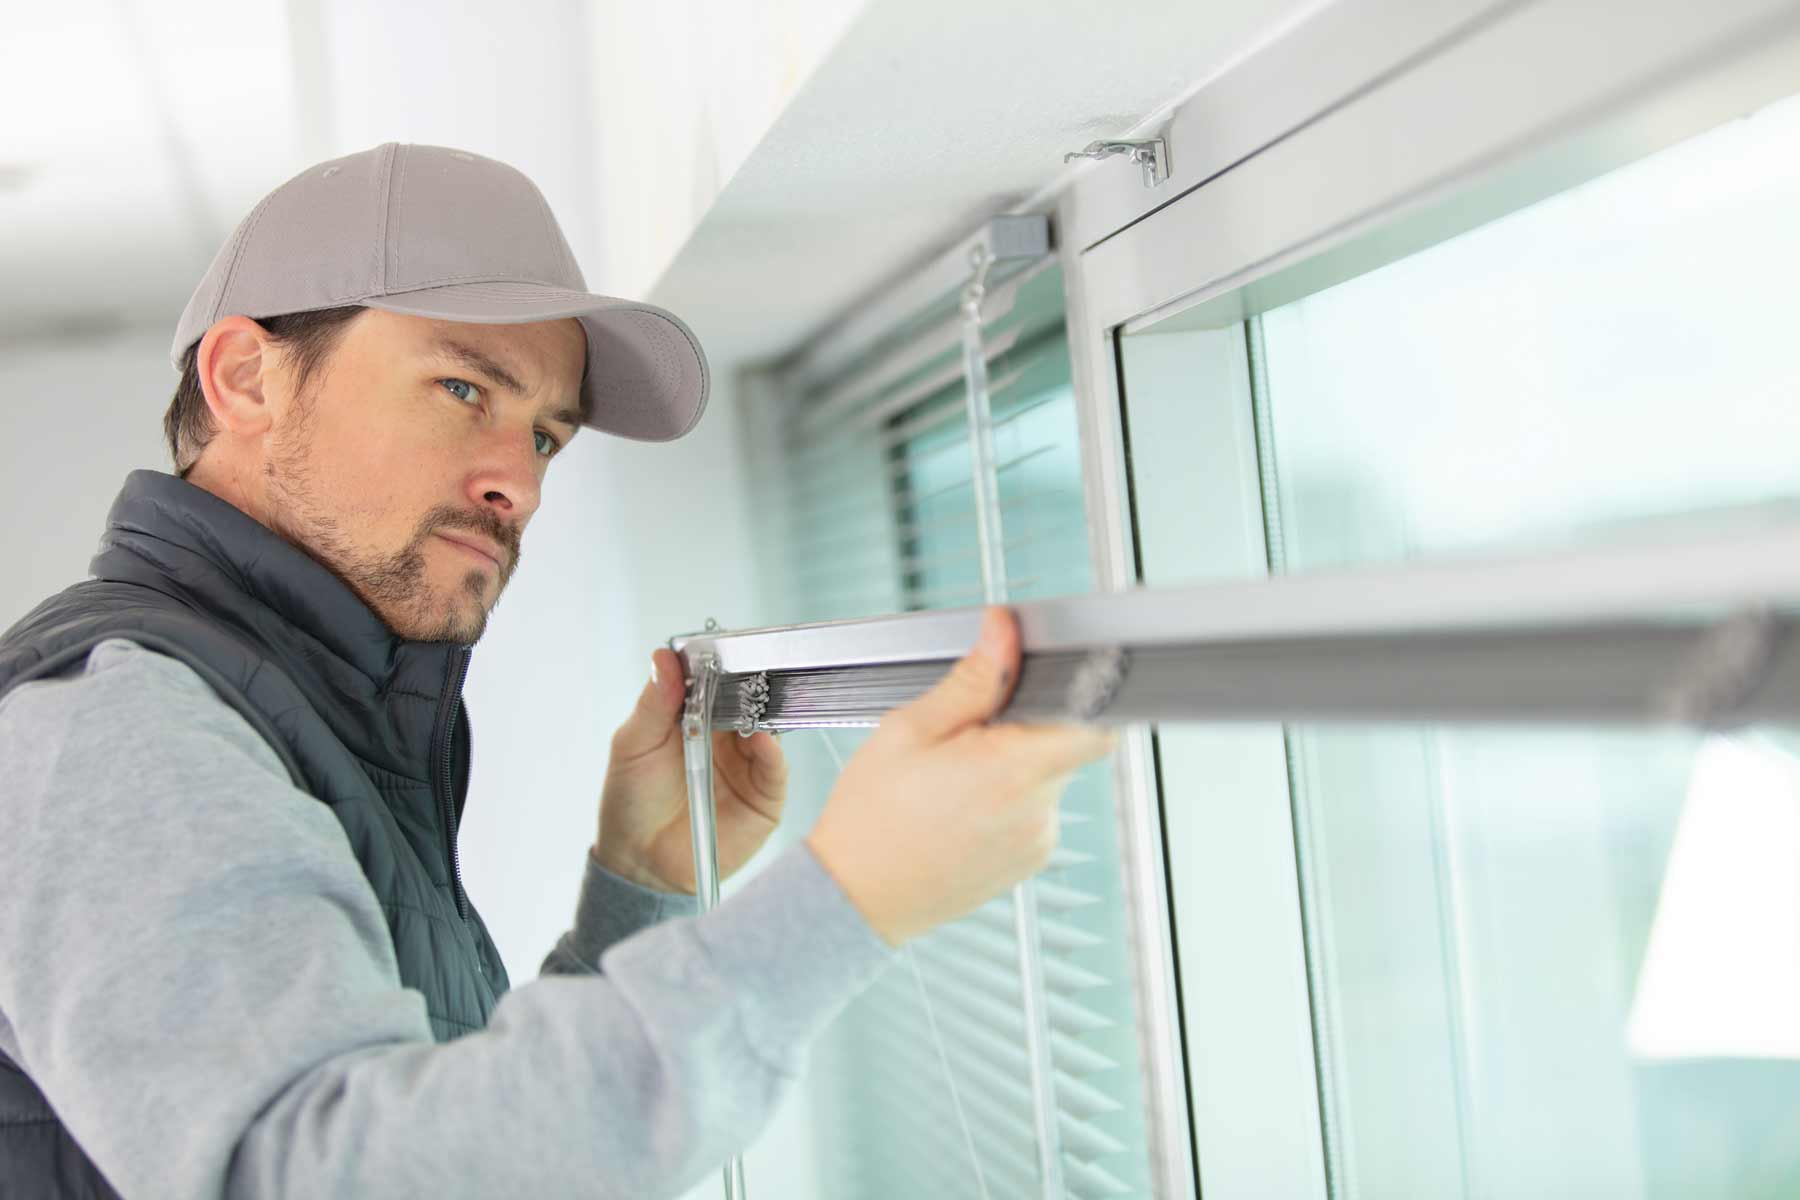
Step 4: Install the Brackets for the Valance
Installing brackets for the valance is an essential step in ensuring a secure and stable hanging of the valance over the blinds. The brackets will act as the support system, holding the valance in place.
Here’s how you can install the brackets:
- Positioning: Determine the placement of the valance brackets. They should be installed just above the window frame and slightly wider than the blinds to ensure full coverage. Use a pencil to mark the desired placement of the brackets.
- Leveling: Use a level to make sure the pencil marks are straight and level. This step is crucial for achieving a professional and visually pleasing result.
- Bracket Installation: Using a drill, insert screws into the marked positions to secure the brackets. Make sure to choose the appropriate type and size of screws based on the material of your window frame. If needed, use anchors for additional support.
- Test Fit: Once the brackets are installed, double-check their stability by gently tugging on them. They should be firmly fixed and able to support the weight of the valance.
Ensure that you follow the manufacturer’s instructions for installing the brackets, as the process may vary depending on the specific type and design of the valance brackets.
Now that the brackets are securely installed, you’re ready to move on to the next step: hanging the valance over the blinds.
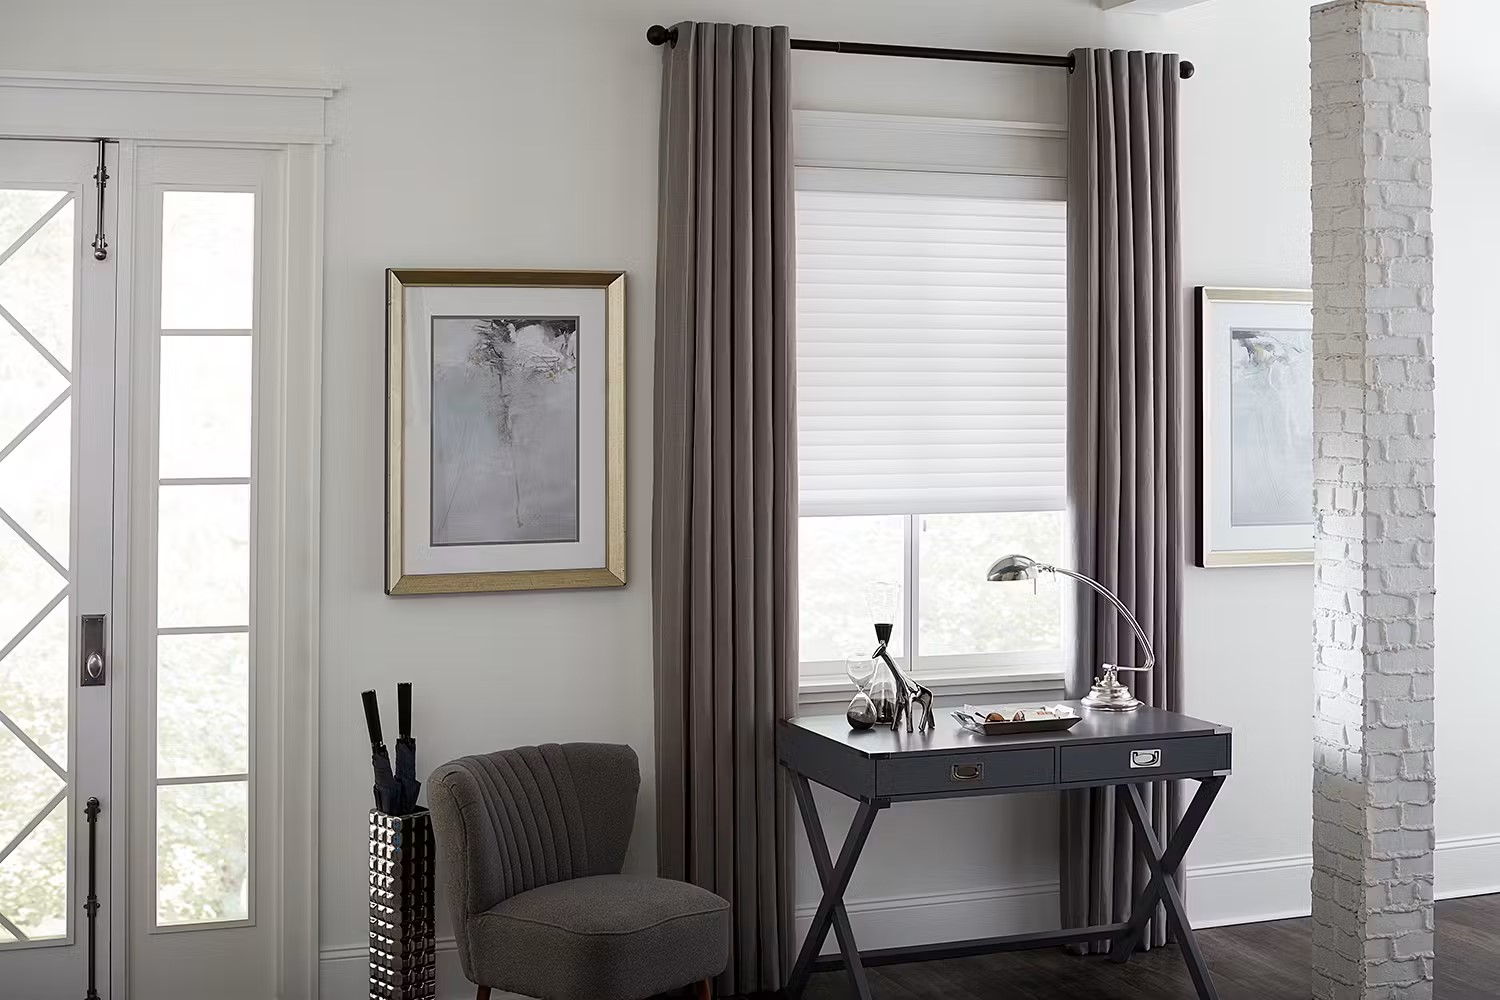
When hanging a valance over blinds, use a double curtain rod to easily hang the valance on the front rod and the blinds on the back rod. This allows for easy adjustment and a polished look.
Read more: How To Hang Valances
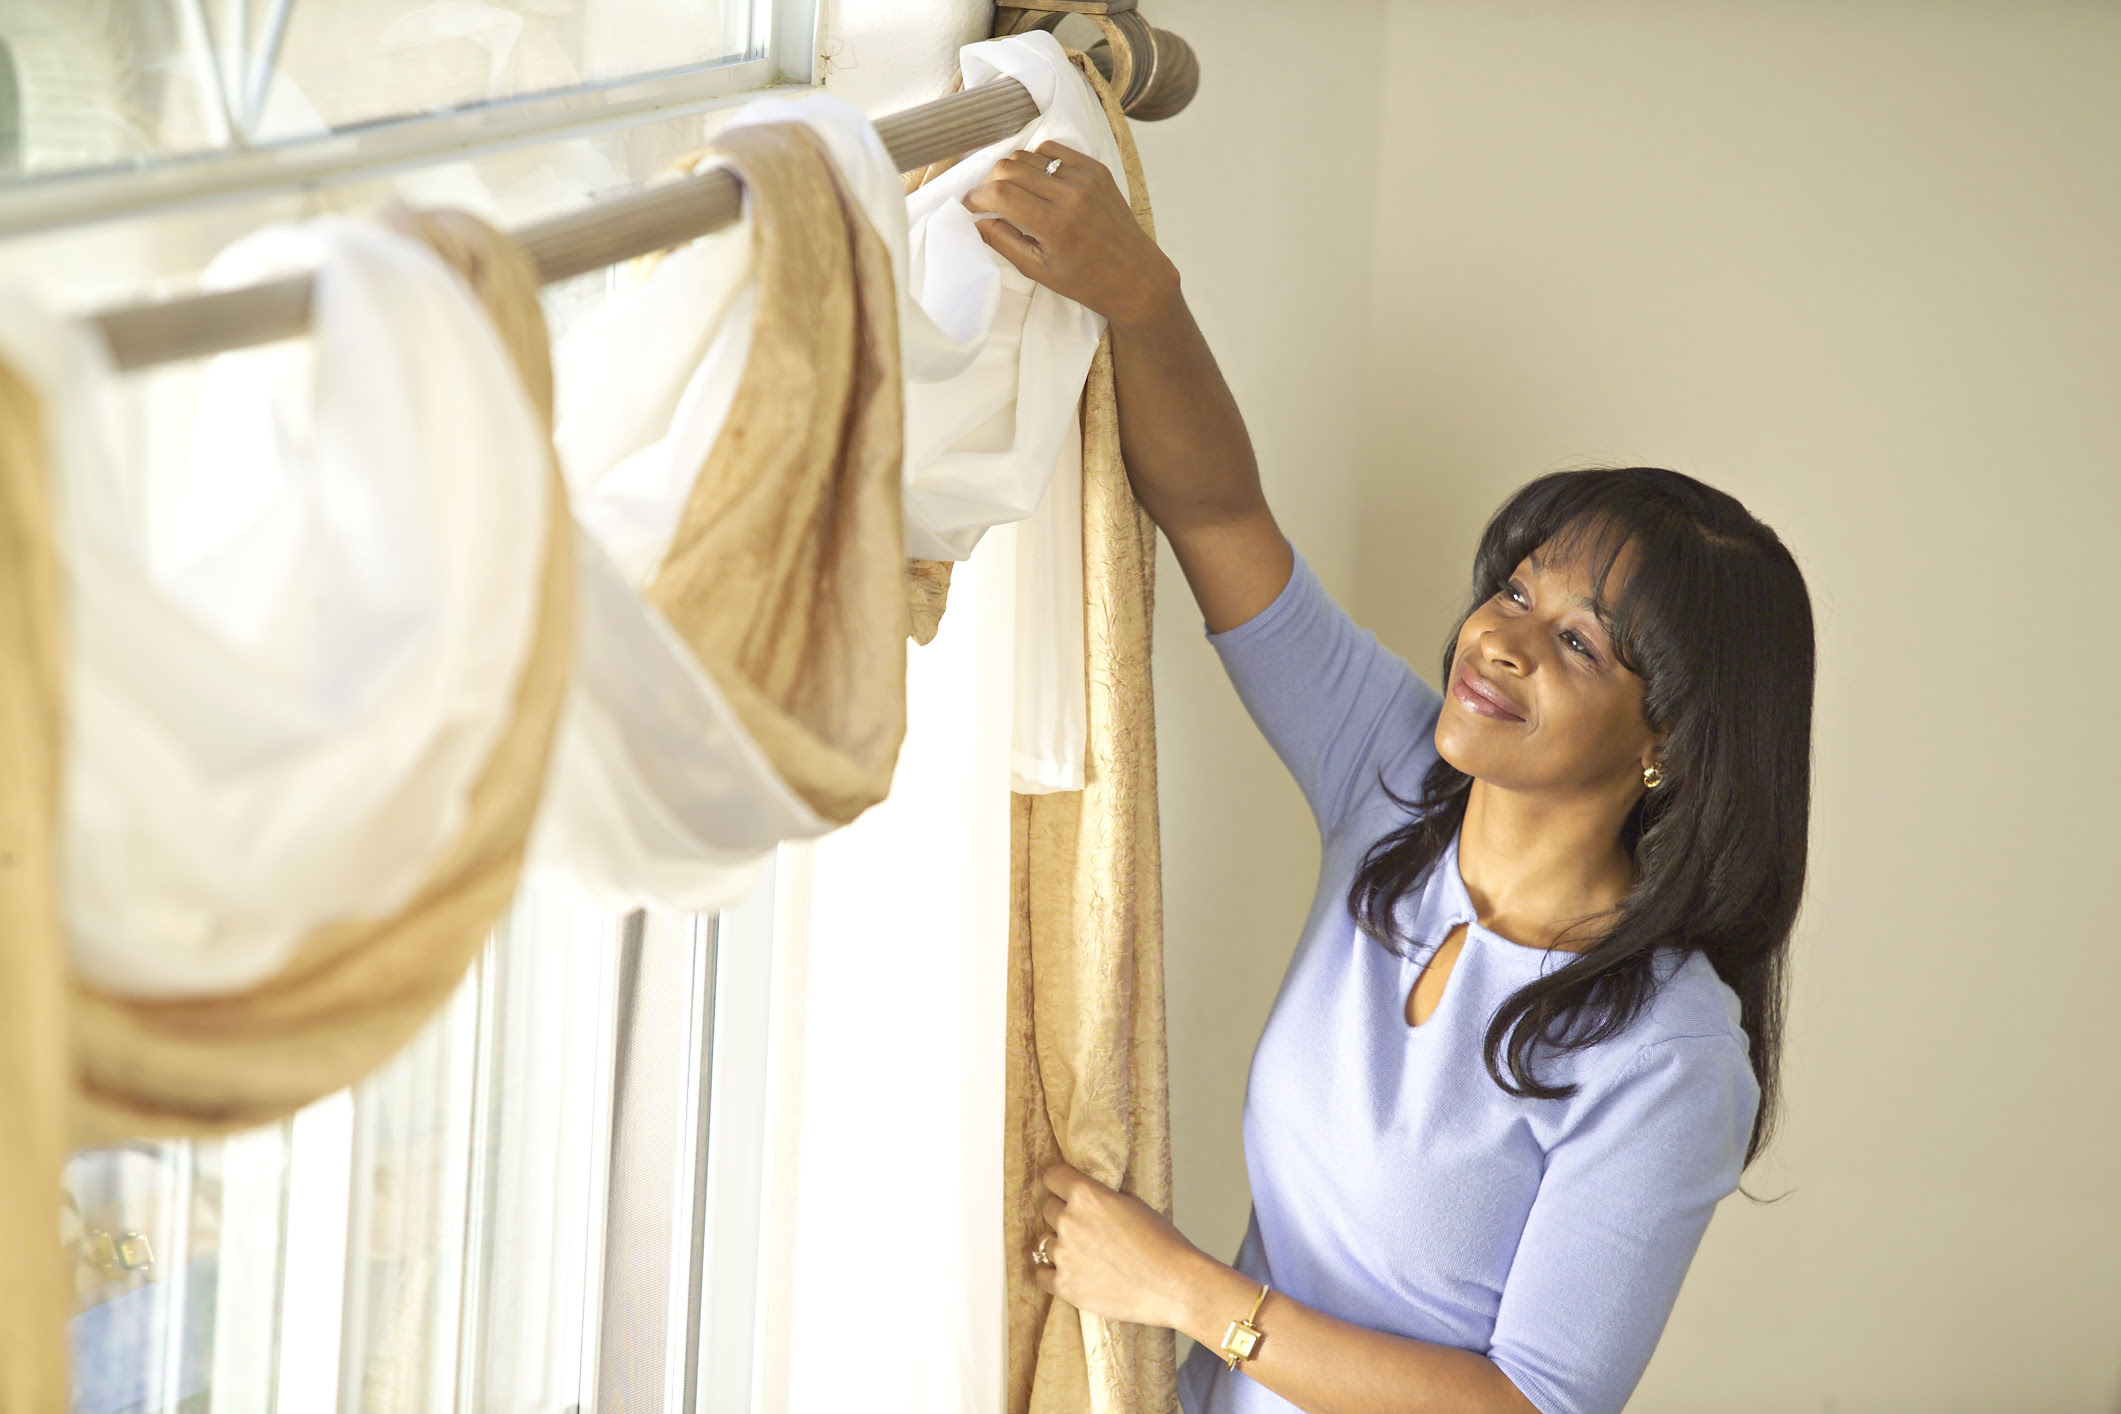
Step 5: Hang the Valance Over the Blinds
Now comes the exciting part – hanging the valance over the blinds! This step will bring your window treatment together and add a touch of elegance to your space.
Follow these steps to hang the valance:
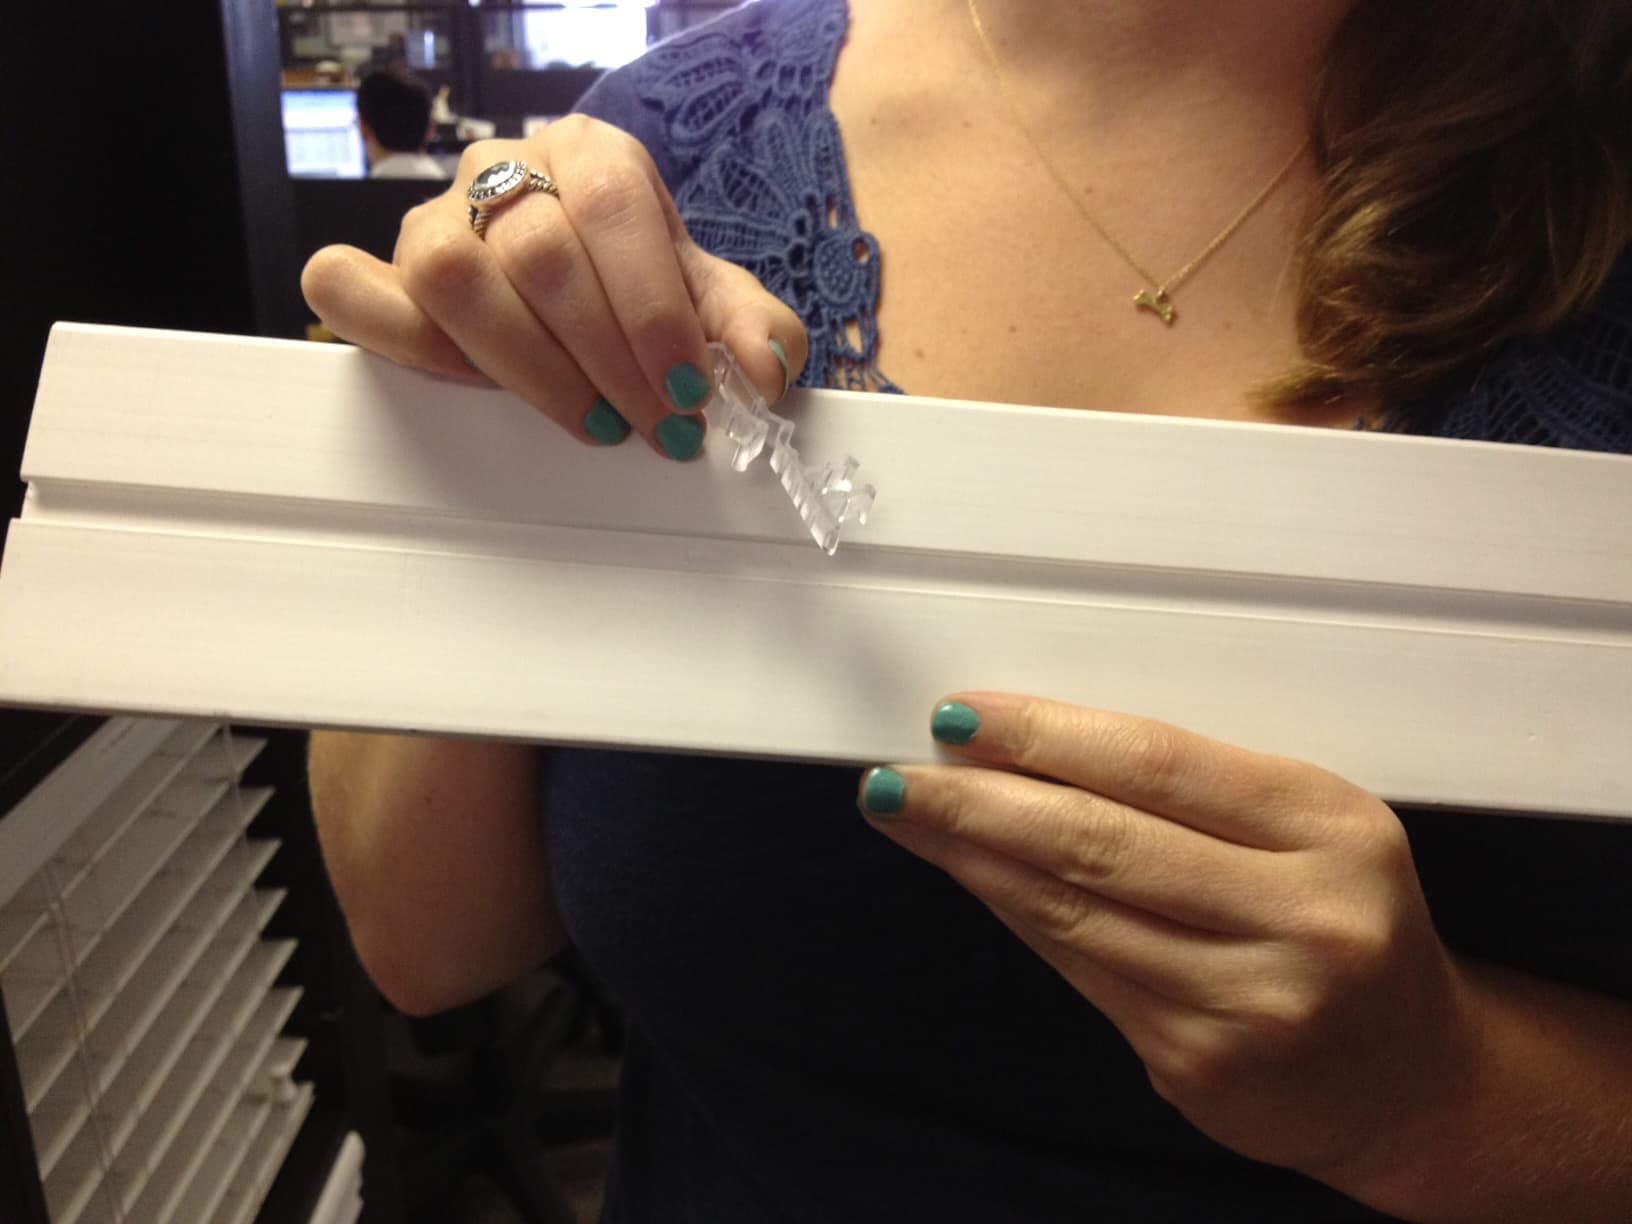
- Attach Valance Clips: Valance clips are used to secure the valance onto the brackets. Slide the valance clips onto the valance, ensuring that they align with the brackets’ position.
- Align and Hook Valance: Carefully align the valance with the brackets and press it onto the clips. Depending on the type of valance clips, you may need to give it a slight upward or downward push to securely hook it in place.
- Test Fit: Gently tug on the valance to ensure it is firmly attached to the brackets and does not wobble or move. If needed, make any adjustments to ensure a snug fit.
It’s important to handle the valance with care during this step to prevent any damage, especially if it’s made of delicate fabric or has intricate detailing.
Once the valance is successfully hung, step back and admire the transformation of your window. The valance should now gracefully drape over the blinds, enhancing the overall aesthetics of the space.
Now that the valance is in place, let’s move on to the next step: adjusting and securing the valance.
Step 6: Adjust and Secure the Valance
After hanging the valance over the blinds, it’s time to make any necessary adjustments and ensure that it is securely in place. This step will help achieve a neat and polished look for your window treatment.
Here are the steps to adjust and secure the valance:
- Alignment: Step back and assess the alignment of the valance. Ensure that it is evenly positioned and hangs straight. If you notice any unevenness, gently adjust the valance by sliding it along the valance clips.
- Centering: If desired, you may need to center the valance over the window. Measure the distance from each side of the window frame to the ends of the valance to ensure symmetry. Make any necessary adjustments by sliding the valance into the desired position.
- Secure Valance Clips: To ensure a secure fit, double-check that the valance clips are firmly holding the valance in place. If any clips feel loose, gently press them tighter against the valance.
This step is crucial for achieving a professional and polished look. Taking the time to adjust and secure the valance will ensure that it stays in place and maintains its aesthetic appeal over time.
With the valance properly adjusted and securely in place, you’re almost done! Let’s move on to the final step: adding finishing touches and conducting final checks.
Step 7: Finishing Touches and Final Checks
Congratulations on almost completing the process of hanging a valance over blinds! Now it’s time to add those final touches and conduct some final checks to ensure that everything is perfect.
Here are some finishing touches and checks to consider:
- Smooth out Wrinkles: Take a moment to smooth out any wrinkles or creases that may have formed in the valance during the installation process. Use your hands or a fabric steamer to gently remove any visible wrinkles.
- Adjust the Overhang: If desired, you can adjust the amount of overhang of the valance. Ensure that it hangs evenly and is balanced on both sides of the window.
- Clean the Window: Take the opportunity to clean the window glass and the surrounding area. Wipe away any smudges, fingerprints, or dirt that may have accumulated during the installation process.
- Final Evaluation: Step back and evaluate the overall appearance of the window. Double-check that the valance complements the blinds and enhances the aesthetics of the room. Make any further adjustments if needed.
Once you are satisfied with the final look, you have successfully completed the process of hanging a valance over blinds! Sit back, relax, and enjoy the enhanced beauty and functionality of your window treatment.
Remember to periodically check the valance for any signs of wear or loosening. If necessary, re-adjust or re-secure the valance to ensure it remains in place and maintains its attractive appearance.
By following these steps, you have successfully transformed your window with a stylish and decorative valance. Enjoy the beauty and elegance it adds to your space!
We hope this guide has been helpful and that you have found success in hanging a valance over your blinds. Thank you for reading, and happy decorating!
Conclusion
Hanging a valance over blinds is a simple and effective way to elevate the style and visual appeal of your windows. With the right measurements, choice of valance and blinds, and proper installation, you can achieve a beautiful and cohesive window treatment that enhances the overall ambiance of the room.
In this guide, we have walked you through the step-by-step process of hanging a valance over blinds. We started with measuring the window to ensure a proper fit, followed by selecting the valance and blinds that match your style and decor. We then prepared the valance and blinds for installation, making sure they are clean and wrinkle-free.
Next, we installed the brackets for the valance, ensuring stability and support. Once the brackets were in place, we considered the alignment and securely hung the valance over the blinds using valance clips. Adjustments were made for symmetry and proper positioning.
Finally, we added the finishing touches and conducted a final evaluation to ensure a polished and cohesive look. We emphasized the importance of periodic maintenance to keep the valance in excellent condition.
Now you have the knowledge and guidance to confidently transform your windows by hanging a valance over blinds. Get creative with different styles, colors, and patterns to suit your personal taste and interior design aesthetic.
We hope this guide has been insightful and helpful in your quest to enhance the beauty and functionality of your windows. Enjoy the newfound elegance and charm that a valance brings to your space!
Happy decorating!
Ready to tackle more home projects yourself? Our comprehensive guide on DIY home improvement is just what you need. From simple repairs to more ambitious renovations, we've got all bases covered. Learn to manage projects efficiently, saving money while transforming your space. Why wait? Start mastering these skills today!
Frequently Asked Questions about How To Hang A Valance Over Blinds
Was this page helpful?
At Storables.com, we guarantee accurate and reliable information. Our content, validated by Expert Board Contributors, is crafted following stringent Editorial Policies. We're committed to providing you with well-researched, expert-backed insights for all your informational needs.

0 thoughts on “How To Hang A Valance Over Blinds”