Home>Gardening & Outdoor>Landscaping Ideas>How To Pull Up Grass For Sod
Landscaping Ideas
How To Pull Up Grass For Sod
Modified: February 18, 2024
Learn the best landscaping ideas for pulling up grass to prepare for sod installation. Get step-by-step instructions and expert tips.
(Many of the links in this article redirect to a specific reviewed product. Your purchase of these products through affiliate links helps to generate commission for Storables.com, at no extra cost. Learn more)
Introduction
When it comes to transforming your outdoor space, laying down fresh sod can instantly revitalize the look of your lawn. However, before you can lay new sod, it's crucial to prepare the area properly. One essential step in this process is pulling up the existing grass to make way for the new sod. This task requires the right tools, techniques, and a bit of elbow grease, but the results are well worth the effort.
In this comprehensive guide, we'll walk you through the process of pulling up grass to prepare for sod installation. We'll cover everything from the tools and equipment you'll need to the step-by-step process of removing the old grass and laying down the new sod. Additionally, we'll explore the crucial post-installation care required to ensure that your new sod takes root and flourishes.
By the end of this guide, you'll have the knowledge and confidence to tackle the task of pulling up grass for sod, setting the stage for a lush and vibrant lawn that you can enjoy for years to come. So, let's dive in and explore the essential steps and best practices for this transformative landscaping project.
Key Takeaways:
- Before pulling up grass for sod, gather tools like a shovel, wheelbarrow, and work gloves. Prepare the area by measuring, clearing debris, and watering the existing grass to ensure a successful sod installation.
- When laying the new sod, acquire quality pieces, stagger the joints, and water thoroughly. Care for the new sod by watering daily, limiting foot traffic, and establishing a regular maintenance routine for a vibrant and inviting lawn.
Read more: How To Pull Up Grass
Tools and Equipment Needed
Before you begin the process of pulling up grass for sod, it’s important to gather the necessary tools and equipment. Having the right supplies on hand will not only make the task more manageable but also ensure that you can complete the job efficiently and effectively. Here’s a list of essential tools and equipment you’ll need:
- Shovel: A sturdy, sharp-edged shovel is indispensable for cutting through the grass and lifting it from the soil. Look for a shovel with a comfortable grip that allows for ample leverage.
- Turf Cutter: If you’re dealing with a larger area or want to expedite the process, a turf cutter can be a valuable tool. This machine slices under the existing grass, making it easier to lift and remove in sections.
- Wheelbarrow: You’ll need a wheelbarrow to transport the removed grass and any debris away from the work area. Opt for a durable, well-balanced wheelbarrow that can handle the weight of the grass and soil.
- Work Gloves: Protect your hands from blisters, cuts, and abrasions with a pair of sturdy work gloves. Choose gloves with a good grip to handle the tools and protect your hands from dirt and potential hazards.
- Watering Can or Hose: After laying the new sod, you’ll need to water it thoroughly. Ensure you have a watering can or hose with a gentle spray attachment to provide the newly installed sod with the hydration it needs.
- Rake: A sturdy rake is essential for leveling the soil and removing any remaining debris once the grass is removed. Look for a durable rake with strong tines to effectively prepare the soil for the new sod.
- Measuring Tape: To accurately determine the dimensions of the area where you’ll be laying the new sod, a measuring tape is essential. This will help you calculate the amount of sod needed for the project.
- Sod Cutter (Optional): If you’re removing existing sod from a specific area, a sod cutter can simplify the process by cleanly slicing and lifting the old sod.
By ensuring that you have these tools and equipment at your disposal, you’ll be well-prepared to tackle the task of pulling up the existing grass and preparing the area for the installation of fresh sod.
Preparing the Area
Before you dive into the process of pulling up grass for sod, it’s essential to prepare the area properly. This preparation sets the stage for a successful sod installation and ensures that the new grass will thrive in its new environment. Here are the key steps to follow when preparing the area for the upcoming sod installation:
- Measure and Mark: Begin by measuring the area where you plan to lay the new sod. Use stakes or marking spray to outline the perimeter, clearly defining the boundaries of the project area.
- Clear the Area: Remove any debris, rocks, or large obstructions from the designated area. Clearing the space will make it easier to work and ensure a smooth surface for laying the new sod.
- Water the Existing Grass: Thoroughly water the existing grass a day or two before you plan to pull it up. This will soften the soil and make it easier to remove the grass and its underlying roots.
- Trim the Existing Grass: Use a lawn mower or trimmer to cut the existing grass as short as possible. This will minimize the volume of grass you need to remove and create a more even surface for the new sod.
- Inspect the Soil: Take a close look at the soil in the designated area. Remove any weeds or unwanted vegetation, and ensure that the soil is relatively level and free of major irregularities.
By meticulously preparing the area before pulling up the existing grass, you’ll create an optimal environment for the new sod to take root and thrive. This initial groundwork sets the stage for a smooth and successful sod installation process, paving the way for a vibrant and healthy lawn.
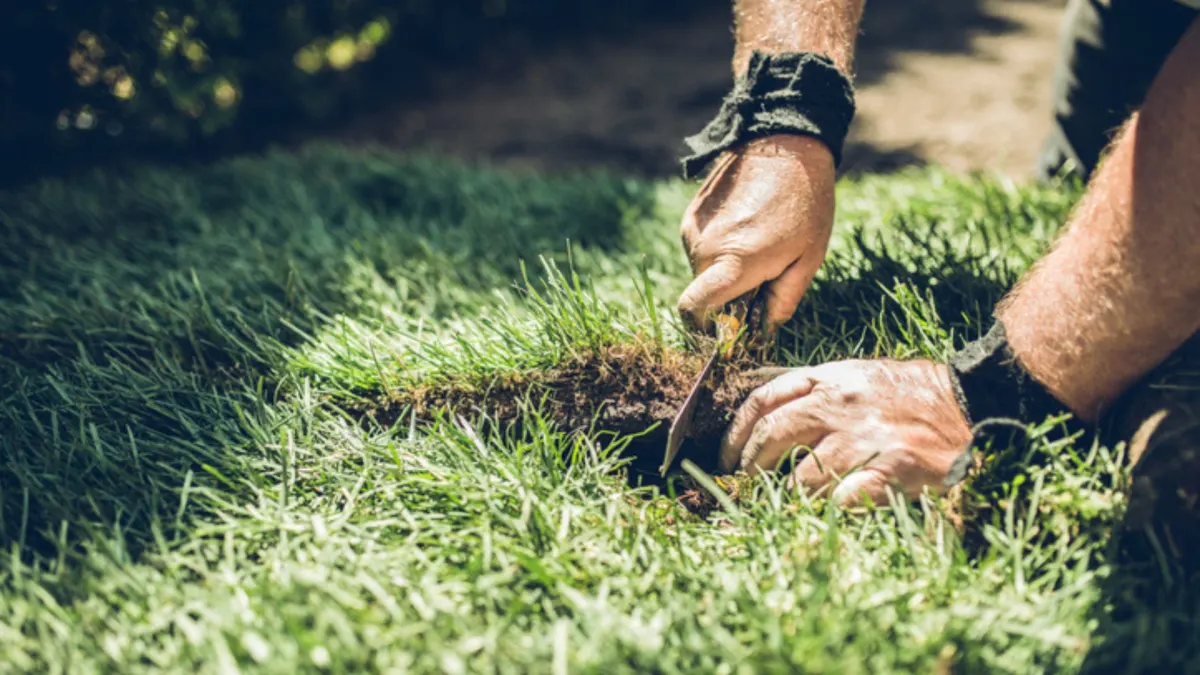
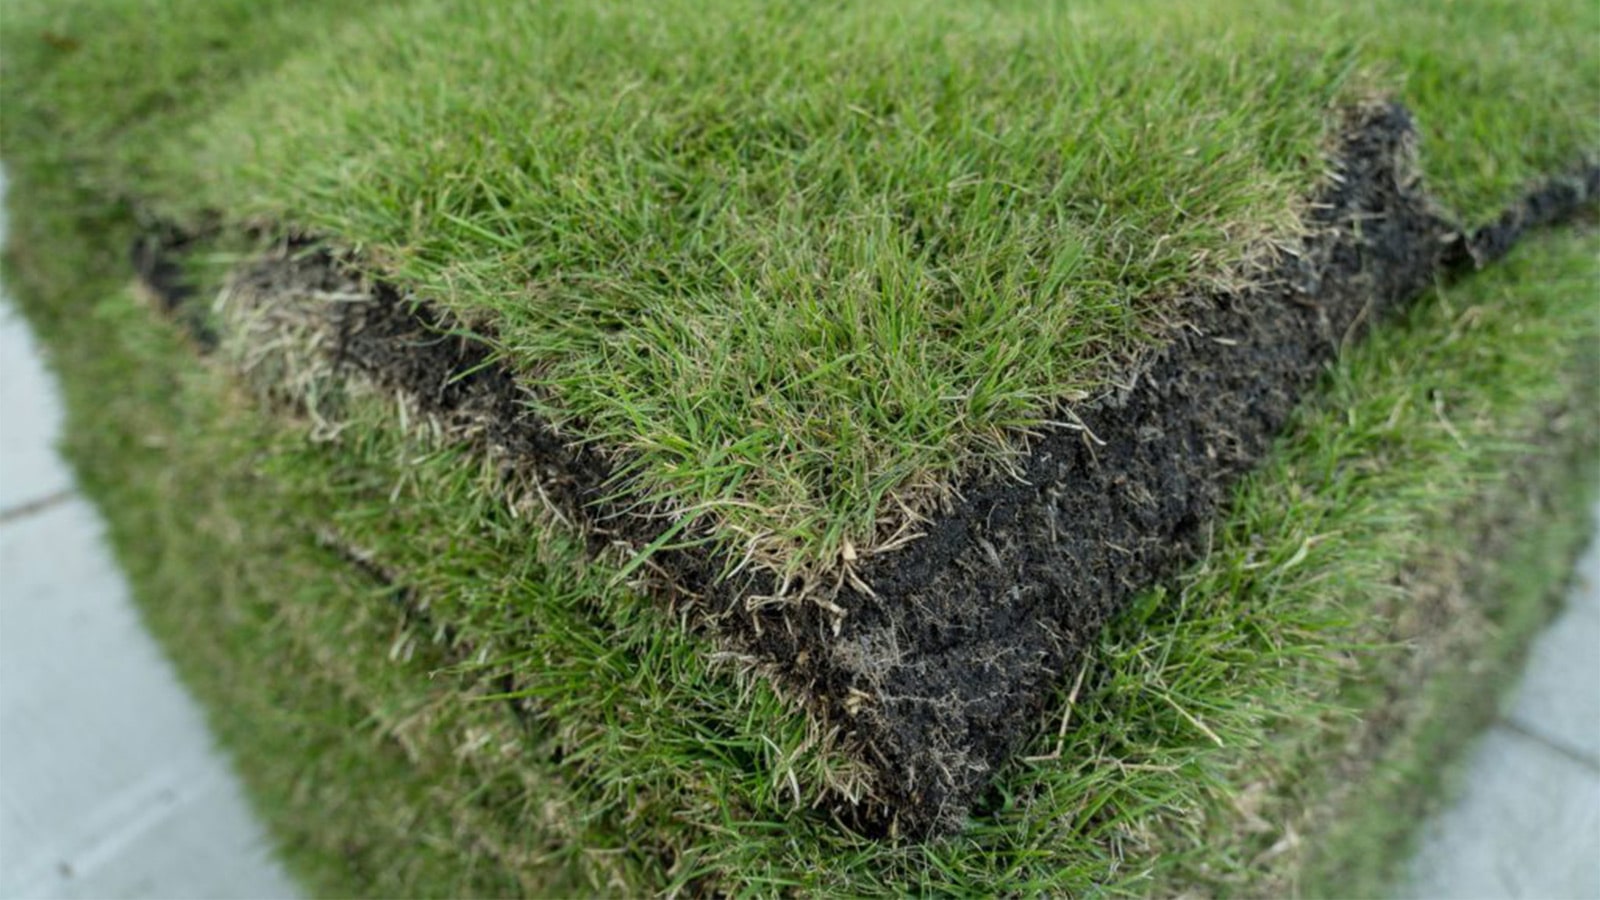
When pulling up grass for sod, use a sharp shovel to cut under the grass and lift it up in sections. Make sure to remove all roots to prevent regrowth.
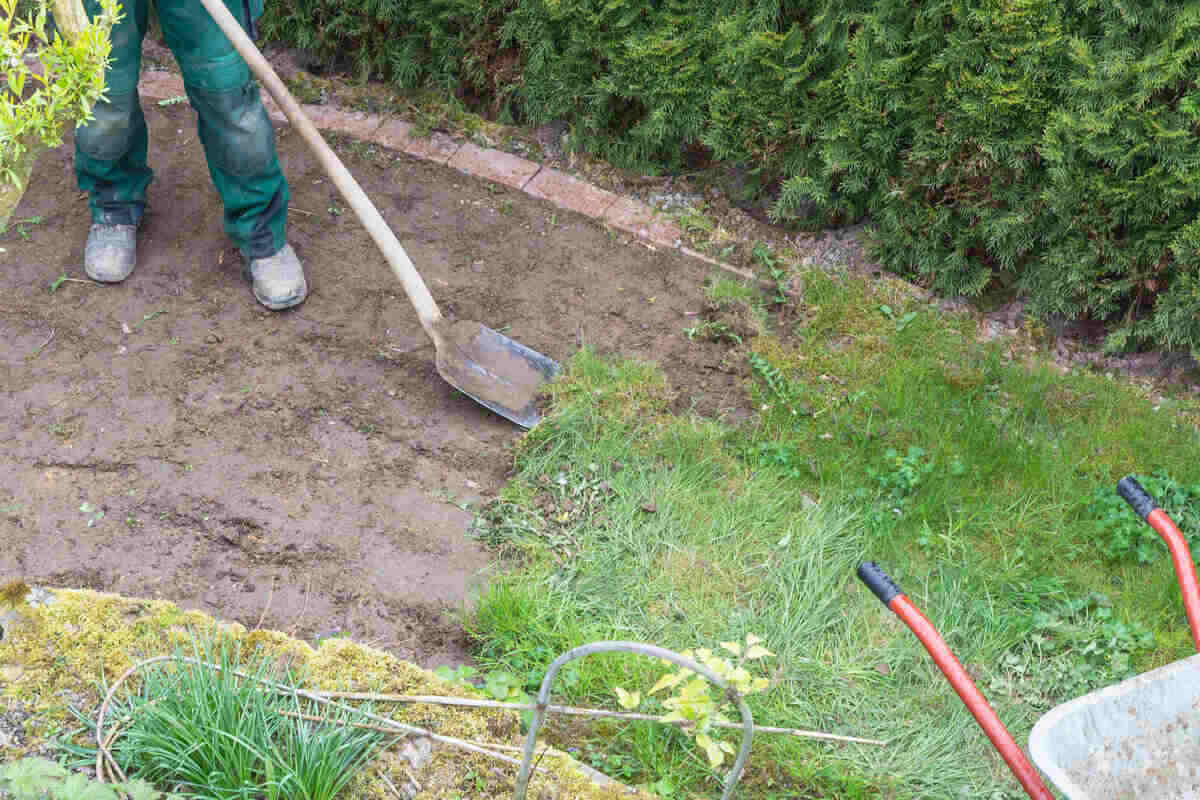
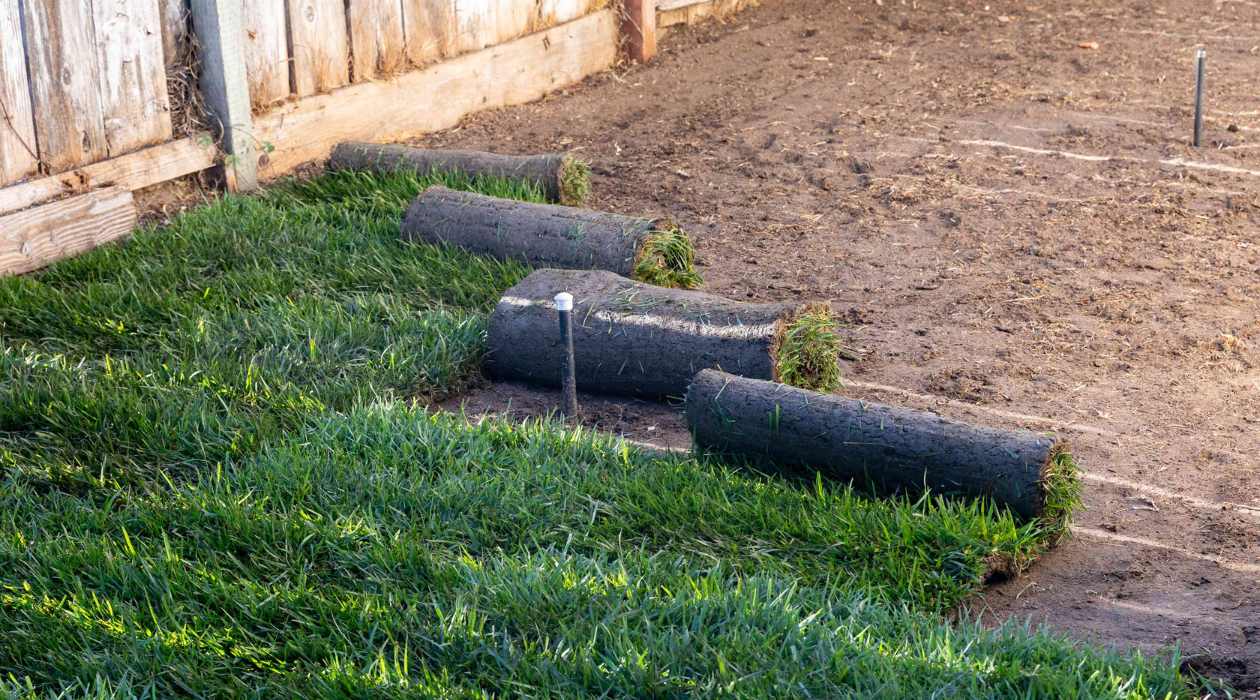
Pulling Up the Grass
Now that you’ve prepared the area and gathered the necessary tools, it’s time to begin the process of pulling up the existing grass to make way for the new sod. This step requires careful execution to ensure that the old grass is removed completely, allowing the fresh sod to establish strong roots in the underlying soil. Here’s a step-by-step guide to pulling up the grass effectively:
- Start at the Edge: Position yourself at one edge of the designated area and use a shovel or turf cutter to cut a straight line, outlining a manageable section of grass to remove.
- Insert the Shovel: Insert the shovel into the soil just beneath the roots of the grass, leveraging it to lift and loosen the grass and soil beneath it.
- Lift and Roll: With the shovel in place, apply firm pressure to lift and roll the section of grass, exposing the soil beneath it. Work methodically, moving along the outlined sections until all the grass is removed.
- Inspect the Soil: After removing the grass, inspect the exposed soil for any remaining roots, rocks, or debris. Clear the area as needed to ensure a clean and even surface for the new sod.
- Dispose of the Old Grass: Transfer the removed grass and any debris to a designated disposal area, such as a compost pile or green waste container.
- Repeat the Process: Continue the process of cutting, lifting, and removing the grass in manageable sections until the entire area is cleared of the old grass and prepared for the new sod.
By following these steps and working methodically, you can effectively pull up the existing grass, creating a clean slate for the installation of fresh sod. This meticulous approach sets the stage for a successful sod installation and ensures that the new grass will take root and thrive in its new environment.
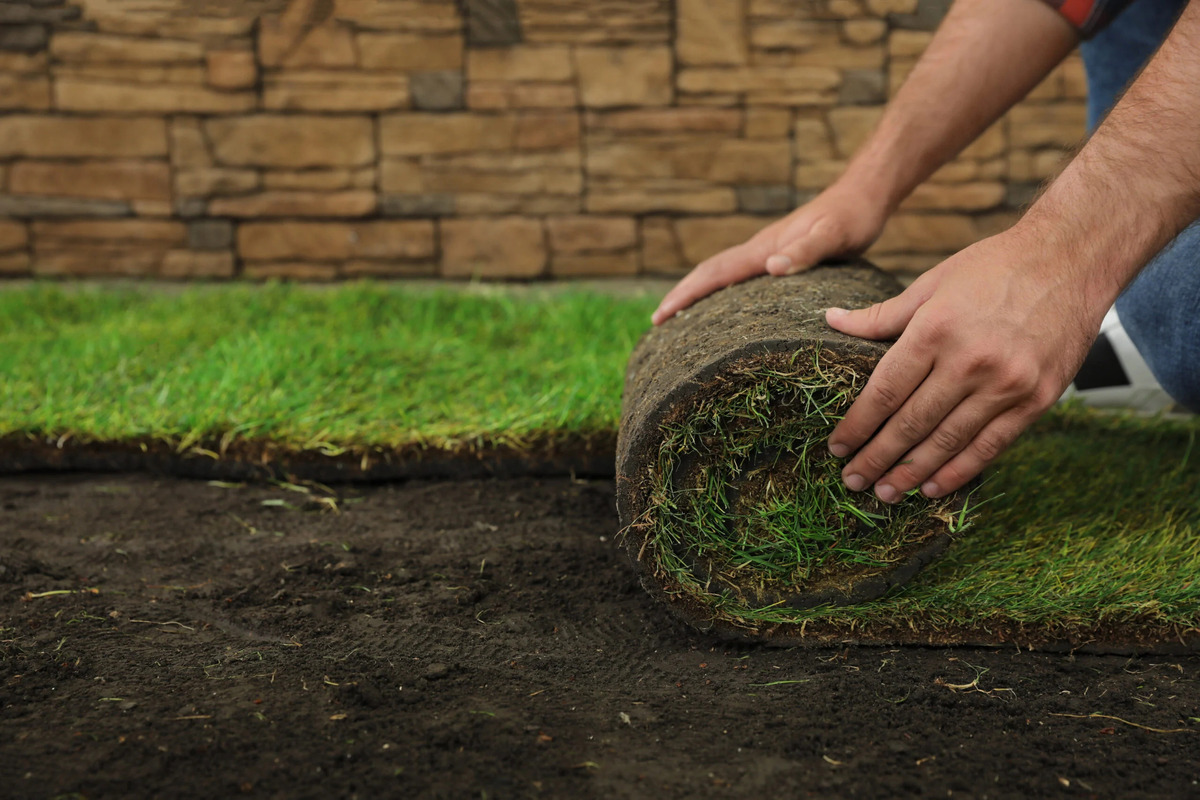
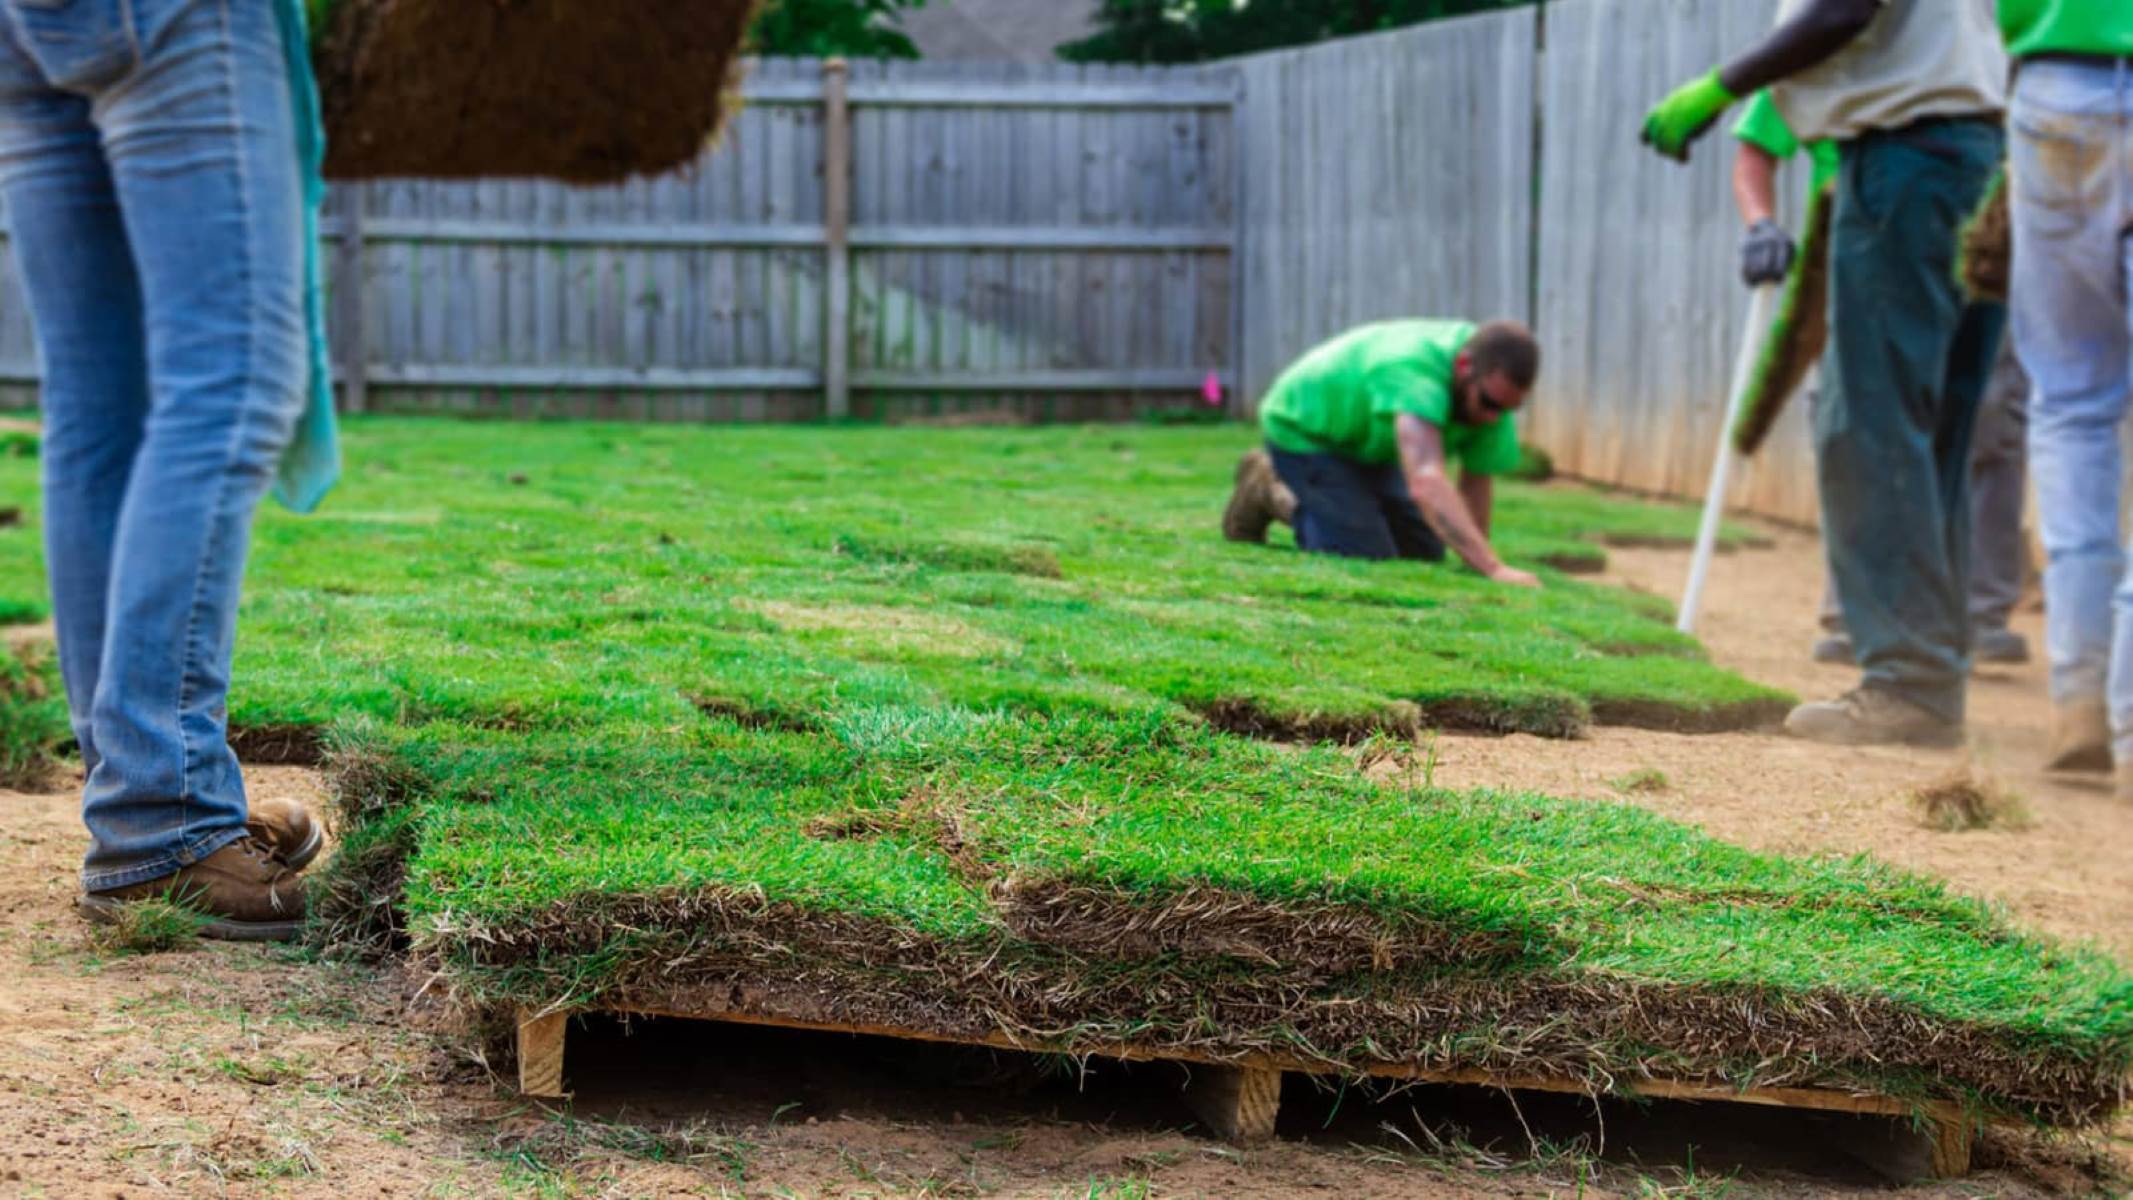
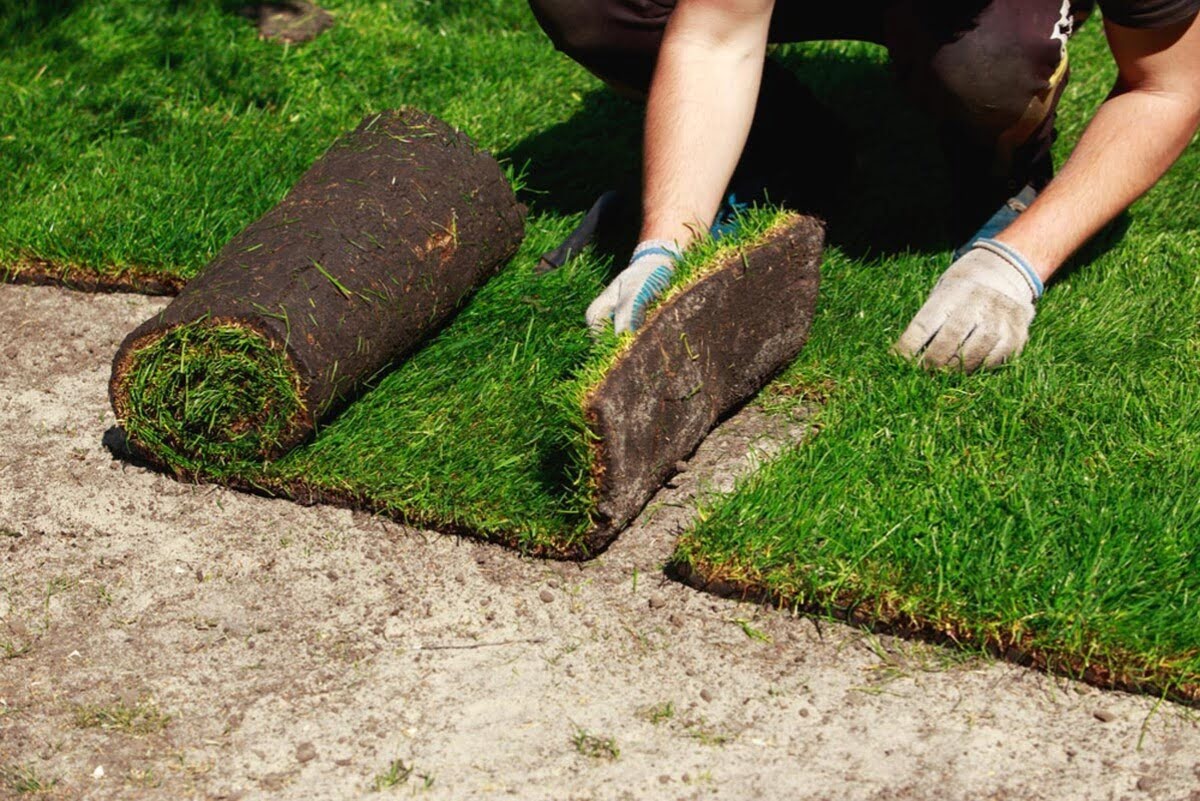
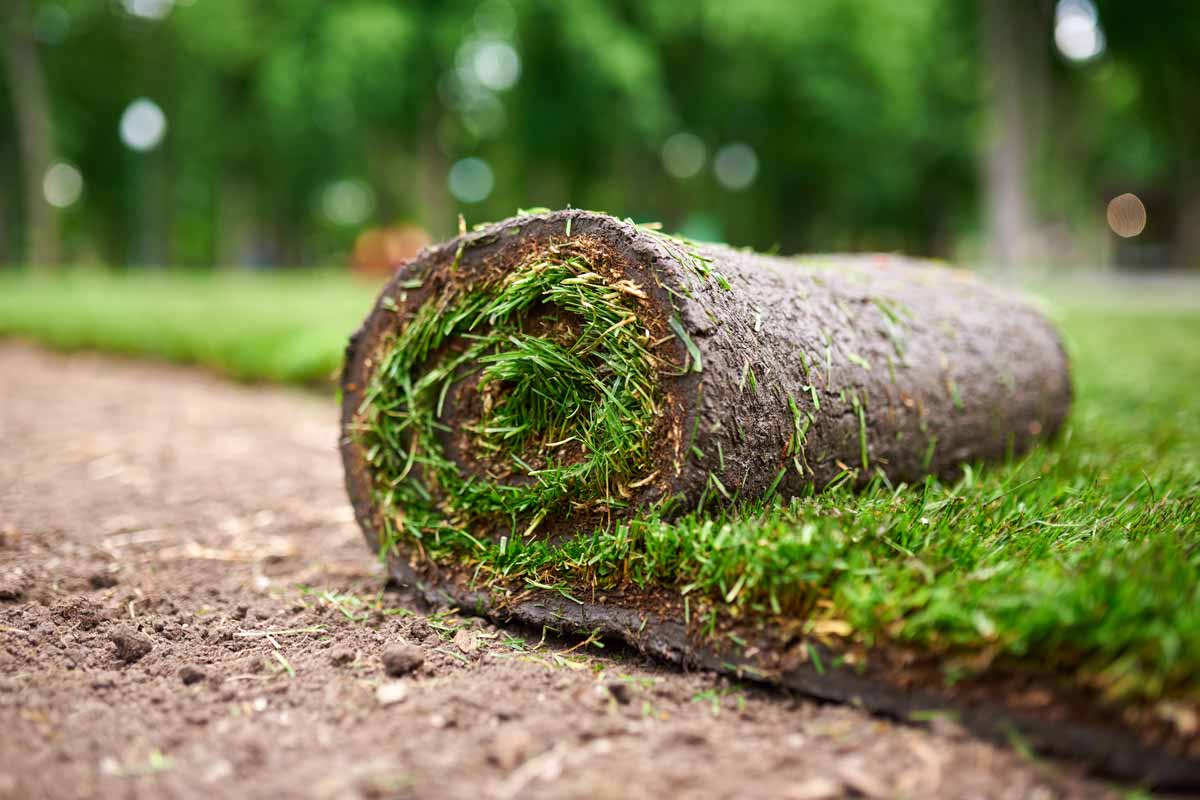
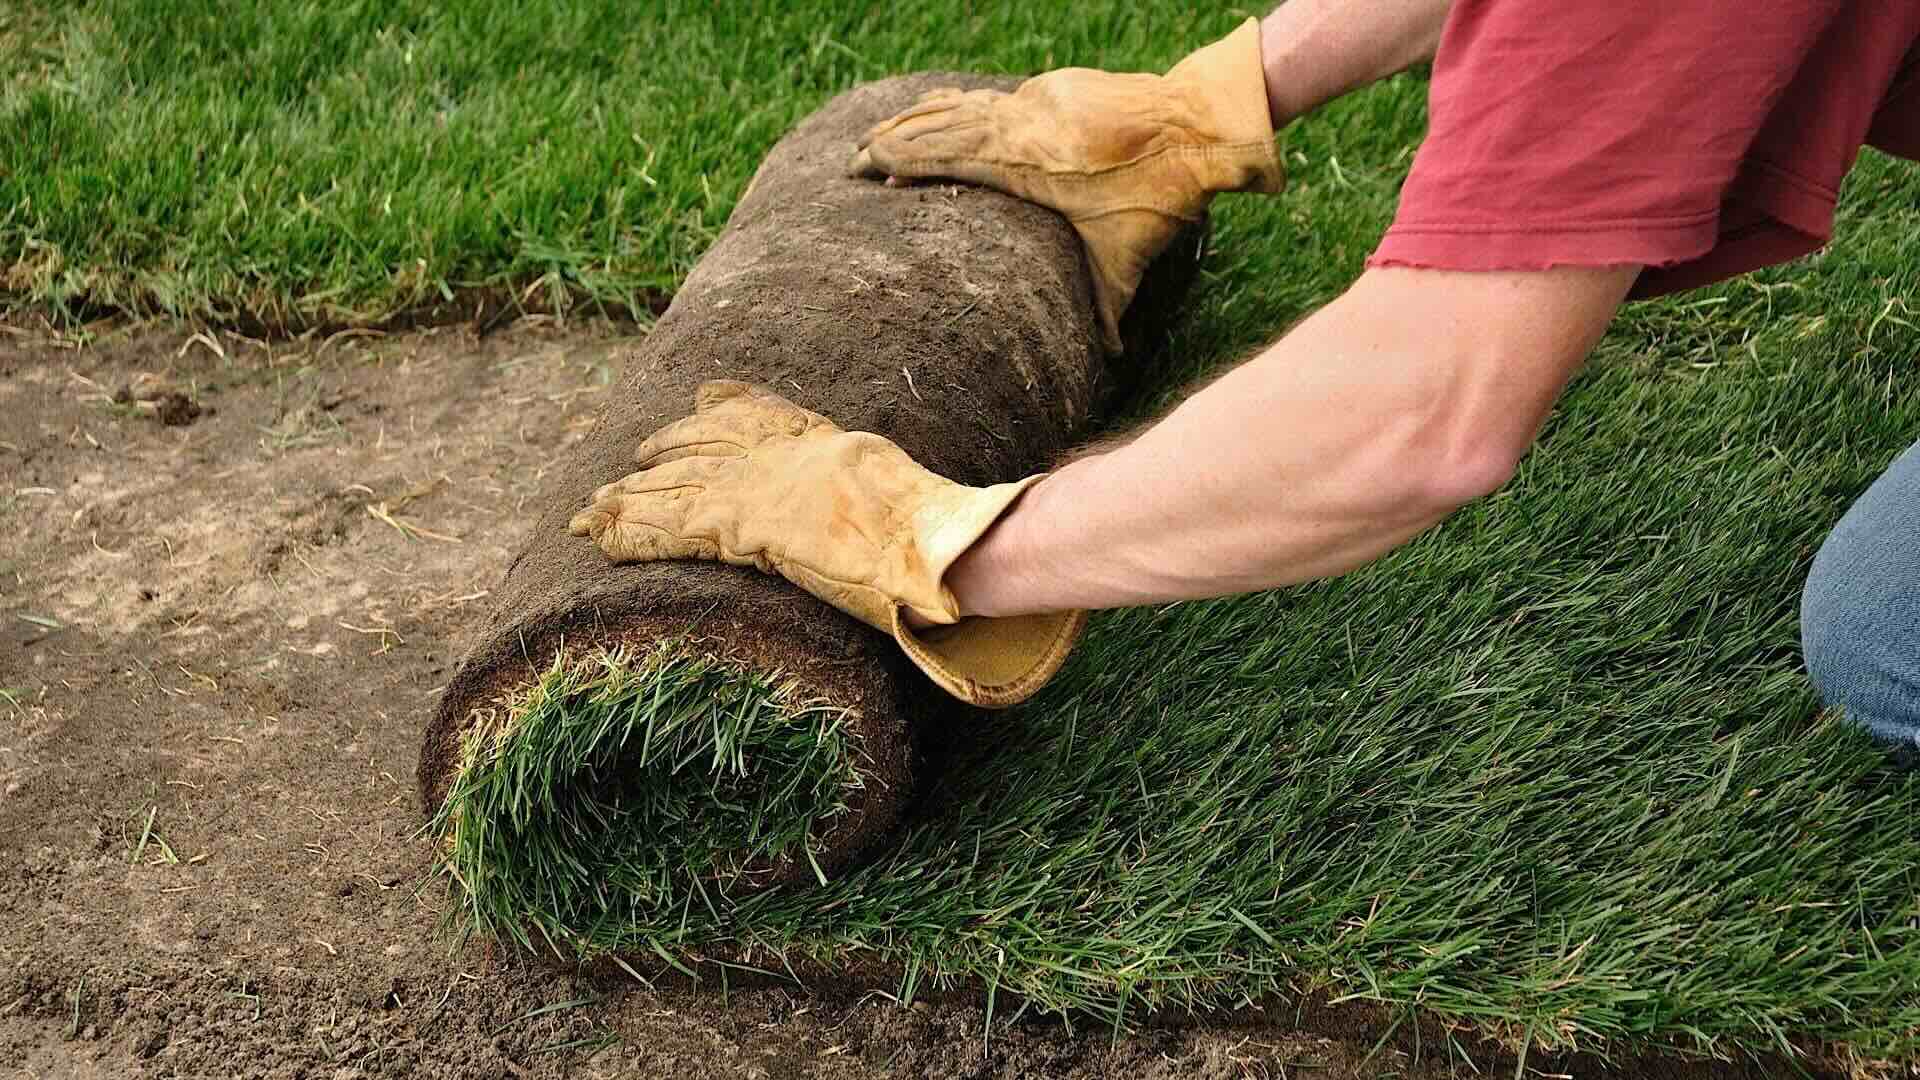
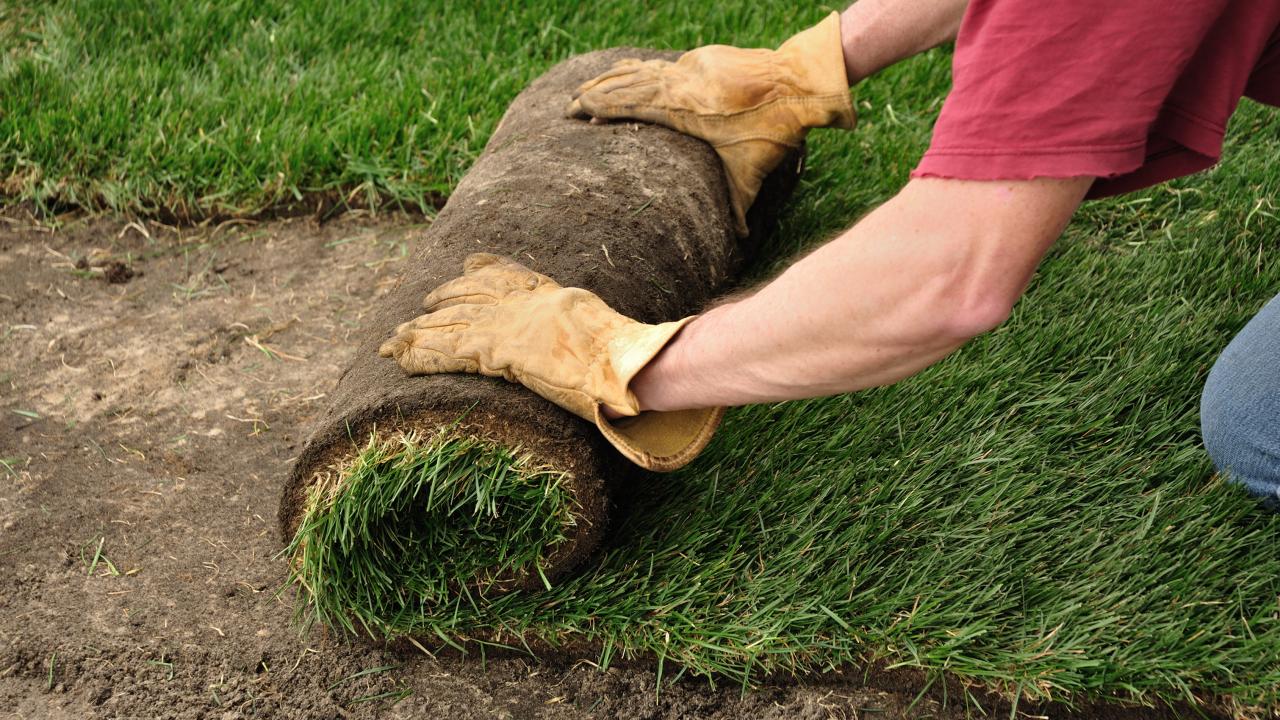
Laying the Sod
With the old grass successfully removed and the area prepared, it’s time to lay down the new sod. This step marks the transformation of your outdoor space, as the fresh, vibrant sod brings new life to your lawn. Follow these essential steps to lay the sod effectively and ensure that it takes root and flourishes:
- Acquire Quality Sod: Purchase high-quality sod from a reputable supplier, ensuring that it is fresh, healthy, and well-suited to your local climate and soil conditions.
- Begin Laying the Sod: Start laying the sod along a straight edge, such as a driveway or walkway, to create a neat and uniform border for the new lawn.
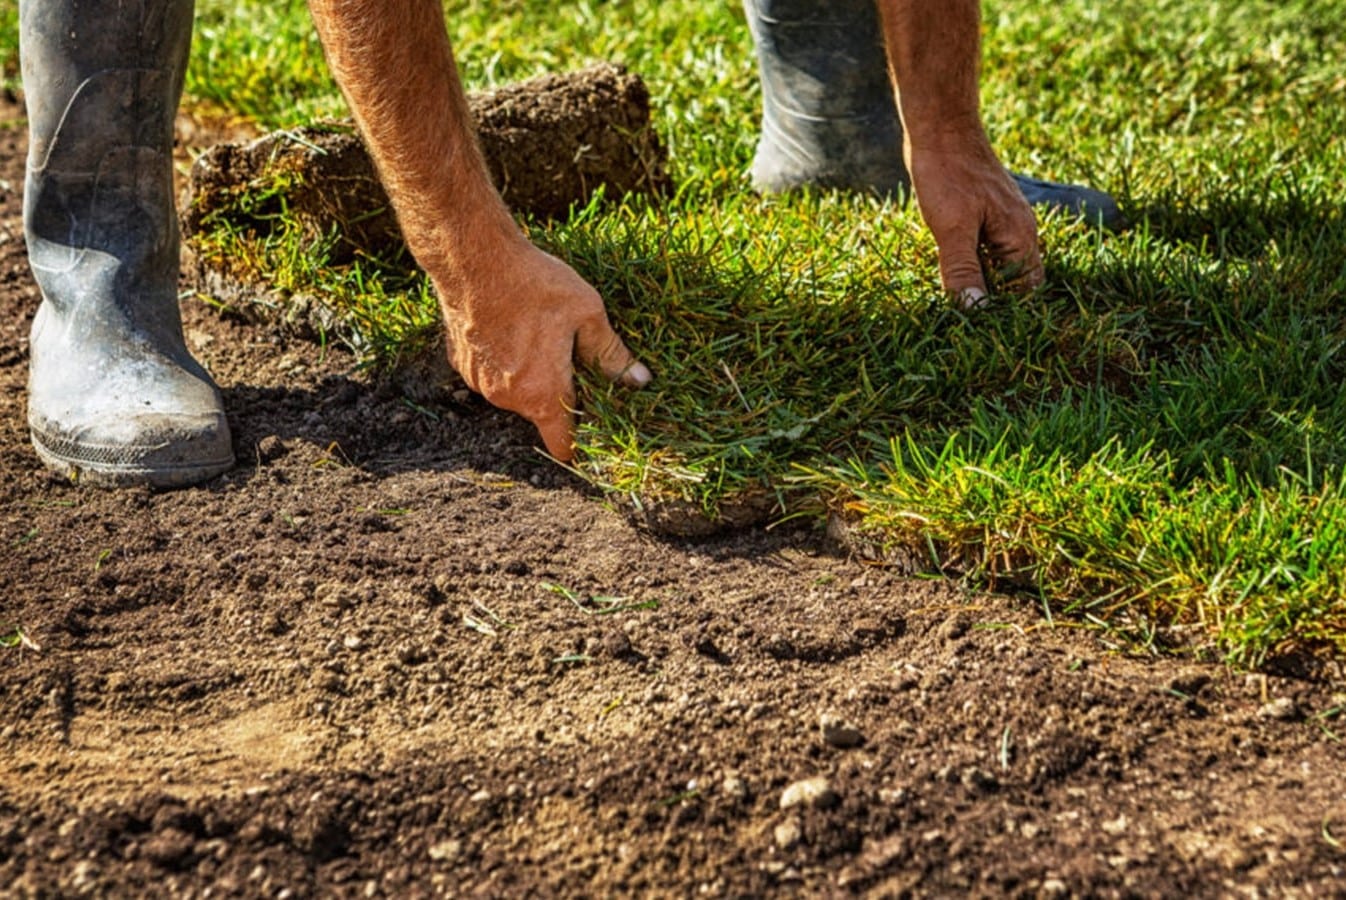
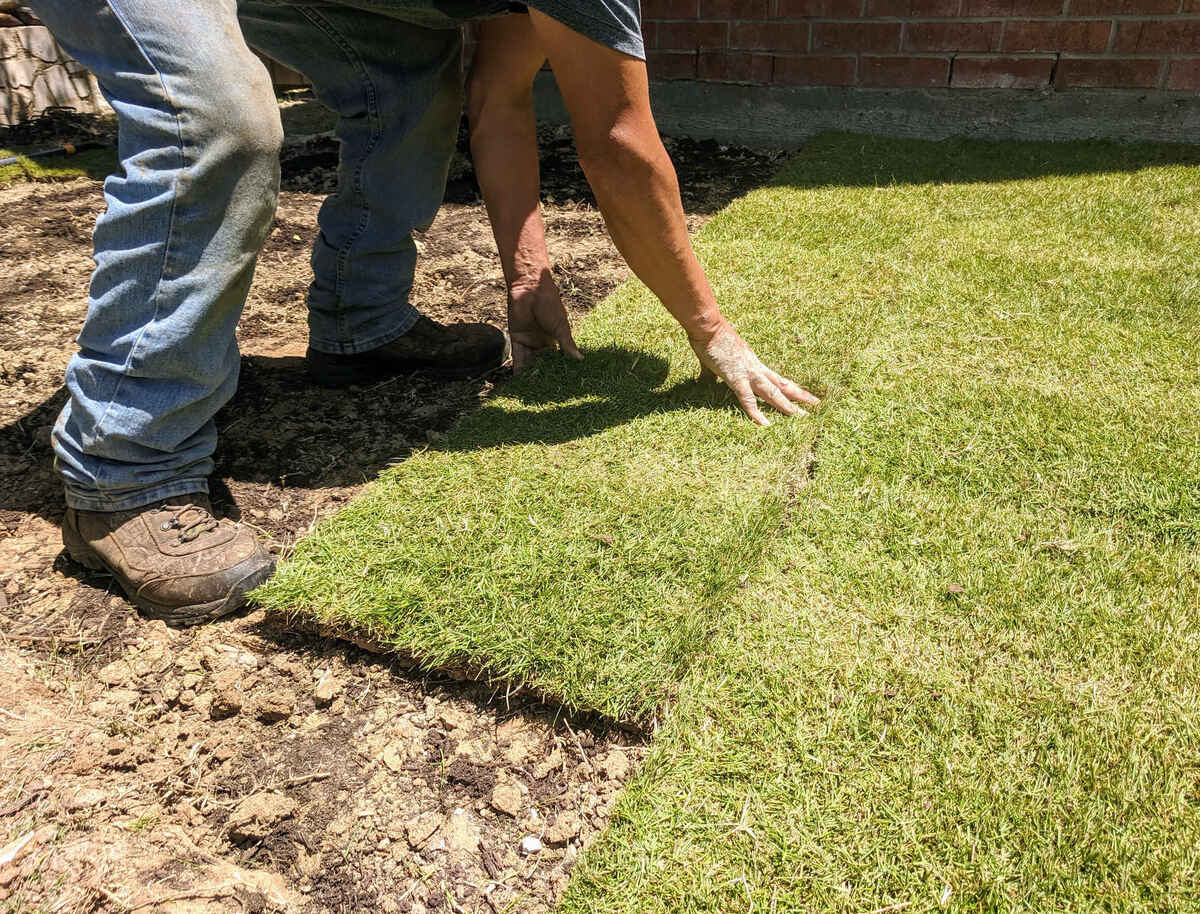
- Stagger the Joints: Stagger the joints of the sod pieces, similar to how bricks are laid, to create a seamless and stable surface. Avoid aligning the joints in a straight line, as this can lead to an uneven and less stable lawn.
- Press Firmly: As you lay each piece of sod, press it firmly into the soil to ensure good contact and eliminate air pockets beneath the surface. This will help the roots establish themselves in the soil more effectively.
- Trim as Needed: Use a sharp knife or sod cutter to trim the edges of the sod as you approach curves, borders, or obstacles. This will help create a precise fit and a polished appearance for your new lawn.
- Water Thoroughly: Once the sod is laid, water it immediately and thoroughly to provide essential hydration. Aim to moisten the soil beneath the sod to encourage root growth and establish a strong connection between the sod and the soil.
- Monitor and Maintain: Keep a close eye on the newly laid sod, ensuring that it remains adequately watered and protected from foot traffic or other disturbances. Follow any specific care instructions provided by your sod supplier to promote healthy growth.
By following these steps and taking care to lay the sod properly, you’ll set the stage for a lush and resilient lawn that enhances the beauty of your outdoor space. The process of laying the sod represents a significant milestone in the transformation of your landscape, bringing you one step closer to enjoying a vibrant and inviting lawn.
Read more: How To Maintain Sod Grass
Caring for the New Sod
After laying down the fresh sod, it’s crucial to provide attentive care to ensure that it takes root and flourishes in its new environment. Proper maintenance and nurturing in the early stages are essential for establishing a healthy and vibrant lawn. Follow these key guidelines to care for the new sod and promote its successful growth:
- Watering: In the first week after installation, water the new sod daily to keep the soil consistently moist. Be mindful of hot and dry conditions, adjusting the watering frequency as needed to prevent the sod from drying out.
- Limit Foot Traffic: Minimize foot traffic on the newly laid sod for the first few weeks to allow the roots to establish themselves firmly in the soil. Avoid heavy use of the area until the sod has taken root and shows signs of healthy growth.
- Mowing: Once the sod has rooted and grown to a height of approximately 3 inches, it’s time for the first mowing. Set your mower to a higher setting initially, gradually reducing the height over subsequent mowings to the desired level for your lawn.
- Fertilization: After the sod has been in place for about a month, consider applying a balanced fertilizer to provide essential nutrients for healthy growth. Follow the recommended application rates and timing for best results.
- Weed Control: Keep an eye out for any weeds that may appear in the new sod. Promptly remove any unwanted vegetation to prevent it from competing with the sod for essential resources.
- Regular Maintenance: Establish a regular maintenance routine for your new sod, including watering, mowing, and addressing any specific care needs based on your local climate and soil conditions.
By providing diligent care and attention to your new sod in the early stages, you’ll create optimal conditions for it to establish strong roots and develop into a lush and resilient lawn. The investment of time and effort in caring for the new sod will be rewarded with a beautiful and inviting outdoor space that you can enjoy for years to come.
Frequently Asked Questions about How To Pull Up Grass For Sod
Was this page helpful?
At Storables.com, we guarantee accurate and reliable information. Our content, validated by Expert Board Contributors, is crafted following stringent Editorial Policies. We're committed to providing you with well-researched, expert-backed insights for all your informational needs.

0 thoughts on “How To Pull Up Grass For Sod”