Home>Gardening & Outdoor>Landscaping Ideas>How To Remove Grass Before Laying Sod
Landscaping Ideas
How To Remove Grass Before Laying Sod
Modified: August 27, 2024
Learn effective landscaping ideas for removing grass before laying sod. Follow these expert tips for successful lawn renovation.
(Many of the links in this article redirect to a specific reviewed product. Your purchase of these products through affiliate links helps to generate commission for Storables.com, at no extra cost. Learn more)
Introduction
Laying sod is a fantastic way to achieve a lush, green lawn in a short amount of time. However, before the sod can be installed, it's essential to prepare the area properly, which includes removing any existing grass. This crucial step ensures that the new sod will have the best possible environment to take root and thrive.
In this comprehensive guide, we will walk you through the process of removing grass before laying sod. Whether you're embarking on a DIY lawn renovation project or seeking professional insight, these steps will help you achieve a beautiful, healthy lawn that will be the envy of the neighborhood.
Let's dive into the detailed steps required to prepare your yard for the installation of new sod. By following these guidelines, you'll be well on your way to creating a vibrant, resilient lawn that enhances the beauty and value of your property.
Key Takeaways:
- Before laying sod, prepare the area by removing existing grass, marking sprinkler heads, and ensuring proper drainage. This sets the stage for a successful and vibrant new lawn.
- When laying sod, start with quality sod, lay it along a straight edge, trim as needed, ensure good contact with the soil, water thoroughly, and monitor and maintain for strong, healthy growth.
Read more: How To Cut Sod Grass
Step 1: Prepare the Area
Before you begin the process of removing grass to make way for new sod, it’s important to prepare the area thoroughly. Start by clearing the lawn of any debris, such as rocks, branches, and other obstructions. This will create a clean, even surface for the subsequent steps in the sod installation process.
Next, take the time to mark any sprinkler heads, utility lines, or other underground components in the area where the sod will be laid. This precautionary measure helps prevent accidental damage during the grass removal and soil preparation stages.
Additionally, consider the grade and drainage of the area. Proper drainage is crucial for the health of your new sod, so ensure that the ground slopes away from buildings and that low-lying areas are filled in to create a level surface. This will prevent water from pooling and promote even moisture distribution across the lawn.
By meticulously preparing the area before removing the existing grass, you set the stage for a successful sod installation. Taking the time to address these preliminary considerations will contribute to the long-term health and vibrancy of your new lawn.
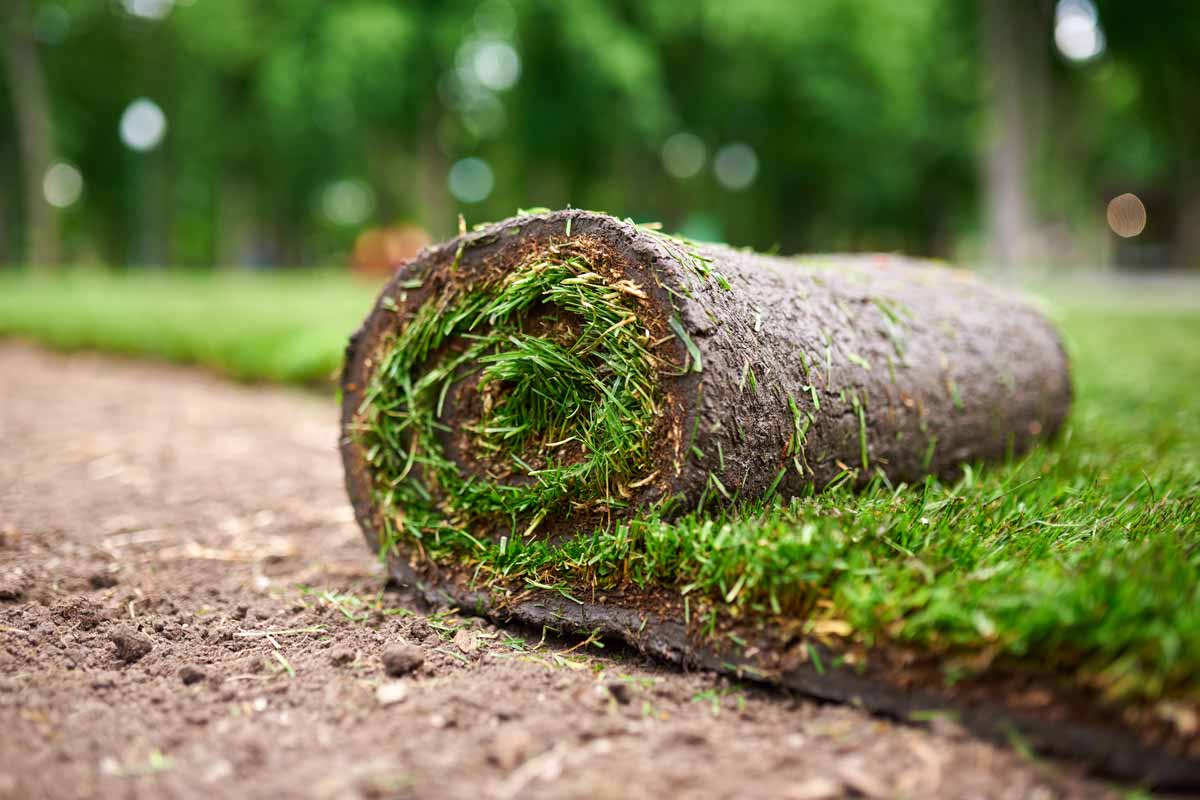
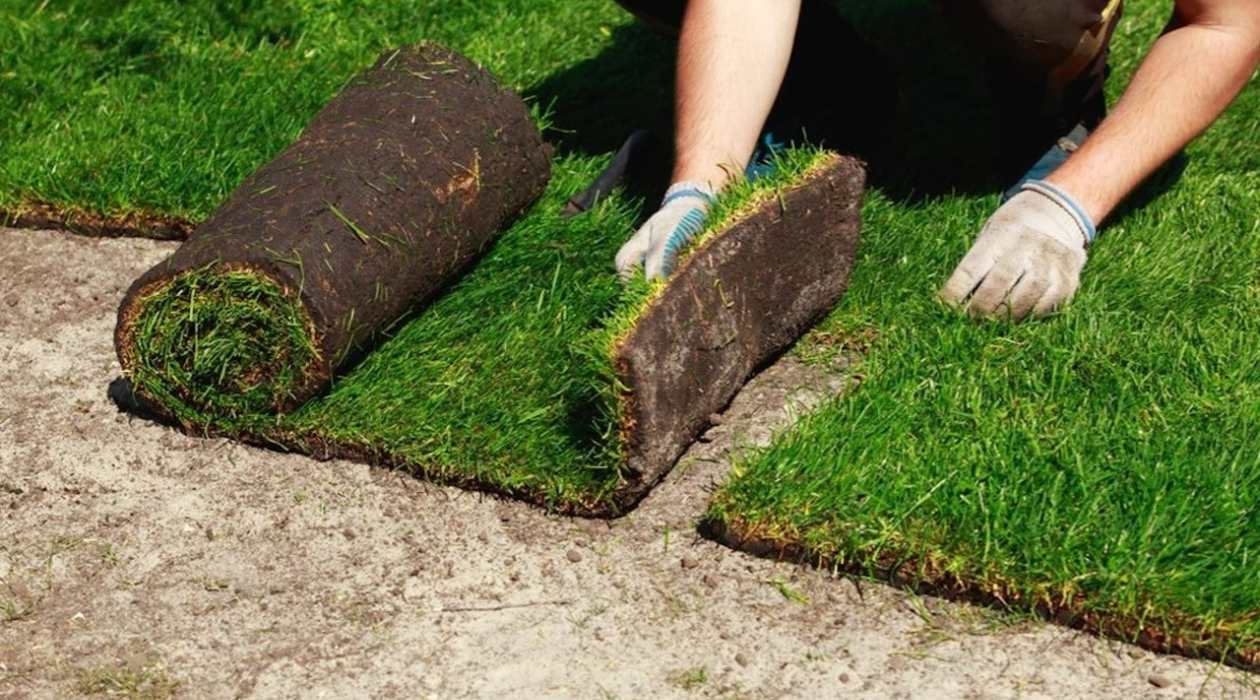
Step 2: Remove Existing Grass
When it comes to removing existing grass in preparation for laying sod, there are several effective methods to consider. The choice of method often depends on the size of the area, the type of grass, and personal preferences. Here are some popular techniques for grass removal:
- Sod Cutter: This powerful machine slices through the existing grass, allowing you to roll up and remove the sod efficiently. Sod cutters are available for rent at many equipment rental facilities and are ideal for larger areas.
- Manual Removal: For smaller areas or spot treatments, manually removing the existing grass with a shovel or sod cutter can be effective. While labor-intensive, this method provides precise control over the removal process.
- Rototilling: Using a rototiller to break up the soil and existing grass can be an efficient way to prepare the area for sod. After tilling, the grass can be raked up and removed, leaving behind loose, workable soil.
Regardless of the method chosen, it’s important to remove the grass to a depth that allows for proper soil preparation and the establishment of healthy new sod. Typically, this involves removing the grass and its root system to a depth of 2 to 3 inches.
Once the existing grass has been removed, it’s essential to clear the area of any remaining debris, such as rocks, roots, and clumps of grass. This ensures a clean, even surface for the subsequent steps in the sod installation process.
By carefully selecting and executing a method for removing existing grass, you’ll create an optimal foundation for the successful establishment of new sod, setting the stage for a vibrant and resilient lawn.
Step 3: Use Herbicides (Optional)
While not always necessary, the use of herbicides can be an effective tool for ensuring that all existing grass and weeds are thoroughly eradicated before laying new sod. Herbicides are particularly useful when dealing with persistent or invasive grass species that may regrow if not completely eliminated.
If you opt to use herbicides, it’s crucial to select a product that is specifically designed for the type of grass you are targeting. Additionally, always follow the manufacturer’s instructions and safety guidelines when applying herbicides to your lawn.
Before applying any herbicide, carefully assess the environmental conditions, such as temperature and moisture levels, to ensure optimal effectiveness. It’s advisable to apply herbicides when the weather is calm to prevent drift and when there is no rain in the forecast for at least 24 hours.
After the herbicide has had sufficient time to take effect, typically as indicated on the product label, the next step is to thoroughly water the area to help degrade and dilute any remaining herbicide residue in the soil. This is especially important if you plan to lay sod soon after applying the herbicide.
It’s essential to exercise caution when using herbicides, taking all necessary measures to protect yourself, your family, pets, and the environment. If you have concerns about using herbicides or are unsure about the best approach for your specific situation, consider consulting with a professional landscaper or horticulturist for personalized guidance.
By judiciously considering the use of herbicides, when appropriate, you can ensure that the area is free of unwanted vegetation, setting the stage for the successful establishment of new sod and a thriving, weed-free lawn.
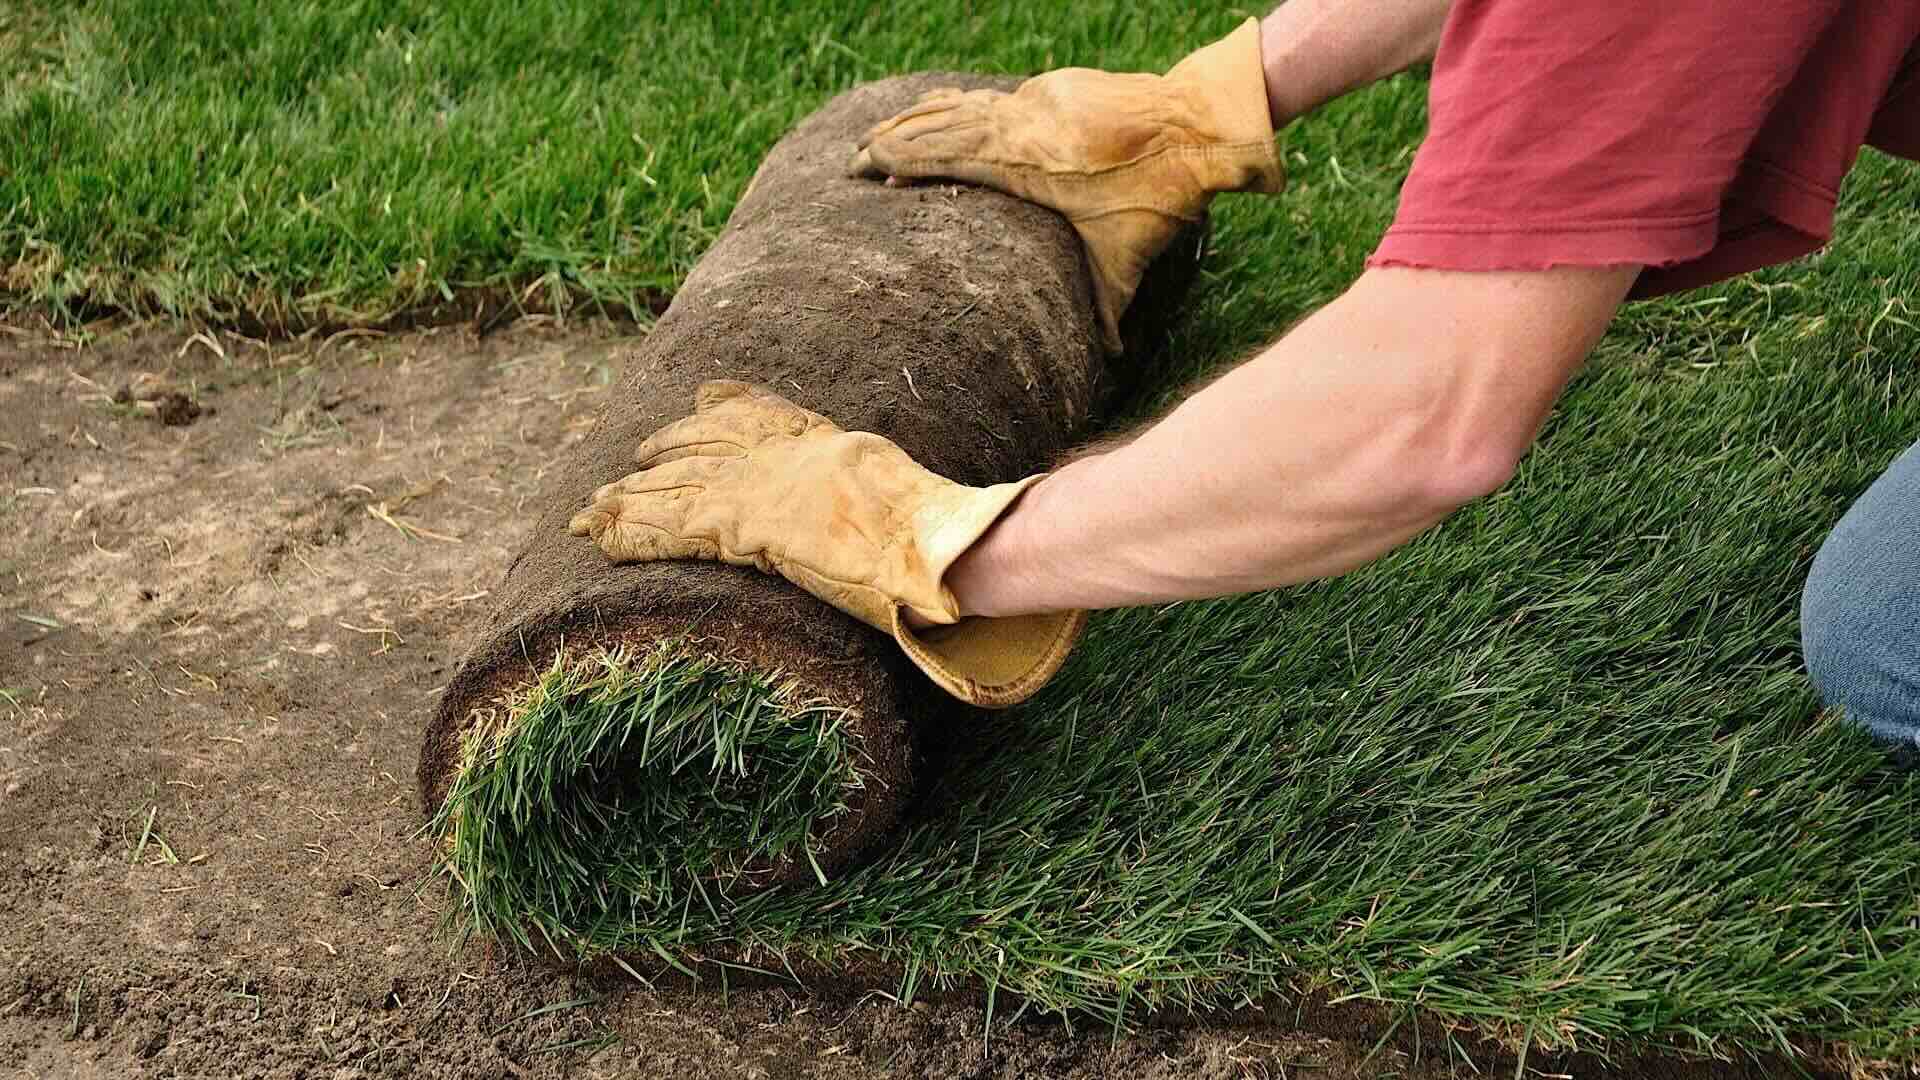
Use a sod cutter or shovel to remove existing grass. Make sure to remove all roots and debris to create a smooth surface for the new sod to be laid on.
Step 4: Till the Soil
Tilling the soil is a critical step in preparing the area for the installation of new sod. This process serves to loosen the soil, break up compacted areas, and create an optimal environment for the roots of the new sod to establish and grow deeply.
Before tilling, it’s important to ensure that the soil is neither too wet nor too dry. Tilling overly wet soil can lead to clumping and compaction, while tilling dry soil may result in excessive pulverization. Ideally, the soil should be moist but not waterlogged for the best tilling results.
Using a rototiller or garden tiller, work the soil to a depth of 4 to 6 inches, breaking up any large clumps and incorporating organic matter, such as compost or peat moss, if needed. This process helps improve soil texture, aeration, and drainage, creating an ideal foundation for the new sod.
After tilling, take the time to remove any remaining debris, such as rocks, roots, and large clumps of soil. Rake the area to create a smooth, level surface, addressing any low or high spots to ensure uniformity across the entire lawn area.
By thoroughly tilling the soil and preparing a well-conditioned bed for the new sod, you set the stage for strong root development and long-term lawn health. This step is instrumental in creating an environment where the sod can take root and thrive, ultimately yielding a lush, resilient lawn.
Read more: How To Care For Sod Grass
Step 5: Level the Surface
After tilling the soil, it’s essential to focus on achieving a smooth, level surface in preparation for laying the new sod. A uniform surface promotes even sod establishment and growth, leading to a visually appealing and well-maintained lawn.
Begin by carefully inspecting the tilled area for any depressions, mounds, or uneven spots. Use a garden rake or leveling tool to redistribute soil as needed, filling in low areas and breaking down high spots to create a consistent grade across the entire lawn space.
As you work to level the surface, take care to maintain the proper slope for water drainage. The ground should slope away from buildings and other structures to prevent water from pooling and to promote efficient moisture distribution across the lawn.
Once the surface is uniformly leveled and graded, lightly compact the soil using a lawn roller or tamper to ensure good soil-to-sod contact after installation. This step helps prevent air gaps and promotes the establishment of the sod roots in the underlying soil.
Throughout the leveling process, periodically step back and visually assess the area to identify any remaining irregularities that require attention. Taking the time to achieve a smooth, level surface will contribute to the successful establishment and long-term health of the new sod.
By meticulously leveling the surface, you create an optimal foundation for the installation of new sod, setting the stage for a visually pleasing, well-drained lawn that enhances the beauty and functionality of your outdoor space.
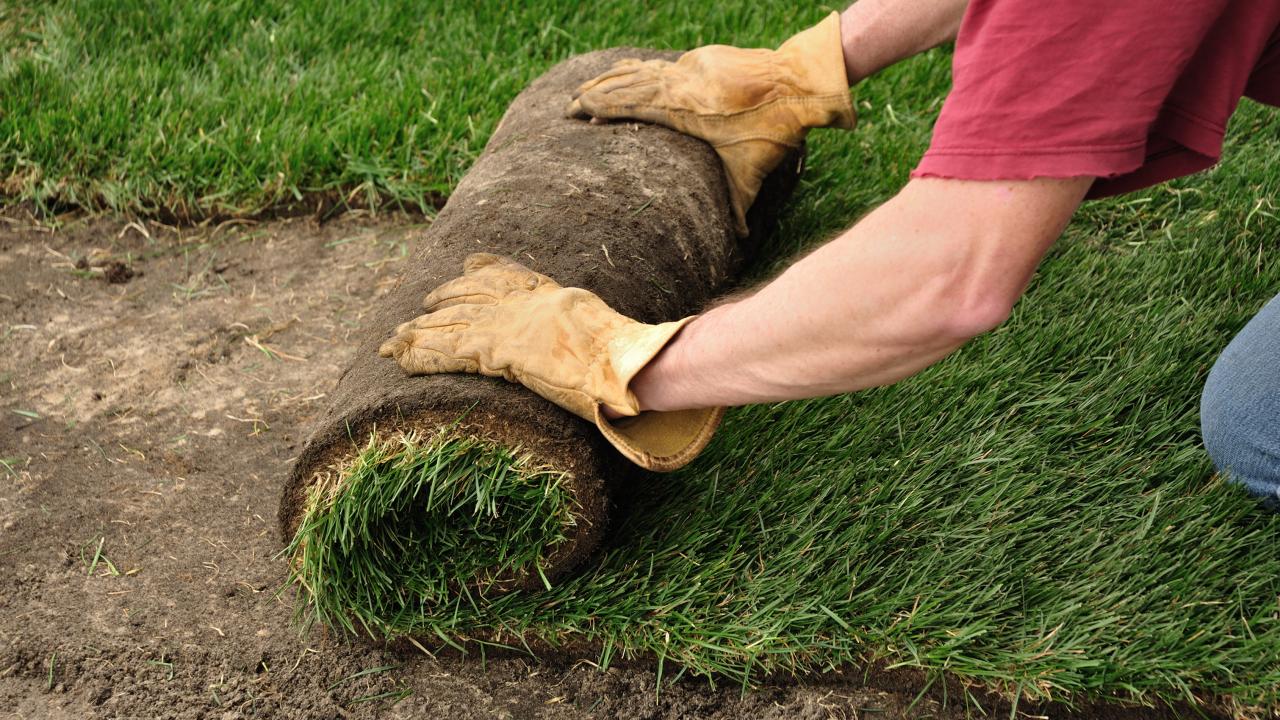
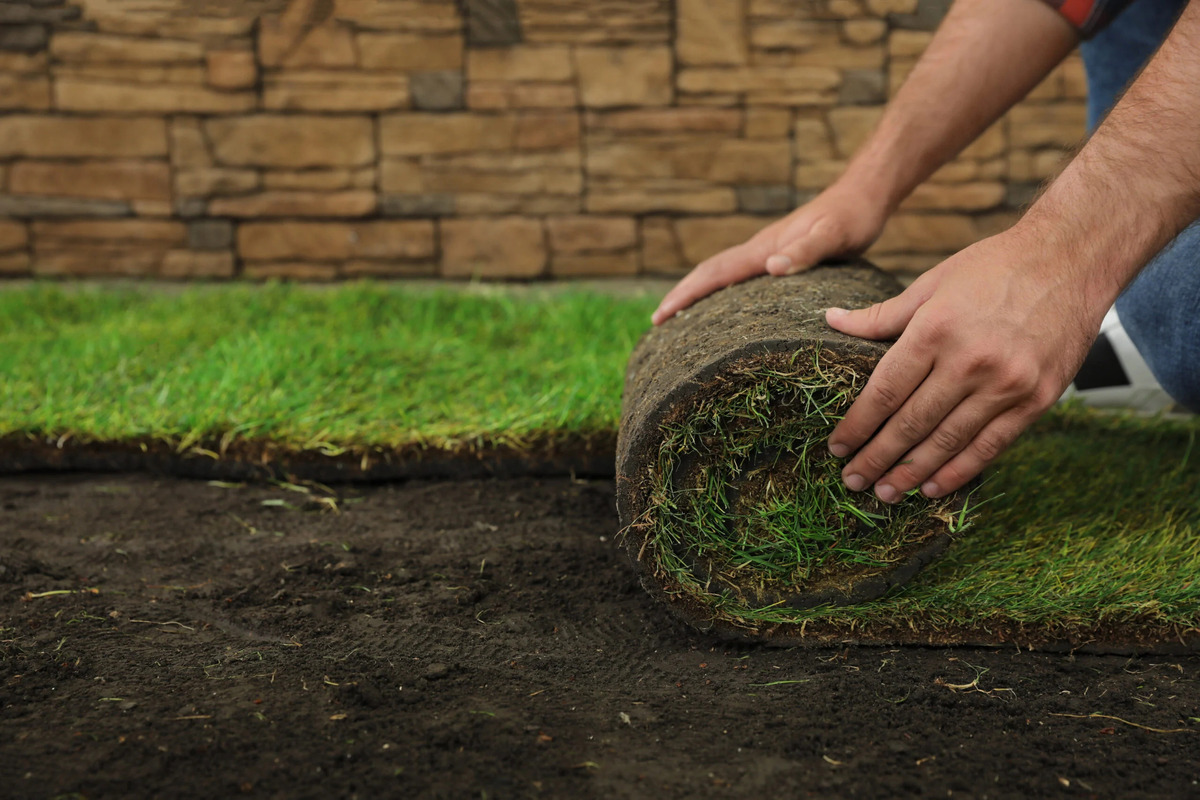
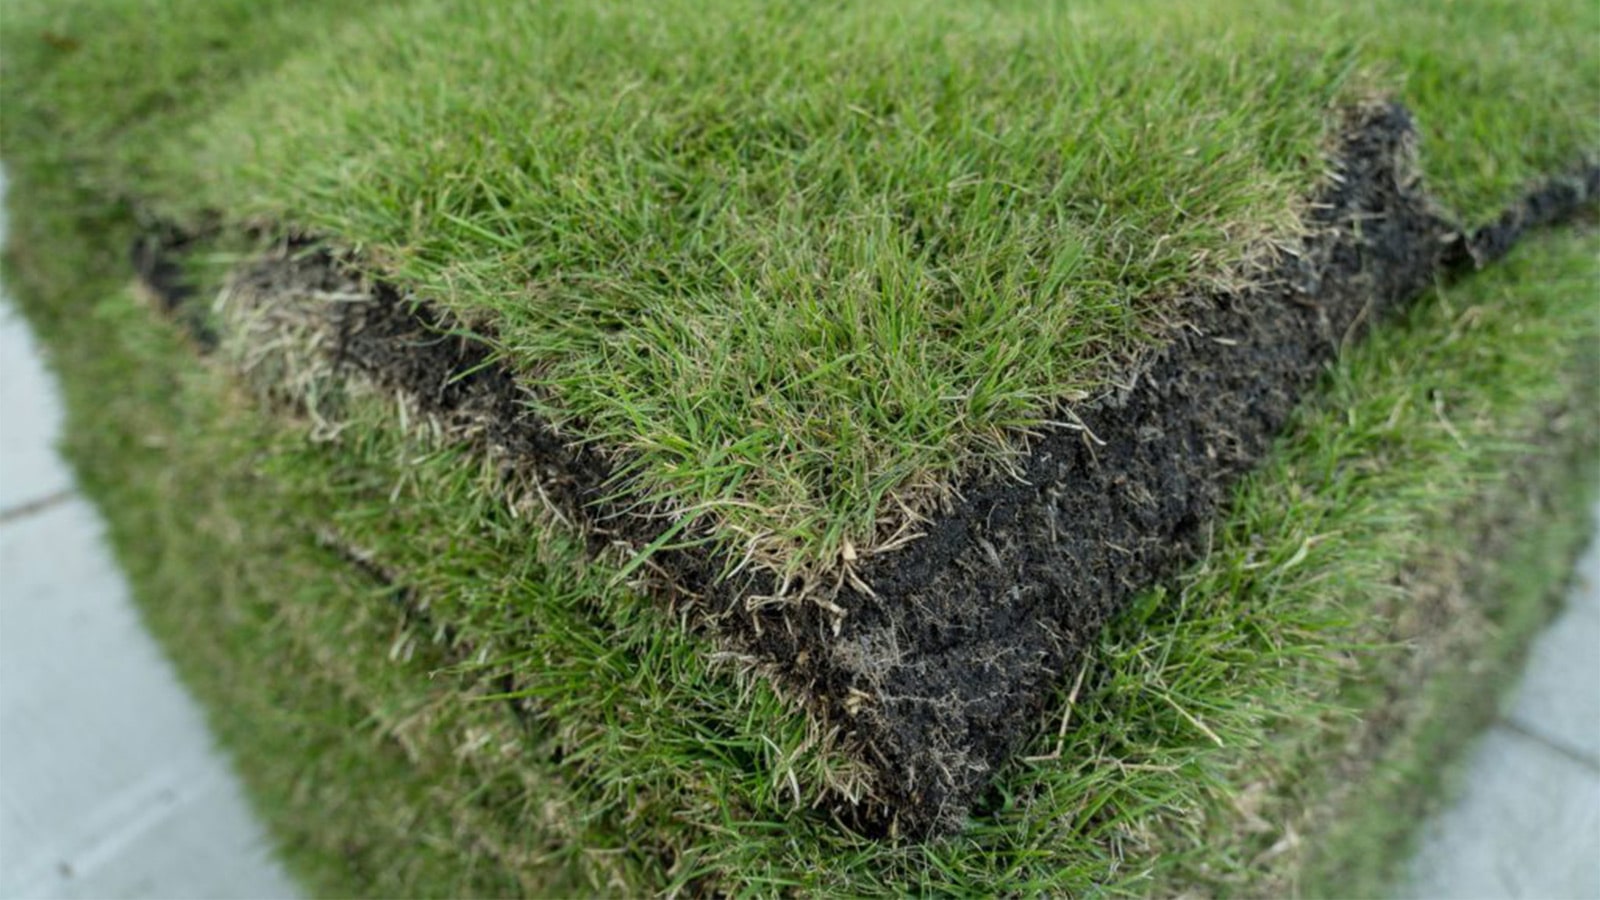
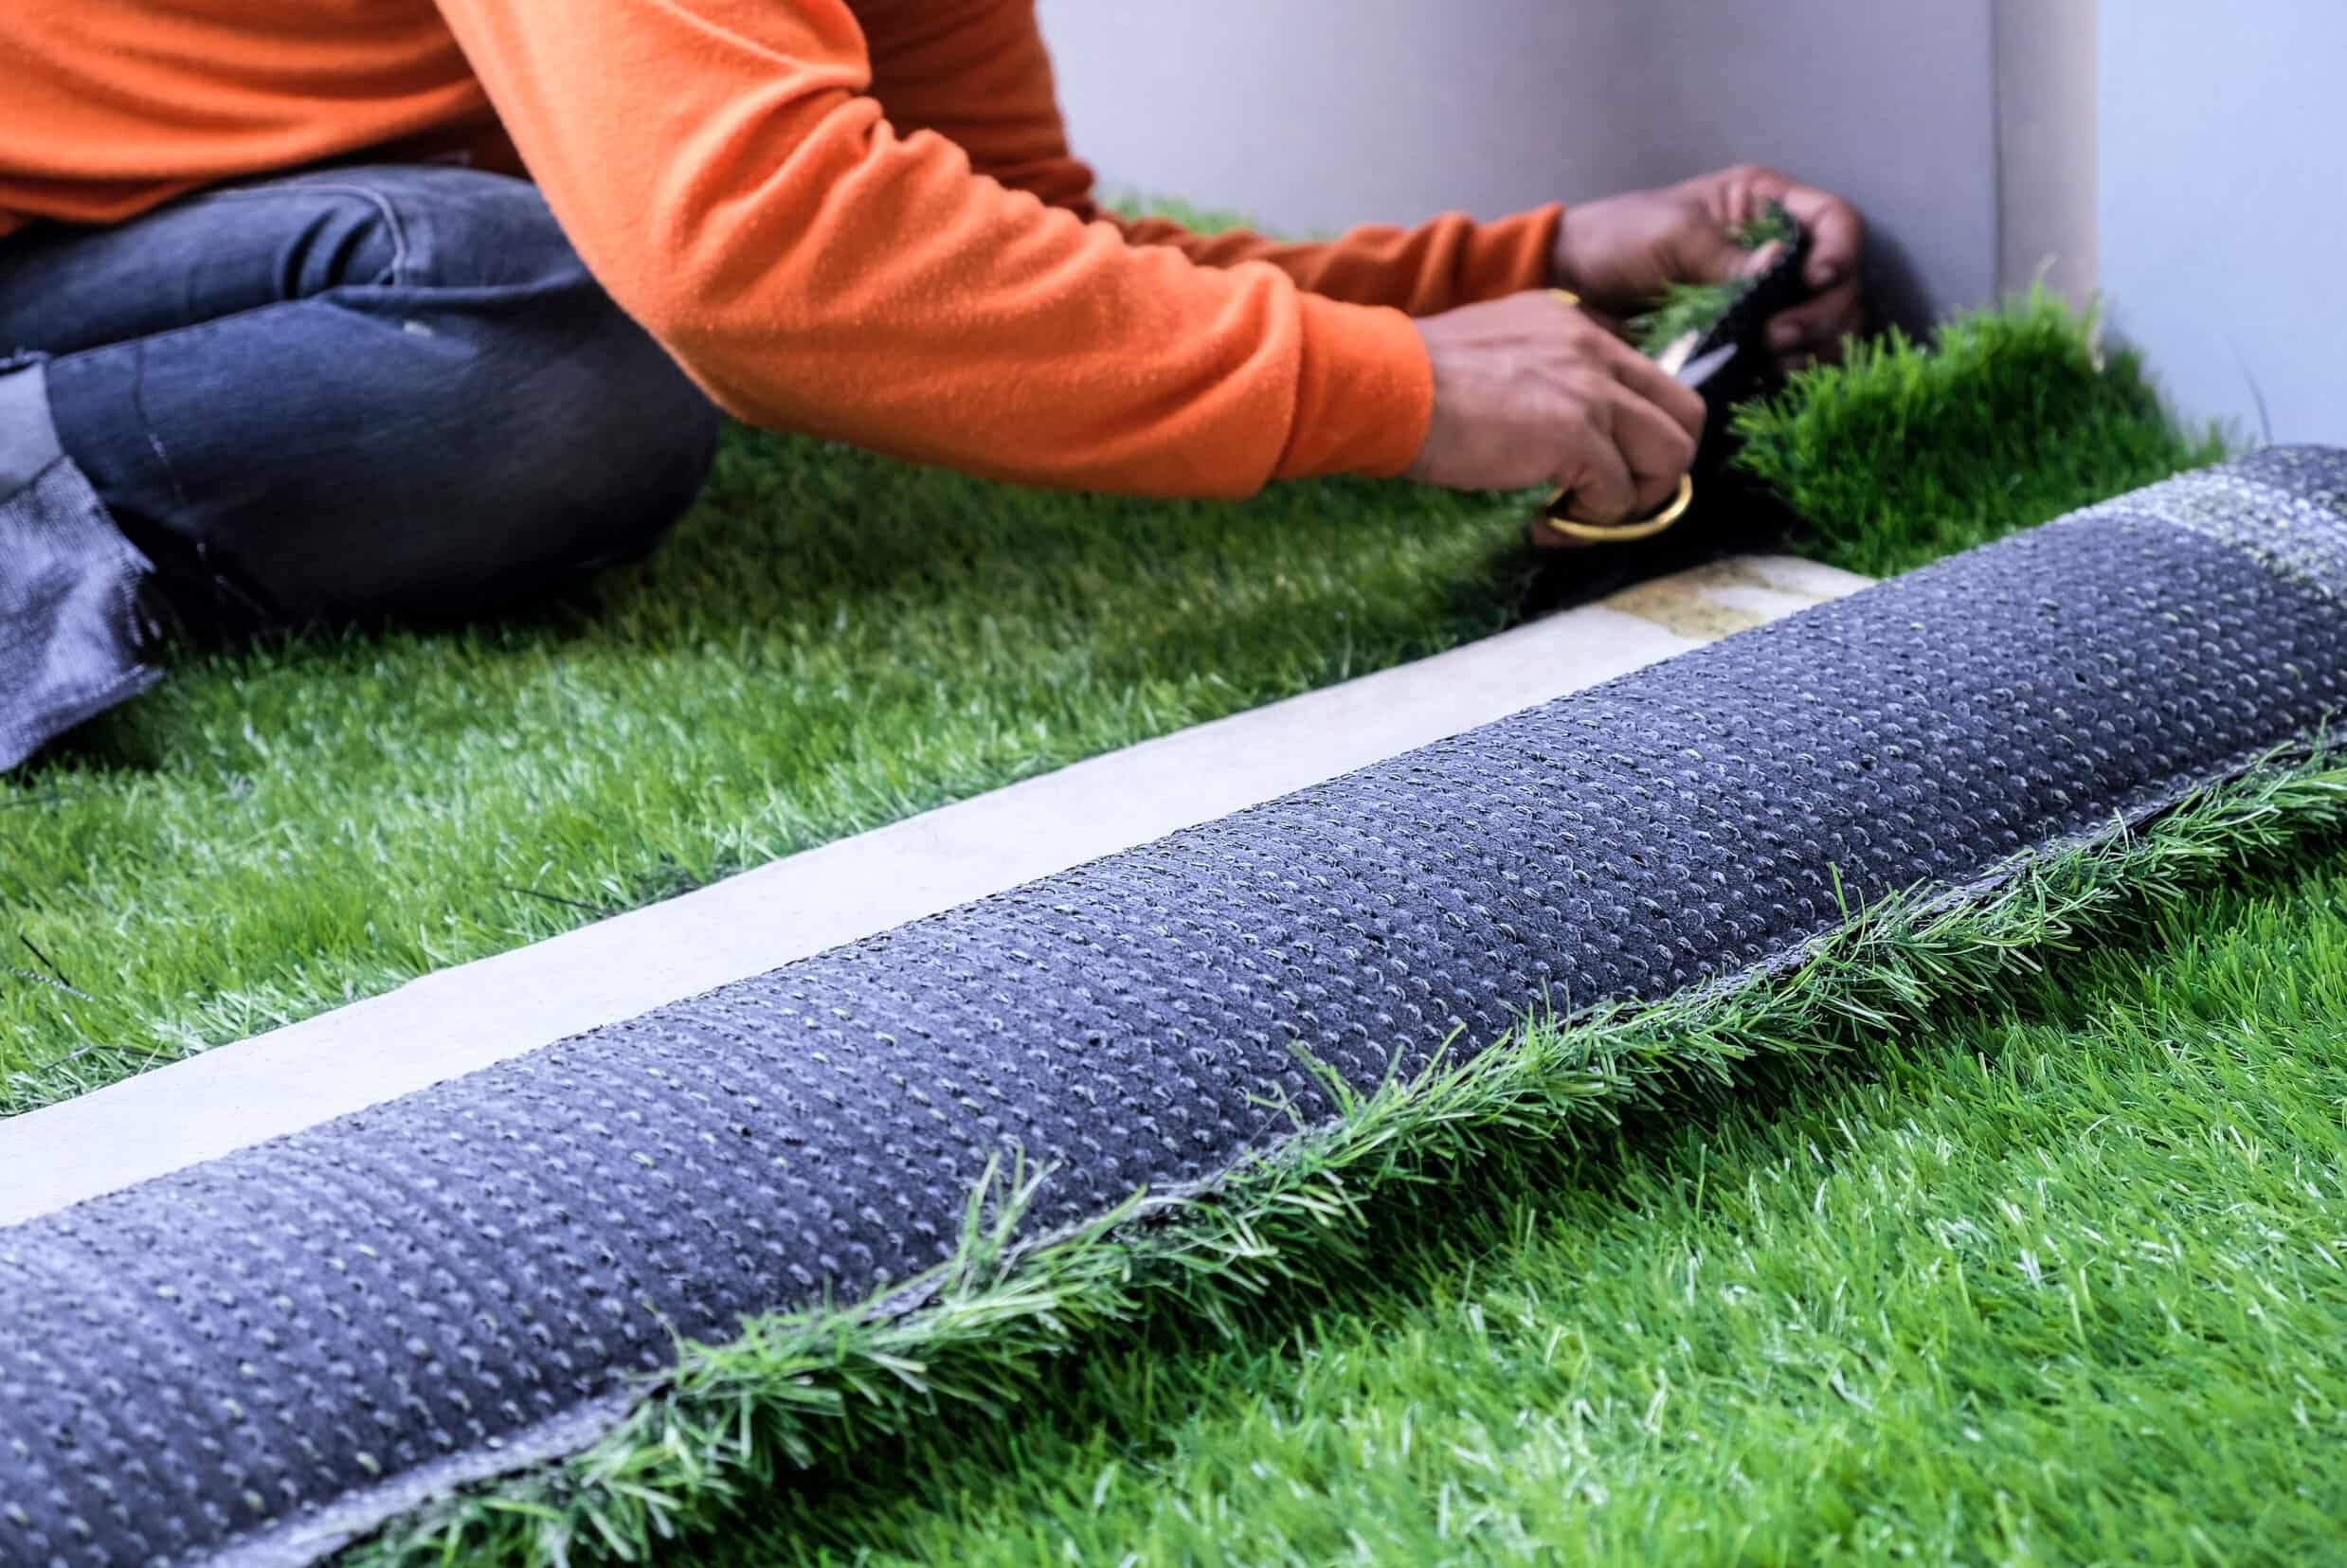
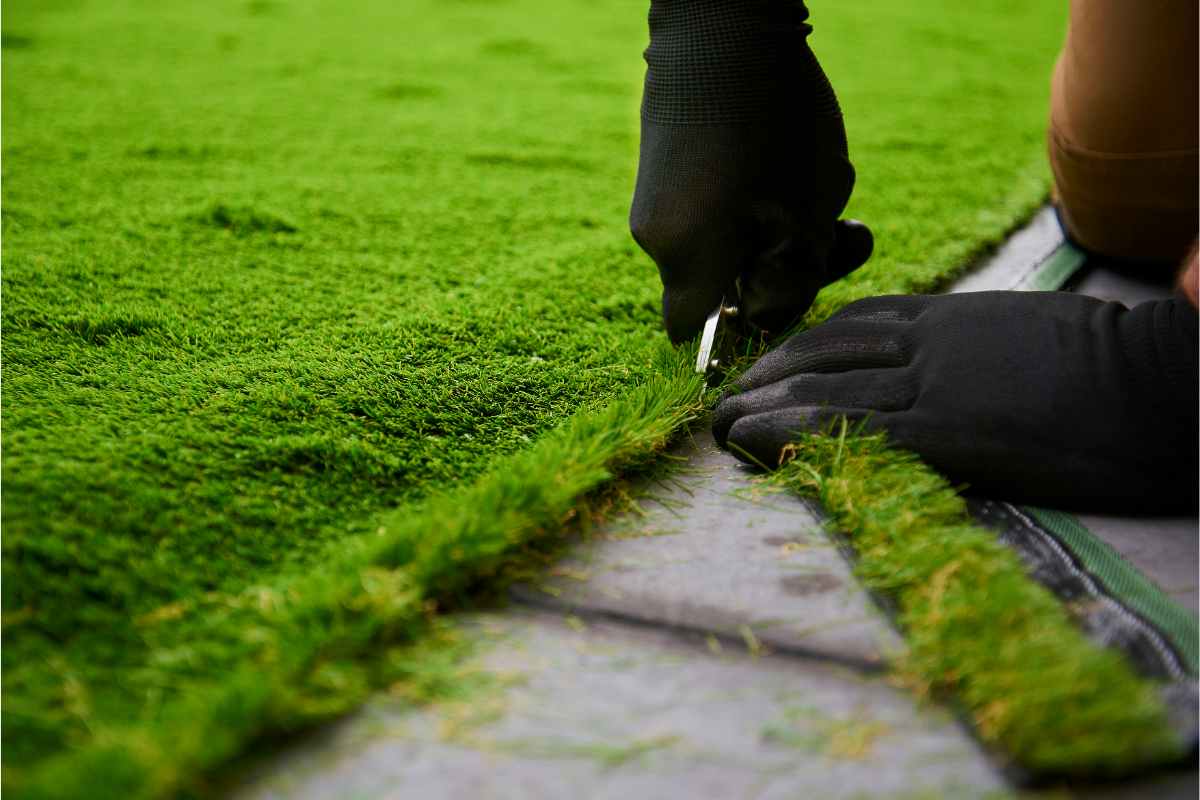
Step 6: Lay Sod
With the area meticulously prepared, it’s time to lay the new sod, bringing your vision of a vibrant, lush lawn to life. Follow these steps to ensure the successful installation of the sod:
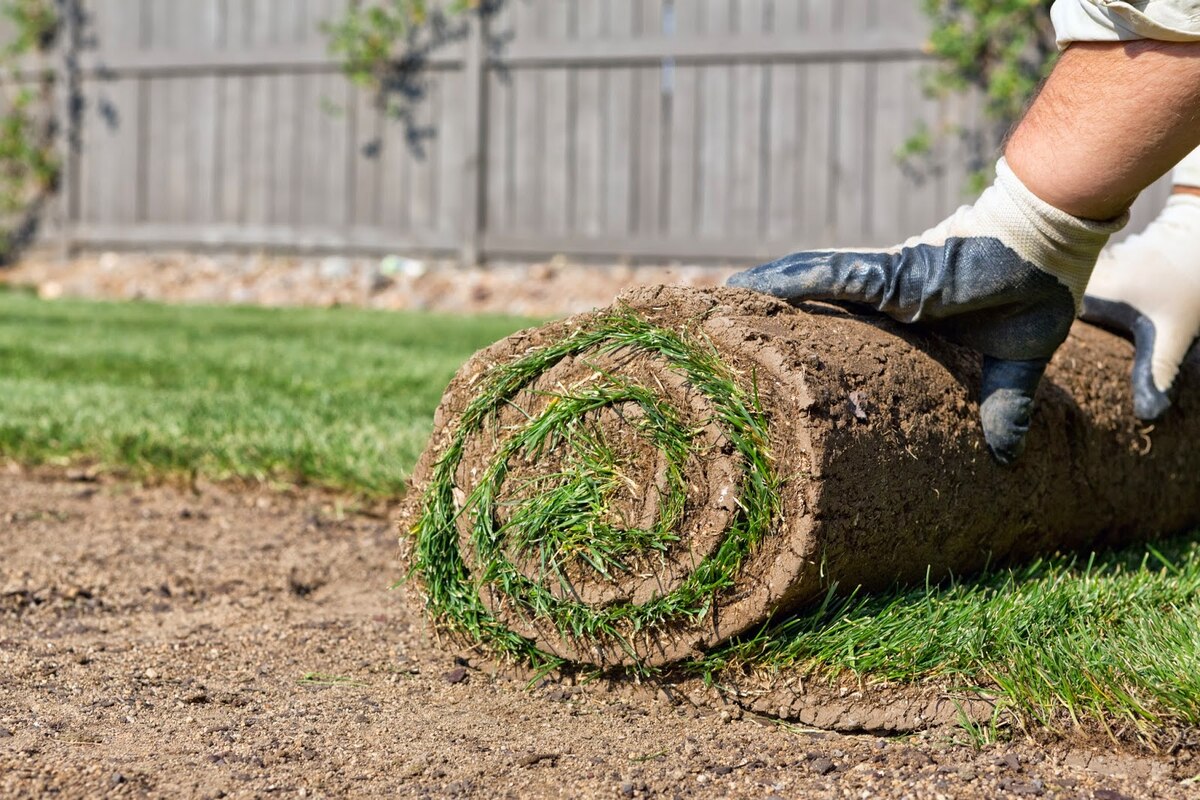
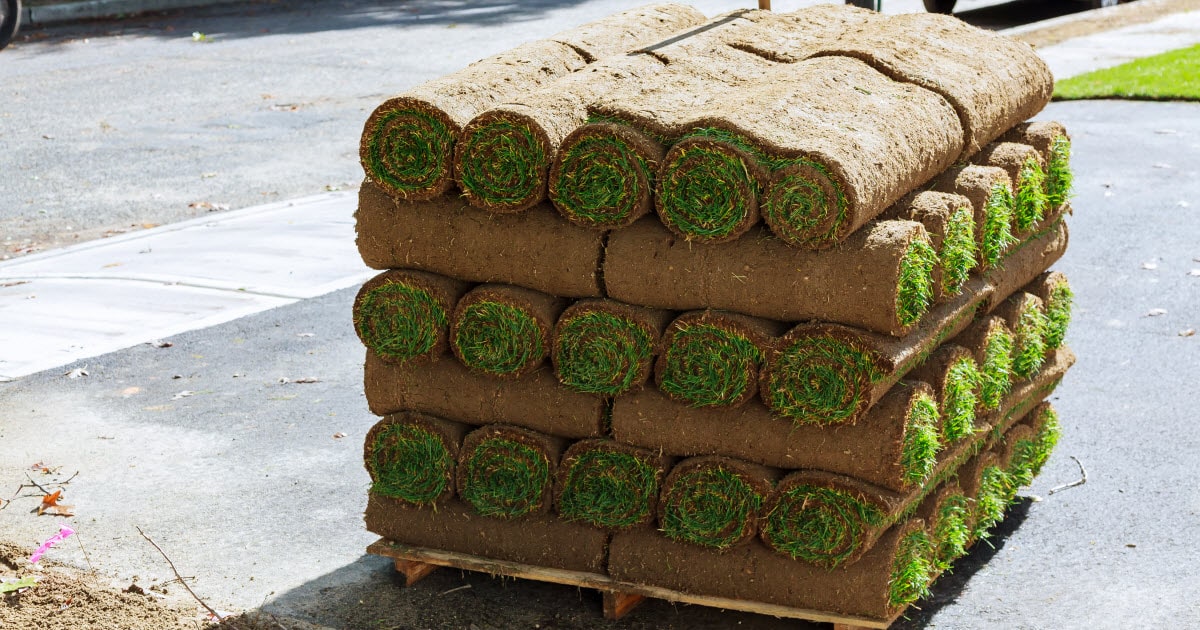
- Start with Quality Sod: Select high-quality sod from a reputable supplier. Ensure that the sod is fresh, healthy, and free of weeds and disease.
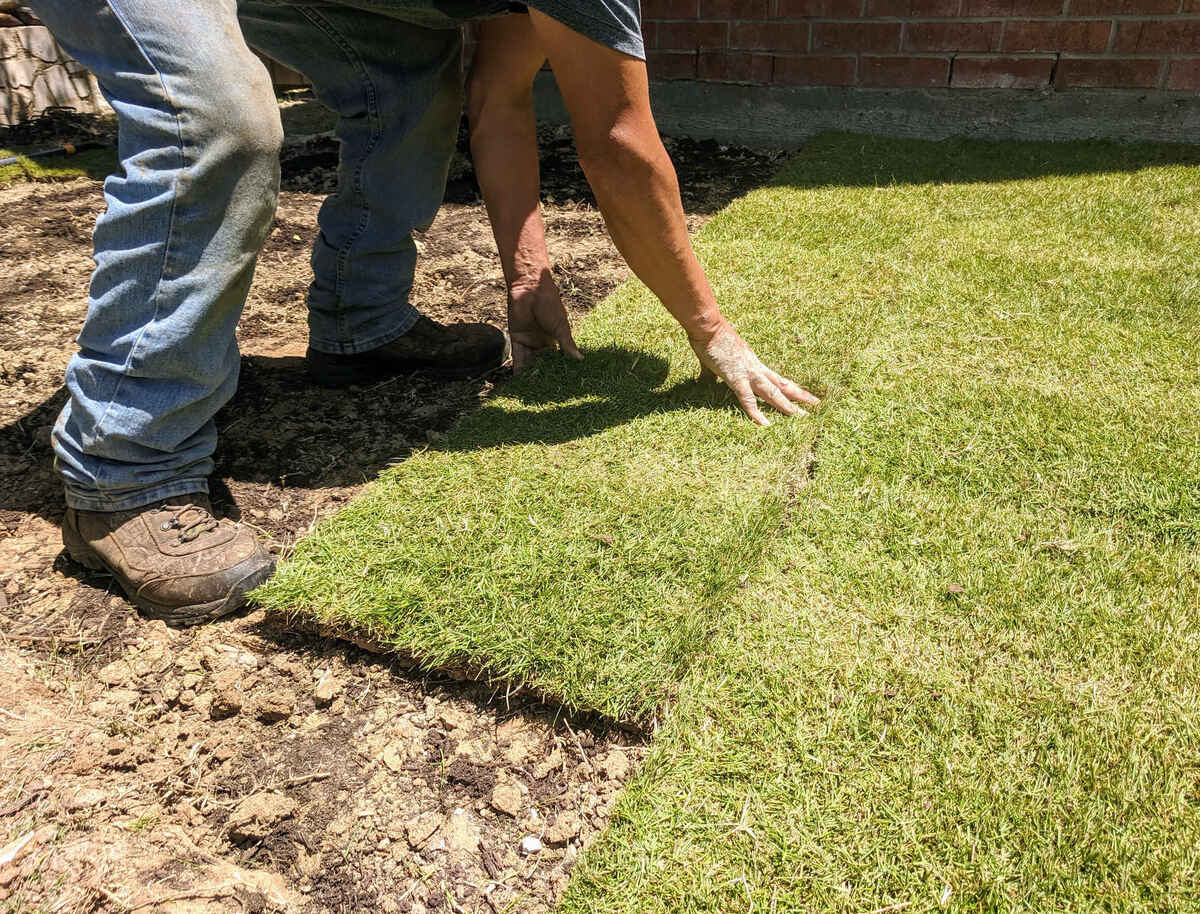
- Begin Laying Sod: Start laying the sod along a straight edge, such as a driveway or sidewalk, to create a neat, uniform appearance. Stagger the sod pieces in a brickwork pattern to minimize visible seams and promote a seamless, cohesive look.
- Trim as Needed: Use a sharp knife to trim the sod as necessary to fit around obstacles, edges, and curves, ensuring a snug fit and professional finish.
- Ensure Good Contact: Press the sod firmly into the soil to eliminate air pockets and promote direct contact between the sod roots and the prepared soil.
- Water Thoroughly: After laying the sod, water it thoroughly to help settle the roots and establish good soil-to-sod contact. Keep the sod consistently moist in the days following installation to support healthy root development.
- Monitor and Maintain: Regularly monitor the newly laid sod, ensuring it receives adequate water and care as it establishes. Follow recommended watering and maintenance practices to promote strong, healthy growth.
By following these steps, you can ensure a successful sod installation, setting the stage for a vibrant, resilient lawn that enhances the beauty and value of your property.
Conclusion
Preparing the ground for new sod involves a series of essential steps that culminate in the creation of a vibrant, healthy lawn. By meticulously following the guidelines outlined in this comprehensive guide, you have set the stage for the successful installation and long-term health of your new sod.
From meticulously preparing the area and removing existing grass to tilling the soil, leveling the surface, and laying the sod, each step plays a crucial role in creating an optimal environment for the new grass to take root and thrive.
As you embark on this transformative journey, envision the lush, green expanse that will soon grace your outdoor space, providing a welcoming, natural setting for relaxation, play, and enjoyment. The care and attention invested in preparing the ground for new sod will be rewarded with a beautiful, resilient lawn that enhances the beauty and functionality of your property.
Remember, the successful establishment of new sod requires ongoing care and maintenance. Be attentive to the water, nutrients, and care that your new lawn needs as it takes root and flourishes. By nurturing your sod and providing it with the support it requires, you will enjoy the rewards of a vibrant, thriving lawn for years to come.
With these steps and considerations in mind, you are well-equipped to embark on the journey of transforming your outdoor space with the installation of new sod. Embrace the process, enjoy the transformation, and revel in the beauty of your revitalized lawn.
Frequently Asked Questions about How To Remove Grass Before Laying Sod
Was this page helpful?
At Storables.com, we guarantee accurate and reliable information. Our content, validated by Expert Board Contributors, is crafted following stringent Editorial Policies. We're committed to providing you with well-researched, expert-backed insights for all your informational needs.


0 thoughts on “How To Remove Grass Before Laying Sod”