Home>Gardening & Outdoor>Landscaping Ideas>How To Put Down Fake Grass On Dirt
Landscaping Ideas
How To Put Down Fake Grass On Dirt
Modified: October 21, 2024
Learn how to install fake grass on dirt with our landscaping ideas. Get step-by-step guidance for transforming your outdoor space.
(Many of the links in this article redirect to a specific reviewed product. Your purchase of these products through affiliate links helps to generate commission for Storables.com, at no extra cost. Learn more)
Introduction
Welcome to the ultimate guide on transforming your outdoor space with artificial grass. Whether you’re looking to create a low-maintenance lawn, a pet-friendly play area, or a vibrant green space in a challenging environment, fake grass provides a versatile and durable solution. In this comprehensive guide, we’ll walk you through the step-by-step process of laying artificial grass on dirt, ensuring that you achieve professional-looking results that stand the test of time.
Artificial grass has come a long way in terms of its appearance and functionality. With realistic textures, varying blade lengths, and natural-looking colors, modern synthetic turf can easily be mistaken for the real thing. It offers the appeal of a lush, green lawn without the need for constant watering, mowing, or fertilizing, making it an attractive option for homeowners and businesses alike.
By following the expert tips and techniques outlined in this guide, you’ll be able to create a stunning artificial grass installation that enhances the aesthetics and usability of your outdoor space. So, let’s roll up our sleeves and delve into the process of laying fake grass on dirt, unlocking the potential for a beautiful and hassle-free landscape transformation.
Key Takeaways:
- Transform your outdoor space with artificial grass by following the step-by-step guide. Achieve a vibrant, low-maintenance landscape that stands the test of time, providing a lush, green environment for relaxation and enjoyment.
- Create a resilient, visually stunning landscape with artificial grass. Enjoy the freedom from constant maintenance and watering, and revel in the enduring allure of a lush, green environment that remains vibrant throughout the seasons.
Read more: How To Lay Fake Grass Down
Step 1: Prepare the Area
Before embarking on the installation of artificial grass, it’s crucial to prepare the area thoroughly to ensure a stable and long-lasting foundation. Here’s a detailed breakdown of the preparatory steps:
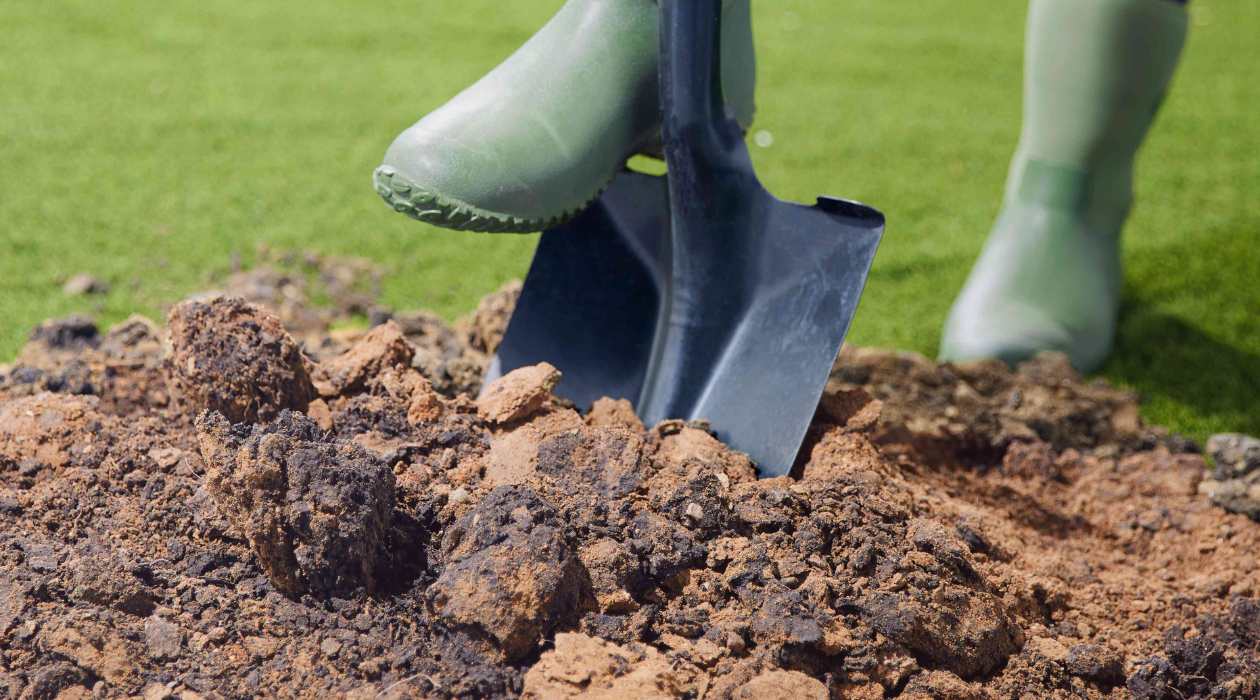
- Clear the Site: Begin by removing any existing vegetation, debris, or rocks from the area where the artificial grass will be installed. This process may involve digging up the top layer of soil to create a clean and even surface.
- Assess Drainage: Evaluate the drainage capabilities of the site to identify any areas prone to water accumulation. Proper drainage is essential for maintaining the integrity of the artificial grass over time, so it’s important to address any existing drainage issues before proceeding.
- Compact the Soil: Using a compactor or tamper, compact the soil to create a firm and level base. This step is crucial for preventing the ground from shifting or settling, which could lead to unevenness in the artificial grass surface.
- Install Edging: To define the perimeter of the artificial grass area and prevent the edges from shifting, install edging material such as plastic bender board or metal landscape edging. Secure the edging firmly in place, ensuring that it follows the desired contours of the installation area.
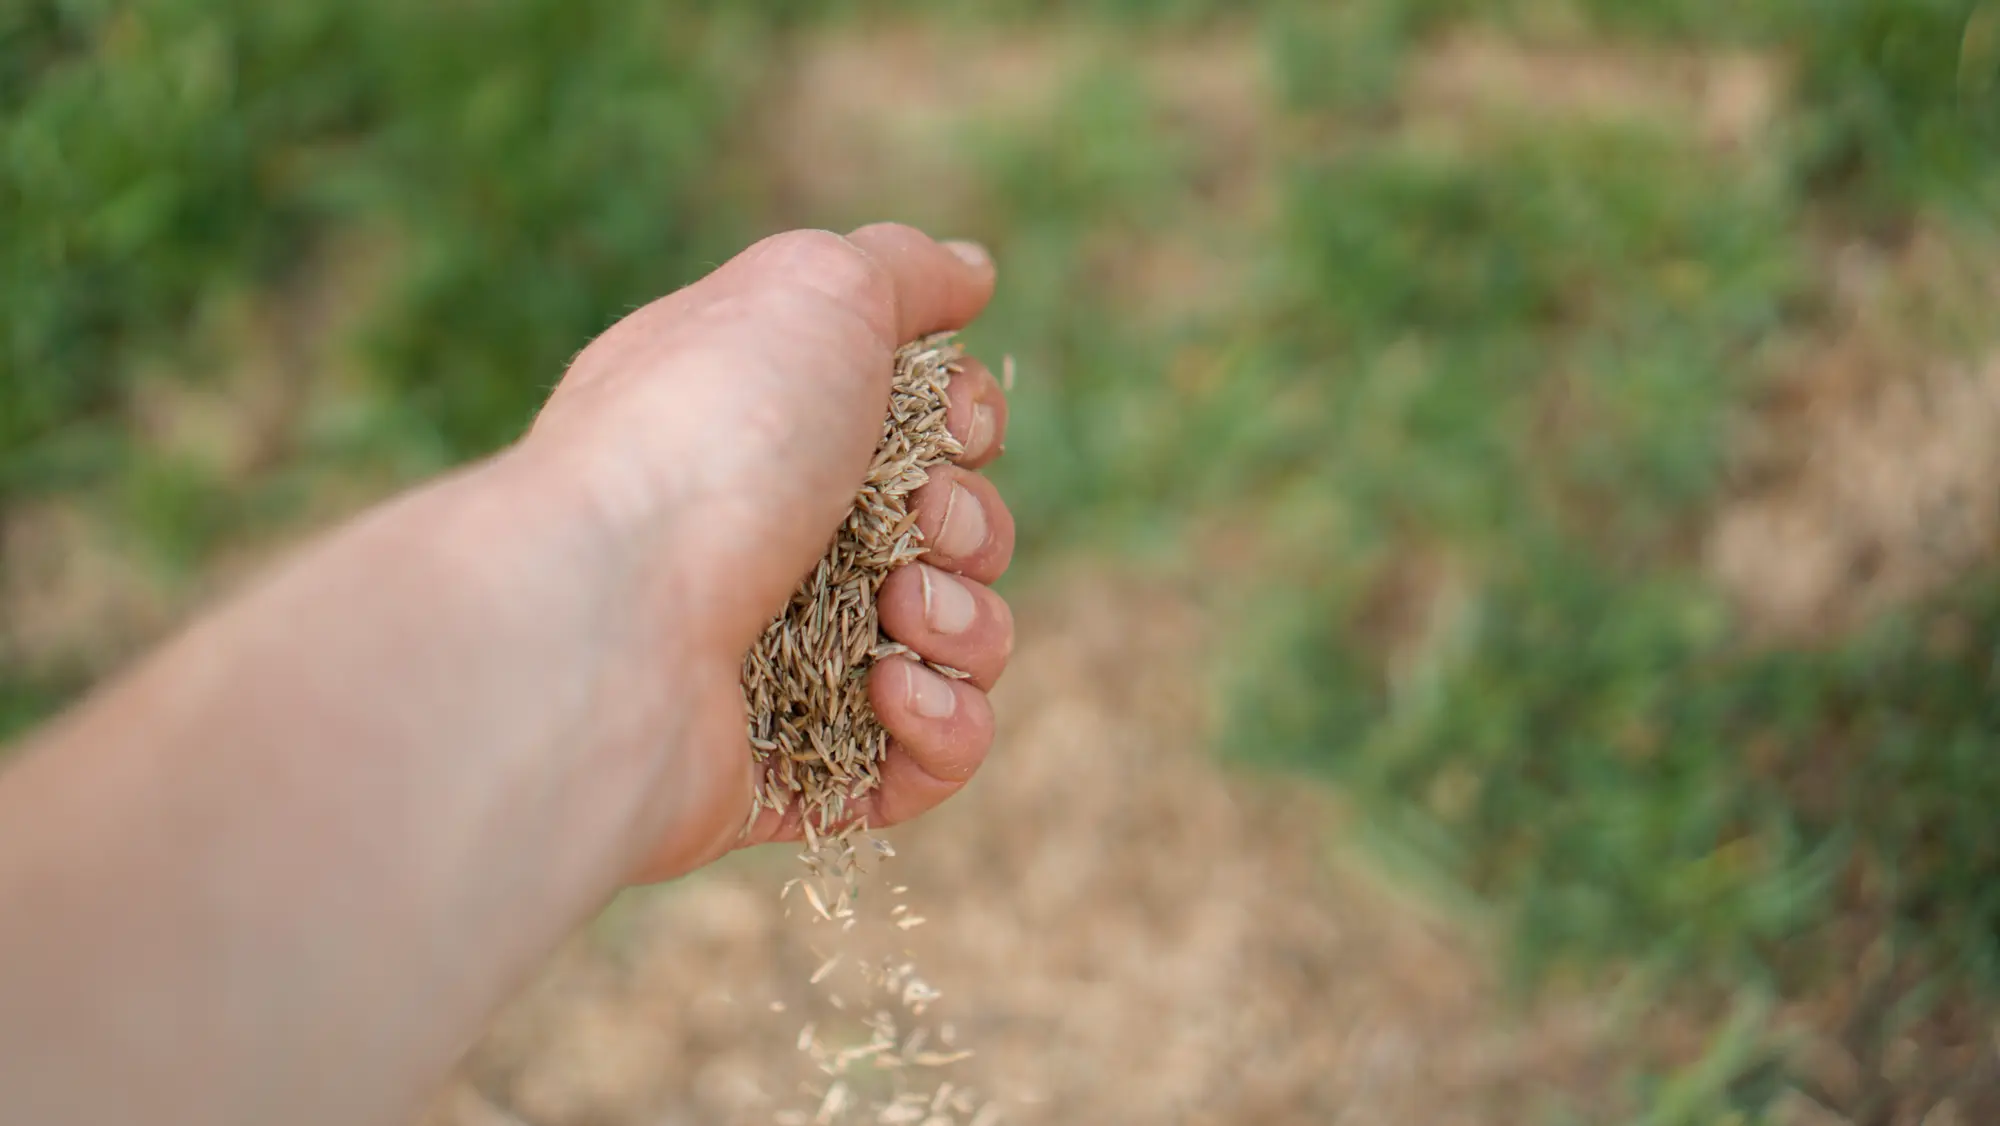
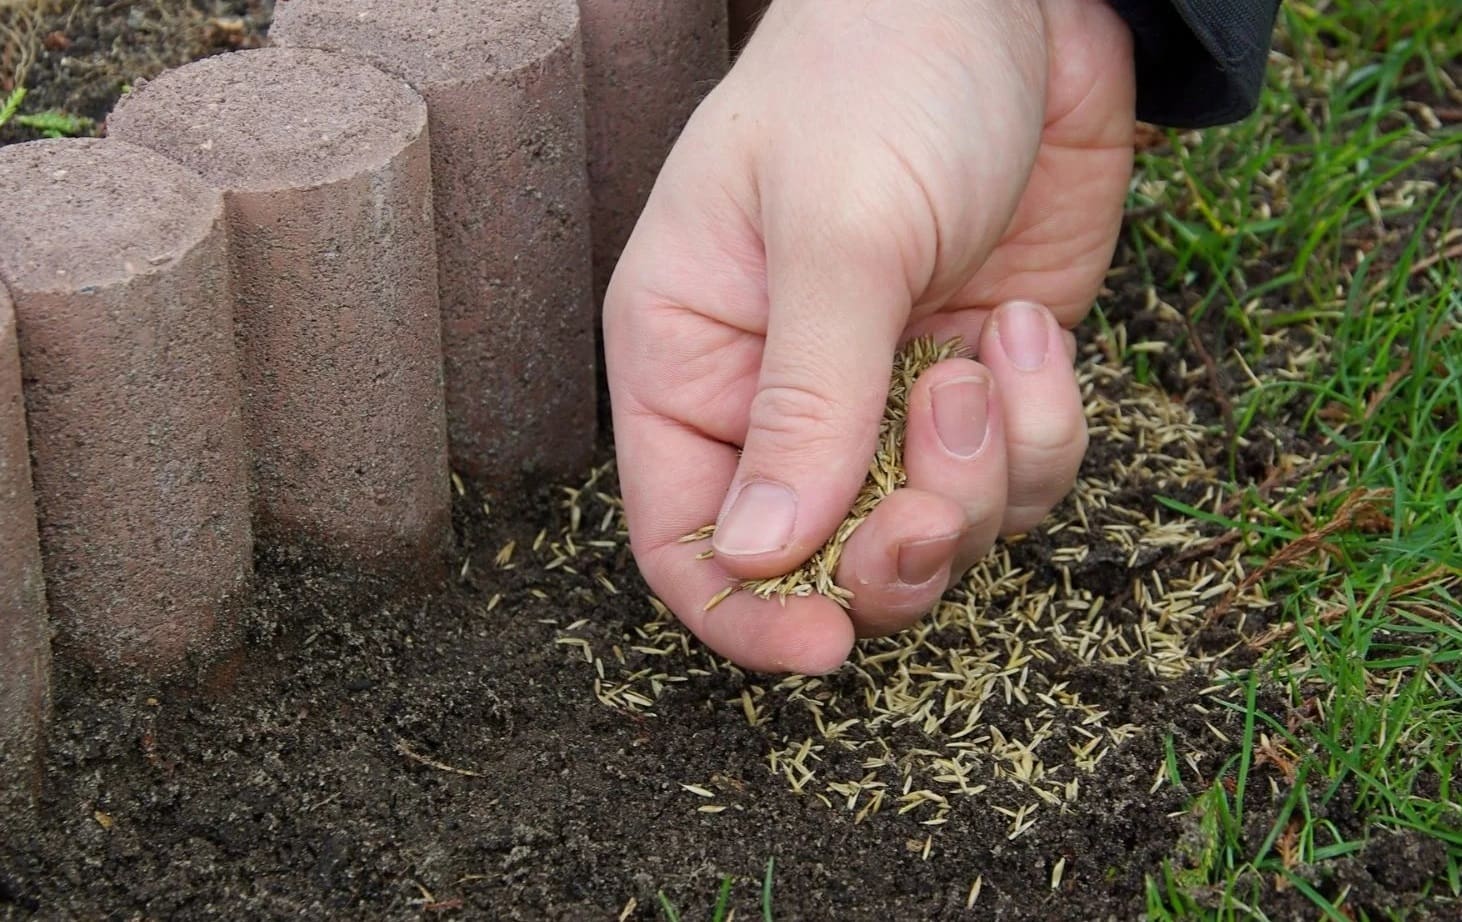
- Apply a Weed Barrier: Lay down a high-quality weed barrier fabric to inhibit the growth of weeds and ensure a clean, low-maintenance surface for the artificial grass. Trim the fabric to fit the dimensions of the installation area, overlapping the edges for complete coverage.
By meticulously preparing the area, you’ll establish a solid foundation for the artificial grass installation, setting the stage for a professional and enduring result.
Step 2: Lay Out the Base Material
With the site prepared, the next critical step in the artificial grass installation process is laying out the base material. This foundational layer serves as a crucial component in ensuring proper drainage, stability, and longevity for the synthetic turf. Here’s a comprehensive guide to this essential phase:
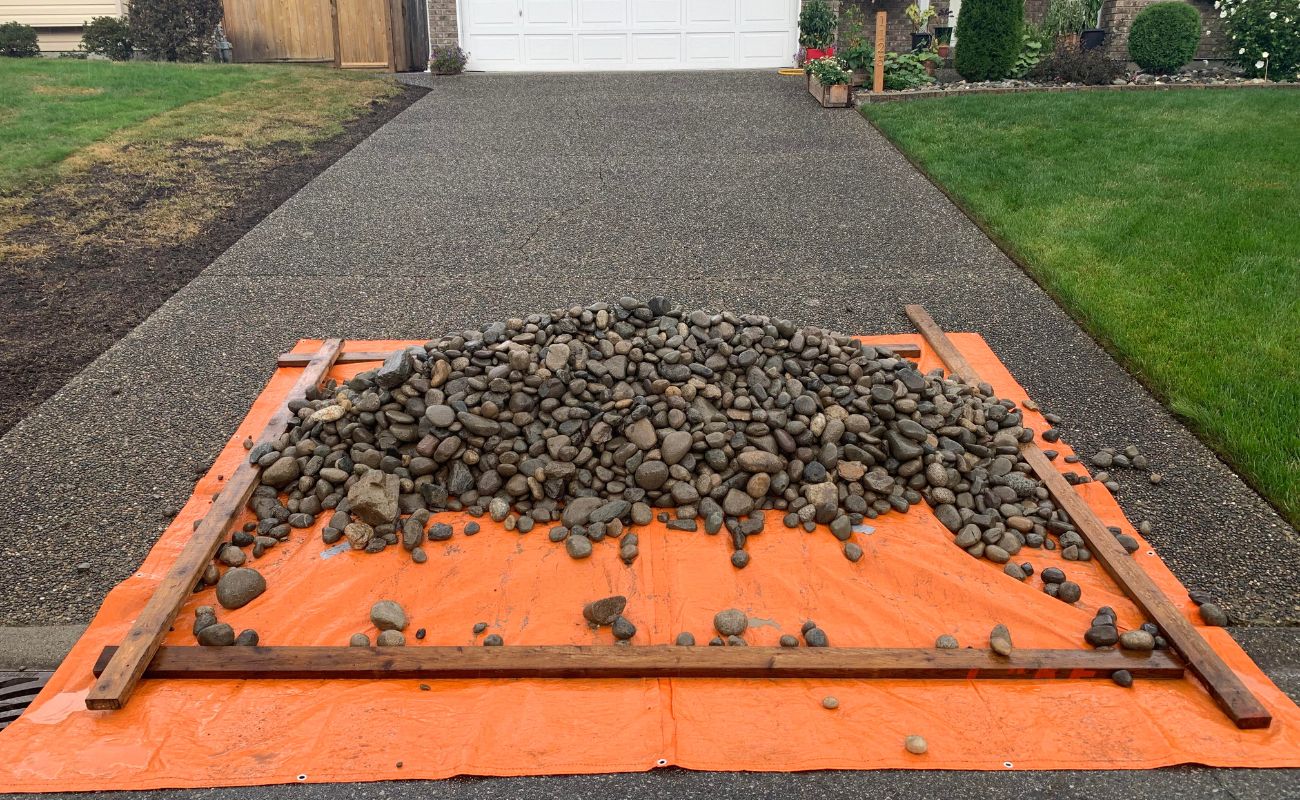
- Add a Sub-Base: Begin by adding a sub-base material, such as decomposed granite or crushed rock, to the prepared area. This layer serves as a stable foundation for the artificial grass, promoting effective drainage and preventing the growth of weeds.
- Distribute and Level: Spread the sub-base material evenly across the installation area, using a rake and a screed board to achieve a consistent depth. Aim for a compacted sub-base thickness of around 2-3 inches to provide ample support for the artificial grass.
- Compact the Sub-Base: Utilize a vibrating plate compactor to firmly compact the sub-base material. This process helps to enhance the stability and load-bearing capacity of the base, ensuring that it can withstand foot traffic and environmental factors without shifting or settling.
- Add a Permeable Layer: For optimal drainage, consider incorporating a permeable geotextile membrane over the compacted sub-base. This additional layer facilitates water permeation while preventing the migration of fine particles, contributing to the overall resilience of the artificial grass installation.
- Assess the Base Integrity: After laying out the base materials, inspect the surface for any irregularities or areas that may require additional leveling or compaction. Addressing any issues at this stage will contribute to the overall smoothness and uniformity of the artificial grass surface.
By meticulously attending to the details of laying out the base material, you’ll establish a robust and reliable foundation for the artificial grass, ensuring optimal performance and visual appeal for years to come.
Step 3: Install the Artificial Grass
Now that the area has been meticulously prepared and the base material laid out, it’s time to embark on the exciting phase of installing the artificial grass. This transformative step involves carefully positioning and securing the synthetic turf to create a vibrant and resilient surface. Here’s a detailed guide to the process of installing artificial grass:
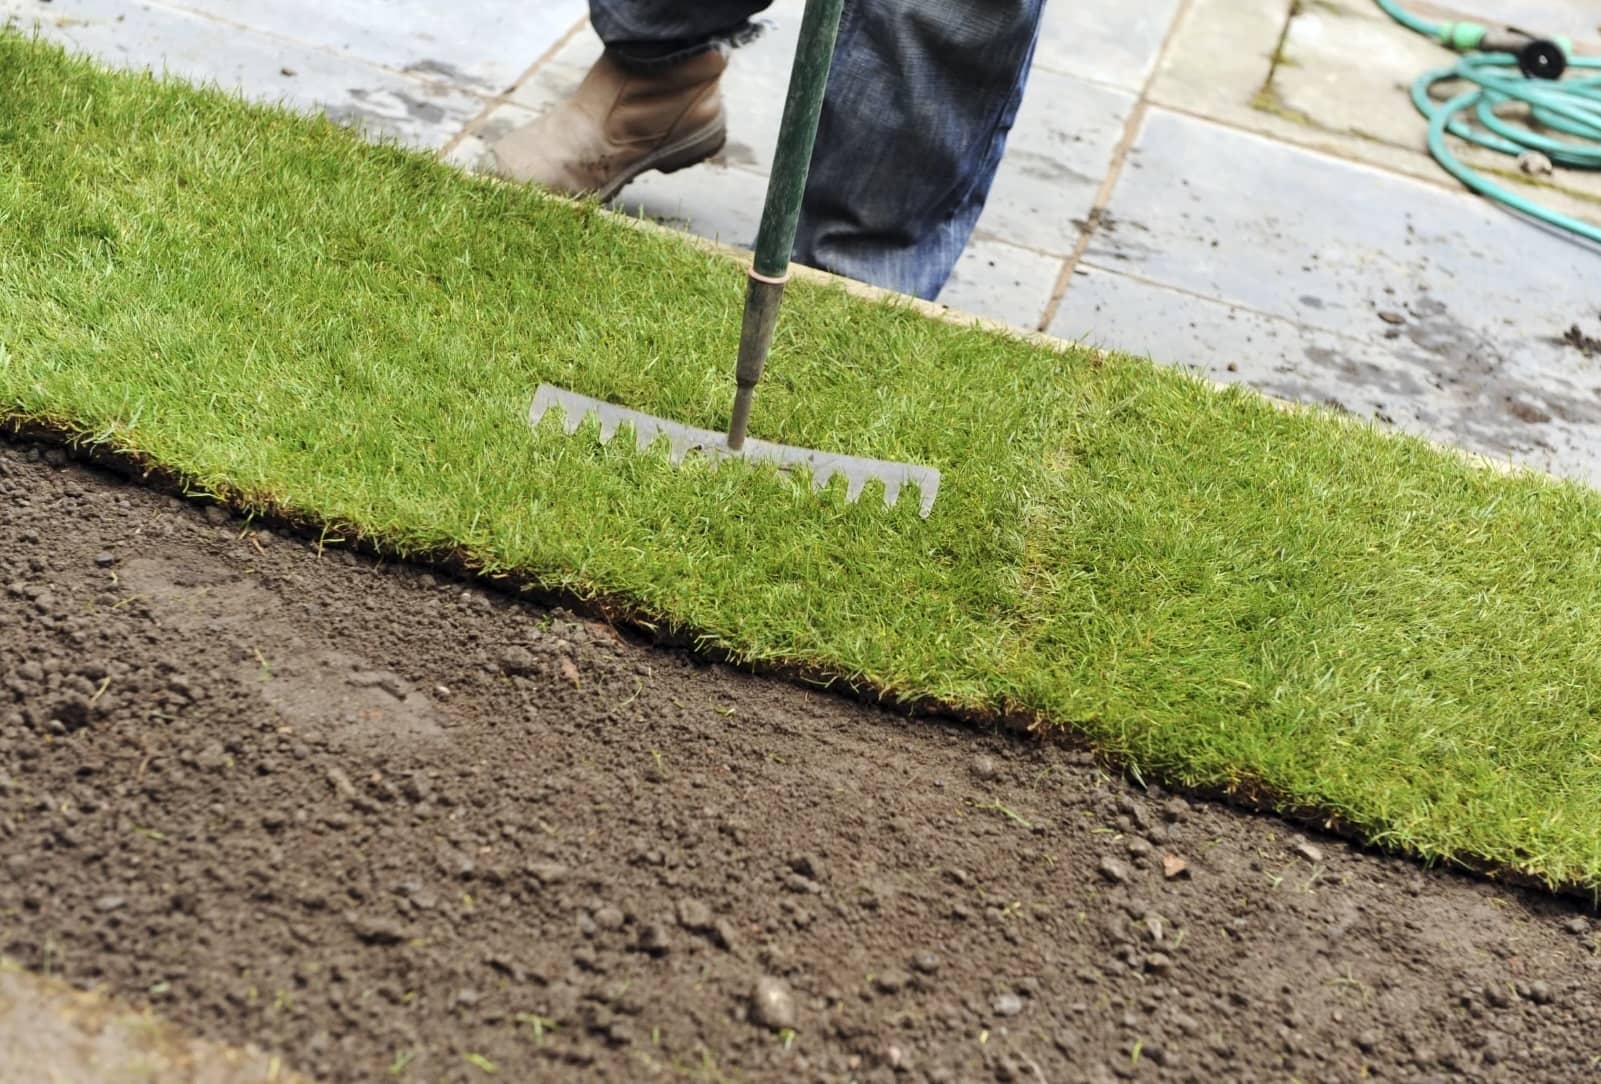
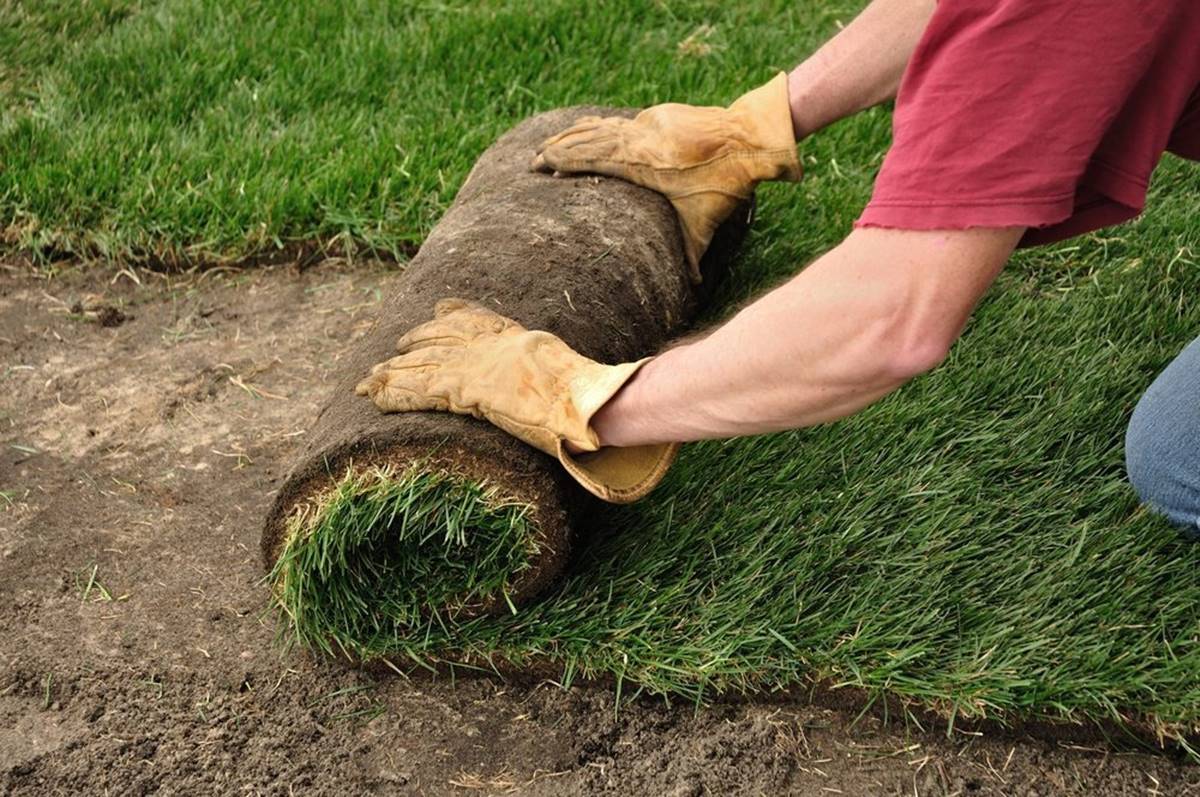
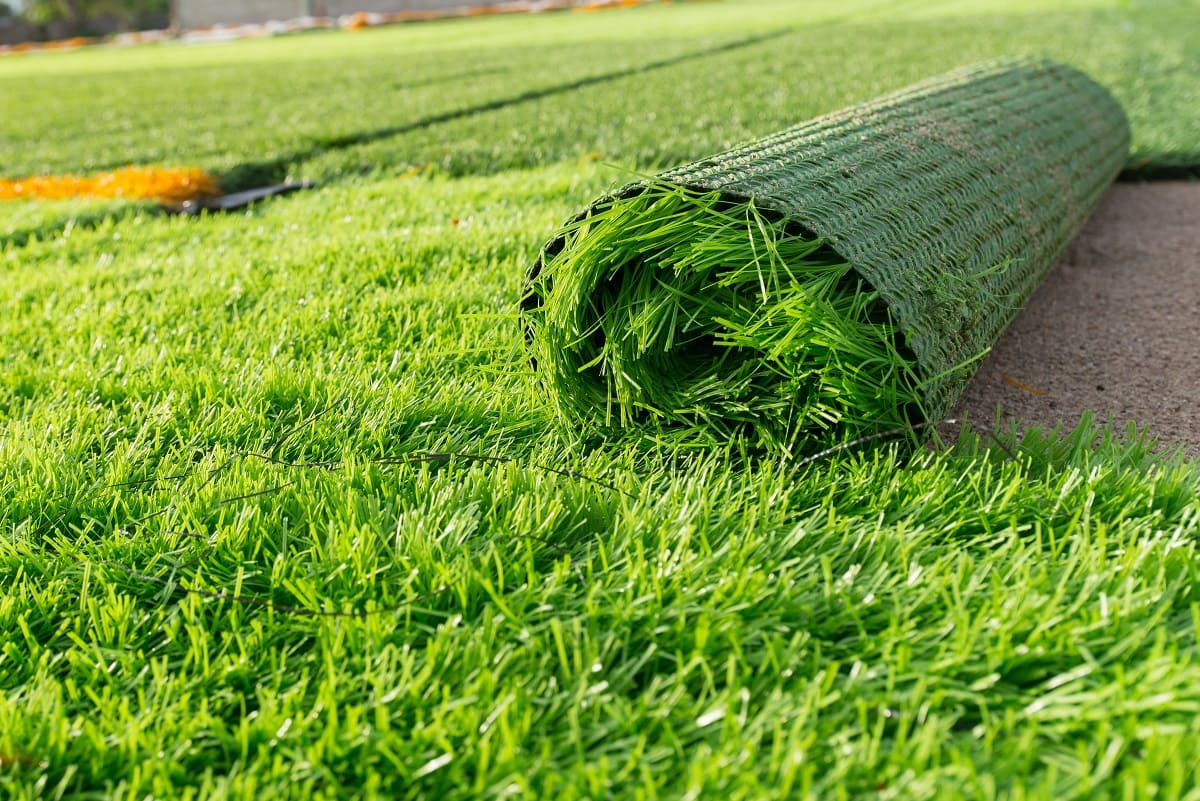
- Unroll the Artificial Grass: Begin by unrolling the synthetic turf across the prepared area, taking care to align the grain and ensure that the blades face the desired direction. Allow the turf to acclimate to the surroundings for a brief period, which can help minimize wrinkles and facilitate a smoother installation.
- Trim and Shape: Once the artificial grass is positioned, carefully trim any excess material to achieve a precise fit within the installation area. Pay attention to intricate corners and curves, ensuring that the turf conforms seamlessly to the contours of the space.
- Join Seams: If multiple sections of artificial grass are required to cover the entire area, meticulously join the seams to create an imperceptible transition. Utilize high-quality seam tape and adhesive to secure the connections, ensuring a seamless and durable bond.
- Anchoring and Securing: Secure the edges and seams of the artificial grass using galvanized nails or landscape staples, ensuring that the turf remains taut and firmly anchored to the base. This step is crucial for maintaining the integrity of the installation, particularly in high-traffic areas.
- Inspect and Adjust: Thoroughly inspect the installed artificial grass, checking for any irregularities, wrinkles, or imperfections. Make any necessary adjustments to ensure a flawless and uniform surface, paying attention to details such as blade orientation and overall smoothness.
By meticulously following these steps, you’ll achieve a precise and professional installation of artificial grass, elevating the visual appeal and functionality of your outdoor space with a vibrant and resilient synthetic lawn.
Before laying down fake grass on dirt, make sure to clear the area of any debris and level the surface. Use a weed barrier to prevent any unwanted growth and secure the edges of the grass properly to avoid shifting.
Step 4: Secure the Edges
Securing the edges of the artificial grass installation is a crucial step that ensures long-term stability and a polished, professional appearance. By firmly anchoring the edges, you can prevent shifting, maintain a seamless transition between the turf and surrounding surfaces, and enhance the overall durability of the installation. Here’s a comprehensive guide to effectively securing the edges of the artificial grass:
- Trim Excess Material: Begin by carefully trimming any excess artificial grass that extends beyond the intended installation area. This step creates a clean and precise edge, facilitating seamless integration with the surrounding landscape features.
- Secure with Adhesive: Apply a high-quality adhesive specifically designed for artificial grass installations along the perimeter of the turf. This adhesive creates a secure bond between the artificial grass and the underlying base, preventing the edges from lifting or shifting over time.
- Utilize Seaming Tape: For areas where multiple sections of artificial grass meet, utilize seaming tape and adhesive to create strong and inconspicuous seams. This process ensures that the edges remain flush and seamless, maintaining the overall integrity of the installation.
- Anchor with Nails or Staples: Secure the edges of the artificial grass using galvanized nails or landscape staples, driving them into the base material at regular intervals along the perimeter. This anchoring method provides additional reinforcement, particularly in areas subject to external forces or foot traffic.
- Inspect and Adjust: Thoroughly inspect the secured edges, ensuring that they are uniformly anchored and free from any signs of lifting or instability. Make any necessary adjustments to guarantee a consistent and secure perimeter throughout the artificial grass installation.
By meticulously securing the edges of the artificial grass, you’ll establish a resilient and visually appealing installation that seamlessly integrates with the surrounding landscape, creating a cohesive and polished outdoor environment.
Read more: How To Hold Down Fake Grass
Step 5: Add Infill Material
Introducing infill material into the artificial grass installation is a fundamental step that enhances the performance, resilience, and overall aesthetic appeal of the synthetic turf. Infill serves various essential functions, including providing stability, supporting the blades, and optimizing drainage. Here’s a comprehensive guide to adding infill material to your artificial grass installation:
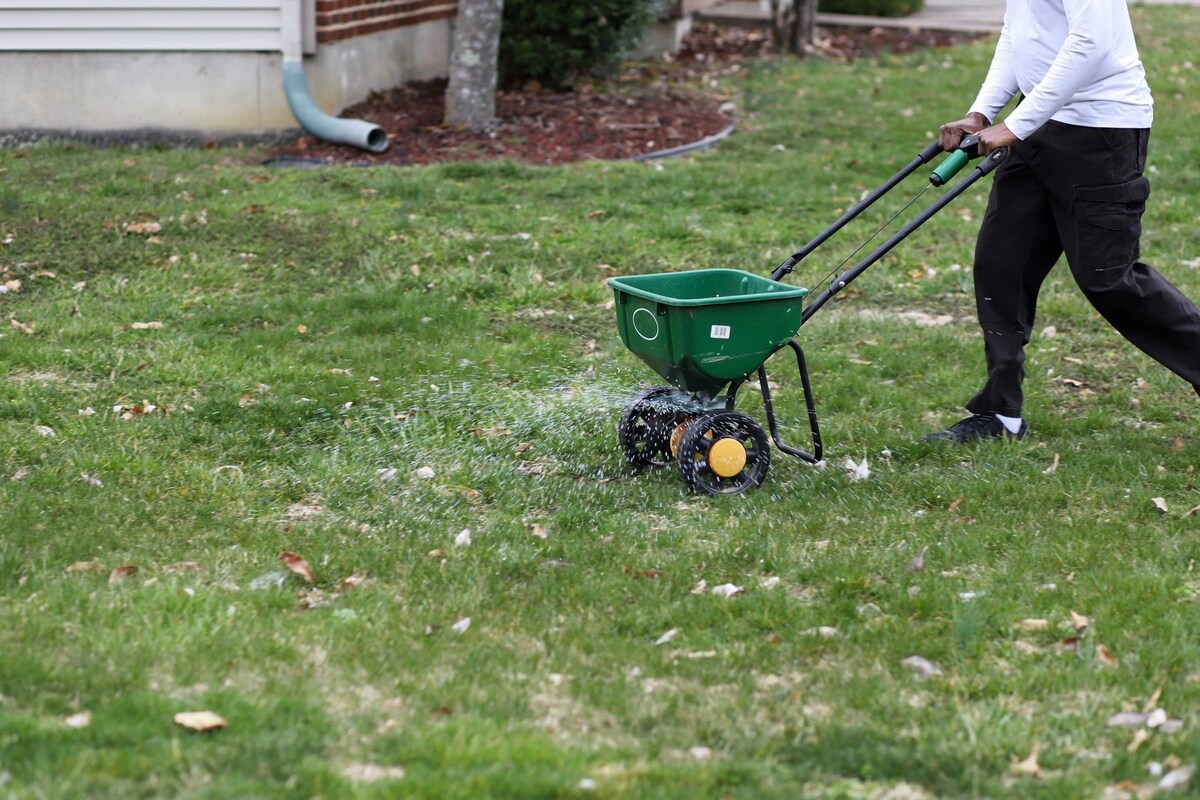
- Select Appropriate Infill: Choose an infill material that aligns with the specific requirements of your artificial grass installation. Common options include silica sand, rubber granules, and organic infills, each offering distinct benefits in terms of cushioning, drainage, and temperature regulation.
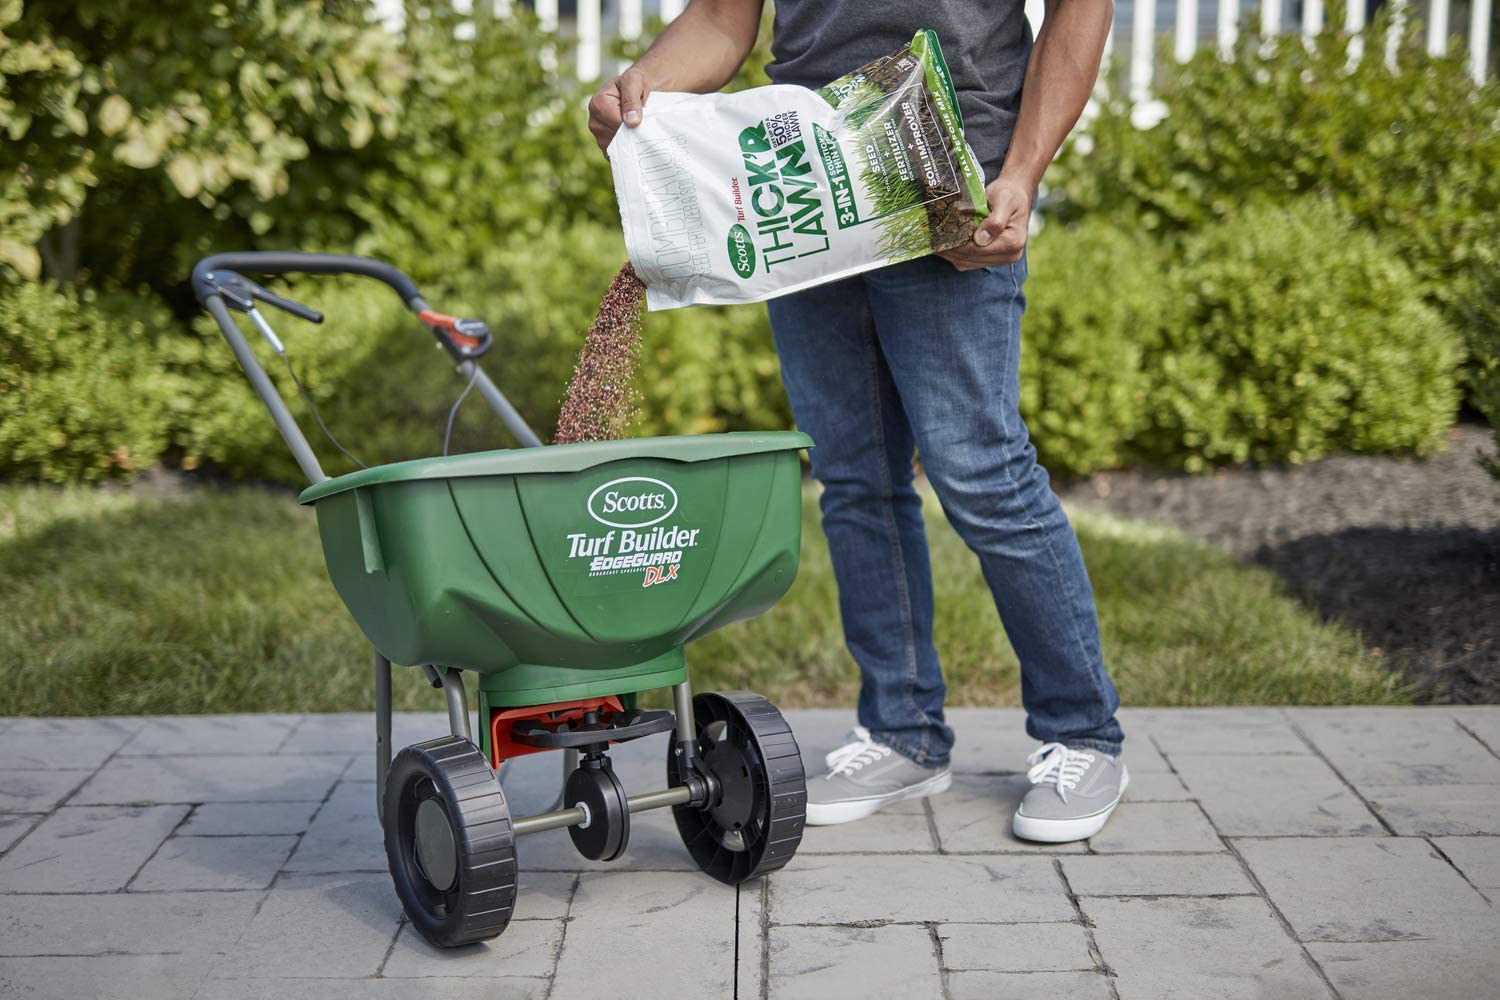
- Distribute Evenly: Spread the selected infill material evenly across the surface of the artificial grass using a drop spreader or a powered brush. Aim for a uniform distribution that ensures consistent support and coverage throughout the installation.
- Brush Infill into Blades: Utilize a power broom or a stiff-bristled brush to work the infill material into the base of the artificial grass blades. This process helps to stabilize the turf, promote an upright blade position, and create a natural, cushioned feel underfoot.
- Optimize Infill Volume: Adjust the volume of infill material based on the specific requirements of your artificial grass product and the intended usage of the installation. Balancing the infill volume is crucial for achieving the desired performance characteristics and visual aesthetics.
- Compact and Settle: After adding the infill material, lightly water the artificial grass to facilitate the settling of the infill and promote optimal integration with the turf. This step helps to ensure a consistent and stable infill layer that contributes to the overall resilience of the installation.
By conscientiously adding infill material to your artificial grass installation, you’ll enhance its performance, appearance, and longevity, creating a lush and inviting outdoor space that withstands the demands of everyday use.
Conclusion
Congratulations on completing the transformative process of laying artificial grass on dirt, culminating in the creation of a vibrant, low-maintenance outdoor space that enhances the beauty and functionality of your property. By meticulously following the step-by-step guide outlined in this comprehensive resource, you’ve gained the knowledge and expertise to achieve professional-quality results in your artificial grass installation.
From meticulously preparing the area and laying out the base material to seamlessly installing the artificial grass and adding the essential infill, each step contributes to the creation of a resilient, visually stunning landscape. The meticulous attention to detail and the use of high-quality materials and techniques ensure that your artificial grass installation will stand the test of time, providing a lush, green environment for relaxation, recreation, and enjoyment.
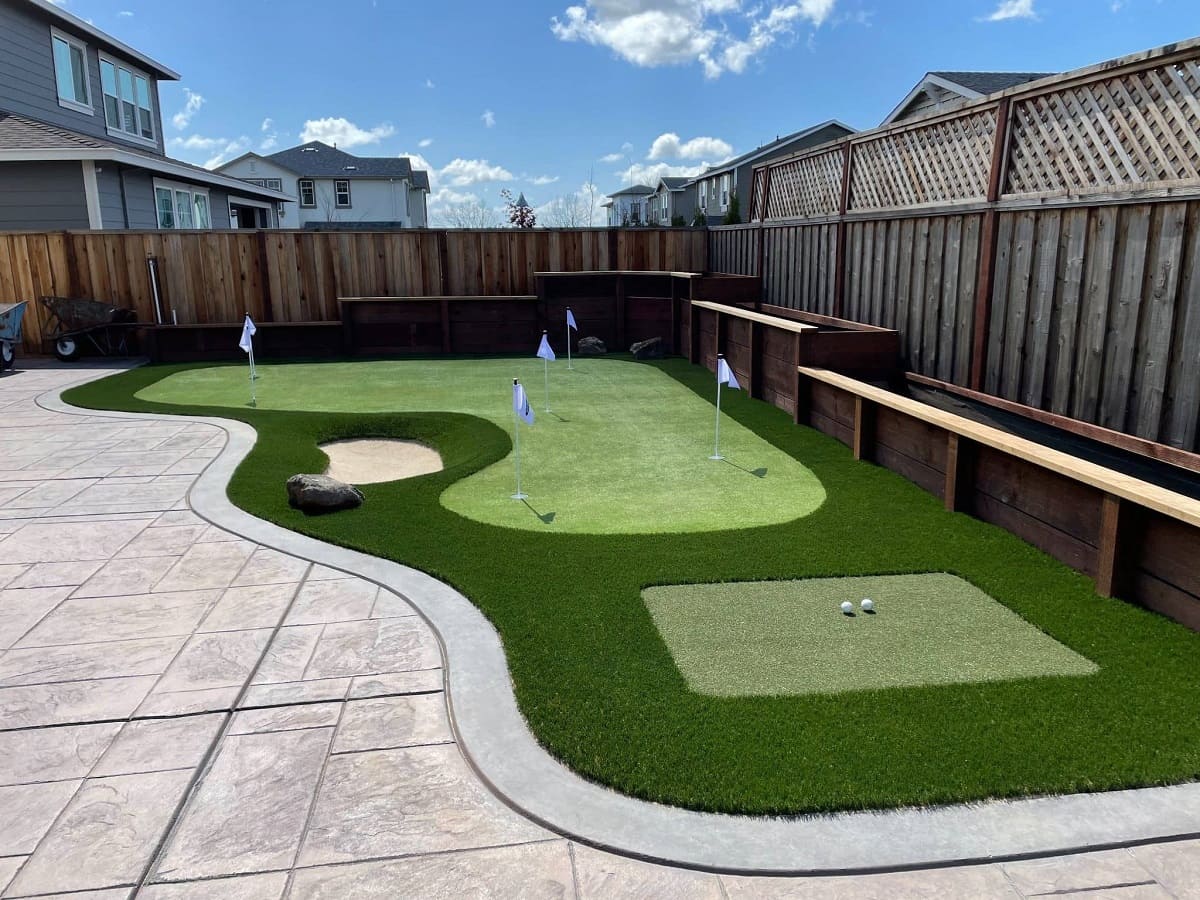
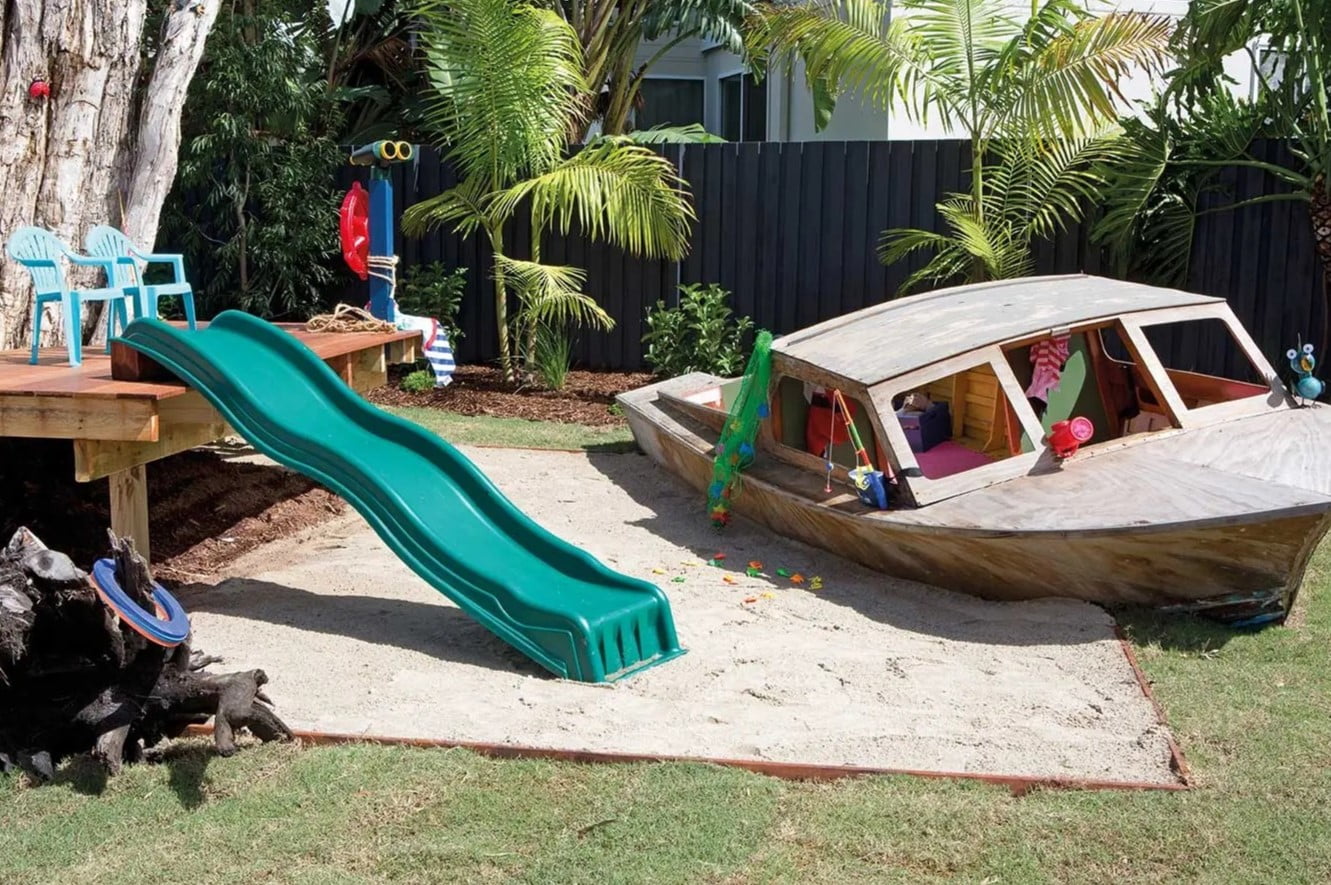
With its realistic appearance, low maintenance requirements, and exceptional durability, artificial grass offers a versatile and sustainable solution for transforming challenging outdoor spaces into inviting retreats. Whether you’re creating a pet-friendly play area, a vibrant lawn in a high-traffic zone, or an aesthetically pleasing landscape in a climate with limited water resources, artificial grass proves to be an invaluable asset.
As you bask in the beauty and practicality of your newly installed artificial grass, take pride in the meticulous craftsmanship and attention to detail that have gone into creating a landscape that captivates the eye and enriches the outdoor experience. Embrace the freedom from constant maintenance and watering, and relish in the enduring allure of a lush, green environment that remains vibrant and inviting throughout the seasons.
By harnessing the knowledge and techniques presented in this guide, you’ve unlocked the potential to create a stunning artificial grass installation that elevates your outdoor space, enriches your lifestyle, and brings lasting joy to your surroundings. Embrace the beauty and functionality of artificial grass, and revel in the transformative power it brings to your outdoor oasis.
Frequently Asked Questions about How To Put Down Fake Grass On Dirt
Was this page helpful?
At Storables.com, we guarantee accurate and reliable information. Our content, validated by Expert Board Contributors, is crafted following stringent Editorial Policies. We're committed to providing you with well-researched, expert-backed insights for all your informational needs.


0 thoughts on “How To Put Down Fake Grass On Dirt”