Articles
How To Pull Up A Carpet
Modified: October 28, 2024
Learn how to pull up a carpet with our informative articles. Get step-by-step instructions and expert advice to easily remove your old carpet.
(Many of the links in this article redirect to a specific reviewed product. Your purchase of these products through affiliate links helps to generate commission for Storables.com, at no extra cost. Learn more)
Introduction
So, you’ve finally decided to pull up that old carpet and give your home a fresh new look. Congratulations! Pulling up a carpet may seem like a daunting task, but with the right tools and a little bit of know-how, it can be a relatively simple and satisfying DIY project.
In this article, we will guide you through the step-by-step process of pulling up a carpet, from clearing the area to disposing of the old carpet and everything in between. So, roll up your sleeves, grab your tools, and let’s get started!
Key Takeaways:
- Removing an old carpet is a manageable DIY project with the right tools and know-how. Clear the area, start at a corner, and roll up the carpet for a smooth and satisfying process.
- Properly disposing of the old carpet and padding is crucial for environmental sustainability. Check local regulations, consider recycling, and ensure responsible disposal for a cleaner, greener impact.
Read more: How To Fix A Carpet Pulled Up By A Cat
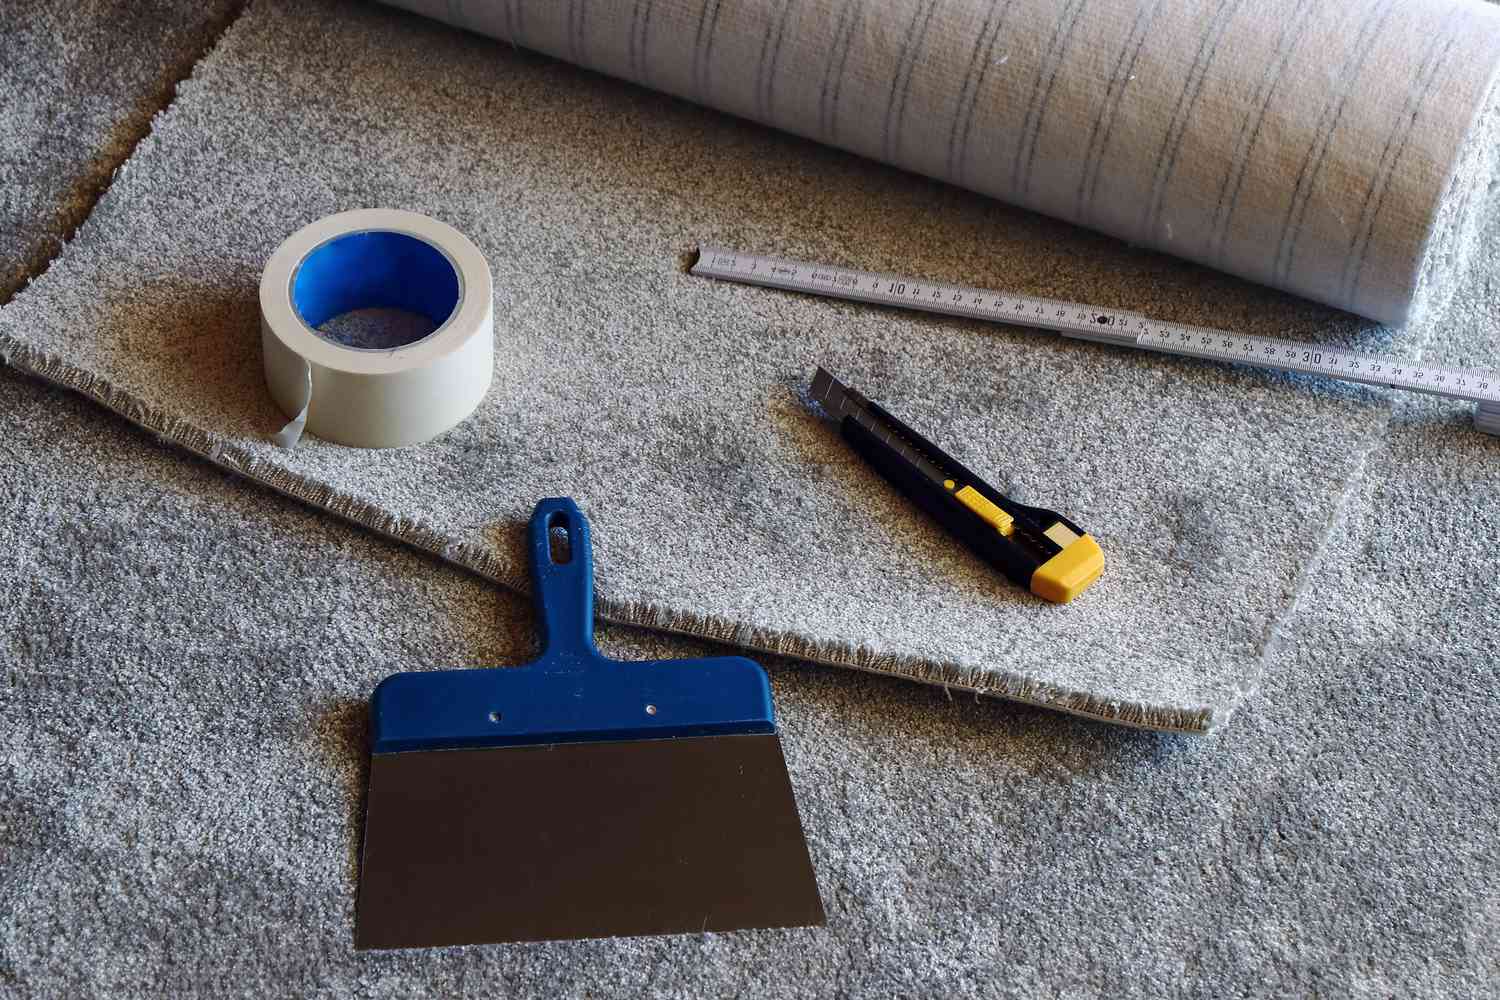
Tools and Materials Needed
Before you begin pulling up your carpet, it’s essential to gather the necessary tools and materials to ensure a smooth and efficient process. Here’s a list of what you’ll need:
- Utility knife
- Pry bar or carpet puller
- Pliers
- Dust mask and safety goggles
- Gloves
- Trash bags or tarp for disposal
- Vacuum cleaner
- Carpet padding adhesive (if applicable)
- Subfloor repair materials (if necessary)
Make sure to have these tools and materials readily available before you start pulling up your carpet. This will save you time and prevent interruptions during the process.
Step 1: Clear the Area
Before you can begin pulling up the carpet, it’s important to clear the area of any furniture or fixtures. This will give you a clean and open space to work in.
Start by removing any small items such as lamps, decorative pieces, or plants from the room. You can temporarily store them in another area until the project is complete.
For larger furniture pieces such as sofas, tables, or beds, it’s best to remove them from the room entirely if possible. This will make the process much easier and prevent any damage to the furniture.
If removing the furniture from the room is not an option, you can push them to one side of the room and cover them with a protective tarp or plastic sheet. This will prevent any dust or debris from falling on them during the carpet removal process.
Remember to take extra caution when moving heavy furniture to avoid any injuries. Use proper lifting techniques and, if needed, ask for assistance from a friend or family member.
Once the area is clear of furniture and fixtures, you’re ready to move onto the next step.
Step 2: Identify and Remove Furniture or Fixtures
After clearing the area, it’s now time to identify any furniture or fixtures that are attached to or obstructed by the carpet. This step is crucial to ensure a smooth carpet removal process.
Start by examining the edges of the carpet and look for any furniture or fixtures that may be attached or anchored down. This could include items such as heavy cabinets, bookshelves, or built-in furniture.
If you come across any furniture or fixtures that are secured to the carpet, use a screwdriver or appropriate tool to detach them. It’s important to carefully remove any fasteners or anchors to avoid damage to the carpet or the item itself.
For larger, immovable furniture pieces that cannot be detached, you can either work around them or consider seeking professional assistance. Moving heavy furniture can be challenging and may require specialized equipment or expertise.
Additionally, watch out for any electrical cords or wires that may be hidden beneath the carpet. Safely unplug and remove any electronics or appliances to prevent any accidents or potential damage.
By ensuring that all furniture and fixtures are either removed or safely secured, you can proceed with pulling up the carpet without any obstructions or hindrances.
Once you’ve addressed any attached furniture or fixtures, you’re now ready for the next step in the carpet removal process.
Step 3: Start at the Corner
With the area cleared and furniture or fixtures removed or secured, it’s time to start pulling up the carpet. Begin by locating a corner of the room to start from.
Starting at a corner makes it easier to grip and lift the carpet. It’s also the most logical and effective way to remove it. Choose a corner that is convenient for you and doesn’t have any heavy furniture or obstructions.
Once you have identified the corner, use a utility knife to carefully cut along the edge of the carpet, creating a straight line. Be cautious not to cut too deeply to avoid damaging the subfloor beneath.
After making the initial cut, slip your fingers or a pair of pliers between the carpet and the floor to get a good grip. Slowly and steadily pull the carpet away from the floor, starting at the corner.
If the carpet is securely fastened to the floor, you may need to use a pry bar or a carpet puller to loosen it. Gently apply pressure to lift the carpet while ensuring that you’re not damaging the underlying floor.
Continue pulling the carpet up along the wall until you reach the opposite corner of the room. Take your time and work systematically to ensure a clean and efficient removal process.
Now that you’ve started pulling up the carpet, it’s time to move on to the next step to loosen it further.
Read more: How To Fix A Pulled Carpet
Step 4: Loosen the Carpet
After starting at the corner and pulling up the carpet, the next step is to loosen it further to make the removal process easier. This step ensures that the carpet is no longer secured tightly to the floor.
Once you have pulled up the corner of the carpet, continue to work your way along the room’s perimeter. Use a pry bar or carpet puller to gently lift the edges of the carpet, creating space between the carpet and the floor.
As you loosen the carpet, be mindful of any nails, staples, or tacks that may be holding it in place. Use pliers to remove any fasteners you come across to prevent damage during the removal.
Additionally, if the carpet is secured with carpet tacks or strips along the walls, you may need to remove them as you go. Use a pry bar or pliers to gently lift the tacks or strips, being careful not to damage them if you plan to reuse them.
Continue loosening the carpet along all the walls of the room until the entire perimeter is lifted. Pay attention to any corners or difficult areas where the carpet may be more firmly secured and take your time to loosen them properly.
By loosening the carpet, you are preparing it for the next step of actually rolling it up. This step makes the process much smoother and reduces the risk of damage to the carpet or subfloor.
Now that the carpet is loosened, it’s time to move on to the next step – rolling up the carpet.
Before pulling up a carpet, make sure to remove any furniture or obstacles on top of it. Start at a corner and use a pair of pliers to grip the carpet and pull it up gently to avoid damaging the floor underneath.
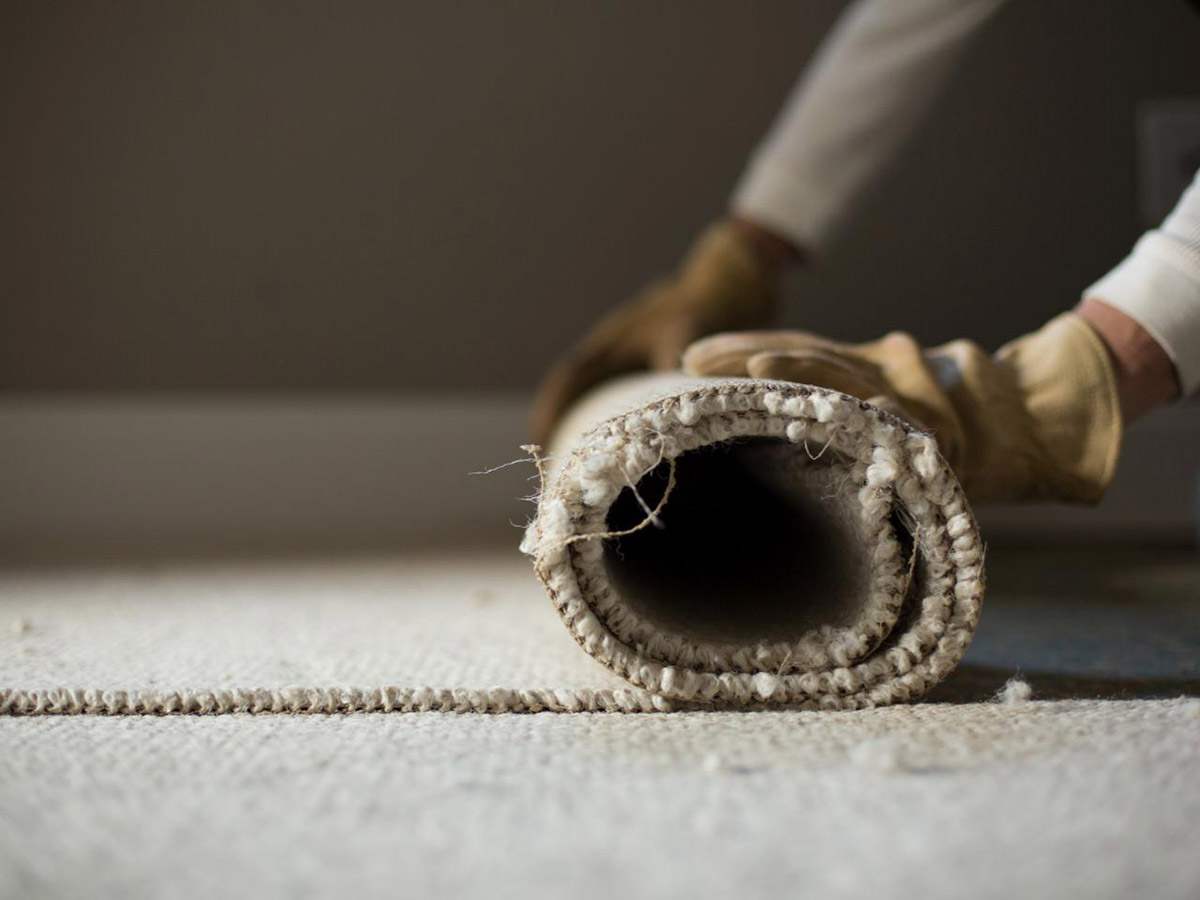
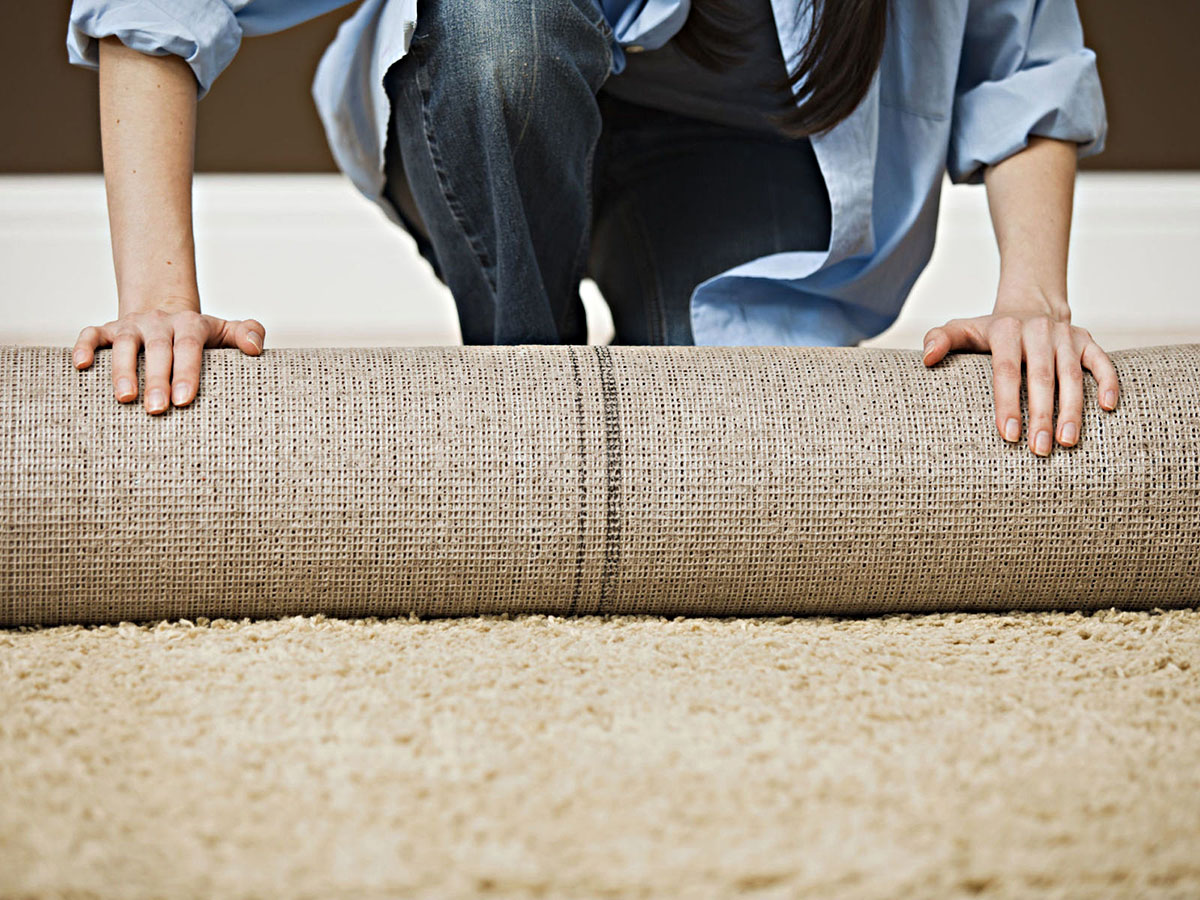
Step 5: Roll Up the Carpet
Now that the carpet is loosened and no longer securely fastened to the floor, it’s time to roll it up. Rolling up the carpet makes it easier to handle and removes any potential tripping hazards.
Starting from one end of the room, use your hands to grip the edge of the carpet and start rolling it tightly. Roll the carpet towards the center of the room, keeping it as neat and tight as possible.
As you roll, ensure that the carpet is free from any obstacles or obstructions, such as furniture legs or exposed nails. Use a pry bar or pliers to gently lift any areas that are stuck or snagged.
If your roll becomes too large or heavy to handle, you can temporarily secure it with twine or rope to keep it in place. This will make it easier to continue rolling up the remaining sections of the carpet.
If the carpet is too large or difficult to manage on your own, don’t hesitate to ask for help from a friend or family member. Having an extra set of hands can make the process faster and smoother.
Continue rolling up the carpet until you have reached the opposite end of the room. Take your time to ensure that the carpet is rolled evenly and tightly to prevent any unruly bulges or bumps.
Once the carpet is completely rolled up, secure it with twine or rope to keep it in place temporarily. This will allow you to move on to the next step of removing the carpet padding.
Congratulations! You’ve successfully rolled up the carpet. Now, it’s time to move on to the next step – removing the carpet padding.
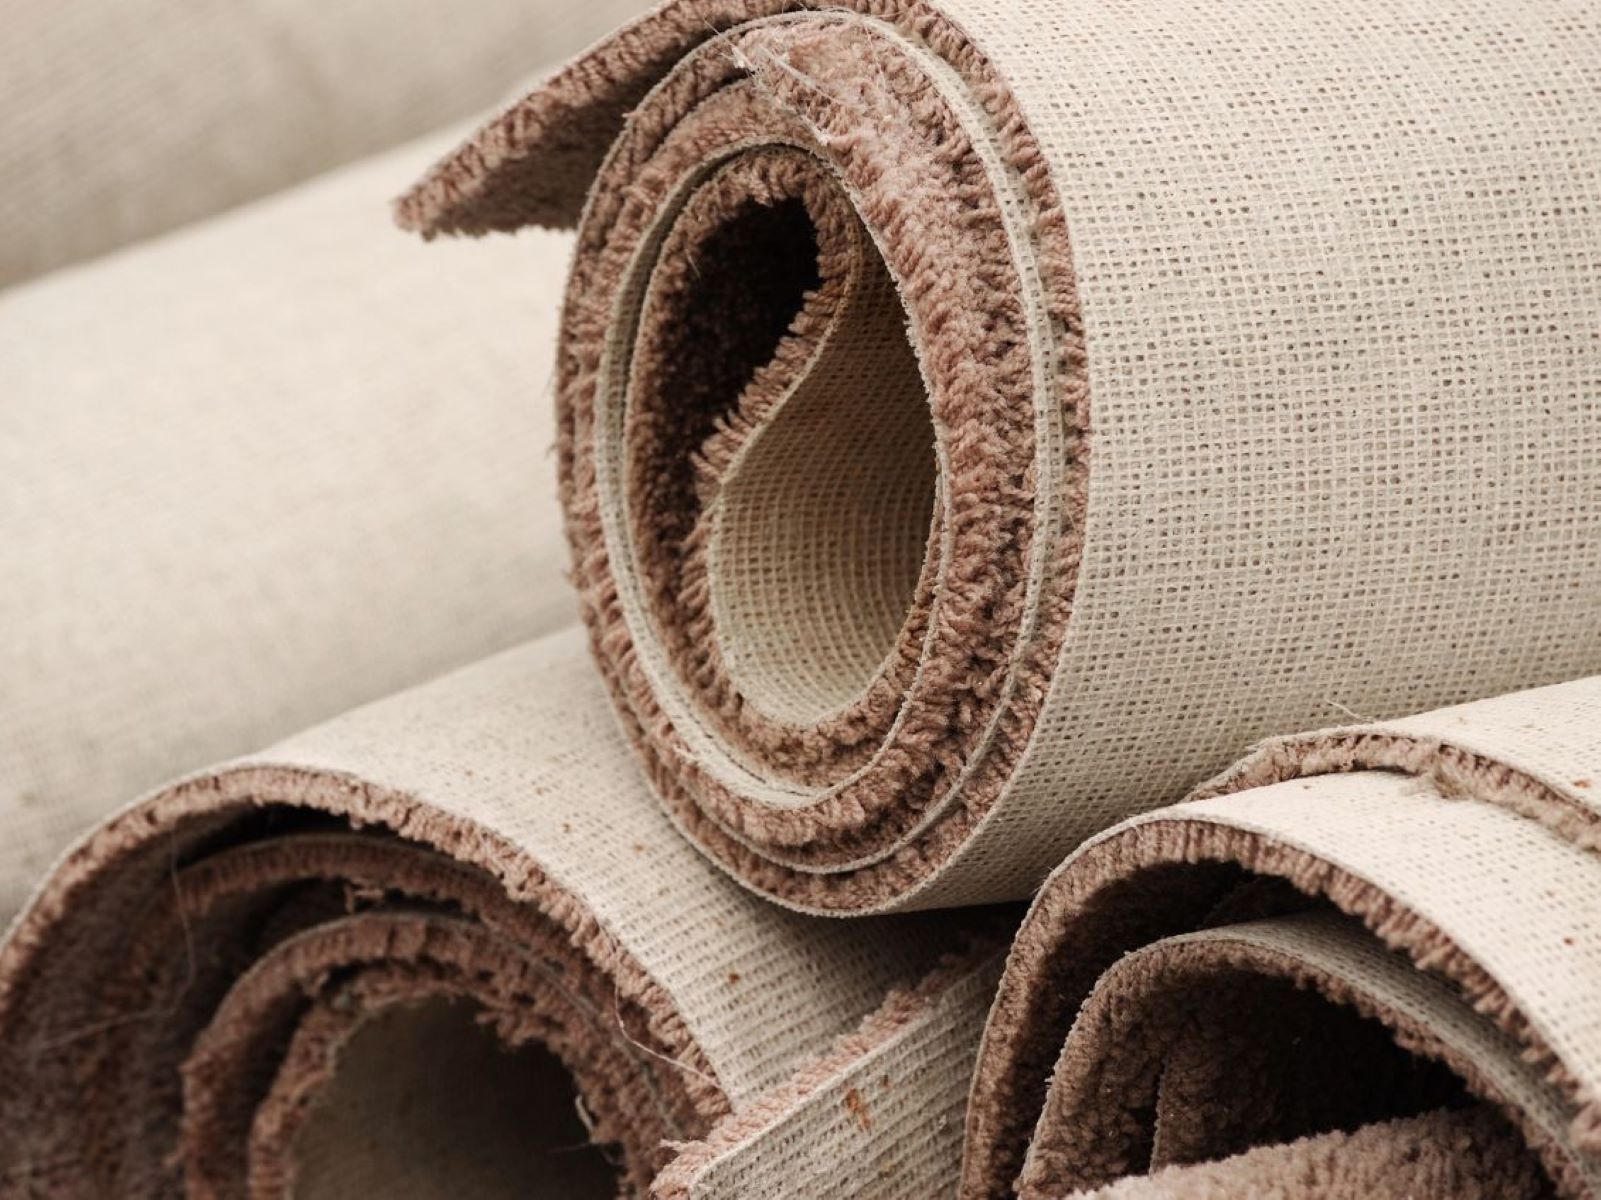
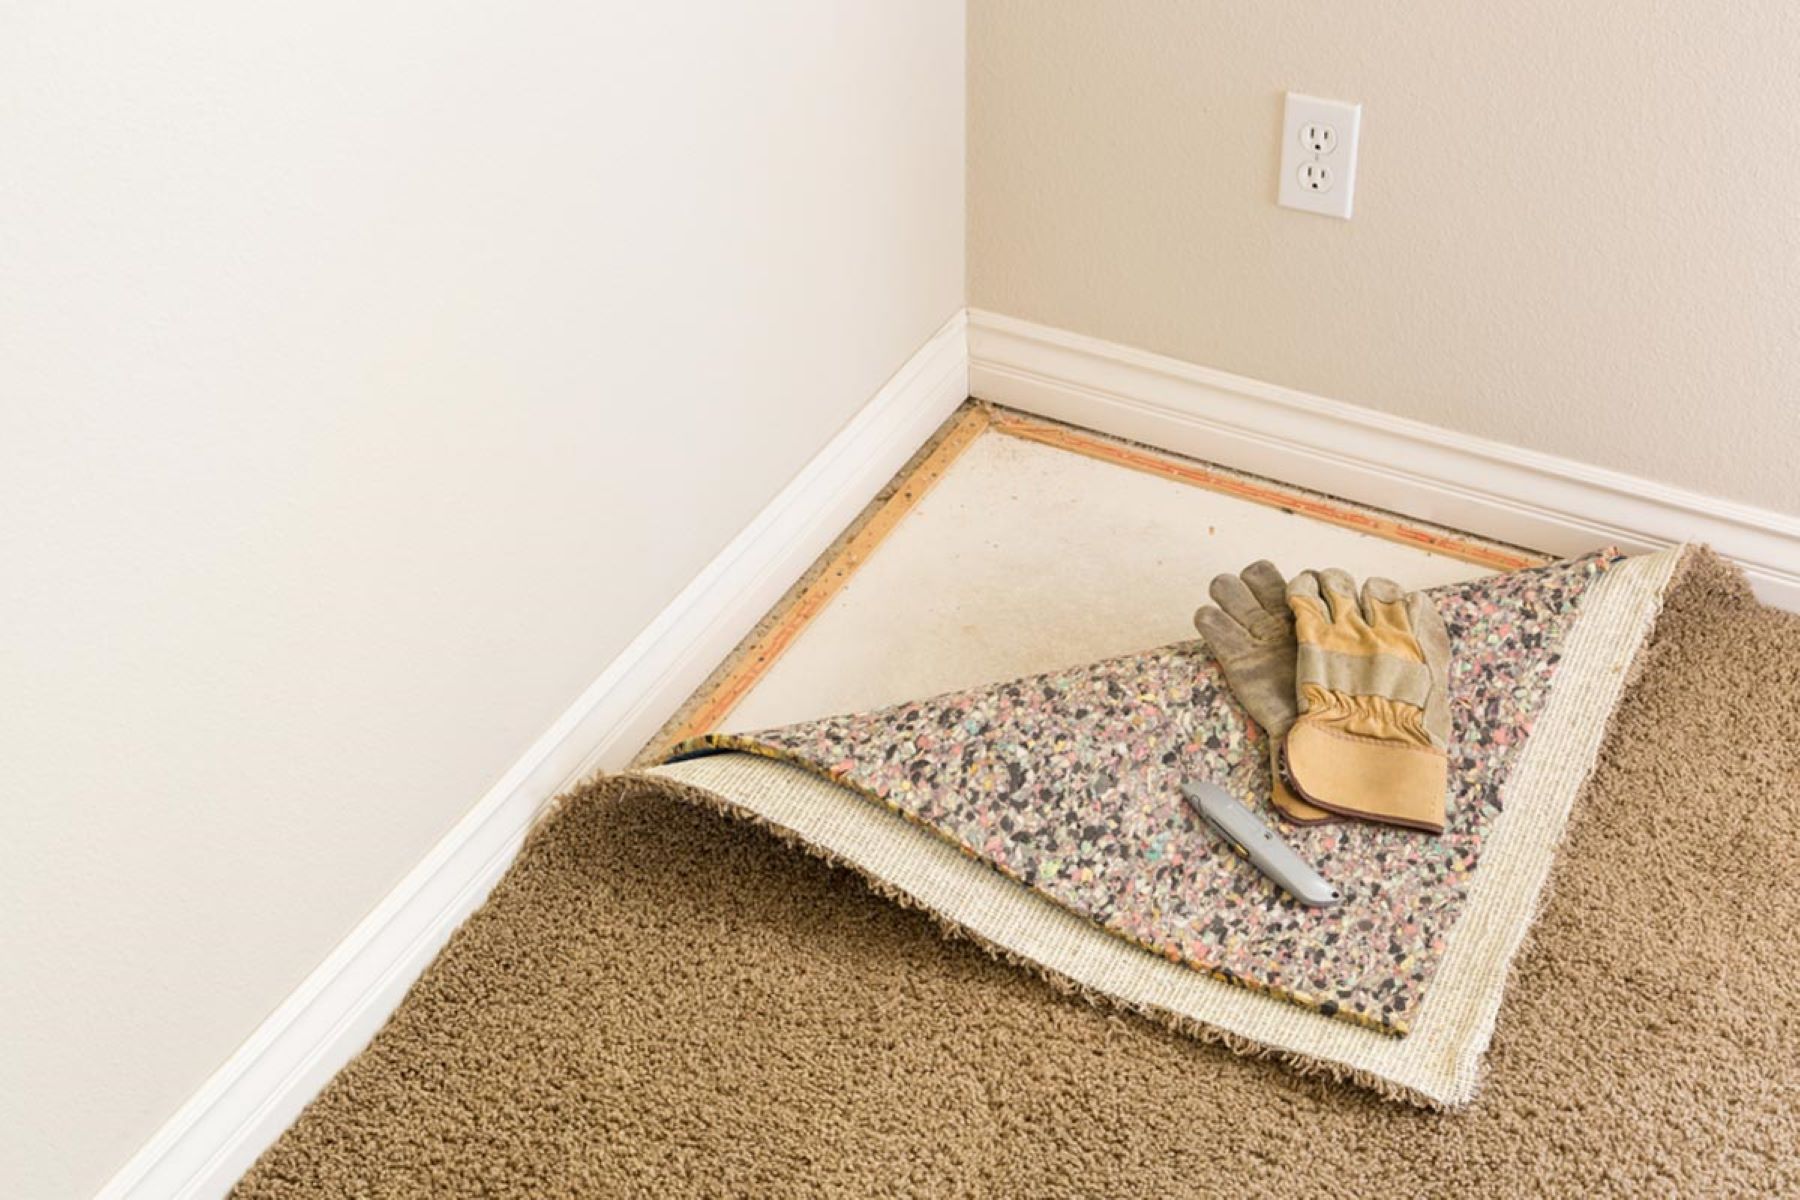
Step 6: Remove the Carpet Padding
With the carpet rolled up and out of the way, it’s time to tackle the next layer – the carpet padding. Removing the padding is necessary to ensure a clean and smooth surface for any future flooring installation.
Begin by carefully examining the padding to identify any areas where it might be stapled or adhered to the floor. Use pliers or a staple remover to remove any visible staples or adhesive that is holding the padding in place.
If the padding is merely laid down without any fasteners, you can simply lift and pull it away from the floor. Start from one end of the room and work your way towards the other, rolling up the padding as you go.
Be cautious of any dust or debris that may be accumulated on the padding. Wear a dust mask and safety goggles to protect yourself from potential health hazards.
As you remove the padding, take note of any areas where it may be damaged or deteriorated. This is the perfect opportunity to assess the condition of the subfloor and determine if any repairs are necessary.
If there are remnants of adhesive left on the subfloor after removing the padding, you can use a scraper or adhesive remover to clean it off. This will ensure a smooth and clean surface for any future flooring installation.
Make sure to properly discard the old carpet padding in a designated trash bag or dispose of it according to local regulations. Keep in mind that some areas have specific guidelines for disposing of carpet and padding materials.
With the carpet padding removed, you’re one step closer to completing the carpet removal process. Next, we’ll move on to the next step – cleaning the subfloor.
Step 7: Clean the Subfloor
Now that the carpet and padding are removed, it’s time to clean the subfloor to ensure a clean and smooth surface for any future flooring installation.
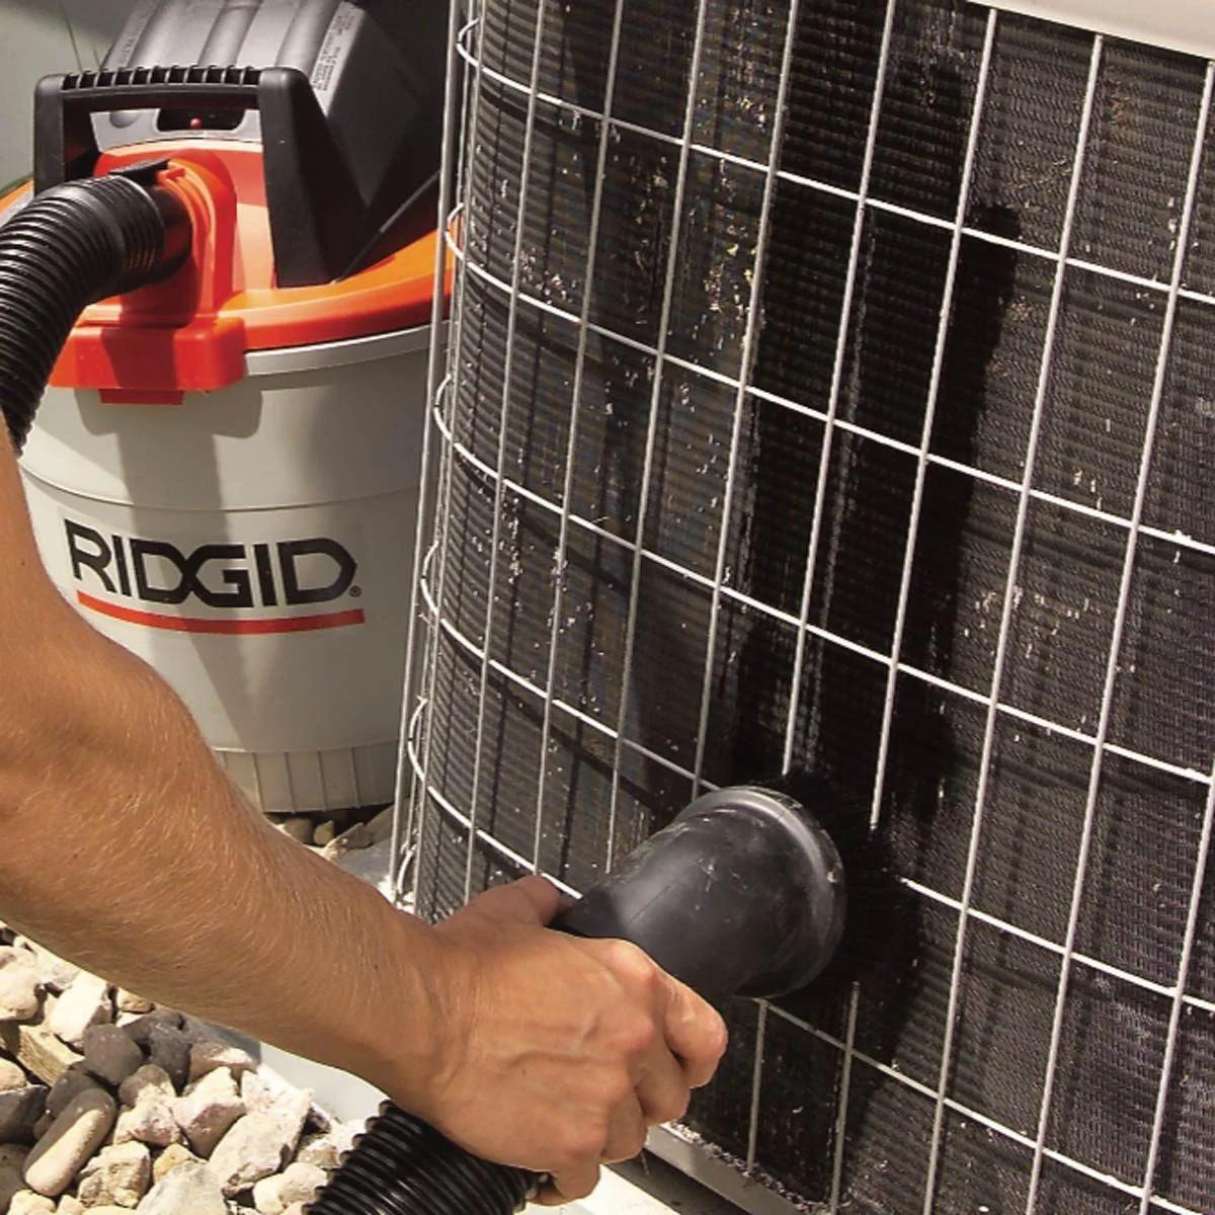
Begin by thoroughly vacuuming the subfloor to remove any loose dirt, dust, and debris. Use a vacuum cleaner with a hose attachment to reach into corners and crevices.
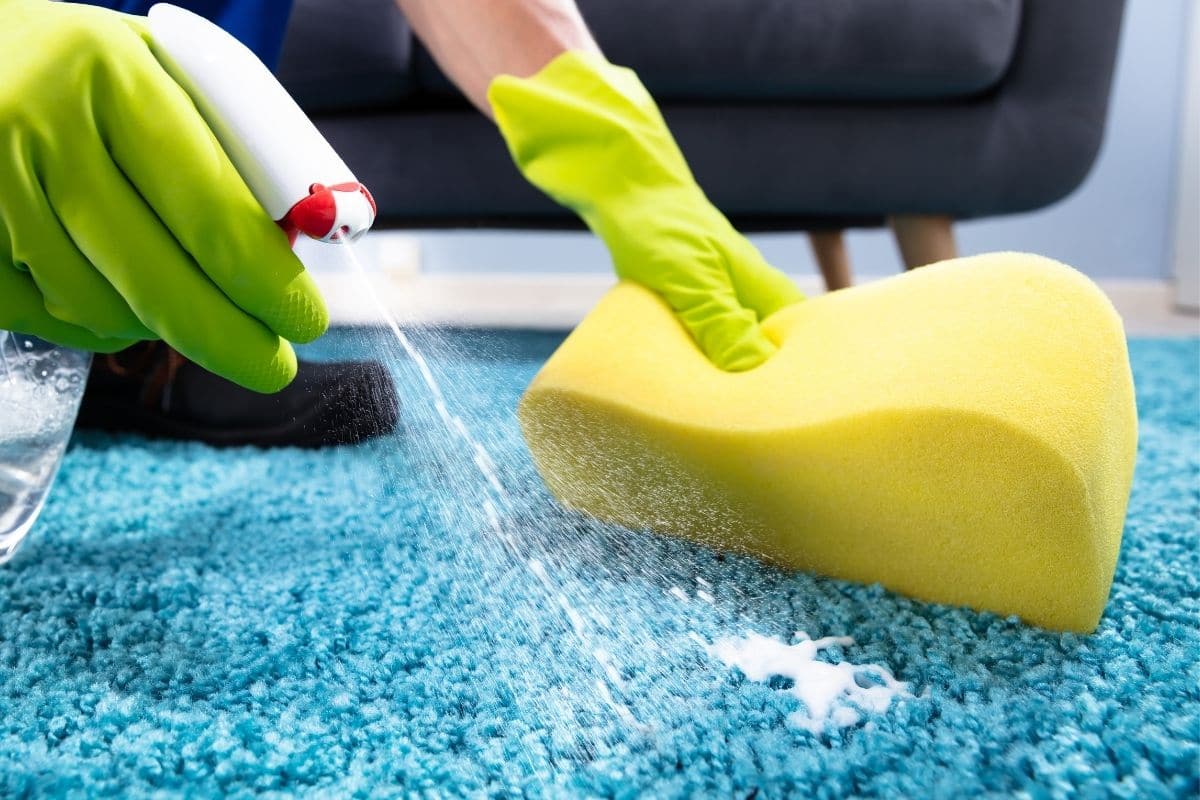
If there are any noticeable stains or spills on the subfloor, use a mild detergent or vinegar solution to gently clean the affected areas. Dampen a clean cloth or mop with the solution and blot the stains, being careful not to saturate the subfloor.
For stubborn stains or odors, you may need to use a specialized cleaner or odor-neutralizing product. Follow the manufacturer’s instructions and ensure proper ventilation while using these products.
Once the subfloor is clean and dry, inspect it for any irregularities or damaged areas. Look out for cracks, raised edges, or moisture damage that may require repair before installing new flooring.
If repairs are needed, take the necessary steps to fix the subfloor before proceeding with any further flooring installation. This may include patching cracks, sanding down uneven surfaces, or replacing damaged sections.
After cleaning and inspecting the subfloor, it’s important to let it fully dry before proceeding with any new flooring. Moisture can affect the durability and integrity of the new flooring material.
Take your time with this step to ensure a clean and suitable surface for your new flooring. A well-prepared subfloor will contribute to the longevity and quality of the flooring installation.
With the subfloor cleaned and ready, you’re now prepared to move on to the next step – optional: replacing or repairing the subfloor.
Read more: How To Pull Up Grass
Step 8: Optional: Replace or Repair Subfloor
While not always necessary, this step gives you the opportunity to assess the condition of your subfloor and determine if any repairs or replacements are needed before proceeding with new flooring installation.
Start by closely inspecting the subfloor for any signs of damage, such as rot, water damage, or structural issues. Look for warped or uneven areas, soft spots, or any indications of mold or fungal growth.
If you notice any significant damage, it’s highly recommended to consult with a professional contractor or flooring specialist. They can provide expert advice and guidance on the best course of action to address the underlying issues.
In some cases, minor repairs may be needed, such as filling in cracks, leveling uneven areas, or reinforcing weak spots. You can use appropriate repair materials and techniques based on the type of subfloor you have.
If the damage is extensive or the subfloor is beyond repair, it may be necessary to replace the affected sections or the entire subfloor. This is a more involved process that may require the expertise of a professional contractor.
When replacing the subfloor, ensure that you choose the appropriate material for your particular flooring needs. Consult with a professional to determine the best type of subflooring material for your specific situation.
Remember, addressing any subfloor issues before installing new flooring is essential to ensure the stability, durability, and longevity of your new floor. Neglecting subfloor repairs can lead to future problems and potentially costly repairs.
If you determine that the subfloor is in good condition and doesn’t require any repairs or replacement, you can proceed to the next step of disposing of the old carpet and padding.
Keep in mind that the decision to repair or replace the subfloor is optional and should be based on the condition of your specific subfloor and your future flooring plans.
Step 9: Dispose of the Old Carpet and Padding
Properly disposing of the old carpet and padding is the final step in the carpet removal process. Responsible disposal is not only essential for maintaining a clean and organized space, but it also helps contribute to a healthier environment.
Here are some guidelines to follow when disposing of your old carpet and padding:
- Check with your local waste management facility or municipality to inquire about specific guidelines and regulations for carpet disposal. Some areas require carpets to be properly bagged or bundled.
- If possible, consider recycling your old carpet and padding. Carpets can be recycled into new products such as flooring materials or insulation. Check for local recycling centers or organizations that accept carpets for recycling.
- If you are unable to recycle your carpet, contact a professional carpet removal service. They have the expertise and resources to handle the proper disposal of carpets and padding.
- Bag up the old carpet and padding in heavy-duty trash bags to prevent loose fibers from scattering. Make sure the bags are securely closed to avoid any spills or accidents.
- Arrange for a pickup by your waste management provider or schedule a drop-off at a designated disposal facility. Follow any specific guidelines given to you by the facility.
- Consider donating your old carpet if it’s still in good condition. Non-profit organizations, schools, or community centers may accept gently used carpets for reuse in other settings.
Remember, when disposing of your old carpet and padding, it’s crucial to follow local regulations and best practices to ensure proper disposal and minimize environmental impact.
Congratulations! You have successfully completed the process of pulling up a carpet and properly disposing of the old materials.
By following these steps and taking care during the carpet removal process, you have created a clean and blank canvas for any future flooring installation or renovation project in your home.
Now, it’s time to breathe new life into your space with your desired flooring choice and enjoy the transformed look and feel of your room.
Conclusion
Removing an old carpet and giving your space a fresh new look can be a rewarding DIY project. By following the step-by-step process outlined in this article, you can effectively pull up a carpet and prepare the area for new flooring installation.
Throughout the process, it’s important to ensure that you have the necessary tools and materials on hand, including a utility knife, pliers, pry bar, and protective gear. Clearing the area of furniture and fixtures, starting at a corner, and loosening the carpet are crucial steps to make the removal process smoother.
Rolling up the carpet and removing the carpet padding allows you to create a clean surface and contributes to a more efficient installation of new flooring. Cleaning the subfloor and addressing any necessary repairs or replacements are essential for a solid foundation.
Finally, responsibly disposing of the old carpet and padding is crucial for environmental sustainability. Be sure to check local regulations, consider recycling options, or contact professional removal services if needed.
With the old carpet removed, you have now set the stage for new flooring options that can enhance the aesthetics and functionality of your space. Whether you choose hardwood, laminate, tile, or carpet, a fresh new floor can transform the look and feel of any room.
Remember, always prioritize safety and take your time during the carpet removal process. If you encounter any challenges or feel unsure about any step, don’t hesitate to seek professional assistance.
Now, armed with the knowledge and understanding of pulling up a carpet, you can confidently tackle this DIY project and create a space that reflects your personal style and taste.
So, roll up your sleeves, put on your gloves, and get ready to enjoy the satisfaction of removing that old carpet and embracing the new possibilities that await you!
Frequently Asked Questions about How To Pull Up A Carpet
Was this page helpful?
At Storables.com, we guarantee accurate and reliable information. Our content, validated by Expert Board Contributors, is crafted following stringent Editorial Policies. We're committed to providing you with well-researched, expert-backed insights for all your informational needs.