Home>Gardening & Outdoor>Landscaping Ideas>How To Remove Mulch And Replace With Grass

Landscaping Ideas
How To Remove Mulch And Replace With Grass
Modified: August 16, 2024
Transform your landscape with our expert landscaping ideas. Learn how to remove mulch and replace it with lush, green grass for a stunning outdoor space. Discover the best techniques and tips for a successful transformation.
(Many of the links in this article redirect to a specific reviewed product. Your purchase of these products through affiliate links helps to generate commission for Storables.com, at no extra cost. Learn more)
Introduction
Welcome to the ultimate guide on transforming a mulch-covered area into a vibrant green space with lush grass. While mulch serves its purpose in landscaping, there are times when you might envision a change, wanting to replace it with the timeless beauty of a grassy lawn. Whether you’re looking to revamp your garden, backyard, or any other outdoor area, this step-by-step guide will walk you through the process of removing mulch and establishing a thriving grassy landscape.
By following these steps, you’ll be able to create an inviting and refreshing environment that’s perfect for relaxation, outdoor activities, and enhancing the overall aesthetic appeal of your property. Let’s dive into the transformation process and learn how to bid farewell to the mulch and welcome the lush greenery of a new grassy terrain.
Key Takeaways:
- Transforming mulch into a lush lawn involves clearing the mulch, preparing the soil, planting grass seeds, and providing ongoing care. This process creates a vibrant, inviting outdoor space for relaxation and enjoyment.
- By following the steps to remove mulch and replace it with grass, you can create a beautiful, resilient lawn that enhances your outdoor space. With dedication and care, you’ll enjoy the natural beauty of a well-tended landscape.
Read more: How To Mulch Landscaping
Step 1: Clearing the Mulch
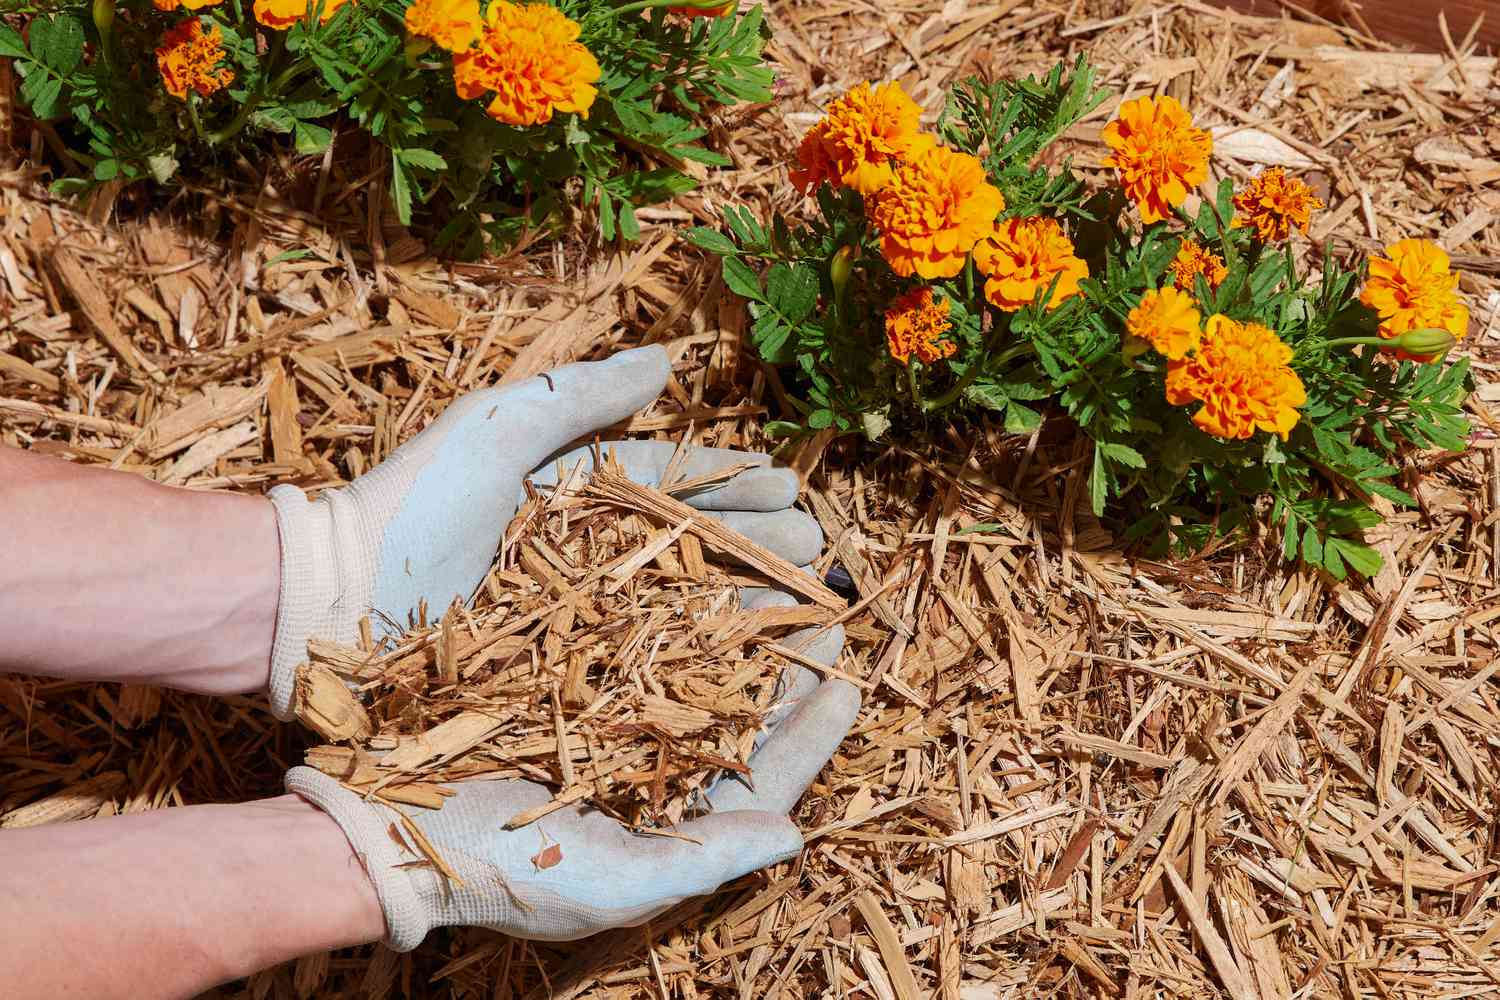
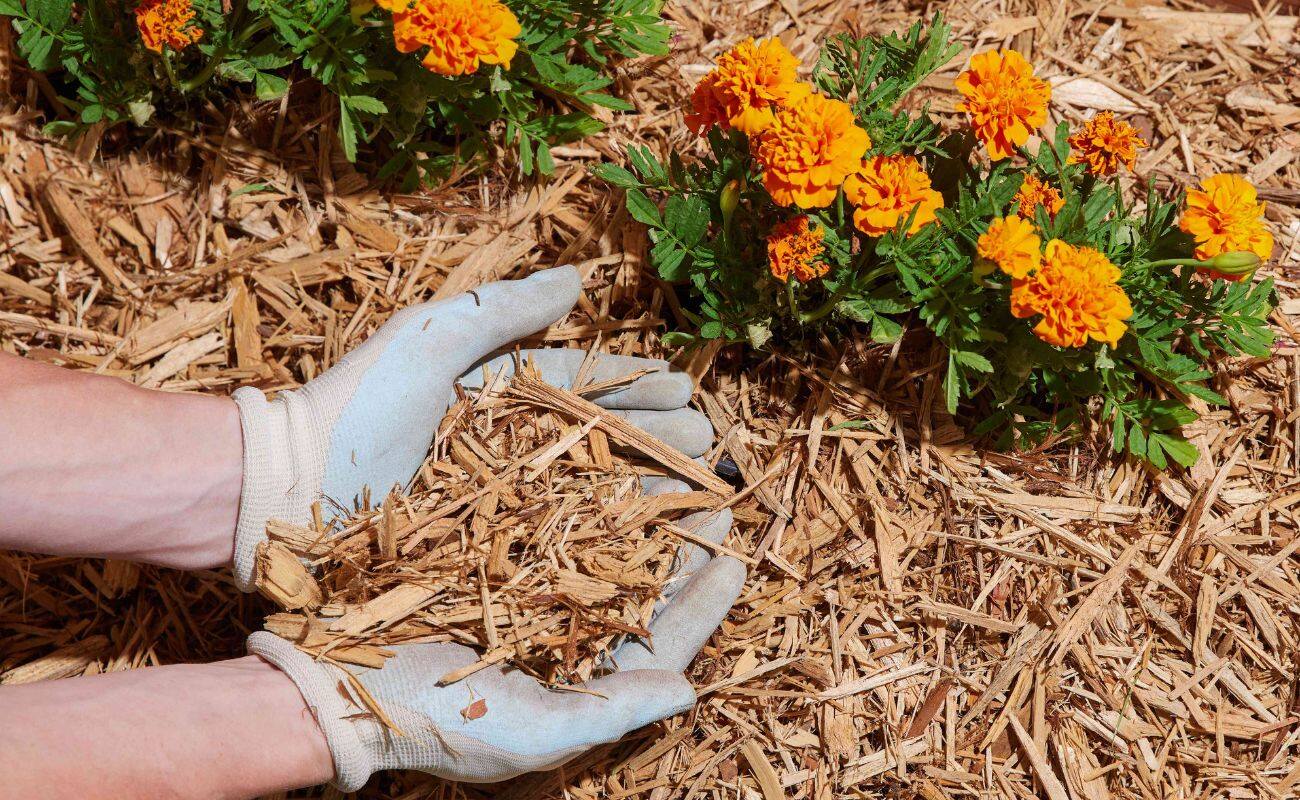
Before embarking on the journey of replacing mulch with grass, the first crucial step is to clear the existing mulch from the designated area. This process ensures that the soil beneath is ready to foster the growth of lush grass without any hindrance. Here’s how to effectively clear the mulch:
- Assessment: Begin by assessing the depth and coverage of the mulch. This helps in determining the effort and tools required for its removal. It’s essential to check for any underlying landscape fabric or barriers that may need to be addressed.
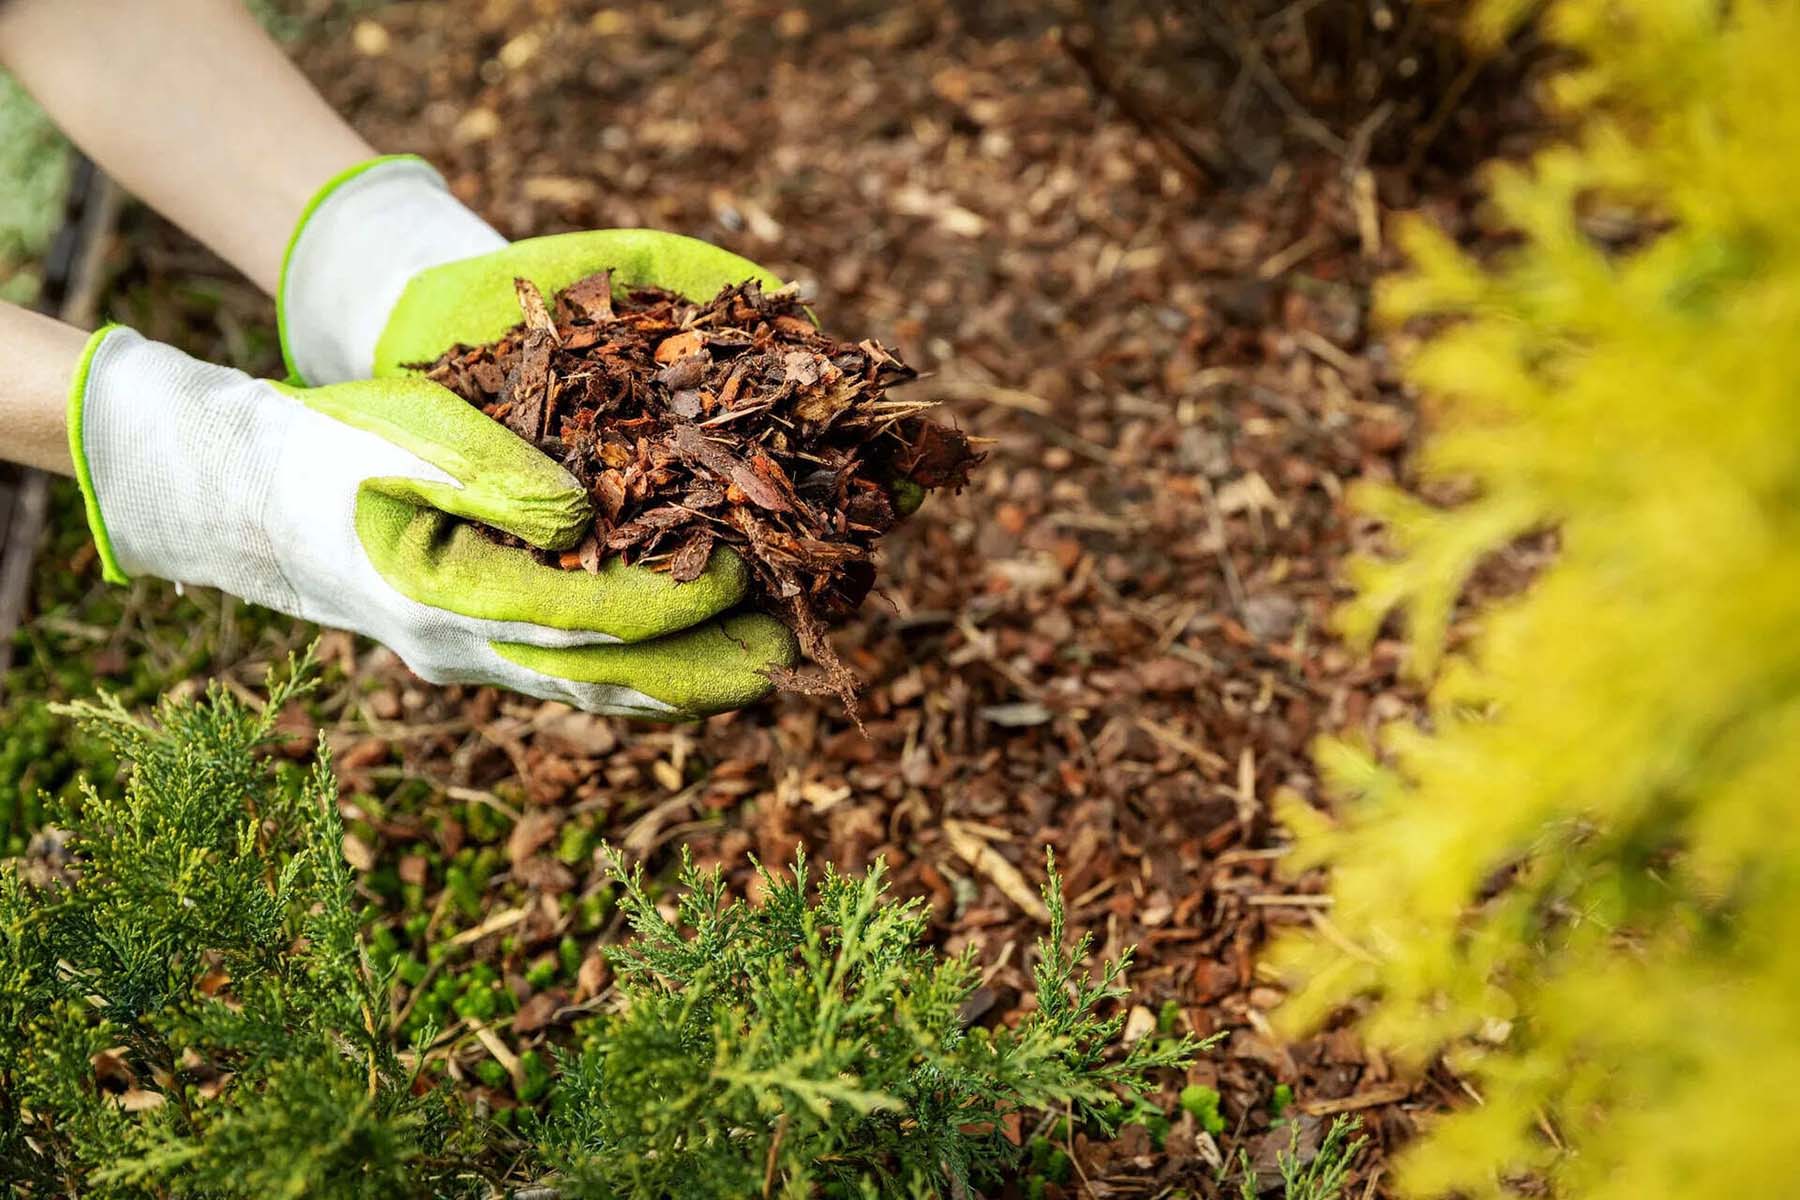
- Raking and Shoveling: Utilize a sturdy rake and shovel to systematically remove the mulch layer by layer. This method prevents excessive disturbance to the soil and allows for a more thorough clearing process.
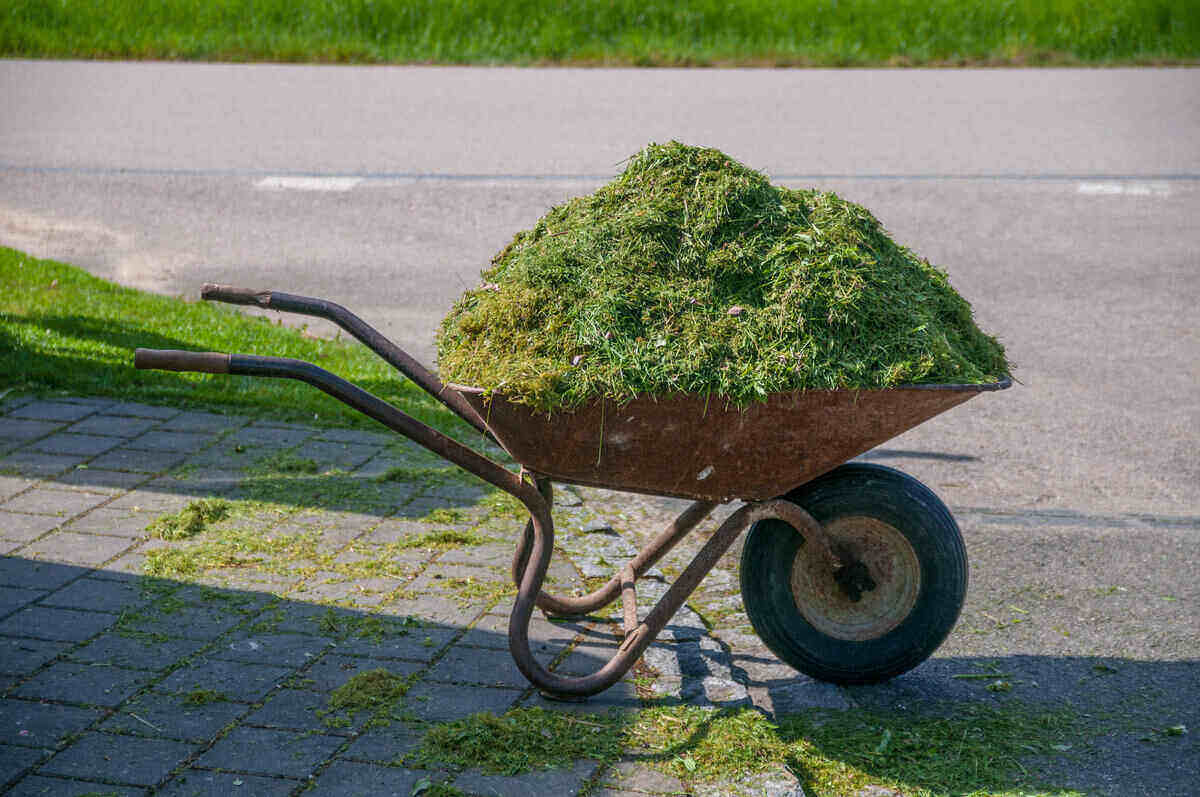
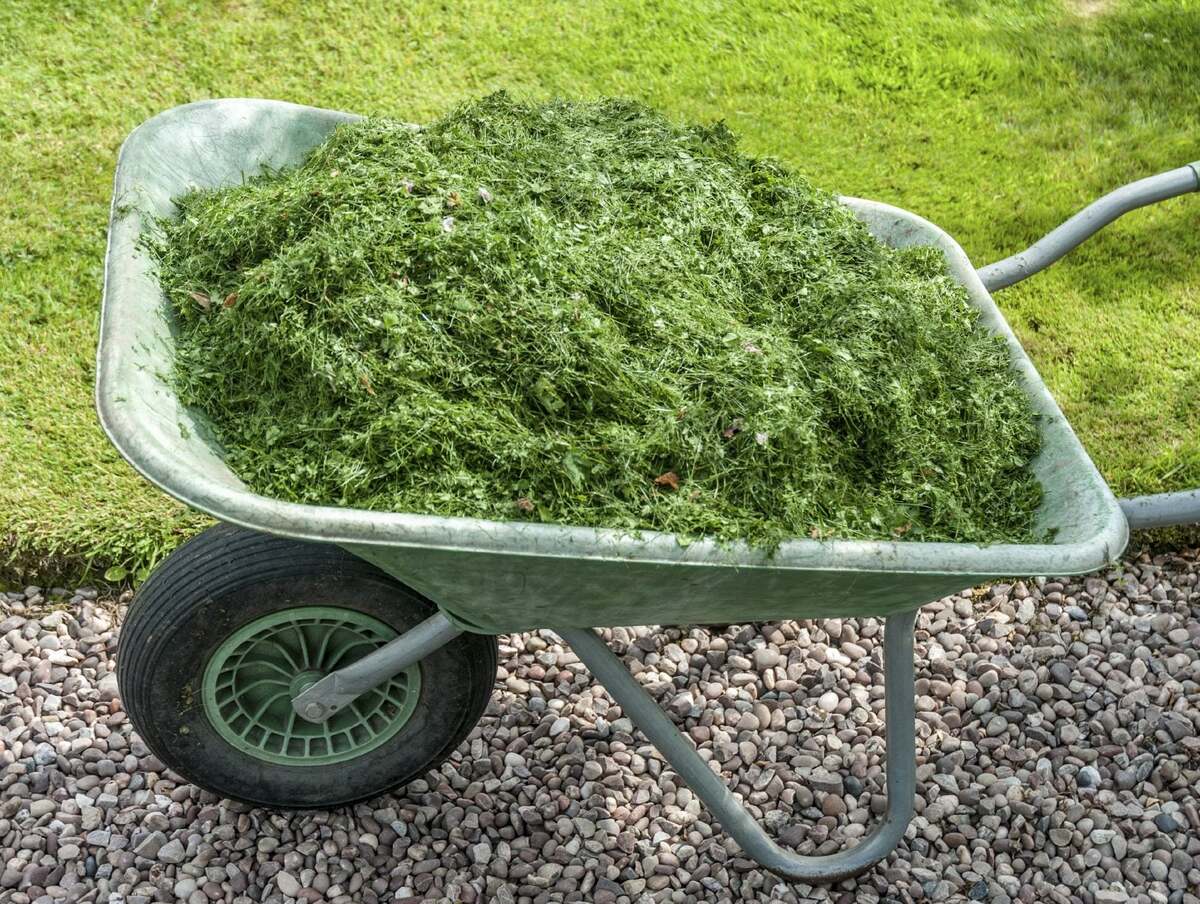
- Bagging or Composting: As you clear the mulch, consider bagging it for disposal or creating a compost pile if the mulch is organic. This sustainable approach contributes to reducing waste and may be beneficial for future gardening endeavors.
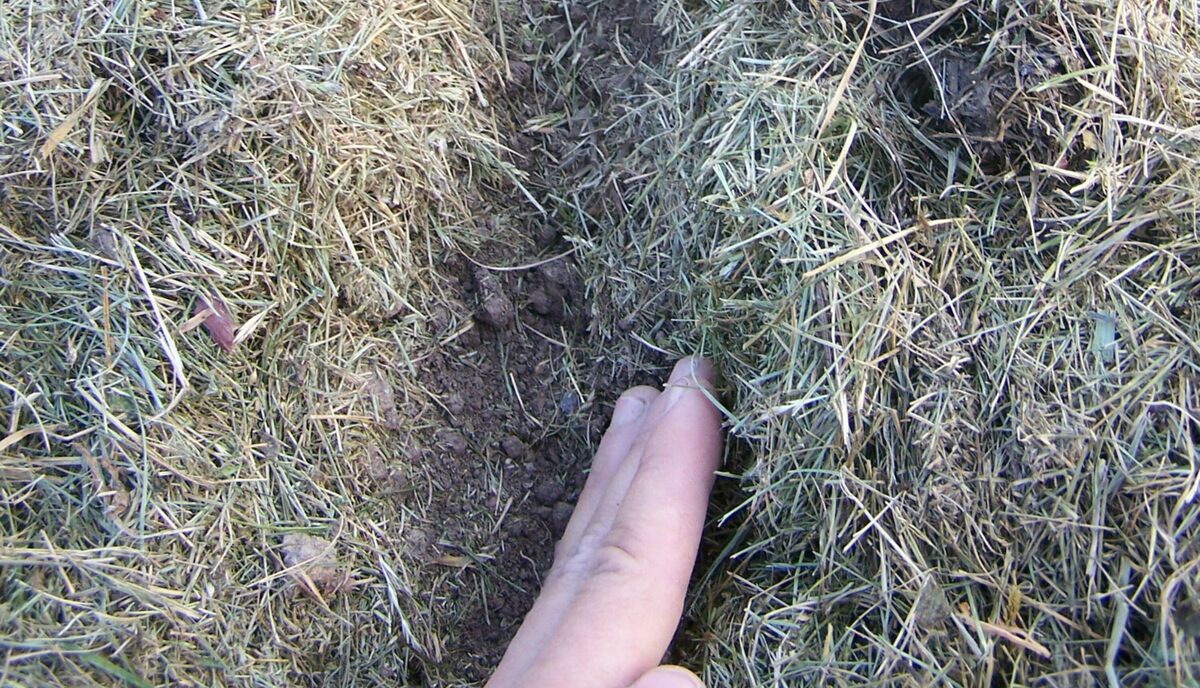
- Inspecting the Soil: Once the mulch is removed, take the opportunity to inspect the soil for any compacted areas or debris. Addressing these issues at this stage sets the foundation for healthy grass growth.
Clearing the mulch sets the stage for the subsequent steps in the transformation process. It’s a vital initial task that paves the way for preparing the soil and establishing a flourishing grassy landscape.
Step 2: Preparing the Soil
With the mulch successfully cleared, the next crucial step in the transformation process is preparing the soil to create an optimal environment for new grass growth. This phase involves nurturing the soil to provide essential nutrients and a supportive structure for the upcoming grass seeding. Here’s how to effectively prepare the soil:
- Soil Testing: Before proceeding, consider conducting a soil test to assess its pH levels and nutrient composition. This valuable insight helps in determining the specific amendments required to optimize the soil for grass cultivation.
- Aeration: Aerating the soil promotes better air circulation, water absorption, and root development. This can be achieved using aeration tools that create small channels in the soil, facilitating improved nutrient uptake and overall grass health.
- Amendments and Fertilization: Based on the soil test results, incorporate appropriate organic matter, such as compost or well-decomposed manure, to enhance the soil’s fertility and structure. Additionally, select a high-quality fertilizer suitable for new grass establishment and apply it as per the manufacturer’s guidelines.
- Leveling and Raking: Ensure the soil surface is relatively even and free of any large debris or clumps. Raking the soil gently helps in achieving a smooth and uniform base for seeding, promoting consistent grass growth.
- Watering the Soil: Before proceeding with seeding, thoroughly water the prepared soil to attain the ideal moisture level for optimal seed germination. Adequate soil moisture is critical for the successful establishment of new grass.
By diligently preparing the soil, you set the stage for the successful germination and growth of the grass seeds. This foundational step significantly contributes to the long-term health and vibrancy of the grassy landscape you aim to create.
Before removing mulch, make sure to clear the area of any weeds or debris. Use a shovel or rake to remove the mulch and then add topsoil before planting new grass seeds. Keep the area watered and free of foot traffic until the grass is established.
Step 3: Planting Grass Seeds
As the soil stands ready and receptive, it’s time to embark on the exciting phase of planting grass seeds and setting the stage for a lush green transformation. This step involves carefully selecting and sowing grass seeds to establish a dense and vibrant lawn. Here’s how to effectively plant grass seeds for optimal growth:
- Grass Seed Selection: Choose high-quality grass seed varieties that are well-suited to your specific climate, soil type, and intended usage. Consider factors such as sun exposure, foot traffic, and maintenance preferences when making your selection.
- Seeding Method: Depending on the size of the area, select an appropriate seeding method, such as hand broadcasting for smaller spaces or utilizing a seed spreader for larger areas. This ensures even seed distribution, promoting uniform grass coverage.
- Seed Application: Apply the grass seeds evenly across the prepared soil surface, following the recommended seeding rates provided for the chosen grass species. Gently rake the seeds into the soil at a shallow depth to facilitate good seed-to-soil contact, which is essential for successful germination.
- Protective Mulch or Straw: Consider applying a light layer of protective mulch or straw over the seeded area to help retain soil moisture, prevent erosion, and protect the seeds from birds and other potential disturbances. This step contributes to the overall success of the grass establishment process.
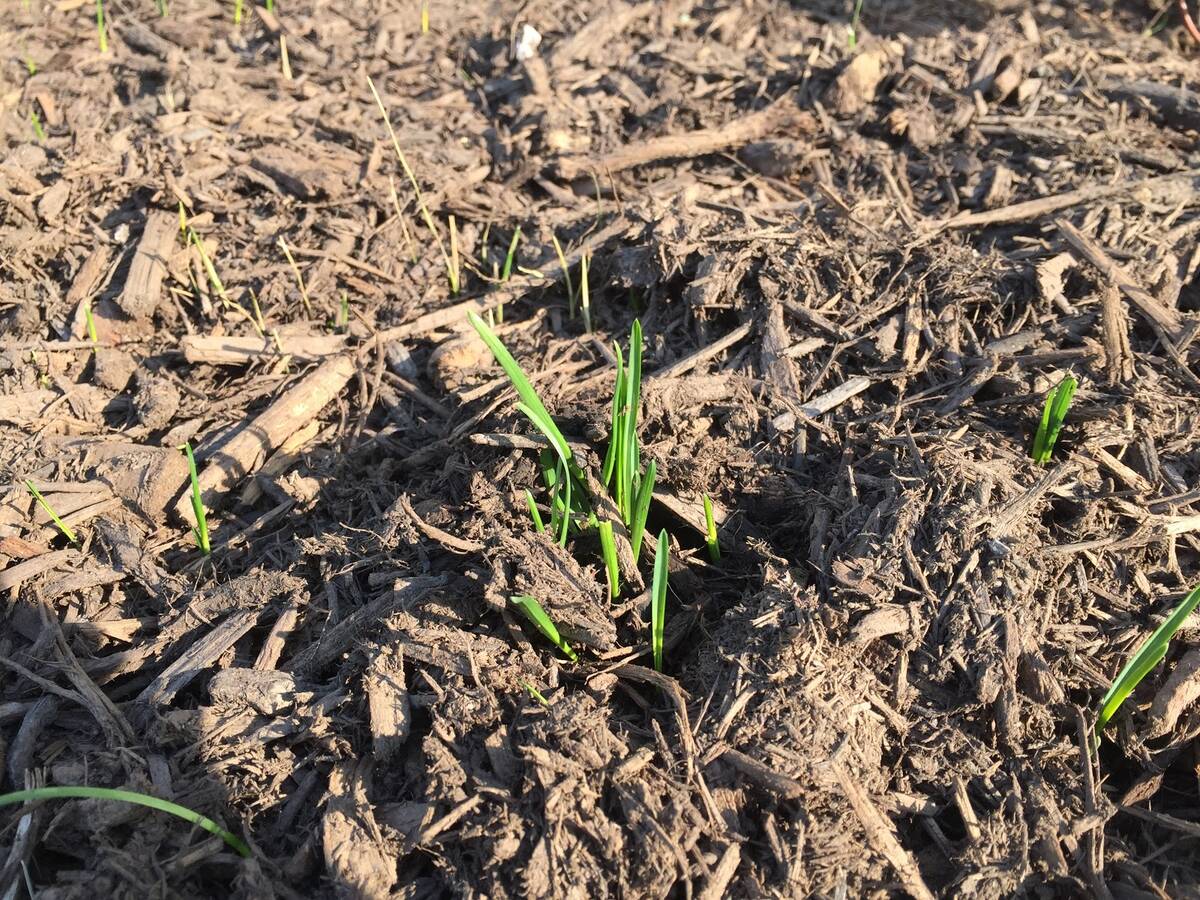
- Watering and Monitoring: After seeding, ensure the soil remains consistently moist but not waterlogged. Regular, light watering is crucial to support seed germination and early root development. Monitor the seeded area closely for any signs of emerging grass seedlings.
By meticulously planting the grass seeds and providing the necessary care, you set the wheels in motion for the emergence of a vibrant and resilient grassy landscape. This step marks the beginning of the visual transformation, as the seeds take root and begin their journey towards creating a lush green expanse.
Step 4: Watering and Maintenance
With the grass seeds planted and the promise of a verdant lawn on the horizon, the focus shifts to the critical aspects of watering and ongoing maintenance. This step entails nurturing the newly seeded area with the essential care it needs to thrive and flourish into a resilient and vibrant grassy expanse. Here’s how to effectively manage the watering and maintenance process:
- Initial Watering: Immediately after seeding, ensure the soil is kept consistently moist by lightly watering the area. Pay close attention to the moisture levels, as adequate hydration is crucial for seed germination and early root establishment.
- Watering Schedule: Establish a regular watering schedule, aiming to keep the soil consistently moist but not waterlogged. As the grass seedlings emerge and mature, adjust the watering frequency based on weather conditions and the specific needs of the grass species being cultivated.
- Weed Control: Monitor the seeded area for any signs of weeds and promptly address them to prevent competition for essential nutrients and space. Manual removal or targeted herbicide application can help maintain a weed-free environment conducive to healthy grass growth.
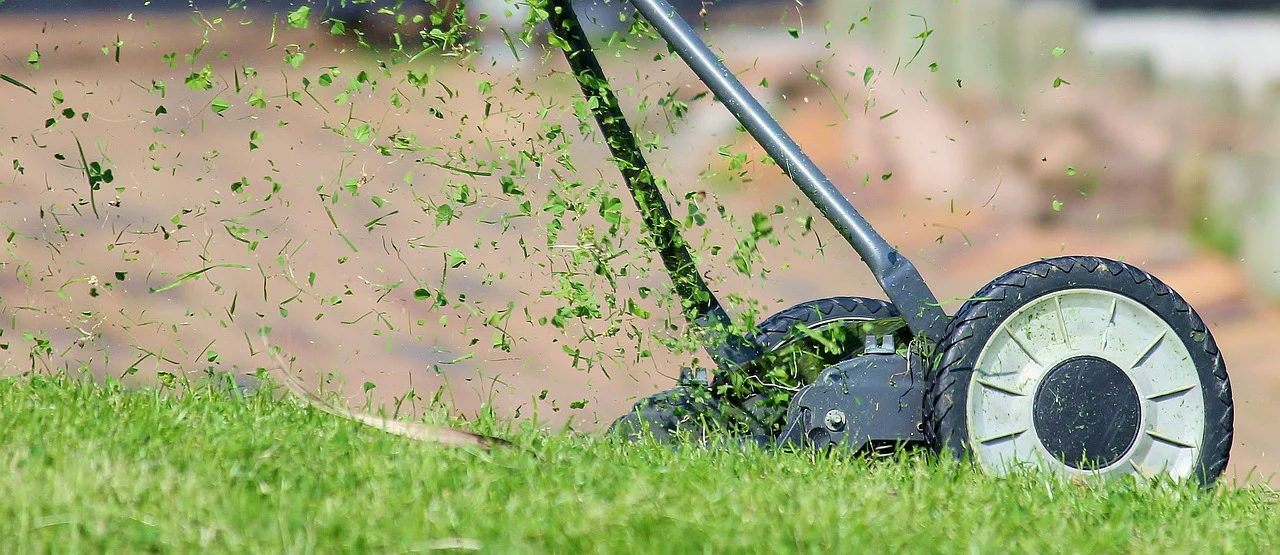
- Mowing and Maintenance: Once the grass reaches a height suitable for mowing, carefully introduce regular mowing practices to encourage strong root development and lateral growth. Follow recommended mowing heights for the specific grass species and ensure the mower blades are sharp to achieve clean cuts.
- Fertilization and Soil Care: As the grass matures, consider implementing a well-rounded fertilization program tailored to the specific needs of the grass species and the soil conditions. Additionally, periodic soil testing and amendments can contribute to the long-term health and vitality of the established lawn.
By diligently managing the watering and maintenance process, you provide the essential support and care needed for the newly established grass to thrive and develop into a lush, resilient, and visually captivating landscape. This step marks the ongoing commitment to nurturing and preserving the beauty of the grassy expanse you’ve worked diligently to create.
Read more: What Is Grass Mulching
Conclusion
Congratulations on successfully navigating the transformative journey of removing mulch and replacing it with a vibrant and inviting grassy landscape. By following the comprehensive steps outlined in this guide, you’ve embarked on a rewarding process that culminates in the creation of a lush green expanse that enhances the beauty and functionality of your outdoor space.
From the initial task of clearing the mulch to meticulously preparing the soil, planting the grass seeds, and nurturing the emerging lawn through watering and maintenance, each step plays a pivotal role in the overall success of the transformation. The dedication and care invested in this process have laid the groundwork for a resilient and visually captivating grassy terrain that invites relaxation, outdoor activities, and the simple joy of basking in the natural beauty of a well-tended lawn.
As your newly established grassy landscape matures and flourishes, continue to provide it with the ongoing care and attention it deserves. Regular watering, thoughtful maintenance, and a tailored approach to fertilization and soil care will contribute to the long-term health and vibrancy of your thriving lawn.
Embrace the beauty of your revitalized outdoor space, and revel in the satisfaction of witnessing the transformation from mulch-covered ground to a flourishing green oasis. Your commitment to this process has not only yielded a stunning visual upgrade but has also contributed to the overall allure and value of your property.
May your revitalized grassy landscape serve as a source of joy, relaxation, and natural splendor for years to come, creating cherished moments and memories within its verdant embrace.
Frequently Asked Questions about How To Remove Mulch And Replace With Grass
Was this page helpful?
At Storables.com, we guarantee accurate and reliable information. Our content, validated by Expert Board Contributors, is crafted following stringent Editorial Policies. We're committed to providing you with well-researched, expert-backed insights for all your informational needs.



0 thoughts on “How To Remove Mulch And Replace With Grass”