Home>Furniture & Design>Bathroom Accessories>How To Install An Attic Exhaust Fan

Bathroom Accessories
How To Install An Attic Exhaust Fan
Modified: October 20, 2024
Learn how to install an attic exhaust fan to improve ventilation and reduce moisture in your bathroom. Find the best bathroom accessories for a successful installation.
(Many of the links in this article redirect to a specific reviewed product. Your purchase of these products through affiliate links helps to generate commission for Storables.com, at no extra cost. Learn more)
Introduction
Installing an attic exhaust fan is a practical and effective way to improve ventilation and regulate the temperature in your home. During the hot summer months, attics can become excessively hot, leading to increased energy costs and potential damage to the roof and other structural components. By installing an attic exhaust fan, you can mitigate these issues and create a more comfortable living environment while also extending the lifespan of your roof.
Proper attic ventilation is crucial for preventing moisture buildup, which can lead to mold and mildew growth, as well as damage to insulation and wood structures. Additionally, a well-ventilated attic can help reduce the strain on your HVAC system, leading to lower energy bills and a more sustainable home.
In this comprehensive guide, we will walk you through the step-by-step process of installing an attic exhaust fan. From gathering the necessary tools and materials to testing the fan for optimal functionality, you will gain the knowledge and confidence to undertake this home improvement project with ease.
By following these instructions and taking the time to install an attic exhaust fan correctly, you can enjoy the benefits of improved air circulation, reduced energy costs, and a more comfortable indoor environment. Let's dive into the details and get started on transforming your attic into a well-ventilated and energy-efficient space.
Key Takeaways:
- Installing an attic exhaust fan improves ventilation, reduces energy costs, and prevents moisture-related issues, creating a more comfortable and sustainable home environment while extending the lifespan of the roof.
- Carefully choosing the fan location, cutting the hole with precision, and testing the fan’s functionality are crucial steps in ensuring a successful attic exhaust fan installation, contributing to a well-ventilated and energy-efficient home.
Step 1: Gather the necessary tools and materials
Before embarking on the installation of an attic exhaust fan, it is essential to gather all the required tools and materials to ensure a smooth and efficient process. Here's a comprehensive list of items you will need:
Tools:
- Measuring Tape: Accurately measure the dimensions of the fan and the area where it will be installed.
- Pencil: Use a pencil to mark the cutting lines and mounting points on the attic ceiling.
- Drywall Saw or Jigsaw: A drywall saw or jigsaw will be necessary for cutting the opening in the ceiling for the fan.
- Screwdriver or Power Drill: Depending on the fan's mounting system, you will need a screwdriver or power drill for securing the fan in place.
- Utility Knife: Use a utility knife to cut through any insulation or sealing materials in the attic.
- Stud Finder: This tool will help locate the ceiling joists for secure fan installation.
- Safety Glasses and Dust Mask: Protect your eyes and respiratory system from dust and debris during the installation process.
Materials:
- Attic Exhaust Fan: Select a fan that is appropriately sized for your attic space and designed for efficient ventilation.
- Mounting Hardware: Ensure you have the necessary screws, brackets, and support hardware for securing the fan in place.
- Electrical Wiring and Connectors: If the fan requires electrical wiring, gather the appropriate wiring and connectors for installation.
- Ventilation Ducting: If your attic exhaust fan requires ducting to expel air outside, make sure you have the correct size and length of ducting.
- Roof Flashing or Vent Cover: Depending on the type of fan and installation method, you may need roof flashing or a vent cover to ensure proper weatherproofing.
By gathering these tools and materials in advance, you can streamline the installation process and minimize interruptions. Additionally, having everything readily available will contribute to a safer and more organized work environment, allowing you to focus on the task at hand and achieve optimal results.
With the necessary tools and materials at your disposal, you are now ready to move on to the next step of choosing the right location for the attic exhaust fan installation.
Step 2: Choose the right location for the fan
Selecting the optimal location for installing an attic exhaust fan is a critical decision that directly impacts its effectiveness in ventilating the space. The placement of the fan determines its ability to expel hot air and moisture while promoting proper air circulation throughout the attic. Here are essential considerations to guide you in choosing the right location for the fan:
Read more: How To Install An Exhaust Fan
Attic Size and Layout
Begin by assessing the size and layout of your attic space. Ideally, the fan should be positioned near the peak of the roof to maximize its efficiency in removing hot air that naturally rises. Additionally, consider the overall dimensions of the attic to ensure that the fan's ventilation capacity aligns with the space's volume. For larger attics, multiple fans may be necessary to achieve comprehensive ventilation.
Proximity to Soffit Vents
If your attic features soffit vents, strategically placing the exhaust fan near these intake vents can create a balanced airflow system. The combination of an exhaust fan at the roof peak and soffit vents along the eaves facilitates a continuous flow of air, effectively preventing heat buildup and moisture accumulation. This synergy promotes efficient attic ventilation and contributes to the overall health of the roofing system.
Structural Obstructions
When selecting the fan location, carefully identify and navigate around any structural obstructions, such as roof trusses, joists, and existing ductwork. It is essential to choose a spot that allows for straightforward installation and minimal interference with the attic's structural components. Additionally, consider the proximity to electrical wiring and ensure that the chosen location facilitates safe and accessible electrical connections for the fan.
Accessibility for Maintenance
Anticipate future maintenance needs when determining the fan's placement. Select a location that provides convenient access for cleaning, inspection, and potential repairs. Accessibility is crucial for ensuring the fan's long-term functionality and performance, as regular maintenance is essential to uphold efficient attic ventilation and prolong the lifespan of the fan.
By carefully evaluating these factors and strategically choosing the location for the attic exhaust fan, you can optimize its effectiveness in regulating attic temperature and promoting proper airflow. Once the ideal location is identified, you can proceed to the next step of cutting the hole for the fan installation, bringing you closer to the successful completion of this valuable home improvement project.
Read more: How to Install an Attic Fan
Step 3: Cut the hole for the fan
Cutting the hole for the attic exhaust fan is a crucial step that demands precision and attention to detail. Proper execution of this task sets the foundation for seamless fan installation and ensures the integrity of the attic structure. Here's a comprehensive guide to cutting the hole for the fan:
Measure and Mark
Begin by measuring and marking the precise location for the fan opening on the attic ceiling. Use a measuring tape to determine the dimensions specified by the fan manufacturer for the cutout. Once the measurements are confirmed, use a pencil to outline the cutting lines on the ceiling. It is essential to double-check the accuracy of the markings to avoid errors during the cutting process.
Prepare for Cutting
Before cutting into the ceiling, ensure that the attic is adequately illuminated, and the workspace is clear of any obstructions. Put on safety glasses and a dust mask to protect your eyes and respiratory system from debris and insulation particles. Additionally, use a stud finder to identify the ceiling joists and mark their positions on the attic floor to guide the cutting process and ensure structural stability.
Use the Right Tools
Depending on the ceiling material, such as drywall or plaster, select the appropriate cutting tool. A drywall saw or jigsaw is commonly used for cutting through drywall, while a reciprocating saw may be necessary for thicker materials. Carefully follow the marked lines and employ steady, controlled movements to create a clean and precise opening for the fan.
Read more: How To Install An Attic Gable Fan
Insulation and Sealing
In some cases, the attic ceiling may be insulated or sealed with a vapor barrier. Use a utility knife to carefully cut through the insulation and vapor barrier along the marked lines. Exercise caution to avoid damaging any electrical wiring or structural components concealed within the ceiling.
Clean the Opening
Once the hole is cut, remove any excess debris and insulation from the edges of the opening. A clean and smooth perimeter is essential for ensuring a proper fit when installing the attic exhaust fan. Take the time to clear away any protruding materials that could impede the fan's placement and secure attachment.
By meticulously following these steps and exercising care and precision, you can successfully cut the hole for the attic exhaust fan, laying the groundwork for the subsequent installation process. With the opening prepared, you are now ready to proceed with the installation of the fan, bringing you closer to the realization of improved attic ventilation and energy efficiency in your home.
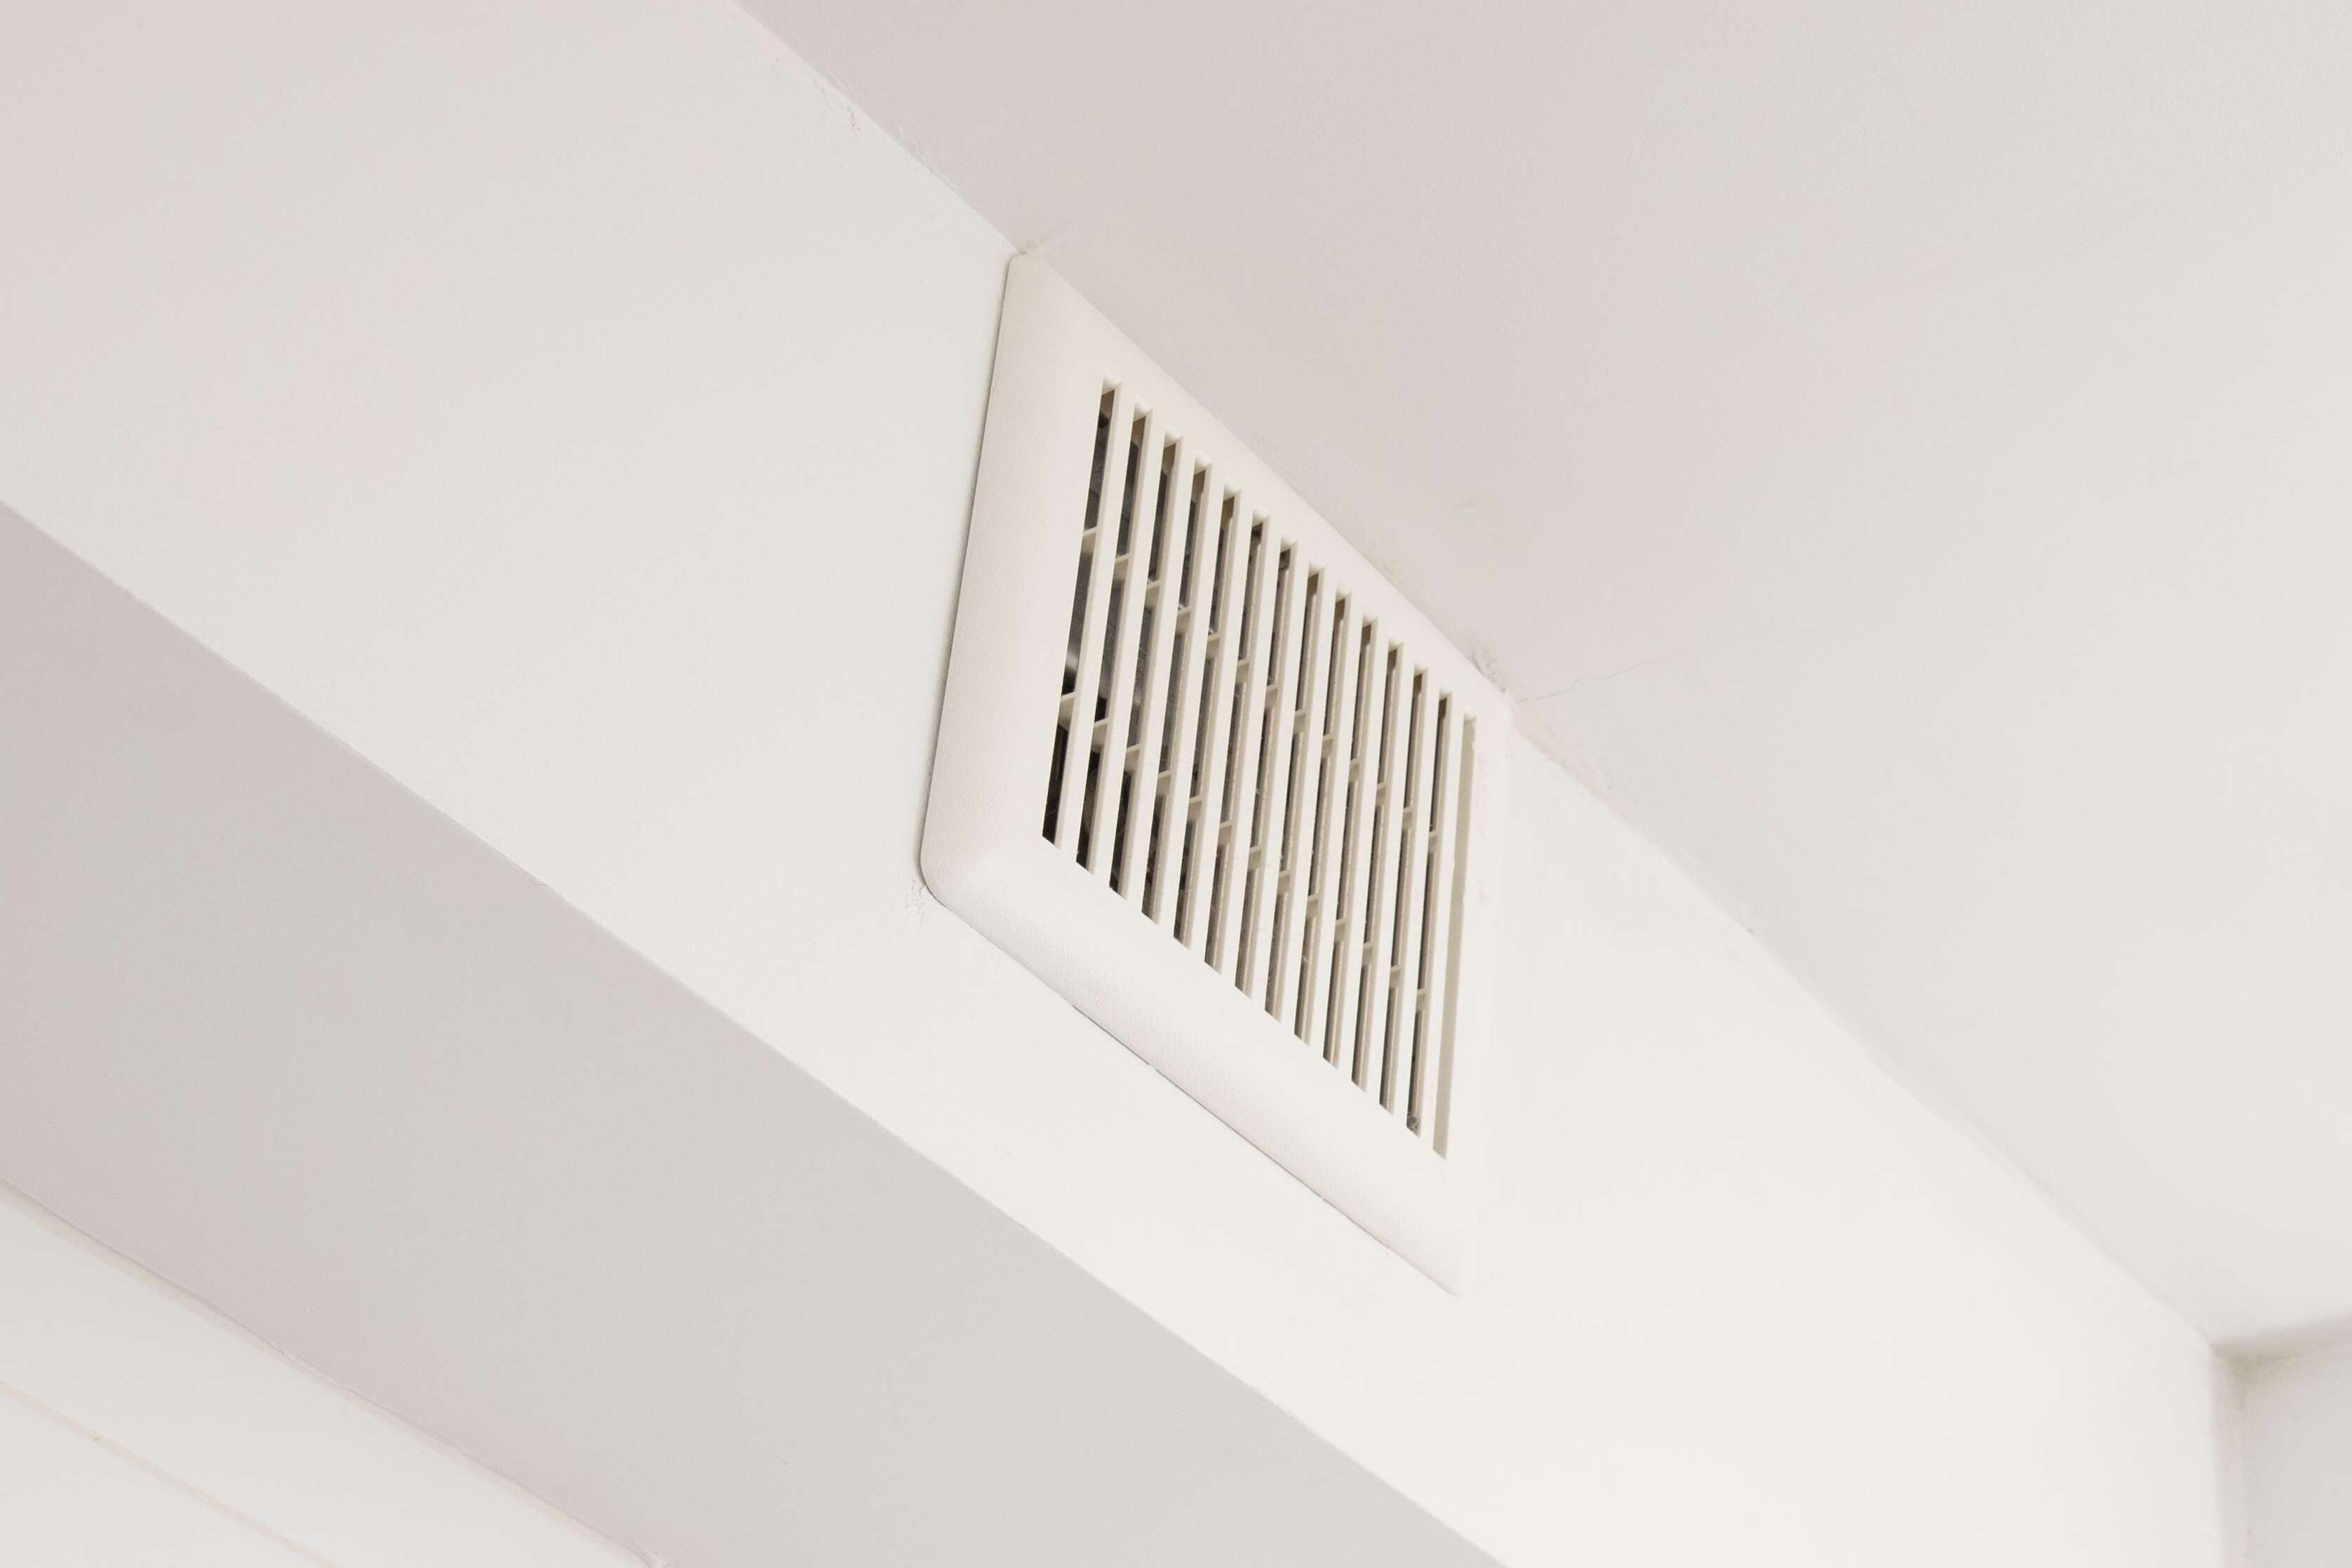
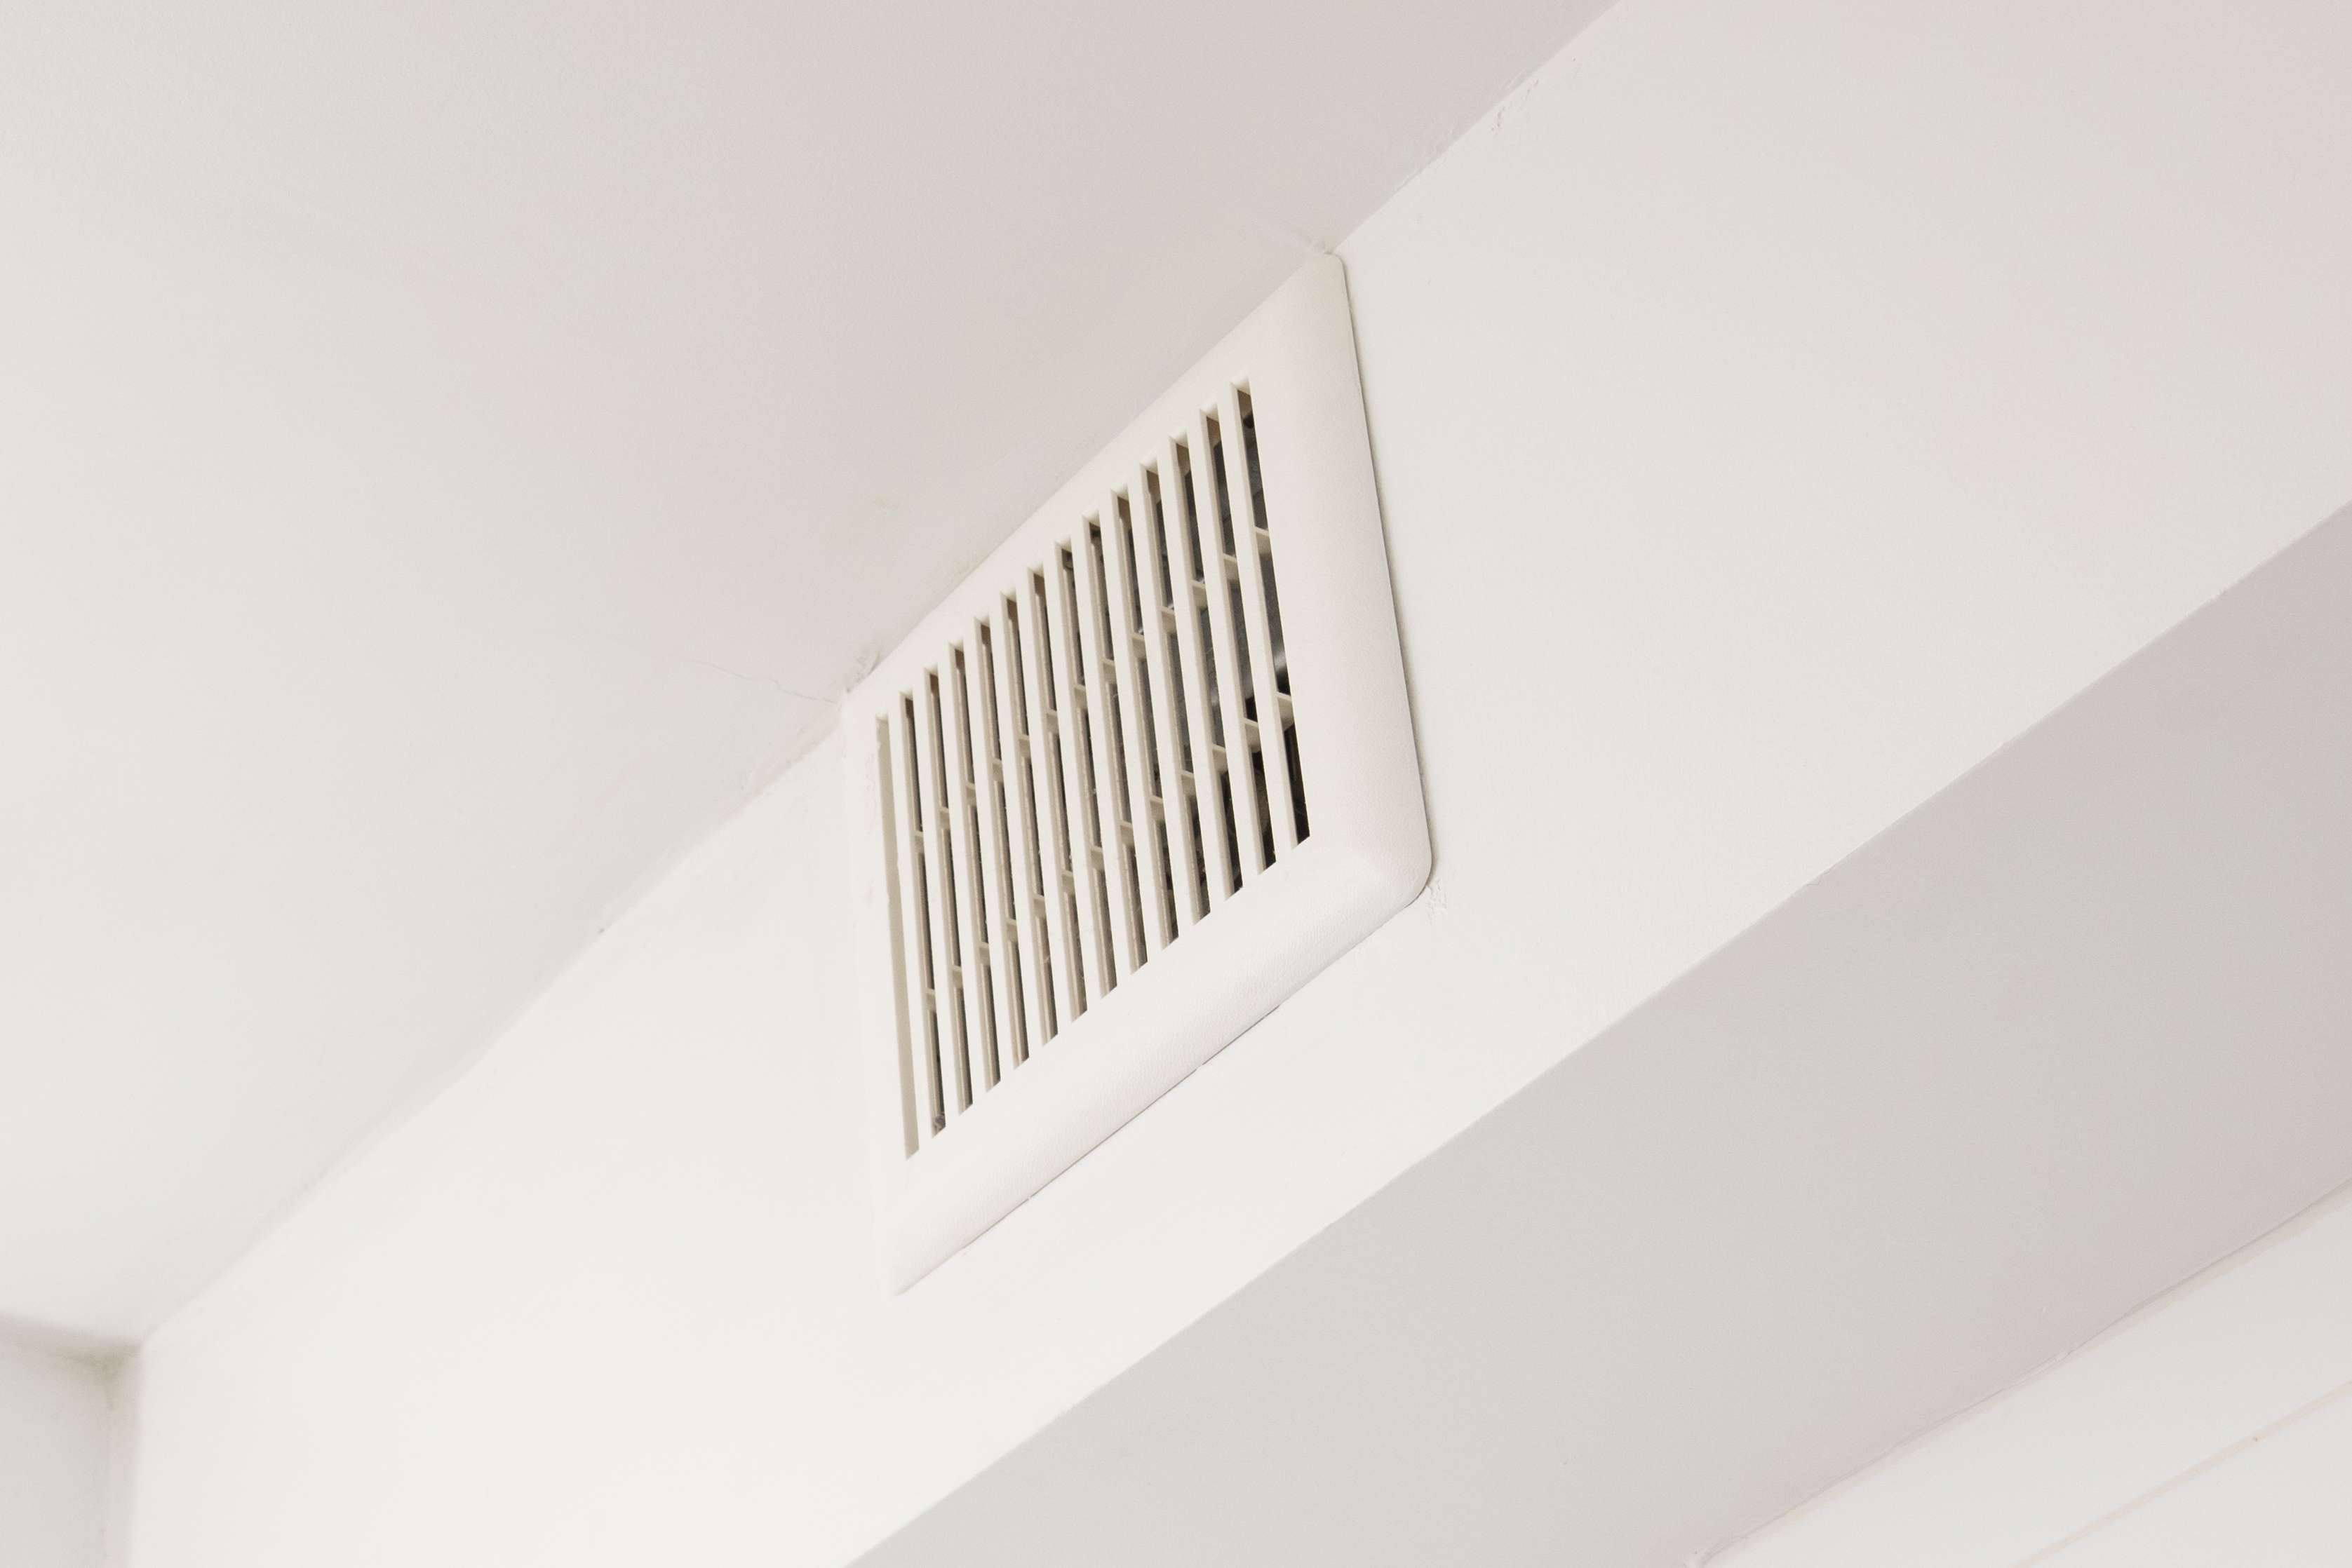
Step 4: Install the fan
With the hole cut and the location carefully chosen, it's time to proceed with the installation of the attic exhaust fan. Follow these detailed steps to ensure a successful and secure installation:
-
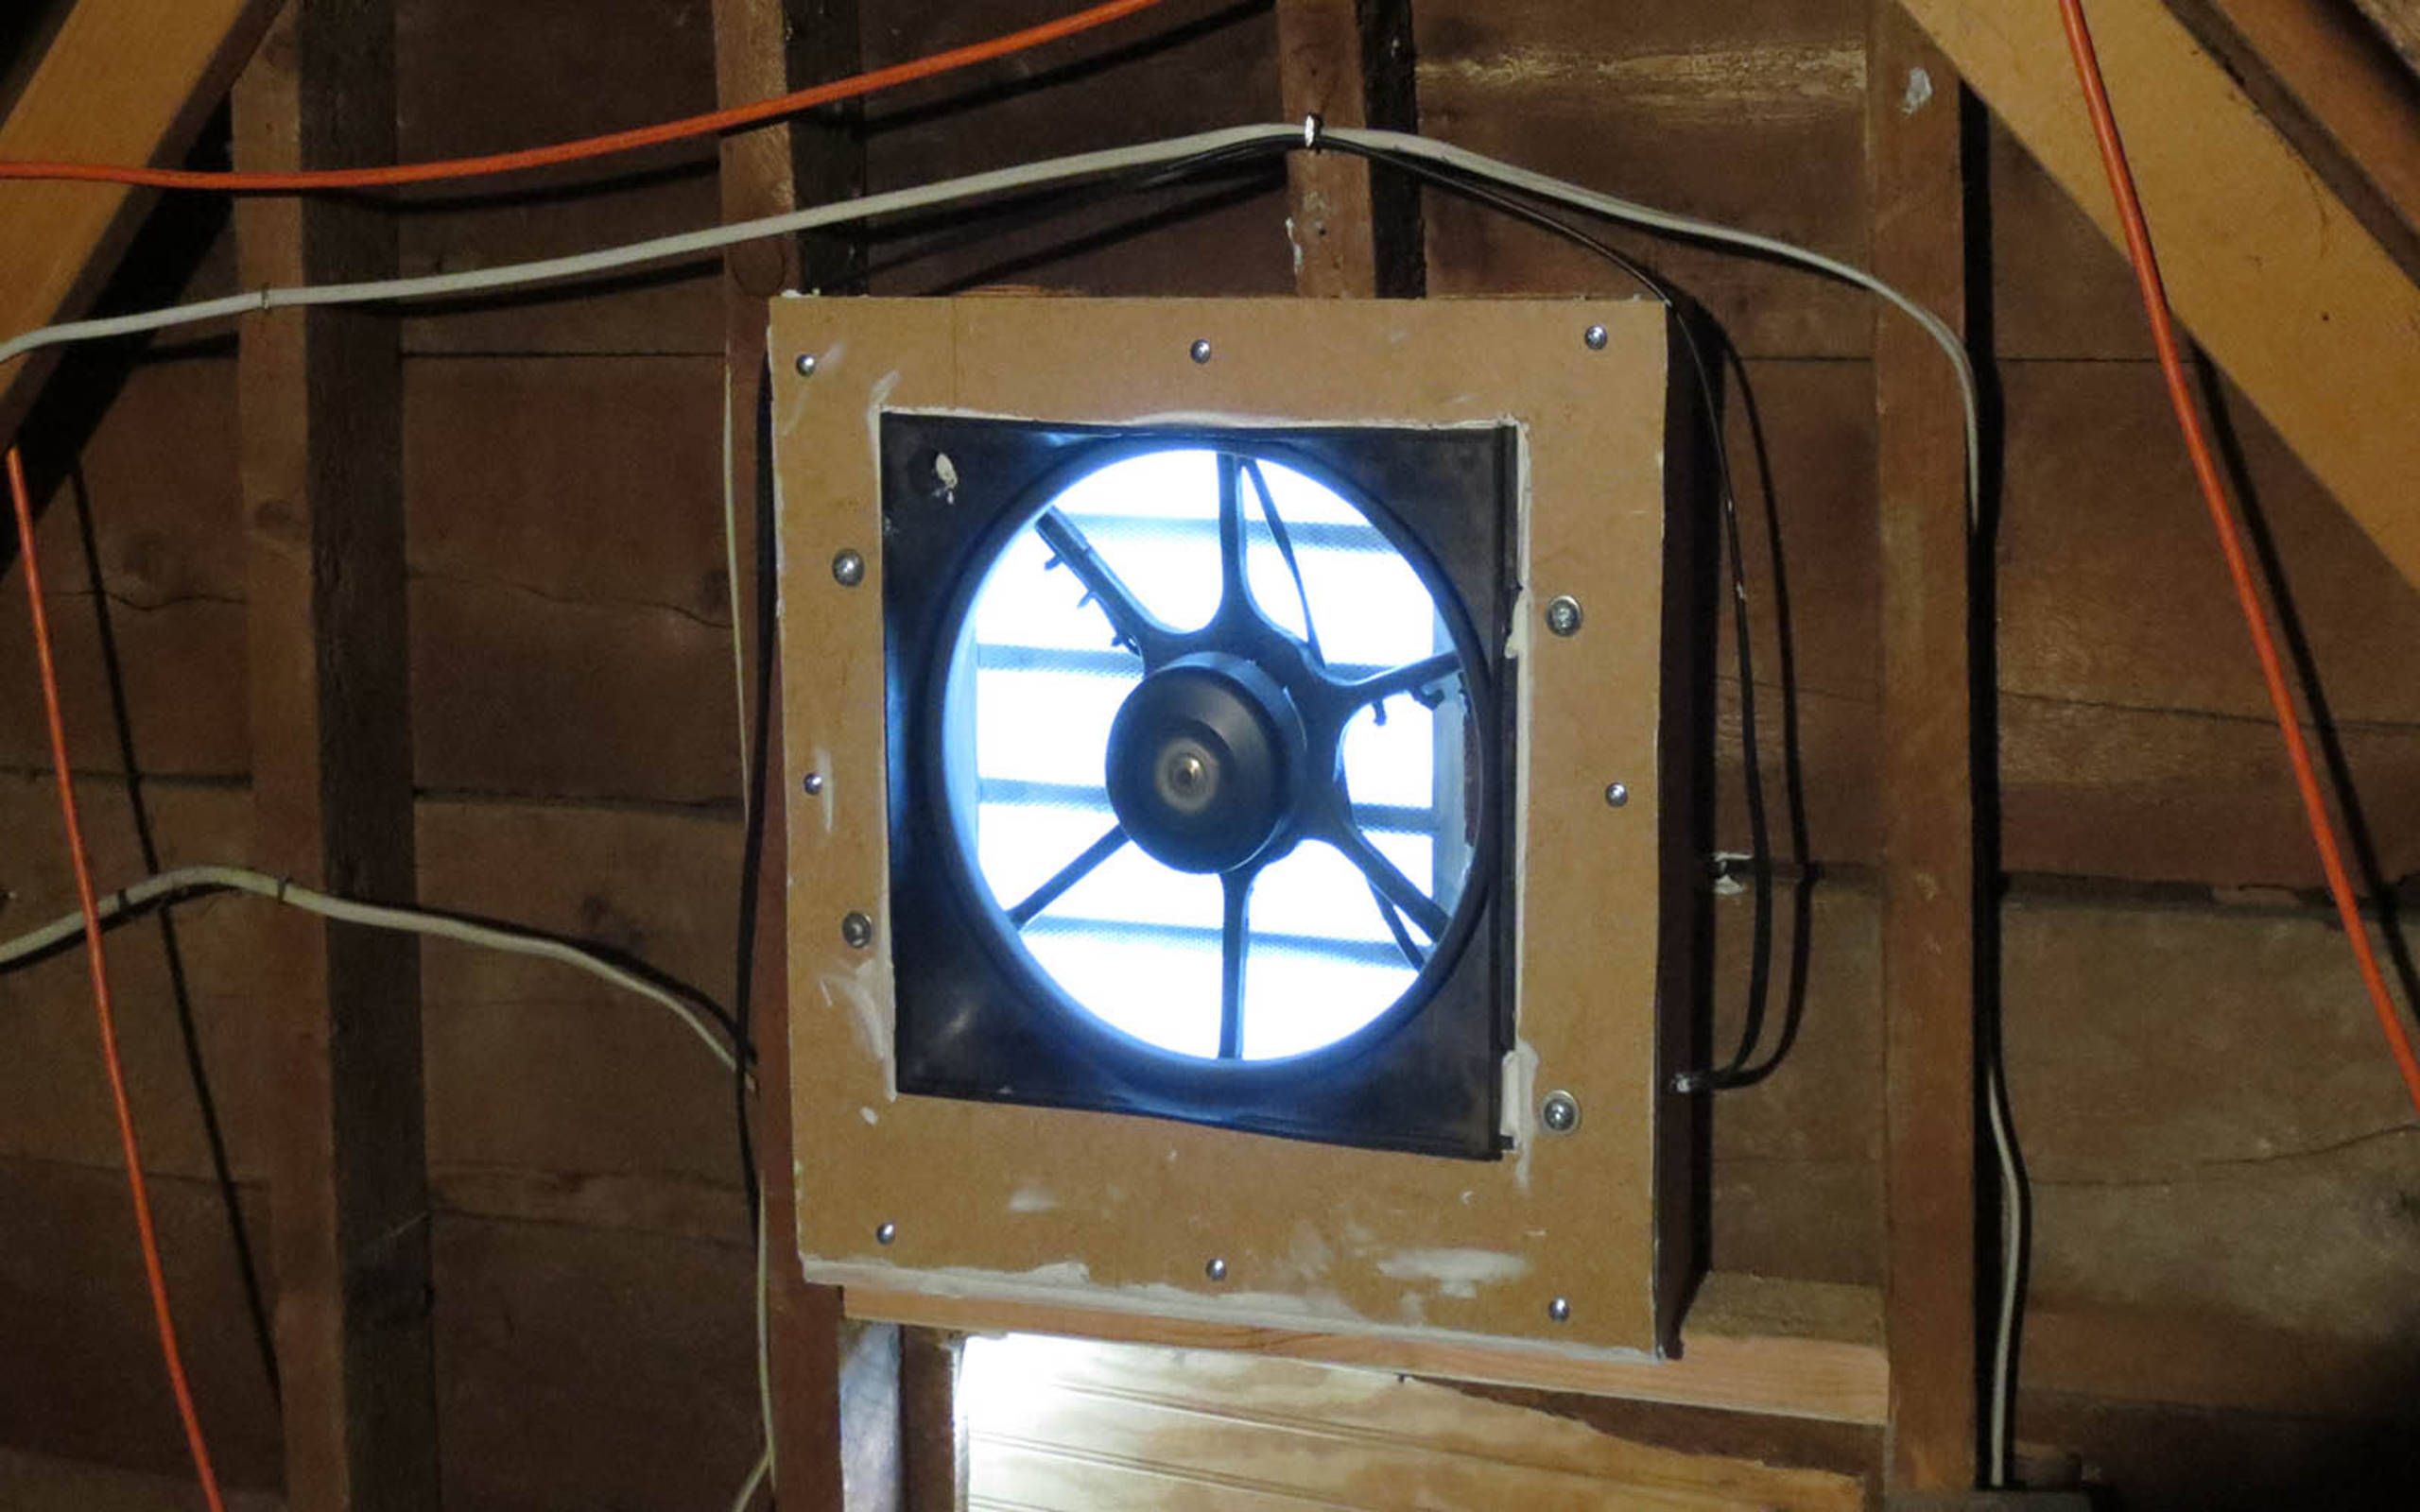
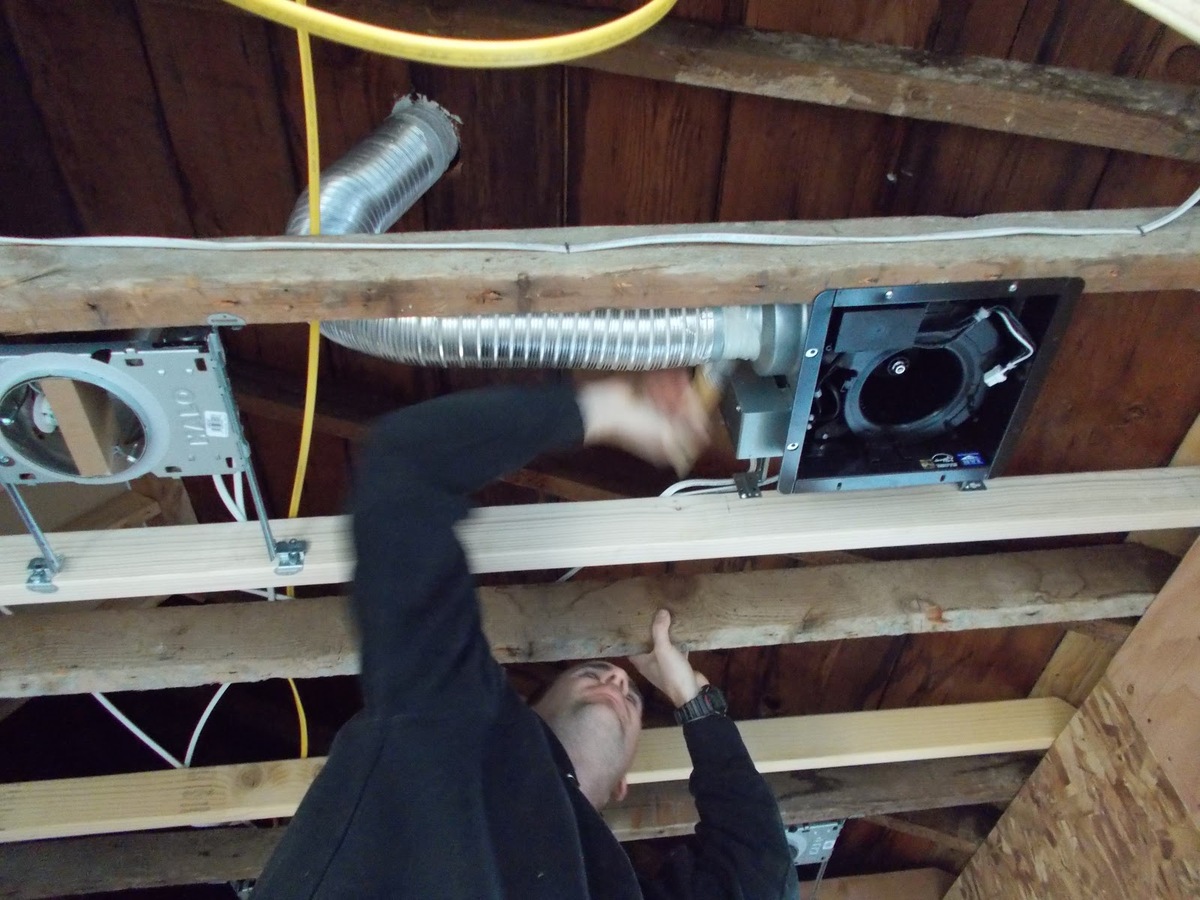
Positioning the Fan: Carefully lift the attic exhaust fan and position it over the prepared opening in the ceiling. Align the fan to fit snugly within the cutout, ensuring that it sits level and flush with the attic floor. Take into account any mounting brackets or support mechanisms provided with the fan to facilitate a stable and secure installation.
-
Securing the Fan: Depending on the fan's design, use the appropriate screws or mounting hardware to secure the fan in place. Ensure that the fasteners are driven into the ceiling joists or support structure to guarantee the fan's stability and prevent any movement or vibration during operation. Follow the manufacturer's guidelines for the recommended fastening method and torque specifications to achieve a reliable and long-lasting installation.
-
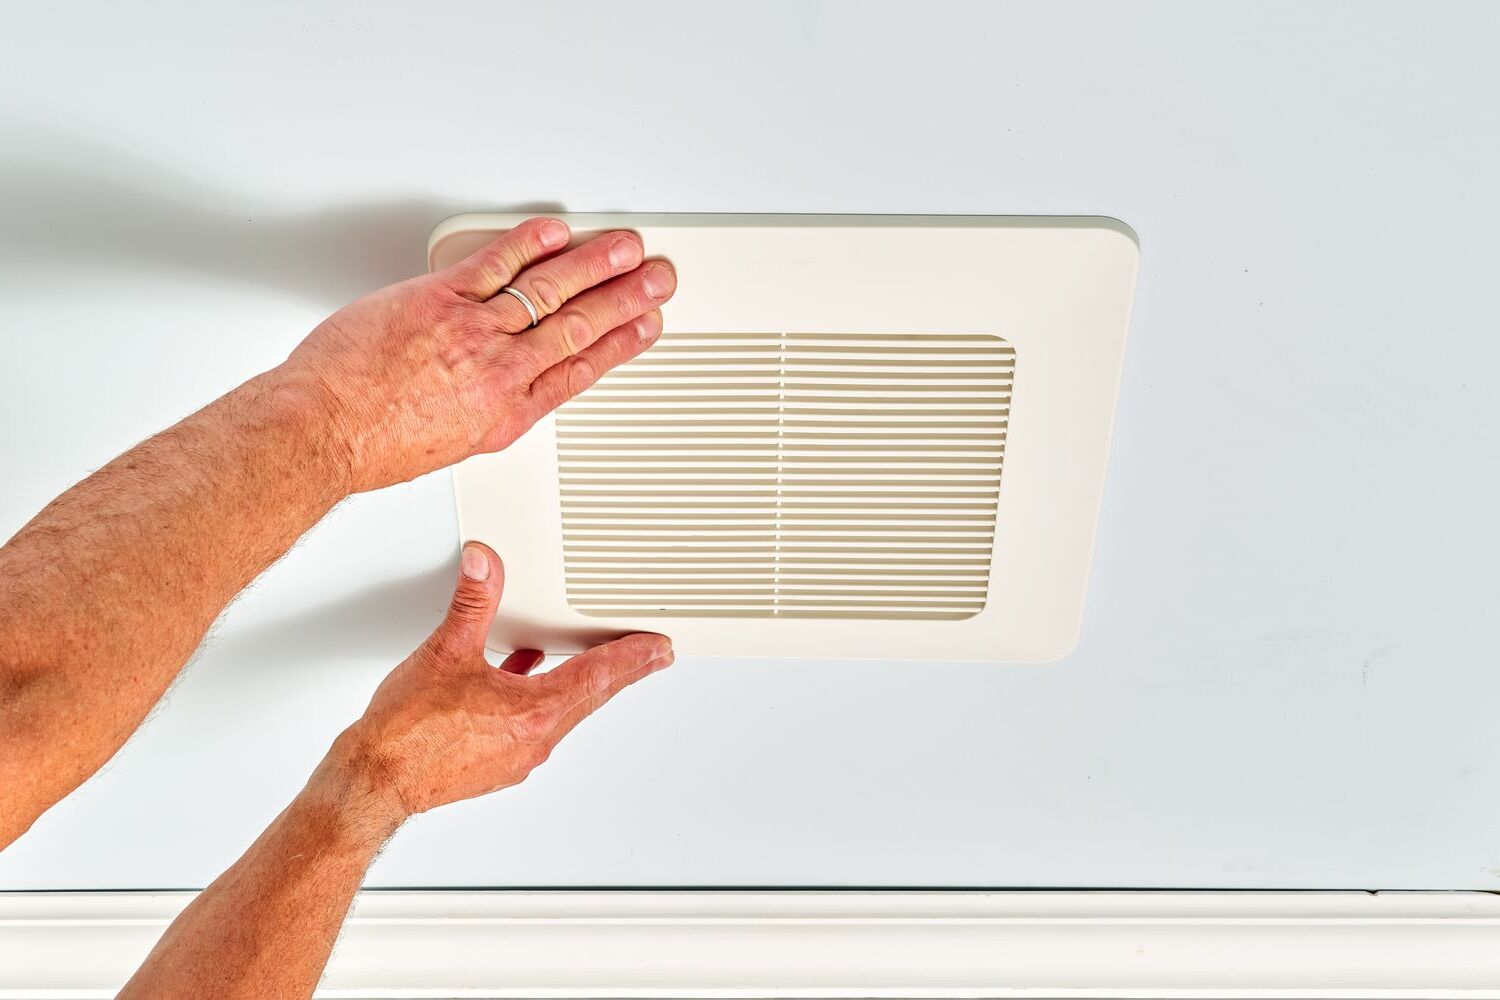
Sealing the Edges: Once the fan is securely mounted, apply a bead of caulk or sealant around the edges of the fan's frame where it meets the attic ceiling. This sealing step is crucial for preventing air leakage and maintaining the integrity of the attic's insulation. A properly sealed installation ensures that the fan effectively expels hot air while preventing the infiltration of outdoor elements into the attic space.
-
Connecting the Ducting (if applicable): If the attic exhaust fan requires ducting to expel air outside, carefully connect the appropriate ventilation duct to the fan's outlet. Secure the duct in place using clamps or fasteners to create a tight and reliable connection. Verify that the ducting extends through the roof or an exterior wall, allowing for the efficient discharge of hot air and moisture from the attic.
-
Completing the Mounting: Double-check the fan's mounting to confirm that it is firmly attached and properly sealed. Test the fan by gently applying pressure to ensure that it remains stable and does not shift within the opening. This step is essential for verifying the structural integrity of the installation and addressing any potential issues before proceeding to the electrical connection.
By meticulously following these steps and exercising care and precision, you can successfully install the attic exhaust fan, setting the stage for enhanced attic ventilation and improved indoor air quality. With the fan securely in place, the next crucial step is to proceed with the electrical wiring connection, bringing you closer to the completion of this valuable home improvement project.
Step 5: Connect the electrical wiring
Connecting the electrical wiring is a pivotal step in the installation of an attic exhaust fan, as it ensures the fan's functionality and integration with the home's electrical system. Prior to initiating the wiring process, it is imperative to adhere to all electrical codes and safety standards to guarantee a secure and reliable connection.
-
Turn Off Power: Begin by turning off the power supply to the attic area at the main electrical panel. This precautionary measure is essential for preventing electrical hazards during the wiring process. Use a voltage tester to confirm that the power is indeed switched off before proceeding.
-
Prepare the Wiring: If the attic exhaust fan is designed to be hardwired, carefully strip the insulation from the ends of the electrical wires provided with the fan. Typically, these wires include a black (hot), white (neutral), and green or bare copper (ground) wire. Ensure that the exposed wire ends are clean and free from any damage or fraying.
-
Locate a Power Source: Identify a suitable power source in the attic for connecting the fan's wiring. This may involve accessing an existing electrical circuit or installing a dedicated electrical line for the fan, depending on the specific requirements and capacity of the home's electrical system.
-
Make the Connections: Connect the black wire from the fan to the hot wire in the electrical junction box, the white wire to the neutral wire, and the green or bare copper wire to the grounding conductor. Use wire connectors or wire nuts to secure the connections, and carefully tuck the wires into the electrical box, ensuring that they are neatly organized and do not interfere with the fan's operation.
-
Secure the Wiring: Once the connections are made, carefully tuck the wiring into the electrical junction box and secure the box cover in place. This step is crucial for safeguarding the wiring and preventing any accidental contact or damage.
-
Test the Electrical Connection: After completing the wiring, restore power to the attic area and test the fan to ensure that it operates as intended. Verify that the fan responds to the controls and that the electrical connection is secure and free from any issues.
By meticulously following these steps and exercising caution throughout the electrical wiring process, you can successfully integrate the attic exhaust fan with the home's electrical system, paving the way for enhanced ventilation and energy efficiency in your living space. With the fan now fully installed and operational, you have taken a significant step toward creating a more comfortable and well-ventilated home environment.
Read more: How Much To Install An Attic Fan
Step 6: Test the fan
After completing the installation and electrical wiring of the attic exhaust fan, it is crucial to conduct a comprehensive testing process to ensure that the fan operates as intended and effectively fulfills its ventilation function. The testing phase serves as a critical validation of the installation's success and provides an opportunity to address any potential issues before concluding the project.
Here are the essential steps to test the attic exhaust fan:
-
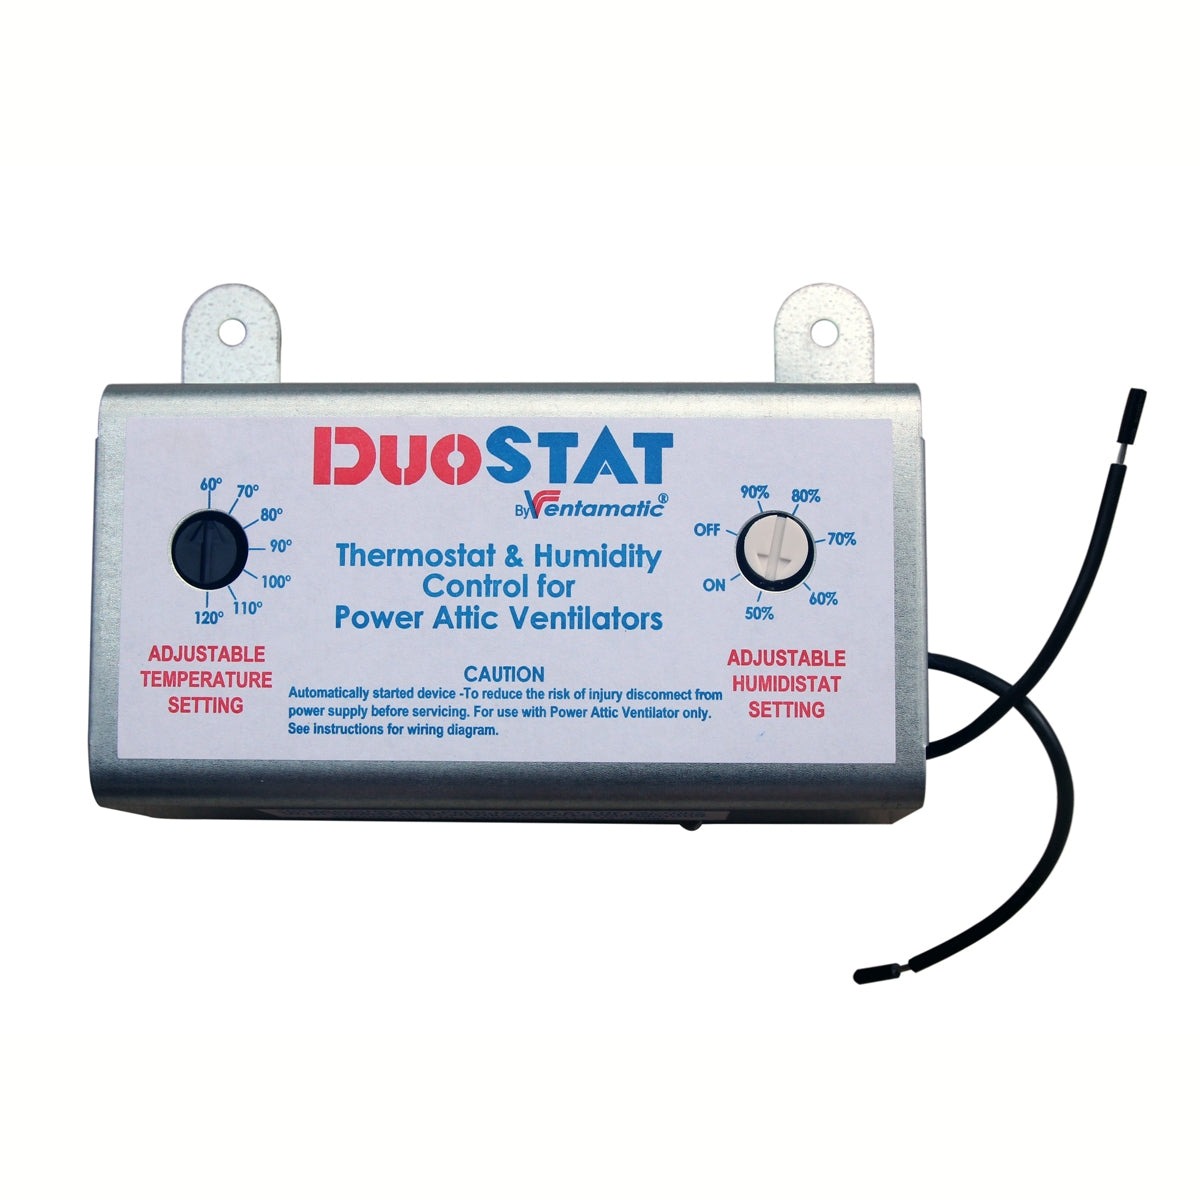
Power On: Begin by activating the fan using the designated controls or switches. Depending on the fan model, it may feature manual controls, a thermostat, or a humidistat to regulate its operation. Activate the fan and listen for the sound of the motor, indicating that it is receiving power and initiating the ventilation process.
-
Airflow Verification: Stand near the fan's exhaust point, typically located on the roof or an exterior wall, and verify the airflow. You should feel a steady stream of air being expelled from the attic space. This airflow confirmation is a tangible indicator of the fan's functionality and its ability to remove hot air and moisture from the attic.
-
Observation: Observe the fan's operation for a sufficient duration to ensure consistent and reliable performance. Pay attention to any unusual sounds, vibrations, or irregularities in the fan's behavior. A properly functioning attic exhaust fan should operate smoothly and quietly, contributing to a more comfortable and well-ventilated attic environment.
-
Temperature and Humidity Monitoring: If the fan is equipped with a thermostat or humidistat, monitor the attic's temperature and humidity levels to assess the fan's impact on regulating these environmental factors. The fan should effectively reduce the attic temperature and maintain optimal humidity levels, contributing to the preservation of the attic space and the overall home environment.
-
Functional Controls: Test the fan's controls, including the on/off switch, speed settings, and any additional features such as automatic shut-off or variable speed operation. Verify that the controls respond accurately and that the fan adjusts its operation according to the specified settings.
-
Safety Checks: Ensure that the fan's operation complies with all safety standards and regulations. Confirm that the electrical connections are secure, the fan is properly sealed, and there are no potential hazards associated with its installation and operation.
By meticulously conducting these testing procedures, you can validate the successful installation and functionality of the attic exhaust fan, affirming its contribution to improved attic ventilation and energy efficiency. Any identified issues or concerns can be promptly addressed, ensuring that the fan operates optimally and delivers the intended benefits to your home.
With the fan successfully tested and confirmed to be operating as intended, you have completed the comprehensive installation process, culminating in the establishment of a well-ventilated and energy-efficient attic space.
Conclusion
In conclusion, the installation of an attic exhaust fan represents a significant investment in the overall comfort, energy efficiency, and structural integrity of your home. By following the step-by-step guide outlined in this comprehensive article, you have gained the knowledge and confidence to undertake this valuable home improvement project with precision and effectiveness.
The process began with the gathering of essential tools and materials, ensuring that you were well-equipped to tackle the installation with efficiency and attention to detail. Choosing the right location for the fan involved thoughtful consideration of attic size, proximity to soffit vents, structural obstructions, and accessibility for maintenance, all of which contribute to the fan's optimal performance and long-term functionality.
Cutting the hole for the fan and installing it required meticulous precision and adherence to best practices, ensuring a secure and seamless integration with the attic space. Connecting the electrical wiring was a pivotal step, demanding strict adherence to safety standards and electrical codes to guarantee a reliable and hazard-free operation.
The testing phase served as a critical validation of the installation's success, providing assurance that the attic exhaust fan operates as intended, effectively expelling hot air and moisture while contributing to improved indoor air quality and energy efficiency.
By completing the installation of an attic exhaust fan, you have taken a proactive step toward creating a more comfortable, well-ventilated, and sustainable living environment. The benefits of proper attic ventilation extend beyond temperature regulation, encompassing the prevention of moisture-related issues, the reduction of energy costs, and the preservation of the home's structural components.
As you enjoy the rewards of your efforts, it is essential to prioritize regular maintenance and inspection of the attic exhaust fan to ensure its continued functionality and longevity. By incorporating this valuable addition to your home, you have made a tangible investment in its overall well-being and sustainability.
With the successful completion of the attic exhaust fan installation, you have not only enhanced the livability of your home but also contributed to a more energy-efficient and environmentally conscious living space. Congratulations on completing this significant home improvement project, and may your well-ventilated attic bring you comfort and peace of mind for years to come.
Frequently Asked Questions about How To Install An Attic Exhaust Fan
Was this page helpful?
At Storables.com, we guarantee accurate and reliable information. Our content, validated by Expert Board Contributors, is crafted following stringent Editorial Policies. We're committed to providing you with well-researched, expert-backed insights for all your informational needs.


0 thoughts on “How To Install An Attic Exhaust Fan”