Home>Gardening & Outdoor>Outdoor Entertaining>How To Arrange Wood In A Fire Pit

Outdoor Entertaining
How To Arrange Wood In A Fire Pit
Modified: February 18, 2024
Learn how to arrange wood in a fire pit for your next outdoor entertaining event. Follow these tips for a perfect fire and cozy ambiance.
(Many of the links in this article redirect to a specific reviewed product. Your purchase of these products through affiliate links helps to generate commission for Storables.com, at no extra cost. Learn more)
Introduction
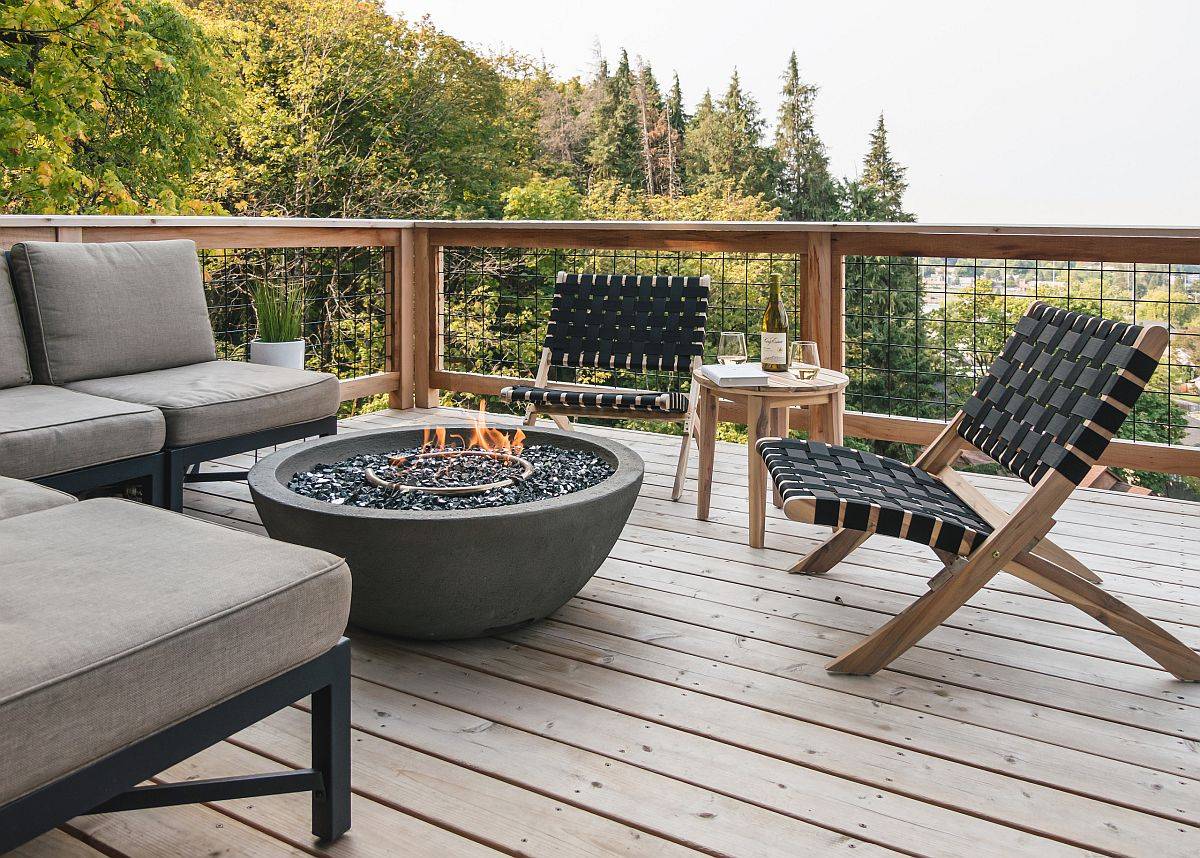
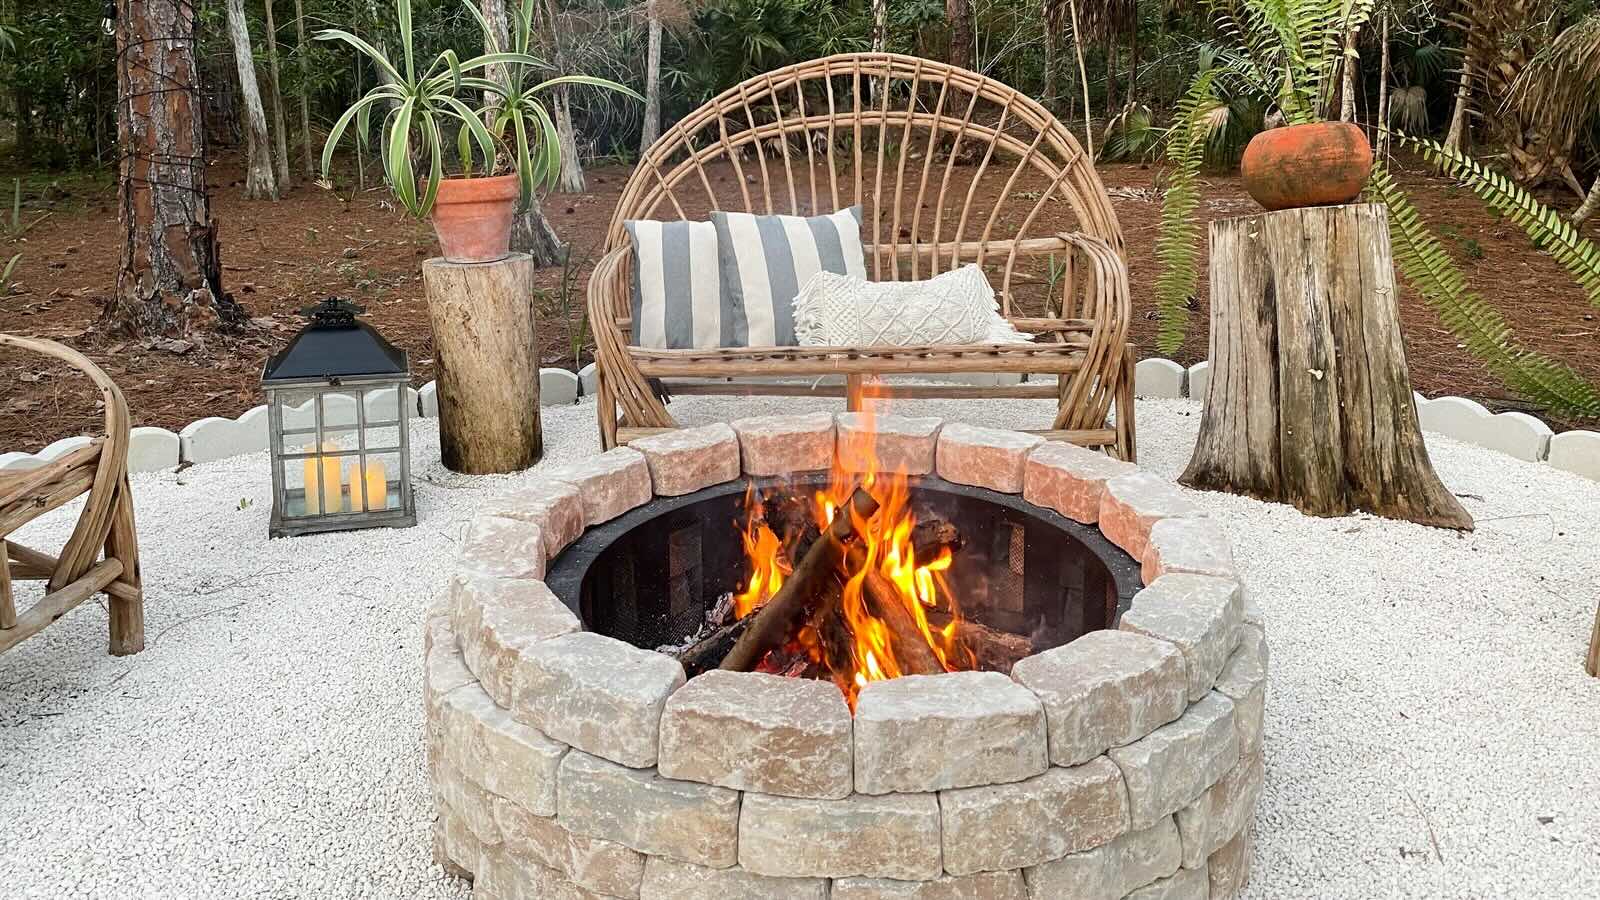
When it comes to outdoor entertaining, few things can rival the primal allure of a crackling fire pit. Whether you're hosting a gathering of friends, enjoying a peaceful evening with loved ones, or simply unwinding after a long day, a well-built fire pit can set the stage for unforgettable moments. The centerpiece of any fire pit, of course, is the wood. The way you arrange the wood can significantly impact the ambiance, heat output, and longevity of your fire. In this guide, we'll delve into the art of arranging wood in a fire pit, exploring safety precautions, wood selection, and the step-by-step process of building and maintaining a mesmerizing blaze.
Before we dive into the nitty-gritty of wood arrangement, it's crucial to emphasize the importance of safety. From selecting an appropriate location for your fire pit to understanding the properties of different wood types, prioritizing safety at every stage is paramount. With the right precautions in place, you can savor the warmth and camaraderie of a well-tended fire pit with peace of mind. So, let's embark on this journey to discover the secrets of creating a captivating fire pit ambiance through the artful arrangement of wood.
Key Takeaways:
- Safety First
Before arranging wood in a fire pit, prioritize safety by choosing a suitable location, clearing the surroundings, and having water or extinguishing tools handy. Adhering to safety precautions ensures a secure and enjoyable fire pit experience. - Wood Arrangement Art
Arranging wood in a fire pit is both a science and an art. Start with a solid base, employ a layering technique, and embrace creativity to create a visually captivating and efficiently burning fire.
Read more: How To Burn Wood In A Fire Pit
Safety Precautions
Before you begin arranging wood in your fire pit, it’s essential to prioritize safety. Here are some crucial precautions to keep in mind:
- Location, Location, Location: Choose a suitable location for your fire pit. Ensure it’s placed on stable ground, away from overhanging branches, structures, or any flammable materials. If you’re using a portable fire pit, follow the manufacturer’s guidelines for safe placement.
- Local Regulations: Check local regulations and obtain any necessary permits for building and using a fire pit. Some areas have specific rules regarding open fires, so it’s important to comply with these regulations to ensure both safety and legality.
- Clear the Surroundings: Clear the area around the fire pit of any debris, dry leaves, or other combustible materials. This helps prevent accidental fires and ensures that the fire remains contained within the pit.
- Keep Water or Extinguishing Tools Handy: Have a water source, fire extinguisher, or sand nearby to quickly douse the flames if necessary. It’s crucial to be prepared for unexpected flare-ups or emergencies.
- Supervision: Never leave a fire unattended, especially if there are children or pets around. Assign someone to monitor the fire at all times and ensure it’s completely extinguished before leaving the area.
- Weather Conditions: Be mindful of weather conditions, especially wind. Avoid lighting a fire in windy conditions, as this can cause the flames to spread or create hazardous situations.
By adhering to these safety precautions, you can create a secure environment for enjoying your fire pit while minimizing the risk of accidents or damage. Now that we’ve covered the essential safety measures, let’s move on to selecting the right wood for your fire pit.
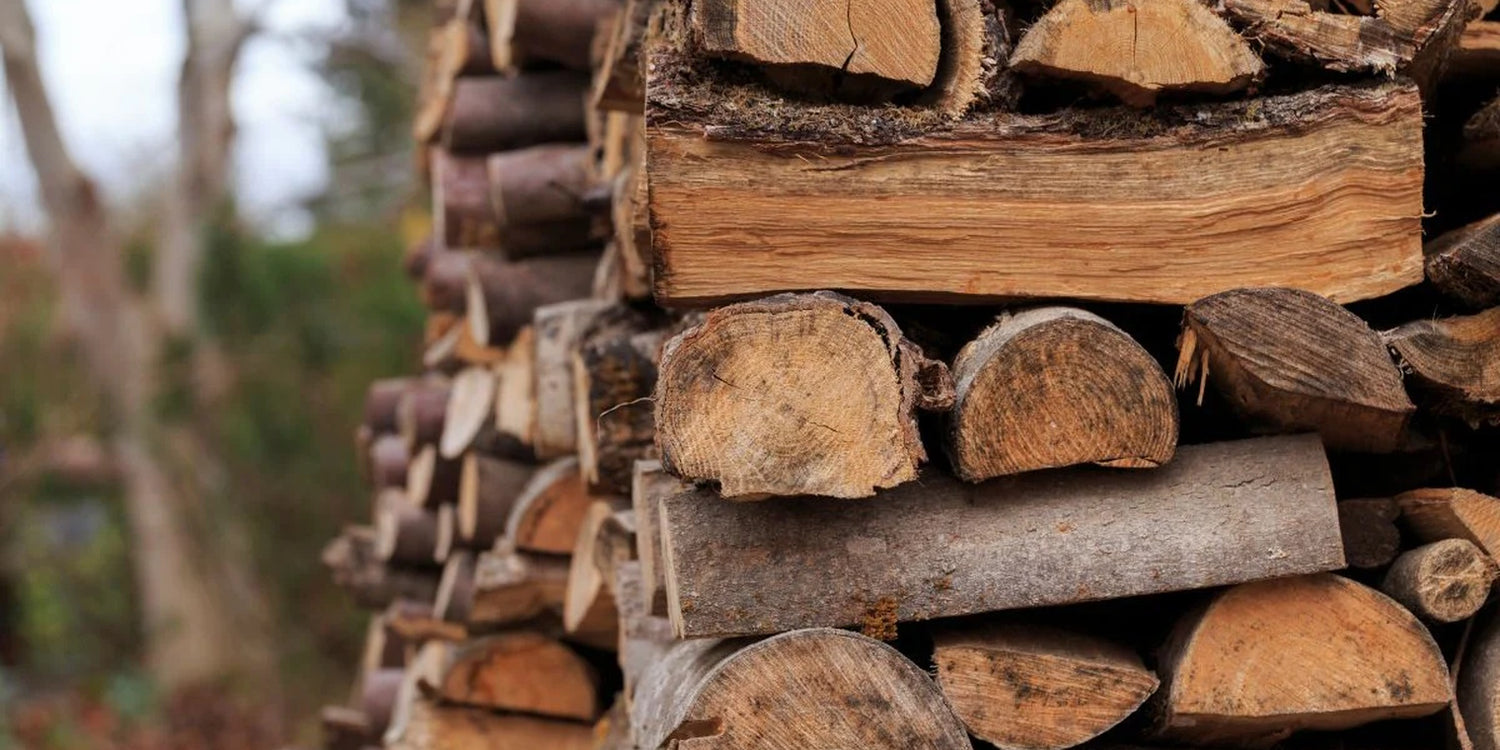
Choosing the Right Wood
When it comes to arranging wood in a fire pit, the type of wood you select can significantly influence the quality of your fire. Here are some key considerations for choosing the right wood:
- Hardwood vs. Softwood: Hardwoods such as oak, hickory, and maple are excellent choices for fire pits. They burn hotter and longer, providing a steady source of heat and a lasting flame. Softwoods like pine and cedar ignite easily but burn faster and may generate more sparks.
- Seasoned Wood: Opt for seasoned or kiln-dried wood, which has been properly dried to reduce moisture content. Seasoned wood burns more efficiently, producing less smoke and minimizing the risk of creosote buildup in your fire pit or chimney.
- Avoid Treated or Painted Wood: Never burn wood that has been treated, painted, or stained, as these materials can release toxic fumes when burned. Stick to natural, untreated wood for a safer and more enjoyable fire experience.
- Local Availability: Consider the availability of different wood types in your area. Local hardwoods may be more accessible and sustainable choices for your fire pit, contributing to a more eco-friendly and cost-effective approach.
- Size and Shape: Cut the wood into manageable sizes, typically ranging from 12 to 18 inches in length. This facilitates easy stacking and arrangement within the fire pit, allowing for optimal airflow and combustion.
By carefully selecting the right wood for your fire pit, you can set the stage for a vibrant and long-lasting fire that enhances your outdoor ambiance. With the wood selection covered, let’s move on to building the base of your fire pit.
Building the Base
Creating a solid base for your fire pit is essential for both safety and optimal fire performance. Here’s a step-by-step guide to building the base:
- Clear the Area: Begin by clearing the ground where you plan to construct the fire pit. Remove any vegetation, rocks, or debris to create a level and stable foundation.
- Mark the Perimeter: Use a marking spray or lay out stones to outline the perimeter of the fire pit. This helps define the space and ensures that the base is appropriately sized for your fire arrangement.
- Layer the Base Material: Consider adding a base layer of sand or gravel to the cleared area. This layer helps with drainage and provides a level surface for the fire pit components.
- Arrange Fire Bricks or Stones: If you’re using fire bricks or stones to construct the walls of your fire pit, carefully arrange them in a circle according to your marked perimeter. Ensure that the bricks or stones are stacked securely and evenly to form a stable structure.
- Secure the Base: For added stability, consider using a heat-resistant adhesive or mortar to secure the bricks or stones in place. This step is crucial for ensuring that the base can withstand the heat and weight of the arranged wood and the resulting fire.
- Allow for Airflow: Leave small gaps or spaces between the bricks or stones to allow for adequate airflow. Proper ventilation is essential for maintaining a healthy and efficient fire, as it promotes the circulation of oxygen and the release of combustion byproducts.
By following these steps, you can establish a sturdy and well-ventilated base for your fire pit, setting the stage for the next crucial aspect: arranging the wood. Let’s explore the art of arranging wood in a way that promotes steady combustion and captivating flames.
Arrange larger pieces of wood at the bottom in a crisscross pattern, then add smaller pieces on top. Leave space for air to circulate. This will help the fire burn efficiently.
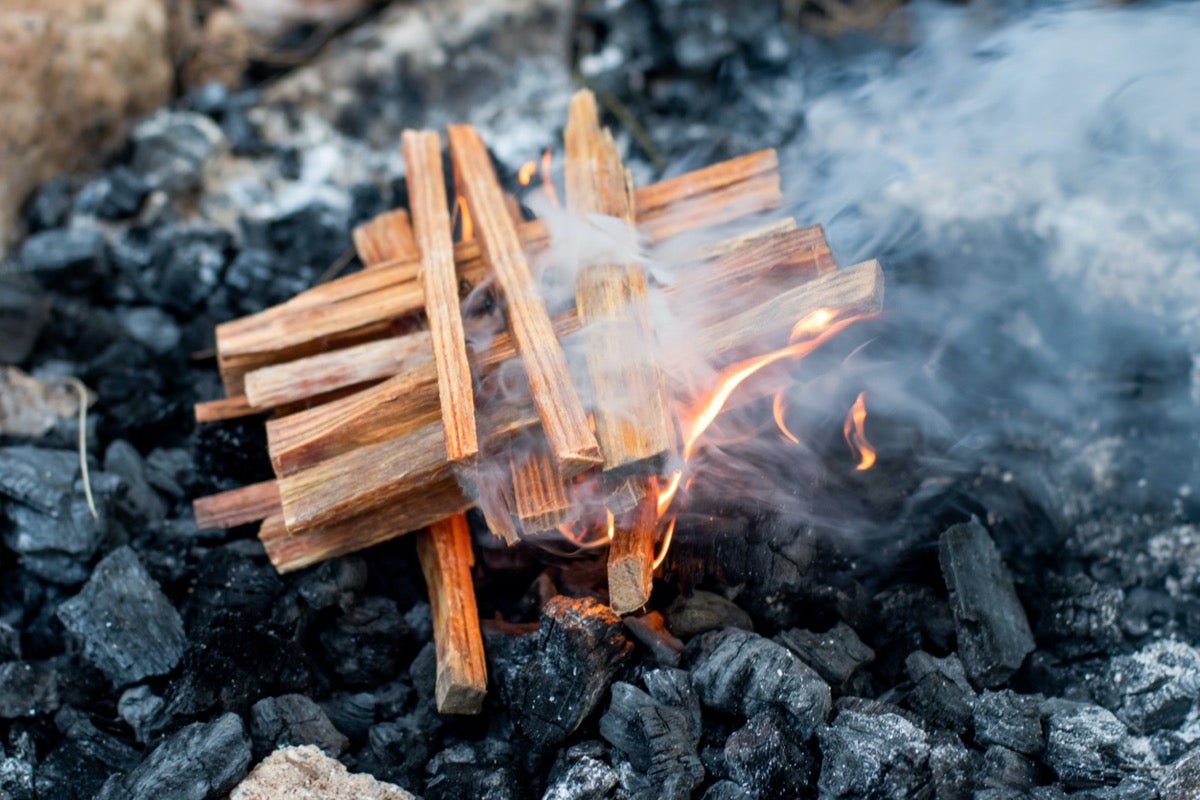
Arranging the Wood
Arranging the wood in your fire pit is both a science and an art. The way you stack and position the wood can influence the fire’s intensity, longevity, and visual appeal. Here’s a guide to arranging wood in your fire pit for an optimal and mesmerizing fire:
- Start with a Solid Base: Lay a foundation of larger logs or hardwood pieces at the bottom of the fire pit. These substantial pieces provide stability and help establish a solid base for the rest of the wood arrangement.
- Layering Technique: Employ a layering technique by crisscrossing smaller pieces of wood over the base logs. This method creates small pockets of air between the wood, promoting airflow and facilitating the ignition and sustained burning of the fire.
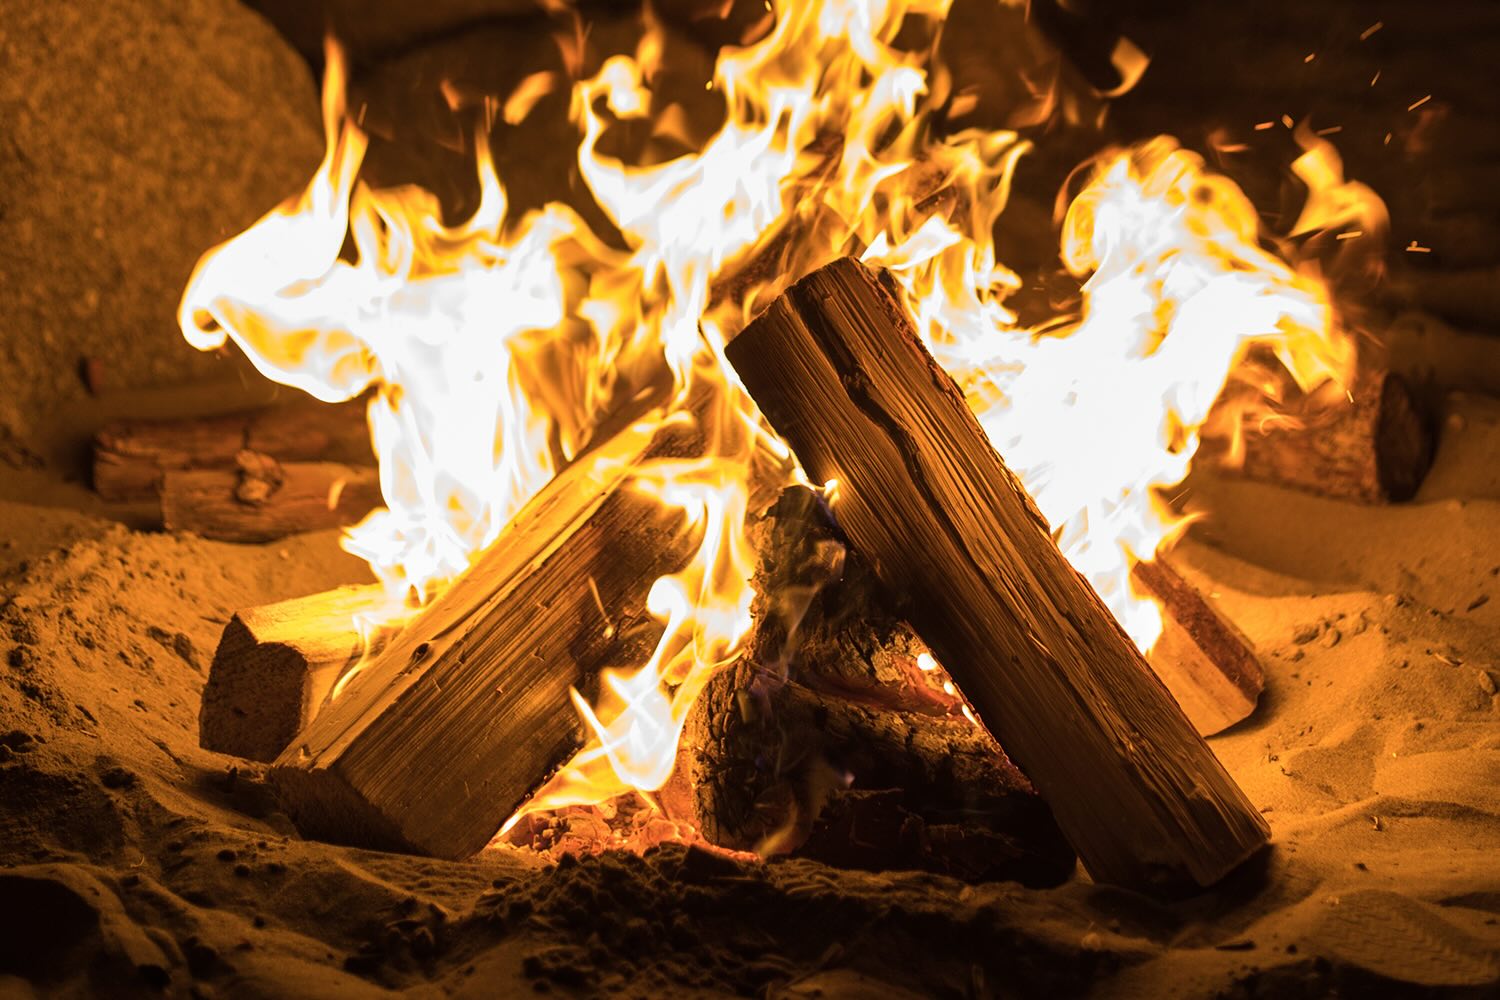
- Gradual Size Progression: Gradually increase the size of the wood pieces as you build upward. Start with smaller kindling and progress to medium-sized logs, arranging them in a teepee or log cabin formation to encourage the flames to rise and spread evenly.
- Consider Seasoned Wood: If possible, use seasoned wood for the initial layers, as it ignites more easily and produces less smoke. As the fire grows stronger, you can gradually introduce larger, seasoned hardwood logs to sustain the heat and ambiance.
- Mindful Arrangement: Pay attention to the arrangement of the wood, ensuring that there are spaces between the logs to allow for airflow. Proper ventilation is crucial for maintaining a consistent and robust fire.
- Artistic Touch: Embrace creativity in your wood arrangement. Experiment with different stacking patterns and configurations to create visually appealing structures while maintaining functionality. A well-arranged stack of wood can become a focal point of your outdoor gathering.
By following these principles of wood arrangement, you can create a visually captivating and efficiently burning fire that elevates the atmosphere of your outdoor space. With the wood expertly arranged, it’s time to ignite the flames and bring your fire pit to life.
Read more: How To Store Wood For Fire Pit
Lighting the Fire
As you prepare to ignite the fire in your carefully arranged wood stack, it’s essential to approach the lighting process with both practicality and a touch of finesse. Here’s a step-by-step guide to lighting the fire in your fire pit:
- Prepare the Fire Pit: Before lighting the fire, double-check that the surrounding area is clear of any flammable materials, and ensure that the fire pit is stable and secure.
- Kindling Placement: Nestle small pieces of kindling, such as dry twigs or newspaper, at the base of the wood arrangement. These materials serve as the initial fuel to kick-start the fire.
- Use a Fire Starter: Consider using a fire starter, such as a natural firelighter or paraffin wax cube, to easily ignite the kindling. Place the fire starter in the center of the kindling, allowing it to catch fire and spread to the surrounding wood.
- Applying the Flame: Use a long-handled lighter or match to carefully ignite the kindling or fire starter. Exercise caution to avoid sudden flare-ups, and be mindful of wind direction to prevent the flames from spreading unpredictably.
- Encourage Airflow: As the fire ignites, gently blow on the flames to provide additional oxygen and encourage the fire to take hold. Avoid excessive blowing, which can lead to sparks or embers escaping the fire pit.
- Monitor the Flames: Once the fire has started, monitor its progress and make any necessary adjustments to the wood arrangement to maintain a steady and controlled burn. Avoid adding too much wood at once, as this can smother the flames.
By following these steps, you can safely and effectively ignite the fire in your fire pit, setting the stage for a warm and inviting outdoor ambiance. With the flames dancing and crackling, it’s time to bask in the glow and enjoy the captivating allure of your well-tended fire pit.
Maintaining the Fire
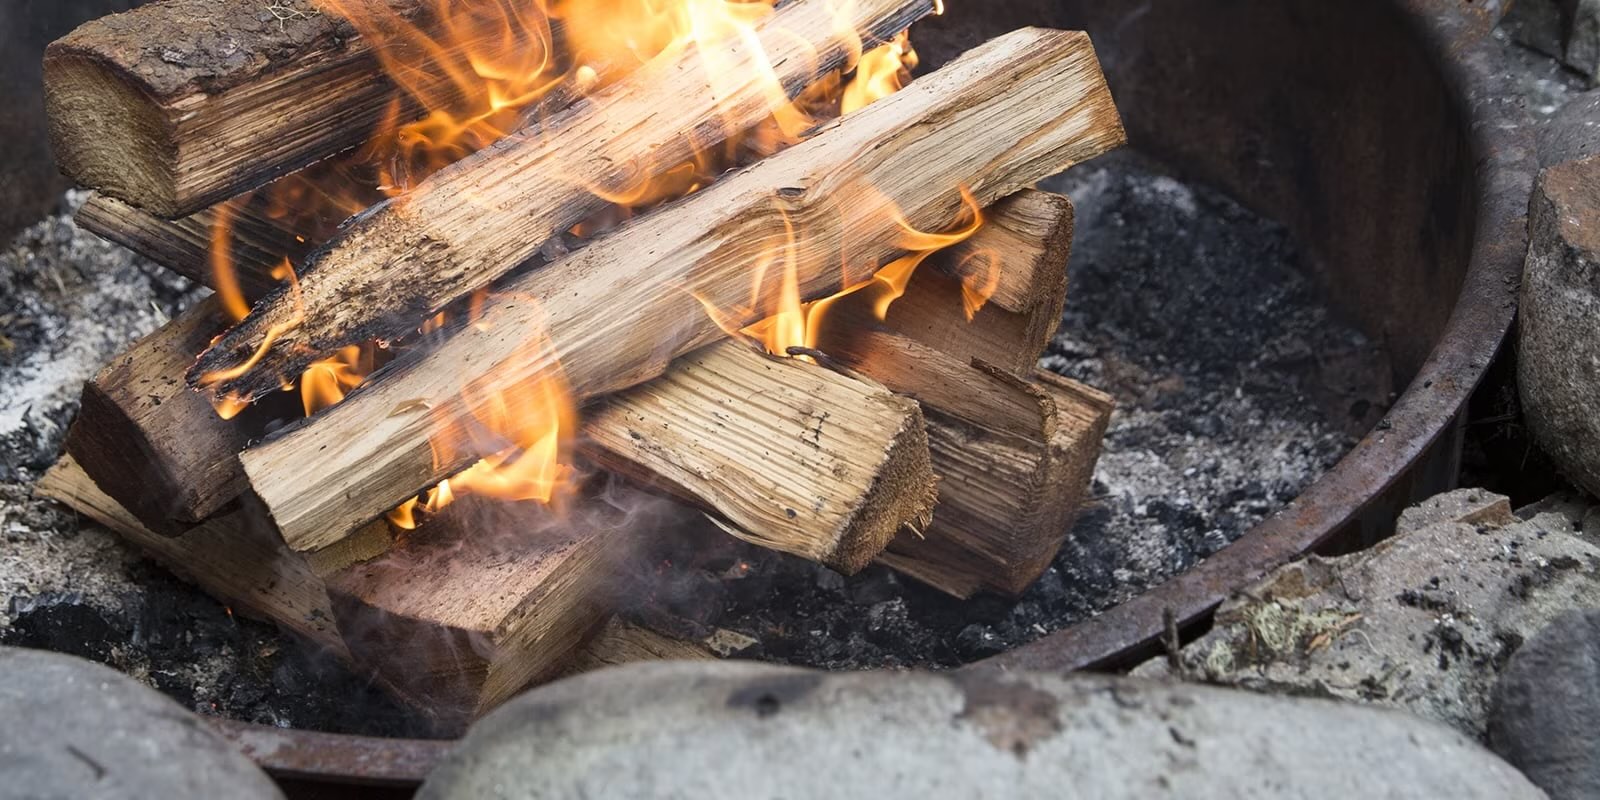
Once the fire in your pit is ablaze, the art of fire tending begins. Proper maintenance is crucial for sustaining a vibrant and safe fire. Here’s a guide to effectively maintaining the fire in your fire pit:
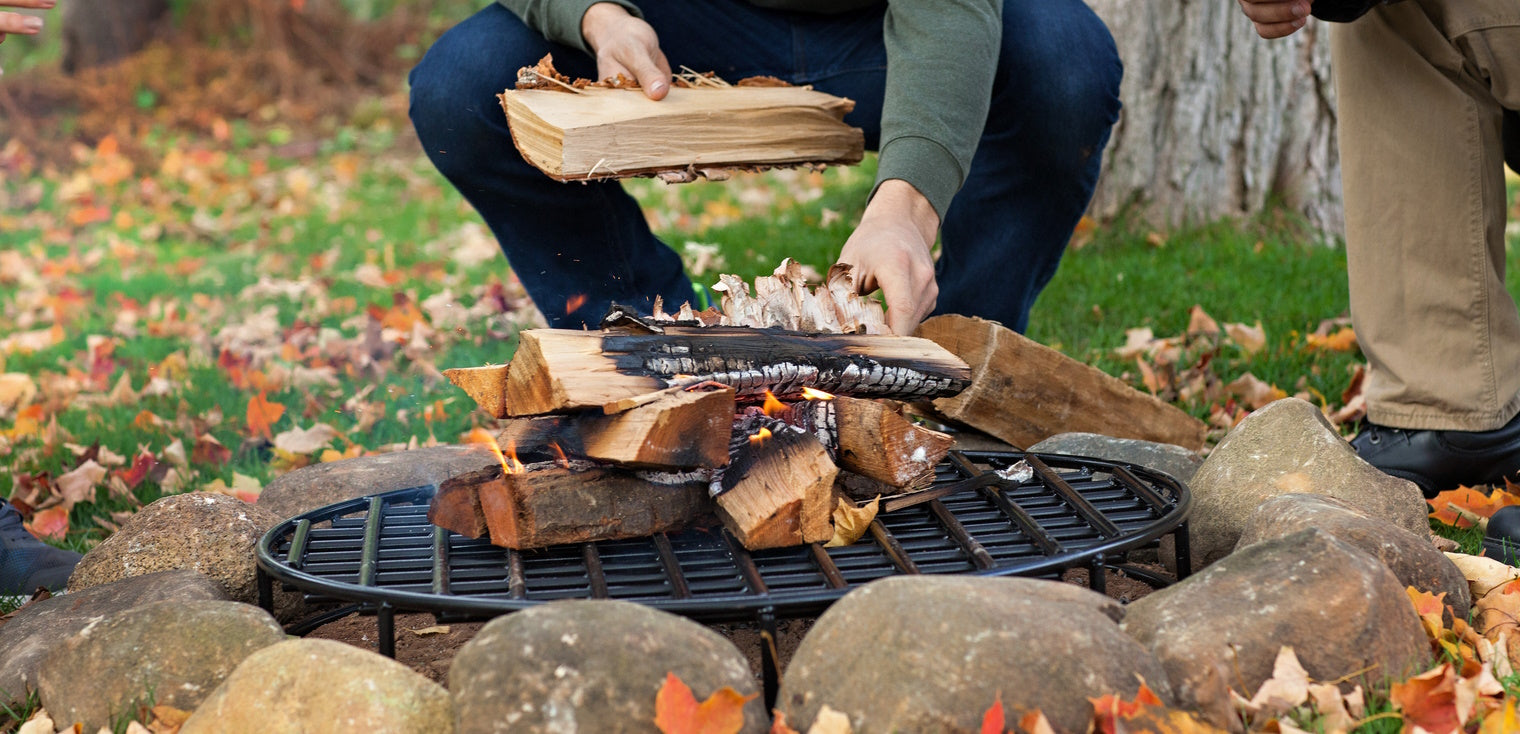
- Monitor the Flames: Keep a watchful eye on the fire, observing the size and behavior of the flames. Adjust the wood arrangement as needed to maintain a consistent and controlled burn.
- Adding Wood: As the fire burns, gradually add additional wood to sustain the flames. Introduce seasoned hardwood logs to maintain a steady heat output and extend the duration of the fire.
- Embrace the Glow: Enjoy the mesmerizing glow and crackling sounds of the fire pit while engaging in conversations or savoring quiet moments. The warmth and ambiance of the fire create an inviting atmosphere for outdoor gatherings.
- Safety First: Always prioritize safety when maintaining the fire. Use caution when adding wood to avoid sparks or sudden flare-ups. Keep a safe distance from the fire and supervise any children or pets in the vicinity.
- Extinguishing the Fire: When you’re ready to conclude the fire pit experience, allow the wood to burn down to embers. Use a long-handled poker to carefully spread out the embers, promoting faster cooling and reducing the risk of lingering hot spots.
- Extinguishing Safely: Once the embers have cooled, carefully pour water over the remaining ashes and embers to fully extinguish the fire. Stir the ashes to ensure thorough saturation and cooling.
By maintaining the fire pit with attentiveness and care, you can create a captivating and secure outdoor environment for relaxation and socializing. With the fire pit experience complete, it’s time to reflect on the warmth and camaraderie it has kindled and prepare for future gatherings around the mesmerizing flames.
Conclusion
Arranging wood in a fire pit is a timeless art that intertwines practicality and creativity, transforming an outdoor space into a hub of warmth and conviviality. From selecting the right wood to tending the flames, every step contributes to the creation of a captivating fire pit experience. By adhering to safety precautions, choosing suitable wood, and mastering the art of wood arrangement, you can orchestrate a mesmerizing display of flames that beckons friends and family to gather around and share in the enchantment.
As the fire crackles and dances, it fosters an atmosphere that invites storytelling, laughter, and quiet contemplation. The warmth emanating from the fire pit becomes a focal point, drawing individuals together and fostering cherished connections. Whether it’s a lively outdoor soirée or a tranquil evening under the stars, the allure of a well-arranged fire pit transcends mere warmth; it becomes a catalyst for enduring memories and meaningful moments.
As the flames gradually subside and the embers fade, the legacy of the fire pit experience lingers—a tapestry woven from shared laughter, heartfelt conversations, and the comforting glow of the fire. The art of arranging wood in a fire pit becomes a conduit for forging connections and kindling a sense of togetherness that lingers long after the last ember has dimmed.
So, as you venture into the realm of fire pit gatherings and wood-stoked warmth, may this guide serve as a beacon, illuminating the path to creating captivating and safe fire pit experiences. Embrace the dance of the flames, savor the camaraderie it inspires, and let the artful arrangement of wood in your fire pit become a hallmark of cherished moments and enduring connections.
Frequently Asked Questions about How To Arrange Wood In A Fire Pit
Was this page helpful?
At Storables.com, we guarantee accurate and reliable information. Our content, validated by Expert Board Contributors, is crafted following stringent Editorial Policies. We're committed to providing you with well-researched, expert-backed insights for all your informational needs.

0 thoughts on “How To Arrange Wood In A Fire Pit”