Home>Gardening & Outdoor>Outdoor Entertaining>How To Make A Portable Fire Pit
Outdoor Entertaining
How To Make A Portable Fire Pit
Modified: August 28, 2024
Learn how to create a portable fire pit for outdoor entertaining. Follow our simple guide to make your next gathering a hit! Ideal for any outdoor space.
(Many of the links in this article redirect to a specific reviewed product. Your purchase of these products through affiliate links helps to generate commission for Storables.com, at no extra cost. Learn more)
Introduction
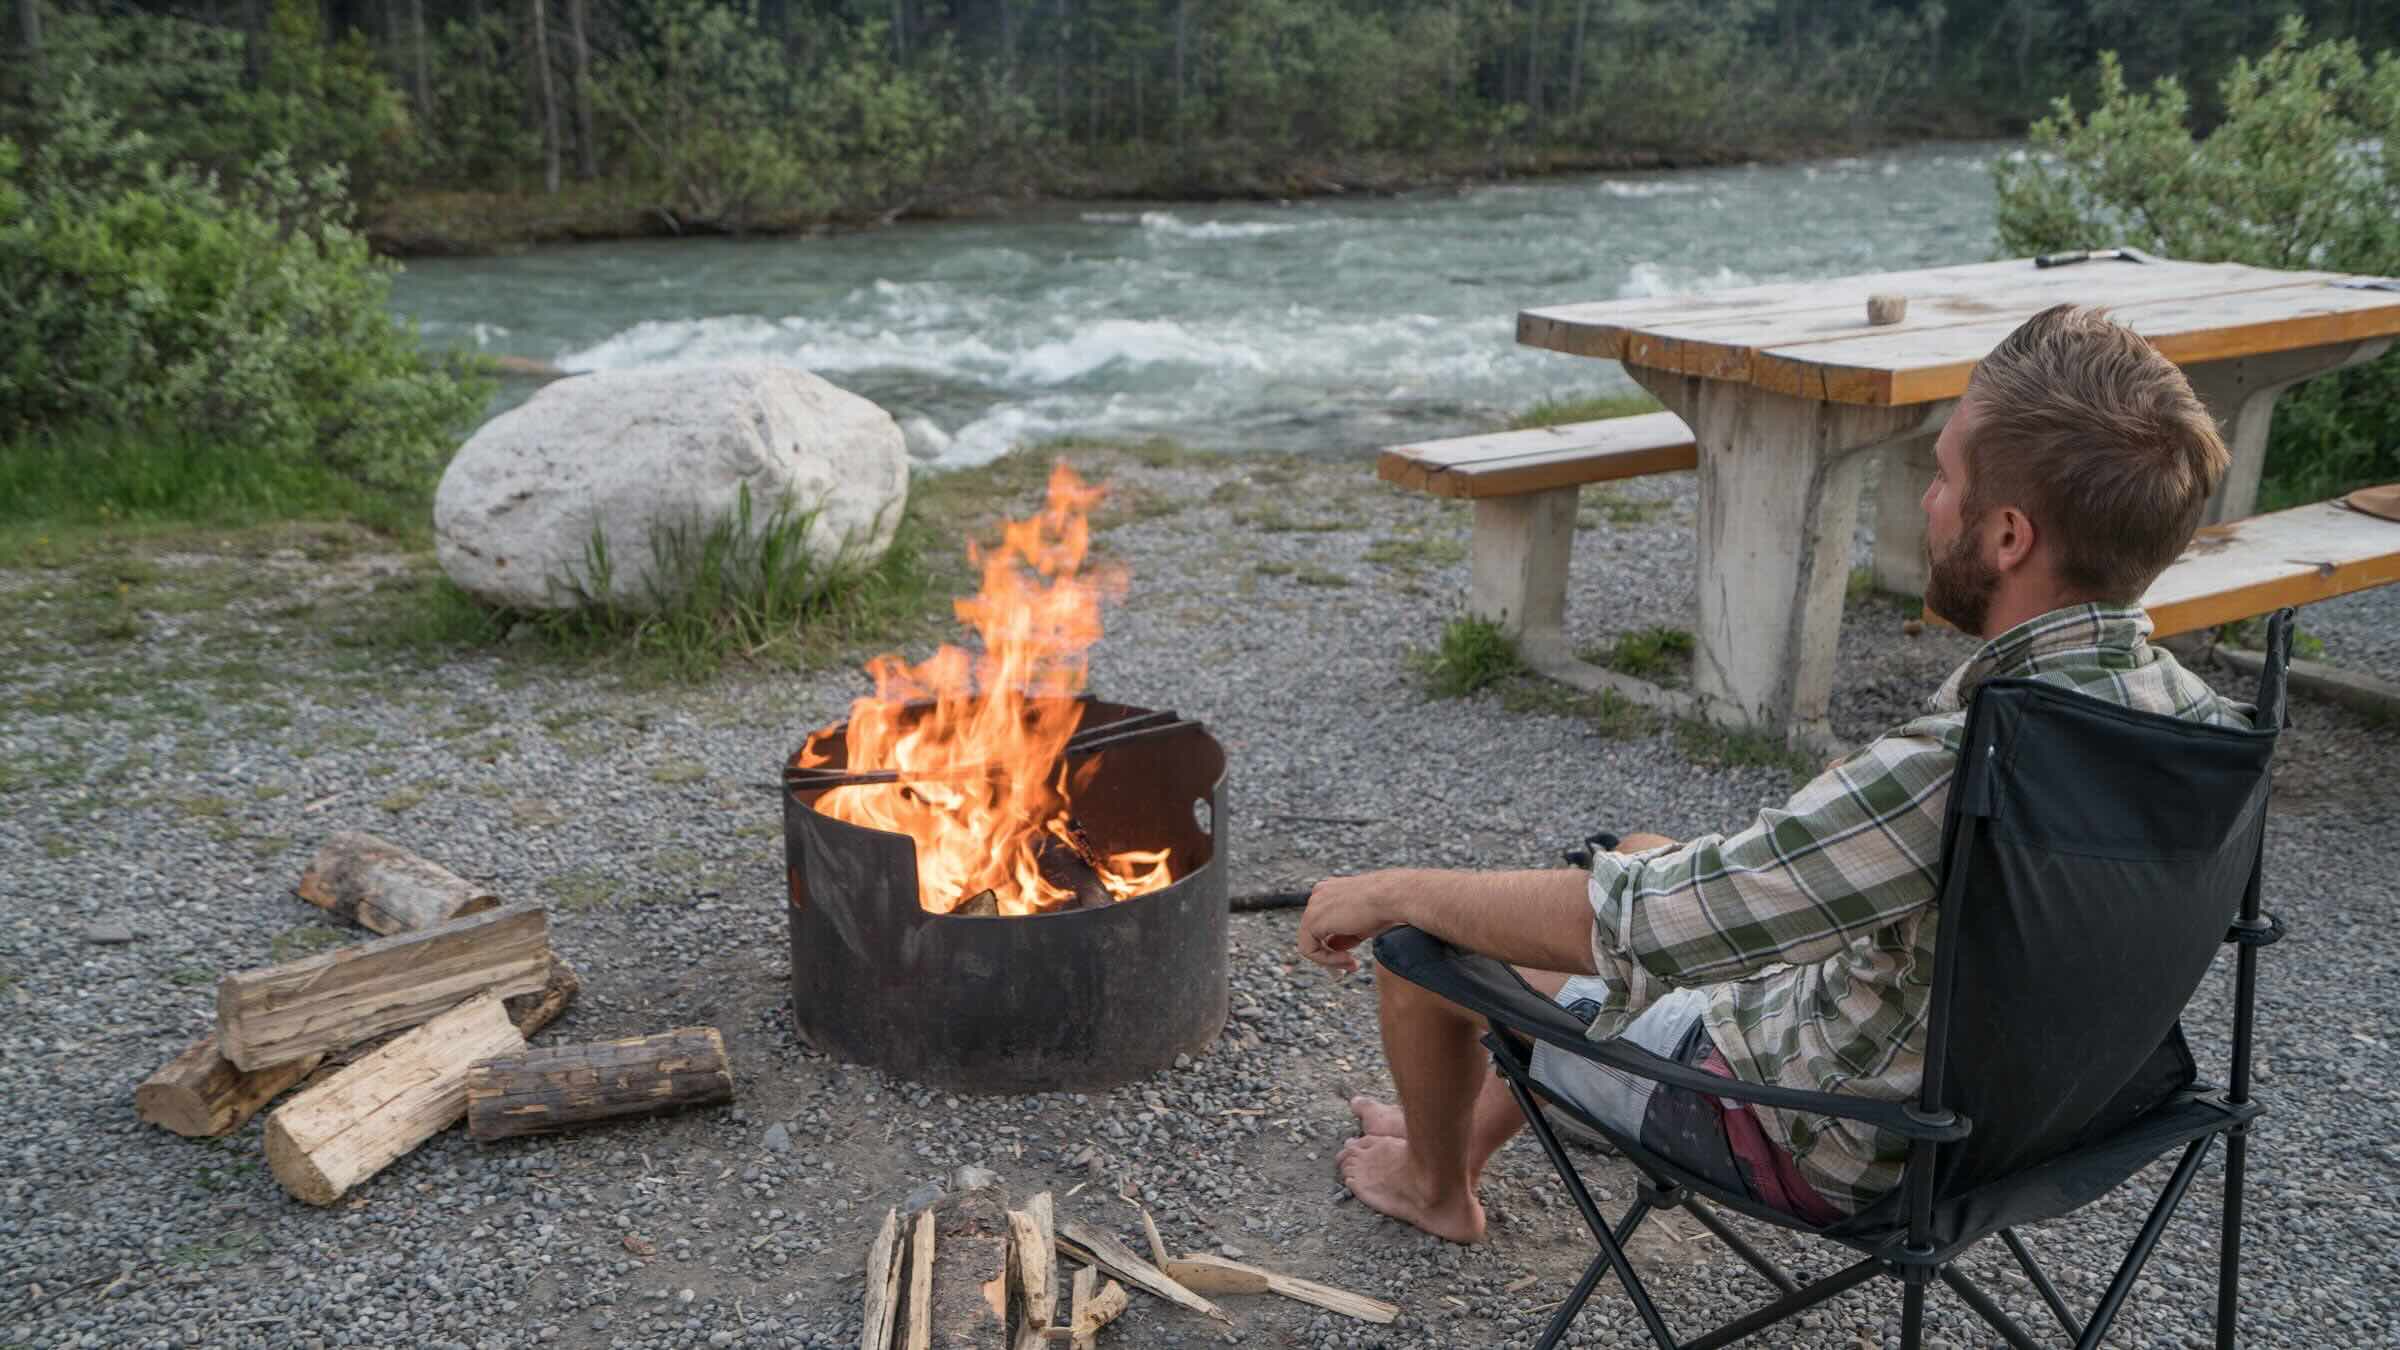
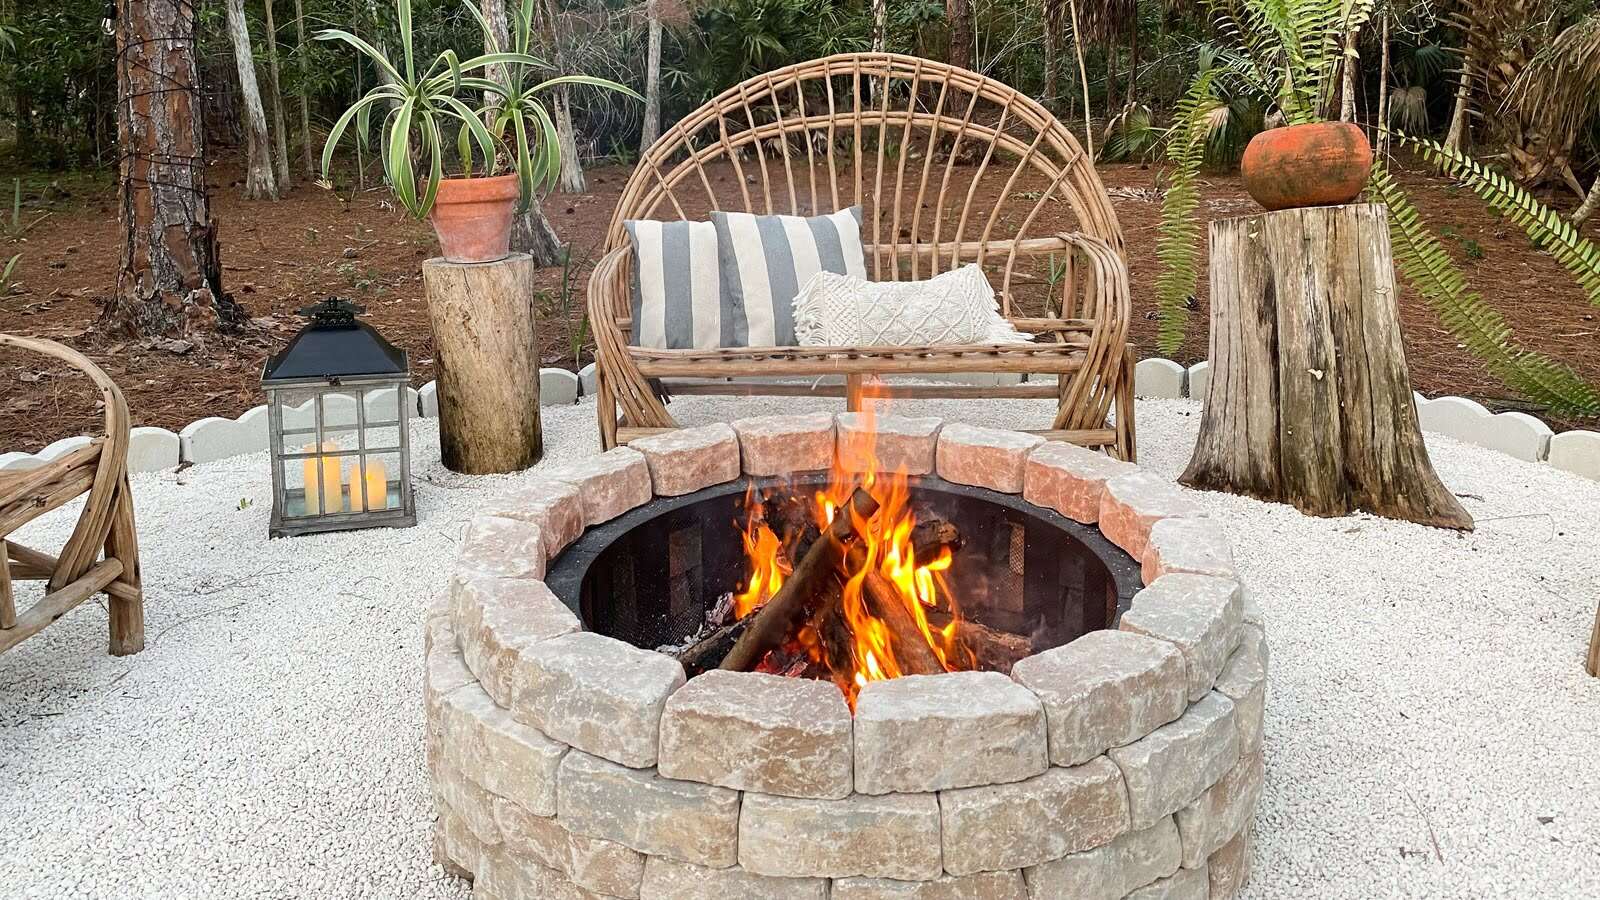
Are you ready to elevate your outdoor gatherings with a touch of warmth and ambience? Crafting your own portable fire pit can infuse your outdoor space with a cozy and inviting atmosphere, perfect for gathering with friends and family or simply unwinding after a long day. Whether you're hosting a backyard barbecue, camping under the stars, or enjoying a tranquil evening in your garden, a portable fire pit can be the centerpiece of your outdoor entertainment.
In this guide, we'll walk through the step-by-step process of creating a portable fire pit, from selecting the ideal container to lighting the first crackling flames. With a few simple materials and a touch of creativity, you can fashion a portable fire pit that suits your style and fuels memorable moments in the great outdoors.
As we embark on this DIY adventure, envision the flickering glow of the fire, the comforting crackle of burning wood, and the joy of sharing stories and laughter around the dancing flames. Let's delve into the art of crafting a portable fire pit and embrace the enchanting allure of outdoor living.
Key Takeaways:
- Crafting a portable fire pit is a fun DIY project that can elevate outdoor gatherings with warmth and ambiance, creating a cozy space for sharing stories and laughter around the dancing flames.
- By selecting the right container, drilling ventilation holes, adding a base layer, filling with firewood, and lighting the fire pit, you can create a captivating focal point for outdoor entertainment and relaxation.
Read more: How To Make A Fire Pit Screen
Materials and Tools
Before diving into the construction of your portable fire pit, gather the essential materials and tools to ensure a smooth and enjoyable crafting experience. Here's what you'll need:
Materials:
- A sturdy metal container (such as a steel cauldron, a washing machine drum, or a metal planter)
- High-temperature heat-resistant paint (optional, for aesthetic purposes)
- Fireproof base material (sand, gravel, or lava rocks)
- Firewood or fire logs
- Water (for safety measures)
Tools:
- Drill with a metal hole saw attachment
- Marker or pencil
- Work gloves and safety goggles
- Fire starter or matches
- Long-handled lighter or fireplace matches
These materials and tools will serve as the foundation for your DIY fire pit project. Once you’ve gathered everything on the list, you’re ready to embark on the creative journey of assembling your very own portable fire pit. Let’s move on to the first step: selecting the ideal container for your fire pit.
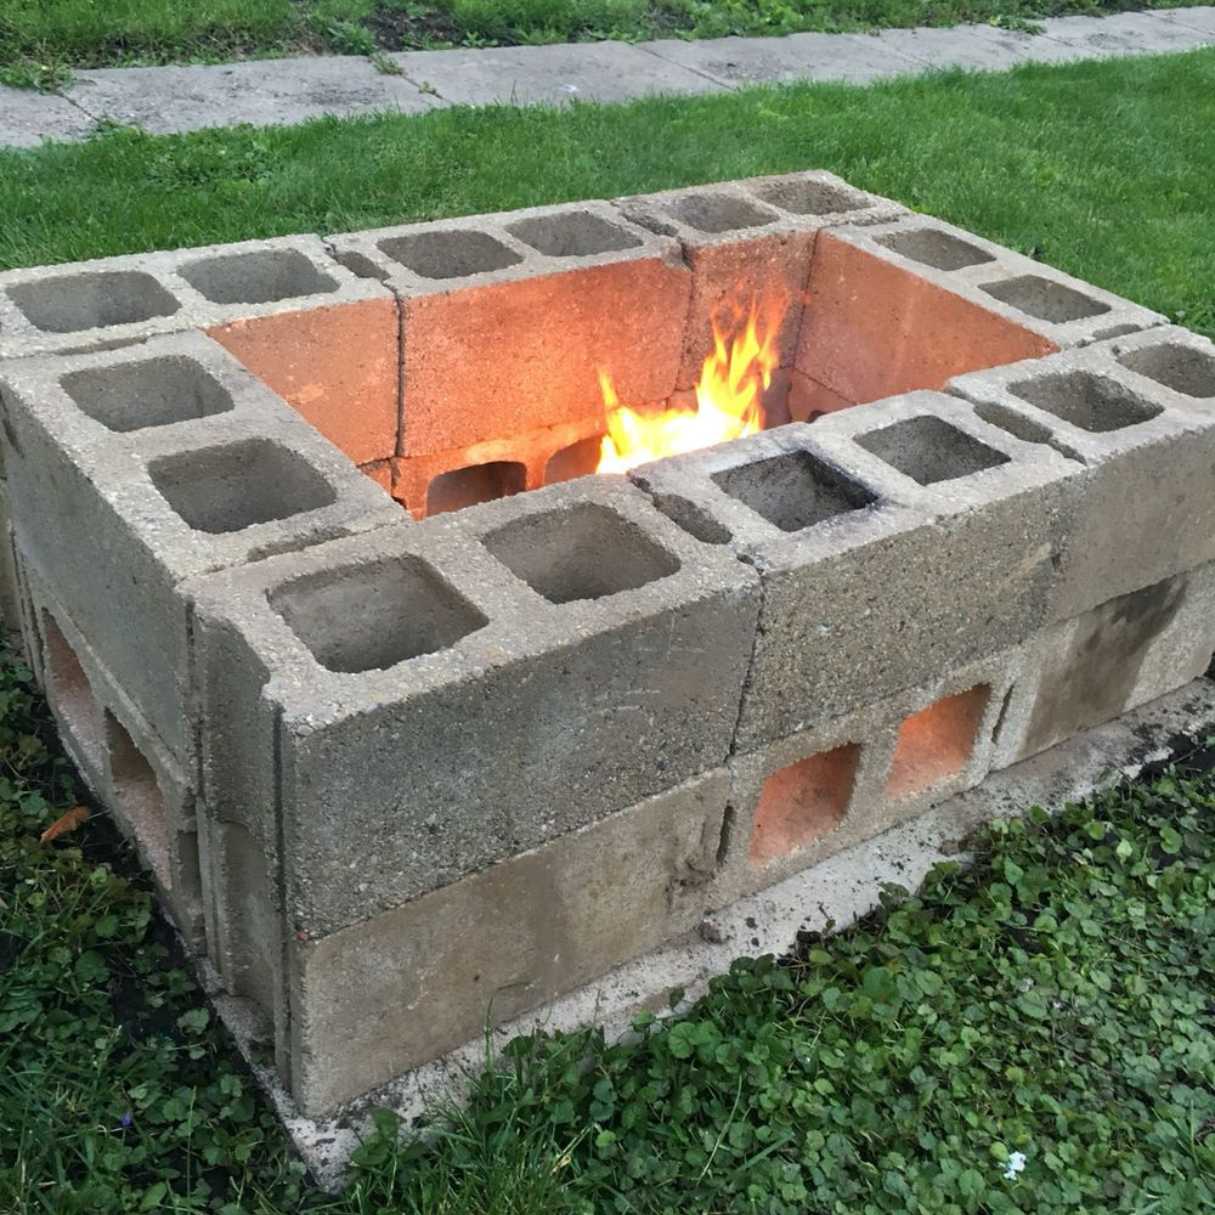
Step 1: Selecting the Fire Pit Container
The first step in creating your portable fire pit is choosing a suitable container to house the flames. The container will not only define the aesthetic appeal of your fire pit but also ensure safety and functionality. Here are a few popular options to consider:
Read more: How To Make A Simple Fire Pit
Steel Cauldron:
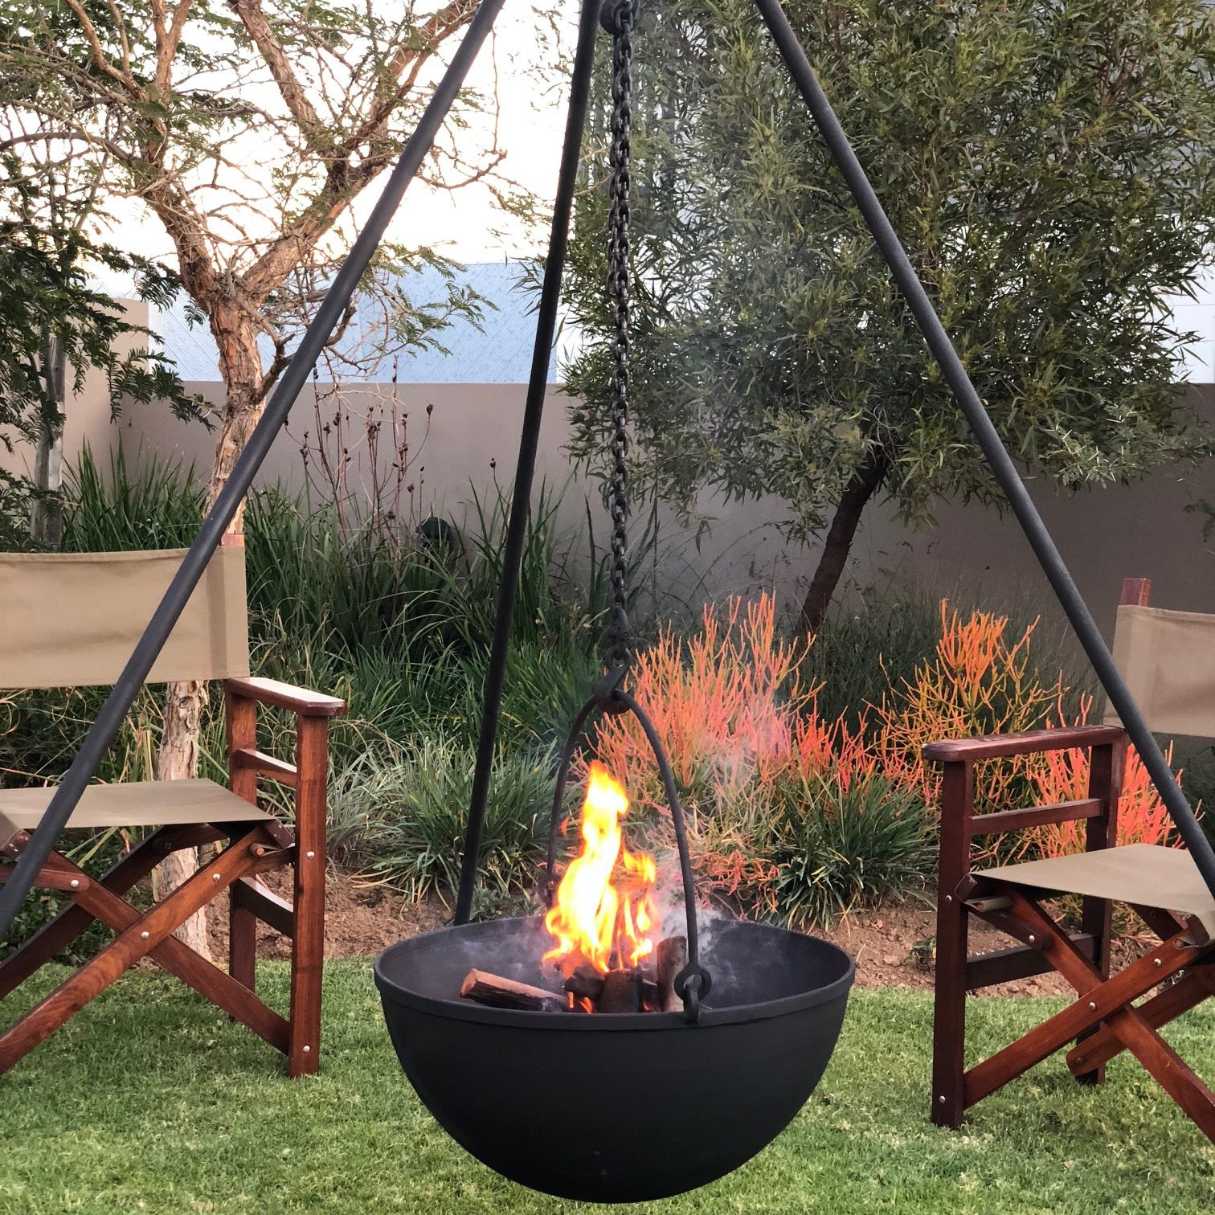
A large steel cauldron, often used for outdoor cooking or as a planter, can be repurposed as a striking fire pit. Its deep, rounded shape provides ample space for a roaring fire while containing the flames effectively.
Washing Machine Drum:
Upcycling an old washing machine drum as a fire pit not only offers a unique and modern look but also promotes sustainability. The perforated design of the drum allows for excellent ventilation, resulting in an efficient and well-ventilated fire.
Metal Planter:
A metal planter, typically used for gardening, can be transformed into a stylish fire pit with a touch of creativity. Its wide opening and sturdy construction make it an ideal candidate for housing a small, intimate fire.
When selecting your container, ensure that it is made of durable, heat-resistant material and free from any flammable coatings or residues. Additionally, consider the size of the container in relation to the space where you intend to use the fire pit. Once you’ve chosen the perfect container, it’s time to move on to the next step: drilling ventilation holes.
Step 2: Drilling Ventilation Holes
Proper ventilation is crucial for maintaining a healthy and efficient fire within your portable fire pit. By drilling ventilation holes in the container, you’ll facilitate the flow of air to the fire, promoting complete combustion and minimizing the buildup of smoke and fumes. Here’s how to proceed:
1. Marking the Hole Locations: Using a marker or pencil, designate the locations for the ventilation holes around the lower portion of the container. Ensure that the holes are evenly spaced to promote uniform airflow.
2. Preparing for Drilling: Put on your work gloves and safety goggles to protect yourself from metal shavings and debris during the drilling process. Secure the container in place to prevent it from moving while you work.
3. Drilling the Holes: With a drill fitted with a metal hole saw attachment, carefully bore the ventilation holes into the marked locations. Apply gentle and consistent pressure as you drill to create clean and precise holes.
4. Cleaning Up: Once all the holes are drilled, remove any metal shavings and debris from both the interior and exterior of the container. This will help maintain a tidy and safe fire pit environment.
By incorporating ventilation holes, you’ll optimize the airflow to sustain a vibrant and well-ventilated fire, enhancing the overall performance and safety of your portable fire pit. With this step completed, you’re now ready to add a base layer to your fire pit container.
Read more: How To Make A Dakota Fire Pit
Step 3: Adding a Base Layer
Creating a stable and heat-resistant base layer within your fire pit container is essential for safeguarding the underlying surface, promoting proper airflow, and ensuring the longevity of your portable fire pit. Here’s how to establish a solid foundation for your fire pit:
1. Choosing the Base Material: Select a fireproof base material such as sand, gravel, or lava rocks. These materials are excellent choices for dispersing heat and providing a protective barrier between the fire and the bottom of the container.
2. Layering the Base: Pour the chosen base material into the container, creating a layer that evenly covers the bottom surface. The depth of the base layer will depend on the size of your container, but a thickness of 2-4 inches is generally recommended.
3. Leveling and Compact: Use a rake or shovel to level the base material, ensuring a uniform layer across the entire bottom of the container. Gently compact the base layer to enhance stability and heat dispersion.
4. Inspecting for Adequate Coverage: Verify that the entire bottom surface of the container is adequately covered by the base material. This will provide a protective buffer and promote even heat distribution during the burning process.
Establishing a reliable base layer not only protects the container and the underlying surface but also contributes to the overall safety and functionality of your fire pit. With the base layer in place, your portable fire pit is one step closer to being ready for use. Next, we’ll move on to filling the fire pit with firewood to ignite the flames.
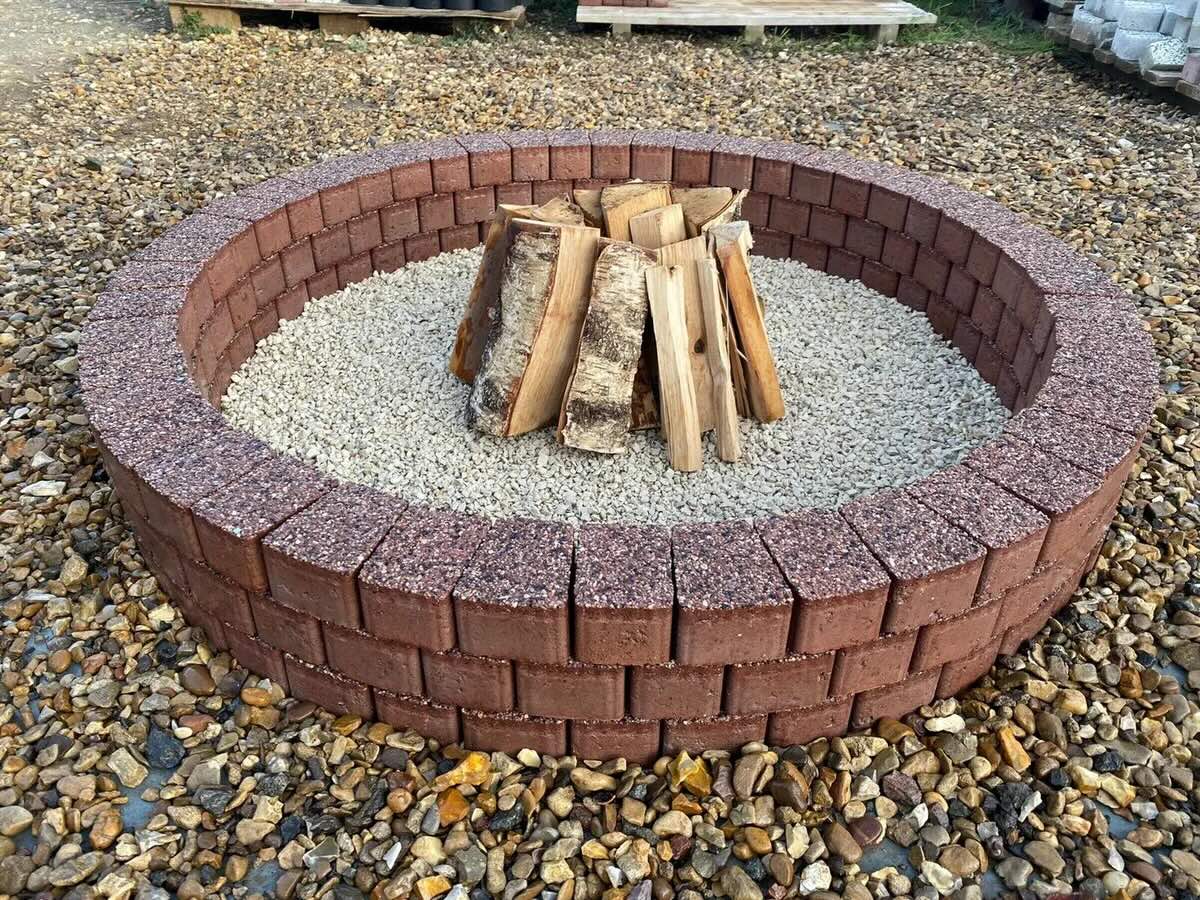
Step 4: Filling with Firewood
With the foundation of your portable fire pit prepared, it’s time to introduce the centerpiece of the fiery spectacle – the firewood. Carefully selecting and arranging the firewood can enhance the visual appeal, longevity, and warmth of your outdoor blaze. Follow these steps to fill your fire pit with firewood:
1. Choosing the Right Firewood: Opt for seasoned hardwood, such as oak, hickory, or maple, as it burns efficiently and produces a pleasant aroma. Avoid using softwoods like pine, as they tend to pop and generate excess smoke.
2. Arranging the Firewood: Place the firewood in a strategic arrangement within the container, ensuring that there is enough space between the logs to allow for proper airflow. Consider building a crisscross or teepee structure to encourage a steady and balanced burn.
3. Building Layers: If desired, create multiple layers of firewood, stacking them strategically to establish a sturdy and visually appealing arrangement. Gradually increase the height of the firewood layers to achieve the desired flame size and longevity.
4. Considering Safety Measures: Prioritize safety by maintaining a safe distance between the top of the firewood stack and the rim of the container. This precaution helps prevent embers from escaping the fire pit.
By thoughtfully selecting and arranging the firewood, you can create a visually captivating fire pit that radiates warmth and invites relaxation. With the firewood in place, your portable fire pit is poised for its final step: igniting the flames and bringing your outdoor space to life with the mesmerizing dance of firelight.
Step 5: Lighting the Fire Pit
As the sun begins to set and the cool evening air descends, it’s time to ignite the heart of your outdoor gathering – the fire pit. Lighting the fire pit is an artful and gratifying process that sets the stage for enchanting moments and shared warmth. Follow these steps to safely and effectively kindle the flames:
1. Preparing the Surroundings: Clear the area around the fire pit of any flammable materials, ensuring a safe radius for the flames to dance without risk of spreading. Keep a bucket of water or a fire extinguisher nearby for added safety.
2. Using a Fire Starter: Consider using a commercial fire starter, which can be placed beneath the firewood and ignited with a long-handled lighter or fireplace matches. These products are designed to facilitate the ignition process and are especially useful for larger fire pits.
3. Applying the Flame: Gently light the fire starter beneath the firewood, allowing the flames to gradually take hold. Exercise caution and avoid leaning directly over the fire pit during the lighting process to prevent accidental contact with the flames.
4. Nurturing the Fire: Once the flames have taken hold, carefully tend to the fire by adding additional firewood as needed and adjusting the airflow by partially covering or uncovering the ventilation holes. This will help regulate the intensity and longevity of the fire.
5. Maintaining Vigilance: Throughout the duration of the fire, remain attentive and watchful, especially if children or pets are present. Keep a watchful eye on the fire and be prepared to address any unexpected changes in behavior or intensity.
With the fire pit ablaze, you’ve successfully brought the captivating allure of firelight to your outdoor space, creating a focal point for relaxation, camaraderie, and cherished memories. As the flames flicker and dance, bask in the warmth and ambiance of your portable fire pit, knowing that you’ve crafted a gathering place that fosters moments of connection and delight.
When making a portable fire pit, be sure to use heat-resistant materials such as steel or stone. Also, consider the size and weight for easy transportation.
Conclusion
Congratulations on successfully crafting your very own portable fire pit! By embarking on this DIY adventure, you’ve not only created a captivating focal point for outdoor gatherings but also cultivated a space where cherished moments and meaningful connections can flourish. As the flames flicker and cast a warm glow, your portable fire pit beckons friends and family to gather, share stories, and savor the simple pleasures of outdoor living.
Embracing the art of crafting a portable fire pit allows you to infuse your outdoor space with a touch of enchantment and warmth, transforming ordinary evenings into extraordinary experiences. The crackling flames and radiant heat emanating from the fire pit create an inviting atmosphere, inviting relaxation and fostering a sense of togetherness.
As you bask in the ambiance of your portable fire pit, take a moment to appreciate the artistry and ingenuity that went into its creation. From selecting the perfect container to carefully arranging the firewood, each step of the process reflects your dedication to cultivating a space that embodies comfort, conviviality, and the timeless allure of firelight.
Whether you’re hosting a festive outdoor gathering, unwinding after a long day, or simply savoring a quiet evening under the stars, your portable fire pit stands as a testament to the joy of outdoor entertaining and the transformative power of a crackling fire. It serves as a gathering place where laughter is shared, memories are made, and the simple pleasures of life are savored.
As you continue to enjoy the captivating warmth and ambiance of your portable fire pit, may it kindle moments of joy, connection, and tranquility, enriching your outdoor experiences and fostering enduring memories for years to come.
So, gather around, bask in the comforting glow, and let the mesmerizing dance of firelight illuminate your outdoor escapades, knowing that your portable fire pit is a beacon of warmth and conviviality, inviting all to partake in the timeless allure of gathering around the flames.
Frequently Asked Questions about How To Make A Portable Fire Pit
Was this page helpful?
At Storables.com, we guarantee accurate and reliable information. Our content, validated by Expert Board Contributors, is crafted following stringent Editorial Policies. We're committed to providing you with well-researched, expert-backed insights for all your informational needs.


0 thoughts on “How To Make A Portable Fire Pit”