Home>Gardening & Outdoor>Outdoor Entertaining>How To Repaint A Fire Pit
Outdoor Entertaining
How To Repaint A Fire Pit
Modified: January 14, 2024
Learn how to refresh your outdoor entertaining space with our step-by-step guide on repainting a fire pit. Enhance your outdoor decor today!
(Many of the links in this article redirect to a specific reviewed product. Your purchase of these products through affiliate links helps to generate commission for Storables.com, at no extra cost. Learn more)
Introduction
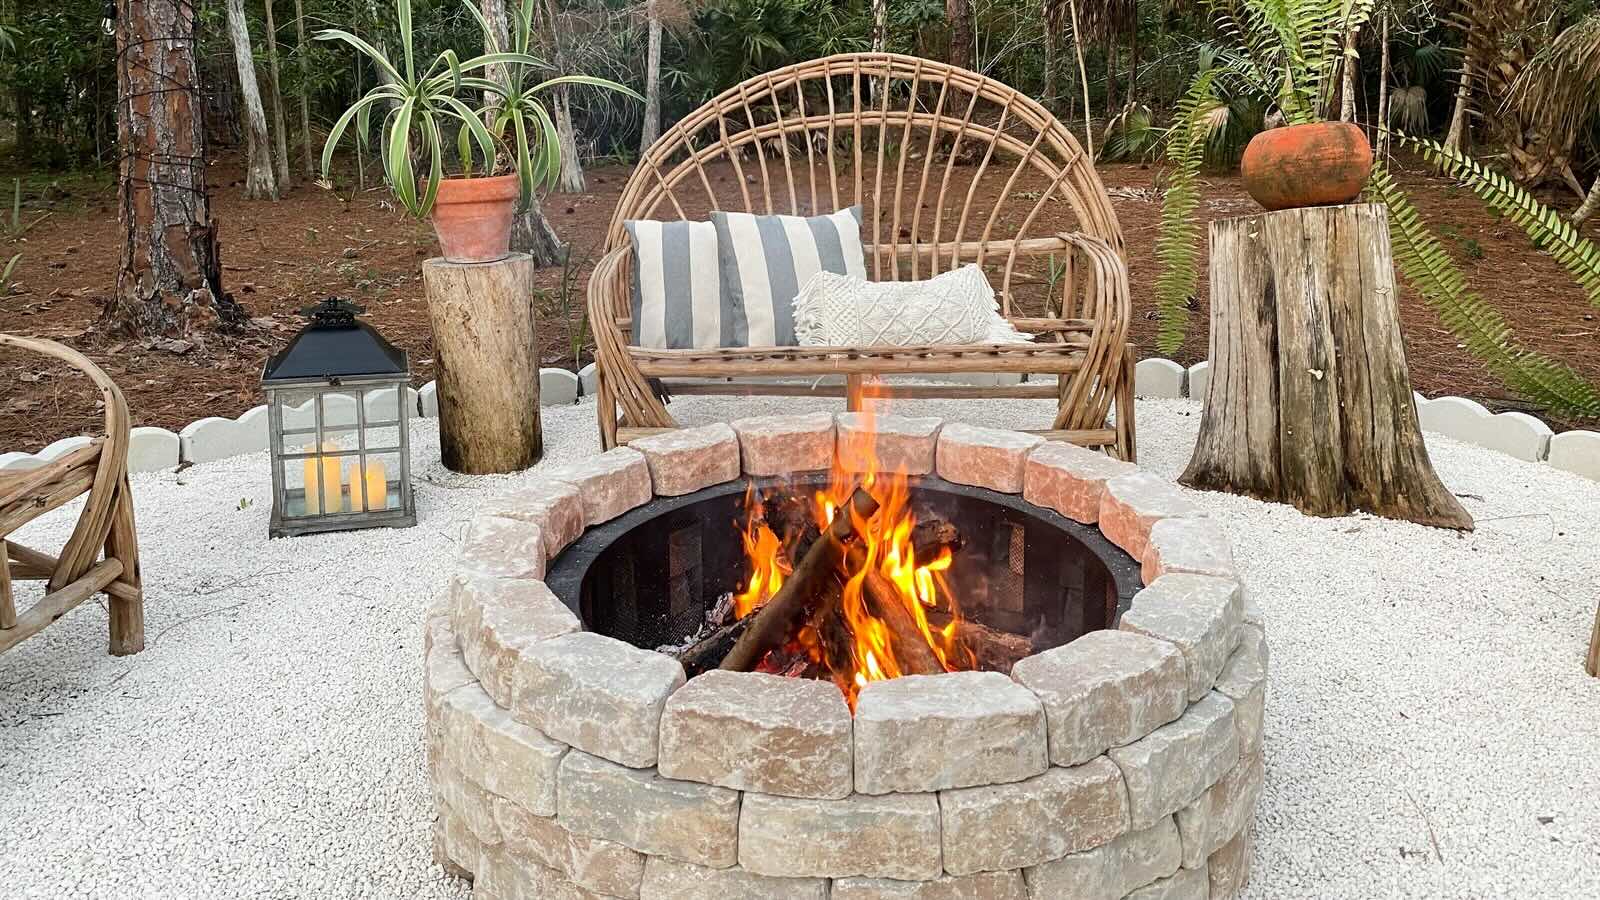
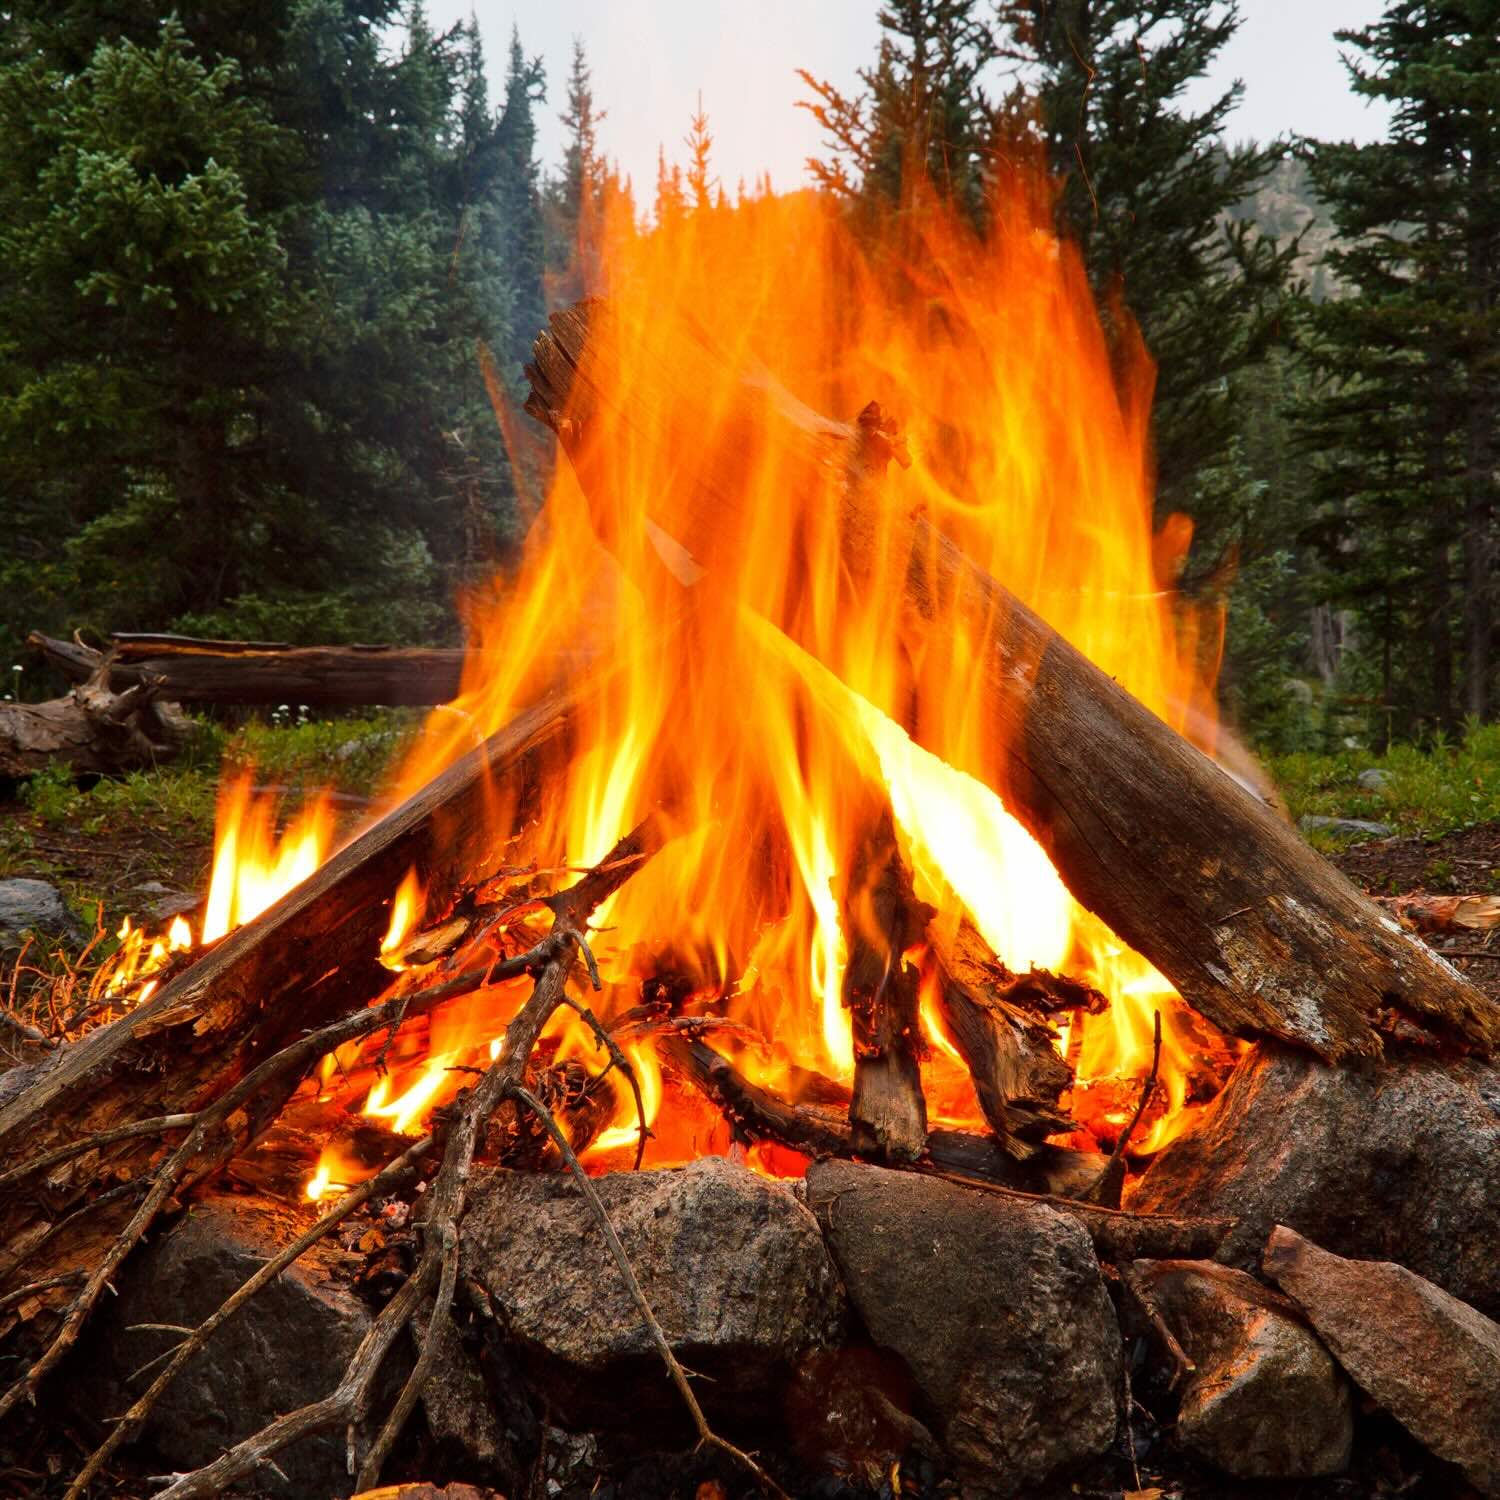
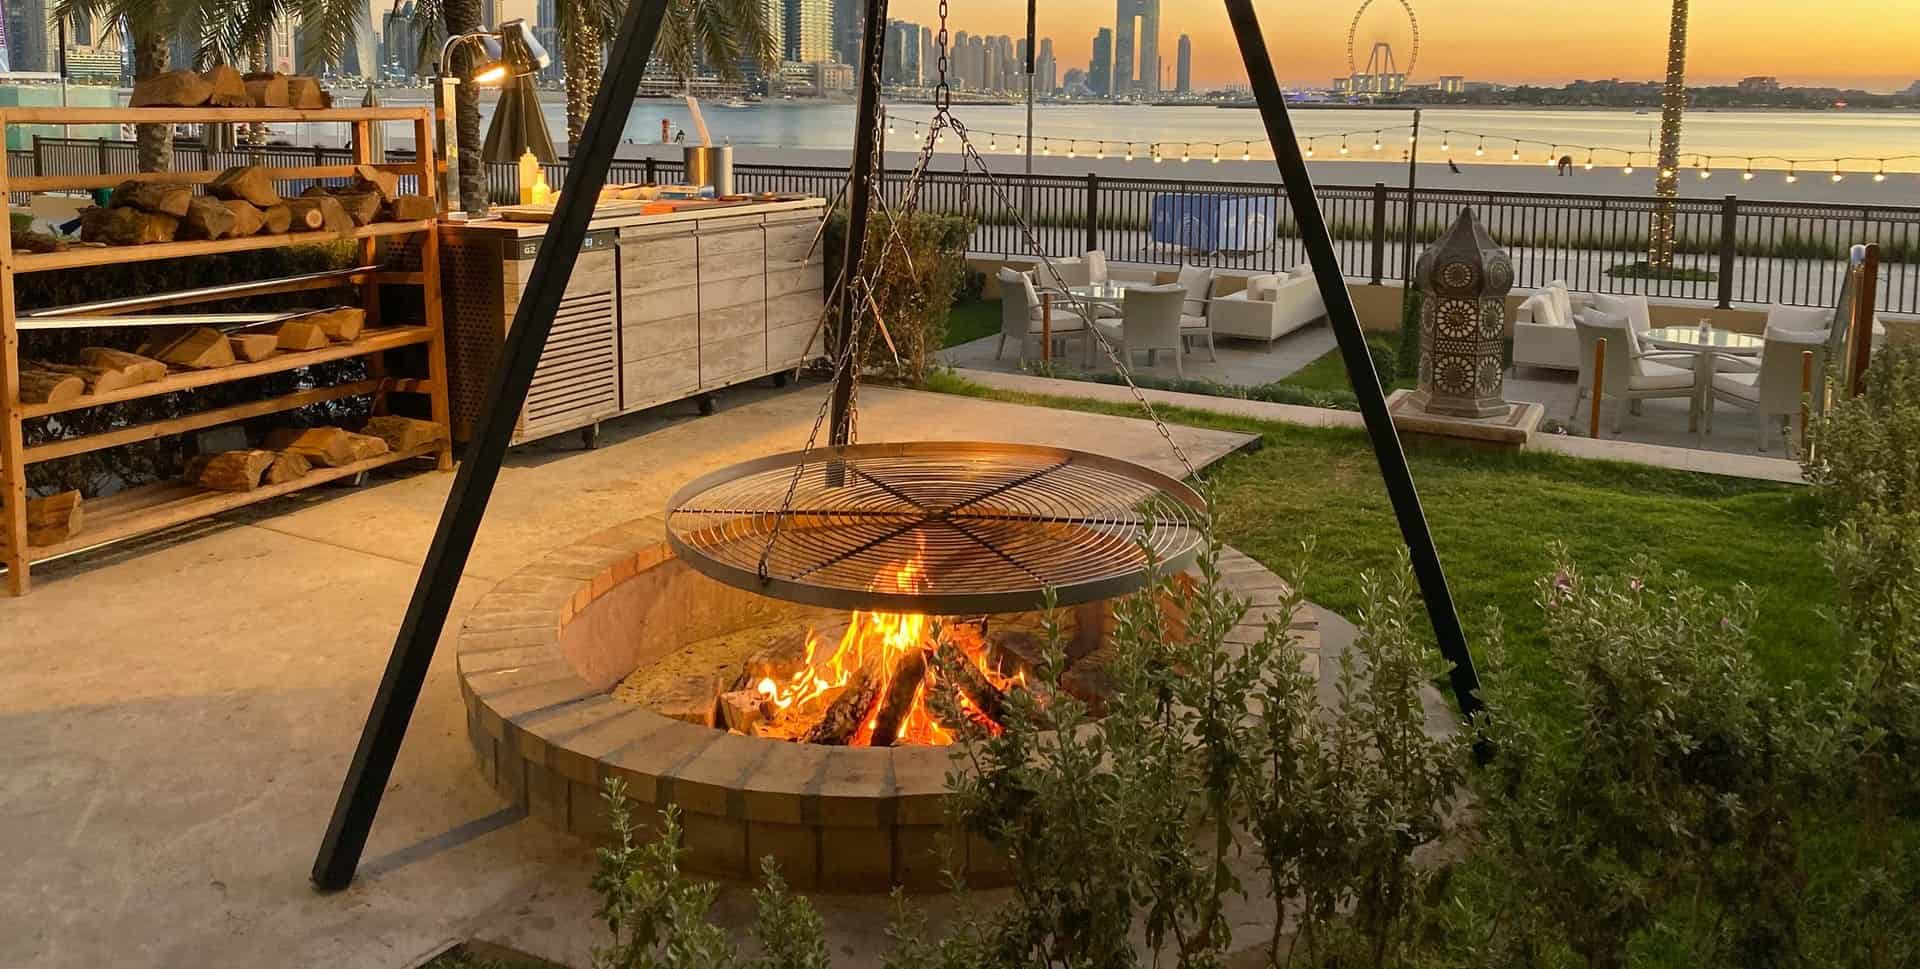
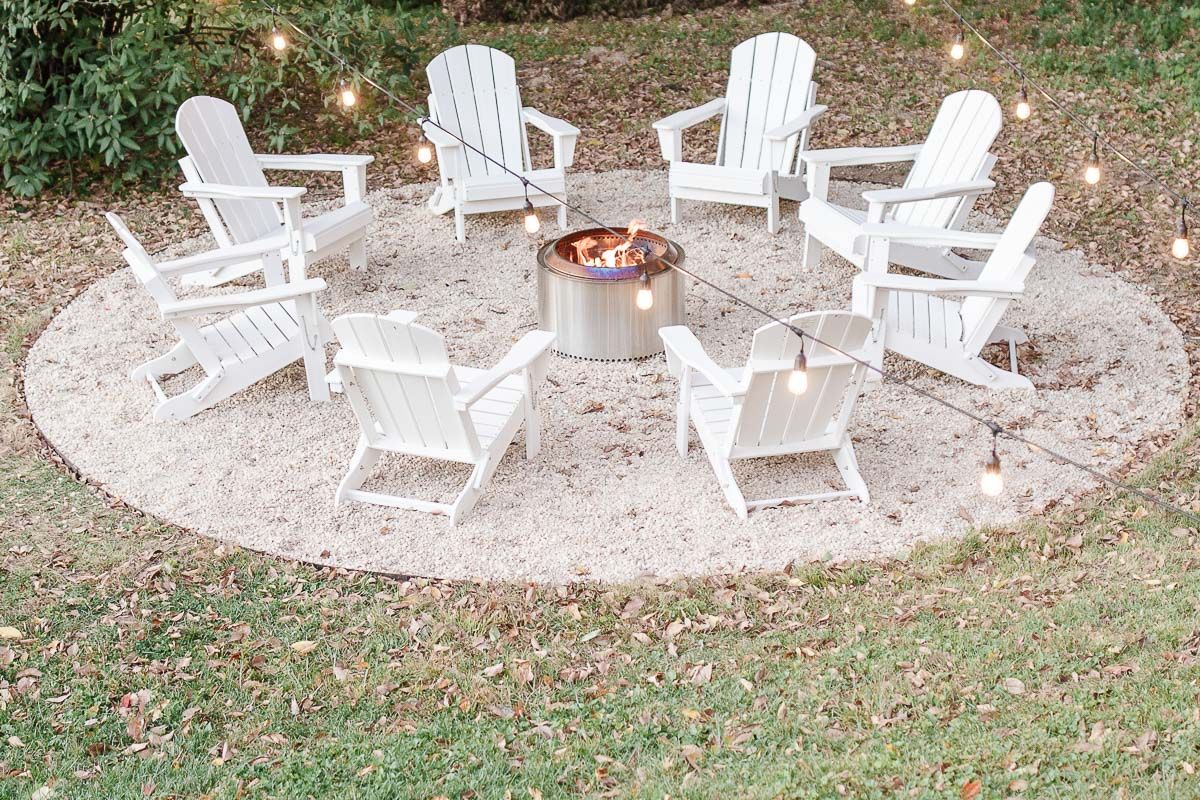
Welcome to the world of outdoor entertaining, where the ambiance of a crackling fire and the warmth of good company create unforgettable memories. A fire pit serves as the centerpiece of such gatherings, providing both practical functionality and aesthetic charm. Over time, however, the wear and tear from exposure to the elements can diminish its visual appeal. Fortunately, a fresh coat of paint can revitalize a weathered fire pit, breathing new life into your outdoor space.
In this guide, we will walk you through the process of repainting a fire pit, restoring its beauty and prolonging its lifespan. Whether you have a metal, stone, or cast iron fire pit, the steps outlined here can be adapted to suit your specific needs. With a bit of effort and a touch of creativity, you can transform your fire pit into a stunning focal point that elevates your outdoor entertaining experience.
So, roll up your sleeves, gather your materials, and get ready to embark on a rewarding DIY project. Whether you're a seasoned DIY enthusiast or a novice looking to explore the world of outdoor maintenance, this guide will equip you with the knowledge and confidence to breathe new vitality into your beloved fire pit. Let's dive in and discover the art of repainting a fire pit, turning it into a captivating feature that beckons friends and family to gather around and create cherished moments.
Key Takeaways:
- Revitalize your outdoor space by repainting your fire pit with the right materials and meticulous preparation. Enjoy a stunning focal point for gatherings and create cherished memories with a freshly painted fire pit.
- Infuse your outdoor space with renewed vibrancy and personality by repainting your fire pit. Elevate the aesthetics and functionality of your beloved feature, creating a welcoming environment for memorable moments.
Read more: How To Fire Clay In A Fire Pit
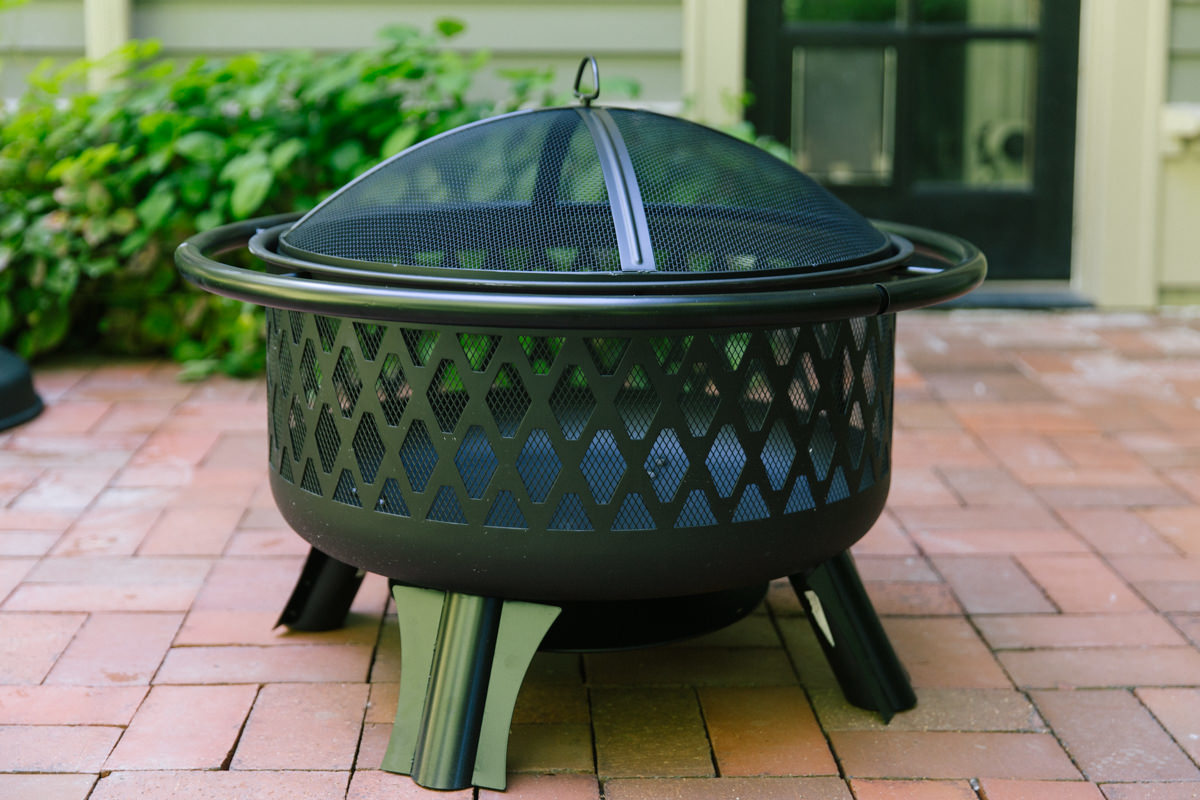
Step 1: Gather Materials
Before embarking on the journey of repainting your fire pit, it’s essential to assemble the necessary materials. By ensuring that you have everything at your fingertips, you can streamline the painting process and achieve professional-quality results. Here’s a comprehensive list of materials you’ll need:
- Protective Gear: Prioritize safety by acquiring protective gear, including gloves, safety goggles, and a mask. These items will shield you from potential hazards during the preparation and painting stages.
- Cleaning Supplies: To prepare the fire pit’s surface, gather a wire brush, sandpaper, and a mild detergent. These items will aid in removing rust, dirt, and old paint, creating a clean canvas for the new coat of paint.
- Primer: Invest in a high-quality metal primer suitable for outdoor use. The primer will promote paint adhesion and provide an additional layer of protection against the elements.
- Paint: Select a heat-resistant paint designed for exterior metal surfaces. Consider the color scheme of your outdoor space and choose a paint color that complements your aesthetic preferences.
- Sealant: To safeguard the freshly painted fire pit from rust and corrosion, procure a weather-resistant sealant. This final touch will prolong the longevity of the paint job, ensuring enduring beauty.
- Drop Cloth or Tarp: Protect the surrounding area from paint splatters and drips by laying down a drop cloth or tarp. This simple precaution will preserve your outdoor space while you work on refurbishing the fire pit.
- Painting Tools: Equip yourself with high-quality painting tools, including brushes, rollers, and paint trays. These instruments will facilitate a smooth and even application of primer and paint, resulting in a flawless finish.
By gathering these materials, you’ll set the stage for a successful fire pit repainting project. With careful preparation and the right tools at your disposal, you’ll be well-prepared to embark on the subsequent steps, ultimately revitalizing your fire pit and enhancing your outdoor entertaining experience.
Step 2: Prepare the Fire Pit
Before diving into the painting process, it’s crucial to prepare the fire pit thoroughly. This step lays the foundation for a durable and visually appealing paint job, ensuring that the new coat of paint adheres seamlessly and withstands the rigors of outdoor exposure. Follow these essential steps to prepare the fire pit for repainting:
- Clean the Surface: Begin by removing any debris, rust, or flaking paint from the fire pit’s surface. Utilize a wire brush and sandpaper to eliminate stubborn rust spots and create a smooth, clean canvas for the primer and paint.
- Wash the Fire Pit: Using a mild detergent and water, thoroughly wash the fire pit to remove dirt, grease, and any residual cleaning agents. Rinse the surface and allow it to dry completely before proceeding to the next step.
- Inspect for Damage: Carefully inspect the fire pit for any signs of damage, such as cracks or corrosion. Address any structural issues before applying the primer and paint to ensure the fire pit’s integrity and longevity.
- Protect Surrounding Areas: Shield the surrounding ground and any nearby objects from paint overspray by covering them with a drop cloth or tarp. This precaution will prevent unintended paint transfer and simplify the cleanup process.
- Remove Fire Pit Components: If your fire pit includes removable components, such as a grate or spark screen, consider removing them to facilitate easier access to all surfaces. This step will enable thorough and uniform painting of the entire fire pit.
- Ensure Adequate Ventilation: If you’re working in a confined outdoor space, ensure proper ventilation to disperse paint fumes and promote a safe working environment. Adequate airflow will expedite the drying process and minimize the inhalation of paint vapors.
By meticulously preparing the fire pit, you’ll create an optimal foundation for the subsequent application of primer and paint. This proactive approach will maximize the durability and visual appeal of the repainted fire pit, ensuring that it remains a stunning focal point of your outdoor entertaining area for years to come.
Step 3: Apply Primer
With the fire pit meticulously prepared, it’s time to apply a high-quality primer to optimize the adhesion and durability of the subsequent paint layers. The primer serves as a crucial intermediary coat, enhancing the bond between the metal surface and the paint while providing an additional layer of protection against the elements. Follow these steps to effectively apply primer to your fire pit:
- Choose the Right Conditions: Select a day with mild weather conditions for priming the fire pit. Avoid extremely hot or humid days, as these conditions can impede the primer’s ability to adhere properly and dry evenly.
- Stir the Primer: Thoroughly stir the primer before use to ensure a uniform consistency. This step is essential for activating any settling pigments and guaranteeing an even application of the primer.
- Apply the Primer: Using a high-quality paintbrush or roller, apply the primer to the fire pit’s surface in smooth, even strokes. Ensure comprehensive coverage, paying close attention to intricate details and hard-to-reach areas.
- Allow Drying Time: After applying the primer, allow it to dry completely according to the manufacturer’s instructions. Adequate drying time is essential to establish a stable foundation for the subsequent paint layers and promote optimal adhesion.
- Inspect for Uniformity: Once the primer is dry, inspect the fire pit for any missed spots or uneven coverage. Touch up any imperfections to guarantee a consistent and flawless base for the final paint application.
- Clean Painting Tools: Thoroughly clean your painting tools immediately after priming the fire pit to prevent the primer from hardening and compromising their effectiveness for future use.
By diligently applying primer to the fire pit, you’ll fortify its surface and create an ideal substrate for the subsequent paint application. This proactive measure will enhance the longevity and visual appeal of the repainted fire pit, ensuring that it remains a striking centerpiece of your outdoor entertaining space.
Before repainting a fire pit, make sure to clean the surface thoroughly to remove any dirt, rust, or old paint. Use a wire brush or sandpaper to smooth out any rough spots. Then, apply a high-heat spray paint specifically designed for metal surfaces to ensure a long-lasting finish.
Step 4: Paint the Fire Pit
With the primer fully dried and the fire pit’s surface prepared to perfection, it’s time to infuse your outdoor space with a burst of color and renewed vibrancy. The painting stage is where your creative vision comes to life, transforming the fire pit into a captivating focal point that complements your outdoor decor. Follow these essential steps to achieve a flawless paint application:
- Choose the Right Paint: Select a high-quality, heat-resistant paint specifically formulated for exterior metal surfaces. Consider the color palette of your outdoor space and opt for a hue that harmonizes with your overall design scheme.
- Prepare the Paint: Thoroughly stir the paint to achieve a consistent texture and ensure that any settling pigments are fully incorporated. If using multiple cans of paint, mix them together to maintain color uniformity.
- Apply the Paint: Using a premium paintbrush or roller, apply the paint to the fire pit’s surface in smooth, even strokes. Aim for comprehensive coverage while paying attention to intricate details and hard-to-reach areas to achieve a uniform finish.
- Allow for Drying Time: After applying the first coat of paint, allow it to dry completely based on the manufacturer’s recommendations. Depending on the specific paint formulation and environmental conditions, this may entail several hours or longer.
- Apply Additional Coats: If necessary, apply additional coats of paint to achieve the desired depth of color and enhance the paint’s resilience. Ensure that each layer is thoroughly dried before adding subsequent coats.
- Inspect for Quality: Once the final coat of paint has dried, inspect the fire pit for any missed spots, uneven coverage, or imperfections. Touch up any areas as needed to achieve a flawless and enduring paint finish.
- Clean Painting Tools: Promptly clean your painting tools after completing the paint application to preserve their quality for future projects and prevent the paint from hardening on the brushes or rollers.
By meticulously painting the fire pit with precision and care, you’ll breathe new life into this beloved outdoor feature, elevating its visual allure and ensuring its resilience against the elements. The freshly painted fire pit will stand as a testament to your attention to detail and creative flair, enhancing the ambiance of your outdoor entertaining space for years to come.
Read more: What To Cook In A Fire Pit
Step 5: Seal the Fire Pit
As the final step in the fire pit repainting process, sealing the freshly painted surface is essential to safeguard its beauty and integrity against the elements. A weather-resistant sealant serves as a protective shield, enhancing the durability of the paint and shielding the fire pit from rust and corrosion. Follow these crucial steps to effectively seal your newly painted fire pit:
- Select a Quality Sealant: Choose a high-quality sealant specifically designed for outdoor metal surfaces. Opt for a clear or tinted sealant based on your aesthetic preferences and the desired level of UV protection.
- Prepare the Fire Pit: Ensure that the painted surface is clean, dry, and free of any dust or debris before applying the sealant. Thoroughly inspect the fire pit to address any imperfections or blemishes that may compromise the sealant’s adhesion.
- Apply the Sealant: Using a clean paintbrush or roller, apply the sealant to the fire pit’s surface in smooth, even strokes. Be mindful of achieving comprehensive coverage while avoiding drips or pooling of the sealant.
- Allow for Curing Time: After applying the sealant, allow it to cure according to the manufacturer’s instructions. Adequate curing time is essential to ensure that the sealant forms a resilient barrier and enhances the longevity of the paint job.
- Inspect for Uniformity: Once the sealant has cured, inspect the fire pit for any missed spots, uneven coverage, or imperfections. Touch up any areas as needed to ensure a consistent and protective seal across the entire surface.
- Reassemble the Fire Pit: If any components were removed during the preparation and painting process, reassemble the fire pit once the sealant has fully cured. Ensure that all parts are securely in place and functioning properly.
- Enjoy the Renewed Fire Pit: With the fire pit fully sealed and revitalized, take a moment to admire the transformation and envision the delightful gatherings and cherished moments it will host in the future.
By diligently sealing the freshly painted fire pit, you’ll fortify its resilience and ensure that it remains a stunning centerpiece of your outdoor entertaining space for years to come. The protective sealant will preserve the vibrancy of the paint and shield the fire pit from the elements, allowing you to relish its beauty and functionality with peace of mind.
Conclusion
Congratulations on successfully revitalizing your fire pit through the art of repainting! By embarking on this DIY journey, you’ve not only restored the visual allure of your outdoor space but also prolonged the lifespan of a cherished centerpiece for gatherings and relaxation. As you reflect on the transformation, consider the enduring impact of your efforts and the joy that the rejuvenated fire pit will bring to your outdoor entertaining experiences.
Repainting a fire pit is more than a maintenance task; it’s an opportunity to infuse your outdoor space with renewed vibrancy and personality. The meticulous process of gathering materials, preparing the fire pit, applying primer, painting with precision, and sealing the surface has culminated in a stunning transformation, elevating the aesthetics and functionality of this beloved feature.
As you admire the freshly painted fire pit, envision the countless moments it will facilitate – from lively gatherings with friends and family to tranquil evenings spent basking in its warm glow. The beauty of your outdoor space has been amplified, and the fire pit stands as a testament to your dedication to creating a welcoming and visually captivating environment.
With the fire pit now poised to take center stage in your outdoor entertaining endeavors, revel in the anticipation of the memories that await. Whether it’s the crackle of a cozy fire on a cool evening or the backdrop for spirited conversations under the stars, your revitalized fire pit is ready to play a pivotal role in shaping moments that will be cherished for years to come.
So, as you savor the satisfaction of a job well done, take a moment to appreciate the transformation you’ve brought to life. Your commitment to maintaining and enhancing your outdoor space has not only rejuvenated the fire pit but has also enriched the experiences it will facilitate. Embrace the beauty of your revitalized fire pit and the countless moments it will inspire, knowing that your efforts have left an indelible mark on your outdoor entertaining oasis.
Frequently Asked Questions about How To Repaint A Fire Pit
Was this page helpful?
At Storables.com, we guarantee accurate and reliable information. Our content, validated by Expert Board Contributors, is crafted following stringent Editorial Policies. We're committed to providing you with well-researched, expert-backed insights for all your informational needs.

0 thoughts on “How To Repaint A Fire Pit”