Home>Gardening & Outdoor>Outdoor Entertaining>How To Cook A Picnic Shoulder
Outdoor Entertaining
How To Cook A Picnic Shoulder
Modified: August 27, 2024
Learn how to cook a delicious picnic shoulder for your next outdoor entertaining event with our easy-to-follow recipe and tips. Perfect for a fun and flavorful gathering.
(Many of the links in this article redirect to a specific reviewed product. Your purchase of these products through affiliate links helps to generate commission for Storables.com, at no extra cost. Learn more)
Introduction
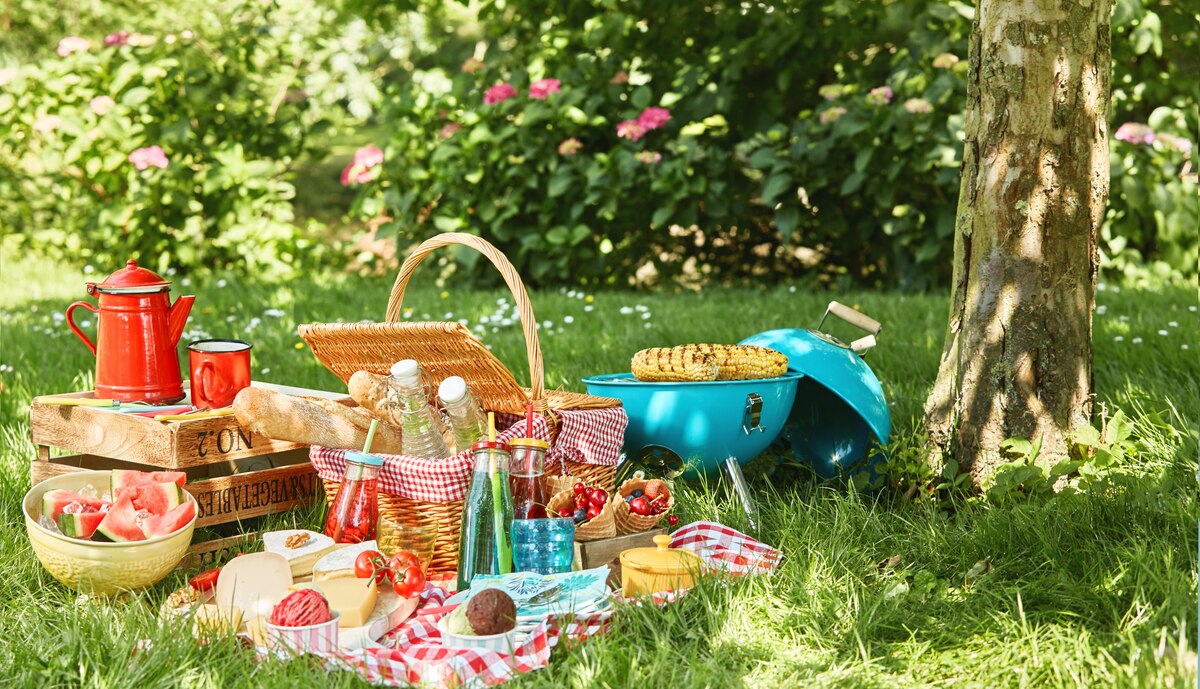
Welcome to the wonderful world of outdoor entertaining! If you're looking to impress your guests with a delicious and succulent dish, a picnic shoulder is an excellent choice. Whether you're planning a family gathering, a backyard barbecue, or a casual picnic in the park, a perfectly cooked picnic shoulder can be the star of the show.
In this guide, we'll explore the art of cooking a picnic shoulder to perfection. From selecting the right cut of meat to preparing and cooking it with finesse, we'll cover everything you need to know to create a mouthwatering masterpiece. So, grab your apron, fire up the grill or smoker, and let's embark on a culinary adventure that will leave your guests raving for days.
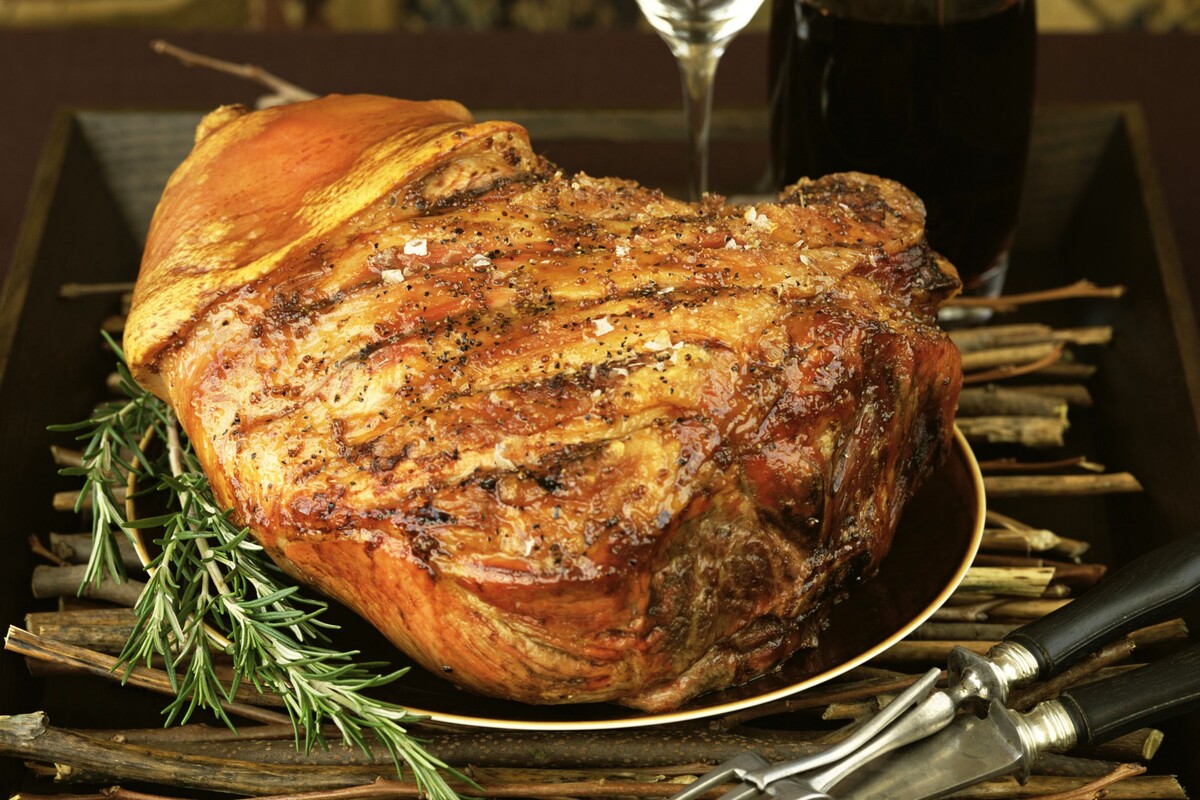
The picnic shoulder, also known as the pork shoulder or picnic roast, is a flavorful and versatile cut that's perfect for slow cooking. It's taken from the lower portion of the pig's shoulder and typically includes a portion of the shoulder blade. This well-marbled cut offers a rich, juicy, and tender meat that practically falls off the bone when cooked low and slow.
Whether you're a seasoned pitmaster or a novice outdoor cook, mastering the art of cooking a picnic shoulder will elevate your outdoor entertaining game to new heights. So, roll up your sleeves, get ready to get your hands dirty, and let's dive into the wonderful world of picnic shoulder perfection!
Key Takeaways:
- Choose a well-marbled, fresh, and appropriately sized picnic shoulder for a succulent and flavorful result. Ask for help in selecting the perfect cut to impress your guests with a mouthwatering masterpiece.
- Prepare and cook the picnic shoulder with care, using a meat thermometer and flavorful basting to achieve a tender, juicy, and smoky masterpiece. Serve with complementary sides and sauces for a memorable outdoor dining experience.
Choosing the Right Picnic Shoulder
Before you embark on your picnic shoulder cooking adventure, it’s essential to start with the right cut of meat. When selecting a picnic shoulder, keep the following tips in mind to ensure that you end up with a high-quality piece of pork that will yield delectable results:
- Look for Marbling: Opt for a picnic shoulder with a good amount of marbling. The intramuscular fat not only adds flavor but also contributes to the succulence and tenderness of the meat during the cooking process.
- Consider Bone-In or Boneless: Decide whether you prefer a bone-in or boneless picnic shoulder. While a bone-in cut can enhance the flavor and moisture of the meat, a boneless option might be more convenient for slicing and serving.
- Check the Color: The meat should have a rosy pink hue, indicating freshness. Avoid any cuts with a grayish tint, as this may indicate aging or improper storage.
- Inspect the Fat Cap: A good picnic shoulder should have a reasonable layer of fat on the surface, known as the fat cap. This fat will render during cooking, basting the meat and infusing it with flavor and moisture.
- Consider the Size: Depending on the number of guests you plan to serve, choose a picnic shoulder that suits your needs. A general rule of thumb is to estimate about 1/2 pound of meat per person, accounting for bone weight if applicable.
Whether you’re visiting a butcher shop, a grocery store, or a local farmer’s market, don’t hesitate to ask the staff for assistance in selecting the perfect picnic shoulder. They can provide valuable insights and recommendations based on your specific cooking method and preferences.
By carefully choosing a well-marbled, fresh, and appropriately sized picnic shoulder, you’re setting the stage for a remarkable culinary experience that will delight your guests and leave them eager for seconds.
Preparing the Picnic Shoulder
Now that you’ve secured the perfect picnic shoulder, it’s time to prepare the meat for cooking. Properly preparing the picnic shoulder sets the foundation for a mouthwatering end result. Follow these steps to ensure that your picnic shoulder is primed for a flavor-packed cooking process:
- Trim Excess Fat: Begin by trimming any excessive fat from the surface of the picnic shoulder. While a layer of fat is desirable for flavor and moisture, removing any overly thick or uneven portions can help the meat cook more evenly.
- Score the Fat Cap: Using a sharp knife, score the fat cap in a crosshatch pattern. This allows the fat to render more effectively during cooking, resulting in a crisp and flavorful exterior.
- Season Generously: Rub the picnic shoulder with your choice of seasonings. A classic dry rub featuring ingredients such as brown sugar, paprika, garlic powder, onion powder, salt, and black pepper can infuse the meat with a harmonious blend of savory and sweet flavors. Alternatively, a simple yet effective combination of salt, pepper, and garlic powder can let the natural taste of the pork shine through.
- Marinate for Intensified Flavor (Optional): For an extra flavor boost, consider marinating the picnic shoulder overnight in a mixture of your preferred marinade ingredients. This step can add depth and complexity to the meat’s flavor profile, enhancing the overall dining experience.
Once the picnic shoulder is trimmed, scored, and seasoned to perfection, it’s ready to undergo the cooking process. The careful preparation of the meat ensures that it’s poised to absorb the smoky, aromatic essence of the outdoor cooking environment, resulting in a tantalizing sensory experience for all who gather around the table.
After seasoning the picnic shoulder, sear it on all sides in a hot pan to lock in the juices before slow cooking it in the oven or a slow cooker for tender, flavorful meat.
Cooking the Picnic Shoulder
Now comes the exciting part: the cooking process. Whether you prefer the slow and steady approach of smoking or the more expedited method of grilling, the following guidelines will help you achieve a perfectly cooked picnic shoulder that’s bursting with flavor and tenderness:
- Smoking Method: If you opt for smoking, preheat your smoker to a temperature range of 225-250°F (107-121°C). Use hardwood chips or chunks, such as hickory or applewood, to infuse the meat with a delightful smokiness. Place the seasoned picnic shoulder on the smoker rack, close the lid, and let it cook low and slow for several hours, allowing the flavors to develop and the meat to reach the desired level of doneness.
- Grilling Method: For grilling enthusiasts, set up your grill for in-direct heat cooking. Indirect heat involves placing the meat next to, rather than directly above, the heat source. This method allows for gentle, even cooking without the risk of charring. Cover the grill and cook the picnic shoulder over indirect heat, periodically checking the internal temperature to ensure it reaches the recommended level for safe consumption.
- Use a Meat Thermometer: Regardless of the cooking method, it’s crucial to use a reliable meat thermometer to monitor the internal temperature of the picnic shoulder. The USDA recommends cooking pork to an internal temperature of 145°F (63°C) with a 3-minute rest time, ensuring that the meat is both safe to eat and at its peak juiciness.
- Baste and Monitor: Throughout the cooking process, consider basting the picnic shoulder with a flavorful liquid, such as apple juice or a vinegar-based mop sauce, to enhance moisture and add an extra layer of taste. Regularly monitor the temperature of your cooking apparatus and the doneness of the meat to make any necessary adjustments.
Whichever cooking method you choose, the key is to maintain patience and attentiveness as the picnic shoulder transforms into a succulent masterpiece. The aroma of the sizzling meat, the anticipation of the first mouthwatering bite, and the joy of sharing this culinary creation with loved ones all contribute to the magic of outdoor entertaining.
Serving and Enjoying the Picnic Shoulder
As the tantalizing aroma of the perfectly cooked picnic shoulder wafts through the air, it’s time to prepare for the grand finale: serving and savoring this delectable dish. Follow these steps to ensure that your picnic shoulder takes center stage and leaves a lasting impression on your guests:
- Rest the Meat: Once the picnic shoulder has reached the desired level of doneness, remove it from the heat source and allow it to rest for about 15-20 minutes. This resting period allows the juices to redistribute within the meat, ensuring a moist and tender texture when it’s time to carve and serve.
- Carve with Care: Using a sharp carving knife, carefully slice the picnic shoulder against the grain into succulent portions. The result should be tender, juicy slices that showcase the smoky exterior and the flavorful, melt-in-your-mouth interior.
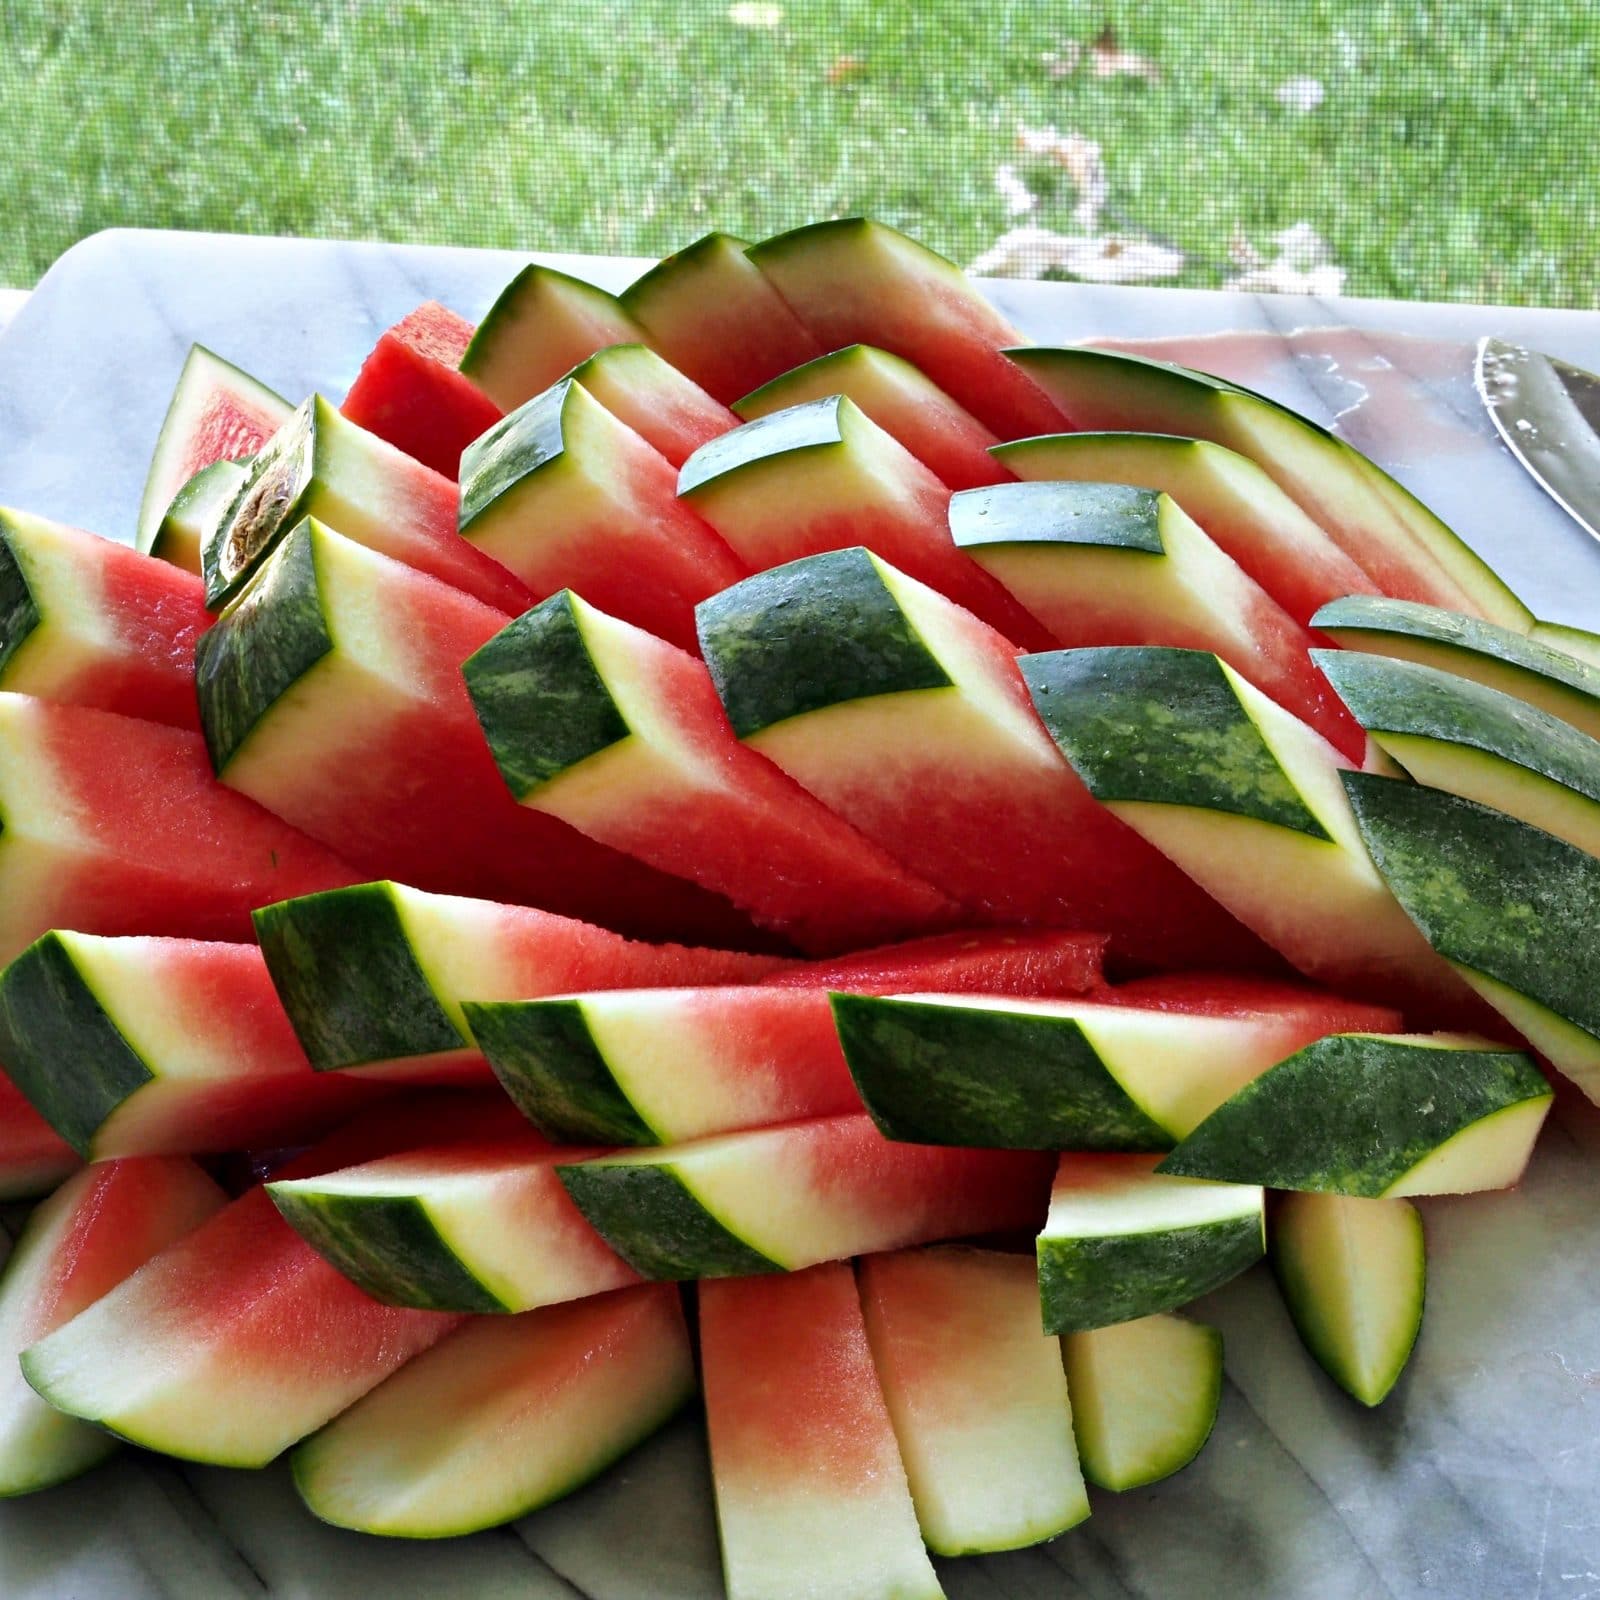
- Choose Complementary Sides: Pair the picnic shoulder with an array of complementary sides to create a well-rounded and satisfying meal. Classic accompaniments such as coleslaw, cornbread, macaroni and cheese, and grilled vegetables can elevate the dining experience and provide a variety of textures and flavors.
- Offer Flavorful Sauces: Provide a selection of flavorful sauces and condiments to accompany the picnic shoulder, allowing guests to customize their dining experience. Barbecue sauce, homemade relishes, and tangy pickles can add an extra layer of excitement to each bite.
- Create a Festive Atmosphere: Set the stage for an unforgettable dining experience by arranging the picnic shoulder and sides on a beautifully adorned table. Consider incorporating vibrant table linens, fresh flowers, and ambient lighting to enhance the visual appeal and create a welcoming ambiance for your guests.
- Savor Every Bite: Encourage your guests to savor every succulent bite of the picnic shoulder, celebrating the culmination of your culinary expertise and the joy of shared moments around the table. Embrace the lively conversations, the laughter, and the collective enjoyment of a meal that transcends mere sustenance.
As the sun sets and the evening unfolds, revel in the satisfaction of a successful outdoor gathering, where the star of the show—the perfectly cooked picnic shoulder—has brought smiles, contented sighs, and a sense of communal delight. From the first tantalizing whiff to the last satisfying morsel, the picnic shoulder has woven itself into the fabric of cherished memories, creating a culinary tale that will be recounted with fondness for years to come.
Frequently Asked Questions about How To Cook A Picnic Shoulder
Was this page helpful?
At Storables.com, we guarantee accurate and reliable information. Our content, validated by Expert Board Contributors, is crafted following stringent Editorial Policies. We're committed to providing you with well-researched, expert-backed insights for all your informational needs.


0 thoughts on “How To Cook A Picnic Shoulder”