Home>Gardening & Outdoor>Outdoor Entertaining>How To Paint A Picnic Table
Outdoor Entertaining
How To Paint A Picnic Table
Modified: August 27, 2024
Learn how to paint a picnic table for outdoor entertaining. Get tips and ideas for a fresh and vibrant look. Step-by-step guide for a stunning outdoor space.
(Many of the links in this article redirect to a specific reviewed product. Your purchase of these products through affiliate links helps to generate commission for Storables.com, at no extra cost. Learn more)
Introduction
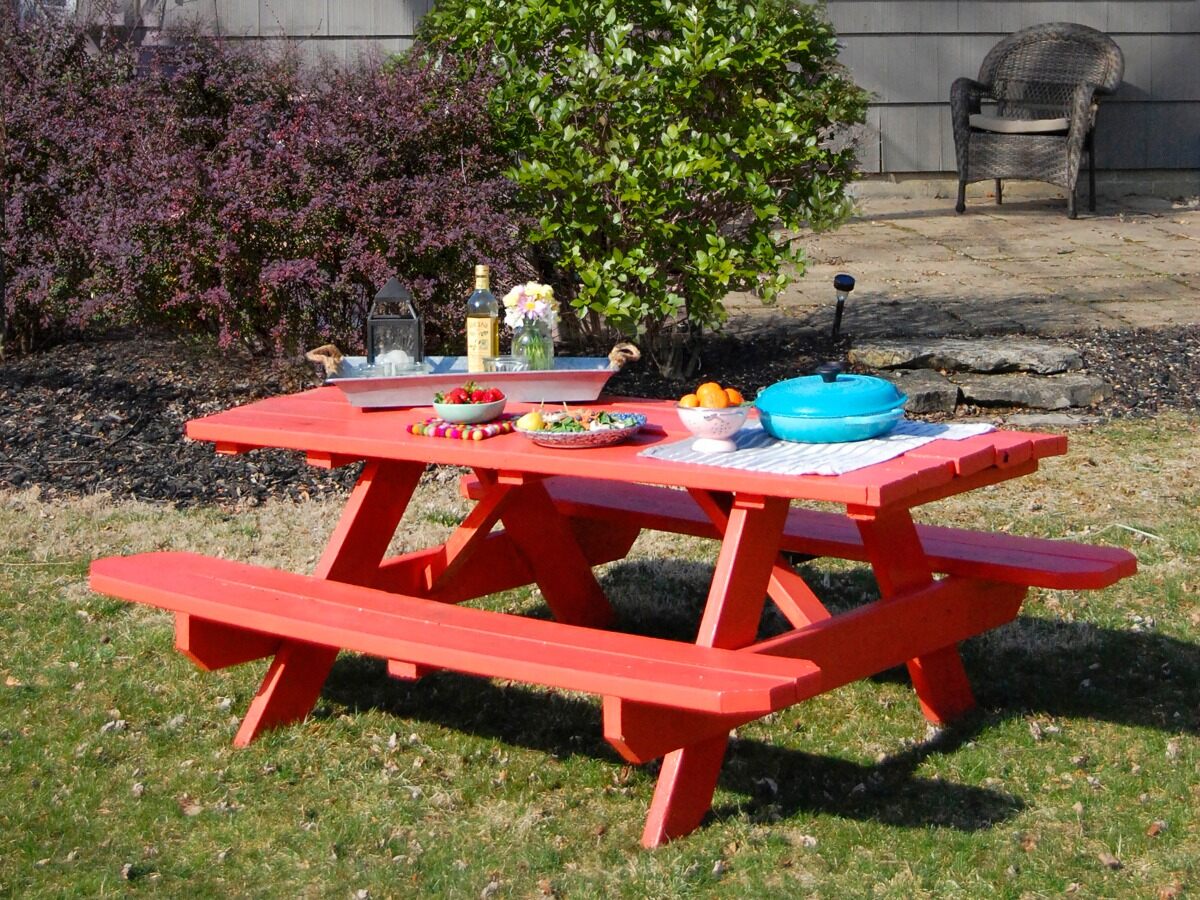
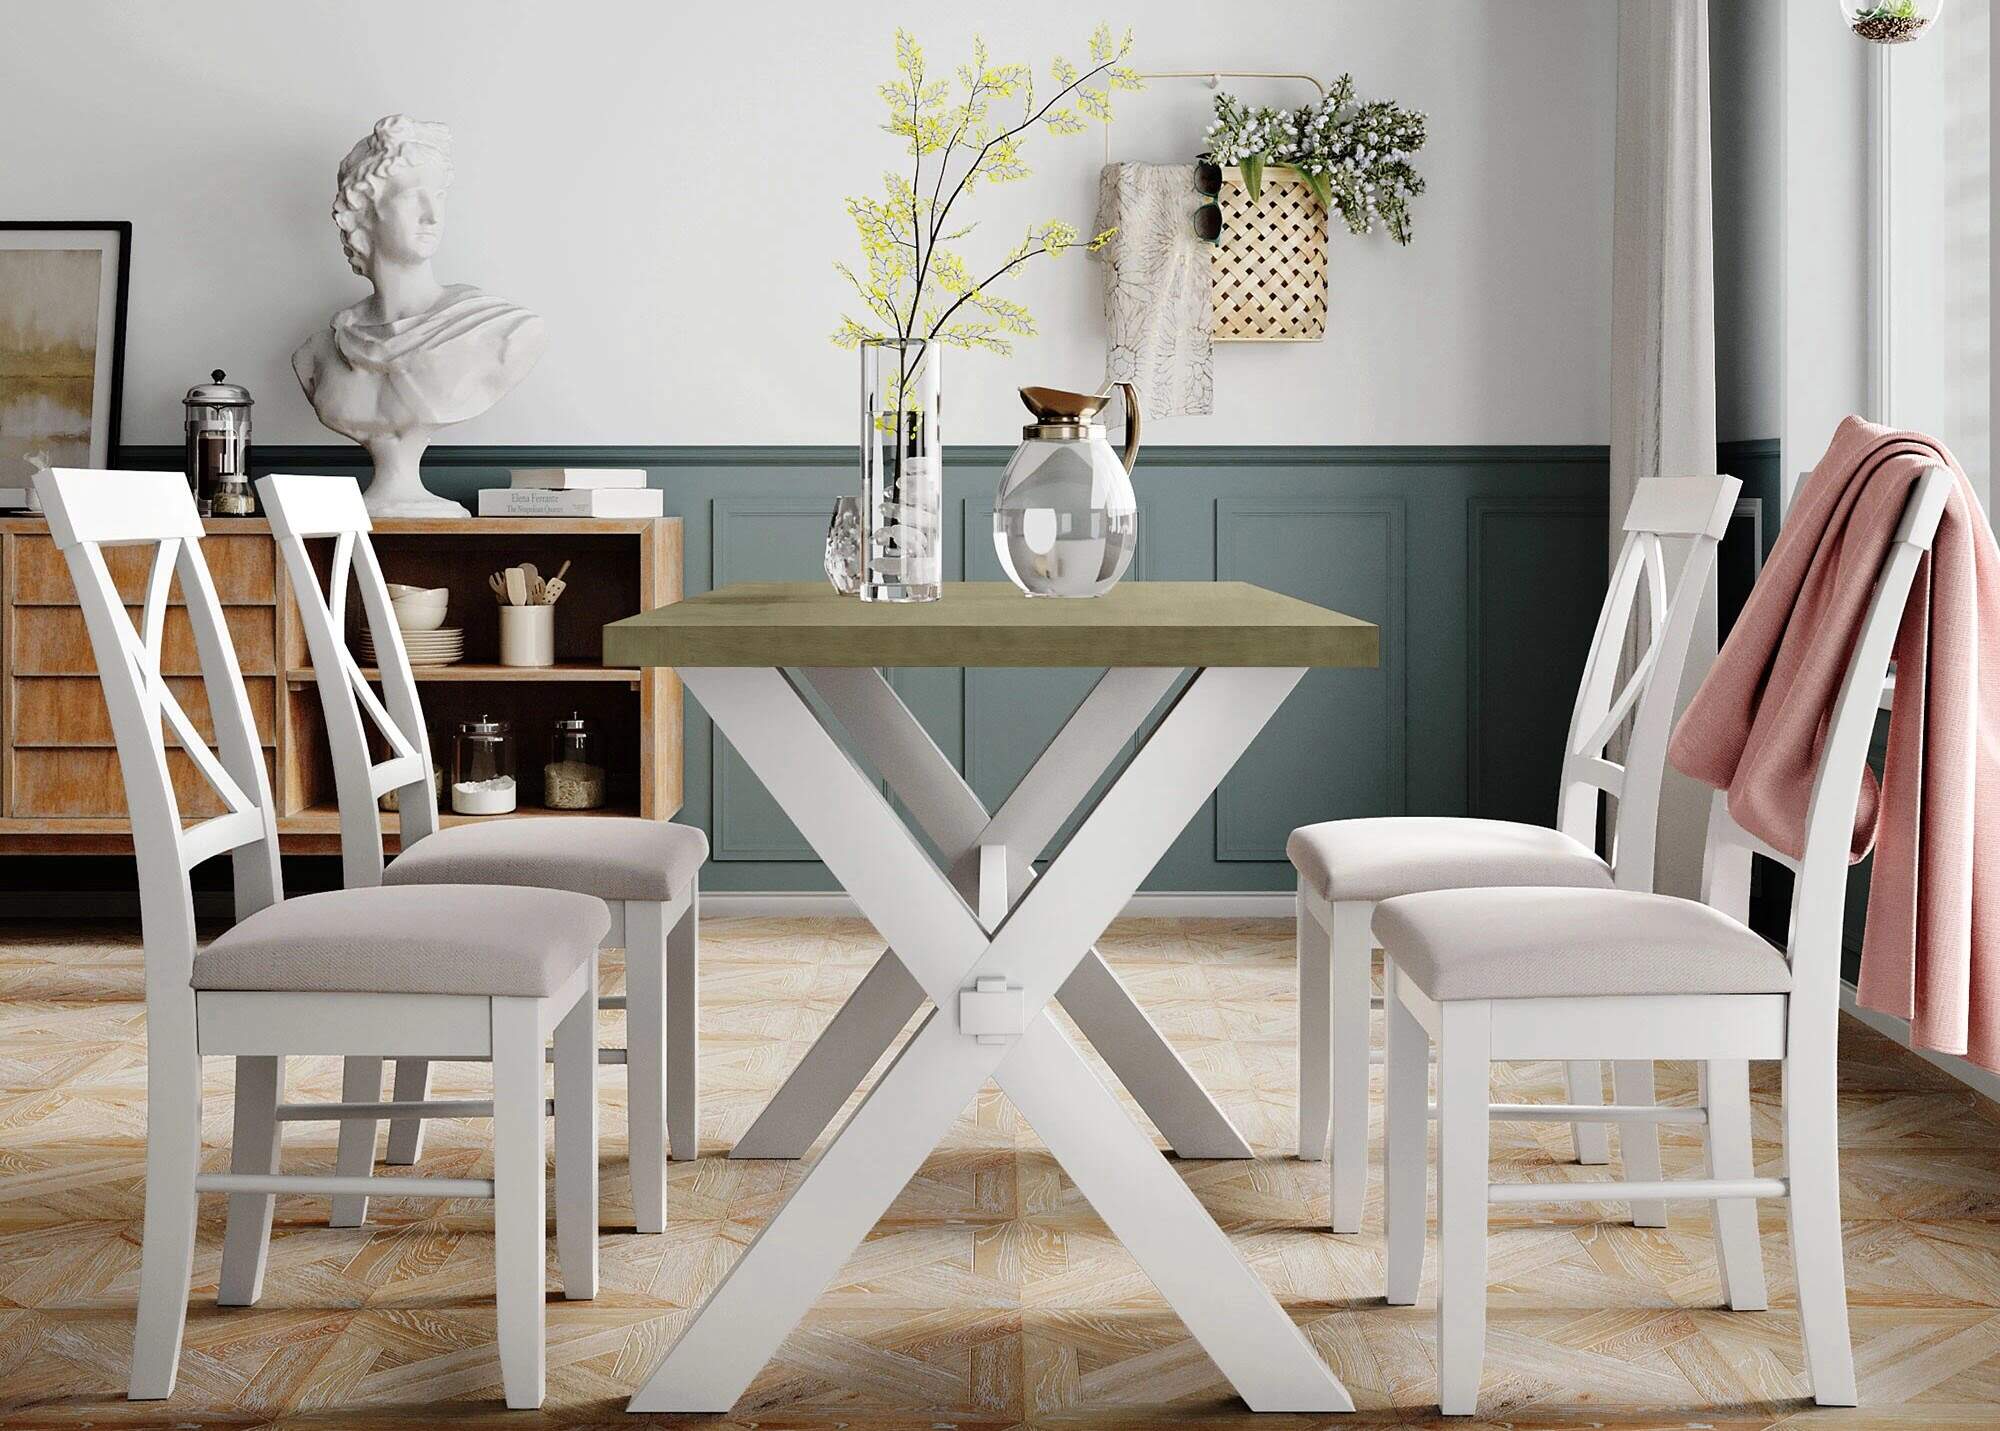
Welcome to the world of outdoor entertaining! Whether you love hosting weekend barbecues, enjoying a leisurely outdoor meal, or simply relishing the beauty of nature, a picnic table is an essential element of your outdoor space. Over time, exposure to the elements can take a toll on your picnic table, causing the paint to fade and the wood to weather. However, fear not! With a fresh coat of paint, you can revitalize your picnic table and infuse new life into your outdoor gatherings.
In this comprehensive guide, we will walk you through the process of painting a picnic table, from gathering the necessary materials to adding the finishing touches. By following these steps, you can transform a weathered picnic table into a stunning focal point that enhances the charm of your outdoor space.
So, roll up your sleeves, grab your paintbrush, and let's embark on a journey to rejuvenate your picnic table and elevate your outdoor entertaining experience. Whether you're a seasoned DIY enthusiast or a novice looking to explore the world of outdoor projects, this guide is designed to equip you with the knowledge and confidence to tackle this rewarding endeavor. Let's dive in and unleash your creativity as we breathe new life into your beloved picnic table!
Key Takeaways:
- Revitalize your outdoor space by painting a picnic table with the right materials and techniques. Infuse new life into your gatherings and showcase your DIY skills with a stunning, personalized centerpiece.
- Choose the perfect paint and protective finish to transform your picnic table into a durable, vibrant focal point. Elevate your outdoor entertaining space with personalized touches and create cherished memories with loved ones.
Read more: How To Paint A Dining Table
Materials Needed
Before embarking on the exciting journey of painting your picnic table, it’s essential to gather the necessary materials. Here’s a comprehensive list of items you’ll need to ensure a successful and satisfying painting project:
- Protective Gear: Prioritize safety by wearing protective gear, including gloves, safety goggles, and a mask to shield yourself from fumes and debris.
- Cleaning Supplies: To prepare the table for painting, gather a bucket, mild detergent, and a stiff-bristled brush for thorough cleaning.
- Sandpaper: Invest in medium-grit and fine-grit sandpaper to smooth the surface and remove any existing paint or imperfections.
- Primer: Select a high-quality primer suitable for outdoor use to ensure proper adhesion and long-lasting results.
- Paint: Choose a durable outdoor paint designed for wooden surfaces. Opt for a color that complements your outdoor decor and withstands environmental elements.
- Paintbrushes and Rollers: Acquire a variety of brushes and rollers suitable for different areas of the table, ensuring even coverage and precise application.
- Drop Cloth or Tarp: Protect the surrounding area from paint splatters and spills by laying down a drop cloth or tarp.
- Finish Coat: Consider adding a protective finish, such as a clear polyurethane sealant, to shield the freshly painted table from moisture and UV rays.
- Stir Sticks and Paint Trays: Have stir sticks and paint trays on hand to ensure proper mixing and easy access to paint during the application process.
- Painter’s Tape: Use painter’s tape to mask off any areas you want to protect from paint, such as metal hardware or adjoining surfaces.
- Clean Cloth: Keep a clean cloth or rag nearby for wiping up any spills or drips during the painting process.
By assembling these materials, you’ll be well-prepared to embark on your picnic table painting project with confidence and efficiency. With the right tools at your disposal, you can transform your picnic table into a stunning focal point that enhances your outdoor entertaining space.
Preparing the Picnic Table
Before diving into the painting process, it’s crucial to prepare the picnic table properly. This step is essential for achieving a smooth and long-lasting finish. Follow these steps to ensure that your picnic table is primed and ready for its colorful transformation:
- Clean the Surface: Begin by thoroughly cleaning the picnic table to remove dirt, grime, and any existing paint residue. Use a mild detergent and water to scrub the surface, and consider using a stiff-bristled brush to tackle stubborn areas. Rinse the table thoroughly and allow it to dry completely before proceeding.
- Sand the Surface: Once the table is dry, use medium-grit sandpaper to smooth the surface and create a suitable texture for the primer to adhere to. Focus on any rough or uneven areas, and then follow up with fine-grit sandpaper to achieve a smooth finish. Be sure to wipe away any dust or debris after sanding.
- Inspect for Damage: Take the time to inspect the picnic table for any signs of damage, such as cracks, splinters, or loose hardware. Address any issues by making necessary repairs, tightening screws, or replacing damaged wood to ensure the table is structurally sound.
- Protect Surrounding Areas: If the picnic table is situated in close proximity to other surfaces or landscaping, use painter’s tape and a drop cloth to protect these areas from accidental paint splatters or spills during the painting process.
By diligently preparing the picnic table, you’ll create a solid foundation for the subsequent painting steps. This meticulous approach sets the stage for a professional-looking finish that enhances the table’s appearance and durability. With the surface cleaned, smoothed, and inspected, you’re now ready to move on to the exciting phase of choosing the perfect paint for your picnic table.
Choosing the Right Paint
When it comes to painting a picnic table, selecting the right paint is a crucial decision that significantly impacts the table’s appearance and durability. Consider the following factors to make an informed choice and achieve stunning results:
- Outdoor Durability: Opt for a high-quality outdoor paint specifically formulated for wooden surfaces. Look for paint that offers resistance to UV rays, moisture, and temperature fluctuations, ensuring long-lasting color retention and protection against the elements.
- Color and Aesthetics: Choose a paint color that complements your outdoor decor and personal style. Whether you prefer vibrant hues that make a bold statement or classic tones that exude timeless elegance, the color you select can transform the ambiance of your outdoor space.
- Finish Options: Consider the finish options available for outdoor paint, such as matte, satin, or glossy. Each finish has unique characteristics, with matte providing a subtle sheen, satin offering a soft luster, and glossy delivering a reflective shine. Select a finish that aligns with your aesthetic preferences and maintenance requirements.
- Eco-Friendly Formulas: For environmentally conscious individuals, explore paint options that prioritize eco-friendly and low-VOC (volatile organic compounds) formulations. These paints minimize harmful emissions and contribute to a healthier outdoor environment.
- Application Convenience: Some paints come in convenient all-in-one formulas that combine primer and paint, streamlining the painting process and saving time. Additionally, consider whether the paint is easy to clean up with water or requires specific solvents for cleanup.
By carefully evaluating these considerations, you can confidently select a paint that aligns with your preferences and the specific requirements of your outdoor space. Whether you’re aiming for a vibrant pop of color, a serene neutral tone, or a custom shade that reflects your unique style, the right paint sets the stage for an exceptional transformation of your picnic table.
With the perfect paint in hand, you’re now poised to move on to the next crucial step in the painting process: applying the primer to prepare the picnic table for its stunning new color.
Before painting a picnic table, make sure to sand the surface to remove any old paint or rough spots. This will help the new paint adhere better and result in a smoother finish.
Applying the Primer
Before diving into the exhilarating task of adding color to your picnic table, it’s essential to apply a high-quality primer to prepare the surface for optimal paint adhesion and long-term durability. Follow these steps to ensure that your picnic table is primed for a flawless and enduring finish:
- Choose the Right Primer: Select a primer specifically designed for outdoor wooden surfaces. Look for a product that offers excellent adhesion, seals the wood, and provides a stable foundation for the paint to adhere to.
- Prepare the Primer: Thoroughly stir the primer to achieve a consistent texture and ensure that any settling or separation is properly blended. If necessary, pour the primer into a paint tray for easy access during the application process.
- Apply the Primer: Use a high-quality brush or roller to apply an even coat of primer to the entire surface of the picnic table. Pay close attention to any intricate details, edges, and hard-to-reach areas, ensuring comprehensive coverage for optimal paint adhesion.
- Allow for Drying Time: Follow the manufacturer’s recommendations regarding the drying time for the primer. Ensure that the primer cures thoroughly before proceeding to the next phase of the painting process, as proper drying is essential for achieving a smooth and durable finish.
- Inspect for Consistency: Once the primer has dried, inspect the surface of the picnic table to ensure that the primer has created a uniform and stable base for the paint. Address any areas that may require additional priming or touch-ups before proceeding to the exciting phase of adding color to your picnic table.
By meticulously applying a high-quality primer, you set the stage for a flawless and enduring paint finish that enhances the beauty and resilience of your picnic table. With the surface properly primed and ready, you’re now prepared to unleash your creativity and infuse your outdoor space with a stunning burst of color.
Read more: How To Build A Picnic Style Dining Table
Painting the Table
Now comes the exciting and transformative phase of painting your picnic table. With the surface properly prepared and primed, you’re ready to infuse your outdoor space with a burst of color and style. Follow these steps to achieve a professional and enduring paint finish that revitalizes your picnic table:
- Prepare the Paint: Thoroughly stir the paint to ensure a consistent texture and uniform color. If using multiple cans of paint, consider pouring them into a larger container and mixing them together to achieve color consistency across the entire table.
- Choose the Right Applicators: Select high-quality brushes and rollers suitable for the type of paint you’re using and the intricacies of the picnic table’s surface. Ensure that your applicators are clean and free of debris before beginning the painting process.
- Apply the First Coat: Using smooth and even strokes, apply the first coat of paint to the picnic table’s surface. Focus on achieving consistent coverage and pay attention to any intricate details or recessed areas. Allow the first coat to dry completely according to the paint manufacturer’s recommendations.
- Apply Additional Coats: Depending on the desired depth of color and the opacity of the paint, apply additional coats as needed. Ensure that each coat dries thoroughly before applying the next, and inspect the table for any areas that may require touch-ups or additional coverage.
- Ensure Even Coverage: Throughout the painting process, maintain a keen eye for ensuring even coverage and a uniform finish across the entire picnic table. Address any inconsistencies or imperfections promptly to achieve a professional and polished result.
As you progress through the painting process, revel in the opportunity to infuse your picnic table with a vibrant new personality that complements your outdoor aesthetic. Whether you opt for a timeless neutral tone, a bold and invigorating color, or a custom hue that reflects your unique style, the act of painting your picnic table is a creative expression that breathes new life into your outdoor space.
With the final strokes of paint, you’re now ready to add the finishing touches that will safeguard the beauty and resilience of your freshly painted picnic table.
Adding a Protective Finish
After meticulously painting your picnic table to perfection, it’s essential to add a protective finish that safeguards the newly applied paint and enhances the table’s resilience against outdoor elements. Follow these steps to ensure that your picnic table remains a stunning focal point in your outdoor space for years to come:
- Select a Durable Sealant: Choose a high-quality outdoor sealant, such as a clear polyurethane finish, specifically formulated for wooden surfaces. Look for a product that offers UV protection, moisture resistance, and durability to shield the paint from environmental wear and tear.
- Prepare the Sealant: Thoroughly stir the sealant to achieve a consistent texture and ensure that any settling or separation is properly blended. If necessary, pour the sealant into a paint tray for easy access during the application process.
- Apply the Sealant: Use a clean brush or roller to apply an even coat of sealant to the entire painted surface of the picnic table. Ensure comprehensive coverage and pay close attention to any intricate details or recessed areas. Allow the first coat of sealant to dry completely according to the manufacturer’s recommendations.
- Apply Additional Coats: Depending on the level of protection desired, apply additional coats of sealant as recommended by the manufacturer. Multiple coats can enhance the durability and longevity of the protective finish, ensuring that your picnic table maintains its beauty and resilience over time.
- Inspect for Uniformity: Once the sealant has dried, inspect the picnic table to ensure that the protective finish has created a uniform and durable shield over the painted surface. Address any areas that may require additional sealing or touch-ups to guarantee comprehensive protection.
By adding a protective finish to your freshly painted picnic table, you’re investing in its long-term beauty and resilience. The sealant acts as a shield, safeguarding the vibrant colors and smooth finish from the effects of sunlight, moisture, and everyday use, ensuring that your picnic table remains a cherished centerpiece of your outdoor entertaining space.
With the protective finish in place, your newly revitalized picnic table is now poised to take its pride of place as a stunning and enduring element of your outdoor oasis. As you prepare to showcase your handiwork and indulge in the joys of outdoor entertaining, consider the final tips and considerations that will elevate your picnic table painting project to new heights.
Final Tips and Considerations
As you wrap up your picnic table painting project, consider these final tips and considerations to ensure that your outdoor oasis is enriched with a beautifully revitalized centerpiece:
- Maintenance and Care: Embrace a proactive approach to maintaining your freshly painted picnic table. Regularly clean the surface with a mild detergent and water, and consider reapplying a protective finish as needed to uphold its beauty and resilience.
- Seasonal Protection: During inclement weather or extended periods of non-use, consider covering the picnic table with a weather-resistant tarp or storing it in a sheltered area to prolong the life of the paint and wood.
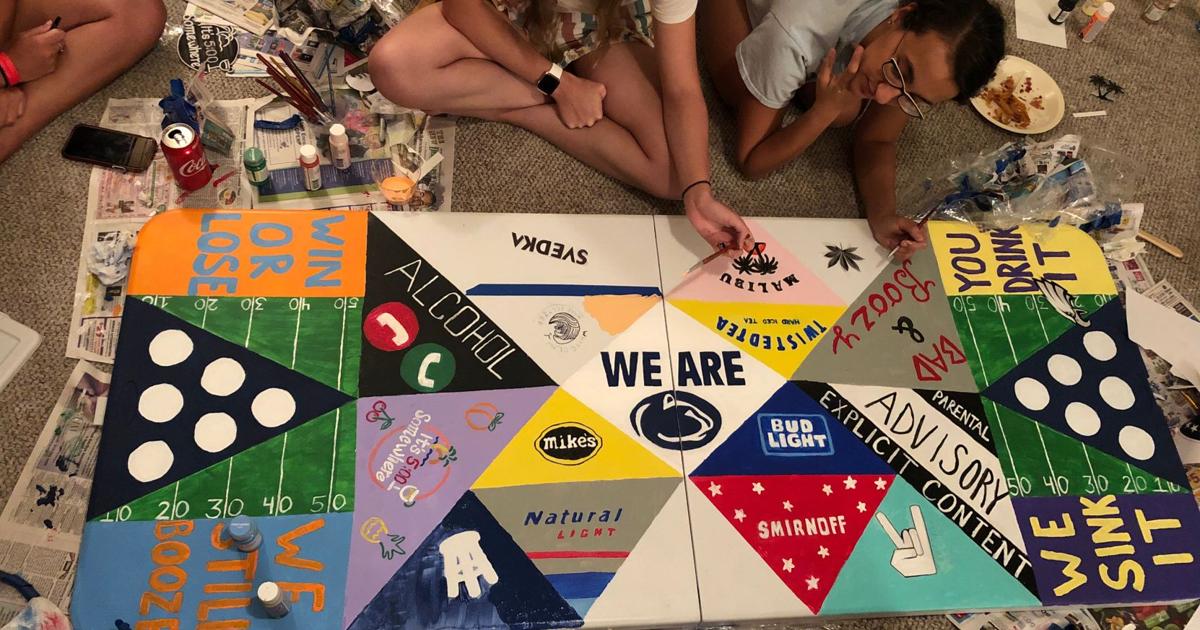
- Personalization Opportunities: Explore creative ways to personalize your picnic table, such as adding stenciled designs, hand-painted motifs, or custom detailing that reflects your unique style and enhances the table’s visual appeal.
- Accessorize with Flair: Elevate the ambiance of your outdoor space by accessorizing the picnic table with vibrant tablecloths, decorative lanterns, or potted plants that complement the newly painted surface and create an inviting atmosphere for gatherings.
- Share the Joy: Invite friends and family to gather around your revitalized picnic table and share in the delight of your DIY accomplishment. Create cherished memories and savor the fruits of your labor as you bask in the beauty of your outdoor entertaining space.
By incorporating these final tips and considerations into your picnic table painting project, you’re not only enhancing the aesthetic appeal of your outdoor space but also nurturing a welcoming environment for leisurely meals, lively conversations, and cherished moments with loved ones. Your revitalized picnic table stands as a testament to your creativity and commitment to creating an inviting outdoor sanctuary.
As you admire the stunning transformation of your picnic table and envision the countless enjoyable gatherings it will host, take pride in the enduring beauty and functionality you’ve infused into your outdoor entertaining space. Your picnic table is now a captivating focal point that reflects your personal style and sets the stage for unforgettable outdoor experiences.
Frequently Asked Questions about How To Paint A Picnic Table
Was this page helpful?
At Storables.com, we guarantee accurate and reliable information. Our content, validated by Expert Board Contributors, is crafted following stringent Editorial Policies. We're committed to providing you with well-researched, expert-backed insights for all your informational needs.

0 thoughts on “How To Paint A Picnic Table”