Home>Gardening & Outdoor>Outdoor Entertaining>How To Stain A Picnic Table
Outdoor Entertaining
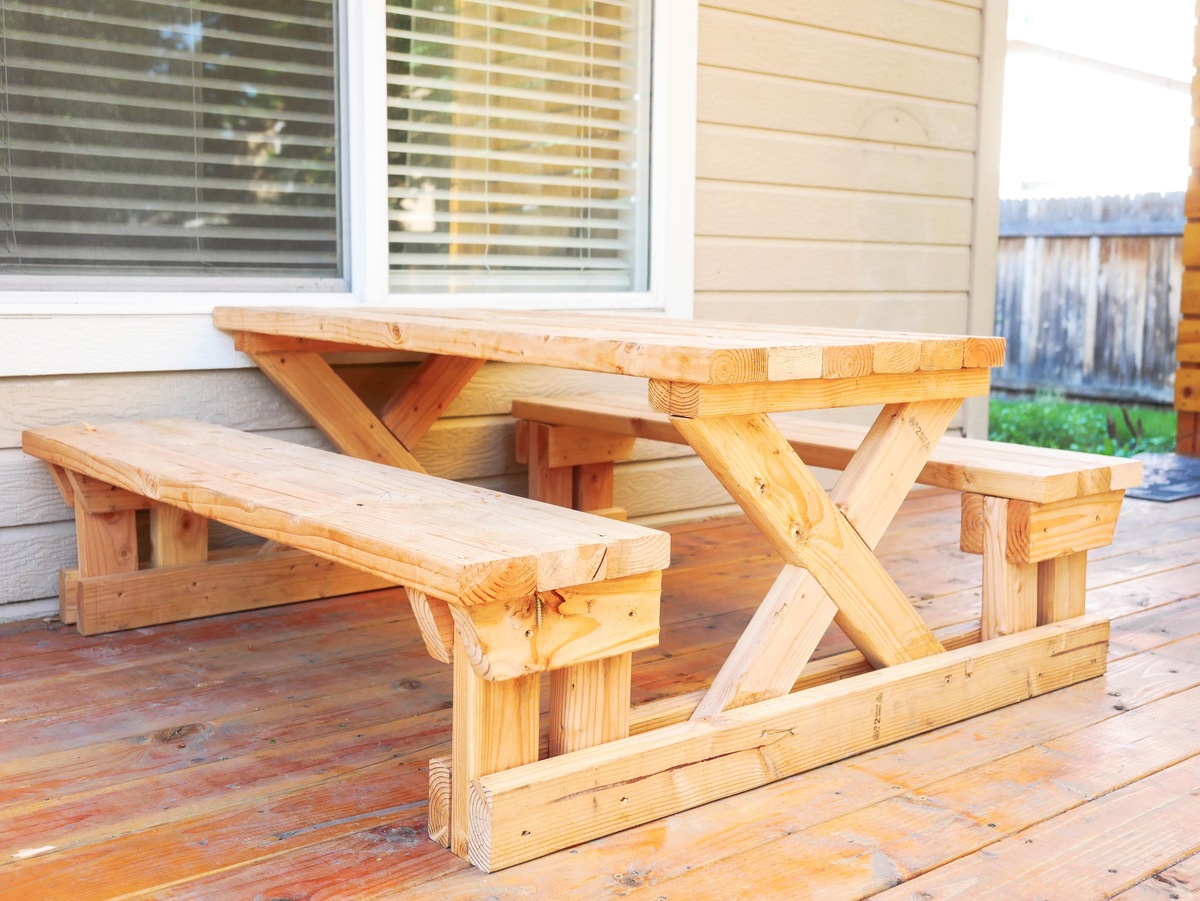
How To Stain A Picnic Table
Modified: August 27, 2024
Learn how to stain a picnic table for your outdoor entertaining needs. Follow our step-by-step guide to achieve a beautiful and durable finish.
(Many of the links in this article redirect to a specific reviewed product. Your purchase of these products through affiliate links helps to generate commission for Storables.com, at no extra cost. Learn more)
**
Introduction
**
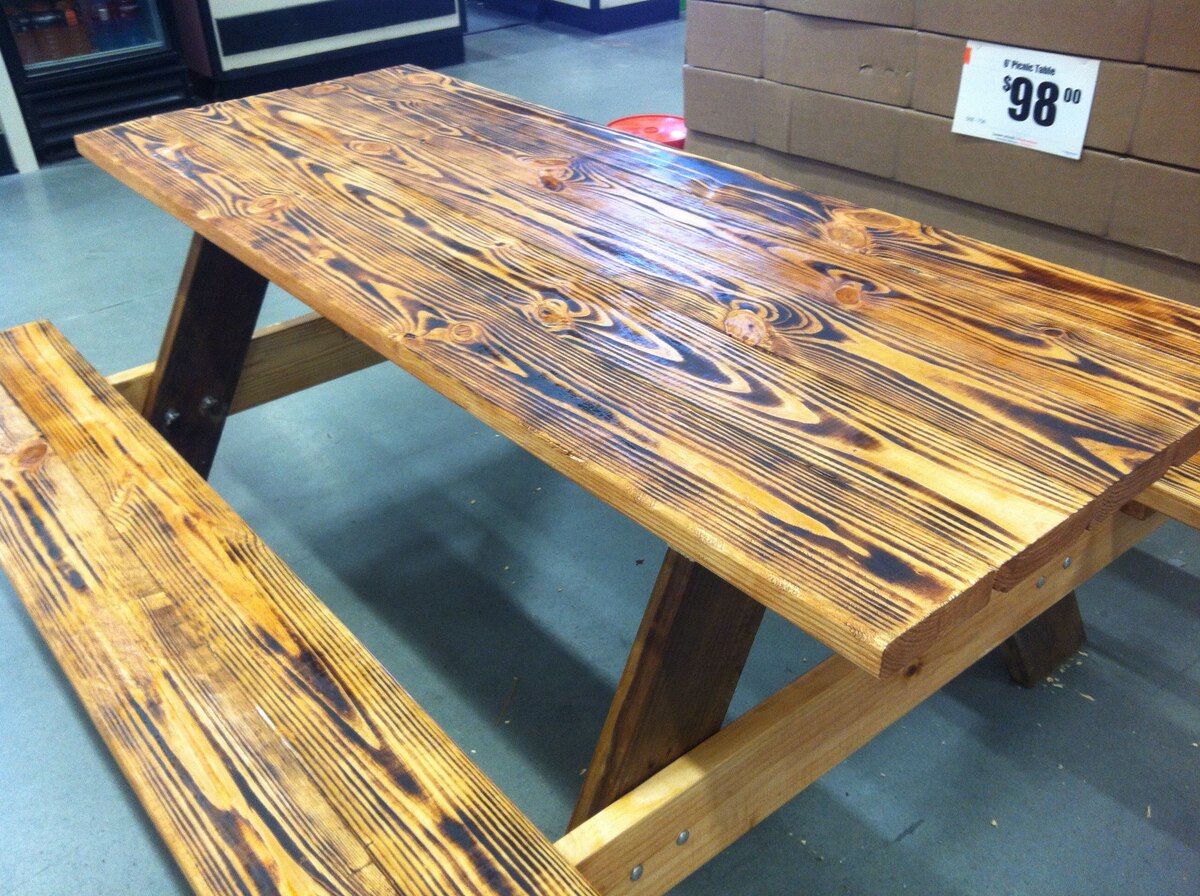
When it comes to outdoor entertaining, a picnic table is a staple for gathering friends and family to enjoy delicious meals, play games, or simply relax in the great outdoors. However, exposure to the elements can take a toll on the appearance and longevity of your picnic table. To protect it from the sun, rain, and other environmental factors, staining the table is a fantastic way to enhance its durability and aesthetic appeal.
Staining a picnic table is a straightforward and rewarding DIY project that can breathe new life into weathered or untreated wood. Whether you have a brand-new table to protect or an older one in need of a refresh, applying a quality stain can make a world of difference. Not only does it safeguard the wood from moisture and UV rays, but it also adds a touch of color and character to your outdoor space.
In this comprehensive guide, we will walk you through the step-by-step process of staining a picnic table, covering everything from the materials you'll need to the finishing touches that will leave your table looking stunning. By the end of this article, you'll be well-equipped to tackle this project with confidence, ensuring that your picnic table remains a beautiful and functional centerpiece for countless outdoor gatherings. So, roll up your sleeves and get ready to transform your picnic table into a true outdoor showpiece!
Key Takeaways:
- Revitalize your picnic table by staining it to protect against the elements and enhance its natural beauty, creating a welcoming outdoor centerpiece for gatherings and relaxation.
- Follow the step-by-step staining process to transform your picnic table into a durable and visually appealing showpiece, ready to host countless memorable outdoor experiences.
Read more: How To Build A Picnic Style Dining Table
Materials Needed
Before embarking on the exciting journey of staining your picnic table, it’s essential to gather the necessary materials. Here’s what you’ll need to ensure a successful and satisfying staining experience:
- Picnic Table Stain: Choose a high-quality outdoor wood stain that offers protection against UV rays, water damage, and mildew. Opt for a color that complements your outdoor decor and enhances the natural beauty of the wood.
- Paintbrush or Roller: Select a high-quality paintbrush or roller suitable for applying the stain evenly and efficiently. The size of the brush or roller should be appropriate for the size of your picnic table.
- Protective Gear: Prioritize your safety by wearing protective gear, including gloves, safety goggles, and a mask to shield yourself from potential fumes and splatters.
- Sandpaper or Sander: Prepare the wood surface by sanding it to remove any existing finish, rough patches, or imperfections. Opt for medium-grit sandpaper or a sander to achieve a smooth and uniform surface.
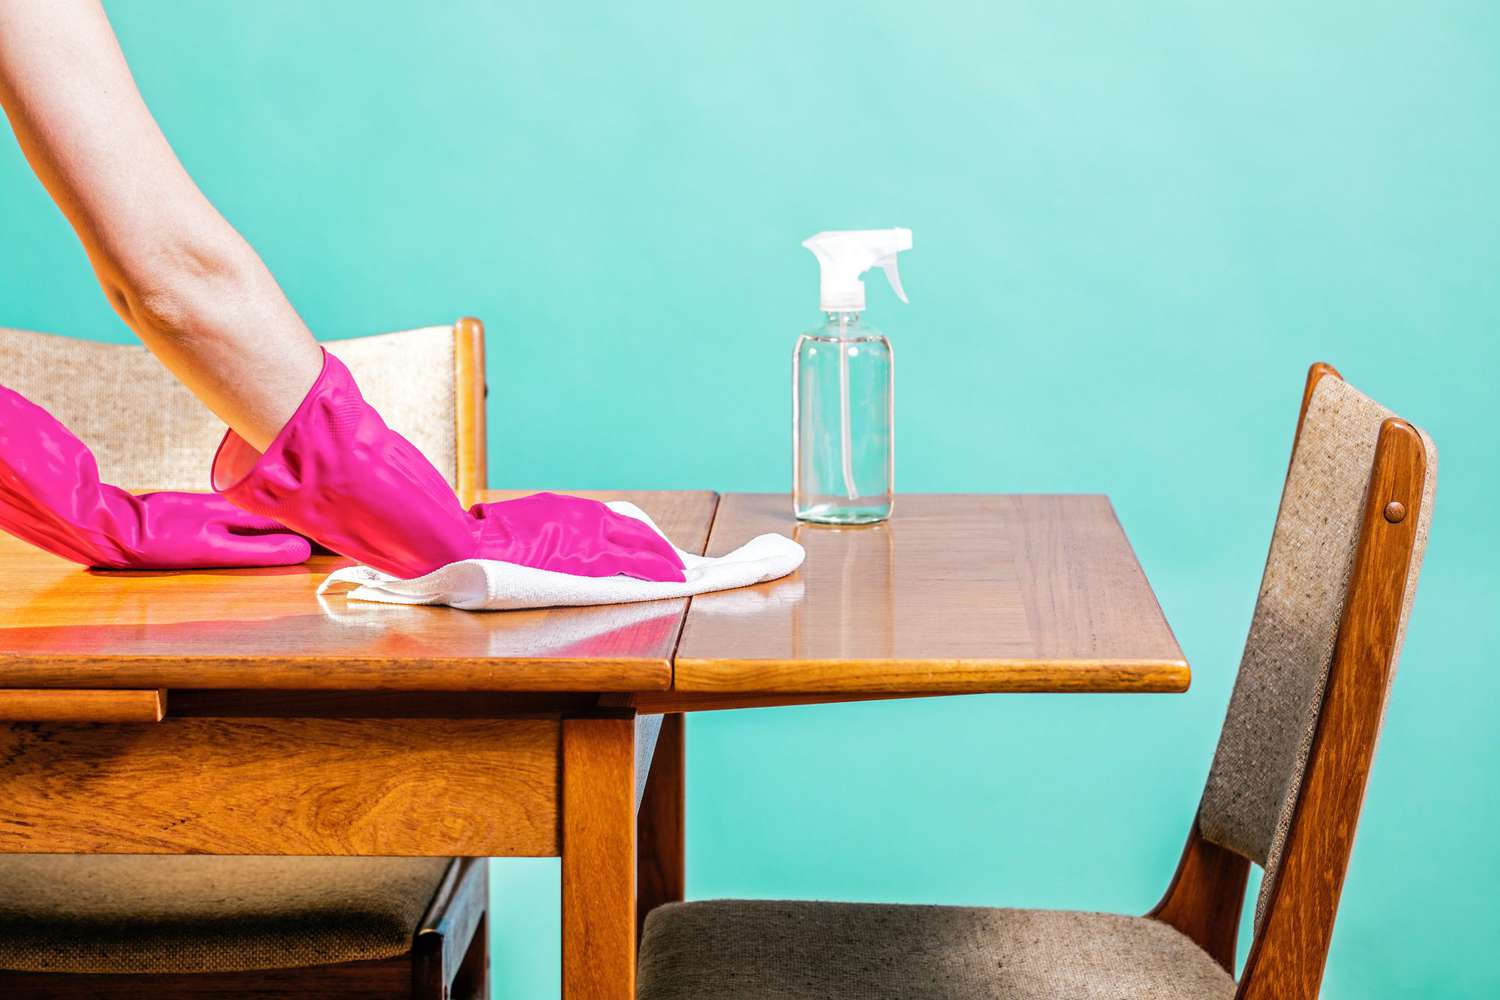
- Cleaner or Wood Brightener: Before staining, thoroughly clean the picnic table to remove dirt, grime, and any remnants of previous finishes. A wood cleaner or brightener can help restore the wood’s natural color and prepare it for the staining process.
- Drop Cloth or Tarp: Protect the surrounding area from drips and spills by laying down a drop cloth or tarp beneath the picnic table. This will prevent staining unintended surfaces and make cleanup much easier.
- Stir Stick or Mixing Tool: Ensure the stain is well-mixed before application by using a stir stick or mixing tool. This will help distribute any settled pigments and ensure a consistent color throughout the staining process.
- Container for Stain: Use a suitable container to hold the stain while applying it to the picnic table. This could be a paint tray for a roller application or a paint pail for a brush application.
- Rags or Brushes for Detailing: Have a supply of clean rags or small brushes on hand for detailing and removing excess stain from corners, edges, and intricate woodwork.
- Optional: Wood Sealer or Finish: Depending on the type of stain used, you may consider applying a clear wood sealer or finish to provide an extra layer of protection and enhance the stain’s longevity.
By ensuring you have these essential materials at your disposal, you’ll be well-prepared to embark on the picnic table staining journey with confidence and ease.
Preparation
Before diving into the staining process, proper preparation is key to achieving a professional and long-lasting finish on your picnic table. Follow these steps to ensure that your table is ready to undergo the transformation:
- Select a Suitable Location: Choose a well-ventilated outdoor area for the staining process. Ensure that the space is free from direct sunlight, strong winds, and excessive dust to prevent interference with the application and drying of the stain.
- Prepare the Picnic Table: Clear the table of any items, such as tableware, decorations, or debris. If possible, relocate the table to a spot where it can be accessed from all sides, allowing for convenient and thorough staining.
- Inspect and Repair the Wood: Carefully examine the picnic table for any signs of damage, such as cracks, splinters, or loose boards. Address any structural issues and make necessary repairs before proceeding with the staining process.
- Clean the Surface: Thoroughly clean the wood surface using a wood cleaner or brightener, following the manufacturer’s instructions. This step removes dirt, grime, and previous finishes, restoring the wood to its natural state and preparing it to receive the stain.
- Sand the Wood: Using medium-grit sandpaper or a sander, lightly sand the entire surface of the picnic table. This step smooths the wood, removes any existing finish, and promotes optimal stain adhesion. Pay special attention to areas with rough patches or imperfections.
- Remove Dust and Debris: After sanding, wipe down the table with a clean, damp cloth to remove any dust and debris. This ensures a clean surface for the stain to adhere to and prevents particles from marring the finish.
- Protect Surrounding Areas: Lay down a drop cloth or tarp beneath the picnic table to safeguard the ground from drips and spills. This protective measure simplifies cleanup and prevents unintended staining of surfaces below the table.
- Read Stain Instructions: Familiarize yourself with the instructions provided by the stain manufacturer. Understanding the recommended application method, drying times, and any specific precautions is crucial for achieving the best results.
By meticulously preparing the picnic table and its surroundings, you’ll set the stage for a seamless and successful staining experience. With these essential steps completed, you’re now ready to move on to the exciting phase of applying the stain.
Before staining a picnic table, make sure to sand the surface to remove any rough spots or old finish. Apply the stain evenly with a brush or rag, following the wood grain for a smooth finish. Let it dry completely before using the table.
Applying the Stain
With the picnic table meticulously prepared, it’s time to embark on the transformative process of applying the stain. Follow these steps to achieve a beautiful and enduring finish that will protect and enhance the natural beauty of the wood:
- Stir the Stain: Before opening the stain can, thoroughly stir the contents using a stir stick or mixing tool. This ensures that any settled pigments are evenly distributed, resulting in a consistent color throughout the staining process.
- Begin with the Underside: Start by staining the underside of the picnic table to allow for practice and familiarization with the stain’s application. Use long, smooth strokes to ensure even coverage, and pay attention to any drips or pooling that may occur.
- Apply the Stain: Using a paintbrush or roller, apply the stain to the wood surface in smooth, overlapping strokes. Work methodically in manageable sections, ensuring that the stain is applied evenly and penetrates the wood’s pores. Take care to maintain a wet edge to prevent lap marks.
- Work in the Wood Grain: When applying the stain, follow the natural direction of the wood grain for a uniform and visually appealing finish. This technique accentuates the wood’s natural patterns and textures, enhancing its overall aesthetic appeal.
- Detailing and Cleanup: Use a clean rag or small brush to remove any excess stain from corners, edges, and intricate woodwork. This step ensures that no areas are overly saturated with stain, promoting a balanced and professional appearance.
- Allow for Absorption and Drying: After applying the initial coat of stain, allow the wood to absorb the product for the duration recommended by the manufacturer. Once the absorption period has elapsed, use a clean cloth to wipe off any excess stain that has not been absorbed by the wood.
- Optional Second Coat: Depending on the desired depth of color and level of protection, consider applying a second coat of stain after the first coat has dried according to the manufacturer’s instructions. This additional layer can further enhance the richness and durability of the finish.
- Ensure Proper Ventilation: Throughout the staining process and the subsequent drying period, ensure that the area remains well-ventilated to disperse any fumes and facilitate proper drying of the stain.
By following these steps with care and attention to detail, you’ll be able to achieve a stunning and enduring finish that revitalizes your picnic table and prepares it for countless outdoor gatherings and cherished memories.
Finishing Touches
As the freshly stained picnic table undergoes the drying process, there are several important finishing touches and considerations to ensure that the project is completed to perfection. Paying attention to these details will contribute to the overall longevity and visual appeal of the stained surface:
- Inspect the Finish: Once the stain has dried according to the manufacturer’s instructions, carefully inspect the entire surface of the picnic table. Look for any missed spots, uneven areas, or drips that may require additional attention.
- Apply a Clear Sealer (Optional): Depending on the type of stain used, consider applying a clear wood sealer or finish to further protect the stained surface from moisture, UV rays, and general wear and tear. Follow the manufacturer’s guidelines for application and drying times.
- Reassemble and Reinstall: If the picnic table was disassembled for staining, now is the time to reassemble and reinstall any components, such as benches or supports. Ensure that all fasteners are securely tightened to restore the table to its functional and stable state.
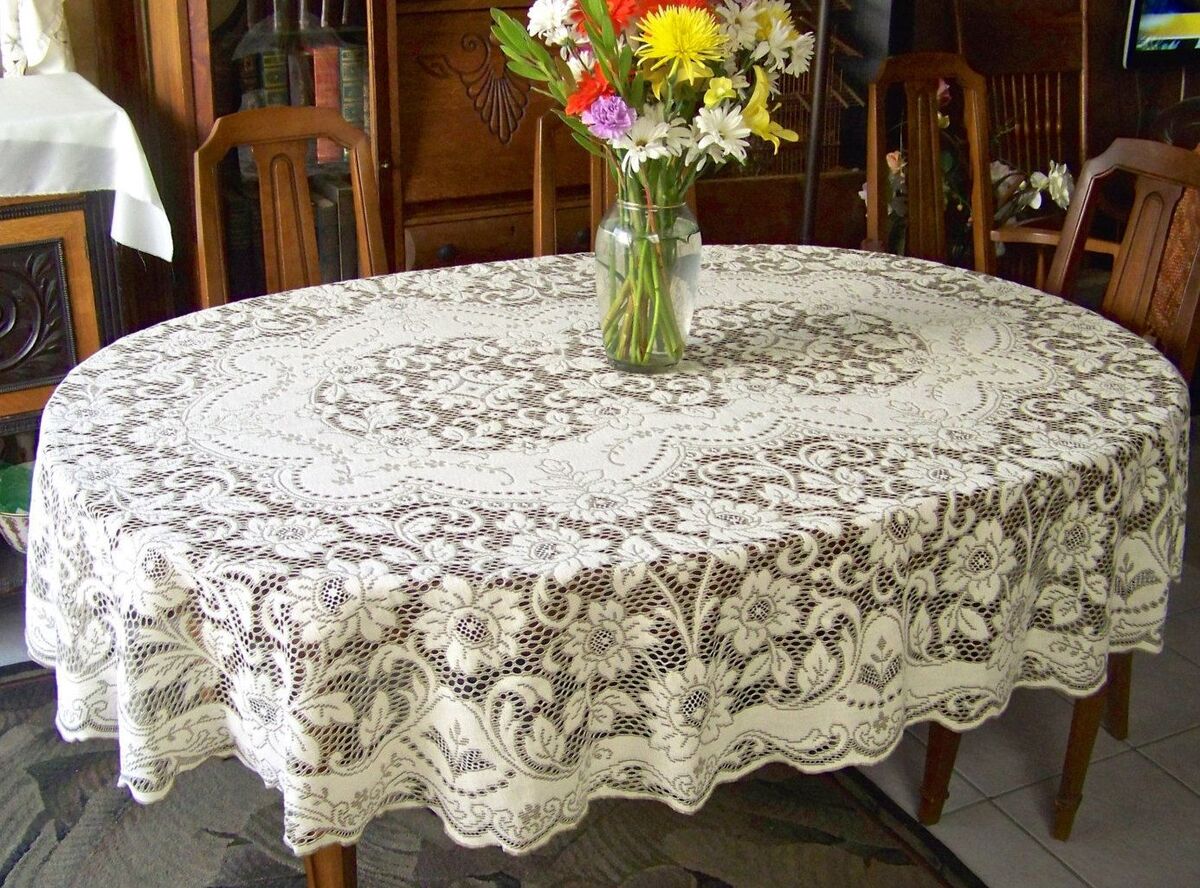
- Accessorize and Decorate: Add a personal touch to the newly-stained picnic table by adorning it with decorative elements, such as outdoor cushions, a colorful tablecloth, or potted plants. These additions not only enhance the aesthetic appeal but also create a welcoming and inviting outdoor space.
- Regular Maintenance: To preserve the beauty and protective qualities of the stain, establish a regular maintenance routine for the picnic table. This may include periodic cleaning, reapplication of protective finishes, and addressing any signs of wear or weathering.
- Enjoy the Results: With the picnic table expertly stained and adorned, take a moment to bask in the satisfaction of a job well done. Invite friends and family to gather around the table and celebrate the revitalization of this essential outdoor centerpiece.
By attending to these finishing touches, you’ll ensure that your stained picnic table not only looks stunning but also remains resilient and inviting for years to come. Embrace the opportunity to create cherished memories and delightful experiences around your newly transformed outdoor showpiece.
Read more: How To Remove Water Stains From Glassware
Conclusion
Staining a picnic table is a gratifying endeavor that not only preserves the integrity of the wood but also elevates the aesthetic appeal of your outdoor space. By following the step-by-step process outlined in this guide, you’ve embarked on a journey to breathe new life into your picnic table, ensuring that it remains a focal point for outdoor gatherings and leisurely moments.
Through meticulous preparation, thoughtful application, and attention to finishing touches, you’ve imbued your picnic table with enduring protection and visual allure. The transformation extends beyond the physical appearance of the table, encompassing the creation of a welcoming and inviting atmosphere for shared meals, conversations, and relaxation.
As you revel in the results of your staining efforts, remember that regular maintenance and care will further extend the life and beauty of the stained picnic table. Embrace the opportunity to infuse your personal style into the outdoor space, whether through decorative accents, comfortable seating, or seasonal embellishments.
Ultimately, the stained picnic table stands as a symbol of cherished moments and the joy of outdoor living. It beckons friends and family to come together, fostering connections and creating lasting memories amidst the beauty of nature. As the seasons change and years pass, your stained picnic table will remain a steadfast companion, ready to host countless gatherings and inspire moments of togetherness.
So, as you admire the captivating finish and the inviting allure of your newly-stained picnic table, take pride in the transformation you’ve accomplished. Embrace the countless opportunities for shared experiences and the simple pleasures of outdoor living that await around this revitalized centerpiece. With your picnic table now poised to be a beacon of warmth and hospitality, the stage is set for an array of unforgettable outdoor gatherings and cherished memories.
Frequently Asked Questions about How To Stain A Picnic Table
Was this page helpful?
At Storables.com, we guarantee accurate and reliable information. Our content, validated by Expert Board Contributors, is crafted following stringent Editorial Policies. We're committed to providing you with well-researched, expert-backed insights for all your informational needs.


0 thoughts on “How To Stain A Picnic Table”