Home>Gardening & Outdoor>Outdoor Entertaining>How To Make A Wood-Burning Pizza Oven
Outdoor Entertaining
How To Make A Wood-Burning Pizza Oven
Modified: February 26, 2024
Learn how to build a wood-burning pizza oven for outdoor entertaining. Create delicious pizzas and wow your guests with this DIY project.
(Many of the links in this article redirect to a specific reviewed product. Your purchase of these products through affiliate links helps to generate commission for Storables.com, at no extra cost. Learn more)
Introduction
So, you want to elevate your outdoor entertaining game with a wood-burning pizza oven? You're in for a treat! Building your own pizza oven can be a rewarding and enjoyable project that will not only add a touch of rustic charm to your backyard but also elevate your culinary skills to a whole new level. Picture this: the tantalizing aroma of freshly baked pizza wafting through the air as you entertain friends and family in your outdoor oasis. Sounds enticing, doesn't it?
In this comprehensive guide, we'll walk you through the step-by-step process of building your very own wood-burning pizza oven. From choosing the perfect location for your oven to gathering the necessary materials and constructing the oven dome, we've got you covered. Whether you're a seasoned DIY enthusiast or a novice looking for a fun and rewarding project, this guide will equip you with the knowledge and inspiration to bring your pizza dreams to life.
But it's not just about the end result – the process of building a wood-fired pizza oven is an adventure in itself. It's a chance to roll up your sleeves, get your hands dirty, and unleash your creativity. And once your pizza oven is complete, the real fun begins as you experiment with different dough recipes, sauces, and toppings to create the perfect homemade pizza. So, grab your tool belt, roll up your sleeves, and let's dive into the art of crafting a wood-burning pizza oven that will be the envy of your neighborhood.
Key Takeaways:
- Building a wood-burning pizza oven is a fun and rewarding DIY project that adds rustic charm to your backyard. It’s an adventure that enhances outdoor entertaining and culinary creativity.
- Choosing the right location, gathering materials, and constructing the oven dome are crucial steps in creating a durable and efficient wood-fired pizza oven. Enjoy the process and savor the delicious rewards!
Choosing the Right Location
Before you start gathering materials and diving into the construction process, it’s crucial to select the perfect spot for your wood-burning pizza oven. The location will not only impact the aesthetics of your outdoor space but also play a significant role in the oven’s functionality and overall performance.
Here are some key considerations to keep in mind when choosing the ideal location:
- Accessibility: Ensure that the location is easily accessible from your kitchen or outdoor dining area. You’ll want a clear and convenient path for transporting pizza ingredients, utensils, and freshly baked pizzas to and from the oven.
- Wind Patterns: Take note of the prevailing wind patterns in your area. Position the oven so that the prevailing winds won’t blow smoke directly into your gathering space. Additionally, consider how wind patterns might affect the temperature inside the oven during cooking.
- Safety and Clearance: Keep a safe distance between the pizza oven and any flammable structures, such as wooden fences, overhanging branches, or outdoor buildings. Adequate clearance will prevent potential fire hazards and ensure safe operation of the oven.
- Aesthetics: While functionality is paramount, the location of your pizza oven should also enhance the visual appeal of your outdoor space. Consider how the oven will complement your existing landscaping and outdoor decor.
- Ground Stability: Choose a location with stable ground and good drainage to provide a solid foundation for the oven. Avoid areas prone to water accumulation or uneven terrain that could impact the stability of the oven base.
By carefully assessing these factors, you’ll be able to identify the perfect spot for your wood-fired pizza oven, setting the stage for a seamless and enjoyable construction process and ensuring that your oven becomes a focal point of outdoor gatherings for years to come.
Gathering Materials
With the location selected, it’s time to gather the materials necessary to bring your wood-burning pizza oven to life. Building a durable and efficient oven requires the right combination of materials, ensuring that your oven not only looks impressive but also functions optimally for baking mouthwatering pizzas.
Here’s a list of essential materials you’ll need to kick off your pizza oven construction project:
- Firebricks: These specialized bricks are designed to withstand high temperatures, making them ideal for lining the interior of the oven and creating a heat-retaining cooking surface.
- Refractory Cement: This high-heat resistant cement is used to bond the firebricks together, creating a durable and heat-efficient oven chamber.
- Concrete Blocks or Bricks: These will form the base and support structure for your pizza oven, providing a stable foundation for the oven dome.
- Insulating Materials: Insulating your pizza oven is crucial for heat retention and efficiency. Vermiculite or perlite mixed with Portland cement is commonly used to create a thermally efficient insulation layer.
- Metal Rebar and Mesh: These reinforcements will add strength to the concrete base and help support the weight of the oven dome.
- Chimney Pipe: A chimney pipe, typically made of stainless steel, will vent the smoke and hot air from the oven, ensuring proper airflow and efficient combustion.
- Wood or Metal Door: A door for the oven opening helps retain heat during the cooking process and can be crafted from wood or metal, depending on your preference.
- Oven Thermometer: Installing a reliable oven thermometer will allow you to monitor and maintain the ideal cooking temperatures for perfect pizza baking.
While these are the fundamental materials required for constructing a basic wood-fired pizza oven, you may also choose to personalize your oven with decorative finishes, such as mosaic tiles, natural stone veneers, or stucco, to reflect your unique style and enhance the visual appeal of the oven.
By securing these materials, you’ll be well-equipped to embark on the next phase of the project: building the solid foundation and base for your wood-burning pizza oven.
Building the Base
With the materials in hand, it’s time to lay the groundwork for your wood-burning pizza oven by constructing a sturdy and stable base. The base serves as the foundation for the entire structure, providing essential support for the oven dome and ensuring long-term durability.
Here’s a step-by-step guide to building the base for your pizza oven:
- Site Preparation: Begin by clearing and leveling the ground at the chosen location for the oven. Use a shovel and a level to ensure that the ground is even and stable.
- Concrete Footings: Dig and pour concrete footings to create a solid base for the support structure. The footings will help distribute the weight of the oven and prevent settling or shifting over time.
- Building the Support Structure: Use concrete blocks or bricks to construct a stable support structure for the oven. Ensure that the structure is level and plumb, providing a reliable base for the oven dome.
- Reinforcement: Insert metal rebar and mesh within the support structure to add strength and stability, reinforcing the base to withstand the weight of the oven dome and cooking activities.
- Insulating Layer: Apply a layer of insulating material, such as a mix of vermiculite or perlite with Portland cement, over the support structure. This insulation will enhance the thermal efficiency of the base, helping to retain heat within the oven.
- Finishing Touches: Once the base is constructed and insulated, allow it to cure and set properly. You can then add personalized touches, such as decorative finishes or a smooth stucco layer, to enhance the visual appeal of the base.
By following these steps, you’ll create a solid and reliable base that forms the backbone of your wood-fired pizza oven. With the base in place, you’re ready to move on to the next exciting phase: constructing the oven dome, the iconic shape that defines a traditional pizza oven.
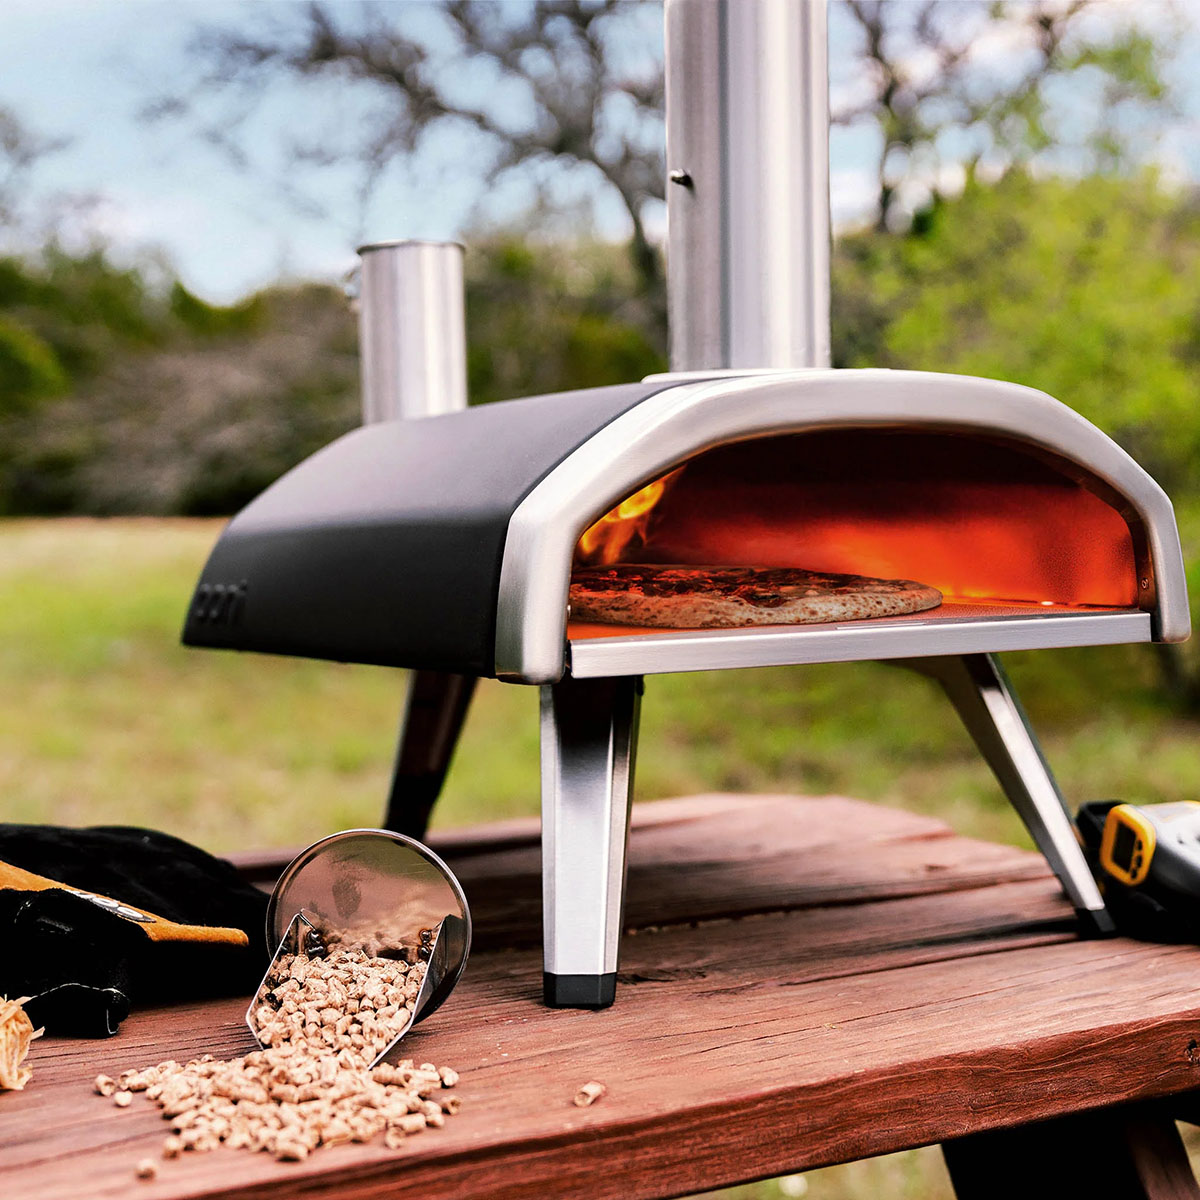
When building a wood-burning pizza oven, make sure to use firebricks for the oven floor and dome to withstand high temperatures and ensure even heat distribution for perfect pizzas.
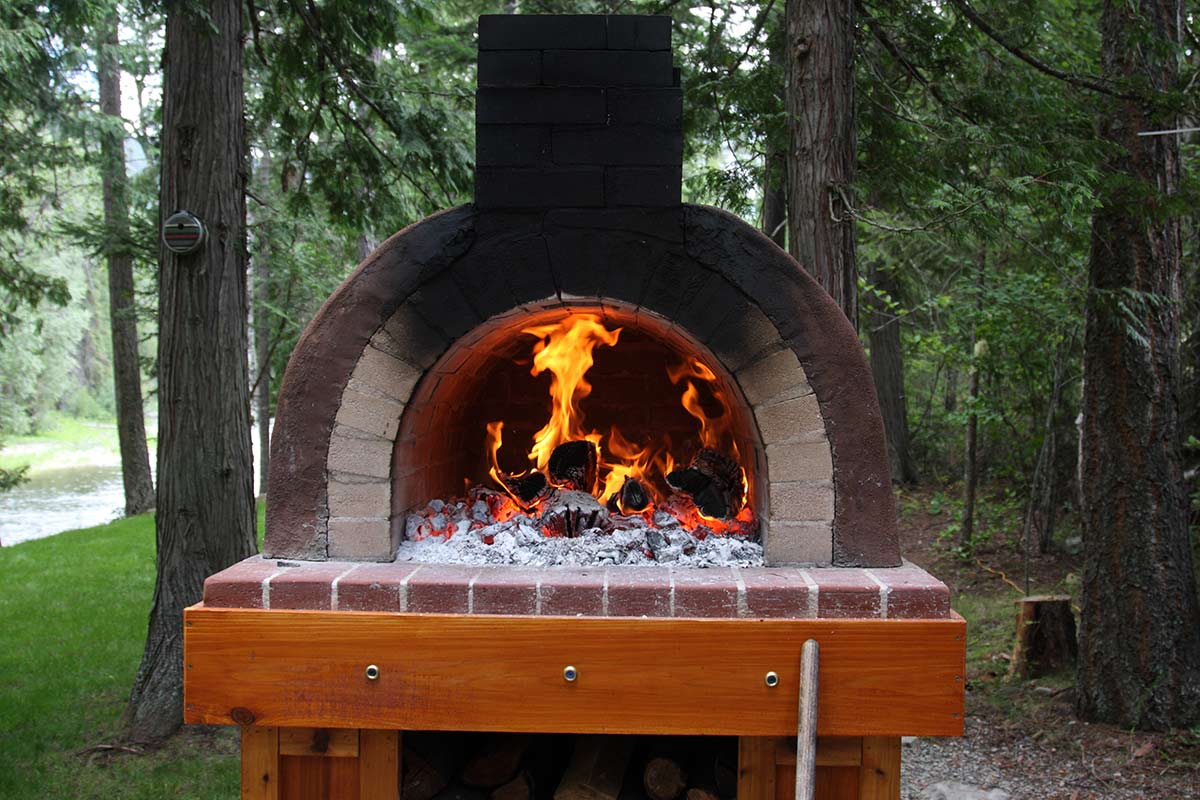
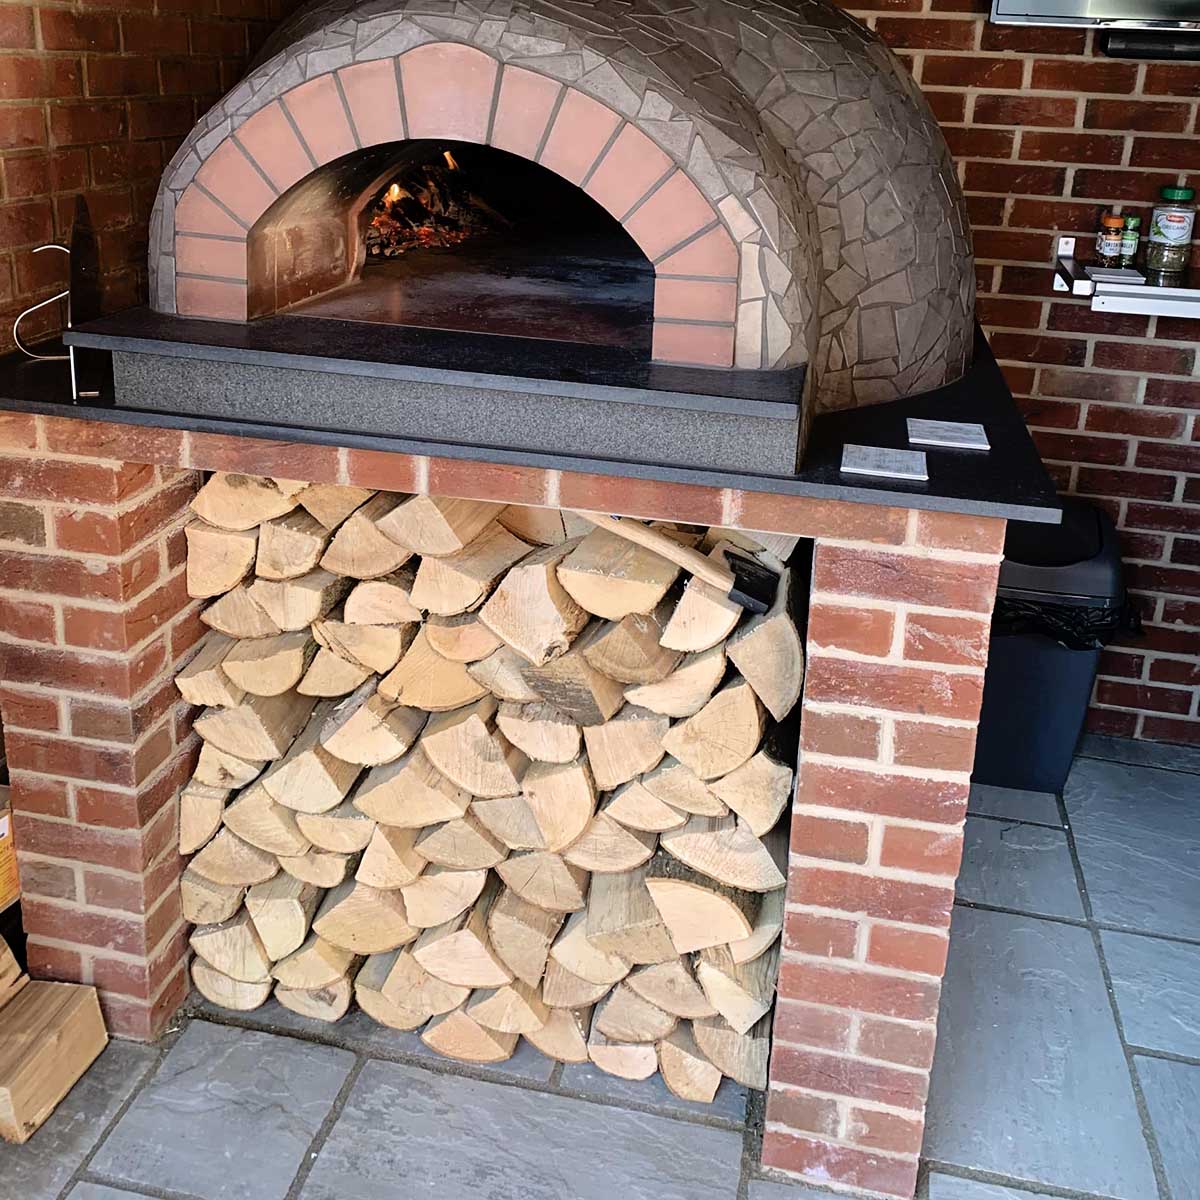
Constructing the Oven Dome
As you progress in building your wood-burning pizza oven, the construction of the oven dome marks a pivotal phase in bringing your culinary centerpiece to life. The dome not only defines the classic silhouette of a traditional pizza oven but also plays a crucial role in heat retention and even heat distribution for perfect pizza baking.
Here’s a detailed guide to constructing the oven dome for your wood-fired pizza oven:
- Creating the Sand Form: Begin by shaping a mound of damp sand into the desired dome shape on top of the insulated base. The sand form will serve as a mold for the oven dome construction.
- Laying the Firebricks: Place the firebricks over the sand form, starting from the base and gradually working your way up to form the dome shape. Use refractory cement to secure the firebricks in place, ensuring a snug and stable fit.
- Gradual Layering: As you build the dome, gradually angle the firebricks inward to create the characteristic dome curve. This technique ensures structural integrity and provides the ideal shape for heat circulation within the oven.
- Insulating Layer: Once the dome structure is complete, apply an insulating layer over the firebrick dome. This layer, typically made of vermiculite or perlite mixed with Portland cement, enhances the thermal efficiency of the dome, helping to retain heat for consistent and high-temperature cooking.
- Removing the Sand Form: Carefully remove the sand form from inside the dome, leaving behind a hollow, curved structure that forms the oven chamber. Take your time with this step to ensure the integrity of the dome remains intact.
- Curing the Dome: Allow the constructed dome to cure and set properly, following the manufacturer’s recommendations for the refractory cement and insulating materials used. Proper curing is essential for the long-term durability and performance of the oven dome.
With the oven dome successfully constructed, you’ll have achieved a significant milestone in the creation of your wood-burning pizza oven. The iconic shape of the dome not only adds a touch of rustic charm to your outdoor space but also sets the stage for the final phases of the construction process, bringing you one step closer to enjoying delicious, wood-fired pizzas in your own backyard.
Read more: How To Make Pizza In A Pizza Oven
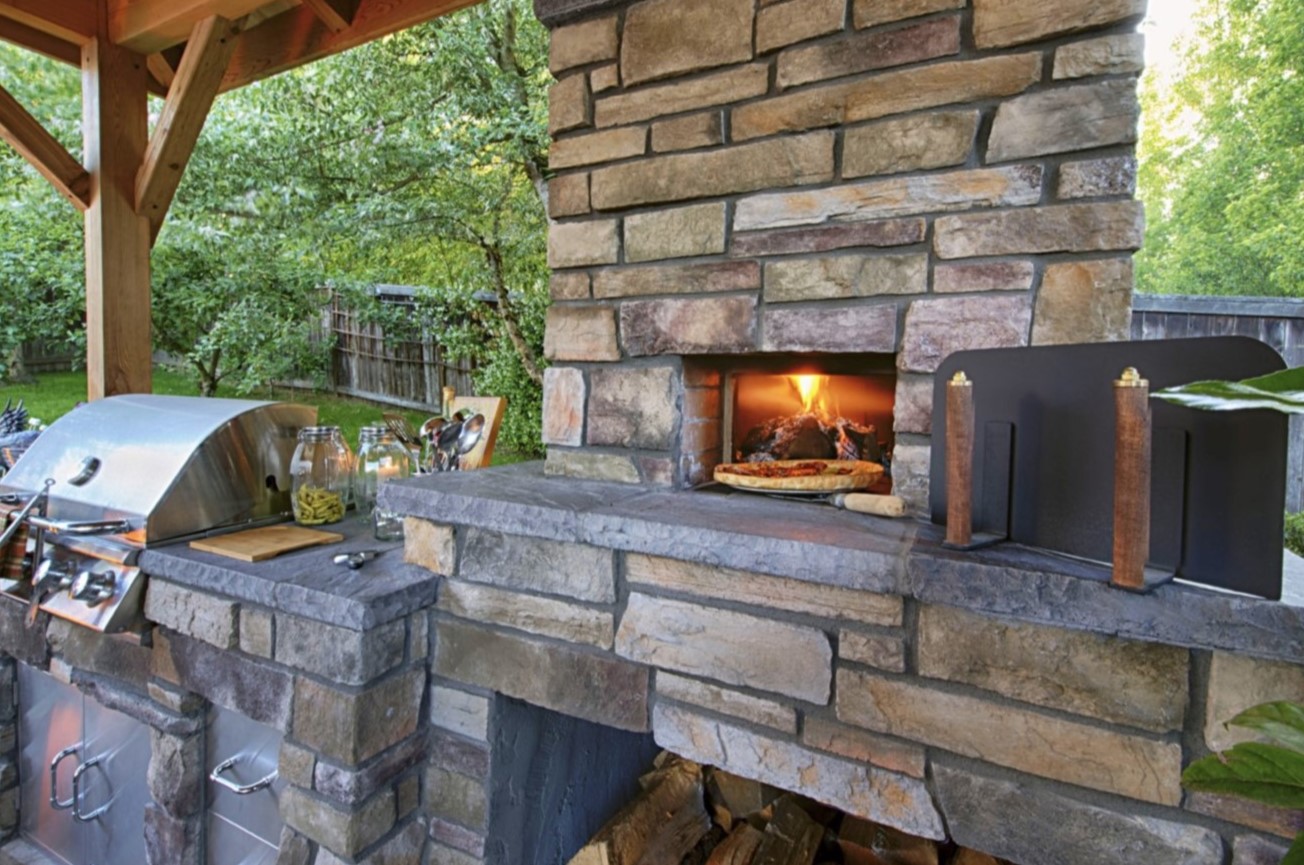
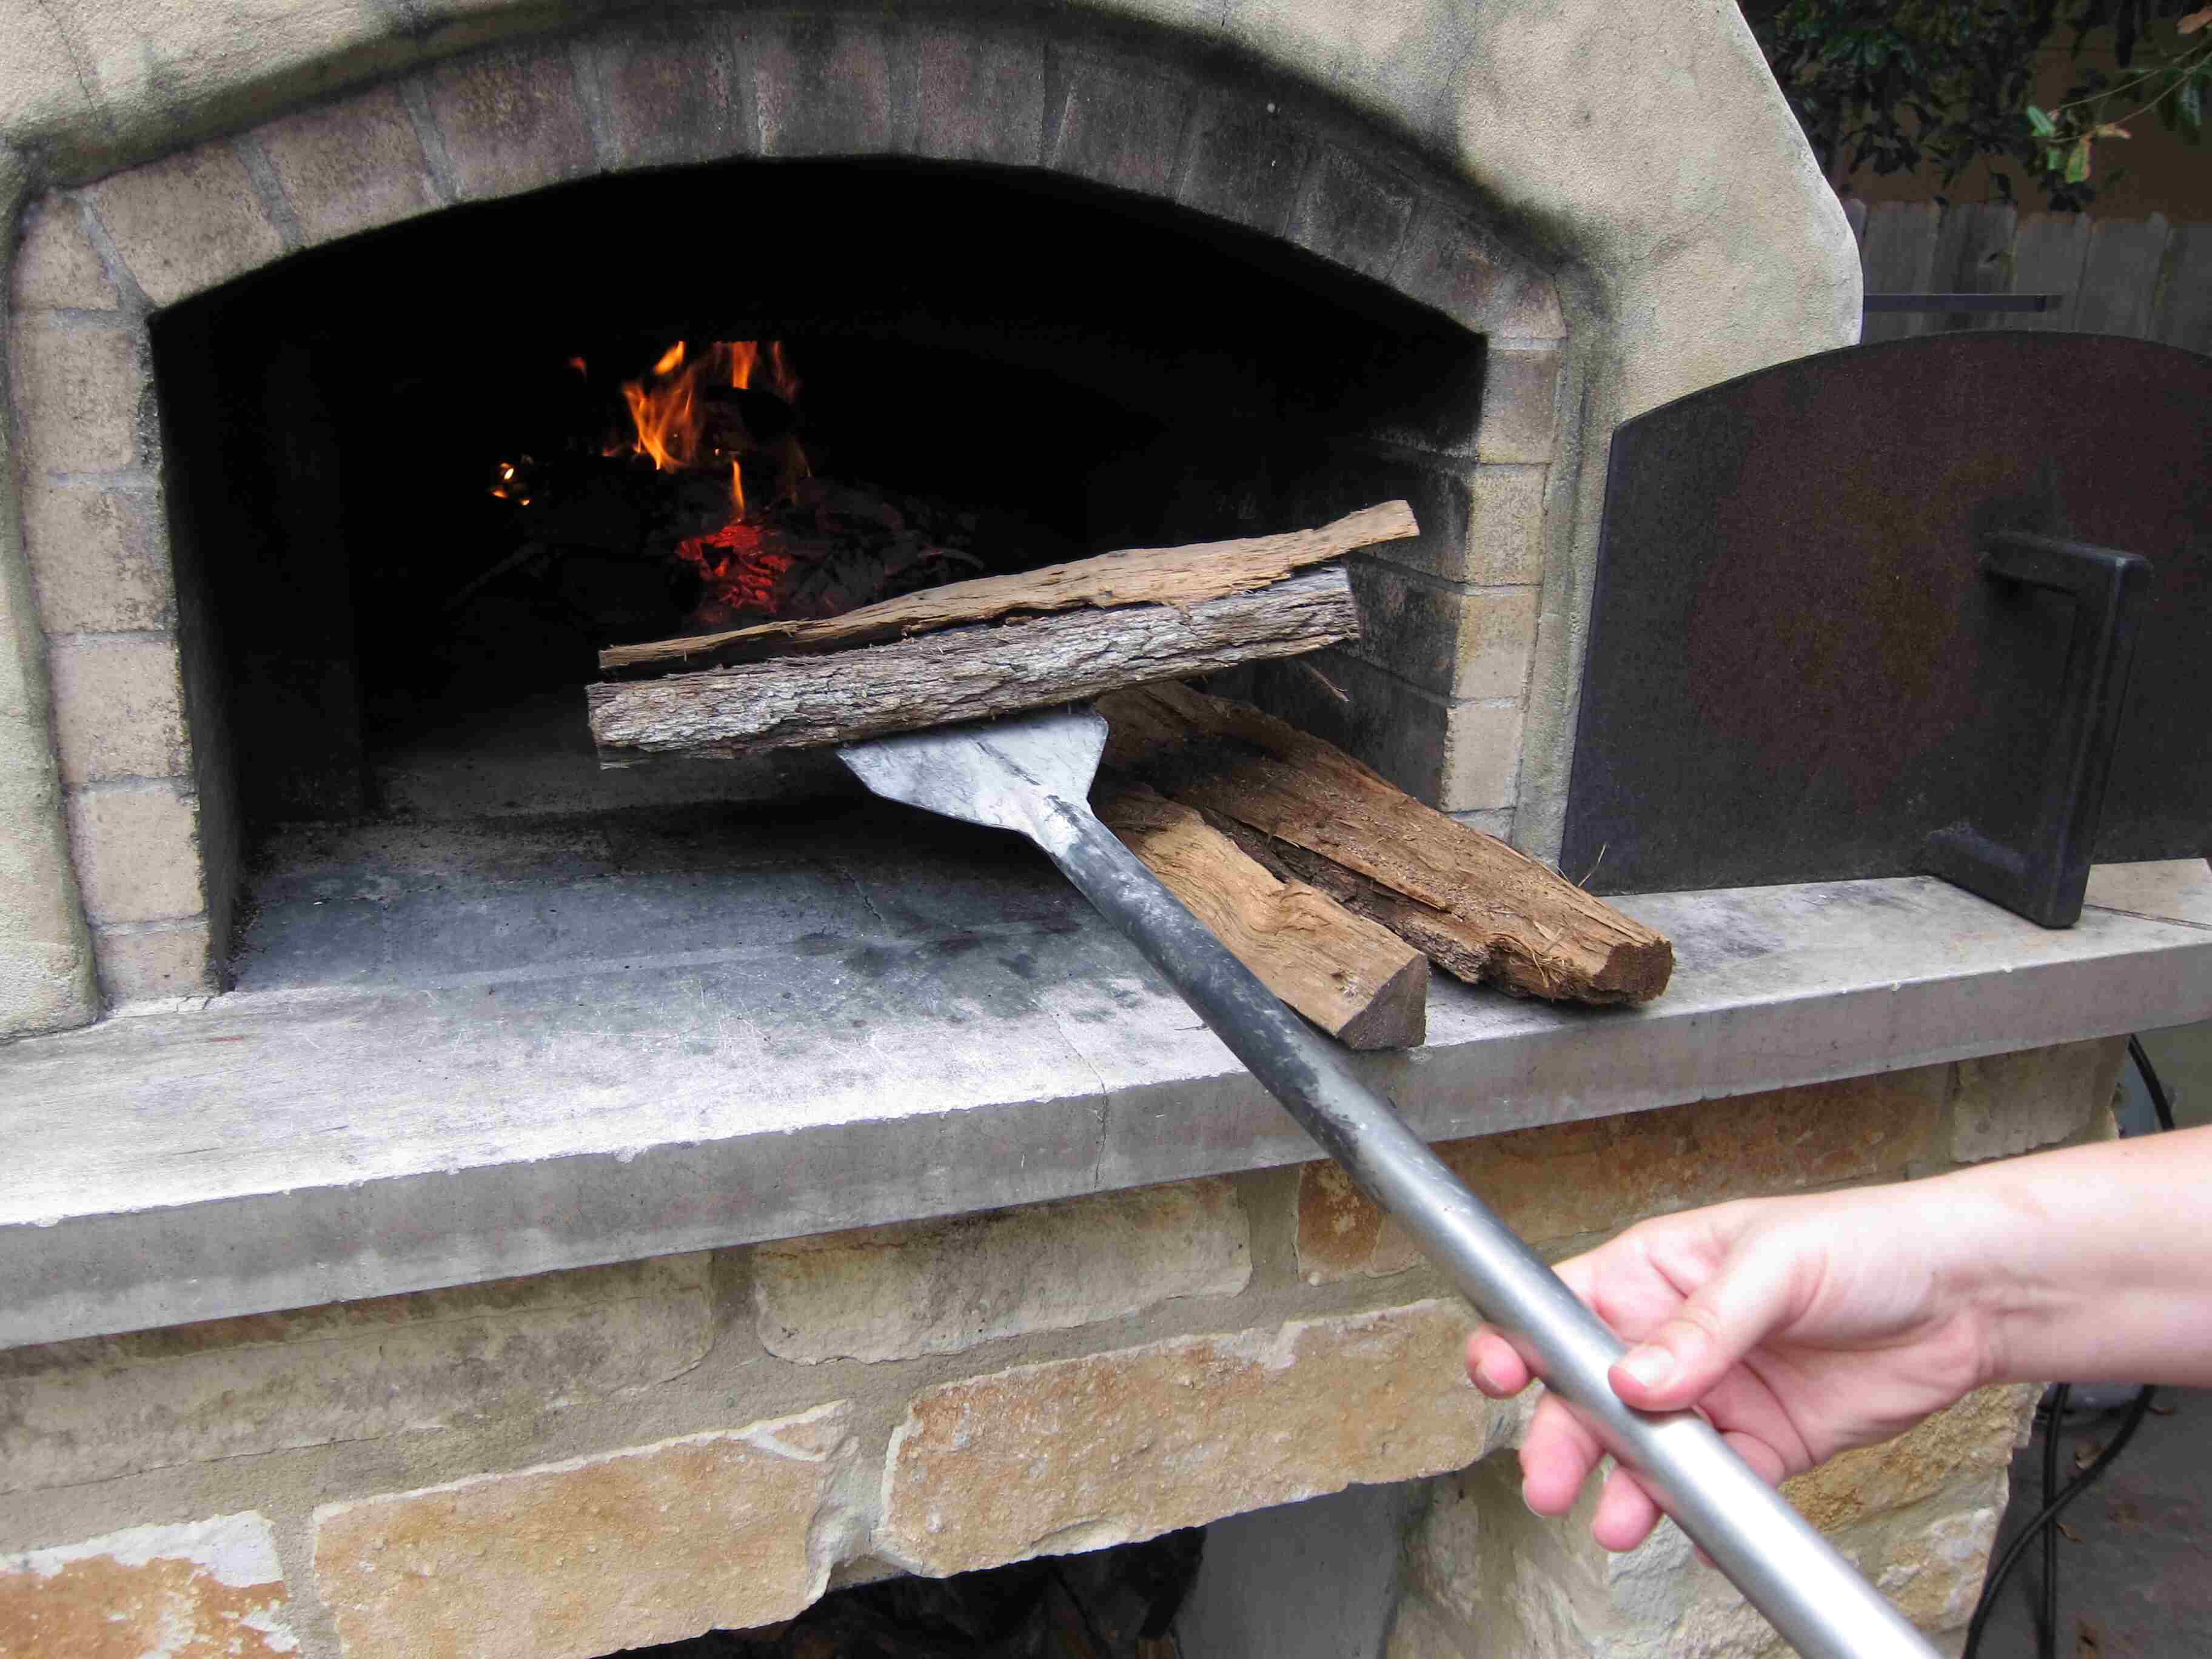
Adding the Chimney
As your wood-burning pizza oven takes shape, the addition of a well-designed chimney is essential for ensuring proper airflow, efficient combustion, and effective venting of smoke and hot air. The chimney plays a crucial role in maintaining the ideal cooking conditions inside the oven while enhancing the overall functionality and safety of the structure.
Here’s a step-by-step guide to adding the chimney to your wood-fired pizza oven:
- Chimney Placement: Determine the optimal location for the chimney, typically positioned at the highest point of the oven dome. This strategic placement allows for the efficient release of smoke and ensures proper ventilation during the cooking process.
- Chimney Pipe Installation: Install a stainless steel chimney pipe that extends from the opening at the top of the oven dome to a suitable height above the cooking surface. The pipe should be securely attached to the oven dome, providing a clear pathway for smoke and hot air to exit the oven.
- Insulation and Sealing: Ensure that the area surrounding the chimney pipe is properly insulated and sealed to prevent heat loss and maintain the integrity of the oven’s thermal envelope. Use high-temperature insulation materials to create a tight seal between the chimney pipe and the oven dome.
- Spark Arrestor: Consider adding a spark arrestor or cap to the top of the chimney to prevent debris, rain, or animals from entering the flue. This addition helps protect the chimney and maintain optimal airflow while ensuring the safety and cleanliness of the oven.
- Testing and Adjustments: Once the chimney is in place, conduct a thorough inspection to ensure that it is securely installed and functioning as intended. Test the airflow and draft by lighting a small fire in the oven and observing the smoke’s behavior as it exits through the chimney.
By meticulously adding the chimney to your wood-burning pizza oven, you’ll create an efficient and reliable venting system that enhances the performance and safety of your culinary centerpiece. With the chimney in place, you’re one step closer to experiencing the joy of crafting and savoring delectable, wood-fired pizzas in the comfort of your own outdoor oasis.
Curing the Pizza Oven
As the construction of your wood-burning pizza oven nears completion, the crucial process of curing the oven awaits. Curing is a vital step that prepares the oven for high-temperature operation, ensuring its longevity, strength, and optimal performance for baking mouthwatering pizzas.
Here’s a comprehensive guide to curing your pizza oven:
- Initial Drying: After the oven dome and chimney are in place, allow the entire structure to dry naturally for at least a week. This initial drying period is essential for the refractory materials to cure and set properly before exposing the oven to high temperatures.
- Gradual Heat Exposure: Start the curing process by building small, controlled fires in the oven, gradually increasing the intensity and duration of the fires over several days. Begin with short, low-temperature fires and gradually progress to longer burns at higher temperatures.
- Moisture Evaporation: During the curing process, the heat from the fires will help evaporate any remaining moisture within the refractory materials, preventing potential cracking or damage when the oven reaches full cooking temperatures.
- Temperature Monitoring: Use an oven thermometer to monitor the internal temperature of the oven during the curing process. Aim to gradually increase the temperature with each successive fire, allowing the oven to reach and maintain higher temperatures as the curing progresses.
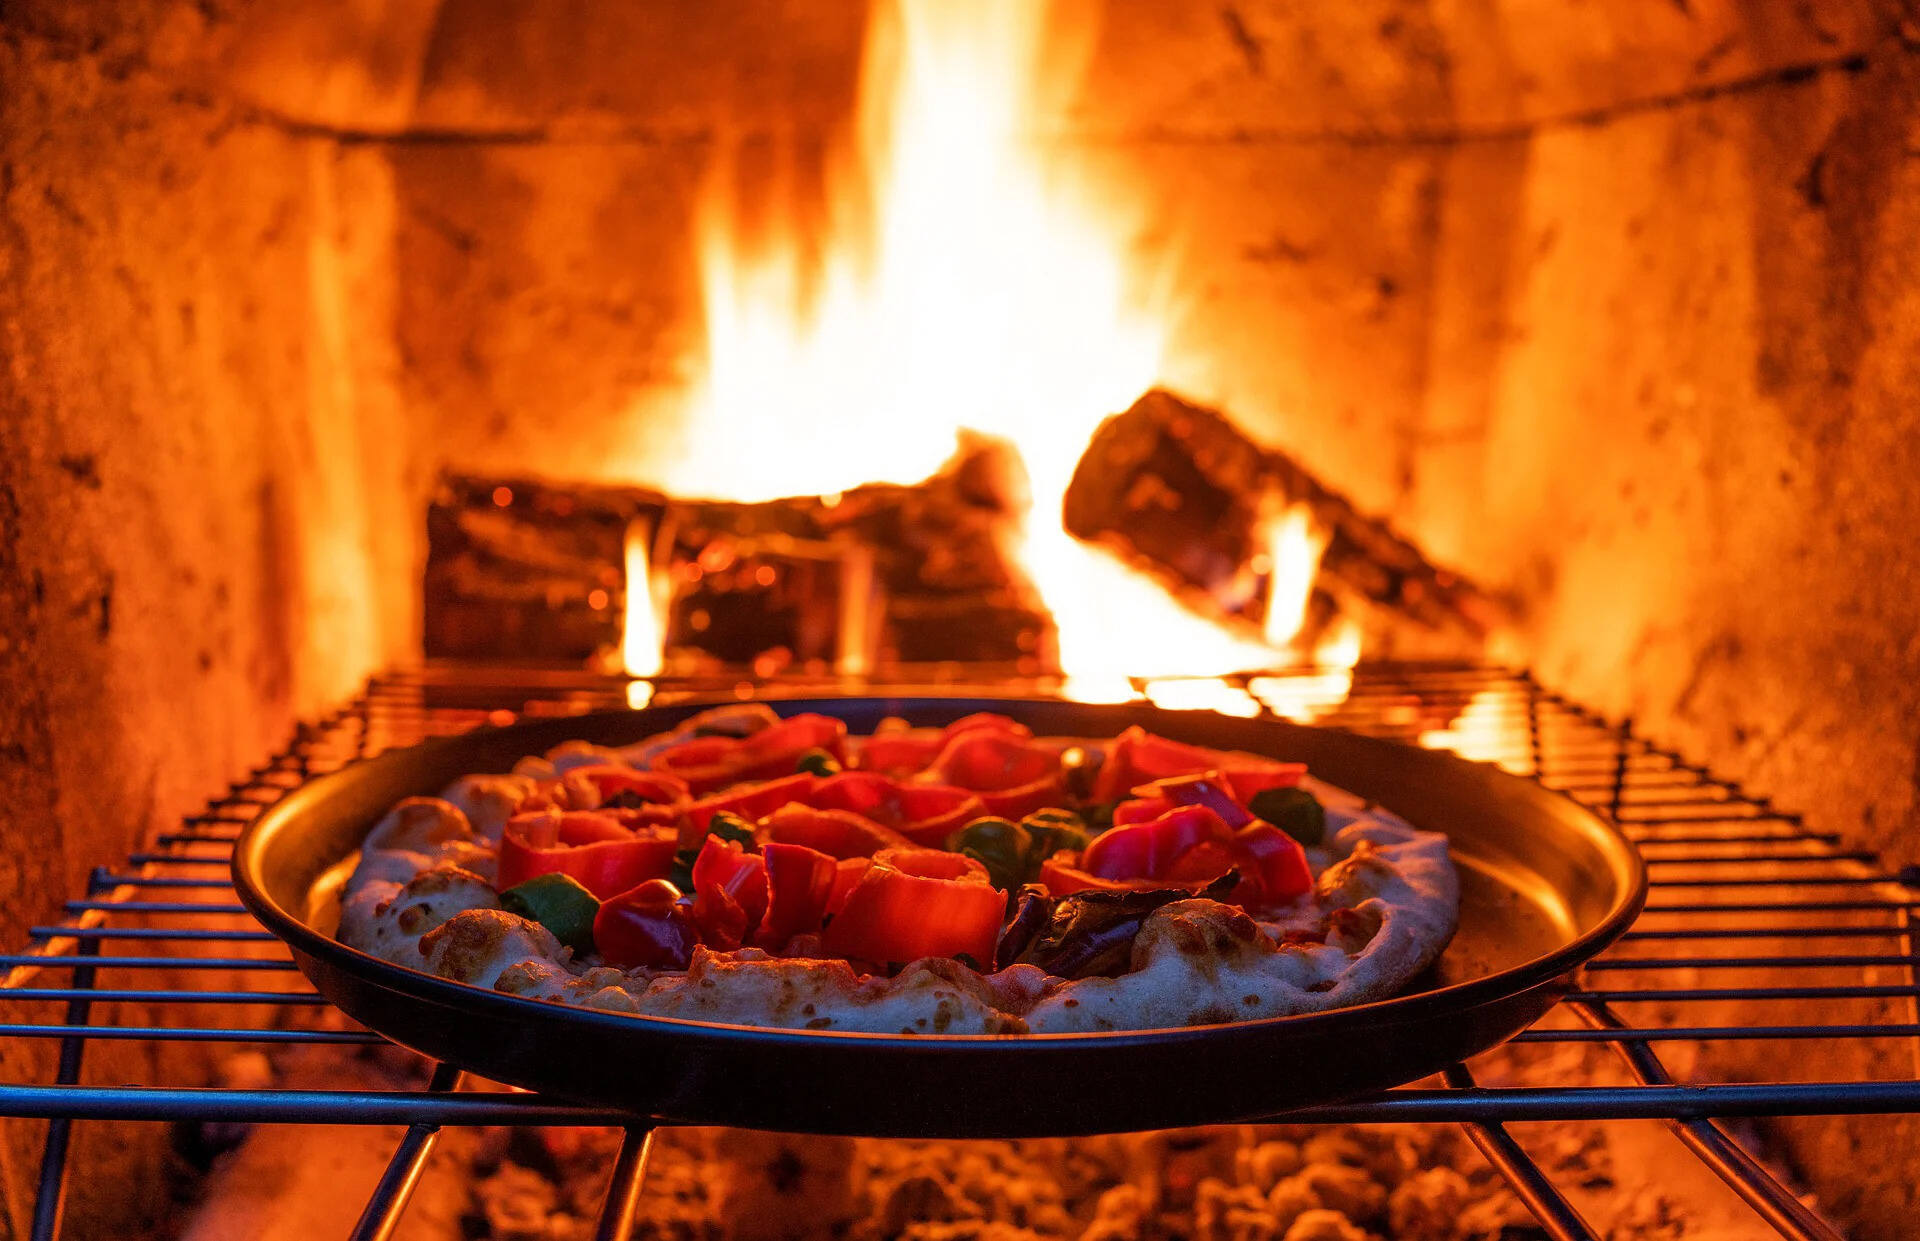
- Complete Curing: Once the oven has been exposed to several controlled fires, reaching and maintaining temperatures of 700-800°F (370-430°C) for extended periods, the curing process is complete. At this stage, the oven will be ready for the intense heat required for baking authentic, wood-fired pizzas.
Properly curing your pizza oven is essential for maximizing its longevity and performance. By following these steps, you’ll ensure that the oven’s refractory materials are fully cured, minimizing the risk of damage and setting the stage for countless culinary adventures in the form of homemade, wood-fired pizzas.
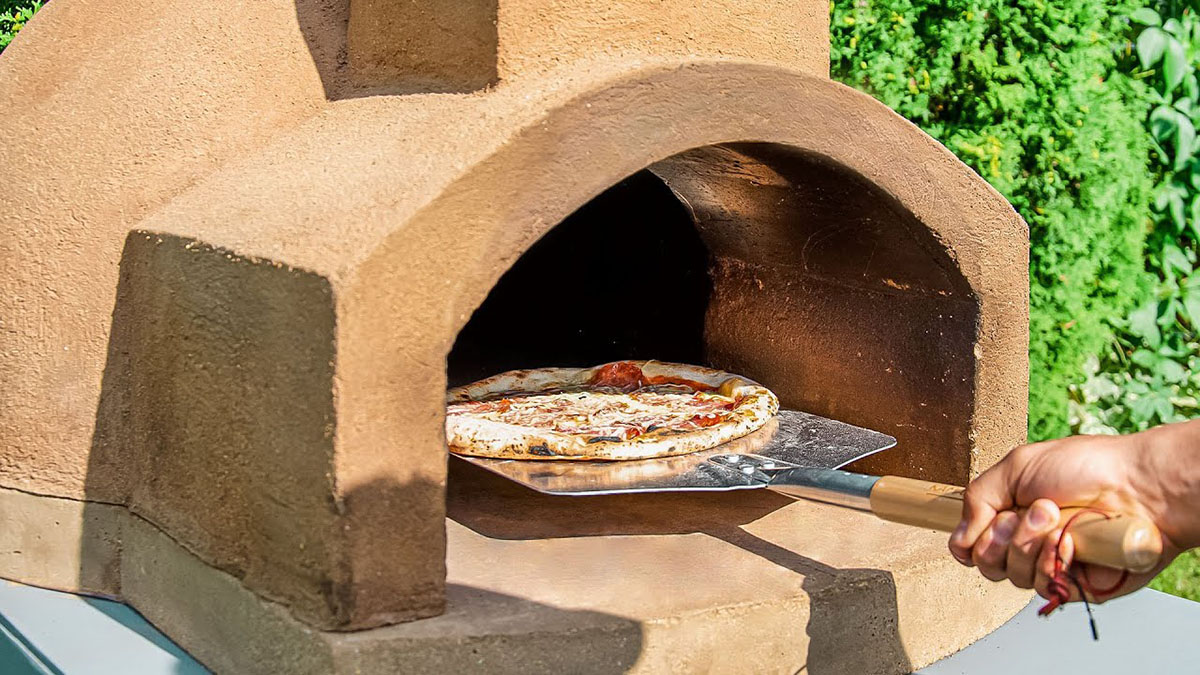
Enjoying Your Homemade Pizza
Congratulations! With your wood-burning pizza oven fully constructed and cured, it’s time to reap the delicious rewards of your hard work. The stage is set for you to indulge in the delightful experience of crafting and savoring authentic, homemade pizzas infused with the irresistible flavor of wood-fired cooking.
Here are some tips for making the most of your wood-fired pizza oven and creating memorable culinary experiences:
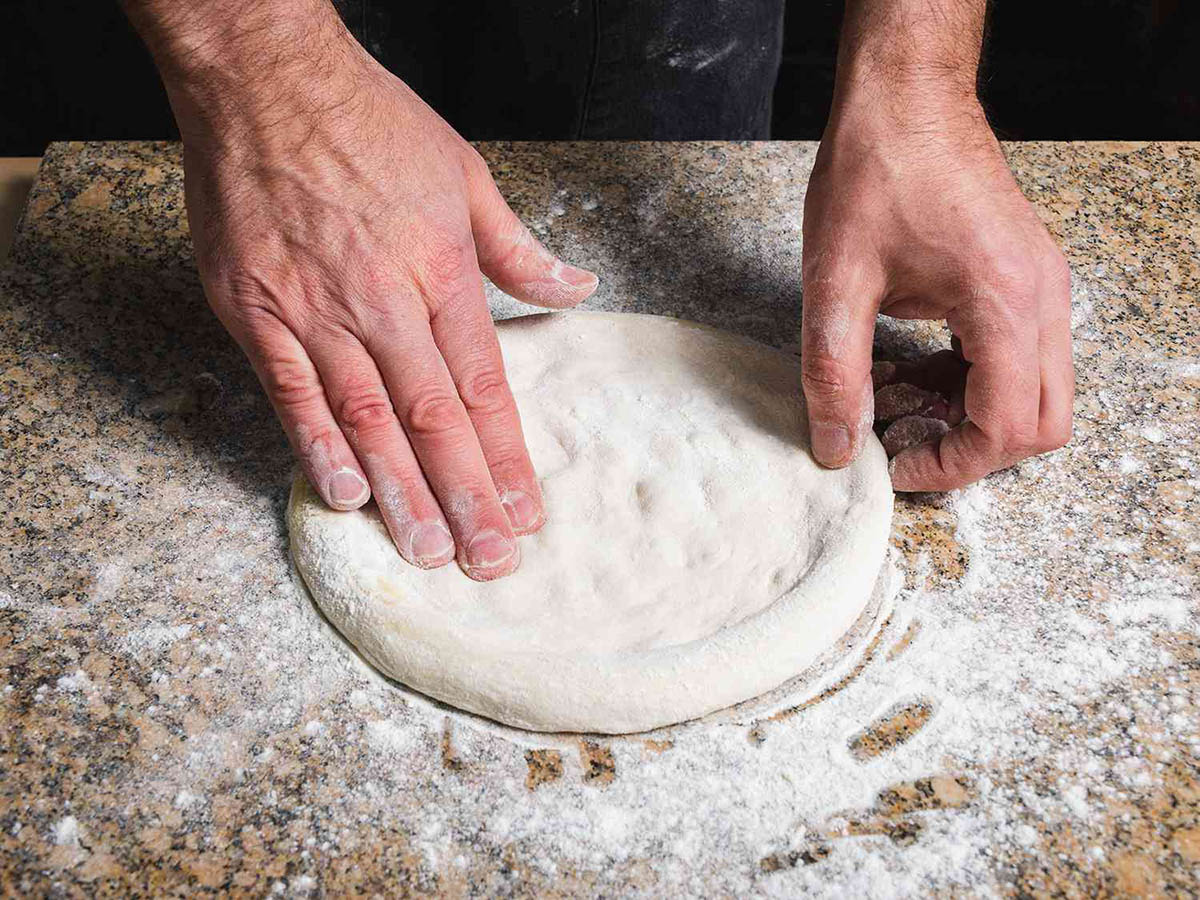
- Perfecting the Dough: Experiment with different pizza dough recipes to find the perfect balance of flavor, texture, and crust crispiness. The high, consistent heat of the wood-fired oven will impart a delightful char and smoky essence to the crust, elevating your pizzas to gourmet status.
- Artisanal Toppings: Embrace your creativity by exploring an array of fresh, high-quality toppings. From traditional margherita and pepperoni to inventive combinations featuring seasonal produce and artisanal cheeses, the wood-fired oven will enhance the flavors and textures of every ingredient.
- Mastering the Technique: As you become acquainted with your pizza oven, fine-tune your cooking technique to achieve the perfect balance of heat and timing. Rotate the pizzas as they cook to ensure even baking and a beautifully blistered crust, characteristic of wood-fired pies.
- Gather and Celebrate: Invite friends and family to share in the joy of crafting and savoring wood-fired pizzas. The communal experience of assembling pizzas, watching them bake in the oven, and indulging in the delectable results creates cherished memories and fosters a sense of camaraderie.
- Expand Your Culinary Repertoire: While pizzas are a natural choice for wood-fired cooking, don’t limit yourself. Explore the versatility of your oven by experimenting with roasted vegetables, artisan bread, and even delectable desserts, tapping into the full potential of wood-fired culinary creations.
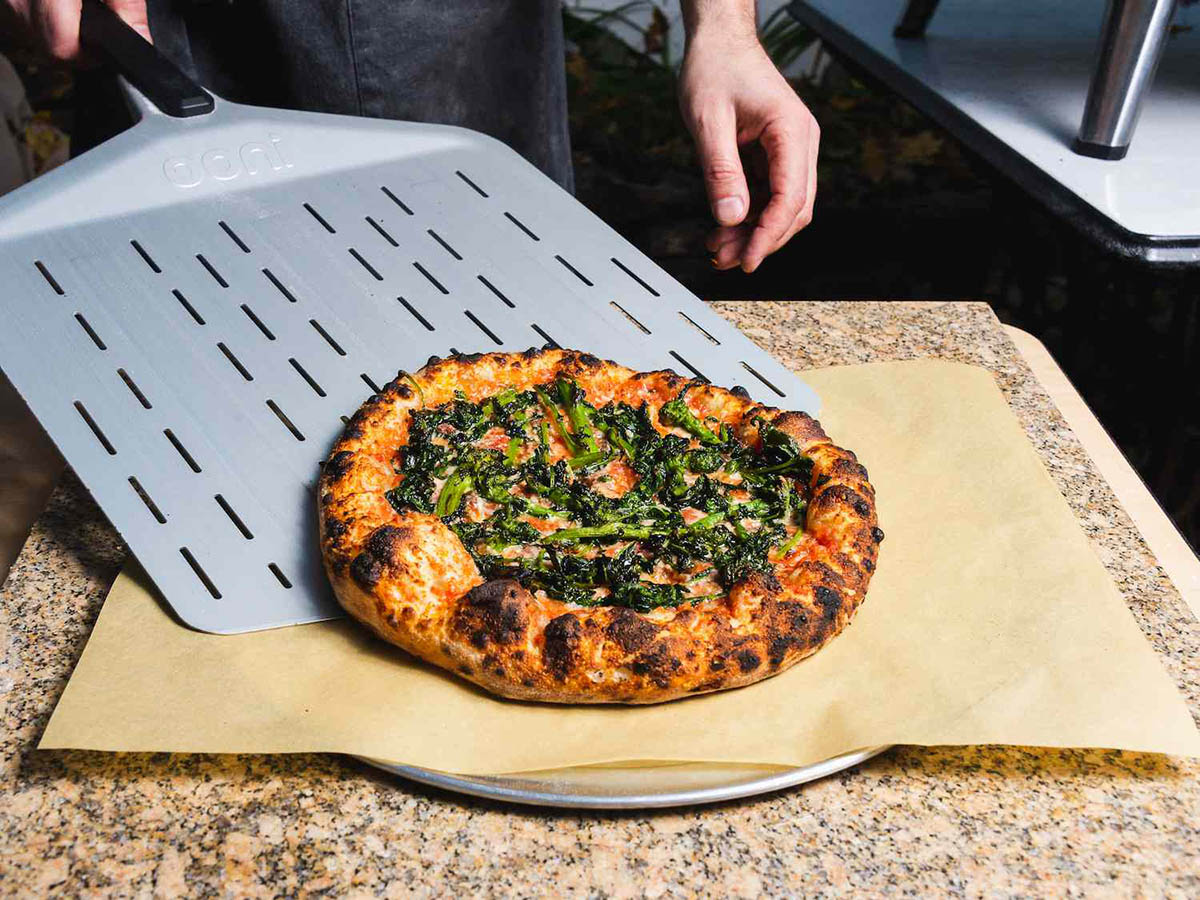
With each wood-fired pizza that emerges from your oven, you’ll savor the unmistakable essence of artisanal craftsmanship and the rustic charm of traditional cooking methods. The smoky aroma, crispy crust, and bubbling cheese will serve as a testament to your dedication and creativity, transforming every pizza night into a memorable and delectable experience.
So, fire up your oven, unleash your culinary imagination, and relish the art of crafting and savoring homemade pizzas that bear the unmistakable mark of wood-fired perfection.
Frequently Asked Questions about How To Make A Wood-Burning Pizza Oven
Was this page helpful?
At Storables.com, we guarantee accurate and reliable information. Our content, validated by Expert Board Contributors, is crafted following stringent Editorial Policies. We're committed to providing you with well-researched, expert-backed insights for all your informational needs.


0 thoughts on “How To Make A Wood-Burning Pizza Oven”