Home>Gardening & Outdoor>Outdoor Entertaining>How To Make A Clay Pizza Oven
Outdoor Entertaining
How To Make A Clay Pizza Oven
Modified: February 29, 2024
Learn how to make a clay pizza oven for your outdoor entertaining needs. This DIY project will elevate your outdoor gatherings with delicious homemade pizzas.
(Many of the links in this article redirect to a specific reviewed product. Your purchase of these products through affiliate links helps to generate commission for Storables.com, at no extra cost. Learn more)
Introduction
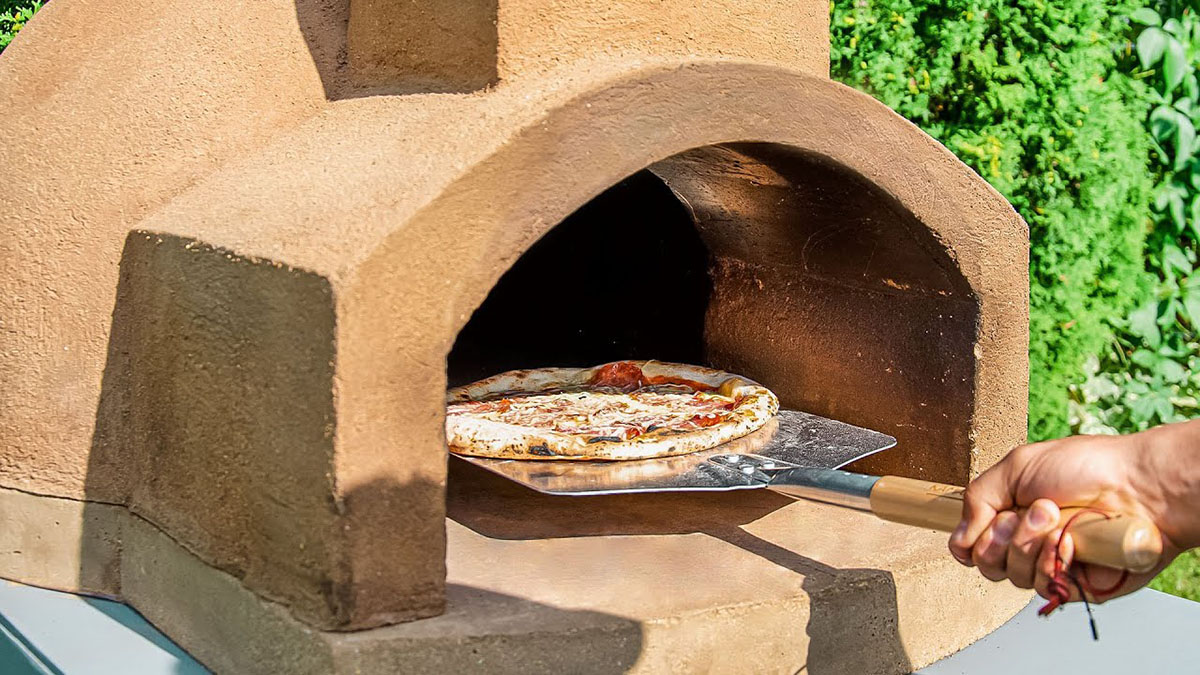
Welcome to the wonderful world of outdoor entertaining, where the aroma of sizzling pizzas and the warmth of a crackling fire combine to create unforgettable gatherings. If you’re looking to elevate your hosting game and add a touch of rustic charm to your backyard, building a clay pizza oven could be just the project for you. Not only does it offer a fun and rewarding DIY experience, but it also provides a fantastic focal point for your outdoor space and a delectable way to cook up delicious pizzas, bread, and more.
While the idea of crafting your own pizza oven may seem daunting at first, fear not. With the right materials, a bit of patience, and a sprinkle of creativity, you’ll soon be well on your way to enjoying the fruits of your labor in the form of mouthwatering, wood-fired creations. So, roll up your sleeves, gather your tools, and let’s dive into the art of building a clay pizza oven that will become the heart of your outdoor entertaining endeavors.
Key Takeaways:
- Building a clay pizza oven is a fun DIY project that adds rustic charm to your outdoor space and creates a focal point for gatherings, while also offering a delicious way to cook pizzas and more.
- Constructing a clay pizza oven involves building a stable base, shaping the dome, adding insulation, and finishing touches, resulting in a unique and functional cooking appliance for wood-fired culinary adventures.
Read more: How To Make Pizza In A Pizza Oven
Materials and Tools Needed
Before embarking on your clay pizza oven project, it’s essential to gather the necessary materials and tools. Here’s a comprehensive list to get you started:
Materials:
- Clay: Look for a high-quality, heat-resistant clay suitable for constructing the oven dome and insulation layer.
- Sand: Used in the construction of the oven base and as a component in the clay-sand mixture for the oven dome.
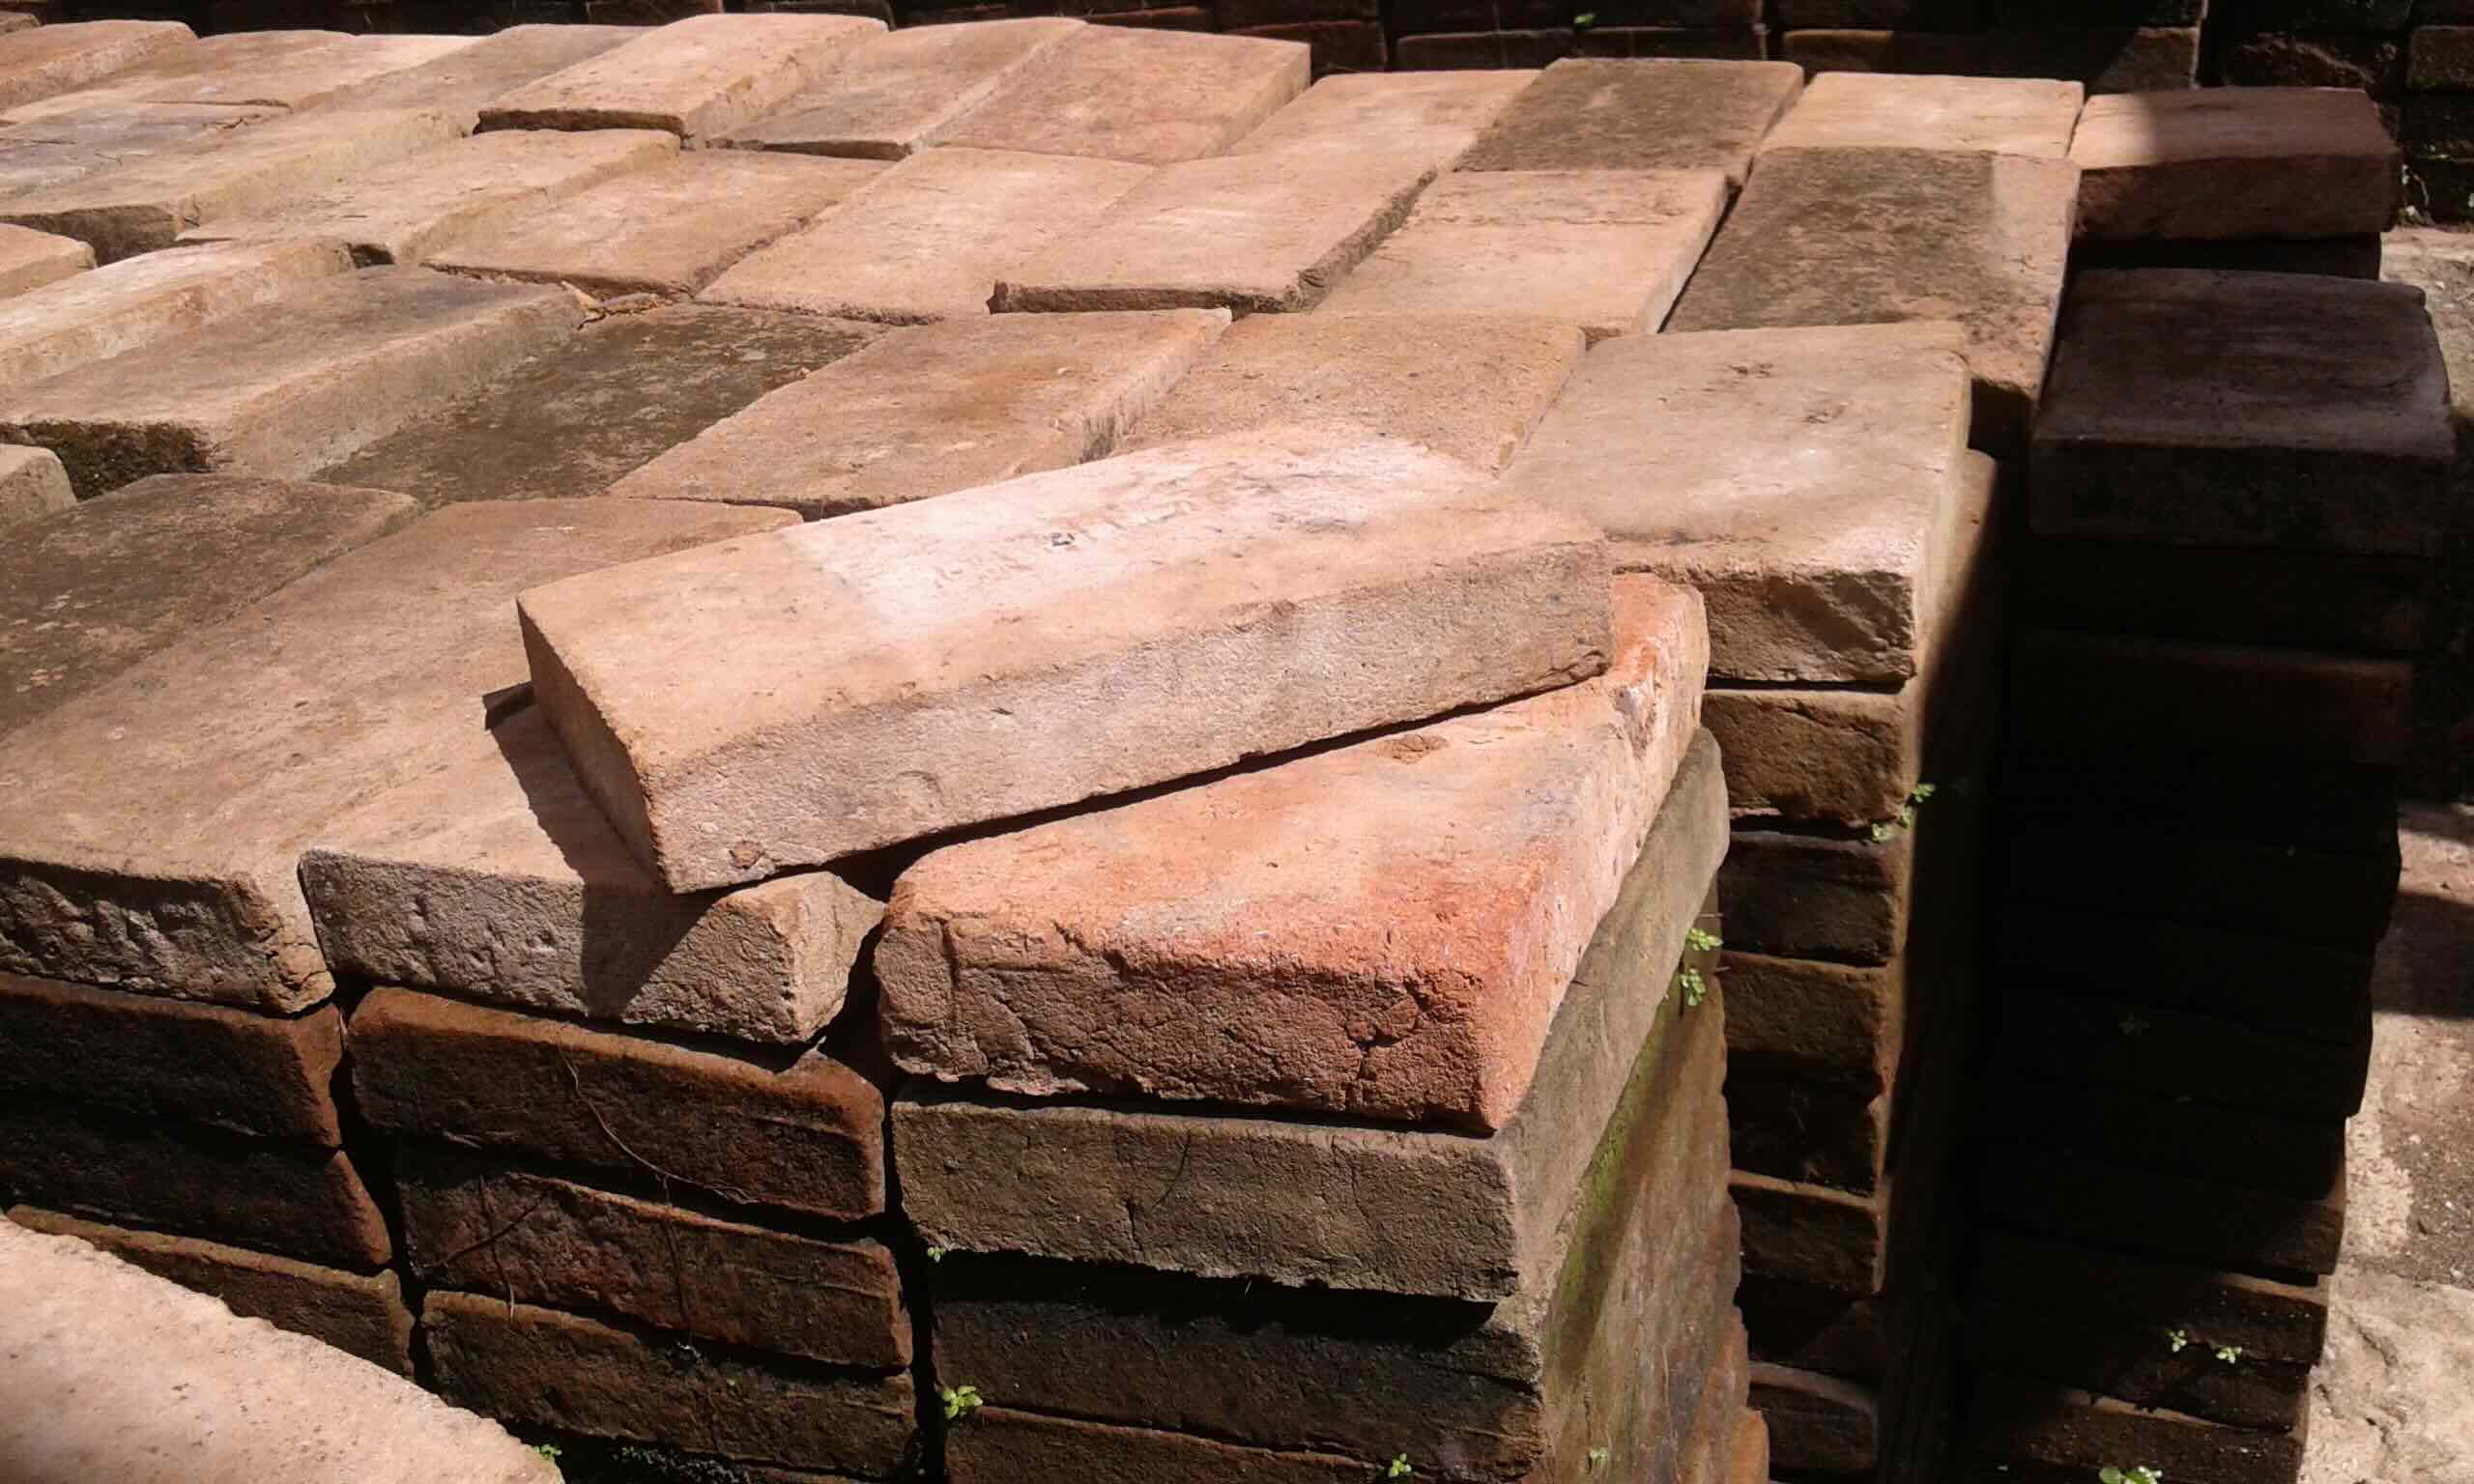
- Firebricks: These will form the oven floor and provide a durable, heat-retaining surface for cooking.
- Refractory Insulation: Insulating materials such as perlite, vermiculite, or ceramic fiber blanket to ensure heat retention.
- Wood or Metal Door: For the oven opening, allowing access for placing and removing food during cooking.
- Rebar or Wire Mesh: Provides structural reinforcement for the oven base and dome.
- Fire Clay: Used in the mortar to join the firebricks and as a component in the clay-sand mixture for the oven dome.
- Water: Essential for mixing the clay and sand to the right consistency.
- Wood or Gas Burner: Depending on your preference for fueling the oven.
Tools:
- Shovel: For digging and moving materials during construction.
- Trowel: Essential for shaping and applying the clay and mortar.
- Level: Ensures the oven base and dome are constructed evenly and accurately.
- Bucket: For mixing clay, sand, and mortar.
- Measuring Tools: Such as a tape measure and spirit level for precise construction.
- Protective Gear: Including gloves and a dust mask for handling materials.
These materials and tools will serve as the building blocks for your clay pizza oven, setting the stage for a rewarding and enjoyable construction process. With everything in hand, you’re ready to move on to the first crucial step: building the oven’s base.
Step 1: Building the Base
The foundation of your clay pizza oven is the base, which provides stability and support for the entire structure. Here’s a step-by-step guide to constructing a solid base for your oven:
1. Selecting the Location: Choose a suitable spot in your outdoor space for the oven. Ensure it’s on a level surface and complies with any local regulations or guidelines regarding outdoor structures.
2. Excavation: Use a shovel to dig a foundation for the base, creating a level area that’s slightly larger than the dimensions of the base you plan to build.
3. Laying the Foundation: Pour a layer of sand into the excavated area and use a tamper to create a level and compact surface for the base. This will provide a stable and insulated foundation for the oven.
4. Constructing the Base: Using firebricks or concrete blocks, build a sturdy and level base for the oven. Ensure the dimensions align with the size of the oven you intend to construct, and use a spirit level to check for evenness.
5. Reinforcement: If using concrete blocks, consider adding rebar or wire mesh reinforcement within the structure to enhance its strength and durability.
6. Curing the Base: Allow the constructed base to cure and settle for a few days before proceeding to the next phase of the oven’s construction. This will ensure that the foundation is solid and ready to support the weight of the oven dome.
With the base in place, you’ve laid the groundwork for the rest of the clay pizza oven construction. The next step involves shaping and building the oven dome, a pivotal aspect of the oven’s design that contributes to its efficiency and heat retention capabilities.
Read more: How To Make Pizza Dough For A Pizza Oven
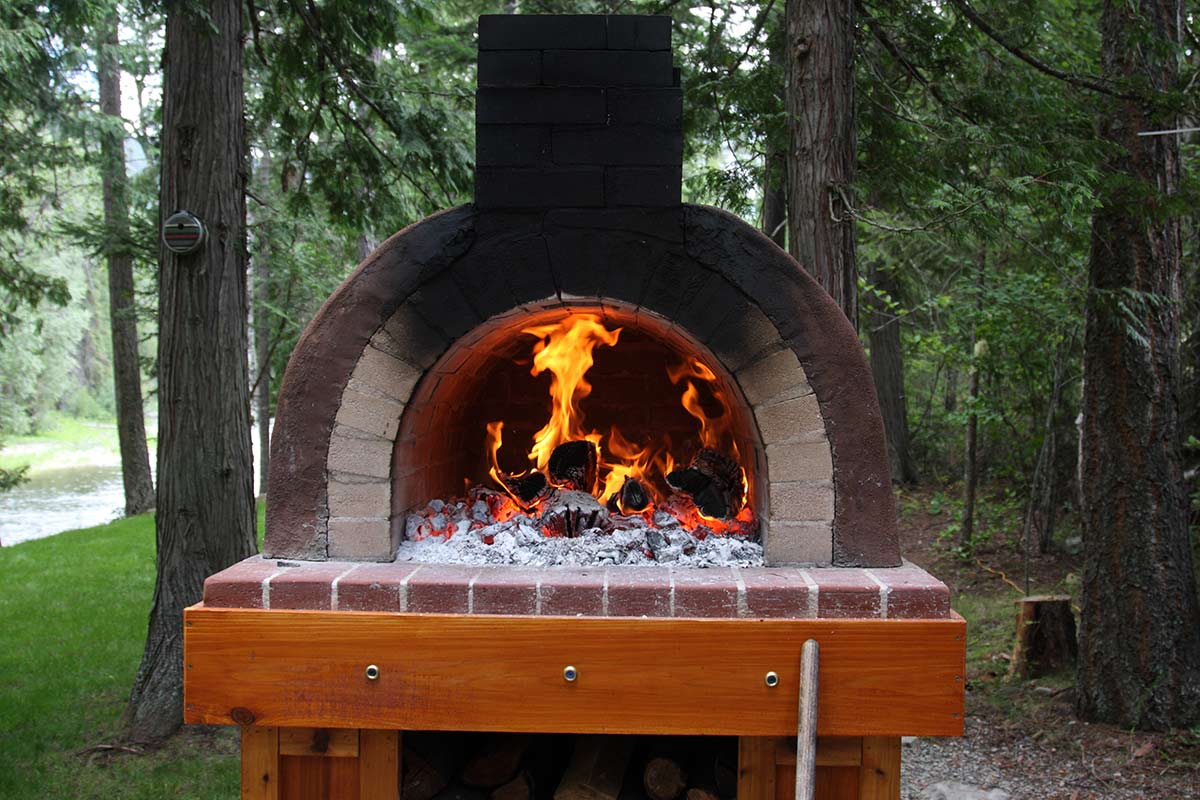
Step 2: Constructing the Oven Dome
The oven dome is a defining feature of a traditional clay pizza oven, responsible for retaining and radiating heat evenly to cook food to perfection. Here’s a detailed guide to constructing the oven dome:
1. Creating the Sand Form: Begin by piling damp sand in the shape of the desired dome on top of the oven base. This sand form will serve as the mold for the oven’s clay dome.
2. Mixing the Clay: In a large mixing container, combine the heat-resistant clay with sand and water to create a workable, clay-sand mixture. The right consistency is crucial, allowing the mixture to hold its shape without being too wet or dry.
3. Building the Dome: Take handfuls of the clay-sand mixture and begin layering it over the sand form, gradually shaping it into a smooth and evenly thick dome structure. Ensure the thickness of the clay layer is consistent throughout for optimal heat retention.
4. Carving the Entrance: As the clay dome takes shape, carefully carve out the entrance to the oven, ensuring it’s appropriately sized for placing and retrieving food. This opening will later accommodate the oven door.
5. Drying and Setting: Allow the clay dome to air dry gradually, ensuring it’s protected from direct sunlight and harsh weather conditions. This slow drying process helps prevent cracking and ensures the dome sets properly.
6. Removing the Sand Form: Once the clay dome has dried and set, carefully remove the sand form from within, leaving behind the hollow space for the oven chamber. This step reveals the carefully crafted interior of the oven dome.
With the oven dome now taking shape, the next phase involves adding insulation and finishing touches to complete the construction of your clay pizza oven, bringing you one step closer to enjoying the delights of wood-fired cooking in your outdoor space.
When building a clay pizza oven, make sure to use high-quality fire bricks for the oven floor and dome to ensure proper heat retention and distribution for perfect pizzas.
Step 3: Adding Insulation and Finishing Touches
As your clay pizza oven nears completion, it’s essential to focus on insulation and the final details to ensure optimal performance and a polished appearance. Here’s a comprehensive guide to adding insulation and finishing touches to your oven:
1. Applying Insulation: Once the clay dome is in place, it’s crucial to add a layer of refractory insulation to enhance heat retention and energy efficiency. Materials such as perlite, vermiculite, or a ceramic fiber blanket can be used to create this insulating layer around the oven dome.
2. Installing the Oven Floor: Lay firebricks or refractory tiles on the base of the oven chamber to create a durable and heat-retaining surface for cooking. This step ensures that the oven floor can withstand high temperatures and provide an ideal platform for baking pizzas and other culinary delights.
3. Crafting the Oven Door: Whether using a wooden or metal door, carefully design and install a door for the oven opening. The door plays a vital role in regulating airflow and heat retention, contributing to the oven’s cooking capabilities.
4. Finishing the Exterior: Consider adding a decorative finish to the exterior of the oven, such as a layer of weatherproof stucco or tiles. This not only enhances the visual appeal of the oven but also provides protection against the elements, ensuring its longevity and resilience.
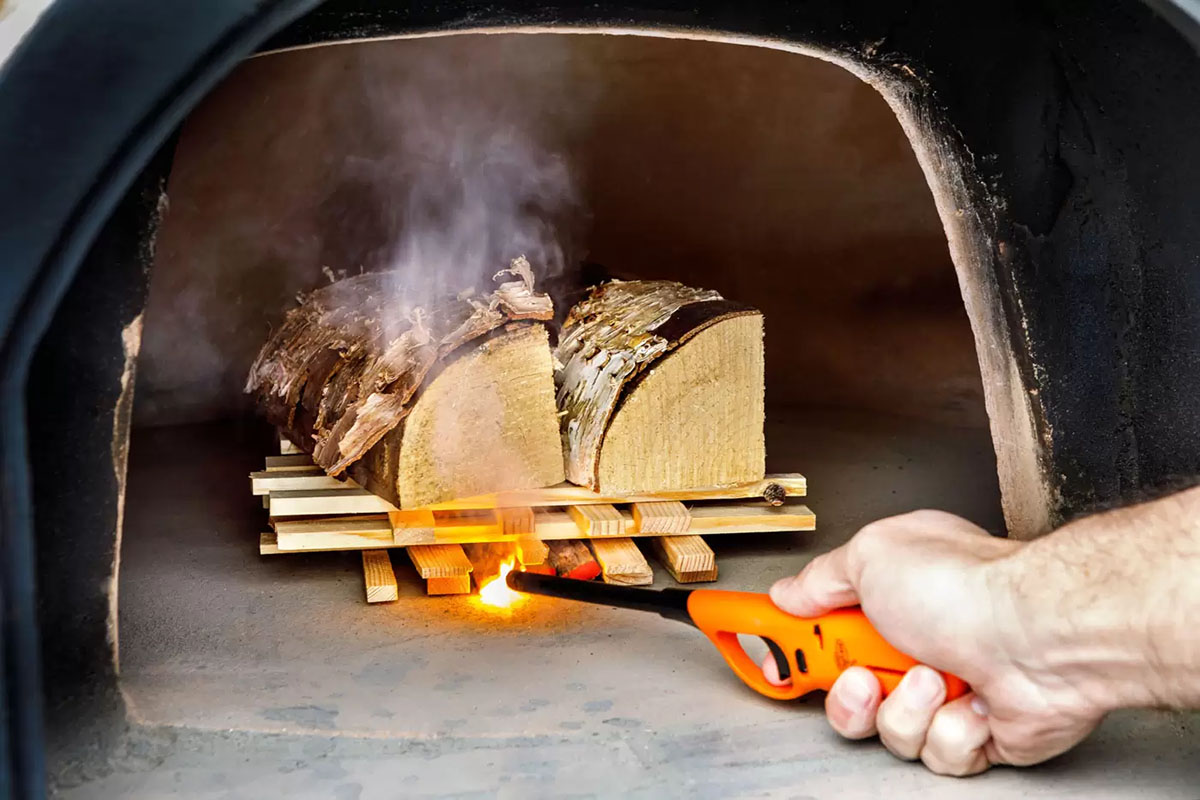
5. Curing the Oven: Before firing up the oven for its inaugural cooking session, it’s essential to cure the oven by gradually increasing the temperature over several days. This process allows any remaining moisture in the clay and insulation to evaporate, preventing potential damage from steam when the oven reaches high temperatures.
6. Adding Personal Touches: Consider personalizing your oven with additional features such as a built-in thermometer, a chimney for smoke ventilation, or a workspace adjacent to the oven for food preparation and serving.
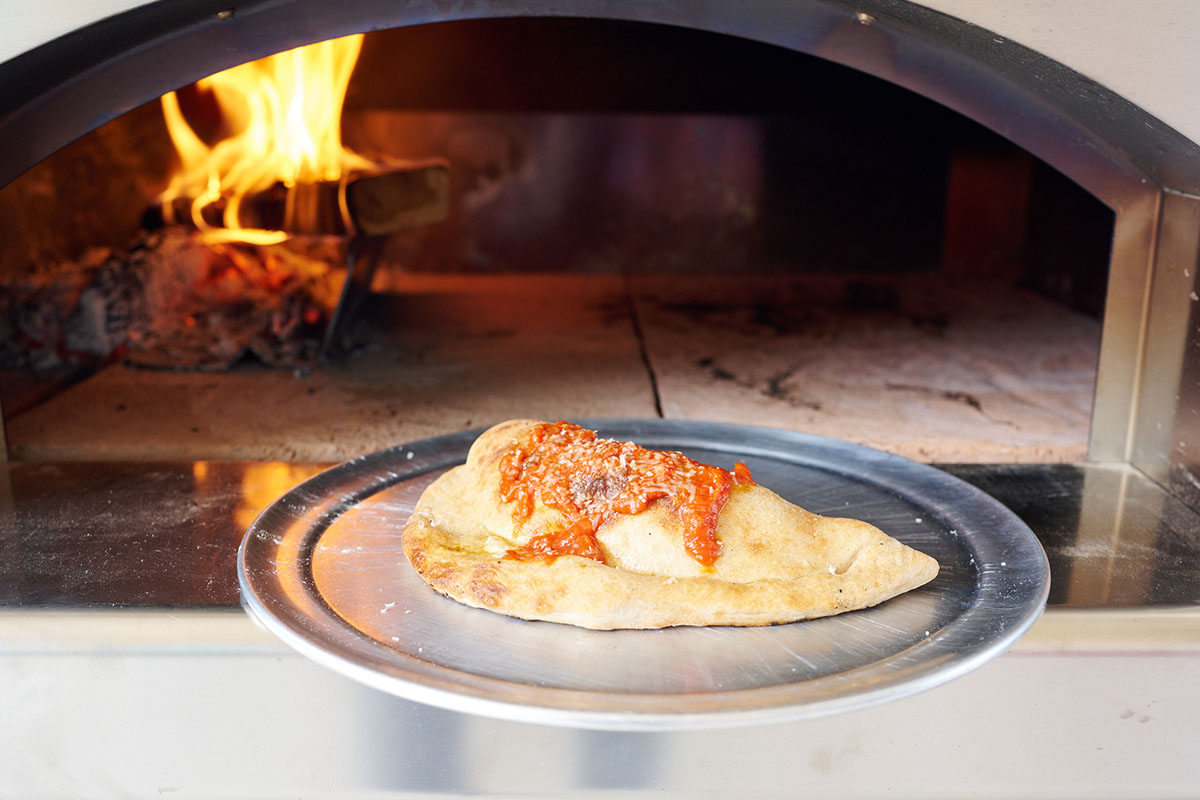
With the insulation and finishing touches in place, your clay pizza oven is ready to be fired up for its first culinary adventure. Whether you’re dreaming of crafting artisanal pizzas, rustic bread, or mouthwatering roasts, your outdoor entertaining space is about to be transformed into a hub of wood-fired delights.
Conclusion
Congratulations on successfully completing the construction of your very own clay pizza oven! As you stand back and admire the rustic charm and craftsmanship of your creation, you’re now poised to embark on a culinary journey filled with the aromas and flavors of wood-fired cooking.
Building a clay pizza oven is not just a DIY project; it’s a labor of love that adds a touch of tradition and warmth to your outdoor entertaining space. The process of shaping clay, laying bricks, and adding finishing touches has not only resulted in a functional cooking appliance but has also enriched your outdoor environment with a captivating centerpiece.
As you gather friends and family to share in the excitement of firing up the oven for the first time, you’re not just serving up delicious meals; you’re creating lasting memories and forging connections around the hearth of your homemade oven. The crackling of the fire, the tantalizing scents wafting through the air, and the joy of crafting culinary delights together will undoubtedly become cherished moments in your outdoor entertaining repertoire.
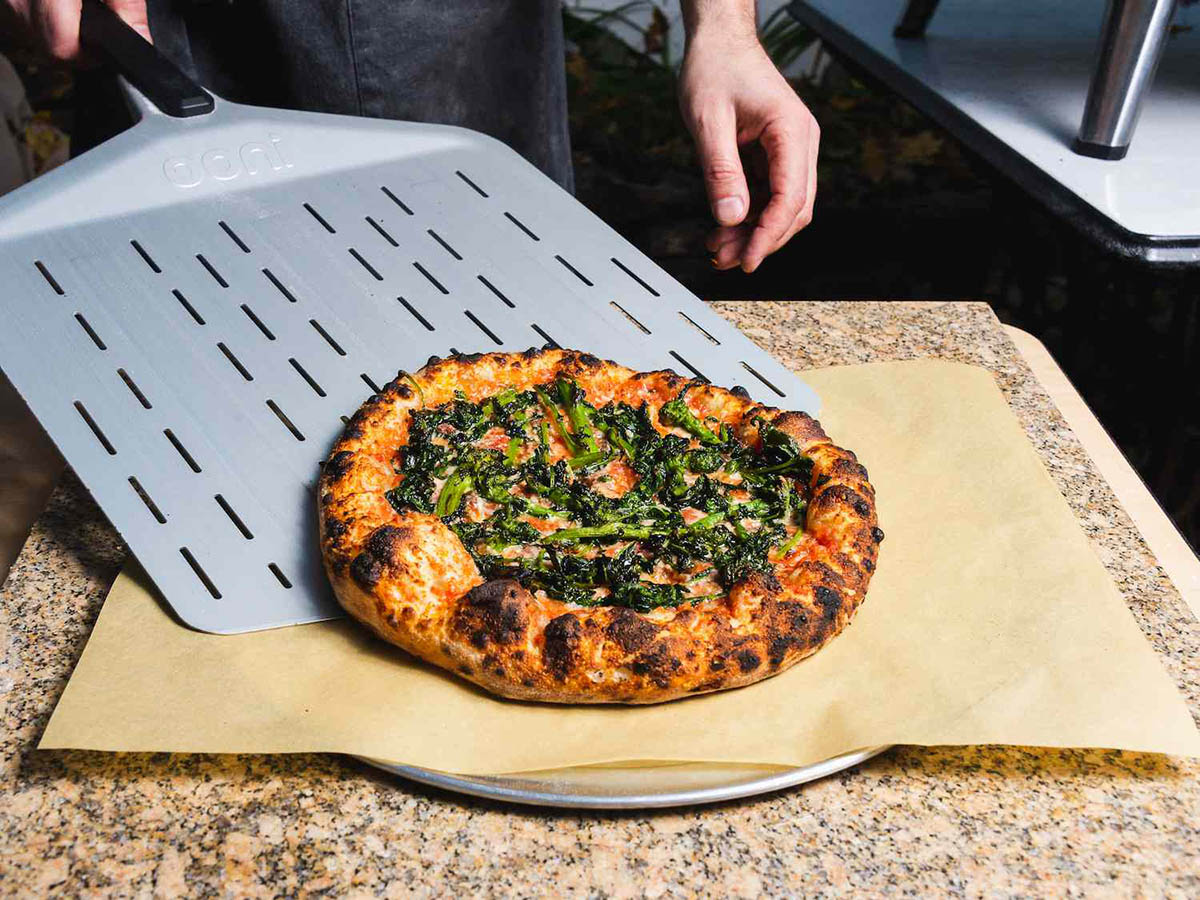
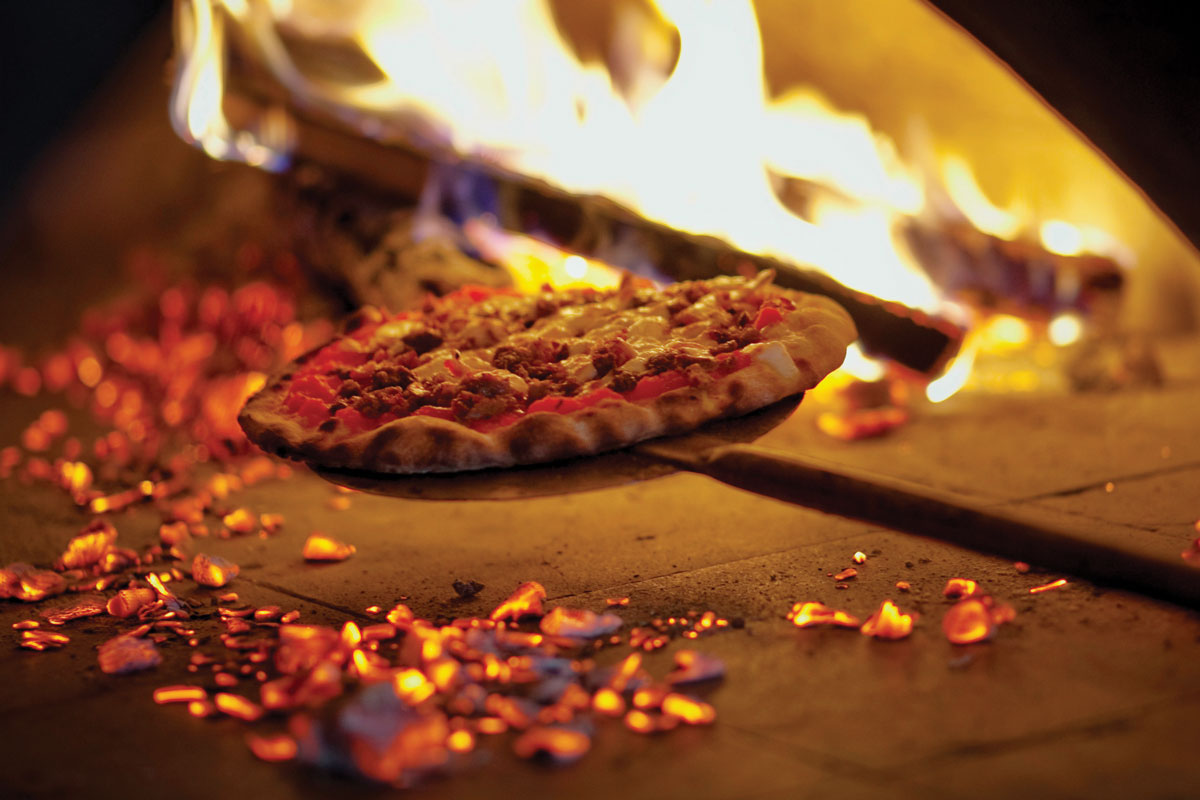
So, whether you’re savoring the simplicity of a classic Margherita pizza, experimenting with gourmet toppings, or exploring the versatility of wood-fired cooking, your clay pizza oven stands ready to be the centerpiece of your outdoor gatherings, infusing every occasion with a dash of rustic charm and a feast for the senses.
As you continue to hone your skills and explore the endless culinary possibilities offered by your clay pizza oven, may it serve as a reminder of the joy found in the art of creating, sharing, and savoring good food in the company of those you hold dear. Here’s to many delightful gatherings and delectable wood-fired creations in your outdoor oasis!
Frequently Asked Questions about How To Make A Clay Pizza Oven
Was this page helpful?
At Storables.com, we guarantee accurate and reliable information. Our content, validated by Expert Board Contributors, is crafted following stringent Editorial Policies. We're committed to providing you with well-researched, expert-backed insights for all your informational needs.


0 thoughts on “How To Make A Clay Pizza Oven”