Home>Gardening & Outdoor>Outdoor Recreation & Activities>How To Deflate A Bounce House
Outdoor Recreation & Activities
How To Deflate A Bounce House
Modified: August 16, 2024
Learn the best techniques for safely deflating a bounce house and storing it properly after use. Discover important tips for outdoor recreation and activities.
(Many of the links in this article redirect to a specific reviewed product. Your purchase of these products through affiliate links helps to generate commission for Storables.com, at no extra cost. Learn more)
Introduction
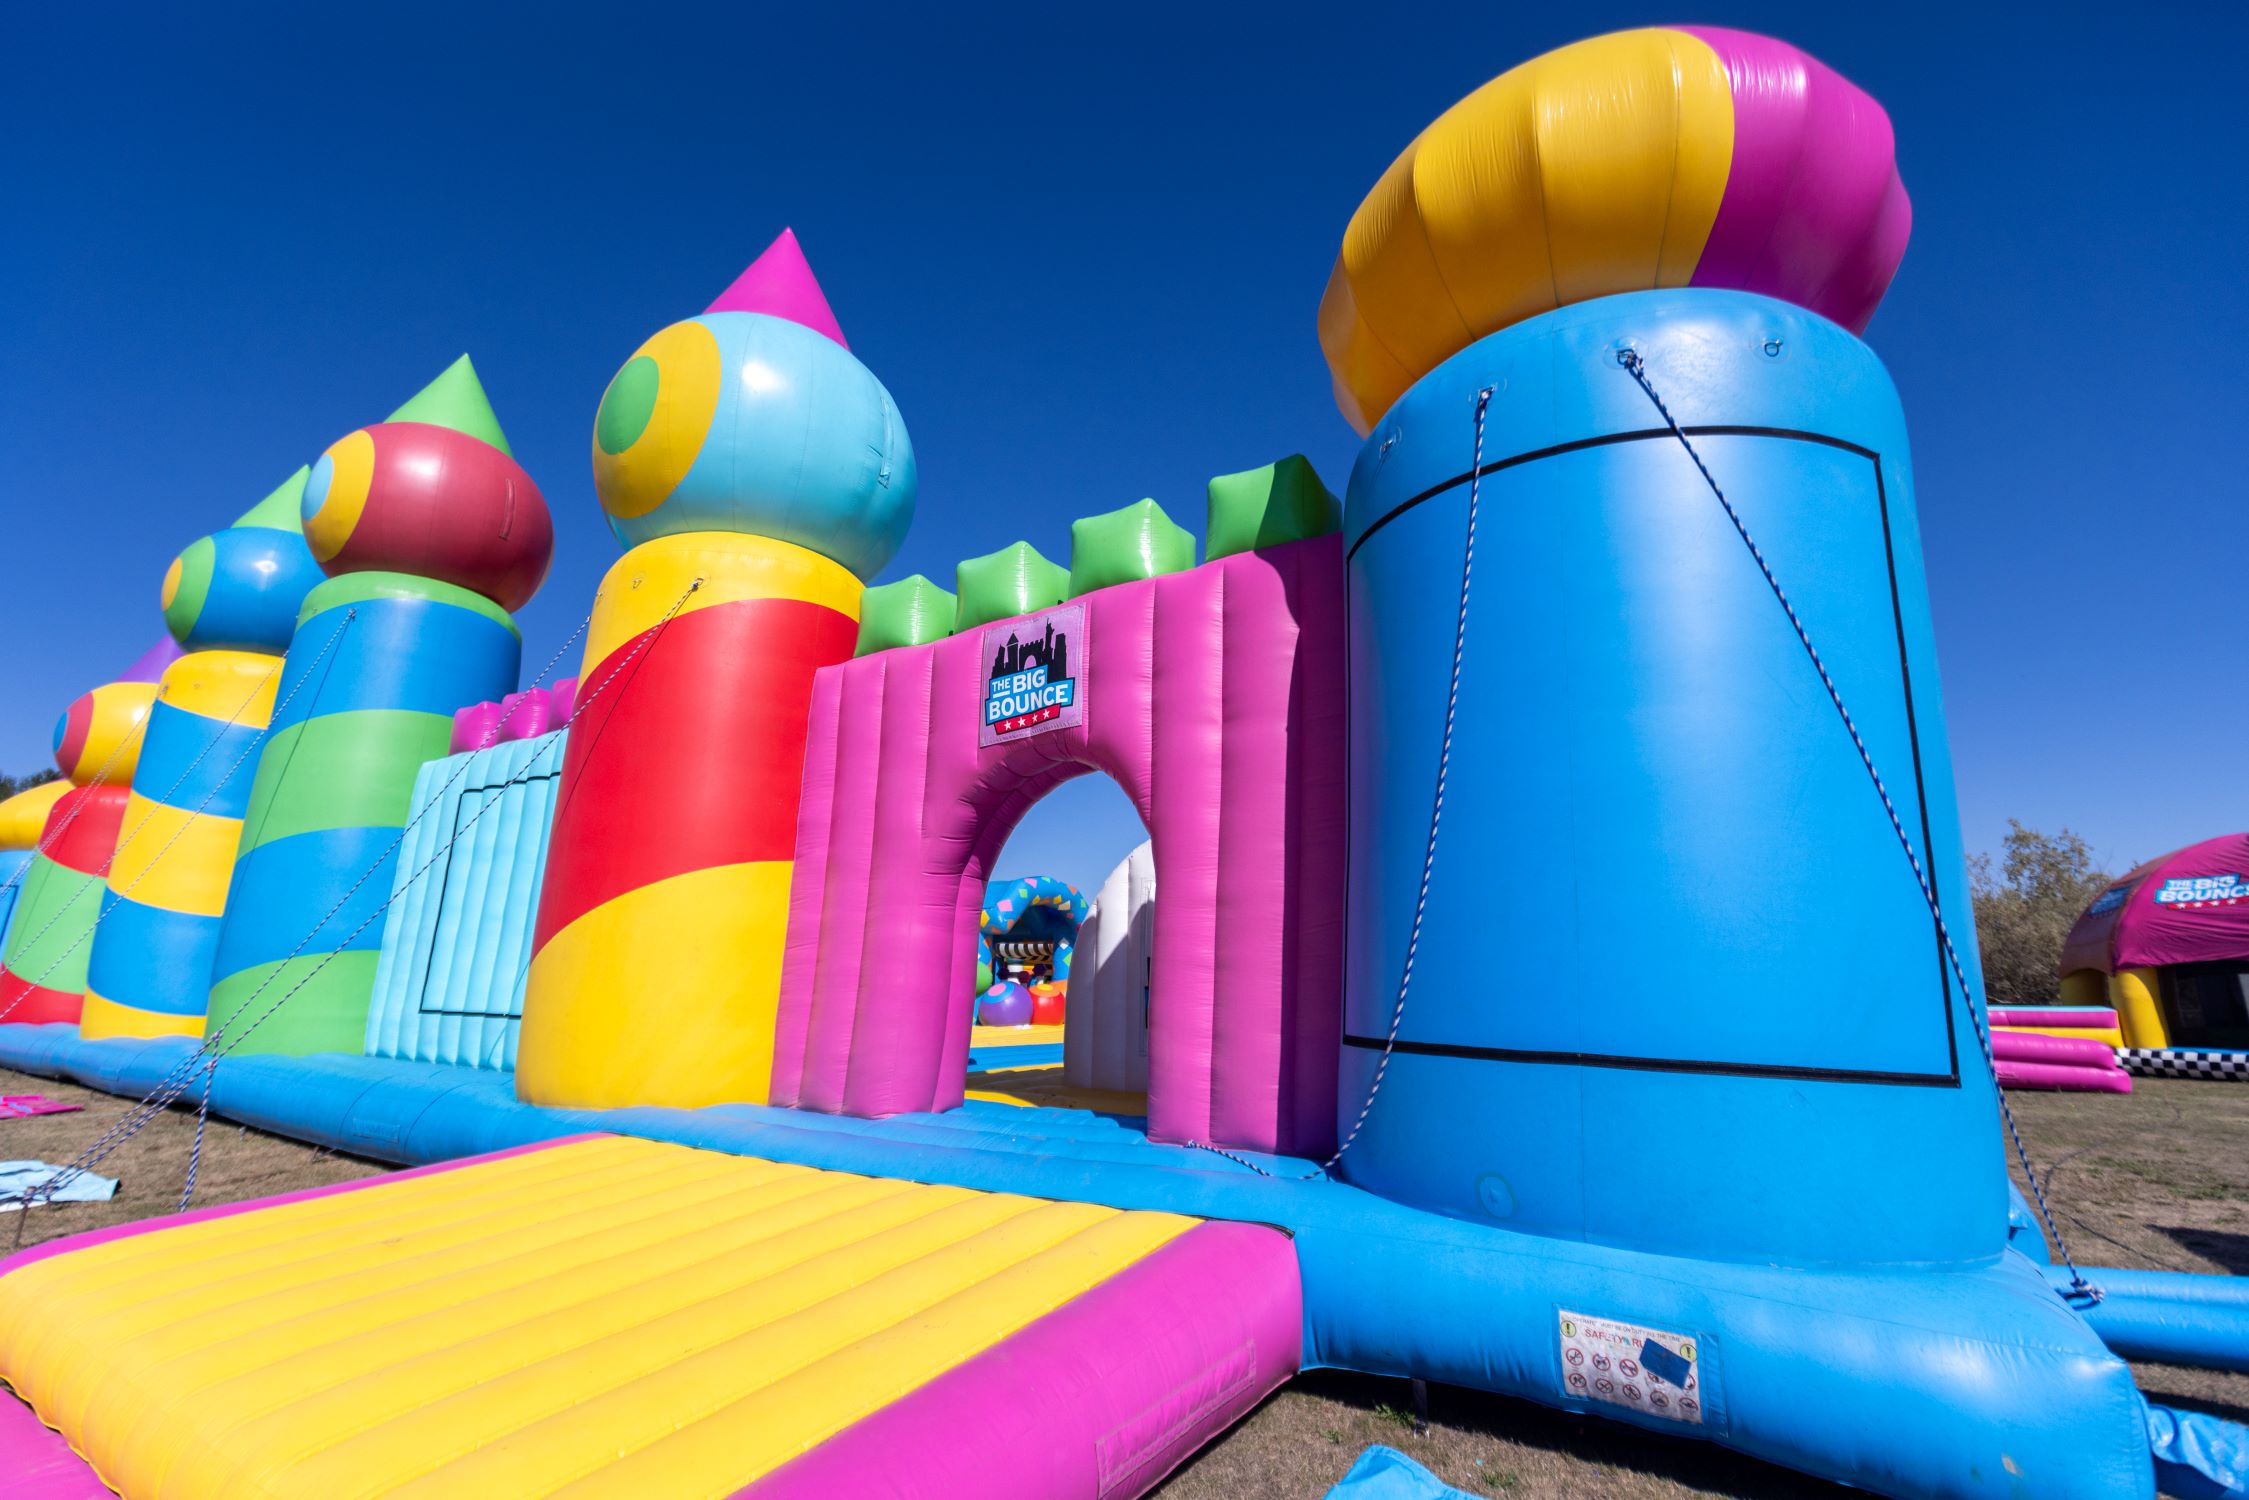
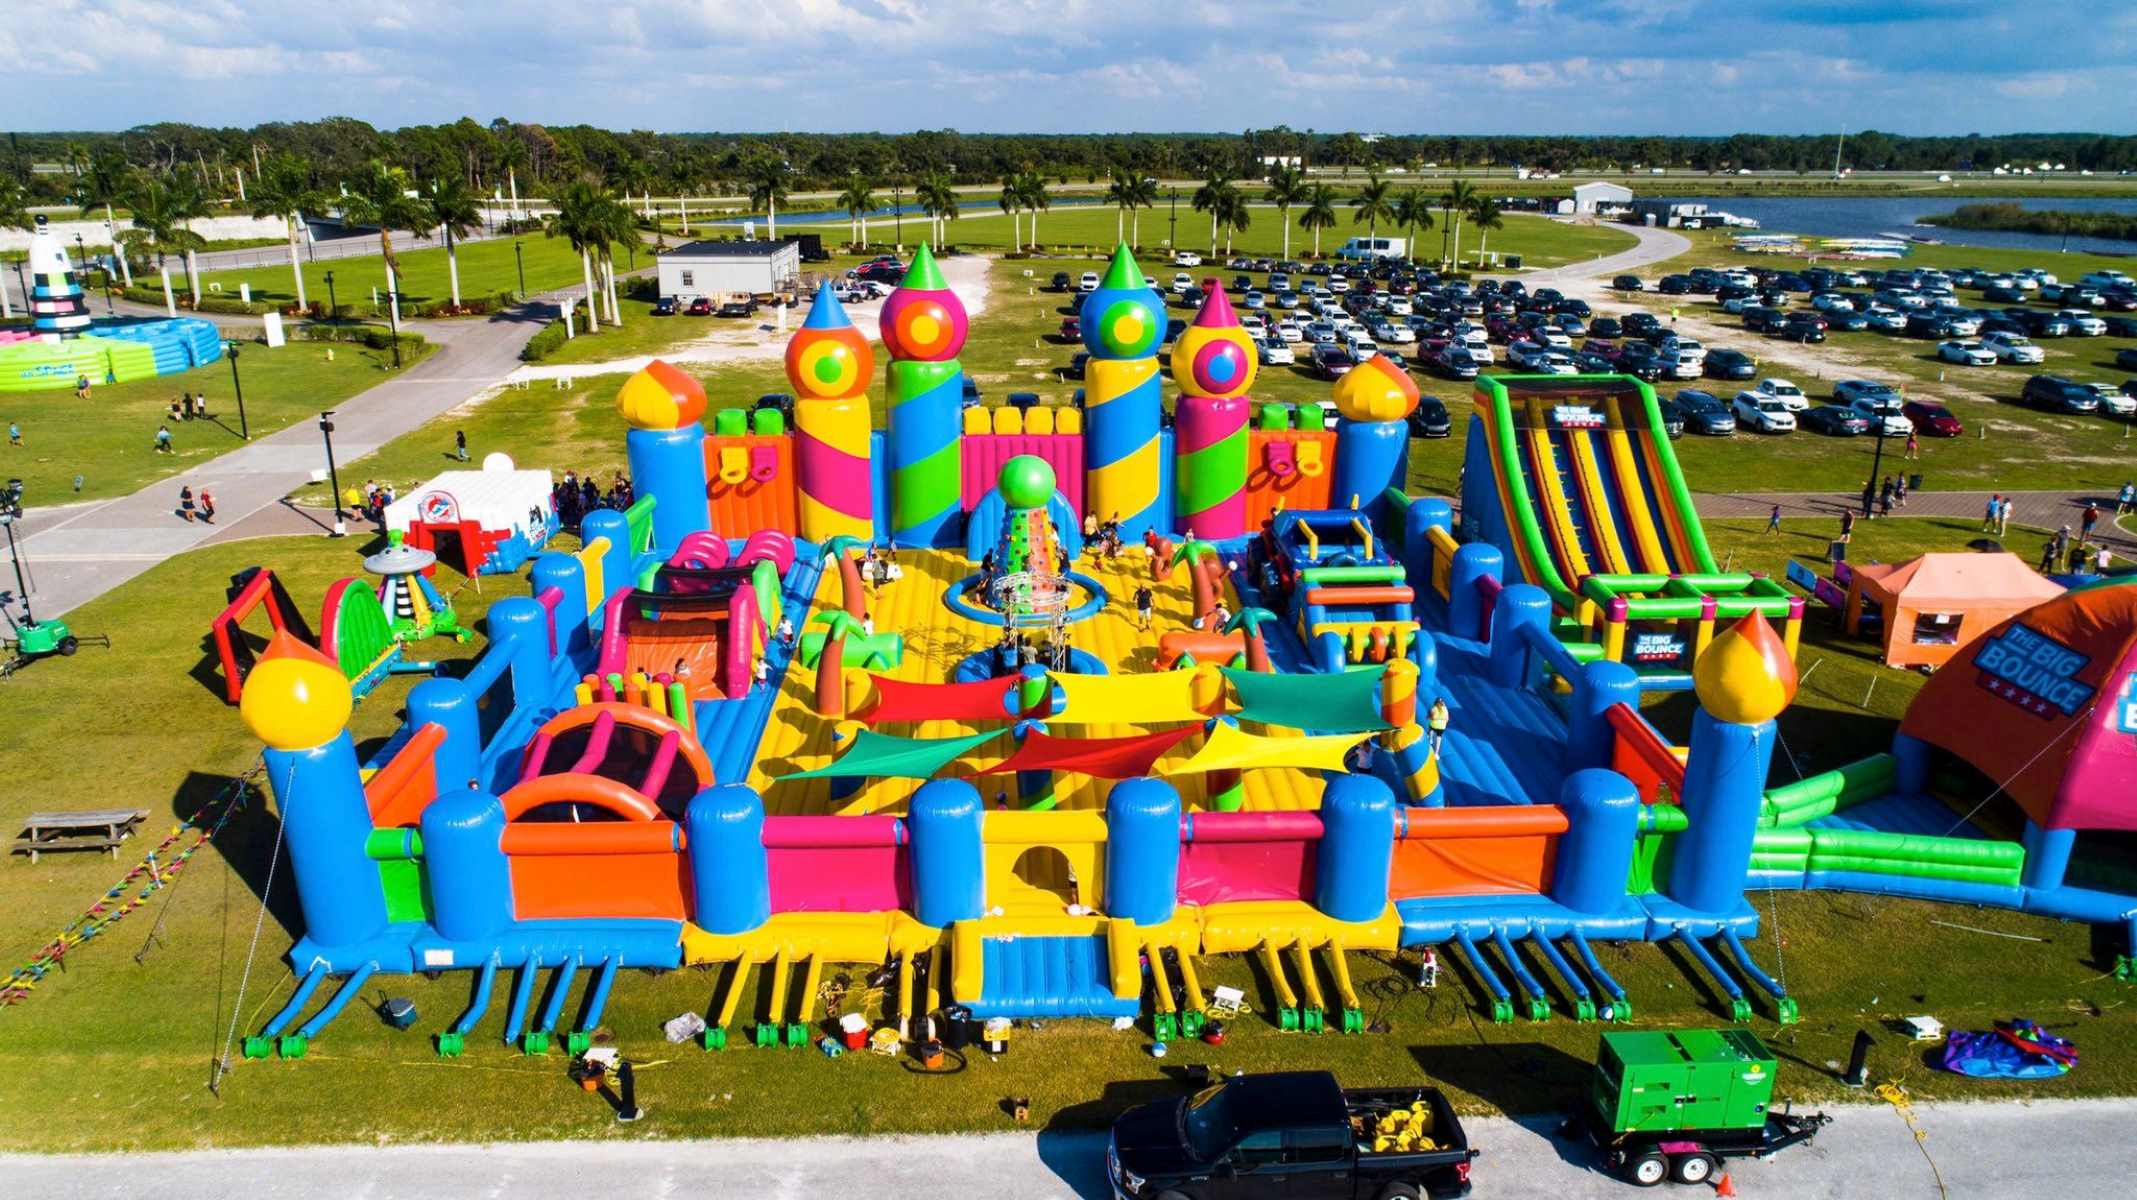
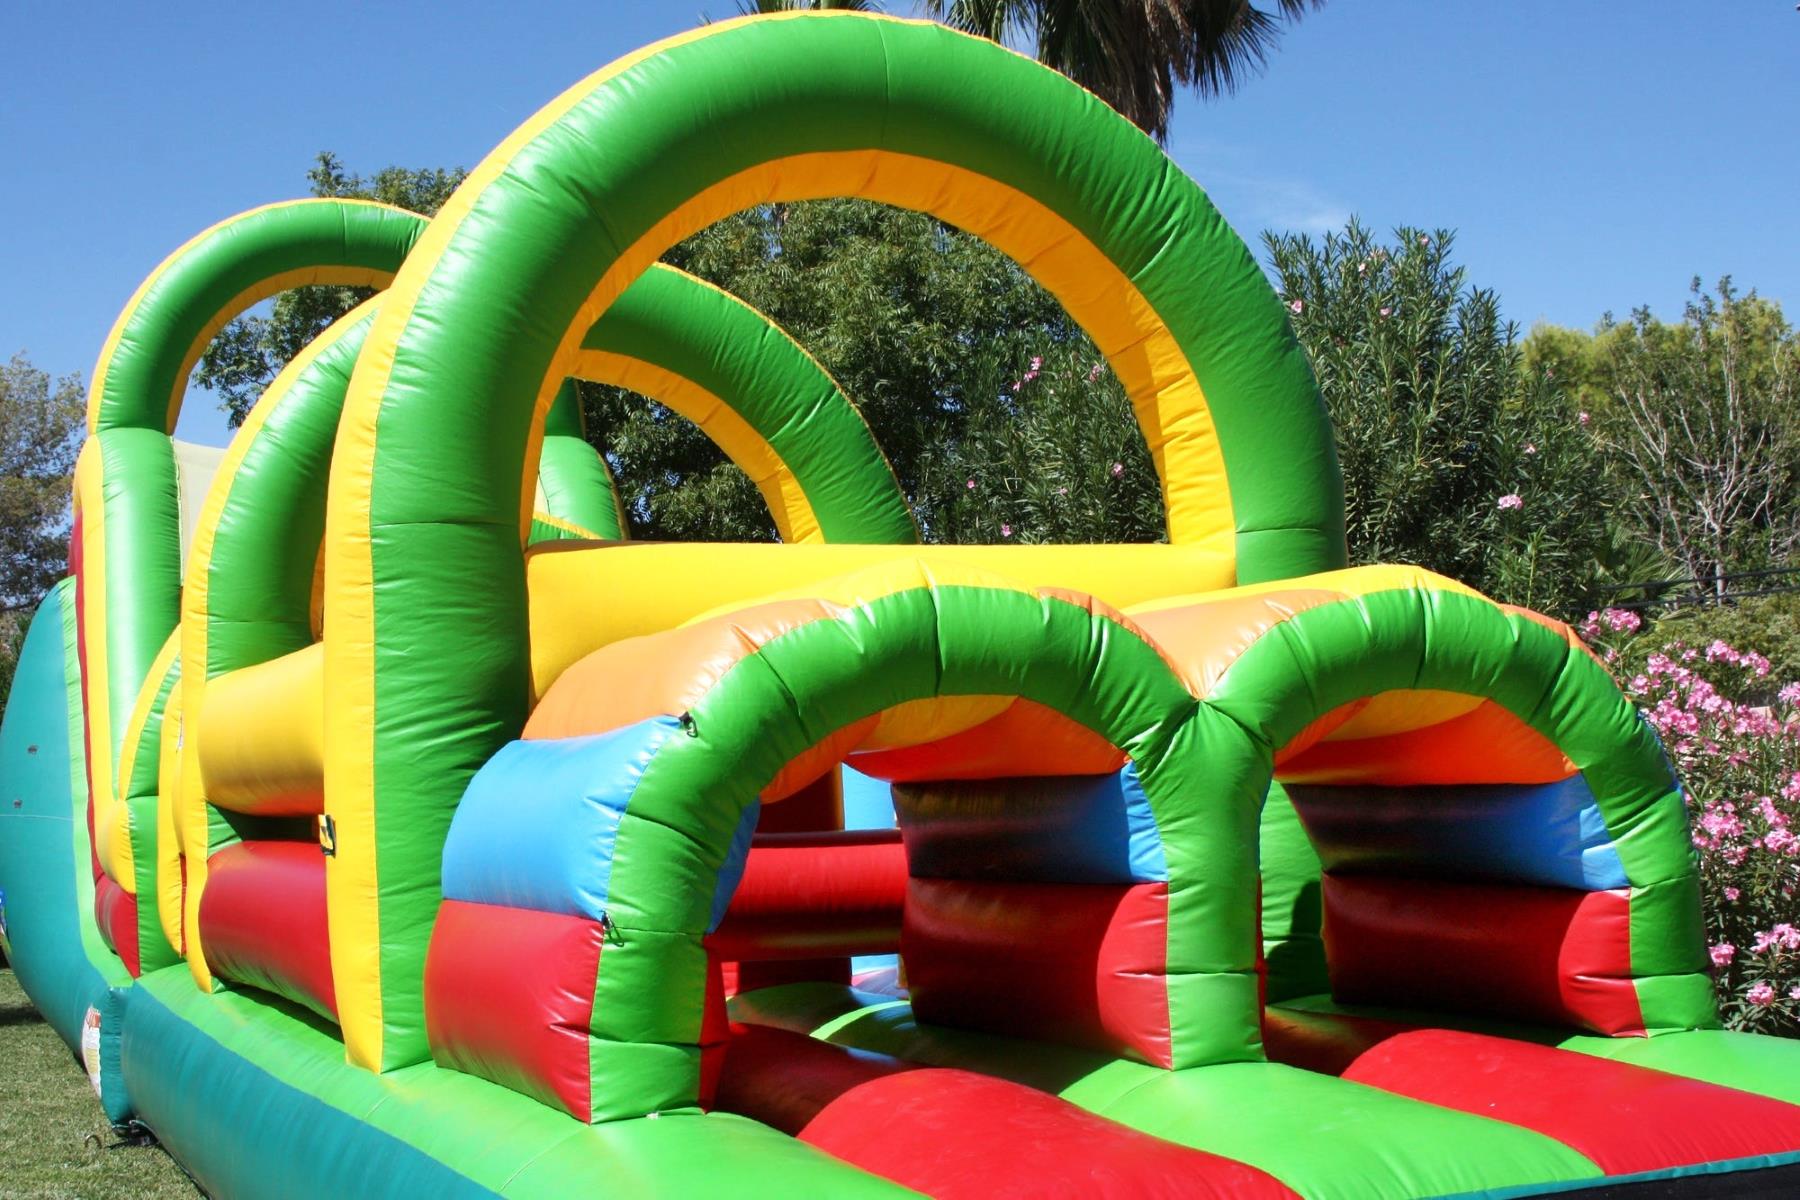
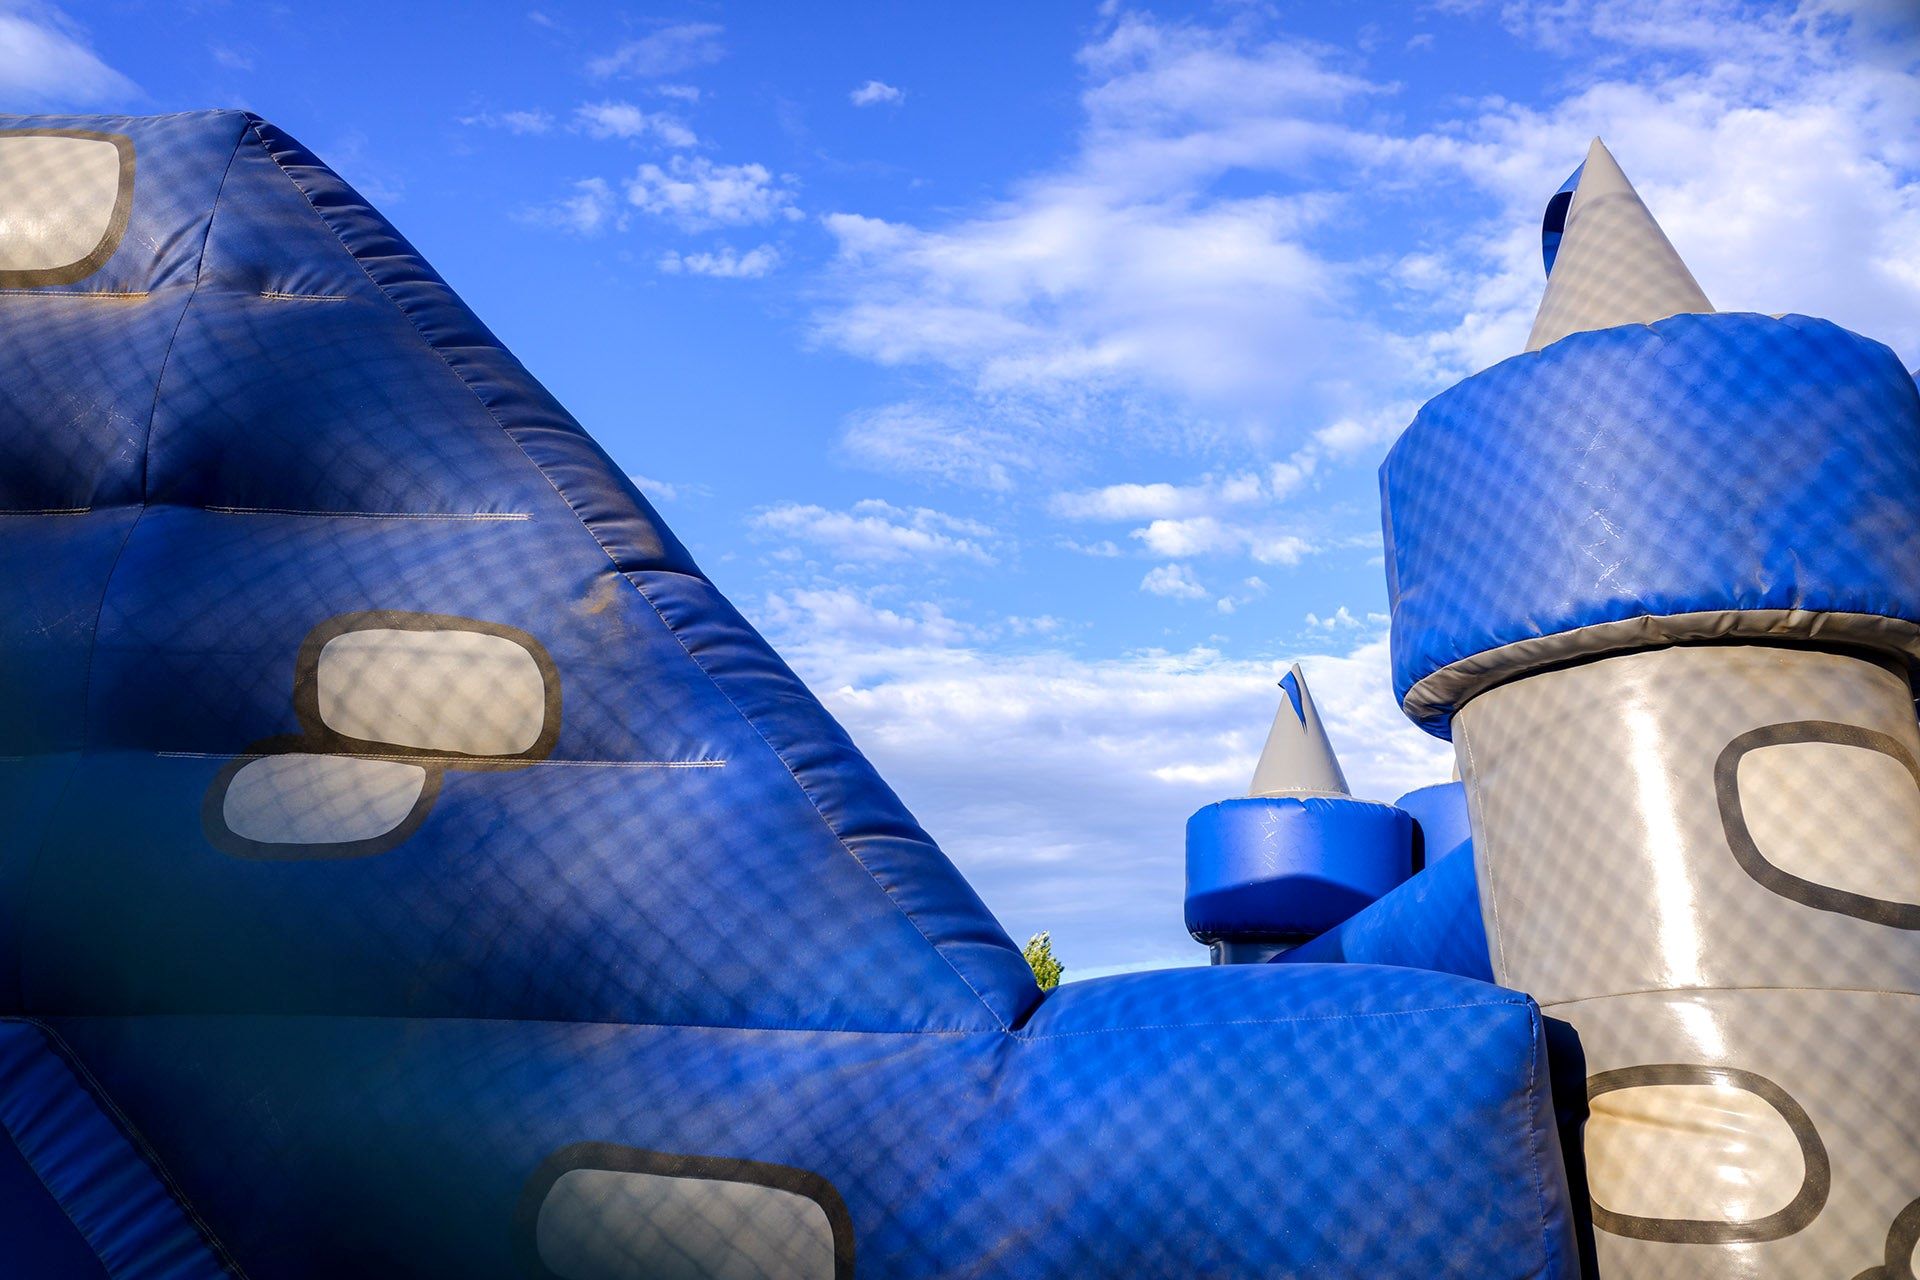
Bounce houses, also known as inflatable castles or bouncy castles, are a source of endless joy for children and a popular attraction at parties and events. However, just as important as the setup is the deflation process. Knowing how to properly deflate a bounce house is essential for its maintenance and longevity. By following the correct steps, you can ensure that the bounce house remains in excellent condition for future use.
In this comprehensive guide, we will walk you through the step-by-step process of deflating a bounce house. Whether you are a parent hosting a birthday party or an event organizer wrapping up a festival, mastering the deflation of a bounce house is a valuable skill. Let's dive into the details and learn how to safely and efficiently deflate a bounce house.
Key Takeaways:
- Safely deflate a bounce house by turning off the blower, opening the deflation valve, removing anchors, folding, and storing it properly. This ensures longevity and easy setup for future fun events.
- Keep the bounce house in excellent condition by following the step-by-step process of deflation, folding, and storage. Safely store it in a dry, labeled container for future use.
Read more: How To Inflate A Bounce House
Step 1: Turn Off the Blower
The first and most crucial step in deflating a bounce house is to turn off the blower. The blower is responsible for keeping the bounce house inflated, so shutting it off is the initial action to commence the deflation process. Locate the power source or switch connected to the blower and power it down. Ensure that the blower is completely turned off before proceeding to the next step.
When turning off the blower, it is essential to ensure the safety of all individuals using the bounce house. Inform the occupants, especially children, that the bounce house will be deflating and advise them to exit the structure. Clear the area around the bounce house to prevent any obstructions during the deflation process. Safety should always be the top priority when deflating a bounce house.
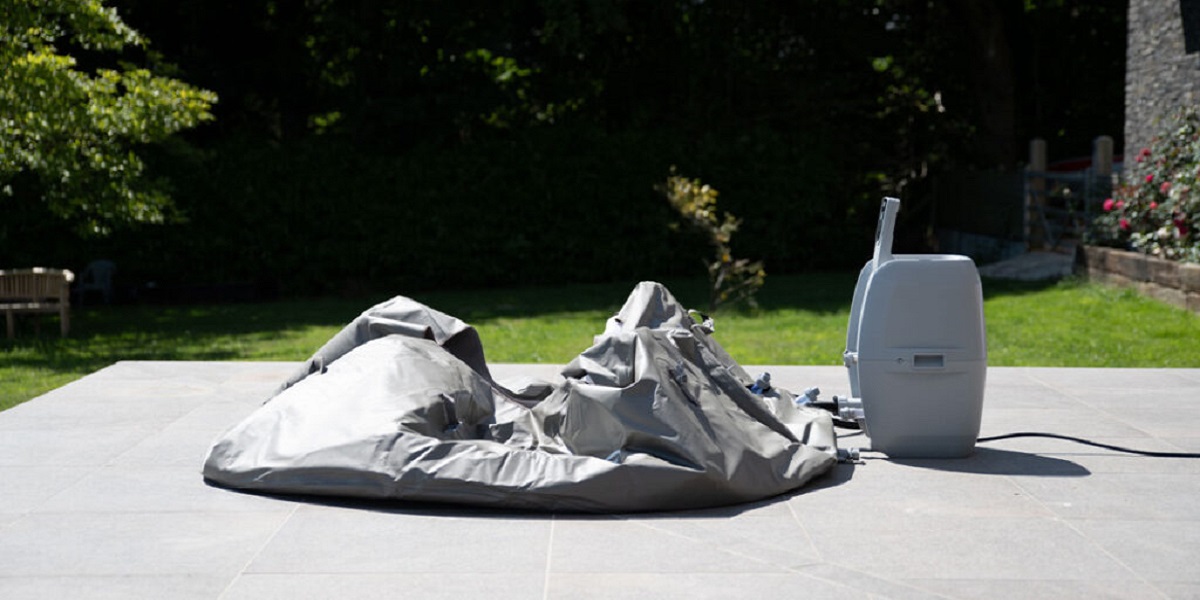
Once the blower is turned off and the bounce house begins to deflate, it is important to monitor the process to ensure that the deflation is occurring evenly. Observing the deflation process can help identify any potential issues, such as air leaks or obstructions, that may need to be addressed before proceeding to the next steps.
Turning off the blower marks the first step in the deflation process, setting the stage for a smooth and organized deflation of the bounce house. With the blower powered down, we can now proceed to the next step in deflating the bounce house.
Step 2: Open the Deflation Valve
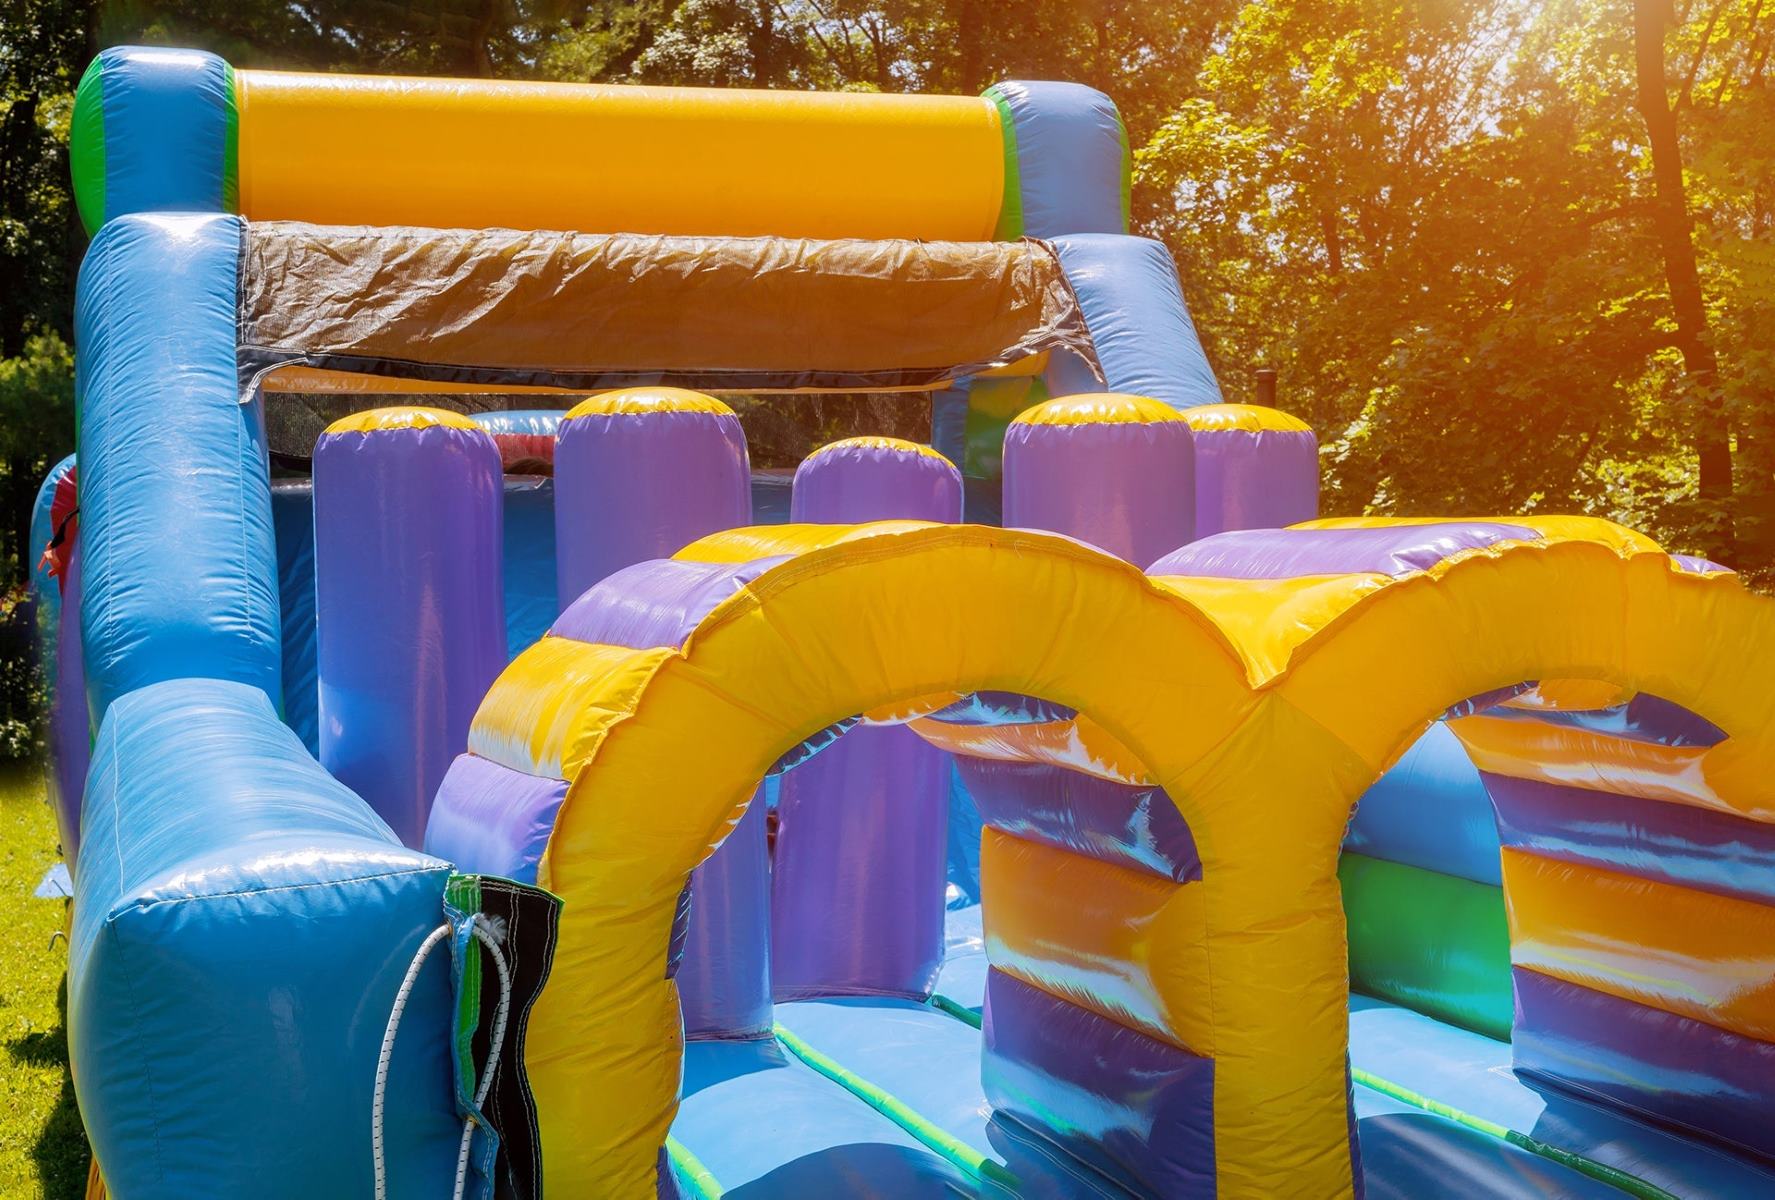
After turning off the blower, the next critical step in deflating a bounce house is to locate and open the deflation valve. The deflation valve is designed to release the air from the bounce house, allowing it to deflate in a controlled manner. Typically, the deflation valve is located on one of the inflatable walls of the bounce house, often near the entrance or exit.
Once you have located the deflation valve, carefully open it to initiate the release of air from the bounce house. Depending on the design of the bounce house, the deflation valve may feature a zipper, Velcro closure, or buckle. Gently unzip, unfasten, or release the closure mechanism to open the deflation valve. Exercise caution to prevent any sudden or forceful release of air, which can cause the bounce house to collapse in an uncontrolled manner.
As the deflation valve is opened, you will notice the bounce house gradually decreasing in size as the air escapes. It is important to ensure that the deflation process is occurring evenly across the entire bounce house. Monitor the deflation and make any necessary adjustments to the position of the bounce house to facilitate an even release of air.
Opening the deflation valve is a crucial step that allows the bounce house to deflate safely and efficiently. By carefully opening the deflation valve, you can control the release of air and prevent any potential damage to the bounce house. With the deflation valve open, we can proceed to the next step in the deflation process.
To deflate a bounce house, first, make sure all the children are out. Then, open the air valves to release the air. Once the bounce house is fully deflated, fold it up and store it properly to prevent damage.
Step 3: Remove Anchors and Stakes
Before fully deflating the bounce house, it is essential to remove any anchors and stakes securing it to the ground. Anchors and stakes are used to keep the bounce house stable and secure during use, preventing it from shifting or tipping over. Removing these anchors and stakes is a crucial step in preparing the bounce house for deflation.
Start by identifying the locations of the anchors and stakes around the perimeter of the bounce house. Depending on the design of the bounce house, there may be multiple anchor points distributed along its base. Carefully remove each anchor or stake from the ground, ensuring that they are fully dislodged to allow for the smooth deflation of the bounce house.
As you remove the anchors and stakes, be mindful of any attached ropes or tethers that may be securing the bounce house to the ground. Untie or detach these ropes as you remove the anchors to prevent any entanglement or obstruction during the deflation process.
Once all the anchors and stakes have been removed, set them aside in a designated area for storage and safekeeping. Properly organizing and storing the anchors and stakes ensures that they will be readily available for the next setup of the bounce house, promoting efficiency and convenience for future use.
By removing the anchors and stakes, you are preparing the bounce house for a seamless deflation process, allowing it to collapse evenly without any external restraints. With the anchors and stakes safely removed, we can move on to the next step in deflating the bounce house.
Step 4: Fold the Bounce House
Once the bounce house has been fully deflated, it is time to proceed with the folding process. Folding the bounce house properly is essential for efficient storage and transportation, as well as for maintaining the bounce house in good condition for future use. Follow these steps to fold the bounce house effectively:
- Clean and Inspect: Before folding the bounce house, take a moment to clean the surface and inspect it for any debris or foreign objects. Clearing the bounce house of any dirt, leaves, or other materials will help prevent damage and ensure a smooth folding process.
- Identify Folding Points: Most bounce houses are designed with specific folding points or seams that facilitate the folding process. Locate these folding points, which are typically marked by seams or lines, and familiarize yourself with the structure of the bounce house to ensure an organized folding procedure.
- Accordion Fold: Begin folding the bounce house by creating accordion-style folds along the length or width of the structure, depending on its size and design. Gently fold one section over the other in a back-and-forth motion, maintaining even and consistent folds to prevent creases or uneven stacking.
- Secure Folds: As you progress with the accordion folding, secure the folds in place using the integrated straps or fastening mechanisms provided with the bounce house. These straps help maintain the compactness of the folded structure and prevent it from unfolding during storage or transportation.
- Final Fold: Once the bounce house is neatly accordion-folded and secured, perform a final fold to create a compact and manageable package. Depending on the size and shape of the bounce house, this final fold may involve bringing the folded sections together to form a compact bundle.
Properly folding the bounce house is crucial for maximizing storage space and ensuring that it remains in excellent condition for future use. By following these folding steps, you can streamline the storage and transportation of the bounce house, making it easier to set up for the next event or gathering.
With the bounce house neatly folded and secured, we are ready to proceed to the final step in the deflation process.
Read more: How To Store Bounce House
Step 5: Store the Bounce House
After successfully deflating and folding the bounce house, the final step involves storing it properly to ensure its longevity and ease of use for future occasions. Proper storage not only preserves the bounce house but also simplifies the setup process when it is needed again. Follow these guidelines to store the bounce house effectively:
- Clean and Dry: Before storing the bounce house, ensure that it is clean and completely dry. Wipe down the surface to remove any moisture, dirt, or debris, as storing a damp or dirty bounce house can lead to mold, mildew, or damage over time.
- Secure in a Storage Bag or Container: To protect the bounce house from dust, moisture, and potential damage, consider storing it in a dedicated storage bag or container. These specialized storage solutions provide added protection and convenience, keeping the bounce house compact and safeguarded between uses.
- Label and Organize: If you have multiple inflatable structures or equipment, labeling the storage bags or containers can help you easily identify and access the bounce house when needed. Organizing your storage space ensures that the bounce house is readily available for future events or gatherings.
- Store in a Dry, Climate-Controlled Area: Choose a suitable storage location that is dry, well-ventilated, and climate-controlled. Extreme temperatures, humidity, and direct sunlight can adversely affect the bounce house, so storing it in a controlled environment is essential for its preservation.
- Regular Inspection and Maintenance: Periodically inspect the stored bounce house for any signs of damage, wear, or pests. Address any issues promptly and perform routine maintenance to keep the bounce house in optimal condition for future use.
By following these storage guidelines, you can prolong the lifespan of the bounce house and ensure that it remains a reliable and enjoyable addition to your events and gatherings. Proper storage practices contribute to the longevity and quality of the bounce house, allowing you to continue creating memorable experiences for children and guests.
With the bounce house safely stored, you have completed the deflation process and set the stage for its future use. By following these steps, you can confidently and effectively manage the deflation, folding, and storage of a bounce house, optimizing its performance and durability for countless joyful occasions.
Frequently Asked Questions about How To Deflate A Bounce House
Was this page helpful?
At Storables.com, we guarantee accurate and reliable information. Our content, validated by Expert Board Contributors, is crafted following stringent Editorial Policies. We're committed to providing you with well-researched, expert-backed insights for all your informational needs.


0 thoughts on “How To Deflate A Bounce House”