Home>Gardening & Outdoor>Outdoor Recreation & Activities>How To Patch A Bounce House
Outdoor Recreation & Activities
How To Patch A Bounce House
Modified: February 18, 2024
Learn how to patch a bounce house and keep the fun going in your outdoor recreation and activities. Step-by-step guide for easy repairs.
(Many of the links in this article redirect to a specific reviewed product. Your purchase of these products through affiliate links helps to generate commission for Storables.com, at no extra cost. Learn more)
Introduction
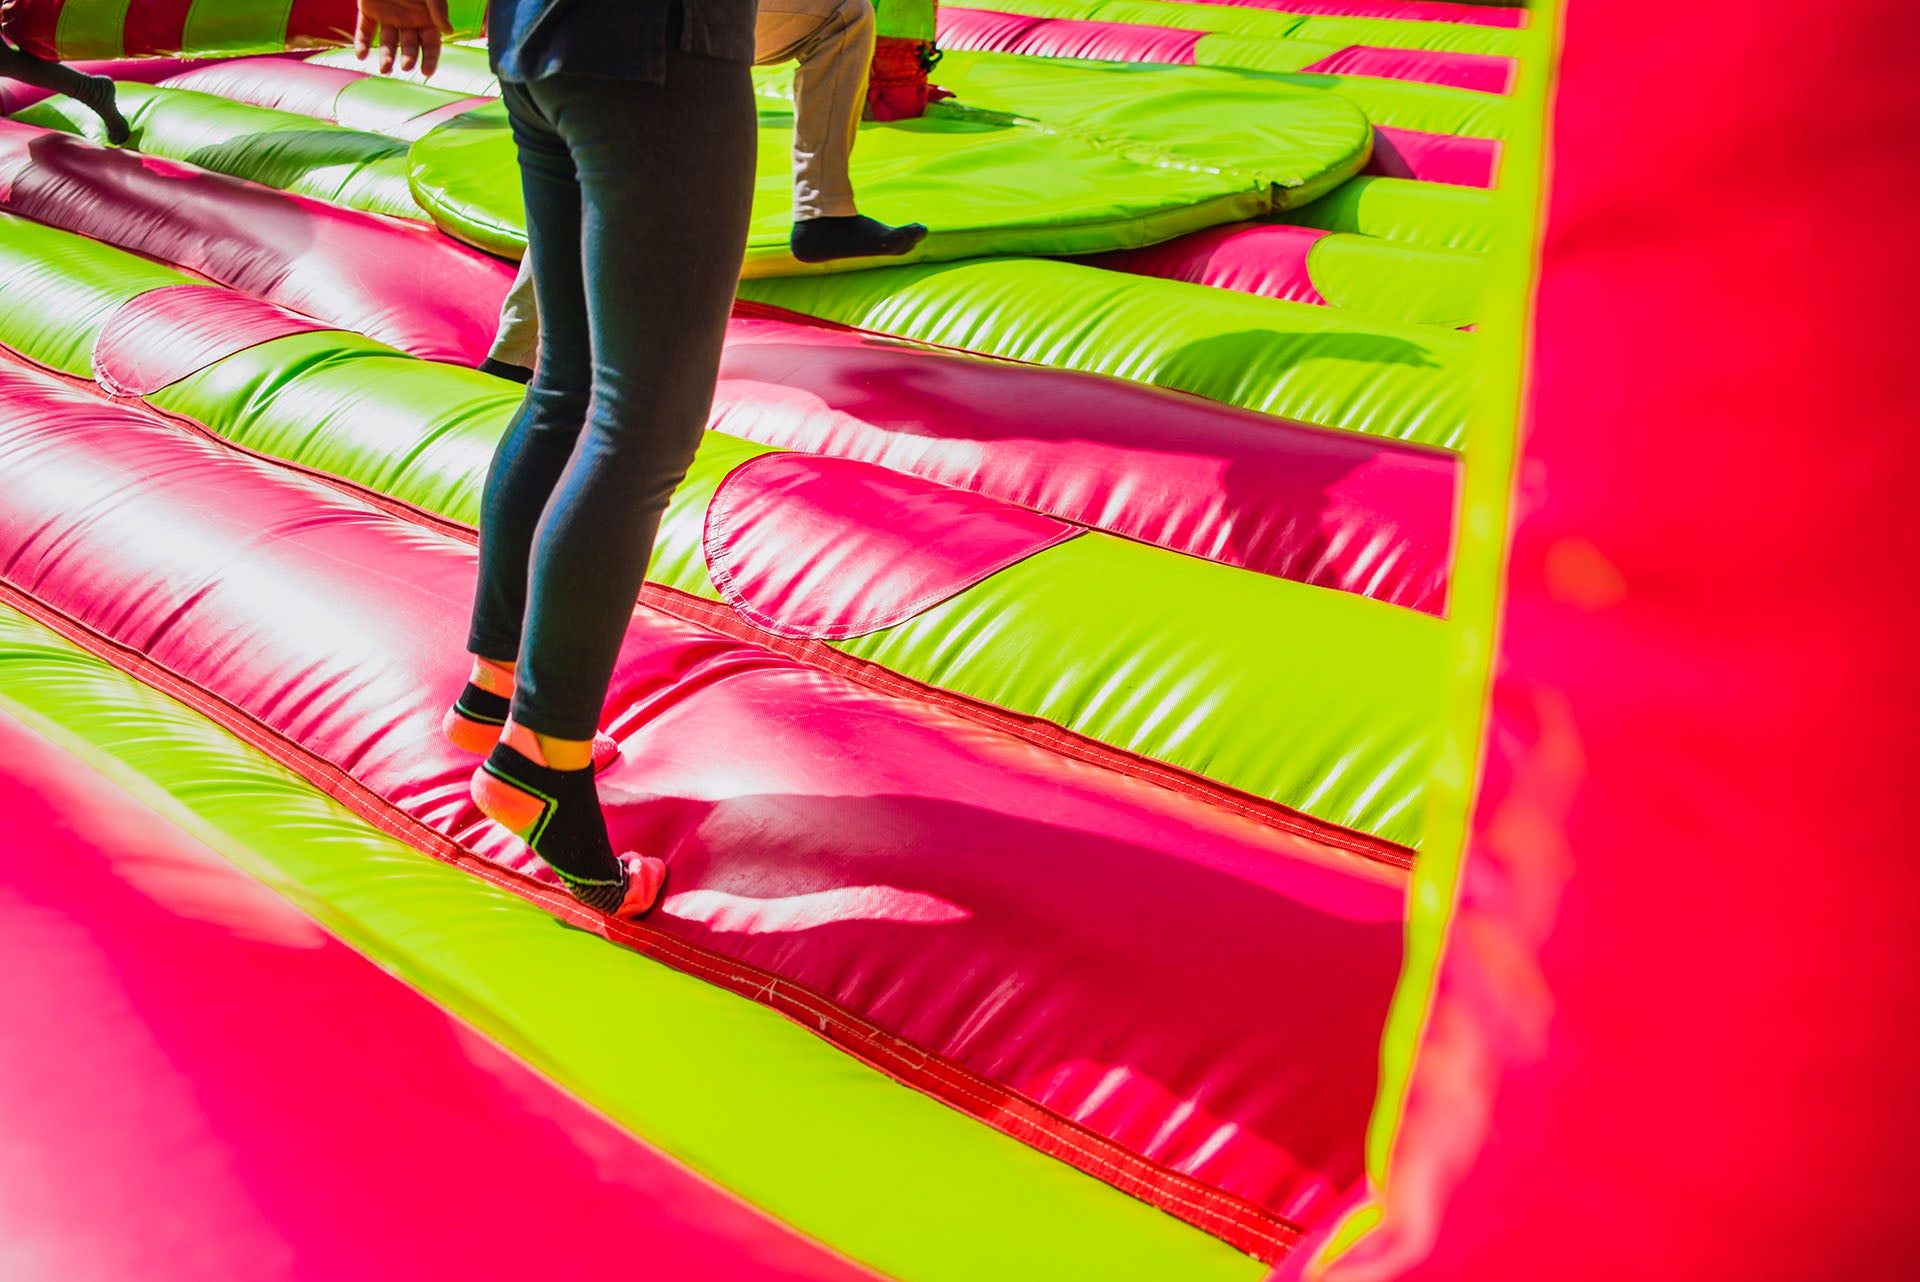
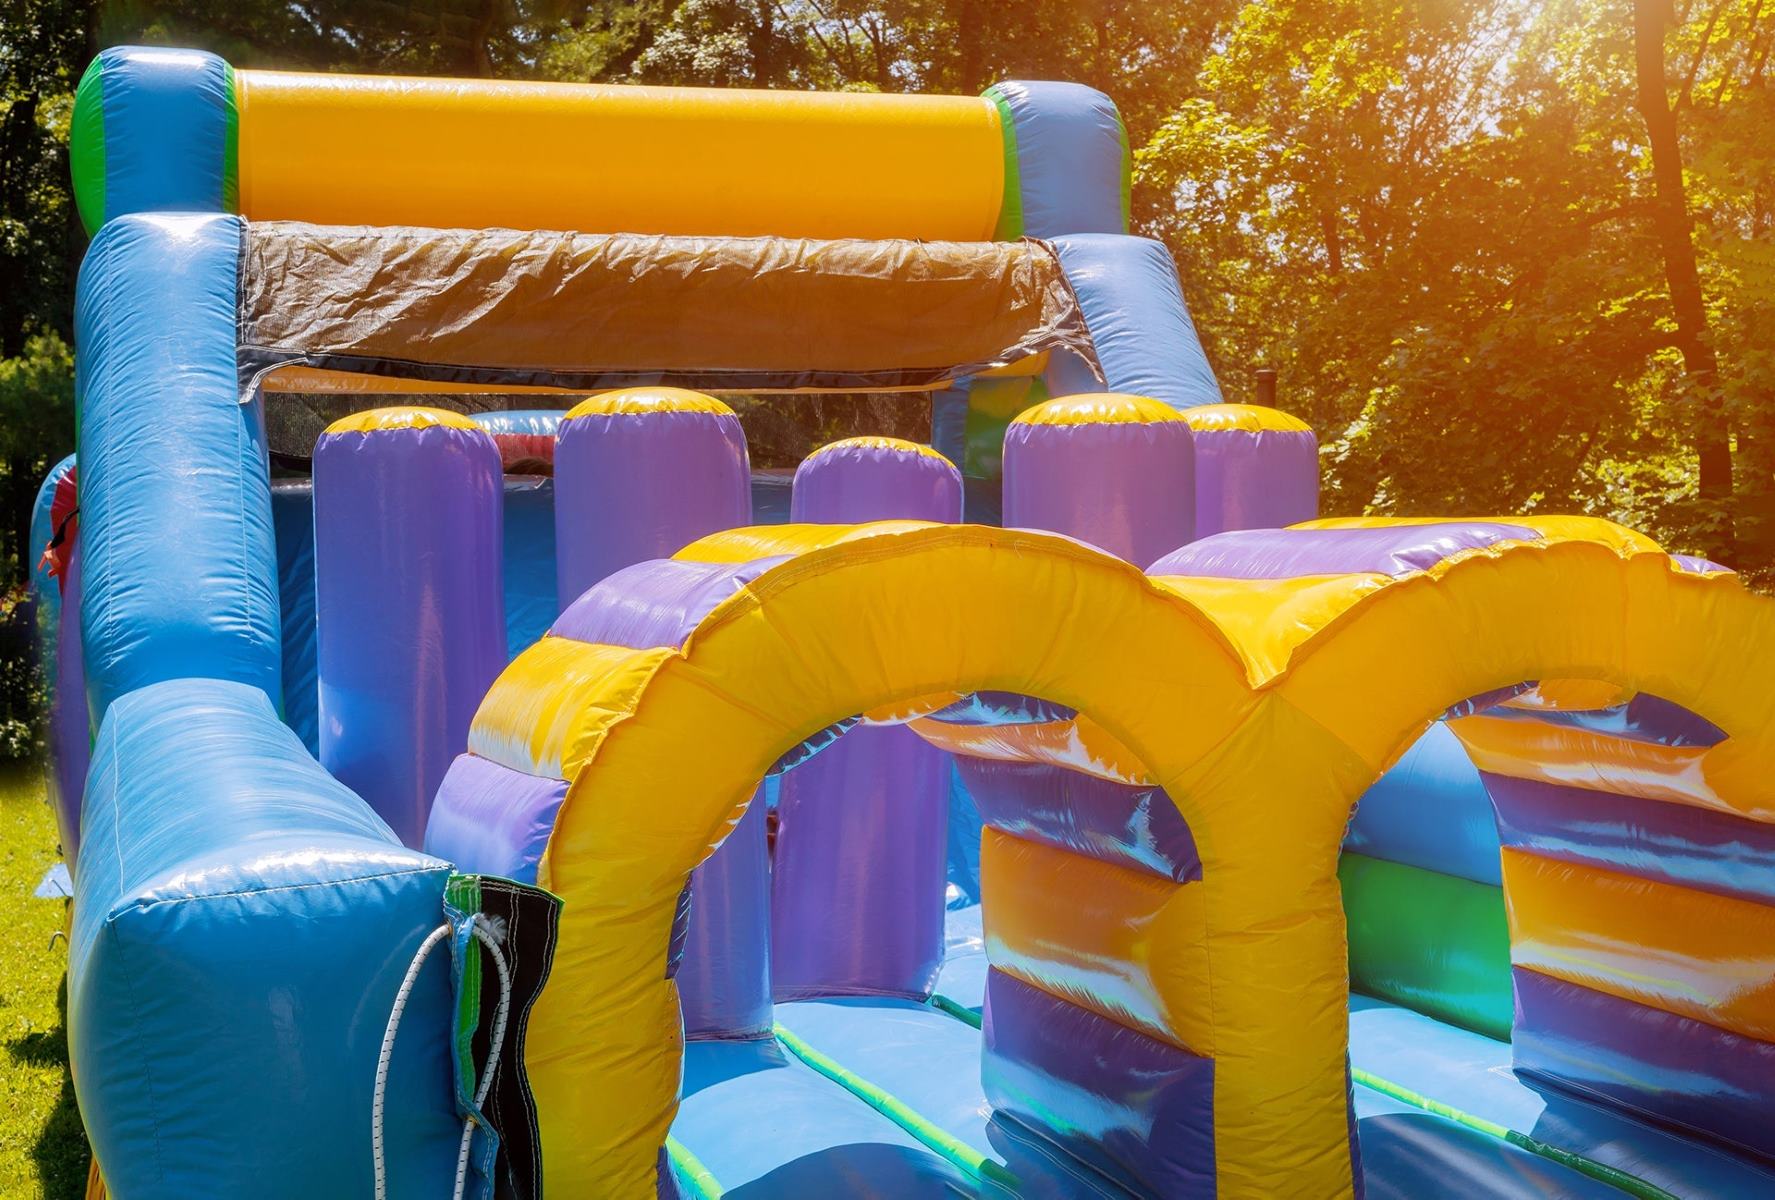
Welcome to the exciting world of bounce houses! These inflatable structures are a source of endless joy for kids and a popular choice for parties and events. However, like any inflatable item, bounce houses are susceptible to punctures and leaks. The good news is that repairing a bounce house is a manageable task that can save you time and money. In this guide, we will walk you through the step-by-step process of patching a bounce house, ensuring that you can restore it to its former bouncy glory in no time.
Whether you're a parent looking to repair your child's favorite playtime attraction or an event organizer seeking to maintain your bounce house inventory, this comprehensive guide has got you covered. By following these simple yet effective steps, you can breathe new life into your beloved bounce house and provide countless hours of entertainment for the young ones.
So, roll up your sleeves, gather your materials, and let's embark on this journey to restore your bounce house to its full bouncing potential!
Key Takeaways:
- Keep your bounce house in top shape by gathering the right materials, locating leaks, and applying patches with care. A well-maintained bounce house ensures endless fun for kids and peace of mind for parents and event organizers.
- Patience and attention to detail are key in successfully patching a bounce house. By following the step-by-step process, you can restore your bounce house to its full bouncing potential and create cherished memories for young users.
Read more: How To Inflate A Bounce House
Step 1: Gather Necessary Materials
Before embarking on the patching process, it’s crucial to ensure that you have all the essential materials at your disposal. Having everything ready will streamline the repair process and minimize any potential delays. Here’s a list of materials you’ll need:
- Patch Kit: Ensure you have a high-quality patch kit specifically designed for repairing inflatable bounce houses. These kits typically include patches, adhesive, and sometimes a patching tool.
- Clean Cloth: Have a clean, dry cloth or rag on hand to wipe and dry the affected area before applying the patch.
- Marker or Chalk: You’ll need a marker or chalk to outline the leak area, making it easier to locate and work on the damaged section.
- Scissors: A pair of sharp scissors will be necessary for cutting the patch to the required size and shape.
- Protective Gloves: It’s advisable to wear protective gloves to keep your hands clean and shielded from any adhesive or patching material.
- Inflation Device: Depending on the size of the bounce house, you may need an inflation device to re-inflate the repaired section and test for leaks.
By ensuring that you have all these materials on hand, you can proceed with confidence to the next step of the repair process. Preparation is key, and having everything ready will make the patching process smoother and more efficient.
Step 2: Locate the Leak
Before you can begin the repair process, it’s essential to pinpoint the exact location of the leak. This step requires a keen eye and a systematic approach. Here’s how you can effectively locate the leak in your bounce house:
- Inflate the Bounce House: Begin by fully inflating the bounce house. This will help you identify any noticeable sagging or hissing sounds that indicate the presence of a leak.
- Visual Inspection: Carefully examine the entire surface of the bounce house, paying close attention to seams, corners, and areas around the inflatable entrances and exits.
- Use Soapy Water: Prepare a solution of soapy water in a spray bottle. Spray the soapy water onto the surface of the bounce house and observe for any bubbling, which indicates air escaping from a puncture or hole.
- Mark the Leak: Once you’ve identified the location of the leak, mark it with a piece of chalk or a marker. This will make it easier to locate the leak again after you’ve deflated the bounce house for repair.
By following these steps, you can systematically and accurately locate the leak in your bounce house. Remember, patience and thoroughness are key during this process. Once you’ve successfully identified the leak, you can proceed to the next step with confidence, knowing that you’re targeting the precise area that requires repair.
Step 3: Clean and Dry the Area
Now that you’ve located the leak, it’s time to prepare the area for the patching process. Ensuring that the surface is clean and dry is essential for the patch to adhere effectively. Follow these steps to clean and dry the affected area:
- Deflate the Bounce House: Carefully deflate the bounce house, ensuring that it is completely flat and free of any remaining air.
- Clean the Surface: Use a mild detergent and water solution to clean the area around the leak. Gently scrub the surface with a clean cloth to remove any dirt, debris, or residue that could interfere with the adhesion of the patch.
- Rinse and Wipe Dry: Rinse the cleaned area with water to remove any soapy residue, and then thoroughly dry the surface with a clean, dry cloth. It’s crucial to ensure that the area is completely dry before proceeding to the next step.
- Allow for Additional Drying Time: If necessary, allow the cleaned area to air dry for a few extra minutes to ensure that no moisture remains on the surface.
By meticulously cleaning and drying the area around the leak, you create an optimal environment for the patching material to bond securely to the bounce house. This meticulous preparation sets the stage for a successful and long-lasting repair.
When patching a bounce house, make sure to clean and dry the area around the hole before applying the patch. Use a strong adhesive patch designed for inflatable materials, and apply pressure to ensure a secure bond.
Step 4: Apply Patching Material
With the leak located and the area cleaned and dried, it’s time to apply the patching material to effectively seal the puncture or hole. Follow these steps to ensure a secure and durable patch:
- Cut the Patch: Using the scissors from your patch kit, carefully cut a patch from the repair material. Ensure that the patch is large enough to completely cover the leak, with some additional coverage around the edges for a strong bond.
- Apply Adhesive: Following the instructions provided with your patch kit, apply a generous amount of adhesive to the back of the patch. Spread the adhesive evenly to cover the entire patch surface.
- Position the Patch: Carefully place the adhesive-coated side of the patch over the leak, ensuring that it is centered and covers the damaged area completely.
- Press Firmly: Press down firmly on the patch to ensure a strong bond between the patch, adhesive, and the bounce house material. Apply pressure evenly across the entire patch to eliminate air pockets and promote adhesion.
- Smooth Out Any Wrinkles: If the patch material allows, use a smooth, flat object to gently smooth out any wrinkles or air bubbles under the patch, ensuring a flush and secure application.
By following these steps meticulously, you can effectively apply the patching material to seal the leak and reinforce the integrity of the bounce house. Taking the time to apply the patch correctly will help ensure a reliable and long-lasting repair.
Read more: How To Store Bounce House
Step 5: Allow the Patch to Cure
After applying the patching material, it’s crucial to allow sufficient time for the adhesive to cure and create a strong, durable bond. This step is essential for the long-term effectiveness of the repair. Here’s how to ensure that the patch cures effectively:
- Follow Manufacturer’s Instructions: Refer to the instructions provided with your patch kit to determine the recommended curing time for the adhesive. Adhering to the manufacturer’s guidelines is crucial for optimal results.
- Avoid Disturbance: During the curing process, it’s important to avoid any movement or disturbance of the patched area. This will allow the adhesive to set undisturbed, ensuring a secure bond between the patch and the bounce house material.
- Optimal Temperature and Humidity: If possible, ensure that the bounce house is placed in an environment with optimal temperature and humidity levels as recommended by the patch kit instructions. This can contribute to the effectiveness of the curing process.
- Verify Complete Curing: After the recommended curing time has passed, carefully inspect the patched area to ensure that the adhesive has fully cured. The patch should be firmly bonded to the bounce house material with no signs of lifting or separation.
By allowing the patch to cure according to the manufacturer’s instructions and providing an optimal environment for the curing process, you can ensure that the repair is robust and long-lasting. Patience during this crucial phase will contribute to the overall effectiveness of the patching process.
Step 6: Test the Bounce House
Now that the patch has cured, it’s time to put your repaired bounce house to the test. By conducting a thorough inspection and inflation test, you can ensure that the repair has been successful and that your bounce house is once again ready for action. Follow these steps to test the bounce house:
- Inflate the Bounce House: Using the appropriate inflation device, carefully inflate the bounce house to its recommended pressure. Pay close attention to the previously patched area as the bounce house inflates.
- Visual Inspection: Once the bounce house is fully inflated, visually inspect the patched area for any signs of air leakage or stress on the patch. Ensure that the patch remains securely bonded to the bounce house material.
- Physical Inspection: Gently press on and around the patched area to confirm that the patch holds firm and that there are no air leaks. Pay attention to any unusual sounds or feelings that may indicate a problem with the repair.
- Load Test: If appropriate, allow a small number of children (or equivalent weight) to enter and bounce in the repaired area of the bounce house. Observe the patch for any signs of stress or compromise during this test.
By conducting a comprehensive test of the bounce house, you can verify the success of the repair and ensure the safety and functionality of the inflatable structure. A successful test means that your bounce house is once again ready to provide hours of joy and entertainment for its young users.
Conclusion
Congratulations! You’ve successfully navigated the process of patching a bounce house, restoring it to its former glory and ensuring countless hours of fun for its eager users. By following the step-by-step guide outlined here, you’ve not only repaired a valuable recreational asset but also gained valuable insights into maintaining and caring for inflatable structures.
Remember, the key to a successful bounce house repair lies in meticulous preparation, careful execution, and thorough testing. By gathering the necessary materials, locating the leak, cleaning and drying the area, applying the patching material, allowing for proper curing, and conducting a comprehensive test, you’ve demonstrated your commitment to safety and quality.
As you witness the joy and laughter that emanate from the bounce house once again, take pride in knowing that your efforts have contributed to creating cherished memories for those who enjoy this beloved inflatable attraction. Whether it’s a backyard birthday party, a community event, or a school carnival, your repaired bounce house is sure to be a focal point of excitement and delight.
Thank you for taking the time to prioritize the maintenance and repair of your bounce house. Your dedication to ensuring a safe and enjoyable experience for all who partake in its bouncy adventures is truly commendable. Now, go ahead and revel in the boundless energy and laughter that will fill the air, courtesy of your expertly patched bounce house!
Frequently Asked Questions about How To Patch A Bounce House
Was this page helpful?
At Storables.com, we guarantee accurate and reliable information. Our content, validated by Expert Board Contributors, is crafted following stringent Editorial Policies. We're committed to providing you with well-researched, expert-backed insights for all your informational needs.


0 thoughts on “How To Patch A Bounce House”