Home>Gardening & Outdoor>Outdoor Recreation & Activities>How To Find A Hole In A Bounce House

Outdoor Recreation & Activities
How To Find A Hole In A Bounce House
Modified: February 18, 2024
Learn how to easily locate and repair punctures in your bounce house with our outdoor recreation and activities guide. Keep the fun going with our expert tips!
(Many of the links in this article redirect to a specific reviewed product. Your purchase of these products through affiliate links helps to generate commission for Storables.com, at no extra cost. Learn more)
Introduction
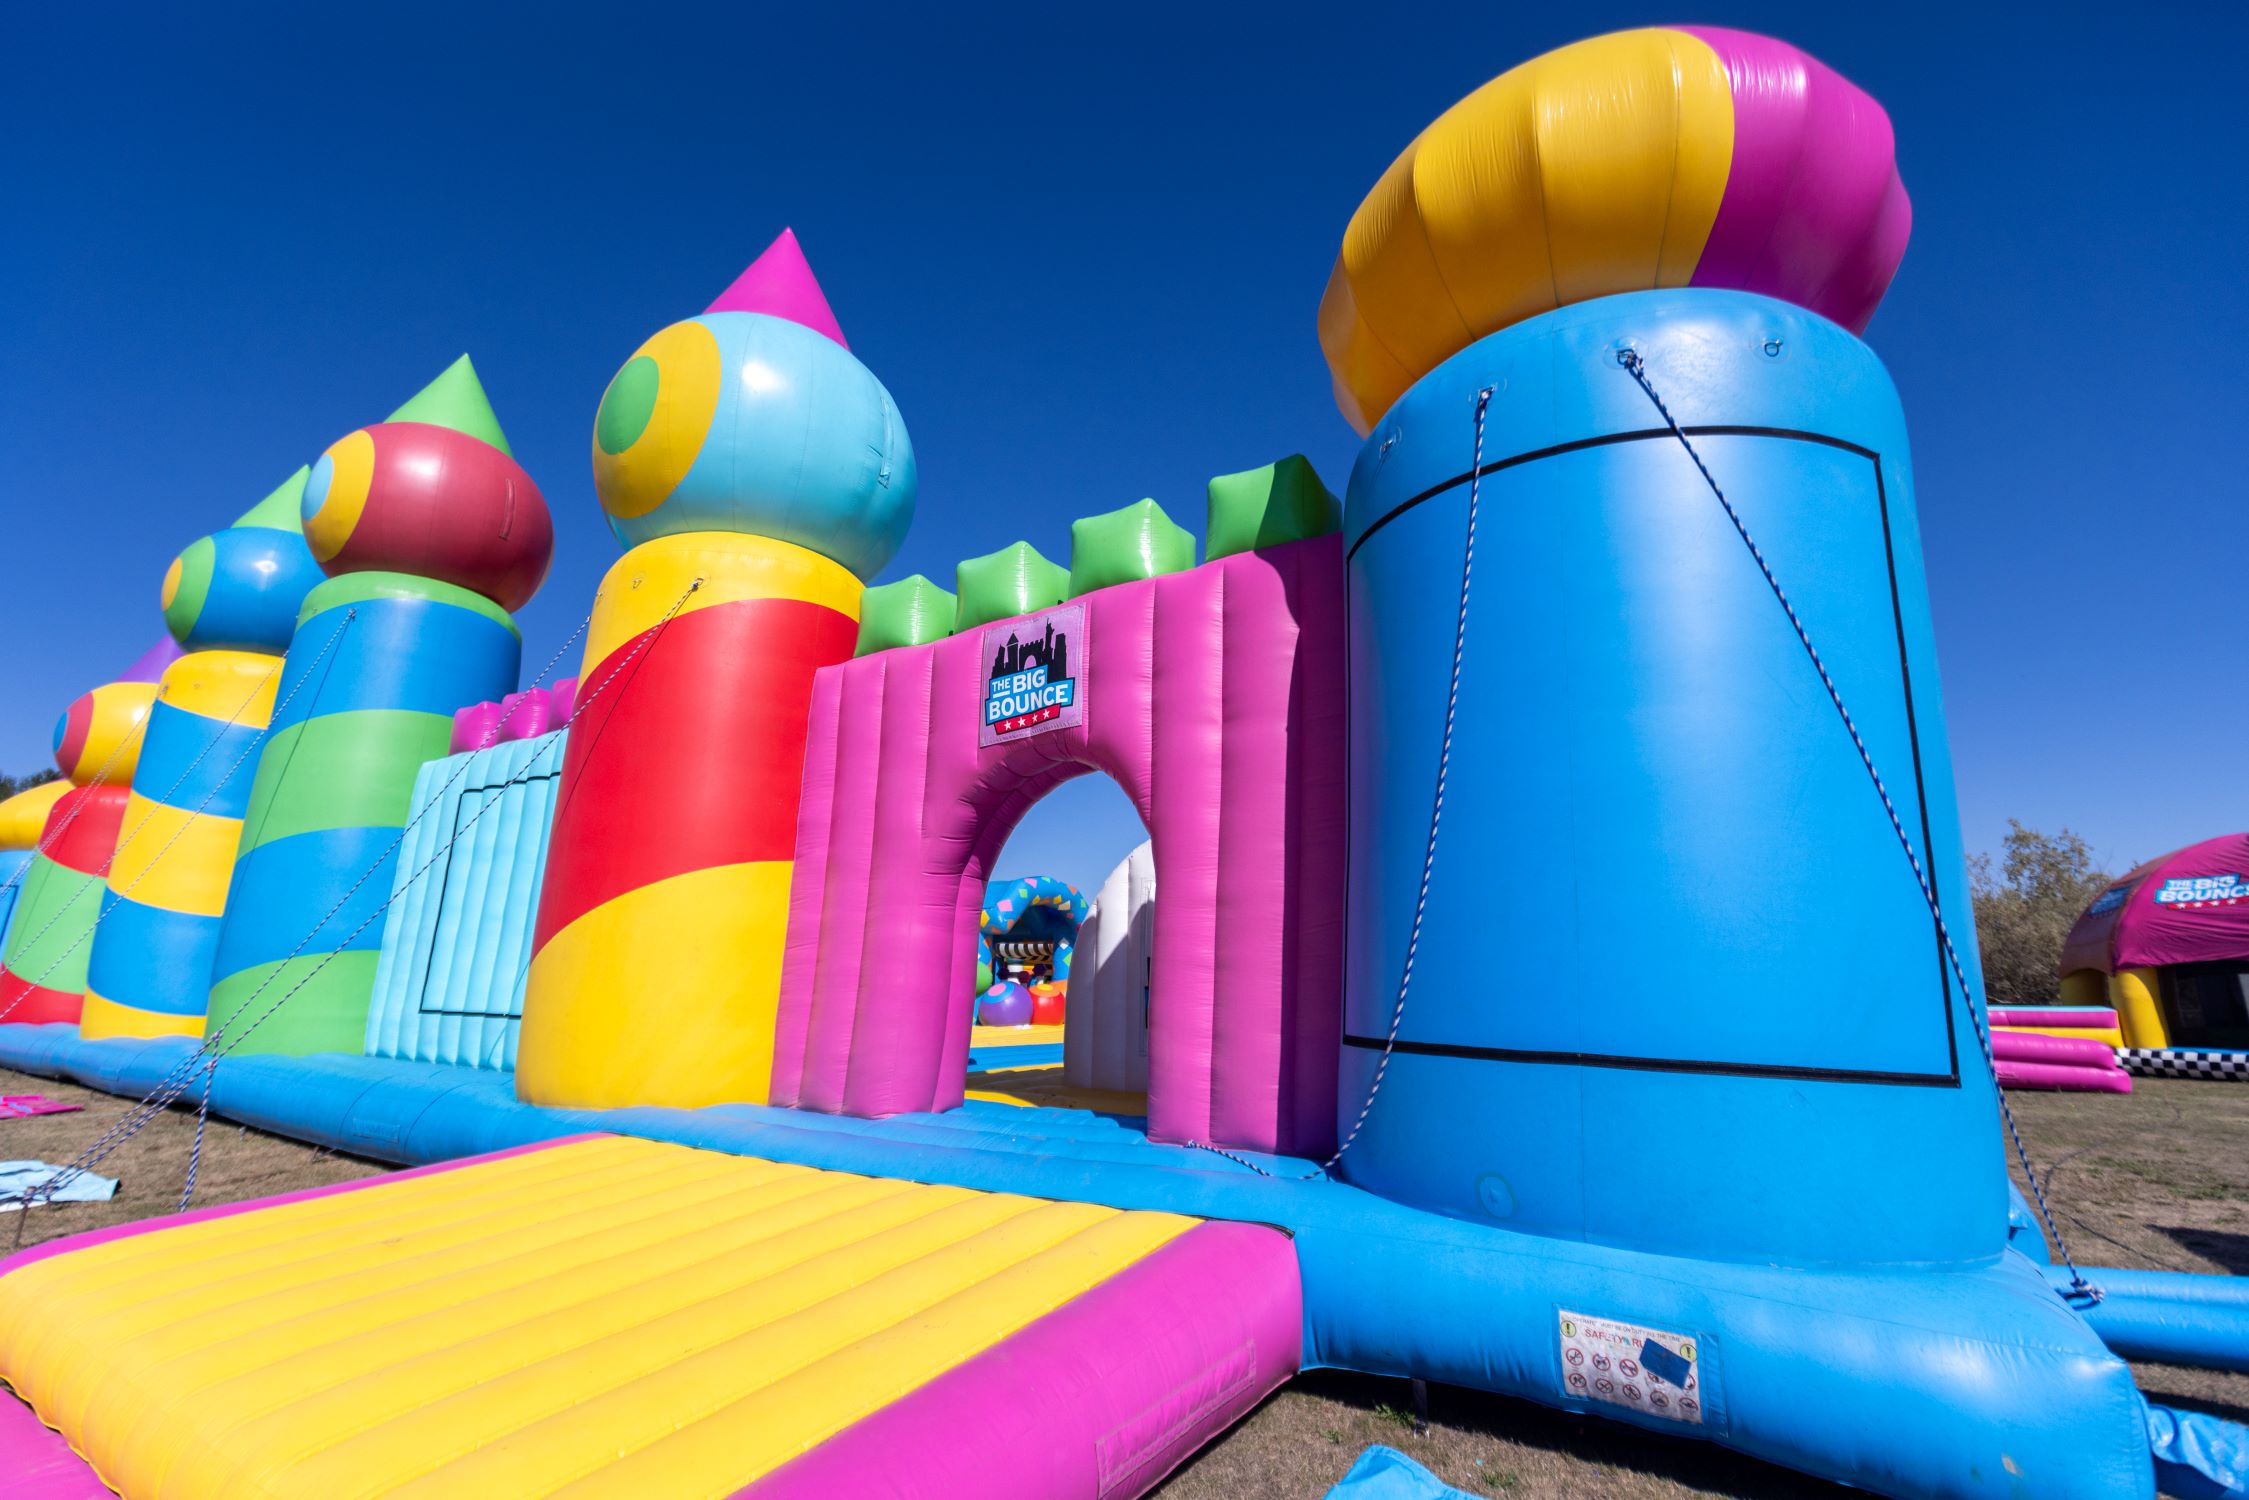
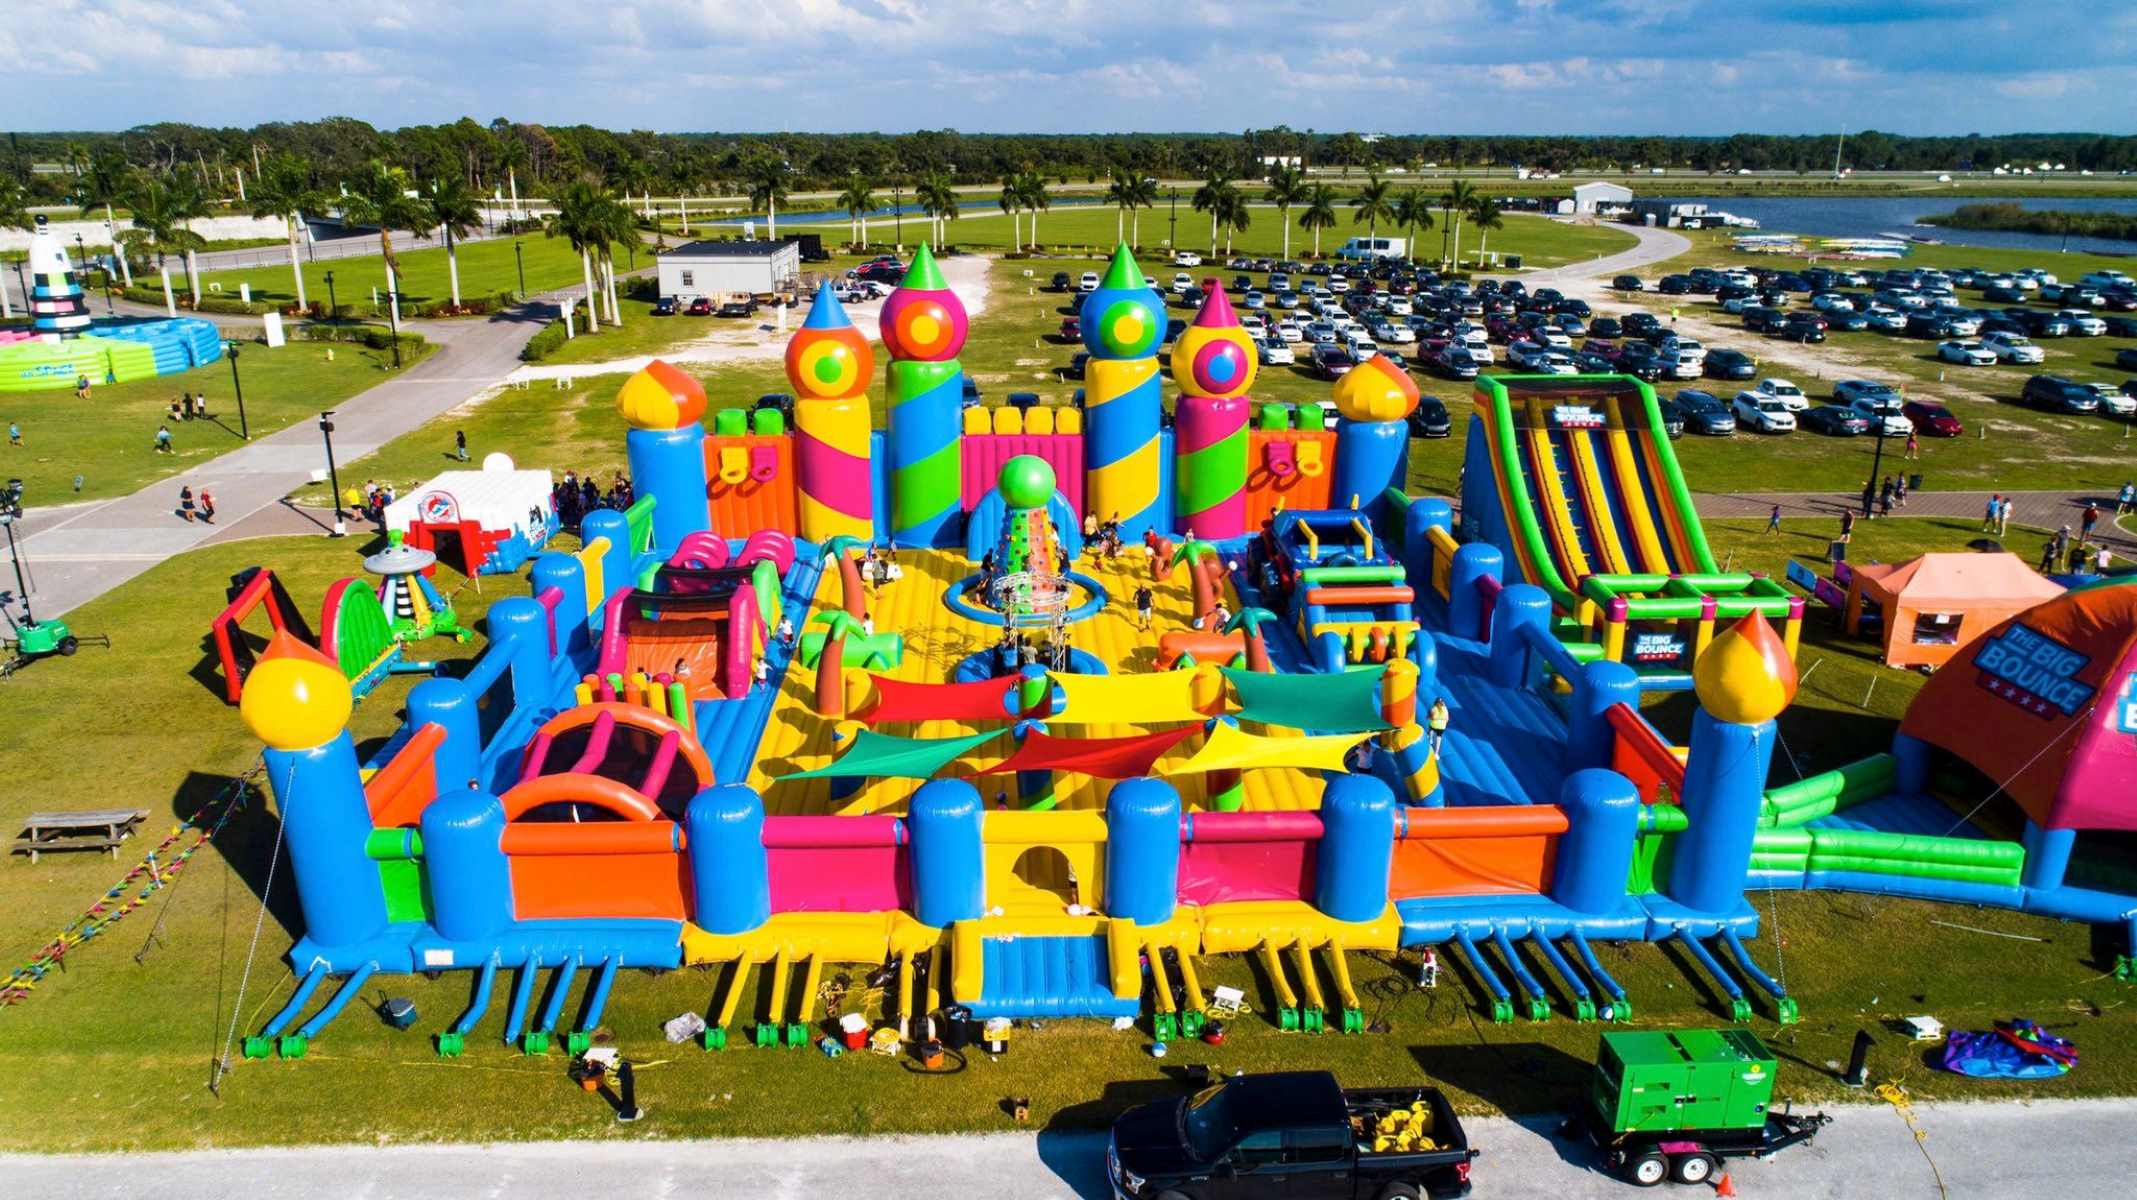
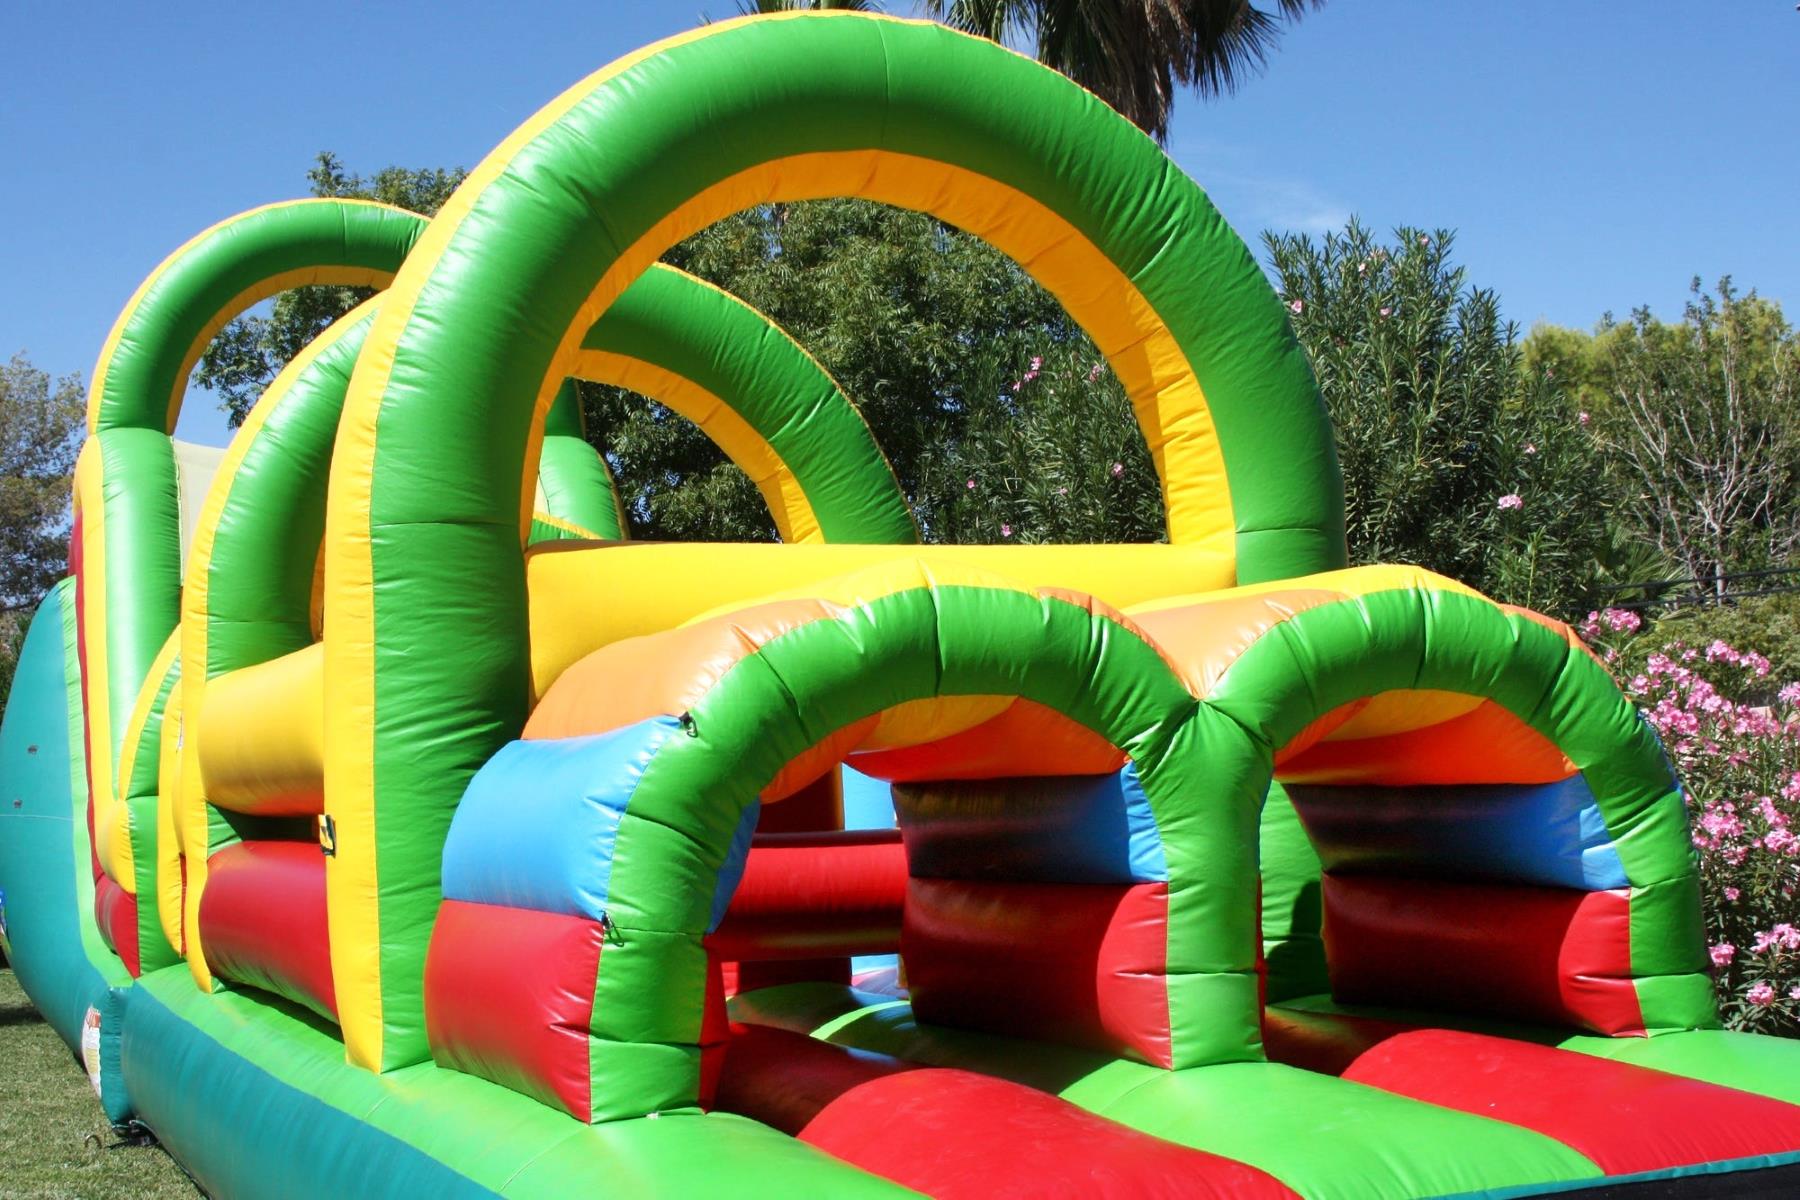
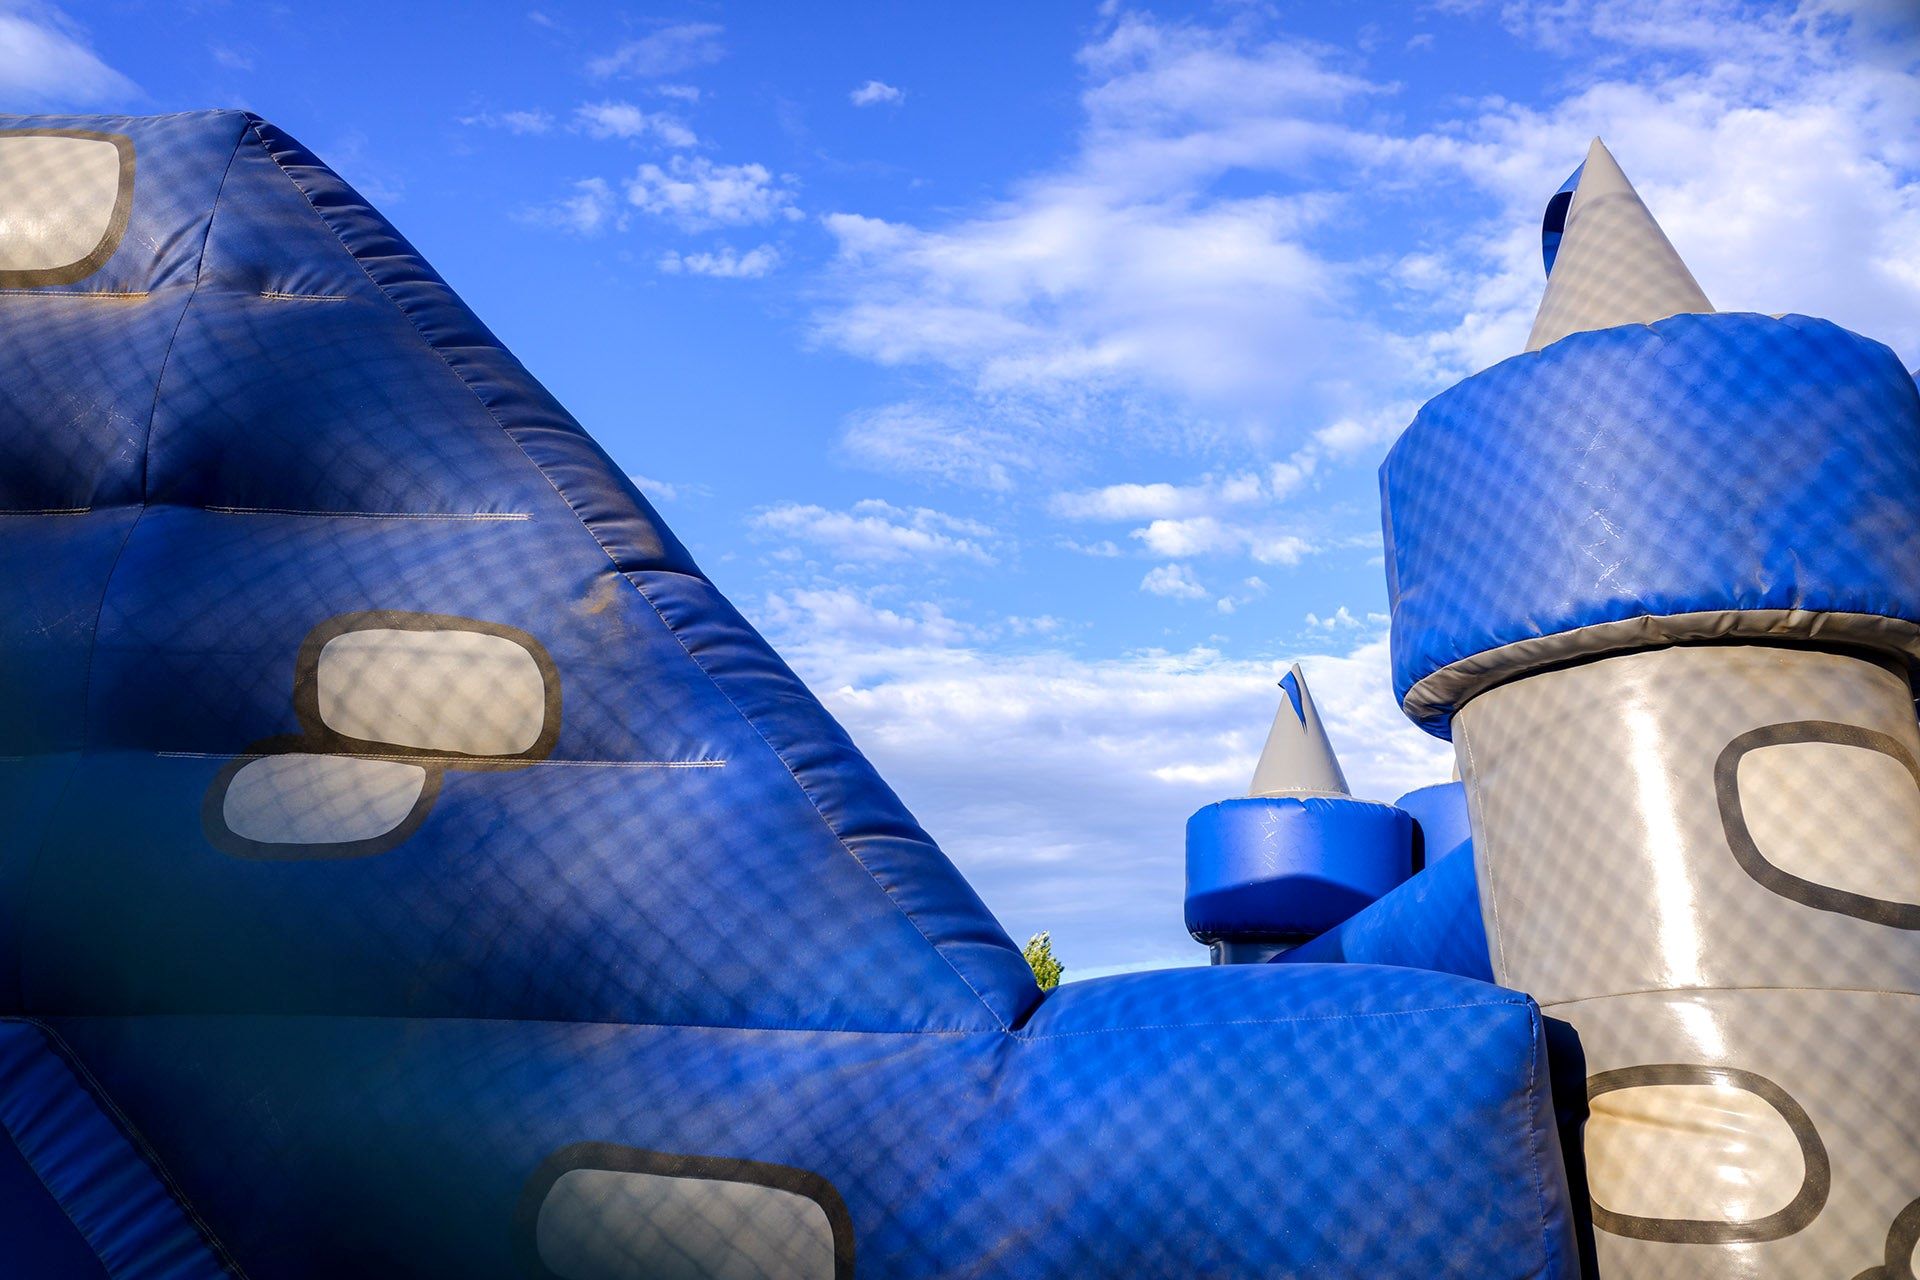
When it comes to inflatable fun, bounce houses are a popular choice for kids' parties and outdoor gatherings. These colorful and bouncy structures provide endless entertainment, but just like any inflatable object, they are susceptible to wear and tear. One of the common issues that bounce house owners encounter is a hole or tear in the fabric, which can lead to deflation and potential safety hazards.
In this guide, we will explore the essential steps for identifying and repairing a hole in a bounce house. By following these simple yet effective techniques, you can extend the lifespan of your bounce house and ensure that it remains a safe and enjoyable play area for children. So, let's dive into the process of finding and fixing a hole in a bounce house, allowing you to continue creating cherished memories of laughter and playtime.
Key Takeaways:
- Keep your bounce house in top shape by inspecting for tears, using soapy water to find holes, and repairing with vinyl patches or stitching to ensure a safe and enjoyable play area for kids.
- Regular maintenance and prompt repairs can extend the lifespan of your bounce house, providing endless entertainment and cherished memories for children and families.
Read more: How To Inflate A Bounce House
Step 1: Inspect the Bounce House
The first step in addressing a potential hole in your bounce house is to thoroughly inspect the entire structure. Begin by laying the bounce house flat on the ground, ensuring that it is fully deflated. This will provide a clear and stable surface for your inspection. As you examine the bounce house, pay close attention to the seams, corners, and high-traffic areas where the fabric may experience the most stress during use.
Take note of any visible signs of damage, including tears, punctures, or abrasions on the surface of the bounce house. It’s essential to inspect both the interior and exterior of the bounce house, as some smaller holes may be less noticeable from the outside. Additionally, check the anchoring points, as these areas are prone to stress and may be susceptible to damage.
During the inspection, keep an eye out for loose threads, stretched fabric, or areas where the material appears thin or weakened. These indicators can help you pinpoint potential weak spots that may lead to a hole or tear over time. By conducting a thorough visual assessment, you can better understand the condition of your bounce house and identify any areas that require further examination.
Step 2: Look for Tears or Punctures
After inspecting the bounce house, focus on identifying tears or punctures that may be causing the deflation issue. Begin by carefully running your hands over the surface of the fabric, paying attention to any unusual textures or irregularities. Look for small, pin-sized holes as well as larger tears that may have resulted from sharp objects or excessive pressure.
It’s important to approach this step with thoroughness and patience, as some holes may be subtle and easily overlooked. If the bounce house features vibrant or patterned fabric, visually contrasting the surface against a plain background can help reveal hidden punctures or tears. Additionally, consider using a flashlight to illuminate the interior of the bounce house, as this can aid in spotting imperfections that may be less visible in natural light.
When inspecting for tears or punctures, pay special attention to the areas around seams, as these junctures are common sites for stress-related damage. Furthermore, check the entrance and exit points, as these locations are frequently subject to heightened activity and potential wear. By meticulously examining the bounce house for any signs of damage, you can effectively narrow down the location of the hole and prepare for the next steps in the repair process.
Step 3: Check the Seams and Stitching
Inspecting the seams and stitching of the bounce house is crucial in identifying potential areas of weakness that could lead to a hole. Carefully examine the seams where different panels of fabric are joined together, as well as any areas where straps, handles, or anchor points are attached. These junctures are common hotspots for stress and may be susceptible to seam failure.
Look for any loose threads, fraying, or signs of separation along the seams. If you notice any stitching that appears compromised or unraveling, it’s important to address these issues promptly to prevent further damage. Additionally, check for any areas where the stitching may have pulled away from the fabric, creating small openings that could potentially develop into larger holes over time.
When assessing the seams and stitching, pay attention to the quality of the thread and the tightness of the stitches. High-quality bounce houses are typically constructed with durable, reinforced stitching to withstand the rigors of play. However, prolonged use and exposure to environmental elements can weaken the integrity of the stitching, making it susceptible to failure.
By meticulously examining the seams and stitching, you can proactively identify any compromised areas that may require reinforcement or repair. Addressing potential seam issues early on can help prevent the development of a hole and contribute to the overall safety and longevity of your bounce house.
Inspect the bounce house for any tears, holes, or loose seams before use. Use a flashlight to check for any damage, and patch any holes with a repair kit before allowing anyone to play inside.
Step 4: Use Soapy Water
Utilizing soapy water is an effective method for pinpointing the exact location of a hole in your bounce house. To begin, mix a small amount of mild dish soap with water to create a soapy solution. Transfer the soapy water into a spray bottle for easy application. Once the solution is prepared, inflate the bounce house and ensure that it is fully pressurized.
Next, spray a generous amount of the soapy water onto the surface of the bounce house, focusing on the areas where you suspect a hole may be present. As the soapy water is applied, observe the surface closely for any signs of bubbling or air escaping from the fabric. The presence of bubbles indicates that air is being released through a hole or puncture, allowing you to pinpoint the exact location of the leak.
It’s important to methodically cover the entire surface of the bounce house with the soapy water solution, as some holes may be small and easily missed without thorough inspection. Take your time during this process, ensuring that every section of the bounce house is carefully examined for air leakage. By systematically applying the soapy water and observing for bubble formation, you can accurately identify the precise location of the hole, facilitating targeted repair efforts.
Using soapy water as a diagnostic tool not only helps in locating the hole but also provides a visual confirmation of the air leak. This method is particularly useful for detecting tiny punctures that may be challenging to identify through visual inspection alone. Once the hole is identified, you can proceed with the necessary repairs to restore the integrity of your bounce house.
Read more: How To Store Bounce House
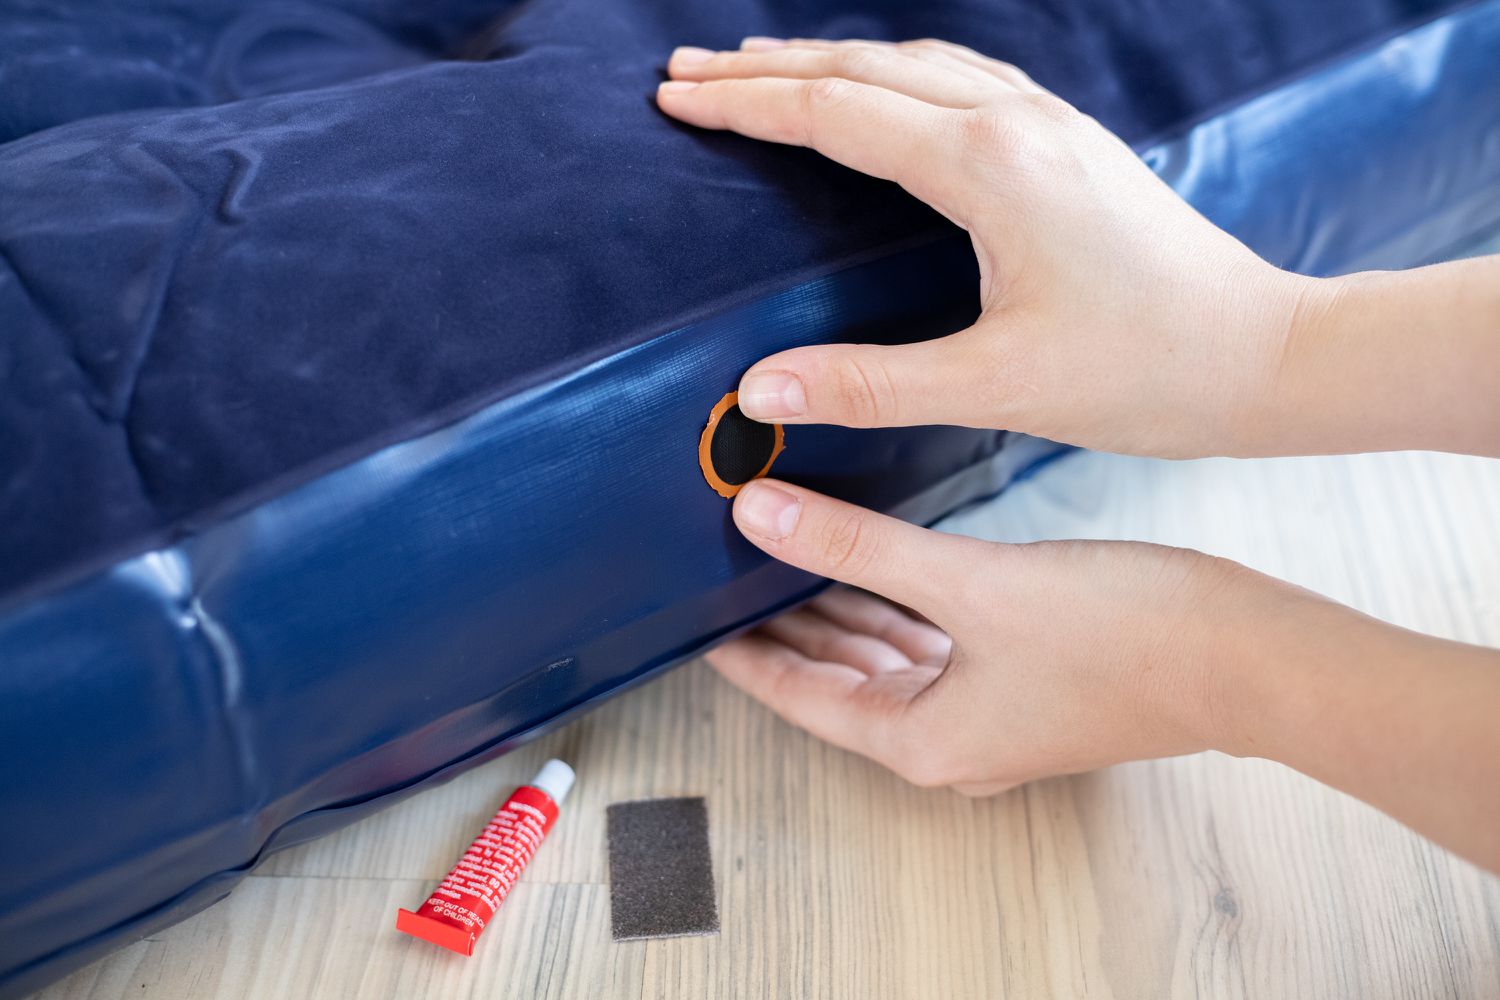
Step 5: Repairing the Hole
Once the location of the hole has been identified, it’s time to initiate the repair process to restore the integrity of your bounce house. Depending on the size and nature of the damage, there are several effective methods for patching the hole and reinforcing the fabric to prevent further air leakage.
If the hole is small, a simple and efficient solution is to use a vinyl repair patch specifically designed for inflatables. These patches are typically self-adhesive and can be easily applied to the damaged area, creating a durable seal that prevents air from escaping. Before applying the patch, ensure that the surface around the hole is clean and dry to promote optimal adhesion.
For larger holes or tears, a vinyl repair kit equipped with patching material and adhesive can be employed to effectively mend the damaged area. Begin by trimming any loose threads or frayed edges around the hole to create a smooth and even surface for the patch. Apply the adhesive as directed by the repair kit, firmly pressing the patch onto the damaged area to create a secure bond.
In cases where the damage is located near a seam or stitching, it may be necessary to reinforce the surrounding area with additional stitching to prevent the hole from expanding. Using heavy-duty nylon thread and a curved upholstery needle, carefully sew the edges of the hole to strengthen the fabric and prevent further tearing. This method provides added reinforcement to the repaired area, enhancing the overall durability of the bounce house.
After completing the repair, allow sufficient time for the adhesive to fully cure and the patch to securely bond with the fabric. Once the repair is complete, inflate the bounce house and conduct a secondary inspection to ensure that the patched area effectively seals the hole and prevents air leakage. By diligently addressing the damage and implementing appropriate repair measures, you can extend the lifespan of your bounce house and maintain a safe and enjoyable play environment for children.
Conclusion
Repairing a hole in a bounce house is a manageable task that can prolong the life of this beloved recreational structure. By following the steps outlined in this guide, you can effectively identify and address issues related to air leakage, ensuring that your bounce house remains a safe and enjoyable play area for children.
Thoroughly inspecting the bounce house, including its seams, stitching, and surface, is essential for identifying potential areas of weakness that may lead to a hole. Utilizing soapy water as a diagnostic tool can aid in pinpointing the location of the hole, allowing for targeted repair efforts. Once the hole is identified, employing appropriate patching methods and reinforcing the damaged area can effectively restore the integrity of the bounce house.
Regular maintenance and prompt repair of any identified issues are key to preserving the functionality and safety of your bounce house. Additionally, implementing preventive measures, such as placing the bounce house on a protective ground cover and establishing clear usage guidelines, can help minimize the risk of damage and prolong the longevity of the inflatable structure.
By taking proactive steps to maintain and repair your bounce house, you can continue to create joyful and memorable experiences for children while ensuring their safety during playtime. Remember that a well-maintained bounce house not only provides entertainment but also contributes to the overall well-being and happiness of those who partake in its bouncy delights.
With a commitment to regular inspection, timely repairs, and responsible usage, your bounce house can continue to be a source of laughter and excitement for countless gatherings and celebrations, enriching the outdoor recreational experiences of children and families alike.
Frequently Asked Questions about How To Find A Hole In A Bounce House
Was this page helpful?
At Storables.com, we guarantee accurate and reliable information. Our content, validated by Expert Board Contributors, is crafted following stringent Editorial Policies. We're committed to providing you with well-researched, expert-backed insights for all your informational needs.


0 thoughts on “How To Find A Hole In A Bounce House”