Home>Gardening & Outdoor>Outdoor Recreation & Activities>How To Make A Swimming Pool Slide
Outdoor Recreation & Activities
How To Make A Swimming Pool Slide
Modified: November 2, 2024
Learn how to make a fun and safe swimming pool slide for your outdoor recreation and activities. Get step-by-step instructions and tips for building your own slide.
(Many of the links in this article redirect to a specific reviewed product. Your purchase of these products through affiliate links helps to generate commission for Storables.com, at no extra cost. Learn more)
Introduction
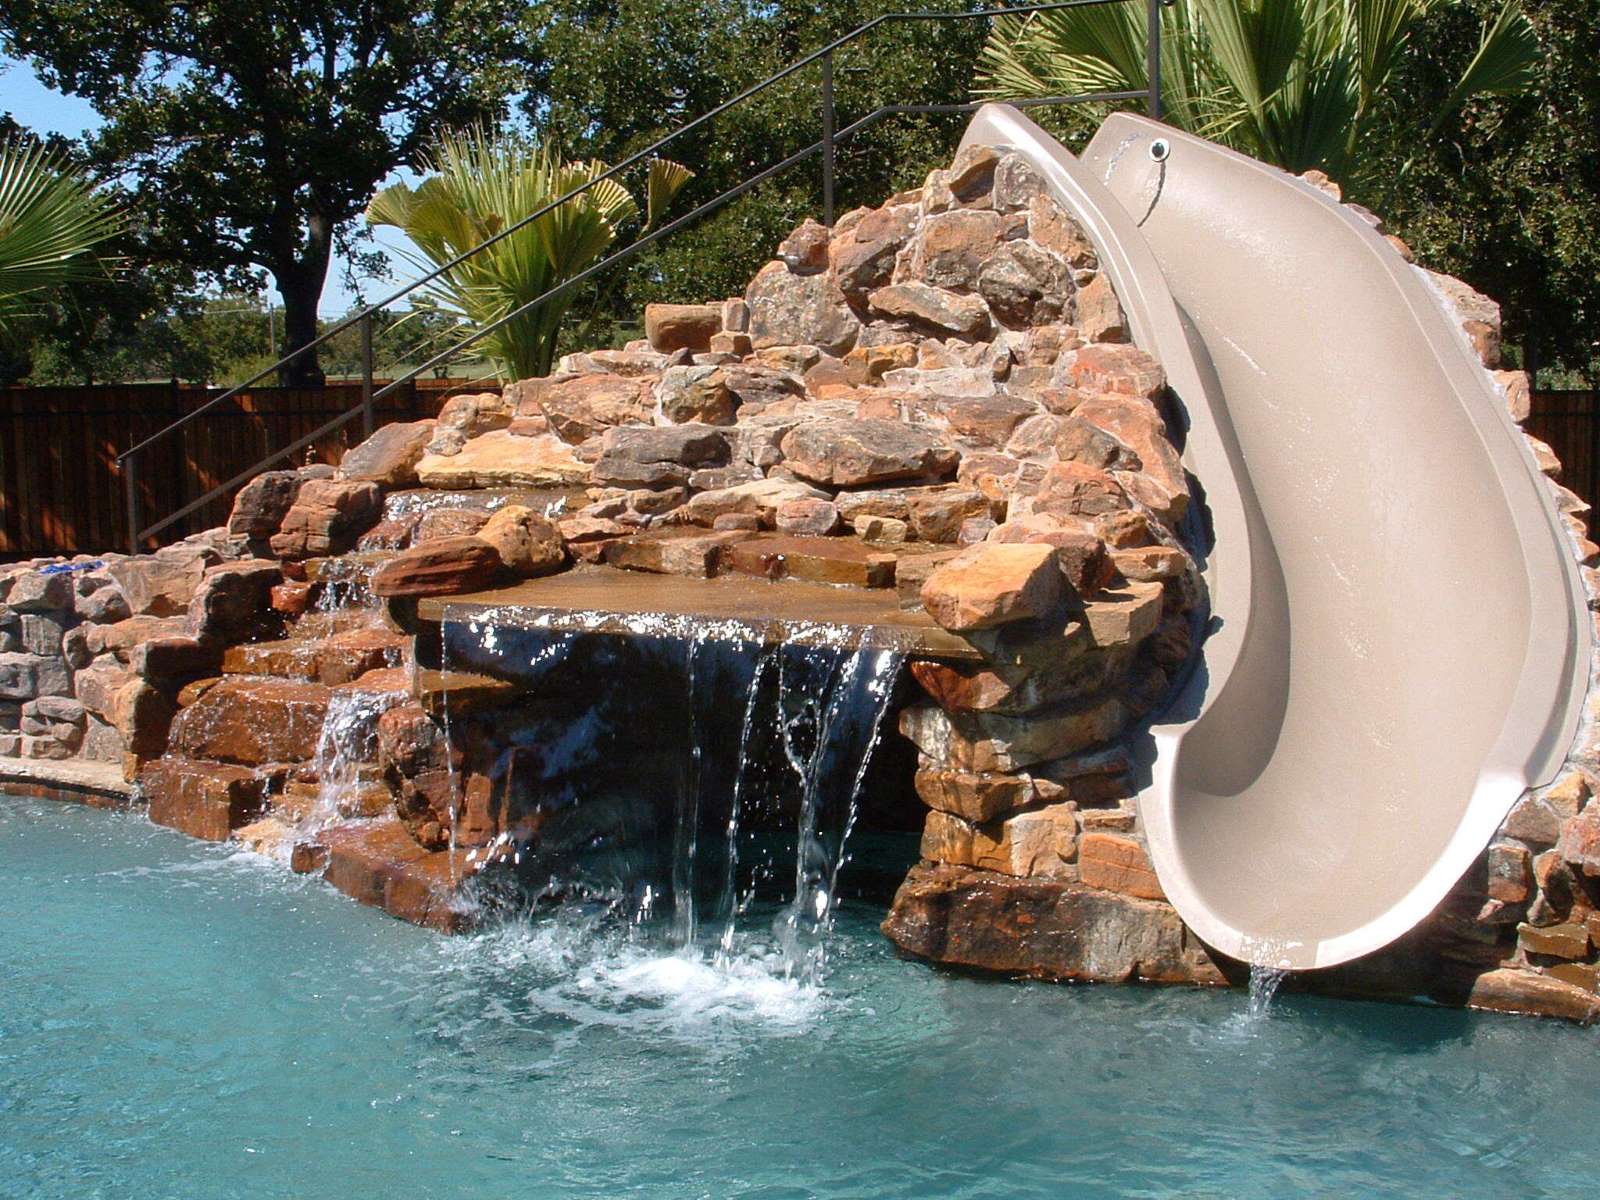
Are you ready to take your backyard pool to the next level of fun and excitement? Adding a swimming pool slide can transform your pool area into a thrilling oasis for family and friends. Whether you're looking to create a playful atmosphere for kids or simply want to inject some adventure into your pool parties, a custom-built pool slide is the perfect addition.
In this comprehensive guide, we will walk you through the step-by-step process of creating your own swimming pool slide. From gathering the necessary materials and tools to constructing the slide and ensuring its safety, we've got you covered. By following these instructions, you can unleash your creativity and craftsmanship to craft a slide that perfectly complements your pool and reflects your unique style.
With a DIY pool slide, you have the freedom to design a one-of-a-kind feature that suits your preferences and fits seamlessly into your outdoor space. Whether you envision a sleek and modern slide or a whimsical, curving design, the possibilities are endless. Not only will you be enhancing the aesthetics of your pool, but you'll also be providing endless entertainment for your family and guests.
As you embark on this project, remember that safety is paramount. By carefully following the construction guidelines and ensuring that the slide meets safety standards, you can create a thrilling yet secure addition to your pool. With the right approach and attention to detail, you can build a slide that offers both exhilaration and peace of mind.
So, roll up your sleeves, gather your tools, and get ready to embark on an exciting journey of creativity and construction. Let's dive into the process of bringing your vision of a custom swimming pool slide to life!
Key Takeaways:
- Bring your backyard pool to life with a custom slide! Follow safety guidelines, gather materials, and enjoy the thrill of creating a unique and exciting addition to your outdoor oasis.
- Carefully plan the location, build a sturdy support structure, and construct the slide with safety in mind. Test and enjoy the exhilarating experience of your newly built custom swimming pool slide!
Read more: How To Make A Swimming Pool For Dolls
Step 1: Gather Materials and Tools
To embark on the exhilarating project of building a swimming pool slide, you'll need to start by gathering the essential materials and tools. Ensuring that you have everything at your disposal will streamline the construction process and set the stage for a successful outcome. Here's a comprehensive list of the items you'll need to kick off this exciting endeavor:
Materials:
- Slide Components: Acquire the main components of the slide, including the slide itself, ladder, and any additional features such as water jets or curves, depending on your design preferences.
- Support Structure Materials: Depending on the design, you'll need materials such as PVC piping, treated lumber, or metal framework to construct the support system for the slide.
- Sealant and Adhesives: Invest in high-quality sealants and adhesives to ensure the structural integrity and safety of the slide.
- Slide Surface: Choose a durable and smooth material for the slide surface, such as fiberglass or high-density polyethylene, to ensure a sleek and safe sliding experience.
- Safety Features: Consider safety elements such as non-slip treads, handrails, and padding to enhance the overall safety of the slide.
Tools:
- Measuring and Marking Tools: Equip yourself with measuring tape, a level, and marking tools to ensure precision during the installation process.
- Cutting Tools: Depending on the materials you're working with, you may need saws, drills, and hole saws to cut and shape the components of the slide and support structure.
- Fastening Tools: Gather a variety of fastening tools, including screws, bolts, and brackets, to securely assemble the slide and its support system.
- Protective Gear: Prioritize safety by wearing protective gear such as goggles, gloves, and a dust mask when handling materials and using power tools.
- Sealing and Finishing Tools: Have brushes, rollers, and other application tools on hand for applying sealants and finishes to the slide components.
By ensuring that you have all the necessary materials and tools ready, you'll be well-prepared to move on to the next exciting phase of building your custom swimming pool slide. With these essentials at your disposal, you can approach the construction process with confidence and precision, laying the groundwork for a stunning and enjoyable addition to your pool area.
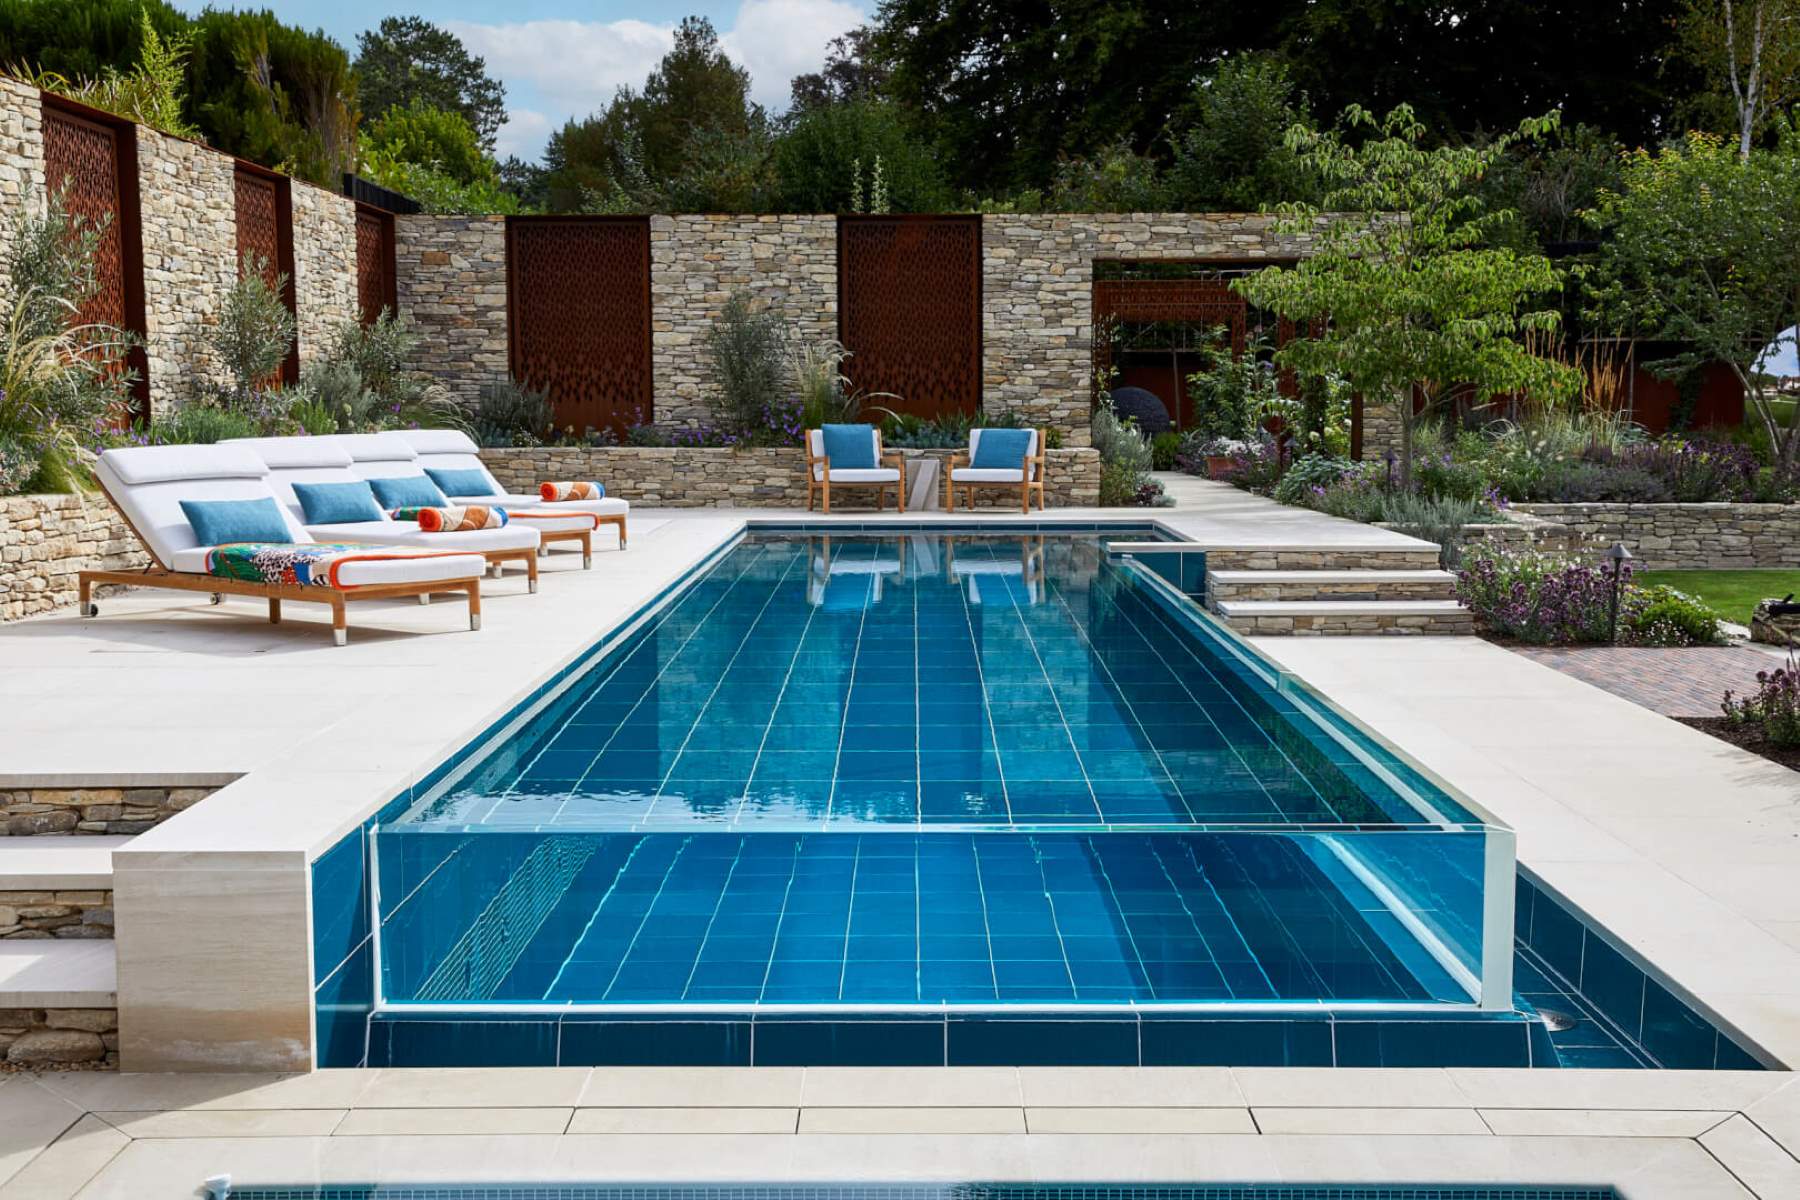
Step 2: Choose the Location
Selecting the ideal location for your swimming pool slide is a crucial decision that significantly impacts the overall functionality and aesthetic appeal of your pool area. By carefully considering various factors, you can determine the optimal placement for the slide, ensuring that it seamlessly integrates with your pool's design and enhances the overall experience for swimmers and slide enthusiasts.
Read more: How To Make A Cheap Swimming Pool
Considerations for Location Selection
Proximity to the Pool
The proximity of the slide to the pool is a fundamental consideration. Placing the slide in close proximity to the pool ensures a smooth transition from the slide to the water, allowing swimmers to seamlessly enjoy the exhilarating experience of sliding into the refreshing pool. Additionally, a well-positioned slide contributes to the visual harmony of the pool area, creating an inviting and cohesive recreational space.
Safety and Accessibility
Prioritizing safety and accessibility is paramount when choosing the location for your pool slide. Ensure that the slide is positioned in an area that allows for easy supervision, especially if the slide is intended for younger swimmers. Additionally, consider the surrounding space to provide ample room for individuals to access the slide and move around the pool area comfortably.
Landscape and Topography
The natural landscape and topography of your outdoor space play a significant role in determining the optimal location for the pool slide. Take into account any existing features such as trees, rocks, or slopes, as these elements can influence the placement of the slide. By harmonizing the slide with the natural surroundings, you can create a visually appealing and seamlessly integrated addition to your pool area.
Sun Exposure and Shade
Considering sun exposure and shade is essential for maximizing the comfort and enjoyment of the slide. Position the slide in a way that takes advantage of sunlight while also providing shaded areas for relaxation. By strategically placing the slide in relation to the sun's path, you can create an inviting and comfortable environment for swimmers and spectators alike.
Customization and Personalization
Embrace the opportunity to customize and personalize the location of your pool slide to align with your unique preferences and vision. Whether you envision the slide as a focal point of the pool area or prefer a more discreet placement, tailor the location to reflect your desired ambiance and functionality. By infusing your personal touch into the location selection process, you can create a pool slide that seamlessly integrates with your outdoor space and reflects your individual style.
By carefully evaluating these considerations and leveraging your creativity, you can confidently select the perfect location for your swimming pool slide. This thoughtful approach sets the stage for a harmonious and captivating addition to your pool area, ensuring that the slide becomes a cherished feature that enhances the overall allure and enjoyment of your outdoor oasis.
Step 3: Build the Support Structure
The support structure of a swimming pool slide is a critical component that ensures the stability, safety, and functionality of the slide. Constructing a robust and well-designed support system is essential for providing a secure and enjoyable sliding experience for swimmers of all ages. By following the step-by-step process outlined below, you can expertly build the support structure for your custom swimming pool slide.
Design Planning and Preparation
Before commencing the construction of the support structure, it is imperative to carefully plan and design the layout. Begin by determining the optimal placement of the support system in relation to the pool and the slide's entry point. Consider the structural requirements and load-bearing capacity, ensuring that the support structure is capable of withstanding the weight and force exerted by users sliding down the chute.
Material Selection and Assembly
Select high-quality materials that are suitable for outdoor use and can withstand exposure to water and varying weather conditions. Common materials for the support structure include treated lumber, PVC piping, or metal framework, depending on the design and structural needs of the slide. Assemble the support framework according to the predetermined design, ensuring precise measurements and secure connections. Utilize appropriate fastening methods such as screws, bolts, and brackets to reinforce the structural integrity of the support system.
Integration with Pool Deck or Surroundings
Integrate the support structure seamlessly with the pool deck or surrounding landscape to create a cohesive and visually appealing installation. Ensure that the support system is securely anchored to the ground or pool deck, providing a stable foundation for the slide. Pay attention to the alignment and levelness of the support structure, as these factors are crucial for the overall safety and functionality of the slide.
Safety Considerations and Compliance
Prioritize safety features such as handrails, non-slip treads, and padding to enhance the safety of the support structure. Verify that the construction adheres to relevant safety standards and regulations, particularly regarding weight capacity, structural stability, and user safety. Thoroughly inspect the support system to confirm that it meets the necessary safety requirements before proceeding to the next phase of slide construction.
By meticulously executing the construction of the support structure, you can lay the groundwork for a durable, secure, and visually striking swimming pool slide. The careful attention to detail and adherence to safety guidelines ensure that the support system serves as a reliable foundation for the slide, contributing to an exhilarating and worry-free sliding experience for all pool enthusiasts.
Step 4: Construct the Slide
Constructing the slide is the pivotal phase in bringing your vision of a custom swimming pool slide to life. This step involves the meticulous assembly of the slide components, ensuring structural integrity, safety, and a seamless sliding experience for all users. By following the detailed guidelines outlined below, you can expertly construct the slide and witness the transformation of your pool area into an exhilarating aquatic playground.
Slide Component Assembly
Begin by carefully unpacking and organizing the slide components, including the main slide structure, ladder, and any additional features such as curves or water jets. Lay out the components in the designated assembly area, ensuring ample space for maneuvering and construction. Refer to the manufacturer's instructions and design plans to guide the assembly process, paying close attention to alignment and secure fastening of the components.
Slide Surface Installation
The slide surface plays a crucial role in ensuring a smooth and safe sliding experience. Depending on the chosen material, such as fiberglass or high-density polyethylene, carefully install and secure the slide surface to the framework. Prioritize precision and attention to detail to eliminate any potential hazards or rough edges that may compromise the safety and comfort of the slide users.
Integration with Support Structure
Integrate the constructed slide with the previously built support structure, ensuring a seamless connection and secure attachment. Align the slide entry point with the designated position on the support framework, verifying that the interface is structurally sound and stable. Utilize appropriate fastening methods to firmly affix the slide to the support structure, reinforcing the overall stability and safety of the installation.
Safety Features and Testing
Prioritize the installation of essential safety features such as handrails, non-slip treads, and padding to enhance the overall safety of the slide. Thoroughly inspect the assembled slide to ensure that all safety elements are in place and functioning as intended. Conduct comprehensive testing to verify the structural integrity, smoothness of the slide surface, and overall safety of the installation before allowing users to experience the slide.
By meticulously executing the construction of the slide, you can bring your vision to fruition and create a captivating and secure addition to your pool area. The careful assembly and integration of the slide components, coupled with a steadfast commitment to safety, culminate in a thrilling and worry-free sliding experience for all pool enthusiasts.
Read more: What Makes Swimming Pool Water Blue
Step 5: Test and Enjoy!
With the construction of your custom swimming pool slide complete, it's time to embark on the exhilarating phase of testing and enjoying the fruits of your labor. This pivotal step involves thorough testing to ensure the safety, functionality, and sheer enjoyment that your newly built slide promises to deliver.
Safety Verification
Before inviting eager swimmers to experience the slide, conduct a comprehensive safety verification process. Inspect all structural connections, fastenings, and safety features to confirm that they are secure and fully operational. Pay particular attention to the integrity of the slide surface, ensuring that it is free from any imperfections or hazards that could compromise the safety of users. By meticulously assessing the safety aspects, you can instill confidence in the reliability and security of the slide.
Operational Testing
Initiate operational testing by sliding down the chute yourself or with a willing volunteer. This hands-on approach allows you to experience the slide firsthand, identifying any potential issues or areas for improvement. Pay attention to the smoothness of the sliding experience, the alignment of the entry and exit points, and the overall thrill factor that the slide offers. By actively engaging in operational testing, you can fine-tune the slide's performance and address any minor adjustments that may be necessary.
User Experience
Invite family members and friends to partake in the inaugural sliding experience. Observe their reactions, excitement, and feedback as they delight in the newfound adventure that the slide brings to your pool area. Encourage users to provide input on the comfort, safety, and overall enjoyment of the slide, allowing you to gain valuable insights into the user experience. By prioritizing user feedback, you can further enhance the slide's appeal and ensure that it resonates with a diverse range of swimmers.
Read more: How To Cover A Swimming Pool
Celebration and Enjoyment
As the testing phase concludes and the safety and functionality of the slide are confirmed, it's time to revel in the joy and excitement that your creation has brought to your outdoor space. Host a celebratory gathering or pool party to commemorate the completion of the slide and allow guests to revel in the newfound aquatic adventure. Capture the moments of laughter, exhilaration, and pure enjoyment as individuals of all ages partake in the thrilling experience that the slide offers.
By embracing the testing and enjoyment phase with enthusiasm and attention to detail, you can solidify the slide as a cherished and integral feature of your pool area. The culmination of the testing phase marks the beginning of countless moments of fun, laughter, and unforgettable memories that the custom swimming pool slide will facilitate for years to come.
Frequently Asked Questions about How To Make A Swimming Pool Slide
Was this page helpful?
At Storables.com, we guarantee accurate and reliable information. Our content, validated by Expert Board Contributors, is crafted following stringent Editorial Policies. We're committed to providing you with well-researched, expert-backed insights for all your informational needs.


0 thoughts on “How To Make A Swimming Pool Slide”