Home>Gardening & Outdoor>Outdoor Recreation & Activities>How To Inflate A Swimming Pool
Outdoor Recreation & Activities
How To Inflate A Swimming Pool
Published: February 18, 2024
Learn the best techniques for inflating your swimming pool for endless outdoor recreation and activities. Find step-by-step instructions and tips for a hassle-free experience.
(Many of the links in this article redirect to a specific reviewed product. Your purchase of these products through affiliate links helps to generate commission for Storables.com, at no extra cost. Learn more)
Introduction
Inflatable swimming pools offer a convenient and affordable way to enjoy the refreshing waters during hot summer days. Whether you're setting up a pool for your kids to splash around in or creating a relaxing oasis for yourself, knowing how to properly inflate and set up the pool is essential for a fun and safe experience.
In this comprehensive guide, we will walk you through the step-by-step process of inflating a swimming pool, from gathering the necessary equipment to enjoying your newly inflated oasis. By following these instructions, you can ensure that your inflatable pool is set up securely and ready for hours of aquatic enjoyment.
Inflatable pools come in various sizes and designs, catering to different preferences and space availability. From compact kiddie pools to larger family-sized options, there's an inflatable pool suitable for every need. Regardless of the pool's size, the basic steps for inflation and setup remain consistent, ensuring that you can apply these instructions to any inflatable pool you choose.
By understanding the process of inflating and setting up a swimming pool, you can make the most of your outdoor space and create a refreshing retreat for relaxation and recreation. So, let's dive into the details and get ready to transform your backyard into a delightful aquatic escape.
Key Takeaways:
- Inflating a swimming pool requires gathering the right equipment, finding a suitable location, laying out the pool, inflating it carefully, securing it, filling it with water, and enjoying the refreshing oasis with family and friends.
- By following the step-by-step process, you can create a safe and enjoyable environment for aquatic fun. From setting up the pool to enjoying memorable moments, your inflatable oasis offers endless possibilities for relaxation and recreation.
Read more: How To Store Inflatable Pool
Step 1: Gather the necessary equipment
Before you begin inflating your swimming pool, it's essential to gather all the necessary equipment to ensure a smooth and efficient setup process. Having the right tools at hand will not only make the task easier but also help prevent any interruptions once you've started. Here's a comprehensive list of the equipment you'll need:
-
Inflatable Pool: The star of the show! Choose a pool size that suits your space and requirements, whether it's a small pool for toddlers or a larger one for the whole family.
-
Air Pump: An electric or manual air pump is crucial for inflating the pool. Ensure that it's compatible with the pool's valve to facilitate efficient inflation.
-
Hose and Water Source: You'll need a hose to fill the pool with water. Make sure it's long enough to reach from the water source to the pool's location.
-
Ground Cloth or Tarp: Placing a ground cloth or tarp beneath the pool provides an additional layer of protection against punctures and helps keep the pool clean.
-
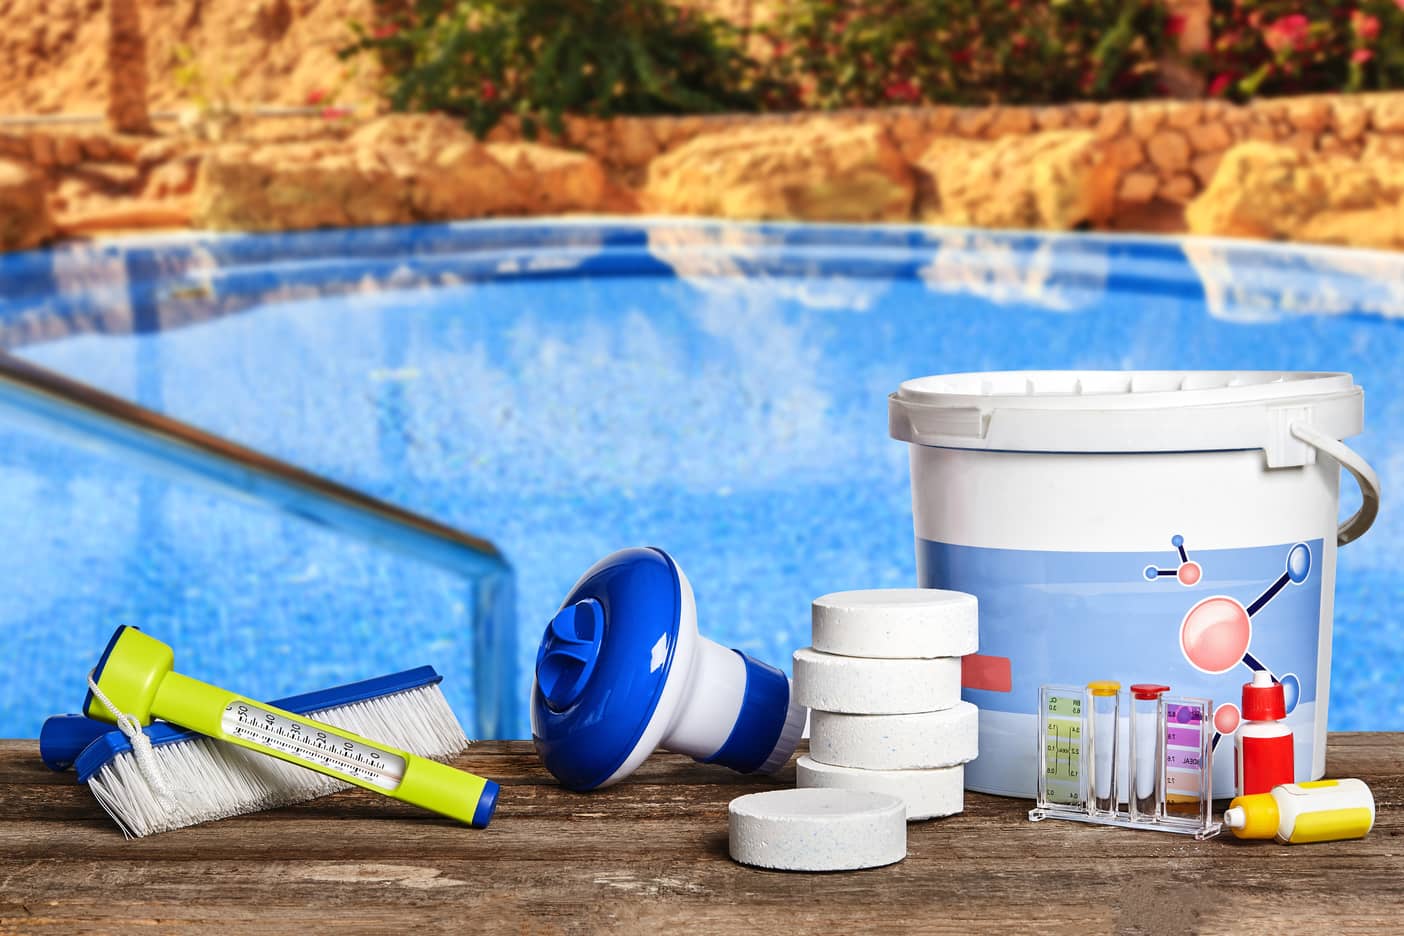
Pool Maintenance Kit: Depending on the pool type, you might need a maintenance kit that includes a skimmer, pool brush, and chemical testing strips to keep the water clean and safe.
-
Sunscreen and Hat: While not directly related to pool setup, it's important to have sunscreen and a hat to protect yourself from the sun while working outdoors.
-
Towels and Pool Toys: Prepare towels and fun pool toys in advance, so you're ready to jump in and enjoy the pool as soon as it's set up.
By ensuring that you have all the necessary equipment ready before starting the inflation process, you can streamline the setup and minimize any potential delays. With everything in place, you'll be well-prepared to move on to the next steps and bring your inflatable swimming pool to life.
Step 2: Find a suitable location
Selecting the right location for your inflatable swimming pool is a crucial step in the setup process. The chosen spot should not only accommodate the size of the pool but also provide a safe and enjoyable environment for everyone using it. Here's a detailed guide to help you find the perfect location for your inflatable pool:
Consider the Surface
When choosing a location, opt for a flat and level surface. This will ensure that the pool sits evenly and reduces the risk of uneven weight distribution. Avoid areas with slopes or bumps, as they can make the pool unstable and uncomfortable to use. Additionally, steer clear of rough surfaces that could potentially puncture the pool material. Placing a ground cloth or tarp beneath the pool can provide an extra layer of protection and help maintain the pool's integrity.
Accessibility to Water Source
Proximity to a water source is another essential factor to consider. Ensure that the chosen location is within reach of a hose that can be used to fill the pool. The hose should be long enough to comfortably stretch from the water source to the pool's location without causing any tension or strain. This accessibility will streamline the process of filling the pool and eliminate the need for complex hose arrangements.
Read more: How To Cover A Swimming Pool
Sun Exposure
Take into account the amount of sun exposure the location receives throughout the day. While some sunlight is desirable for warmth and comfort, excessive exposure can lead to discomfort and potential sunburn. Look for a spot that offers a balance of sunlight and shade, allowing pool users to enjoy the outdoors without prolonged exposure to direct sunlight. If natural shade is limited, consider using umbrellas or canopies to create a shaded area near the pool.
Safety and Supervision
If the pool will be used by children, prioritize a location that allows for easy supervision. Position the pool within sight of a comfortable seating area, enabling adults to keep a watchful eye on young swimmers. Additionally, ensure that the chosen location is free from potential hazards such as sharp objects, overhanging branches, or electrical equipment. Creating a safe environment around the pool is essential for a worry-free and enjoyable experience.
By carefully considering these factors, you can identify a suitable location that meets the practical, safety, and comfort requirements for your inflatable swimming pool. Once you've found the perfect spot, you're ready to move on to the next steps and continue the setup process.
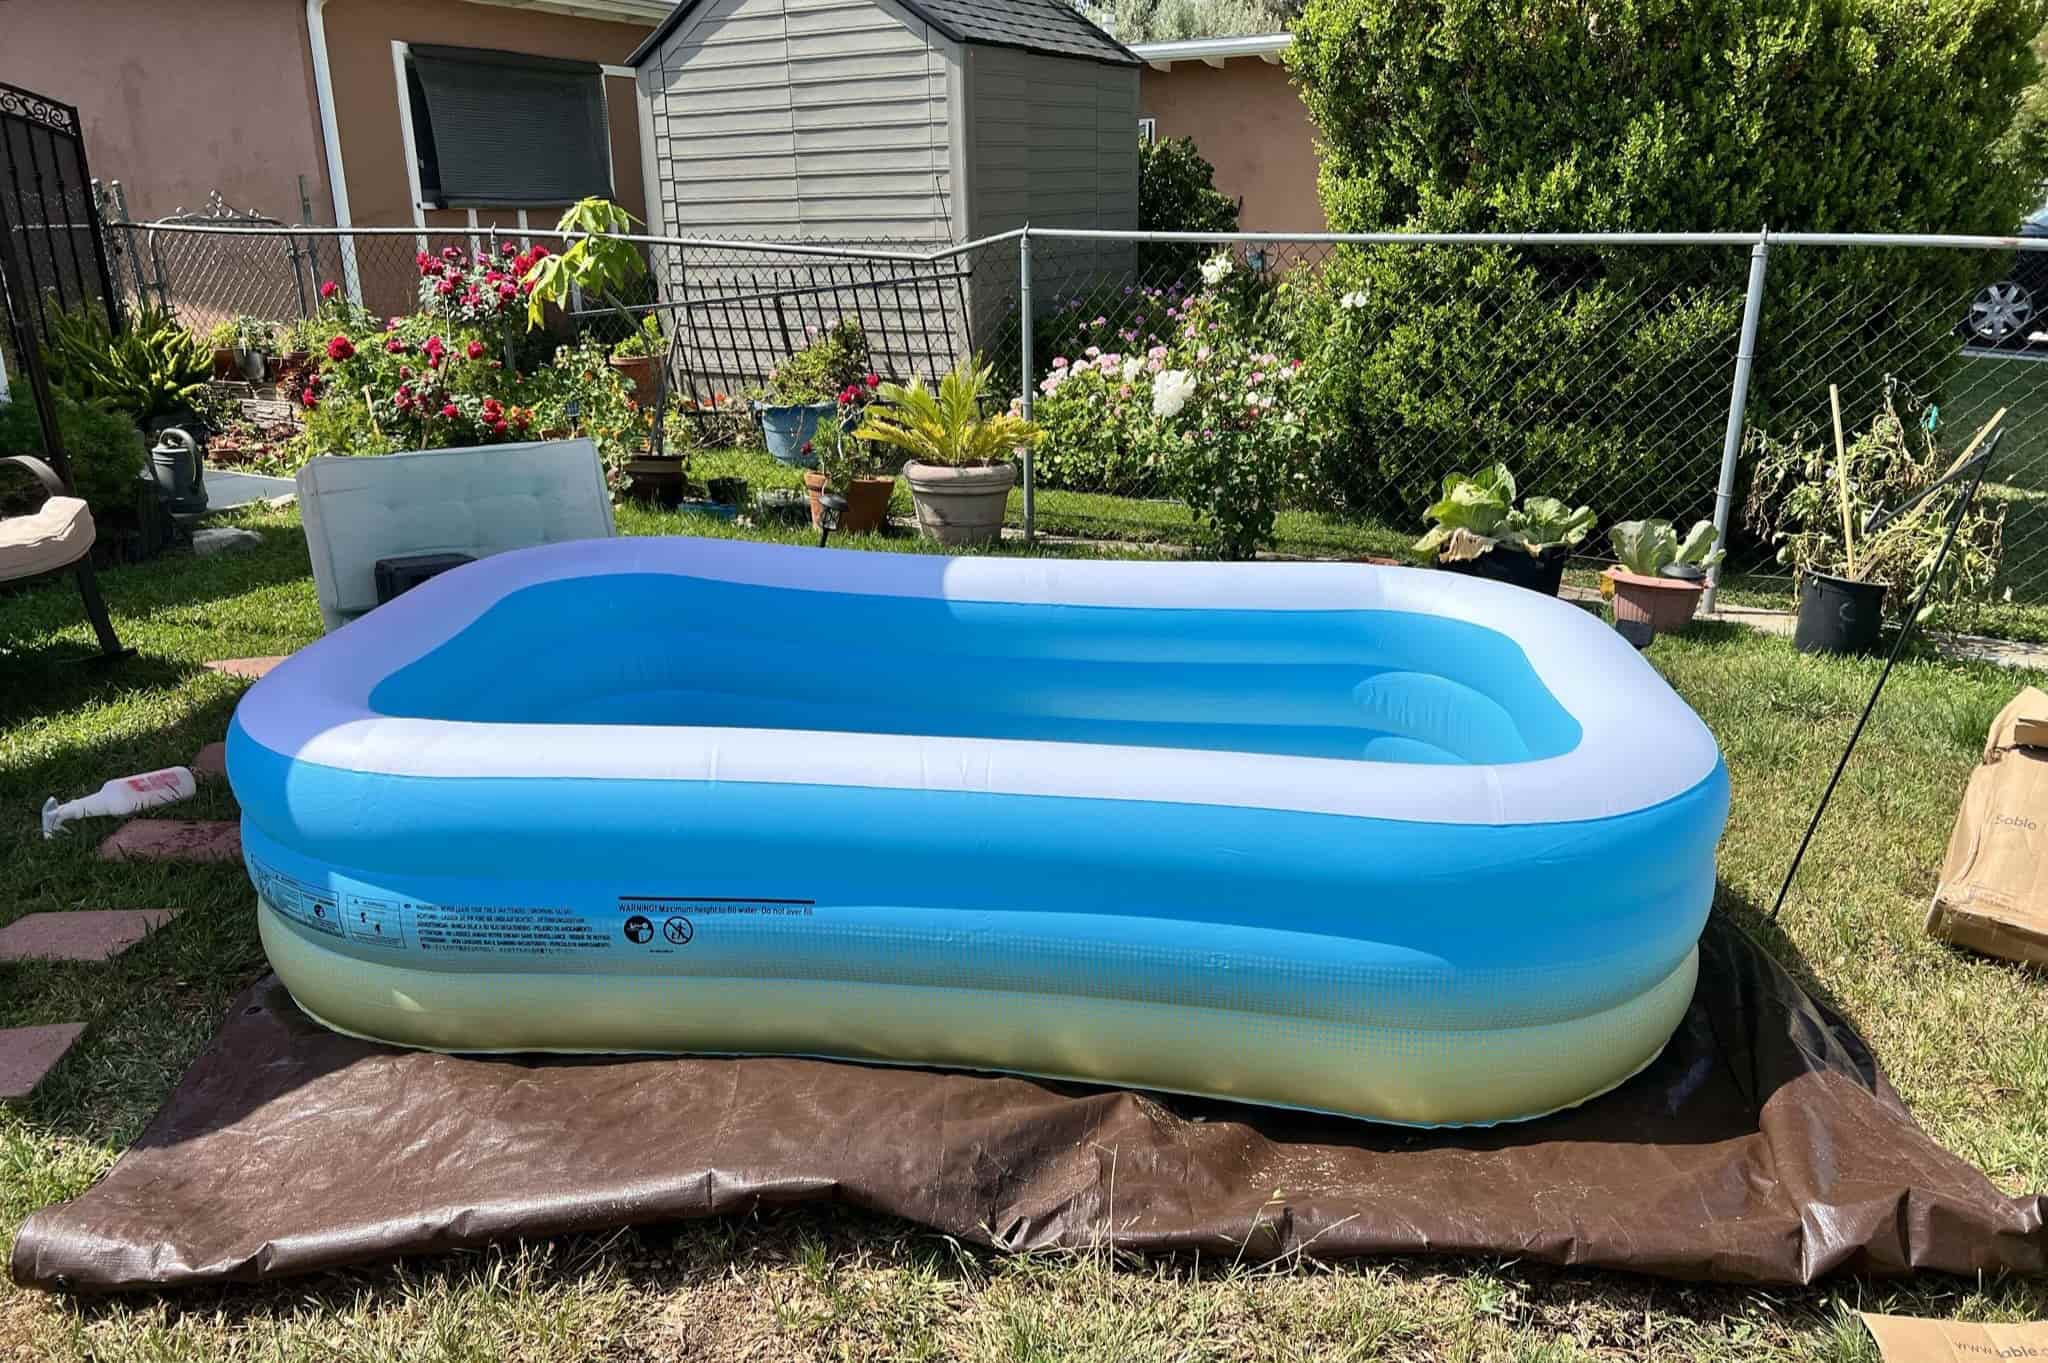
Step 3: Lay out the pool
Once you've gathered the necessary equipment and found the ideal location for your inflatable swimming pool, it's time to lay out the pool in preparation for inflation. This step involves unfolding the pool, positioning it on the chosen spot, and ensuring that it's properly aligned for the next stage of the setup process.
-
Unpack the Pool: Carefully unpack the inflatable pool from its packaging, taking care not to damage the material. Lay the pool flat on the ground, ensuring that there are no sharp objects or debris underneath that could potentially puncture the pool.
-
Smooth Out Wrinkles: Smooth out any wrinkles or folds in the pool material to ensure that it lies flat and even. This step is crucial for creating a stable and comfortable surface for the pool. Pay close attention to the edges and corners, as these areas are prone to creasing during storage.
-
Position the Pool: With the pool laid out flat, position it in the chosen location, aligning it with the flat and level surface you've prepared. Take a moment to assess the placement and make any necessary adjustments to ensure that the pool sits evenly and securely.
-
Secure the Ground Cloth: If you're using a ground cloth or tarp beneath the pool, ensure that it extends slightly beyond the pool's perimeter. This extra coverage provides added protection against punctures and helps maintain the cleanliness of the pool's base.
-
Check for Obstructions: Before proceeding to inflation, carefully inspect the surrounding area for any potential obstructions or hazards. Remove any rocks, sticks, or other debris that could pose a risk to the pool's integrity once it's inflated.
By meticulously laying out the pool and preparing the groundwork for inflation, you can set the stage for a successful and hassle-free setup process. With the pool positioned and the groundwork in place, you're now ready to move on to the next step and begin inflating the pool to bring it to life.
Step 4: Inflate the pool
Inflating the pool is the pivotal step that brings your inflatable oasis to life. With the pool laid out in its designated location and the groundwork meticulously prepared, it's time to initiate the inflation process. Whether you're using an electric air pump or opting for a manual approach, the goal is to achieve optimal inflation that ensures the pool's structural integrity and provides a comfortable and inviting space for aquatic enjoyment.
Read more: How To Empty A Swimming Pool
Electric Air Pump
If you're using an electric air pump, begin by ensuring that it's connected to a power source within reach of the pool. Position the pump's nozzle securely into the pool's valve, ensuring a tight seal to prevent air leakage. Activate the air pump and monitor the pool's inflation progress, periodically adjusting the position of the nozzle to evenly distribute the air. As the pool begins to take shape, keep a close eye on its overall structure, ensuring that all sections inflate uniformly to avoid lopsidedness.
Manual Inflation
For those opting for a manual approach, such as using a hand or foot pump, the process involves inserting the pump's nozzle into the pool's valve and manually pumping air into the pool. This method requires physical effort but offers precise control over the inflation process. Maintain a steady rhythm while pumping, periodically pausing to assess the pool's firmness and make adjustments as needed to achieve consistent inflation throughout the pool.
Pressure Monitoring
Regardless of the inflation method used, it's crucial to monitor the air pressure within the pool as it inflates. Most inflatable pools come with recommended air pressure guidelines, typically measured in PSI (pounds per square inch). Refer to the manufacturer's instructions to determine the optimal air pressure for your specific pool. Utilize a pressure gauge to periodically check the air pressure, ensuring that it aligns with the recommended levels. Overinflation can strain the pool's seams and material, while underinflation may compromise the pool's stability and comfort.
Final Checks
Once the pool is fully inflated and reaches the recommended air pressure, perform a thorough visual inspection to ensure that it's uniformly inflated and free from any visible defects. Check the pool's walls, floor, and seams for any signs of uneven inflation, and make any necessary adjustments to achieve a balanced and stable structure. With the pool fully inflated and meticulously inspected, you've successfully completed this crucial step, bringing your inflatable swimming pool one step closer to being ready for use.
By following these detailed instructions and exercising care throughout the inflation process, you can ensure that your inflatable pool is inflated to perfection, setting the stage for a delightful aquatic experience for you and your family.
Read more: How To Design A Swimming Pool
Step 5: Secure the pool
With the inflatable swimming pool fully inflated and positioned in its designated location, the next crucial step is to secure the pool to ensure stability, safety, and longevity. Properly securing the pool not only enhances its structural integrity but also minimizes the risk of accidents and damage, providing a secure environment for aquatic enjoyment.
Anchor or Weight Placement
Depending on the design and size of the inflatable pool, it may be necessary to secure it using anchors or weights. Some inflatable pools feature built-in anchor points or straps designed to accommodate securing mechanisms. If your pool includes these features, carefully follow the manufacturer's instructions to attach suitable anchors or weights to prevent the pool from shifting or overturning during use. In the absence of built-in anchor points, heavy weights, such as sandbags or water-filled containers, can be strategically placed around the pool's perimeter to provide stability.
Secure Pool Cover (if applicable)
If your inflatable pool is equipped with a cover, securely fasten it in place to protect the pool from debris, minimize evaporation, and enhance safety when the pool is not in use. A properly secured cover also acts as an additional layer of protection, particularly if the pool will be unattended for an extended period. Ensure that the cover fits snugly over the pool and is fastened according to the manufacturer's guidelines to prevent it from being dislodged by wind or other external factors.
Safety Barriers and Gates
For inflatable pools intended for use by young children, it's essential to establish safety barriers and gates to prevent unsupervised access. Install child-proof gates or barriers around the pool area to restrict entry when adult supervision is not available. These safety measures are crucial for preventing accidents and ensuring that children can only access the pool under appropriate supervision, promoting a safe and enjoyable aquatic experience for all.
Read more: How Long Is A Swimming Pool
Regular Inspection and Maintenance
Once the pool is secured, it's important to conduct regular inspections to ensure that the securing mechanisms, covers, and safety barriers remain intact and effective. Periodically check the anchors, weights, and cover fastenings to confirm that they are secure and in good condition. Additionally, inspect the pool's structural integrity, including seams, valves, and material, to identify and address any potential issues promptly.
By diligently securing the inflatable swimming pool and implementing safety measures, you can create a secure and enjoyable aquatic environment for all users. With the pool now properly secured, the stage is set for the final step in the setup process, bringing you one step closer to enjoying your newly inflated oasis.
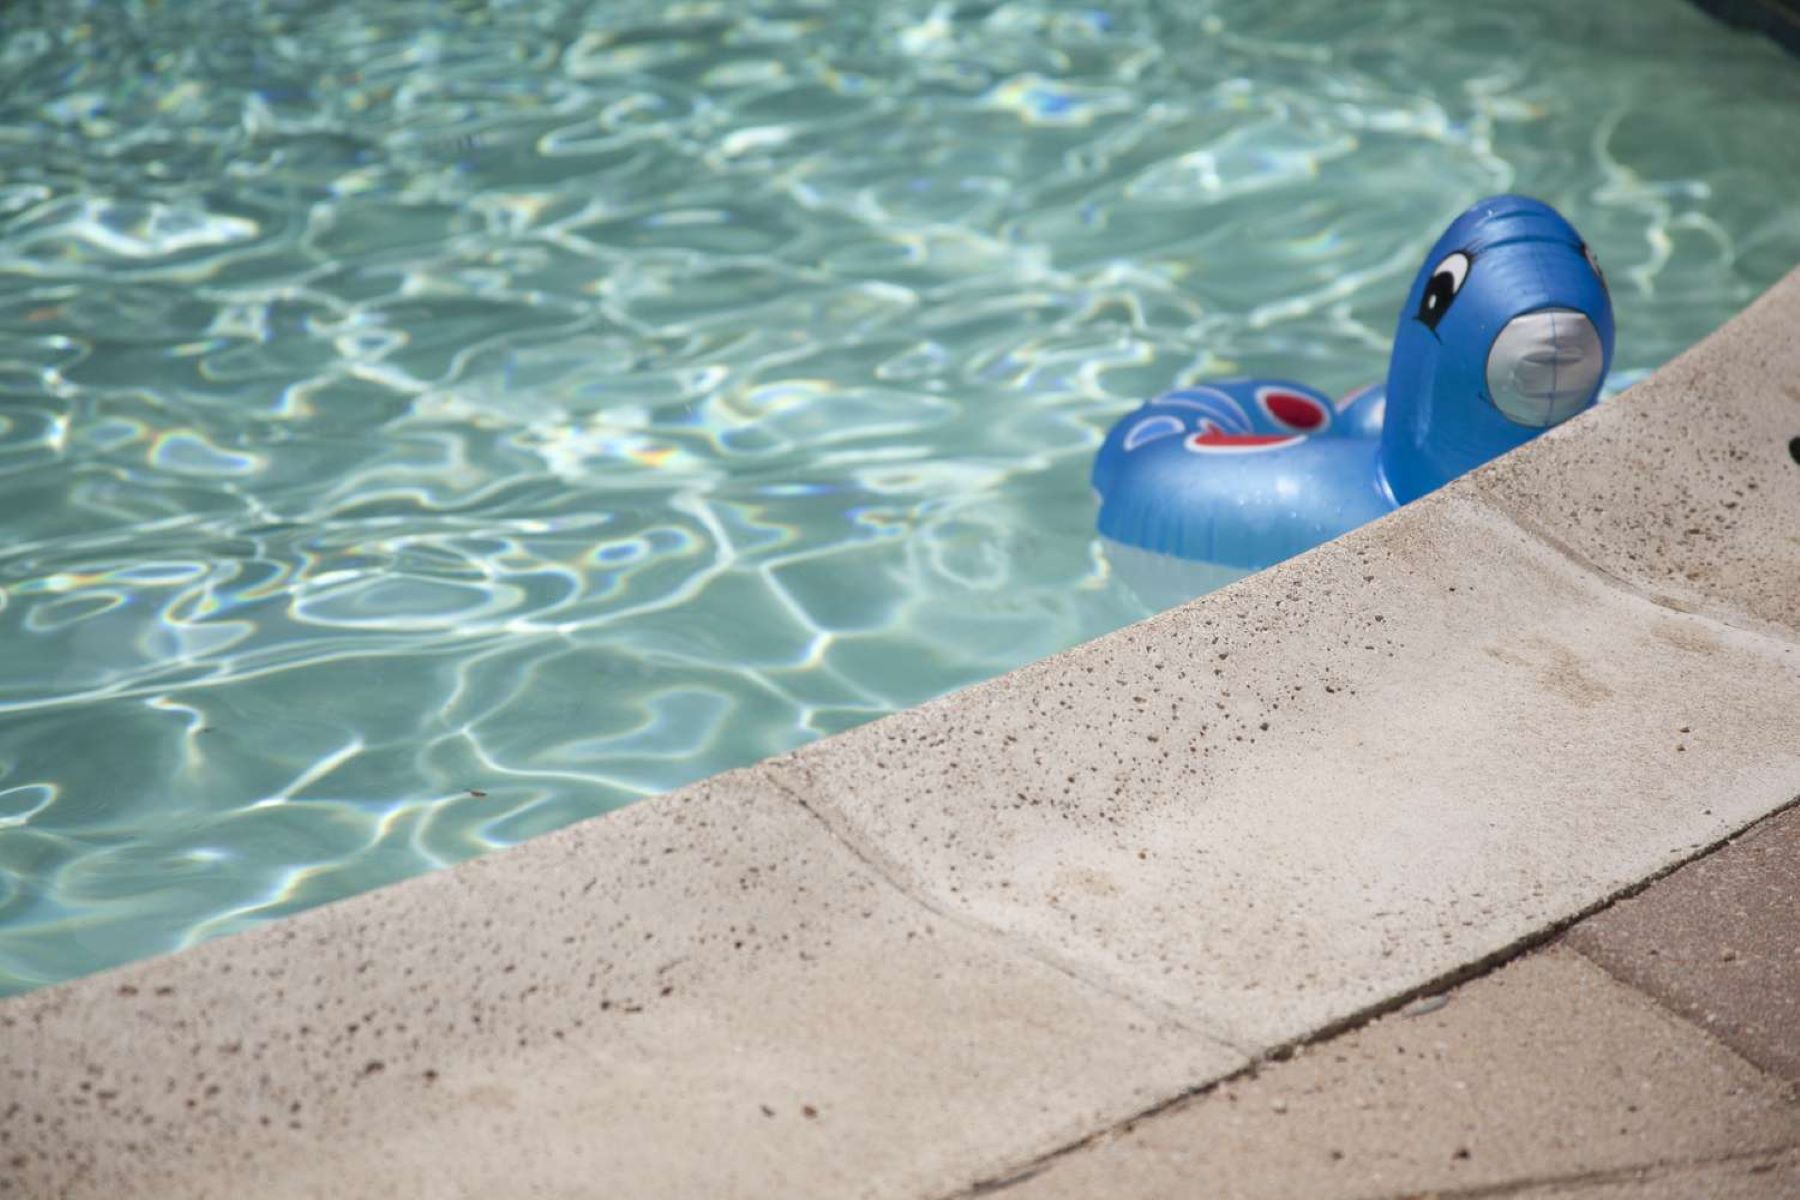
Step 6: Fill the pool with water
With the inflatable swimming pool fully inflated and securely positioned, the next pivotal step is to fill the pool with water, transforming it into a refreshing oasis ready for aquatic enjoyment. The process of filling the pool with water is straightforward, yet it requires attention to detail to ensure optimal water level and quality for a delightful swimming experience.
Water Source Preparation
Before initiating the filling process, ensure that the water source, typically a garden hose, is within reach of the pool and can comfortably reach the pool's location without causing tension or strain. Check the hose for any kinks or blockages that may impede the water flow, and confirm that the hose's nozzle is securely attached to prevent leaks.
Optimal Water Level
When filling the pool with water, aim to achieve an optimal water level that balances usability and safety. Refer to the manufacturer's guidelines or the pool's specifications to determine the recommended water level. Overfilling the pool can lead to water wastage and potential overflow, while underfilling may compromise the swimming experience. Strive to attain a water level that allows for comfortable immersion while preventing spillage during use.
Read more: How To Paint A Swimming Pool
Water Quality Considerations
Prioritize the quality of the water being used to fill the pool, especially if it's sourced from a tap or well. If the water source is known to contain impurities or excessive mineral content, consider using a water filtration system or adding appropriate water treatment chemicals to ensure that the pool water is clean and safe for use. Regularly testing the water's pH and chlorine levels, if applicable, can help maintain optimal water quality for a pleasant swimming environment.
Monitoring the Filling Process
As the pool fills with water, periodically inspect the water level to gauge its progress and make any necessary adjustments to achieve the desired level. Avoid leaving the pool unattended while filling to prevent overflows and ensure that the water level remains within the recommended range. Additionally, monitor the pool's structural integrity during the filling process to detect any signs of uneven weight distribution or stress on the pool's material.
Completion and Final Checks
Once the pool reaches the optimal water level, turn off the water source and detach the hose from the pool's valve. Perform a final visual inspection to confirm that the pool is filled evenly and free from any visible defects. Take this opportunity to remove any debris or foreign objects that may have entered the pool during the filling process, ensuring a clean and inviting swimming environment.
By meticulously filling the inflatable swimming pool with water and prioritizing water quality, you can create a welcoming and refreshing aquatic retreat for leisure and recreation. With the pool now filled and ready for use, you're poised to embark on a delightful aquatic experience in your newly inflated oasis.
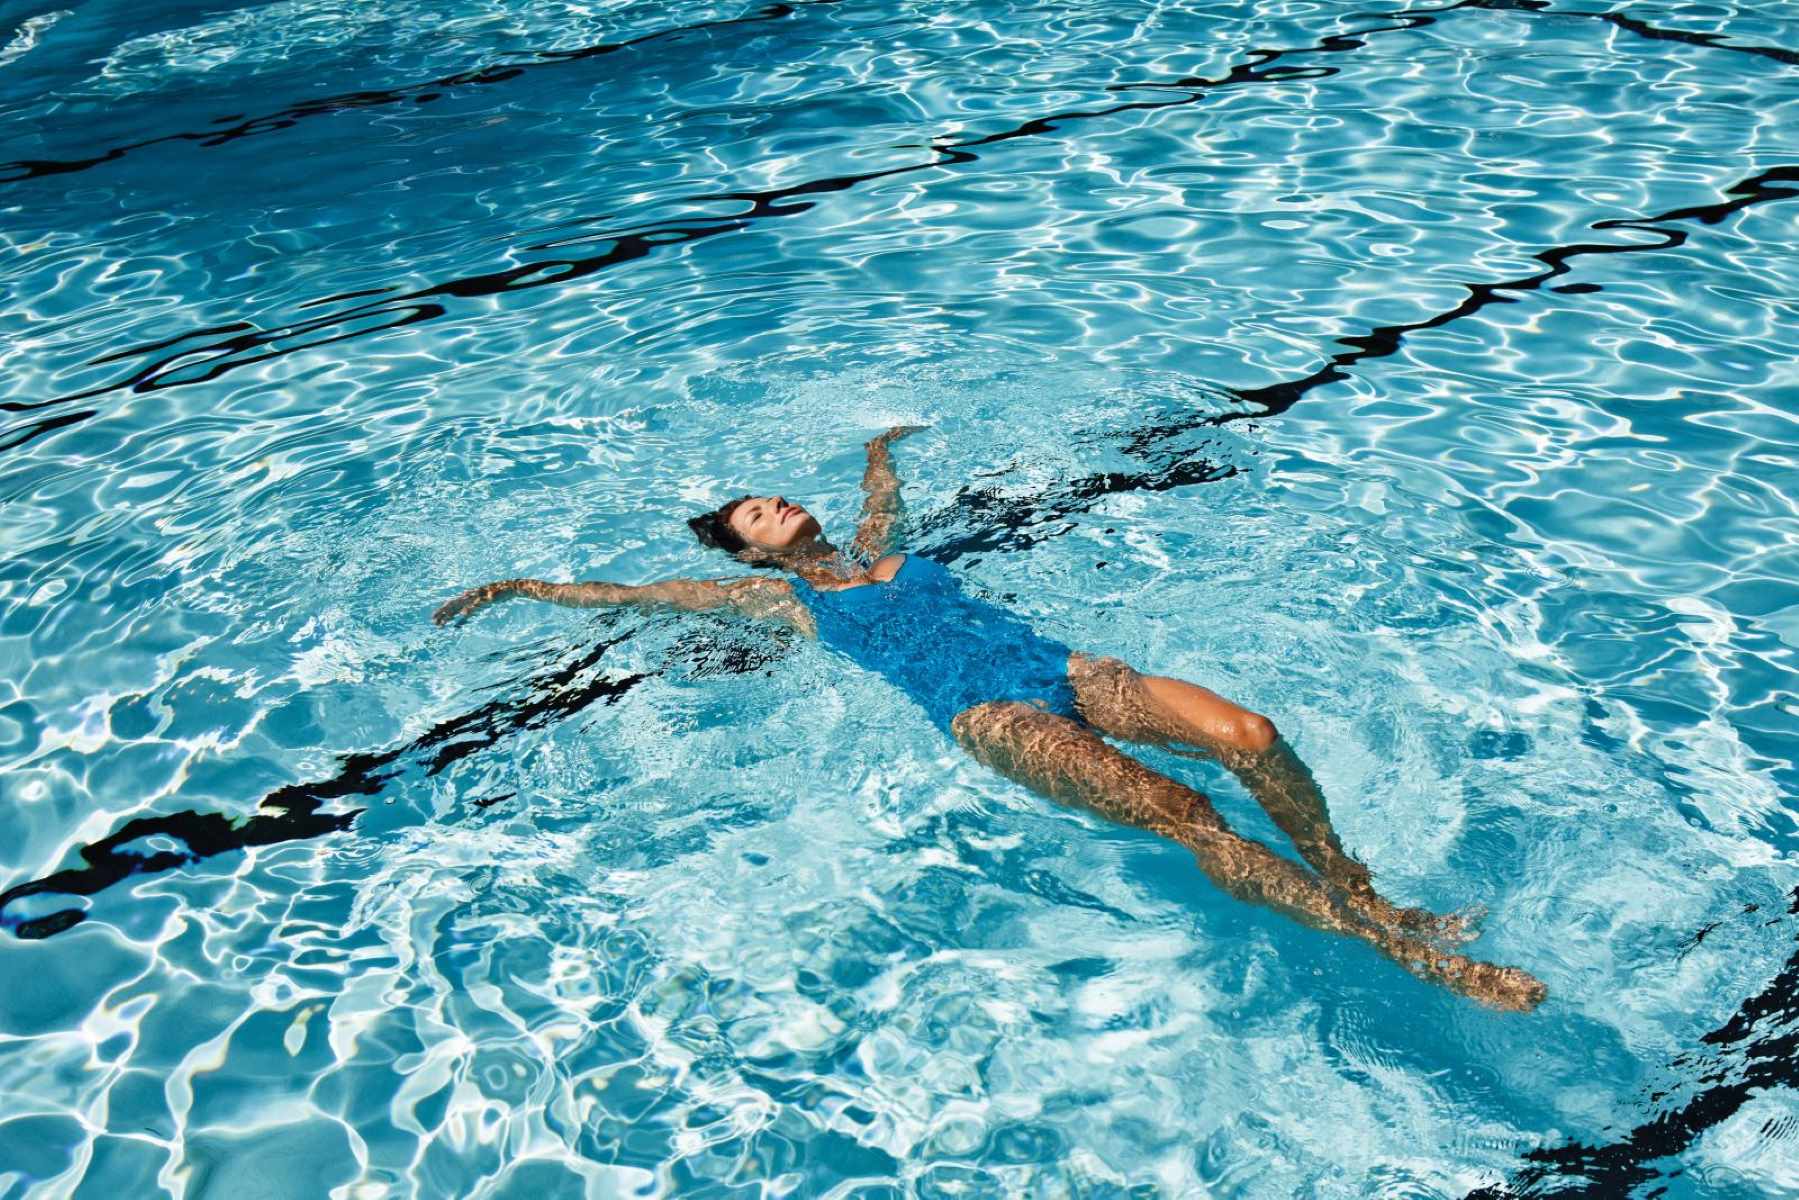
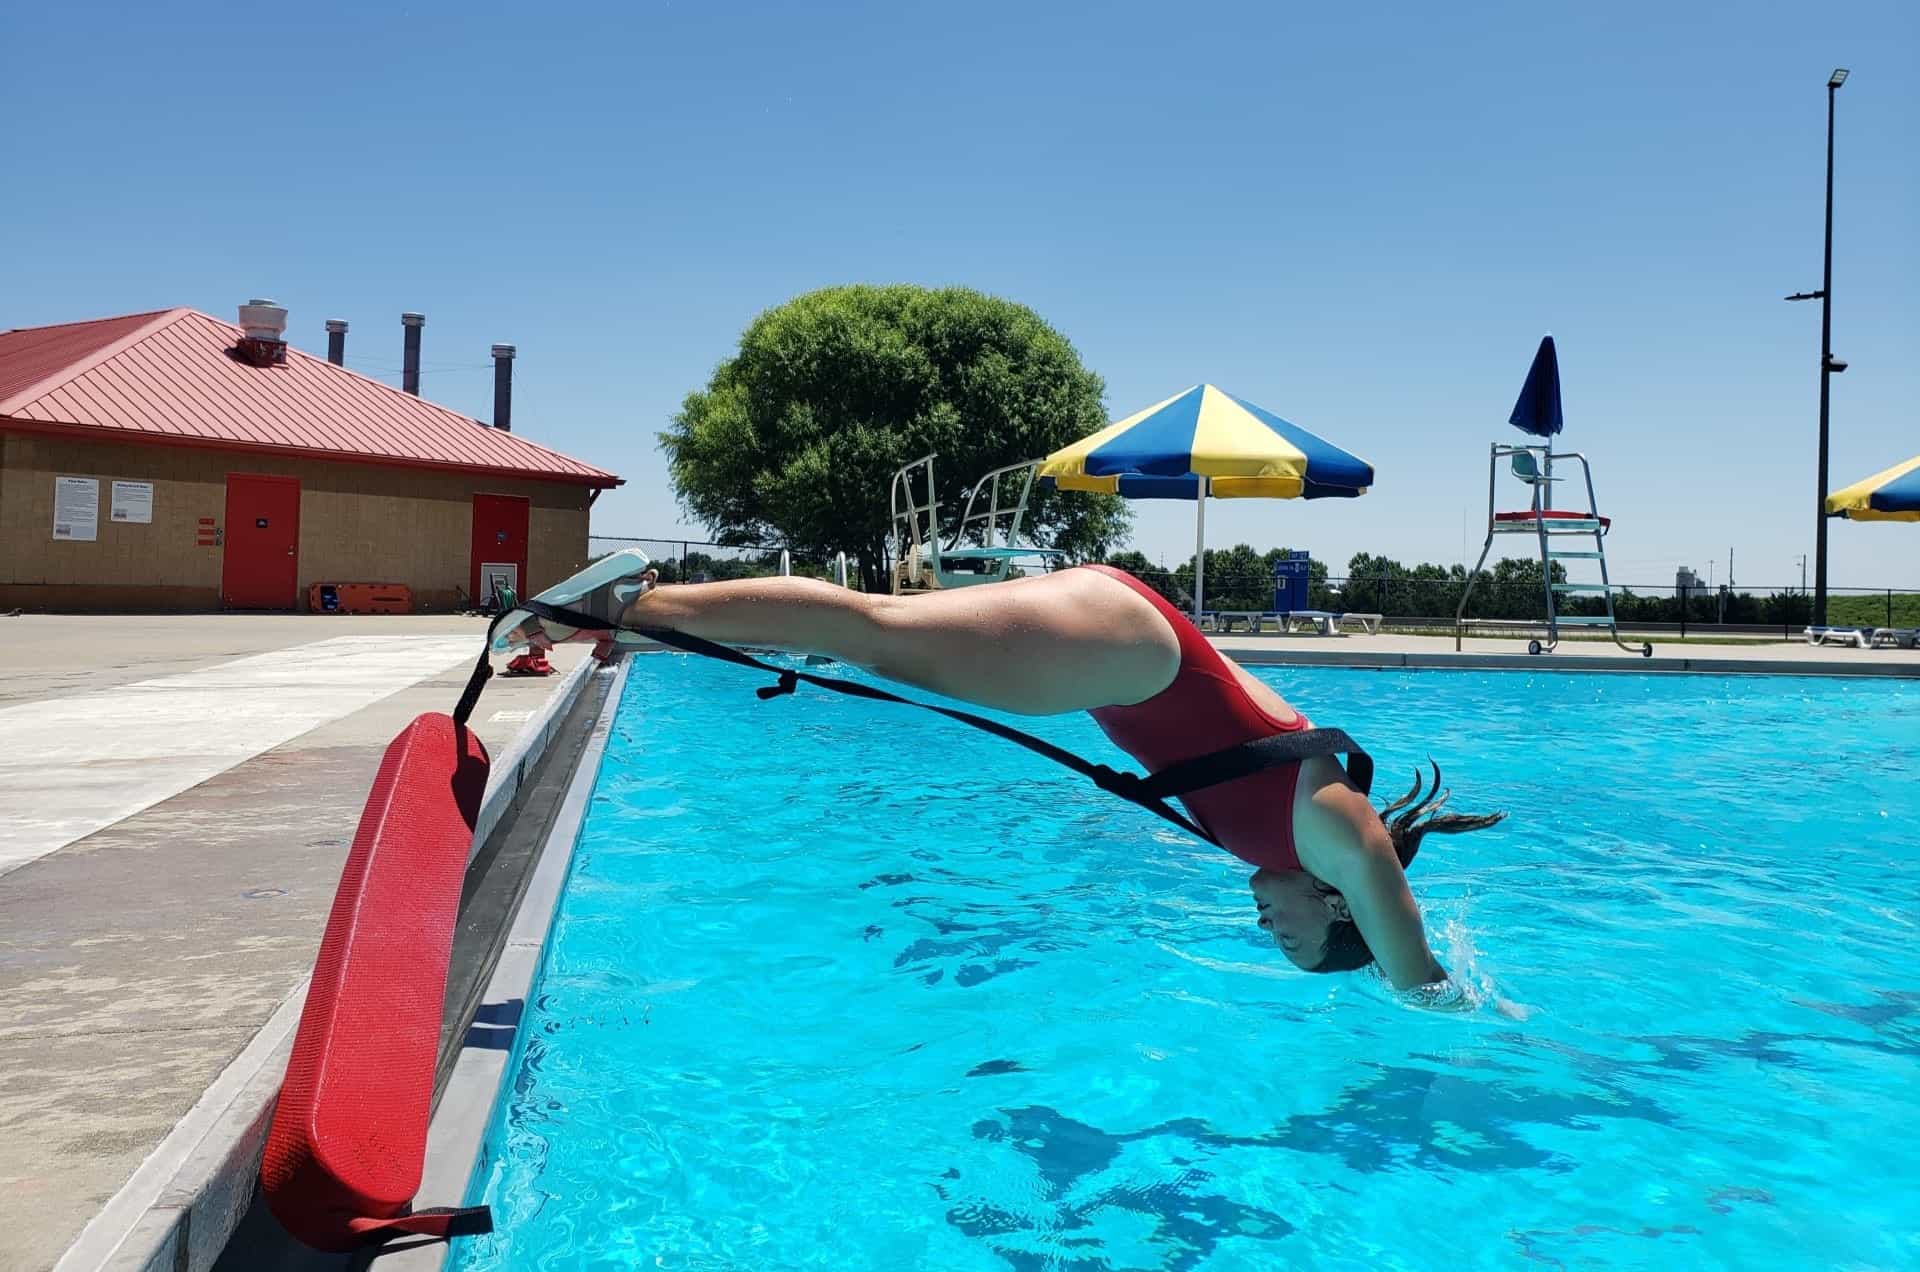
Step 7: Enjoy your inflated swimming pool
The culmination of the setup process marks the beginning of a delightful aquatic adventure in your newly inflated swimming pool. With the pool fully inflated, securely positioned, and filled with crystal-clear water, it's time to revel in the refreshing oasis you've created. Whether you're seeking relaxation, recreation, or a fun-filled family bonding experience, your inflatable pool offers a versatile and accessible escape right in your backyard.
As you step into the cool, inviting waters of your inflatable pool, the cares of the day seem to melt away. The gentle ripples and shimmering reflections create a serene ambiance, inviting you to unwind and embrace the tranquility of your private aquatic retreat. The soft, cushioned walls of the pool provide a comfortable and safe environment for aquatic activities, whether it's leisurely floating, energetic splashing, or engaging in water games with family and friends.
The joy of owning an inflatable swimming pool extends beyond personal relaxation, as it becomes a focal point for social gatherings and memorable experiences. Hosting poolside gatherings and barbecues infuses your outdoor space with laughter and camaraderie, as friends and loved ones come together to savor the pleasures of a refreshing dip and shared moments of merriment. The pool's inviting waters serve as a centerpiece for creating cherished memories and fostering a sense of community and togetherness.
For families, the inflatable pool becomes a hub of shared adventures and bonding opportunities. Children's laughter fills the air as they splash and play, creating cherished childhood memories that will be fondly remembered for years to come. The pool serves as a canvas for imaginative play, fostering creativity and physical activity while offering a safe and enjoyable environment for kids to explore the wonders of water.
As the sun sets, the ambiance of the pool transforms, offering a picturesque backdrop for evening relaxation and stargazing. The gentle glow of pool lights or ambient outdoor lighting creates a captivating atmosphere, inviting you to extend your aquatic enjoyment into the tranquil evening hours. Whether it's a quiet moment of reflection or a lively gathering under the night sky, your inflatable pool becomes a versatile and enchanting setting for a myriad of experiences.
In essence, your inflated swimming pool transcends its functional purpose, evolving into a source of joy, relaxation, and cherished moments. It becomes a haven for personal rejuvenation, a catalyst for social connections, and a canvas for creating enduring memories. With each plunge into the refreshing waters, the inflatable pool offers a gateway to a world of aquatic enjoyment and leisure, enriching your outdoor space and enhancing your lifestyle.
So, as you bask in the soothing embrace of your inflated swimming pool, take a moment to savor the simple yet profound pleasures it brings. Whether it's a tranquil solo retreat, a lively gathering with loved ones, or a playful family adventure, your inflatable pool stands ready to enrich your days with the timeless allure of aquatic bliss.
Frequently Asked Questions about How To Inflate A Swimming Pool
Was this page helpful?
At Storables.com, we guarantee accurate and reliable information. Our content, validated by Expert Board Contributors, is crafted following stringent Editorial Policies. We're committed to providing you with well-researched, expert-backed insights for all your informational needs.
0 thoughts on “How To Inflate A Swimming Pool”