Home>Gardening & Outdoor>Plant Care & Gardening Tips>How Do I Save My Potted Mums For Next Year?

Plant Care & Gardening Tips
How Do I Save My Potted Mums For Next Year?
Modified: August 20, 2024
Learn how to save your potted mums for next year with our expert plant care and gardening tips. Ensure your mums thrive year after year!
(Many of the links in this article redirect to a specific reviewed product. Your purchase of these products through affiliate links helps to generate commission for Storables.com, at no extra cost. Learn more)
Choosing the Right Time
When it comes to saving your potted mums for the next year, timing is crucial. The best time to start preparing your mums for the winter is in the late summer or early fall. This timing allows the plants to acclimate to the changing weather and ensures that they are in the best possible condition for overwintering.
As the days grow shorter and the temperatures begin to drop, it's a signal for the mums to start preparing for their dormant phase. This natural cycle makes late summer and early fall the ideal window for taking action. By initiating the process during this period, you give the mums ample time to adjust and enter a state of dormancy before the harsh winter weather sets in.
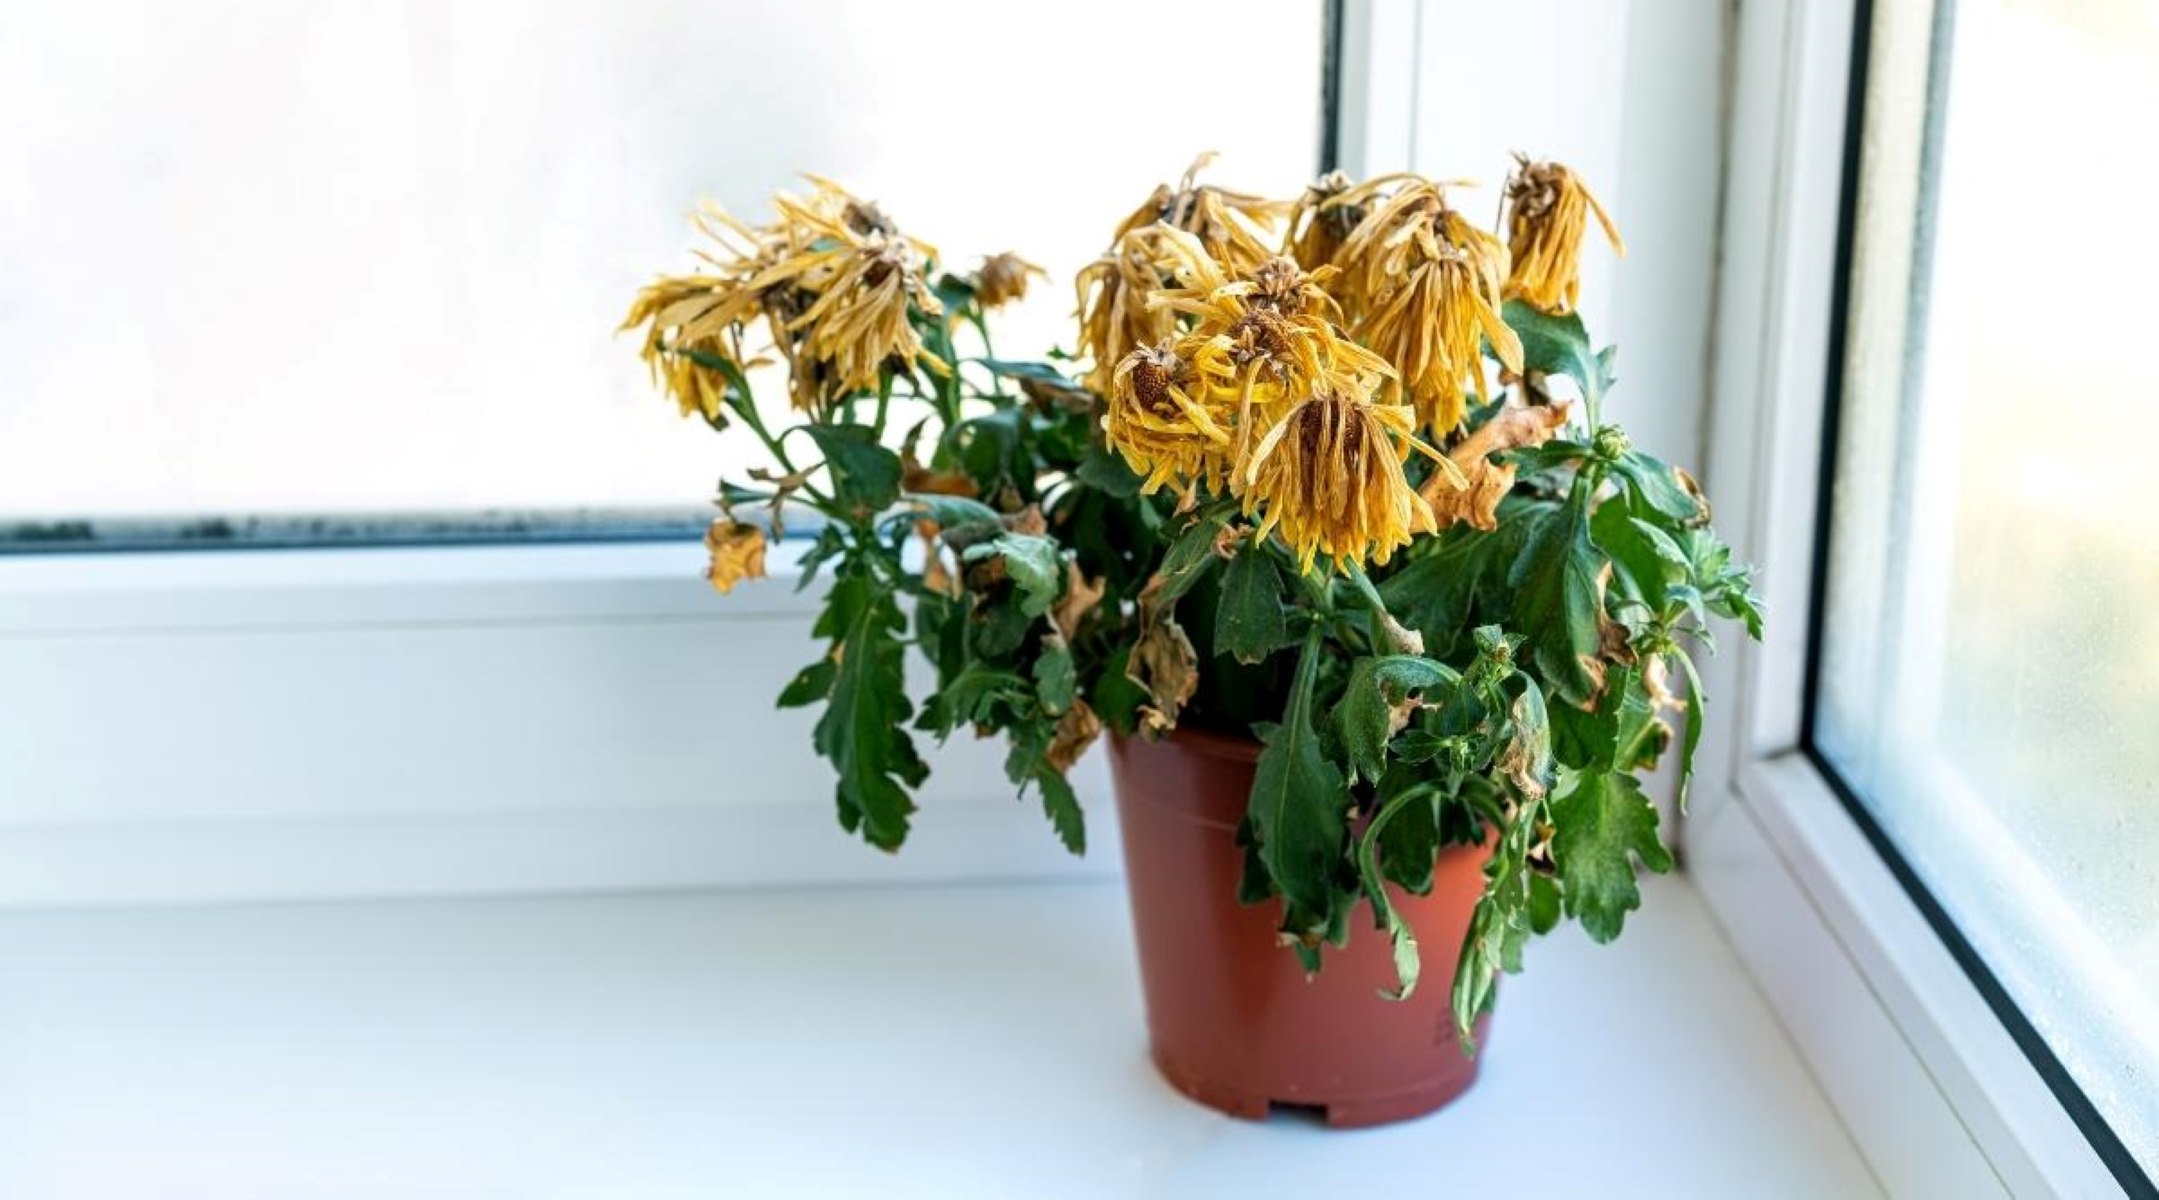
It's important to observe the mums closely during this time, paying attention to the signs that indicate the plant's readiness for the next phase. Look for the development of flower buds and the overall health of the plant. If the mums are still actively blooming, it may be too early to start the preparation process. However, if the blooms are fading and the foliage is beginning to turn brown, it's a clear indication that the plant is entering its dormant stage, making it the perfect time to begin the transition.
By choosing the right time to prepare your potted mums for the winter, you set the stage for a successful overwintering process. This strategic timing allows the plants to naturally progress through their growth cycle and ensures that they are in the best possible condition to withstand the challenges of the upcoming winter months.
Key Takeaways:
- Timing is crucial when saving potted mums for next year. Late summer or early fall is the best time to prepare them for winter, ensuring they acclimate and enter dormancy successfully.
- To save potted mums for next year, assess their health, trim and fertilize them, protect from extreme temperatures, and store them in a cool, stable environment. Replant in spring for vibrant blooms.
Read more: What Time Of Year Do Mums Bloom
Preparing the Mums for Winter
As the late summer transitions into early fall, it's time to focus on preparing your potted mums for the upcoming winter. This crucial phase sets the stage for the plants to endure the cold months and emerge vibrant and healthy in the spring. Here's a detailed guide on how to effectively ready your mums for the winter:
1. Assessing the Health of the Mums
Before diving into the preparation process, take a moment to assess the overall health of the mums. Look for any signs of disease, pest infestations, or nutrient deficiencies. Addressing these issues at this stage can significantly improve the mums' chances of surviving the winter and thriving in the following season.
2. Trimming and Pruning
Trimming and pruning the mums is a crucial step in preparing them for winter. Start by removing any dead or decaying foliage, as this can attract pests and diseases. Additionally, trimming back the stems to a few inches above the soil level helps the plant conserve energy and focus on root development during the dormant period.
3. Fertilizing and Watering
Applying a balanced, slow-release fertilizer to the mums provides them with essential nutrients to support their root development during the winter. It's important to water the plants thoroughly before applying the fertilizer to ensure proper absorption. However, as the weather cools, reduce the frequency of watering to prevent waterlogged soil, which can be detrimental to the plants during the dormant phase.
Read more: Why Are My Potted Mums Not Blooming
4. Protecting from Extreme Temperatures
As the temperatures drop, it's crucial to shield the mums from extreme cold. Consider moving the pots to a sheltered location, such as a garage or shed, to provide some insulation against freezing temperatures and harsh winds. Alternatively, wrapping the pots with insulating materials can offer an additional layer of protection.
5. Monitoring and Adjusting
Throughout the preparation process, it's essential to monitor the mums regularly. Keep an eye on the moisture levels in the soil, especially during periods of fluctuating temperatures. Adjust the watering frequency as needed, ensuring that the soil remains slightly moist but not waterlogged.
By meticulously preparing your potted mums for the winter, you provide them with the best possible chance of surviving the cold months and thriving in the following spring. This proactive approach not only safeguards the plants but also sets the foundation for a vibrant and flourishing display of mums in the seasons to come.
Storing the Mums
As the temperatures continue to drop and the winter season approaches, storing your potted mums properly becomes essential for their survival and future growth. Follow these detailed steps to ensure that your mums remain healthy and ready for replanting in the spring:
1. Selecting an Ideal Storage Location
Choose a storage area that maintains a consistent cool temperature, ideally between 32°F and 50°F (0°C to 10°C). This could be an unheated garage, a cold basement, or an outdoor shed. The goal is to provide a sheltered environment that protects the mums from freezing temperatures while allowing them to remain in a dormant state.
Read more: My Mums Are Dying, What Can I Do
2. Preparing the Mums for Storage
Before moving the mums to the storage location, ensure that they are adequately prepared. Trim any remaining foliage, leaving only a few inches of stems above the soil level. This minimizes the plant's energy expenditure during dormancy. Additionally, inspect the pots for any signs of pests or diseases, addressing any issues before storage.
3. Choosing the Right Containers
If the mums are in lightweight plastic pots, consider transferring them to heavier containers to provide better insulation against temperature fluctuations. Clay or ceramic pots are excellent choices for overwintering, as they offer improved protection for the plant's root system.
4. Providing Adequate Insulation
To shield the mums from extreme cold, consider wrapping the pots with insulating materials such as burlap or bubble wrap. This extra layer of insulation helps maintain a more stable temperature within the soil, safeguarding the roots from potential damage caused by freezing conditions.
5. Monitoring the Storage Environment
Regularly check the storage area to ensure that the mums are not exposed to prolonged periods of extreme cold or fluctuating temperatures. It's crucial to maintain a stable environment to prevent the soil from freezing, which can be detrimental to the plant's root system.
6. Minimal Watering
During the storage period, the mums require minimal watering. Aim to keep the soil slightly moist, but avoid overwatering, as this can lead to root rot. Periodically check the moisture levels and adjust the watering frequency as needed to maintain the ideal soil condition.
7. Protecting from Pests
While in storage, keep an eye out for potential pest infestations. Inspect the mums regularly for signs of pests and take appropriate measures to address any issues promptly. This proactive approach helps safeguard the plants from pest-related damage during their dormant phase.
By following these comprehensive steps for storing your potted mums, you provide them with the optimal conditions to endure the winter months. This meticulous approach not only ensures the survival of the mums but also sets the stage for a successful replanting process in the spring, ultimately leading to a vibrant and flourishing display of mums in the seasons to come.
Replanting in the Spring
As the winter gradually gives way to the rejuvenating embrace of spring, the time arrives to bring your potted mums out of their dormant state and prepare them for a triumphant return to the garden. The process of replanting your mums in the spring is a pivotal step in nurturing their growth and ensuring a vibrant display of blooms in the upcoming season. Here's a detailed guide on how to seamlessly transition your mums from their winter storage to the garden:
1. Assessing the Mums' Readiness
Before initiating the replanting process, carefully assess the mums to gauge their readiness for the transition. Look for early signs of new growth, such as emerging shoots or buds, signaling that the plants are emerging from their dormant phase. Additionally, inspect the overall health of the mums, ensuring that they have weathered the winter well and are prepared for the next stage of growth.
Read more: How To Save Seeds For Planting Next Season
2. Gradual Acclimatization
To ease the mums back into their outdoor environment, it's essential to acclimatize them gradually. Start by moving the pots to a sheltered area, such as a porch or a protected spot in the garden, allowing them to adjust to the outdoor conditions over a few days. This gradual transition helps prevent shock to the plants and sets the stage for a successful replanting process.
3. Selecting the Planting Location
Choose a suitable planting location that aligns with the mums' sunlight and soil requirements. Ensure that the area receives ample sunlight, as mums thrive in well-lit environments. Additionally, prepare the soil by incorporating organic matter and ensuring proper drainage to create an optimal growing environment for the mums.
4. Replanting with Care
Carefully remove the mums from their storage containers, taking care not to disturb the root system. Gently loosen the roots and remove any dead or decaying material, promoting healthy growth as the plants transition to their new outdoor home. Plant the mums at the appropriate depth, ensuring that the soil is firmly packed around the roots to provide stability and support.
5. Watering and Nurturing
After replanting, water the mums thoroughly to help them settle into their new environment. Maintain a consistent watering schedule, ensuring that the soil remains evenly moist but not waterlogged. Additionally, consider applying a balanced, slow-release fertilizer to provide the mums with essential nutrients as they embark on their spring growth.
Read more: How To Care For Mums In Pots Outdoors
6. Monitoring and Care
Regularly monitor the mums for any signs of stress or nutrient deficiencies as they adjust to their outdoor surroundings. Keep an eye out for emerging growth and budding, indicating that the plants are responding positively to their new environment. Address any issues promptly, providing the necessary care and attention to support the mums' growth and development.
By following these detailed steps for replanting your potted mums in the spring, you set the stage for a seamless transition from winter dormancy to vibrant spring blooms. This meticulous approach not only ensures the mums' successful reintegration into the garden but also lays the foundation for a season filled with the breathtaking beauty of flourishing mums.
Frequently Asked Questions about How Do I Save My Potted Mums For Next Year?
Was this page helpful?
At Storables.com, we guarantee accurate and reliable information. Our content, validated by Expert Board Contributors, is crafted following stringent Editorial Policies. We're committed to providing you with well-researched, expert-backed insights for all your informational needs.





0 thoughts on “How Do I Save My Potted Mums For Next Year?”