Home>Gardening & Outdoor>Outdoor Structures>How Do I Insulate My Shed
Outdoor Structures
How Do I Insulate My Shed
Modified: October 31, 2024
Learn how to properly insulate your outdoor structures with our comprehensive guide. Find out the best techniques for insulating your shed and keeping it comfortable all year round.
(Many of the links in this article redirect to a specific reviewed product. Your purchase of these products through affiliate links helps to generate commission for Storables.com, at no extra cost. Learn more)
Introduction
So, you've got a shed that you love, but it's just too cold in the winter and too hot in the summer. You're thinking, "How do I insulate my shed?" Well, you've come to the right place. Insulating your shed can make it a more comfortable and versatile space, whether you want to use it for storage, as a workshop, or even as a cozy retreat.
Insulating a shed can help regulate the temperature inside, making it more pleasant to spend time in and protecting the items you store there. It can also reduce energy costs if you use the shed for activities that require heating or cooling.
In this guide, we'll walk you through the process of insulating your shed, from assessing its current condition to choosing the right insulation materials and installing them effectively. By the end, you'll have all the knowledge you need to tackle this project with confidence and ensure that your shed is a comfortable and functional space year-round. Let's dive in and learn how to transform your shed into a cozy haven!
Key Takeaways:
- Transform your shed into a cozy haven by insulating it effectively. Consider factors like moisture, insulation types, and installation methods to create a comfortable and energy-efficient space for various uses.
- Enhance your shed’s insulation with reflective materials, proper ventilation, and energy-efficient lighting. Create a well-rounded and optimized space that aligns with your comfort, energy efficiency, and functional needs.
Read more: How Do I Convert My Shed To An Office
Assessing Your Shed
Before you start insulating your shed, it's crucial to assess its current condition to determine the best approach for insulation. Here are some key factors to consider:
- Current Insulation: If your shed already has some form of insulation, assess its condition. Is it sufficient for your needs, or does it need to be replaced or supplemented?
- Moisture and Mold: Check for any signs of moisture or mold inside the shed. Addressing these issues before insulating is essential to prevent further damage and ensure the effectiveness of the insulation.
- Air Leaks: Inspect the shed for any gaps, cracks, or openings that could allow air to seep in or out. These air leaks can significantly impact the shed's temperature regulation and energy efficiency.
- Utility Access: Consider the shed's access to electricity, as this may influence the type of insulation and heating options you can utilize.
- Intended Use: Determine how you plan to use the shed once it's insulated. This will help you prioritize certain insulation qualities, such as soundproofing or moisture resistance, based on your specific needs.
By thoroughly assessing these aspects, you'll gain valuable insights into the condition of your shed and the necessary steps to prepare it for insulation. Understanding these factors will guide your decisions when choosing insulation materials and methods, ensuring that your shed is effectively insulated for its intended purpose.
Choosing the Right Insulation
When it comes to insulating your shed, selecting the appropriate insulation materials is crucial for achieving optimal results. Consider the following factors to choose the right insulation for your shed:
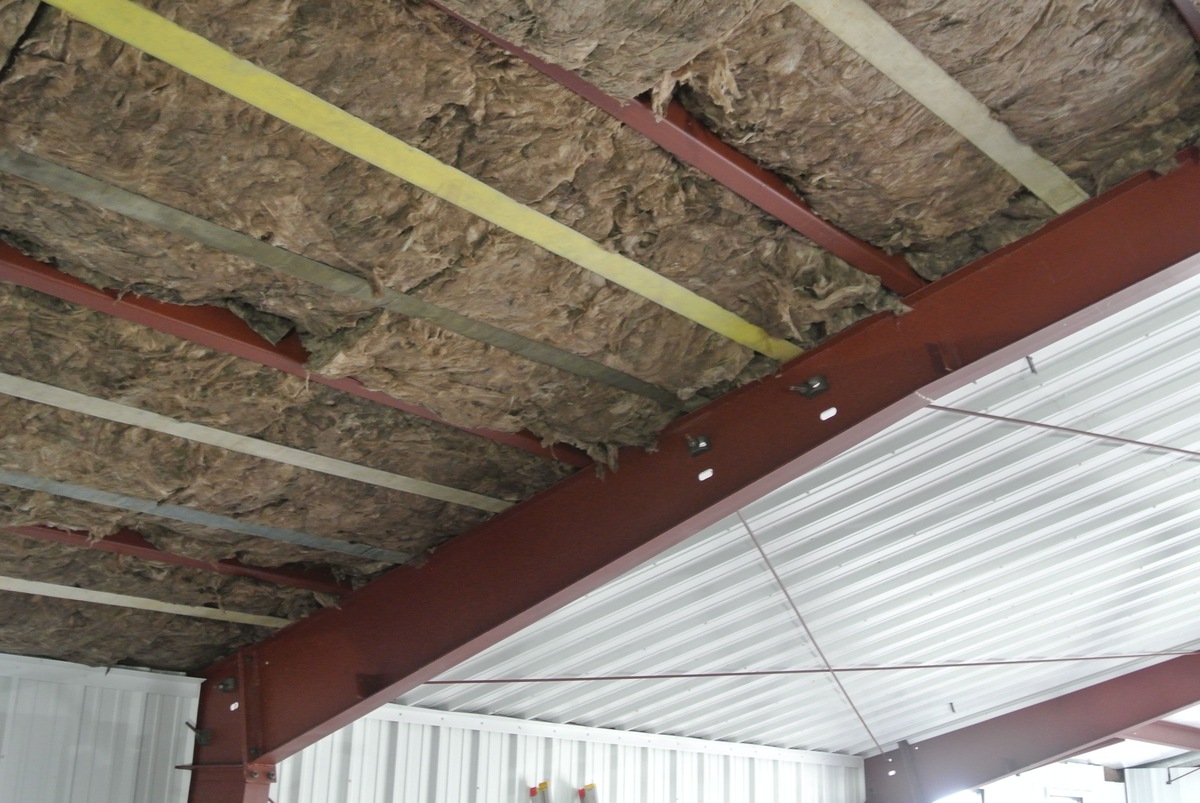
- Insulation Types: Evaluate various insulation options, such as fiberglass, foam board, spray foam, or natural fiber insulation. Each type offers unique benefits in terms of R-value, moisture resistance, and installation ease.
- R-Value: Determine the R-value required for your shed based on your local climate and the shed’s intended use. A higher R-value indicates better insulation performance, especially in regions with extreme temperatures.
- Moisture Resistance: If your shed is prone to moisture or high humidity, prioritize insulation materials with excellent moisture resistance to prevent mold and structural damage.
- Fire Safety: Consider the fire safety ratings of insulation materials, especially if you plan to use the shed for activities involving heat sources or electrical equipment.
- Environmental Impact: If sustainability is a priority, explore eco-friendly insulation options made from recycled or natural materials, promoting energy efficiency and reducing environmental impact.
- Installation Method: Factor in the ease of installation and whether you prefer a DIY-friendly option or require professional installation services for certain insulation materials.
By carefully considering these aspects, you can narrow down your choices and select the most suitable insulation for your shed. Keep in mind that combining different insulation types to address specific needs, such as combining batt insulation with foam board, can enhance the overall performance and efficiency of the insulation system.
Once you’ve chosen the right insulation, you’ll be one step closer to creating a well-insulated shed that offers comfort, protection, and energy efficiency throughout the year.
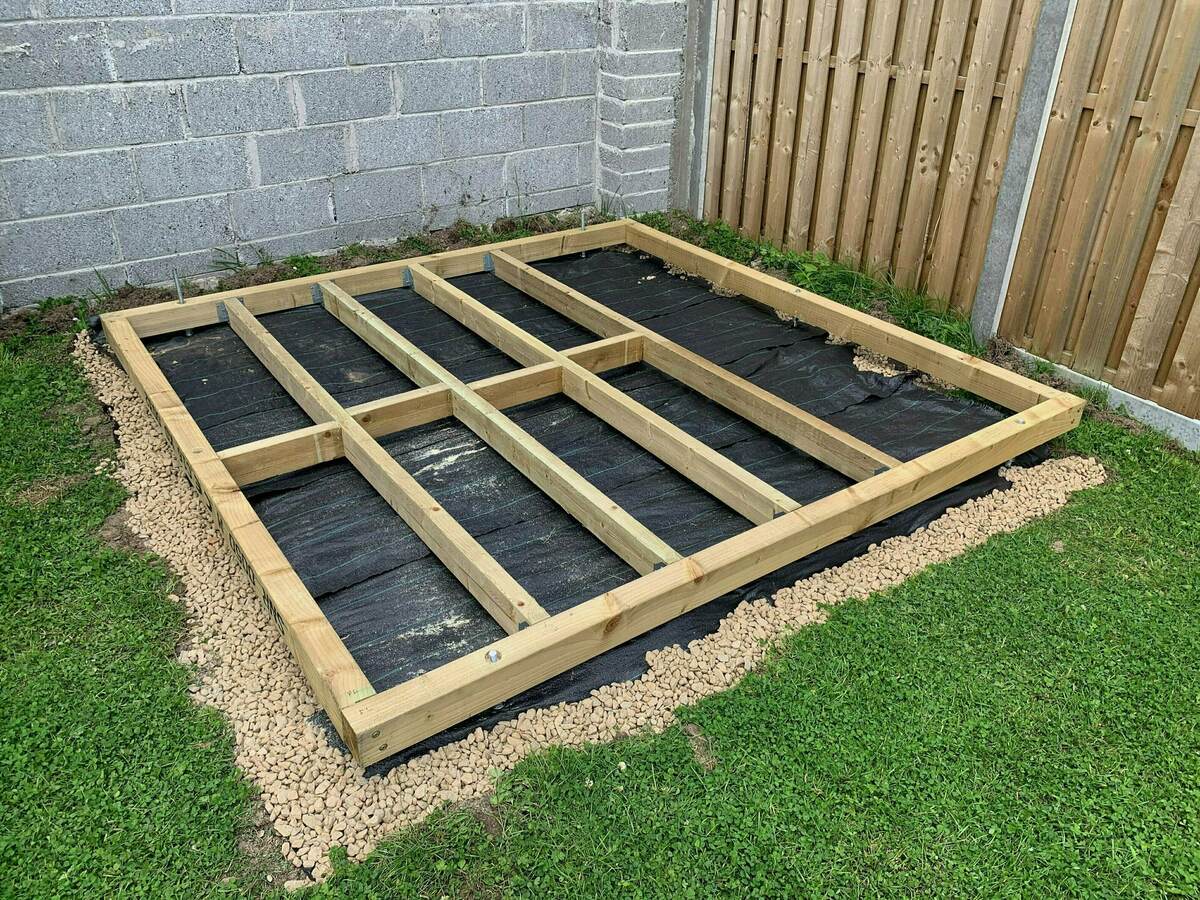
Preparing Your Shed for Insulation
Before you begin the insulation process, it’s essential to prepare your shed to ensure that the insulation installation proceeds smoothly and effectively. Here are the key steps to prepare your shed for insulation:
- Clean and Declutter: Remove any items, debris, or unnecessary clutter from the shed to create a clear and accessible workspace. This will also allow you to inspect the interior more thoroughly for any issues that need addressing.
- Address Moisture Concerns: If you identified moisture or mold during the assessment phase, take the necessary steps to mitigate these issues. Repair leaks, improve ventilation, and consider applying a moisture barrier if needed.
- Seal Air Leaks: Use caulk, weatherstripping, or expanding foam to seal any gaps, cracks, or openings that could allow air infiltration. This step is crucial for enhancing the insulation’s effectiveness and improving energy efficiency.
- Upgrade Electrical Wiring: If you plan to install electrical outlets, lighting, or heating devices in the shed, ensure that the electrical wiring meets safety standards and can accommodate the additional load.
- Consider Vapor Barriers: Depending on the insulation type and your shed’s climate, you may need to install a vapor barrier to control moisture diffusion and prevent condensation within the insulated space.
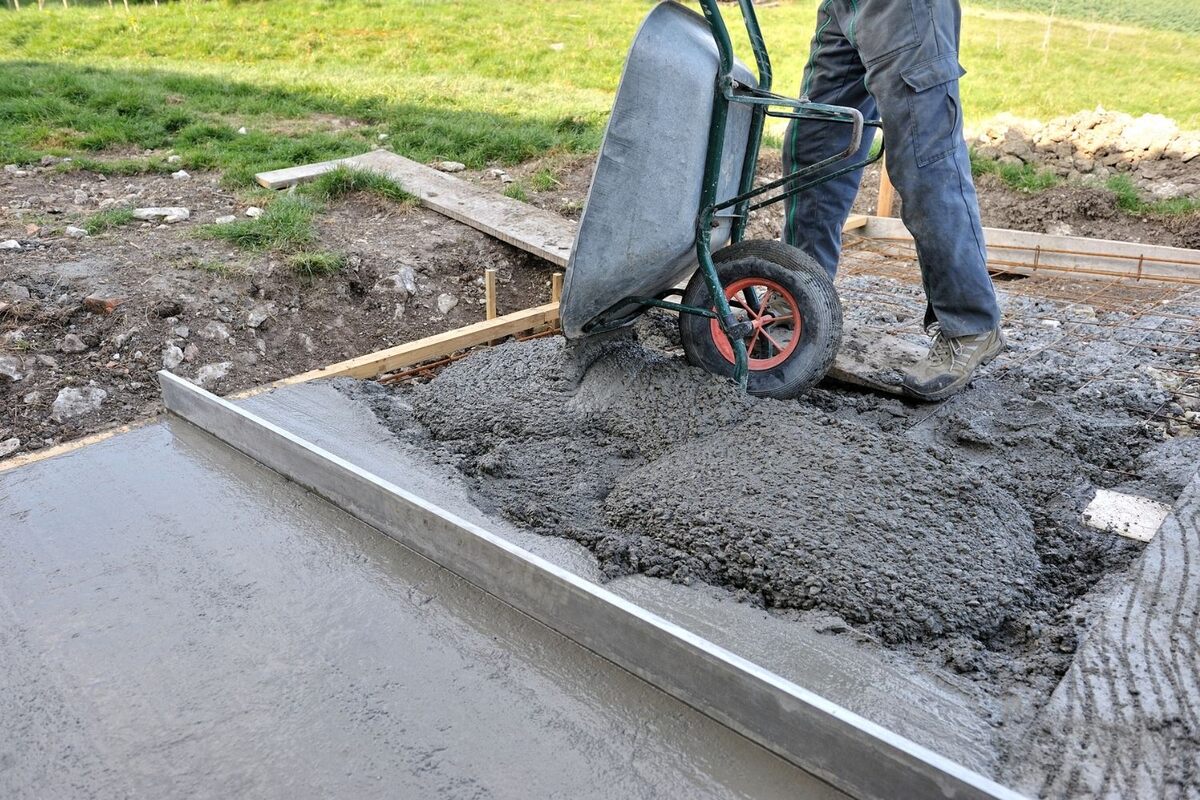
- Assess Structural Integrity: Inspect the shed’s walls, roof, and foundation for any structural damage or vulnerabilities. Repair any issues to ensure the shed provides a secure and stable environment for the insulation.
By thoroughly preparing your shed for insulation, you’ll create an optimal environment for the insulation materials to perform effectively and durably. These preparatory steps not only improve the insulation process but also contribute to the overall safety, comfort, and longevity of your shed.
Consider using fiberglass insulation to insulate your shed. It is easy to install, cost-effective, and provides good thermal resistance. Make sure to wear protective gear when handling fiberglass insulation.
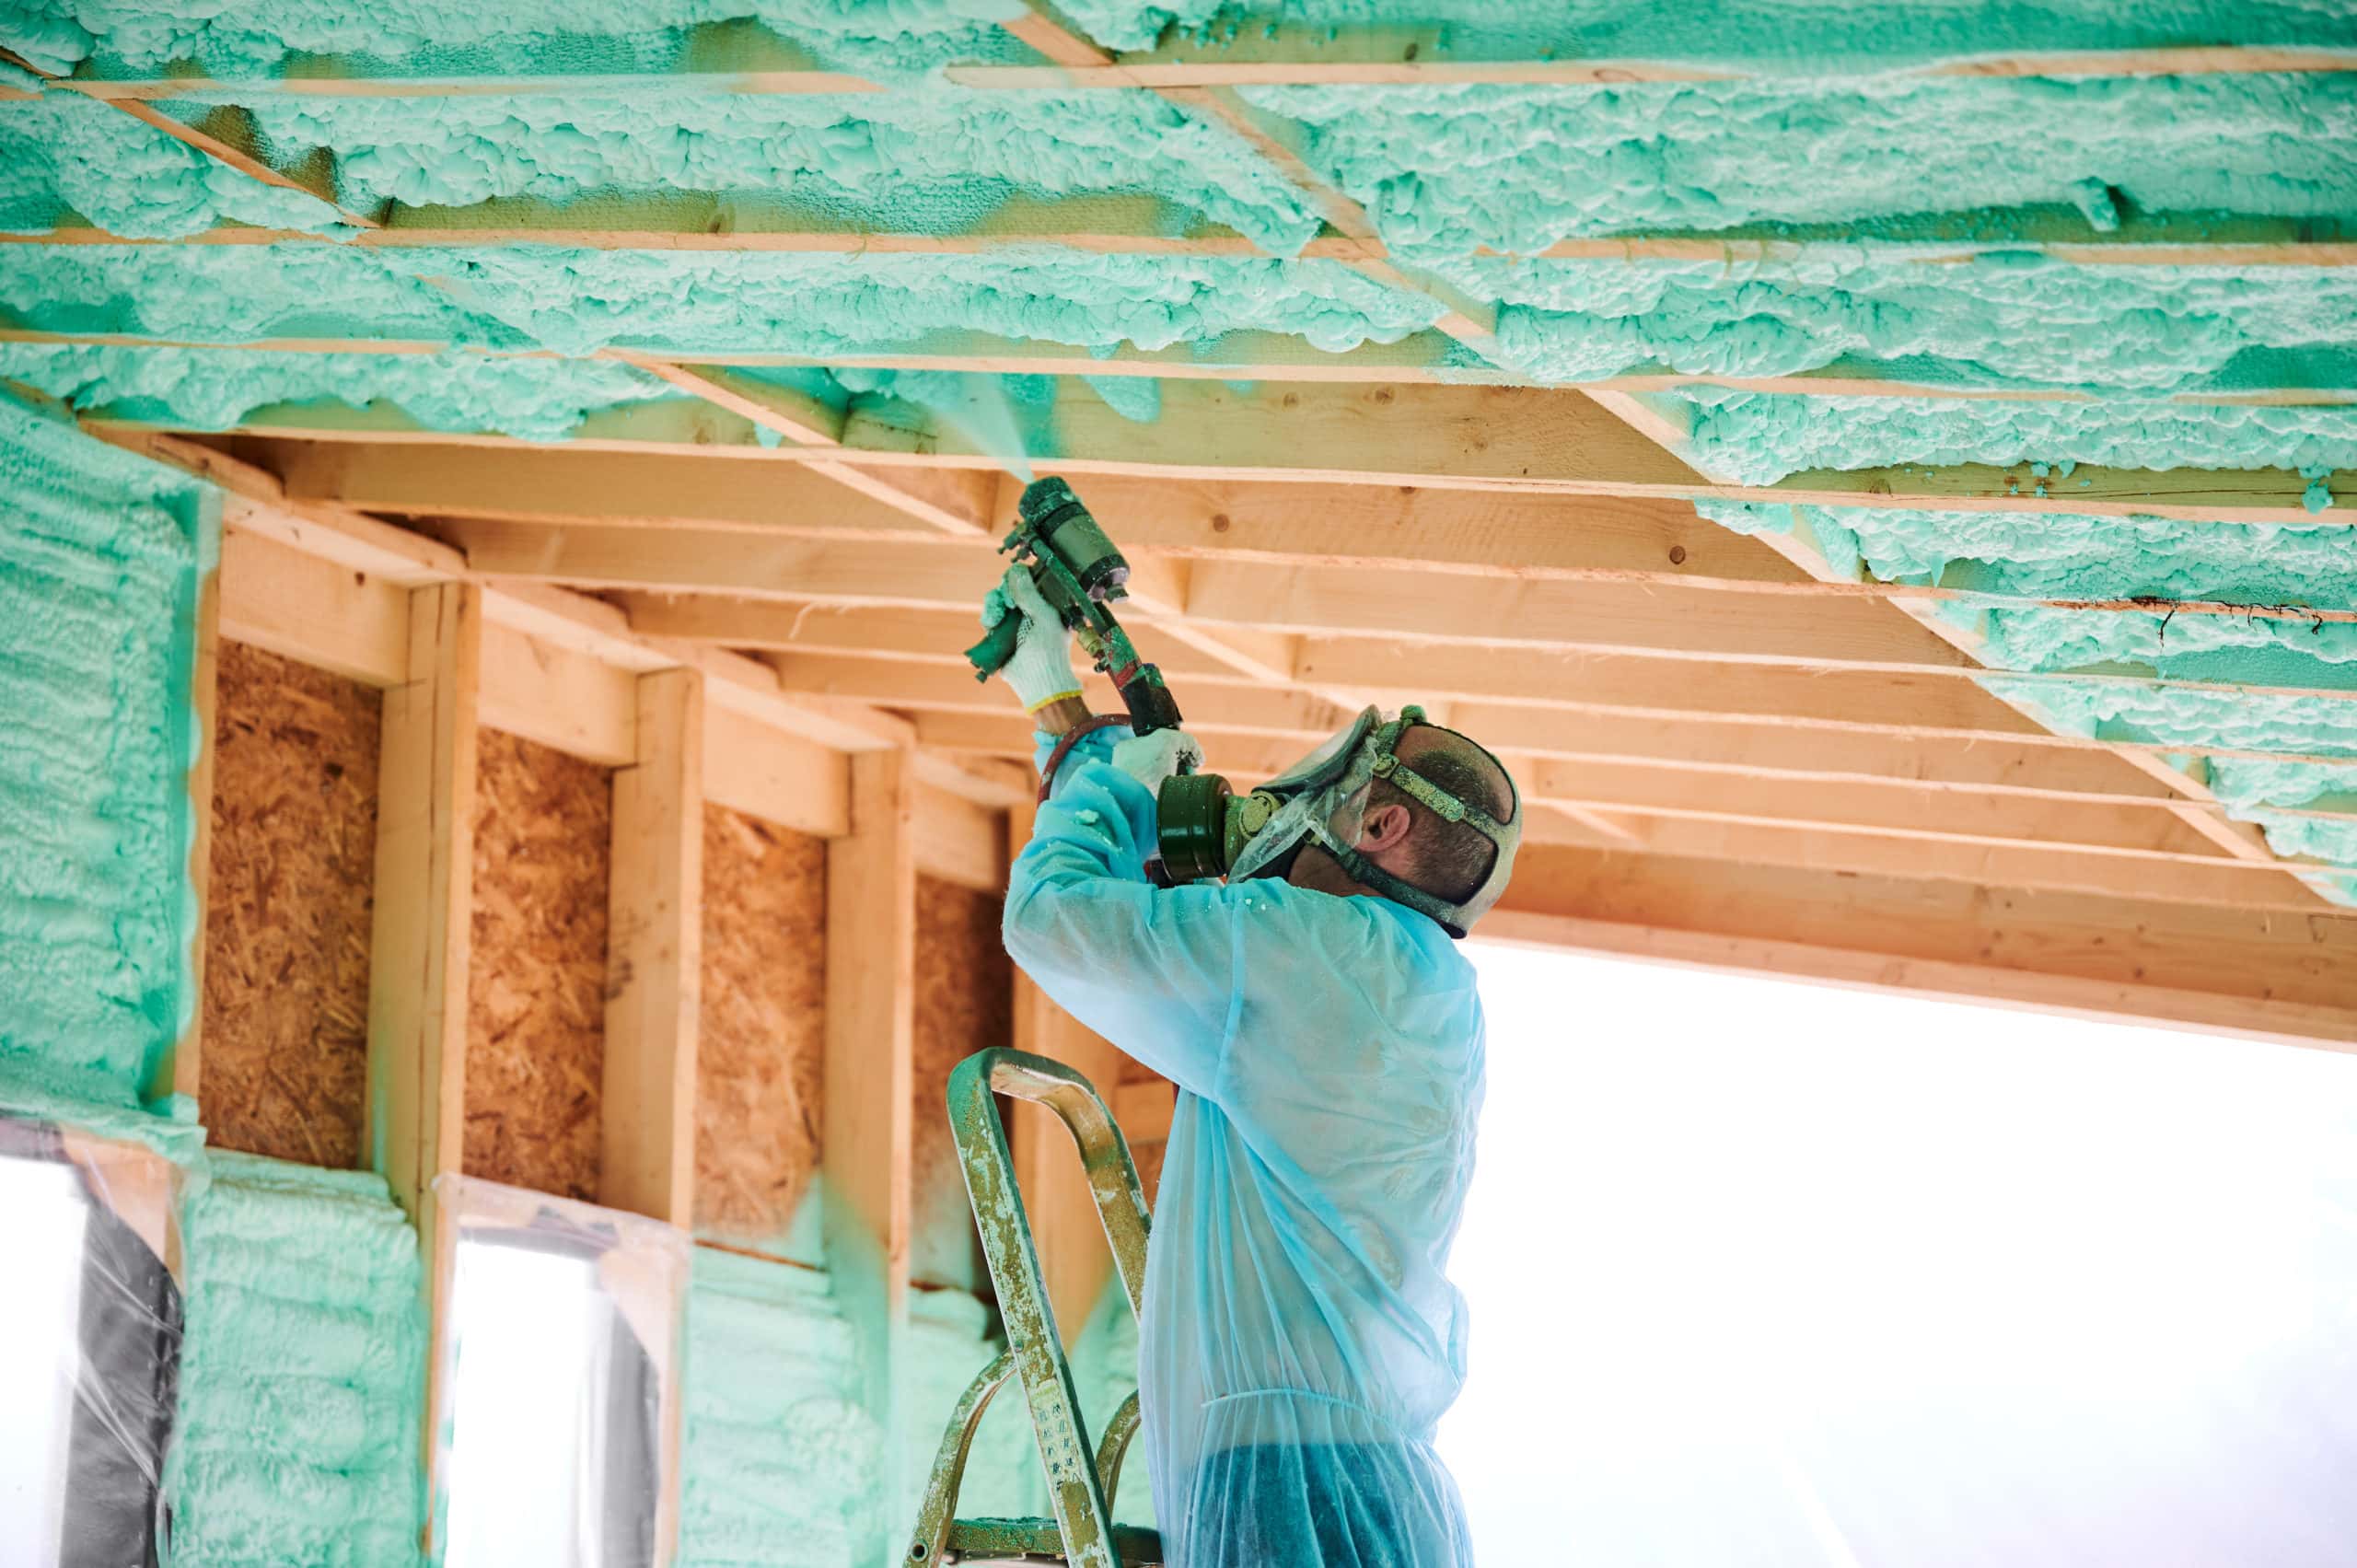
Installing the Insulation
With your shed prepared and the right insulation materials selected, it’s time to proceed with the installation process. The following steps will guide you through the effective installation of insulation in your shed:
- Measure and Cut: Accurately measure the dimensions of the walls, ceiling, and floor where insulation will be installed. Use these measurements to cut the insulation materials to the appropriate size, ensuring a snug fit within the framing.
- Install Vapor Barriers: If your insulation requires a vapor barrier, carefully place and secure it before installing the insulation. Ensure that the vapor barrier overlaps and seals effectively to prevent moisture infiltration.
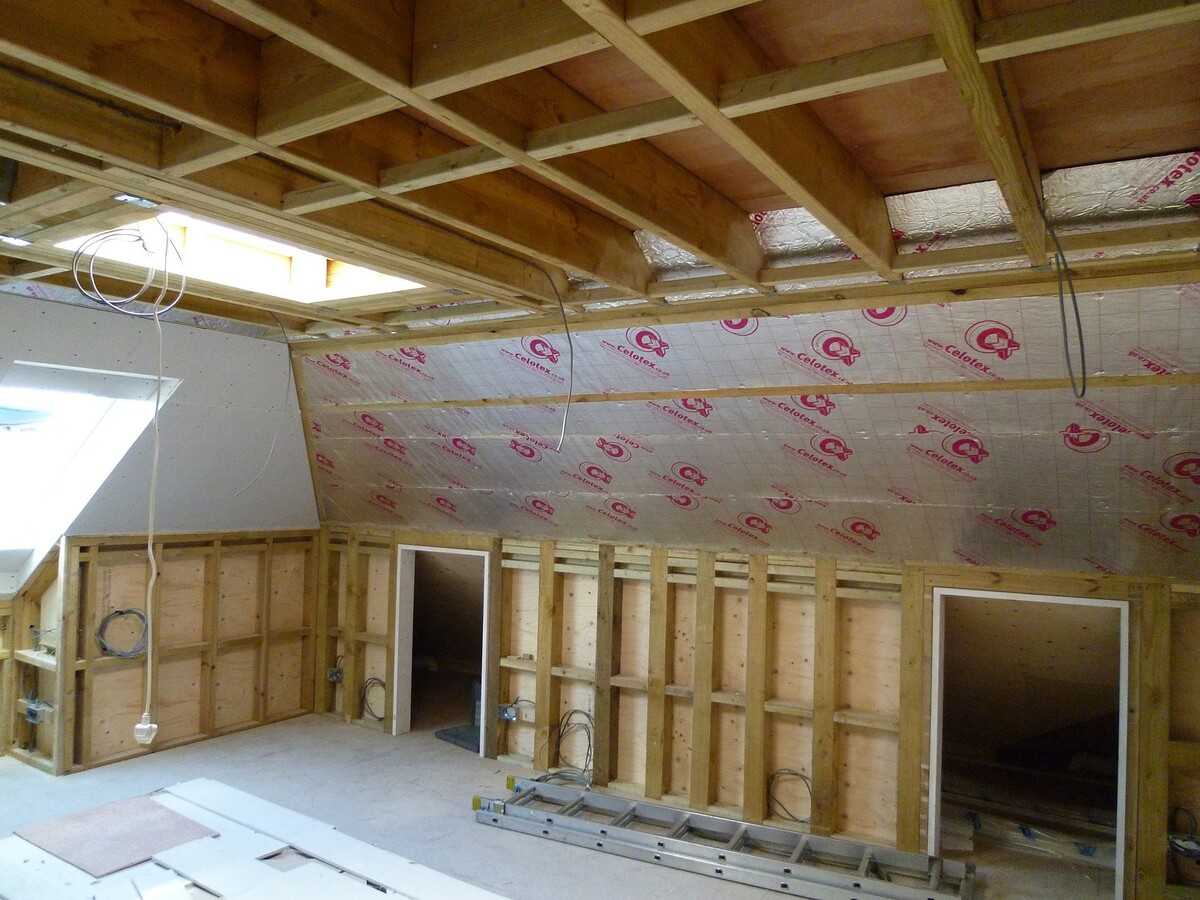
- Place Insulation: Position the insulation within the wall cavities, between rafters, or beneath the shed floor, depending on the specific areas you’re insulating. Press the insulation firmly into place, making sure it completely fills the space without compression.
- Seal Joints and Gaps: Use tape or specialized sealing materials to cover and seal any joints, seams, or gaps between insulation pieces. This step is crucial for maintaining the insulation’s integrity and preventing air leakage.
- Secure Insulation: If you’re using batt insulation, staple or secure it to the framing to prevent sagging or displacement. For other insulation types, follow the manufacturer’s recommendations for securing the material in place.
- Address Electrical Fixtures: If you’re installing electrical outlets, switches, or lighting fixtures, ensure that these are integrated with the insulation following safety and building code regulations.
Throughout the installation process, prioritize safety measures, such as wearing protective gear and working in well-ventilated areas, especially when handling certain insulation materials. Additionally, refer to the manufacturer’s guidelines and best practices for the specific insulation type you’re using to ensure proper installation and optimal performance.
By following these steps, you’ll effectively insulate your shed, creating a comfortable and energy-efficient space that meets your specific needs and usage requirements.
Additional Tips for Insulating Your Shed
As you embark on the journey of insulating your shed, consider the following additional tips to enhance the insulation process and maximize the benefits of a well-insulated shed:
- Consider Reflective Insulation: In regions with intense sunlight and heat, reflective insulation can help minimize heat transfer, keeping the shed cooler during hot seasons. Reflective insulation is particularly effective for shed roofs and can complement other insulation types.
- Optimize Ventilation: Ensure proper ventilation in the insulated shed to prevent moisture buildup and maintain air quality. Incorporate vents or fans as needed, especially if the shed will be used for activities that generate heat or humidity.
- Explore Insulated Doors and Windows: Upgrading to insulated doors and windows can significantly enhance the shed’s overall insulation performance, minimizing heat loss and drafts while improving security and aesthetics.
- Utilize Thermal Mass: Consider incorporating thermal mass materials, such as concrete or masonry, into the shed’s design. These materials can help stabilize indoor temperatures by absorbing and releasing heat, complementing the insulation’s efforts.
- Monitor Insulation Condition: Regularly inspect the insulation for any signs of damage, settling, or pest intrusion. Addressing these issues promptly can help maintain the insulation’s effectiveness and prolong its lifespan.
- Implement Energy-Efficient Lighting: If you plan to illuminate the shed, opt for energy-efficient LED lighting to minimize heat generation and electricity consumption, contributing to the shed’s overall energy efficiency.
By incorporating these tips into your shed insulation project, you can create a well-rounded and optimized insulated space that aligns with your comfort, energy efficiency, and functional needs. Each tip contributes to the overall effectiveness and durability of the insulation, ensuring that your shed remains a comfortable and versatile environment for years to come.
Conclusion
Insulating your shed is a rewarding endeavor that can transform it into a comfortable, functional, and energy-efficient space. By following the comprehensive guide provided here, you’ve gained valuable insights into the process of insulating your shed effectively. From assessing your shed’s condition to choosing the right insulation materials and executing the installation, each step plays a crucial role in enhancing the shed’s usability and comfort.
As you embark on this journey, remember that the benefits of a well-insulated shed extend beyond temperature regulation. You’re creating a space that protects your belongings, provides a conducive environment for hobbies or work, and contributes to overall energy conservation.
Whether you’re converting your shed into a workshop, a cozy retreat, or simply optimizing it for storage, the insulation process empowers you to tailor the space to your specific needs and preferences. Additionally, the energy efficiency gained through proper insulation can lead to long-term cost savings and environmental benefits.
As you proceed with your shed insulation project, don’t hesitate to explore innovative solutions, incorporate additional tips, and customize the insulation approach based on your unique requirements. By doing so, you’ll create a personalized oasis that reflects your style, comfort, and practicality.
With the knowledge and guidance provided in this comprehensive guide, you’re well-equipped to embark on your shed insulation journey with confidence and creativity. Embrace the opportunity to enhance your shed’s functionality, comfort, and energy efficiency, and enjoy the rewarding results for years to come.
Frequently Asked Questions about How Do I Insulate My Shed
Was this page helpful?
At Storables.com, we guarantee accurate and reliable information. Our content, validated by Expert Board Contributors, is crafted following stringent Editorial Policies. We're committed to providing you with well-researched, expert-backed insights for all your informational needs.


0 thoughts on “How Do I Insulate My Shed”