Home>Gardening & Outdoor>Plant Care & Gardening Tips>How To Plant Native Viola
Plant Care & Gardening Tips
How To Plant Native Viola
Modified: January 6, 2024
Learn how to plant native Viola with our expert plant care and gardening tips. Discover the best practices for nurturing Viola in your garden.
(Many of the links in this article redirect to a specific reviewed product. Your purchase of these products through affiliate links helps to generate commission for Storables.com, at no extra cost. Learn more)
Introduction
Welcome to the wonderful world of gardening, where the beauty of nature meets the creativity of human hands. Today, we're going to delve into the enchanting realm of native violas. These delicate, yet resilient, plants have captured the hearts of gardeners for centuries with their charming blooms and easy-to-care-for nature. Whether you're a seasoned gardening enthusiast or a novice with a green thumb, learning how to plant native violas will surely add a touch of elegance and vibrancy to your garden.
In this comprehensive guide, we'll explore the fascinating characteristics of native violas, the ideal conditions for their growth, and the step-by-step process of planting and maintaining these delightful flowers. So, grab your gardening gloves and let's embark on a captivating journey into the world of native violas.
Key Takeaways:
- Embrace the enchanting world of native violas, adding timeless beauty to your garden with their resilient nature and vibrant blooms. From woodlands to containers, these charming plants thrive with minimal care.
- Create a flourishing haven for pollinators and garden enthusiasts alike by planting and nurturing native violas. Their adaptability and low-maintenance nature make them a delightful addition to any garden setting.
Read more: When To Plant Viola Seeds
Understanding Native Viola
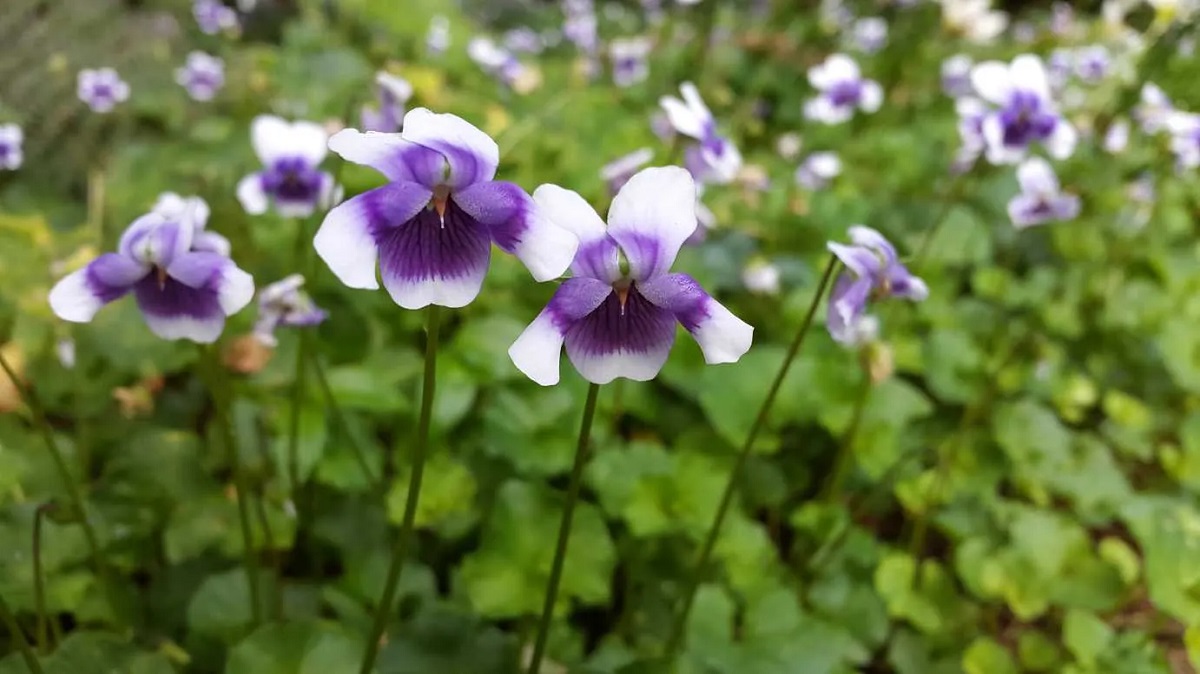
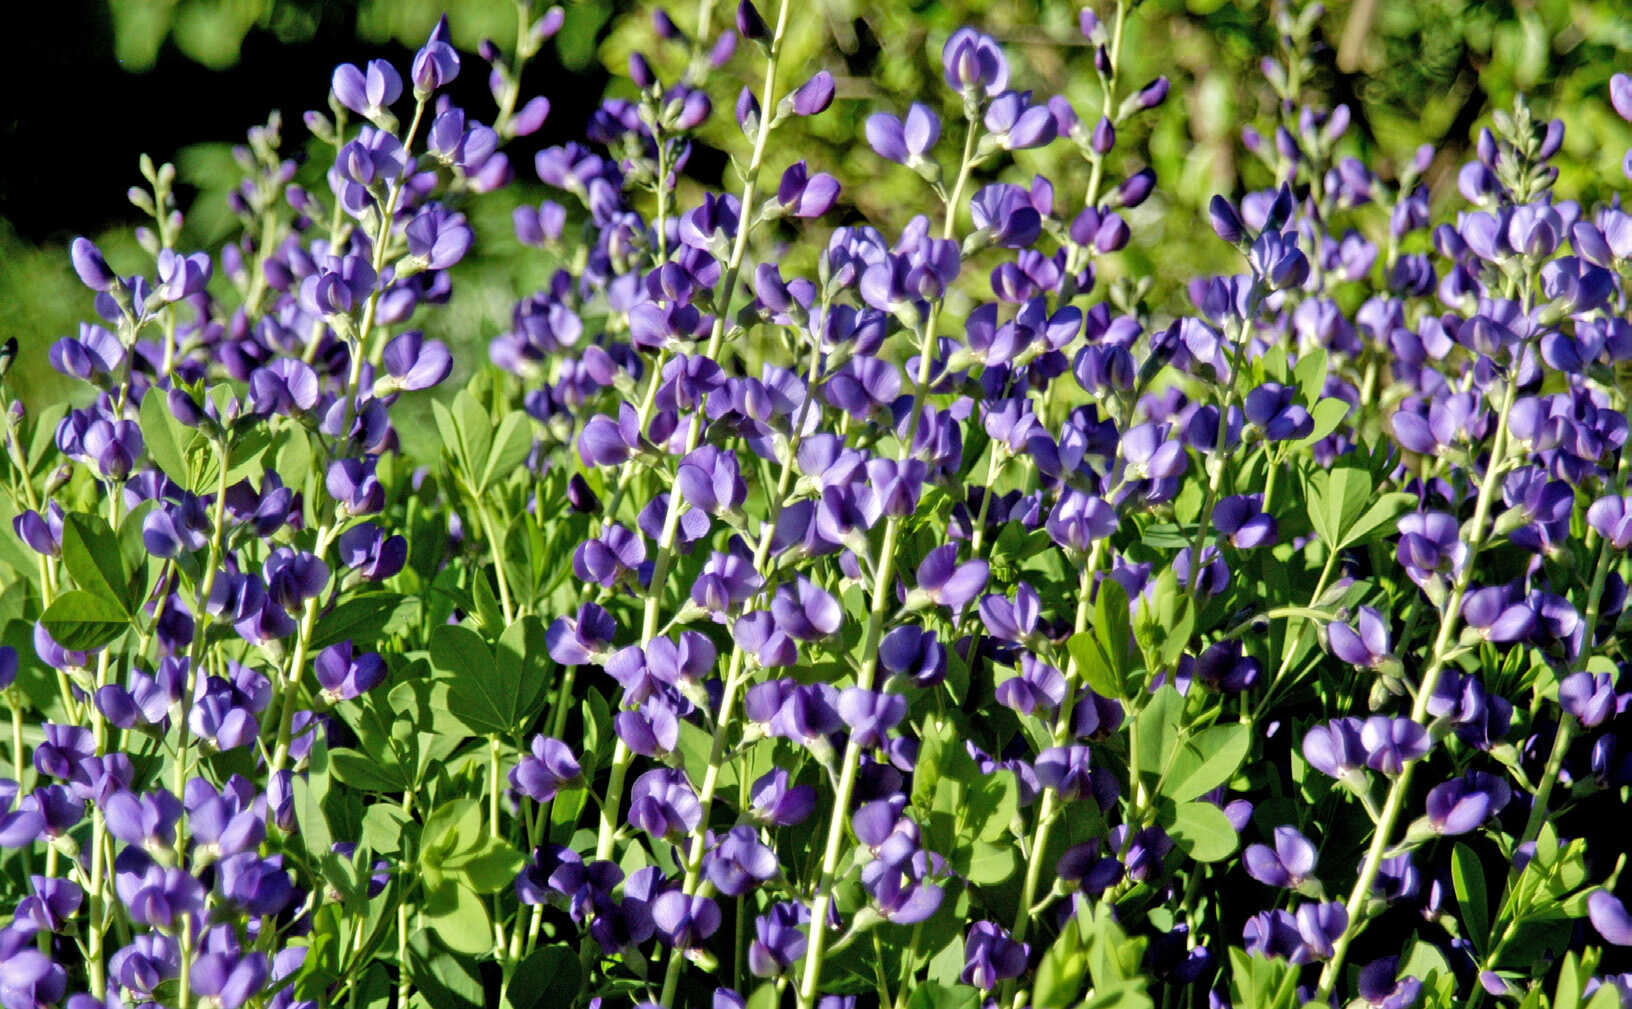
Before delving into the planting process, it’s essential to understand the captivating nature of native violas. Also known as wild violets, these charming perennials belong to the Violaceae family and are native to various regions across the globe. With their heart-shaped leaves and dainty, five-petaled flowers in an array of colors, including purple, blue, yellow, and white, native violas effortlessly add a touch of natural elegance to any garden.
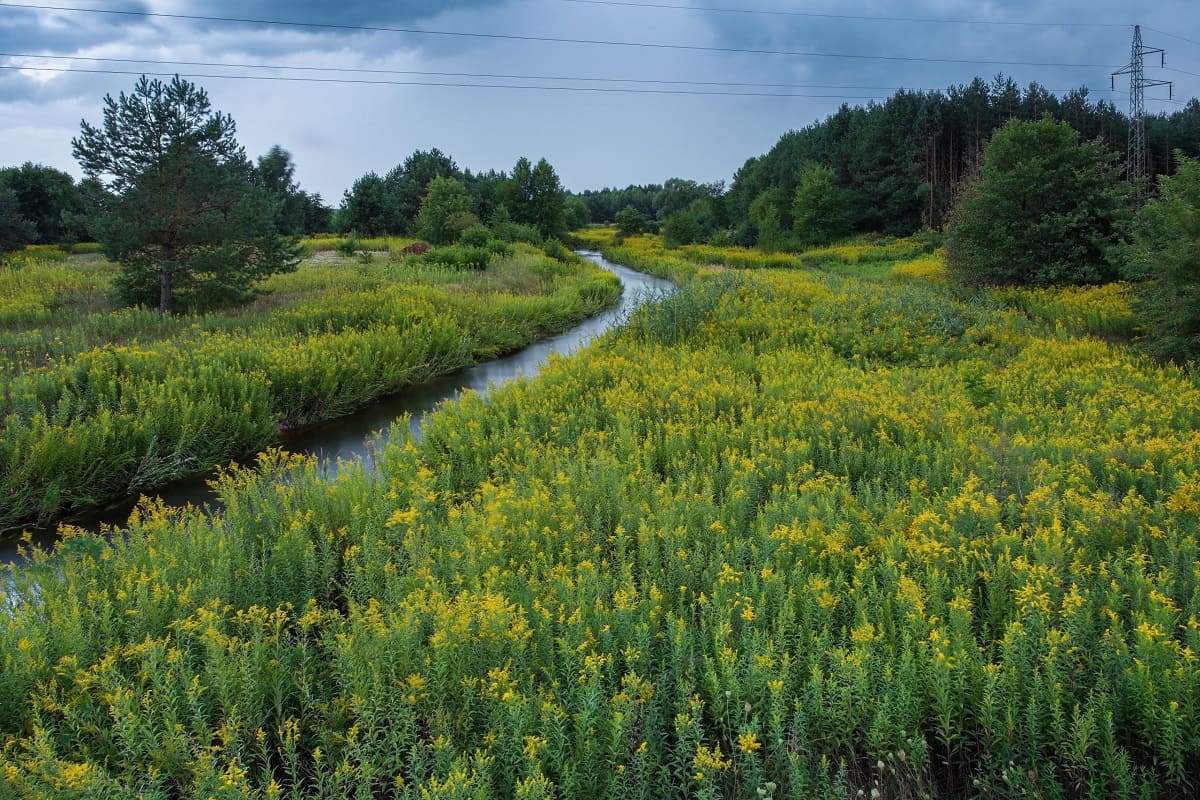
One of the most endearing qualities of native violas is their adaptability. These resilient plants thrive in a variety of environments, from woodlands and meadows to garden borders and containers. Their ability to self-seed and naturalize makes them a delightful addition to both formal and informal garden settings.
Furthermore, native violas are not only ornamental but also serve as a vital food source for pollinators, such as bees and butterflies, making them an eco-friendly choice for any garden. Their petite size and low-growing habit make them ideal for filling in gaps between larger plants or creating a charming ground cover.
By understanding the unique characteristics and ecological significance of native violas, you can appreciate the value they bring to your garden and the broader natural landscape. Now that we’ve gained insight into the allure of native violas, let’s explore the key considerations for selecting the perfect location for these enchanting plants.
Selecting the Right Location
Choosing the ideal location for planting native violas is crucial for ensuring their optimal growth and blooming potential. These versatile plants thrive in various light conditions, including full sun, partial shade, and even dappled shade, making them adaptable to different garden environments. When selecting a location, consider the following factors to provide the best setting for your native violas:
- Light Exposure: Native violas exhibit remarkable flexibility in their light requirements. While they can thrive in full sun, they also flourish in partial shade, especially in regions with intense summer heat. Additionally, dappled shade beneath trees or alongside shrubs provides an excellent environment for these resilient plants.
- Soil Quality: Native violas prefer well-draining soil with a rich organic content. They are adaptable to various soil types, including loamy, sandy, or clay soils, as long as the soil is not excessively waterlogged. Amending the soil with organic matter, such as compost, can enhance its texture and fertility, creating an optimal growing medium for native violas.
- Climate Considerations: Consider the climate of your region when choosing a location for native violas. These hardy perennials can withstand a range of temperatures, but certain varieties may have specific climate preferences. Understanding your local climate and selecting suitable native viola species will contribute to their long-term success in your garden.
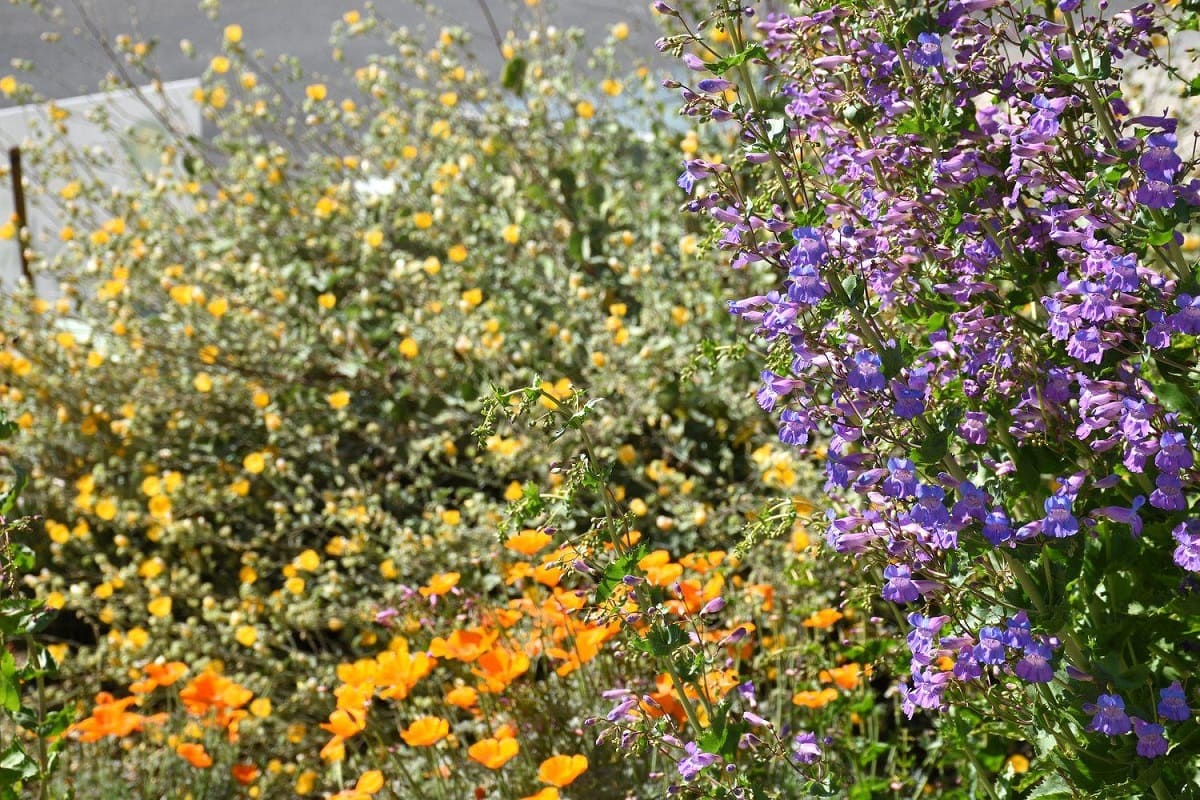
- Companion Planting: Native violas complement a wide array of companion plants, including spring bulbs, ferns, and other shade-loving perennials. When planning their placement, consider the surrounding plants to create visually appealing combinations and enhance the overall aesthetic of your garden.
By carefully assessing these factors, you can identify the perfect spot in your garden to showcase the natural beauty of native violas. Once you’ve selected an optimal location, the next step is to prepare the soil to create a nurturing environment for these delightful blooms.
Preparing the Soil
Creating a conducive environment for native violas begins with preparing the soil to provide the essential nutrients and drainage required for their flourishing growth. Whether you’re planting native violas in the ground or in containers, soil preparation plays a vital role in establishing a healthy foundation for these charming perennials. Here are key steps to prepare the soil for planting native violas:
- Soil Testing: Conduct a soil test to assess the pH level and nutrient content of the soil in the chosen planting area. Native violas thrive in slightly acidic to neutral soil (pH 6.0-7.0). Based on the soil test results, adjust the pH and fertility of the soil as needed to create an optimal growing environment for these resilient plants.
- Amending the Soil: Incorporate organic matter, such as well-rotted compost or aged manure, into the soil to improve its structure and fertility. Organic amendments enhance soil drainage, aeration, and moisture retention, creating a balanced and nutrient-rich substrate for native violas to thrive.
- Loosening the Soil: Prior to planting, loosen the soil to a depth of 6-8 inches (15-20 cm) using a garden fork or tiller. This process promotes root penetration, improves soil aeration, and facilitates the establishment of healthy root systems for the native violas.
- Mulching: Applying a layer of organic mulch, such as shredded bark or leaf mold, around the base of native violas helps retain soil moisture, suppresses weed growth, and regulates soil temperature. Mulching also contributes to the overall health of the plants and minimizes the need for frequent watering.
By diligently preparing the soil, you set the stage for a thriving garden filled with the enchanting beauty of native violas. With the groundwork laid and the soil primed for planting, let’s move on to the exciting process of bringing these delightful blooms into your garden.
When planting native violas, choose a location with well-drained soil and partial shade. Keep the soil consistently moist, but not waterlogged, to help the plants thrive.
Planting Native Viola
Now comes the exciting moment of bringing native violas into your garden. Whether you’re planting them from seeds, seedlings, or nursery-grown plants, the process is relatively straightforward, allowing you to witness the beauty of these charming blooms in no time. Here’s a step-by-step guide to planting native violas and nurturing their growth:
- Choosing Planting Material: Native violas can be propagated from seeds, divisions, or nursery-grown plants. Select healthy seedlings or plants from a reputable nursery to ensure their vigor and adaptability to your garden environment.
- Planting Time: In regions with distinct seasons, native violas are best planted in early spring or fall when the weather is mild. However, in milder climates, they can be planted throughout the growing season, avoiding periods of extreme heat or cold.
- Digging the Planting Holes: Prepare the planting area by digging holes spaced 6-8 inches (15-20 cm) apart and matching the depth and width of the root ball or container. This allows ample space for the roots to spread and establish themselves in the soil.
- Planting Depth: When planting seedlings or nursery-grown plants, ensure that the top of the root ball is level with the surrounding soil surface. Avoid planting too deeply, as this can impede proper root development and lead to moisture-related issues.
- Backfilling and Watering: Gently backfill the planting holes with soil, firming it around the base of the plants to remove air pockets. Water the newly planted native violas thoroughly to settle the soil and provide initial hydration to support their establishment.
- Maintenance: After planting, monitor the soil moisture regularly and water the native violas when the top inch of soil feels dry. Additionally, remove spent flowers to encourage continuous blooming and apply a balanced, slow-release fertilizer in early spring to support their growth.
By following these planting guidelines, you can introduce the captivating allure of native violas to your garden and set the stage for a flourishing display of color and charm. With the native violas now nestled in their new home, let’s explore the essential practices for watering and maintaining these delightful blooms.
Read more: Why Is It Better To Plant Native Plants
Watering and Maintenance
Proper watering and maintenance practices are essential for nurturing healthy and vibrant native violas, ensuring their longevity and continuous blooming throughout the growing season. By implementing the following guidelines, you can support the well-being of these charming perennials and enjoy their enchanting beauty to the fullest:
- Watering: Native violas thrive in consistently moist, well-draining soil. Water the plants deeply whenever the top inch of soil feels dry, providing sufficient moisture to the root zone without causing waterlogging. During hot and dry periods, regular watering is crucial to sustain their growth and flowering.
- Mulching: Maintain a layer of organic mulch around the base of native violas to conserve soil moisture, suppress weed growth, and insulate the roots from temperature fluctuations. Mulching also contributes to the overall health of the plants and minimizes the need for frequent watering.
- Deadheading: Remove faded flowers regularly to promote continuous blooming and prevent the plants from expending energy on seed production. Deadheading encourages the growth of new blooms and enhances the visual appeal of the native violas throughout the season.
- Fertilization: Apply a balanced, slow-release fertilizer in early spring to provide essential nutrients for the vigorous growth and blooming of native violas. Follow the manufacturer’s recommendations for application rates, and avoid over-fertilizing, which can lead to excessive foliage growth at the expense of flowers.
- Pest and Disease Management: Monitor the plants for signs of pests, such as aphids or slugs, and promptly address any infestations using environmentally friendly control methods. Additionally, ensure good air circulation around the plants to minimize the risk of fungal diseases, such as powdery mildew.
- Division and Propagation: Over time, native violas may benefit from division to rejuvenate their growth and maintain vigor. In early spring or fall, carefully lift and divide overcrowded clumps, replanting the divisions in suitable locations to encourage their continued spread and naturalization.
By incorporating these watering and maintenance practices into your gardening routine, you can cultivate a thriving and picturesque display of native violas, enriching your garden with their timeless charm and natural elegance. With their care and maintenance well in hand, let’s reflect on the enchanting journey of planting and nurturing these delightful blooms.
Conclusion
Congratulations on embarking on a captivating journey into the world of native violas. By gaining a deeper understanding of these enchanting perennials and learning the essential practices for their successful cultivation, you’ve taken a significant step toward enriching your garden with their timeless beauty and natural allure.
Native violas, with their delicate blooms and resilient nature, hold a special place in the hearts of gardeners, offering a versatile and low-maintenance option for adding color and charm to various garden settings. From woodlands and meadows to garden borders and containers, these delightful plants effortlessly enhance the visual appeal of any landscape while providing a vital food source for pollinators.
As you prepare to introduce native violas to your garden, remember the key considerations for selecting the right location, preparing the soil, and implementing proper planting and maintenance practices. By providing the ideal growing conditions and nurturing these charming blooms with care and attention, you can create a flourishing haven that celebrates the enduring beauty of native violas.
Whether you’re a seasoned gardener or a novice enthusiast, the allure of native violas invites you to embrace the art of gardening with joy and creativity. As you witness the vibrant colors and delicate blossoms of these resilient perennials gracing your garden, may you find inspiration and fulfillment in the timeless beauty of nature’s creations.
So, as you set out to plant and nurture your native violas, remember to cherish the journey and savor the moments spent tending to these delightful blooms. With each season, may your garden be transformed into a tapestry of natural elegance, where native violas stand as a testament to the enduring charm and grace of the botanical world.
Frequently Asked Questions about How To Plant Native Viola
Was this page helpful?
At Storables.com, we guarantee accurate and reliable information. Our content, validated by Expert Board Contributors, is crafted following stringent Editorial Policies. We're committed to providing you with well-researched, expert-backed insights for all your informational needs.

0 thoughts on “How To Plant Native Viola”