Home>Garden Essentials>When To Plant Viola Seeds

Garden Essentials
When To Plant Viola Seeds
Modified: August 28, 2024
Looking to start a garden? Find out the best time to plant viola seeds and get your garden blooming with vibrant colors.
(Many of the links in this article redirect to a specific reviewed product. Your purchase of these products through affiliate links helps to generate commission for Storables.com, at no extra cost. Learn more)
Introduction
Gardening is a rewarding hobby, and there’s something special about growing plants from seeds. If you’re a fan of vibrant and delicate flowers, then planting viola seeds should definitely be on your gardening to-do list. Violas, also known as pansies or Johnny-jump-ups, are small, charming flowers that add a burst of color and fragrance to any garden. Whether you’re a seasoned gardener or a beginner, growing viola seeds can be a fun and fulfilling experience.
Before you embark on your journey of planting viola seeds, there are a few factors to consider. These include the ideal growing conditions, seed starting techniques, and the best time to plant. By understanding these aspects, you can ensure the success of your viola seedlings and enjoy a beautiful display of flowers in your garden.
Key Takeaways:
- Plant viola seeds in well-draining soil with 4-6 hours of sunlight, and water regularly. Consider starting seeds indoors for better control over growing conditions and earlier blooms.
- Choose high-quality seeds, prepare the soil, and provide proper care to ensure successful viola seed planting. Enjoy the vibrant and charming flowers in your garden with these tips.
Read more: How To Plant Native Viola
Factors to Consider
Before you start planting viola seeds, it’s important to consider a few key factors that will contribute to the success of your garden. These factors include sunlight, soil quality, watering, and temperature.
Sunlight: Violas thrive in cool weather and prefer a balance of sun and shade. While they need at least 4-6 hours of direct sunlight each day, they also appreciate some protection from the intense afternoon sun. It’s best to plant them in an area that receives morning or late afternoon sun, or in a spot where they will be shielded from direct sunlight during the hottest part of the day.
Soil Quality: Violas prefer well-draining soil that is rich in organic matter. Before planting, make sure to prepare the soil by loosening it with a garden fork and removing any debris or weeds. Adding compost or organic matter can help improve soil fertility and drainage, providing a favorable environment for your viola seeds to grow.
Watering: Violas have shallow roots, so it’s important to water them regularly and keep the soil evenly moist. However, be careful not to overwater, as this can lead to root rot. Watering in the early morning or late afternoon is ideal, as it allows the plants to absorb moisture before the heat of the day.
Temperature: Violas are cool-season flowers and prefer temperatures between 45-65°F (7-18°C). They can tolerate some frost, but prolonged exposure to freezing temperatures can damage or kill the plants. If you live in an area with harsh winters, it’s best to plant viola seeds in early spring or late summer when the temperatures are milder.
By taking these factors into consideration, you can create the optimal conditions for your viola seeds to germinate and grow into healthy plants. With the right care, you’ll be rewarded with a vibrant and flourishing viola garden.
Seed Starting Indoors
If you want to get a head start on your viola garden, starting the seeds indoors is a great option. Indoor seed starting allows you to control the growing conditions and gives your plants a head start before transplanting them outdoors.
To start viola seeds indoors, follow these steps:
- Gather the Supplies: You will need seed starting trays or pots, seed starting mix, seeds, a spray bottle, and plastic wrap or a clear dome for covering the trays.
- Prepare the Seed Starting Mix: Fill the trays or pots with a seed starting mix that is light, well-draining, and sterile. This will provide the ideal environment for seed germination.
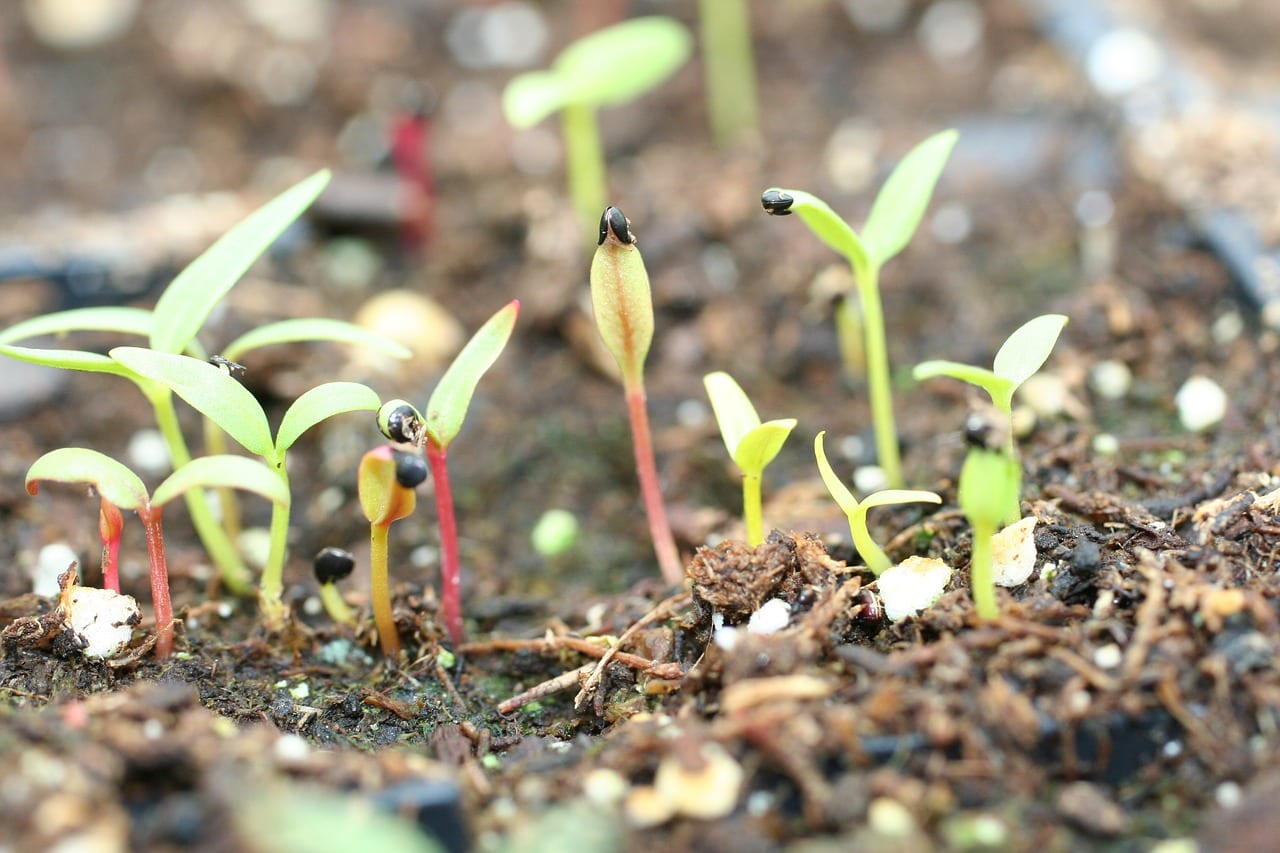
- Plant the Seeds: Sow the viola seeds on the surface of the seed starting mix, spacing them evenly. Gently press the seeds into the soil but do not bury them too deeply, as viola seeds require light for germination.
- Mist the Soil: Use a spray bottle to lightly mist the soil surface to ensure that it is moist. Avoid overwatering, as excessive moisture can lead to damping off, a fungal disease that can kill young seedlings.
- Cover the Trays: Place plastic wrap or a clear dome over the trays to create a mini greenhouse effect. This will help retain moisture and create a warm environment for germination. Remove the cover once the seedlings start to emerge.
- Provide Adequate Light: Place the trays in a bright area that receives indirect sunlight or use grow lights to provide the necessary light for seedling growth. Aim for 12-16 hours of light per day.
- Monitor and Water: Check the trays daily and water as needed to keep the soil moist. Be careful not to overwater, as this can lead to root rot.
- Transplanting: Once the viola seedlings have developed a few sets of true leaves and the outdoor temperatures are suitable, they can be transplanted into the garden.
Starting viola seeds indoors allows for better control over the growing conditions and gives your plants a head start. It also allows you to enjoy early blooms and a more extended flowering period in your garden.
Outdoor Planting
If you prefer to plant viola seeds directly in your garden, there are a few steps you can follow to ensure successful outdoor planting.
Here’s how to plant viola seeds outdoors:
- Choose the Location: Select a location in your garden that receives morning or late afternoon sun but is protected from intense afternoon sun. Ensure that the soil is well-draining and rich in organic matter.
- Prepare the Soil: Loosen the soil with a garden fork and remove any weeds or debris. Incorporate compost or organic matter to improve soil fertility and drainage.
- Sow the Seeds: Scatter the viola seeds over the prepared soil, spacing them evenly. Gently press the seeds into the soil, but do not bury them too deeply, as they require light for germination.
- Water the Seeds: Use a watering can or hose with a gentle spray to moisten the soil thoroughly. Avoid overwatering, as it can lead to seed rot or fungal diseases. Keep the soil consistently moist during the germination period.
- Thin the Seedlings: Once the seedlings have emerged and have a few sets of true leaves, thin them out to allow enough space for each plant to grow. Space the seedlings 6-8 inches apart to give them room to spread and develop.
- Mulch for Moisture and Weed Control: Apply a layer of organic mulch around the seedlings to help retain moisture, suppress weed growth, and regulate soil temperature. This will also provide a neat and tidy appearance to your garden.
- Water and Care: Water the viola seedlings regularly, keeping the soil evenly moist. Monitor them for any signs of pests or diseases and take appropriate measures to protect your plants.
- Enjoy the Blooms: With proper care and maintenance, your viola seeds will germinate and grow into beautiful flowering plants. Enjoy the colorful blooms and fragrance they bring to your garden.
By following these steps, you can successfully plant viola seeds directly in your garden and watch them flourish into charming and vibrant flowers.
Plant viola seeds in early spring or late summer for best results. Choose a location with well-drained soil and partial shade. Keep the soil consistently moist and watch for germination in 10-20 days.
Best Time to Plant Viola Seeds
The ideal time to plant viola seeds depends on your climate and the specific variety of viola you are growing. Violas are cool-season flowers and can tolerate some frost, making them well-suited for early spring and fall planting.
In general, it’s best to plant viola seeds when the soil temperature is around 45-65°F (7-18°C). This temperature range provides the optimal conditions for seed germination and seedling growth. Planting viola seeds too early in cold soil may result in poor germination, while planting them too late in hot weather can cause the plants to wither and die.
If you are planning to start viola seeds indoors, you can start them 8-10 weeks before your anticipated outdoor planting date. This allows the seedlings to establish and grow before being transplanted into the garden.
In regions with mild winters, such as USDA hardiness zones 7-10, you can also plant viola seeds in late summer or early fall. The cooler weather promotes good germination and allows the seedlings to establish before winter sets in. These fall-planted violas will often overwinter and provide early spring blooms.
For areas with colder winters, it’s best to plant viola seeds in early spring, as soon as the soil can be worked and temperatures are consistently above freezing. This allows the seedlings to establish and grow during the cool spring weather, leading to vibrant blooms in late spring or early summer.
Keep in mind that viola varieties may have different flowering times, so be sure to check the specific information provided with your seed packet or plant label. This will give you a better understanding of when to expect blooms and plan your planting accordingly.
By planting viola seeds at the right time, you can ensure optimal germination and growth, leading to beautiful and healthy plants that will provide color and joy to your garden.
Read more: When To Plant Borage Seeds
Tips for Successful Viola Seed Planting
Planting viola seeds can be a rewarding experience, and with a few tips and tricks, you can ensure the success of your seedlings. Follow these tips for a successful viola seed planting:
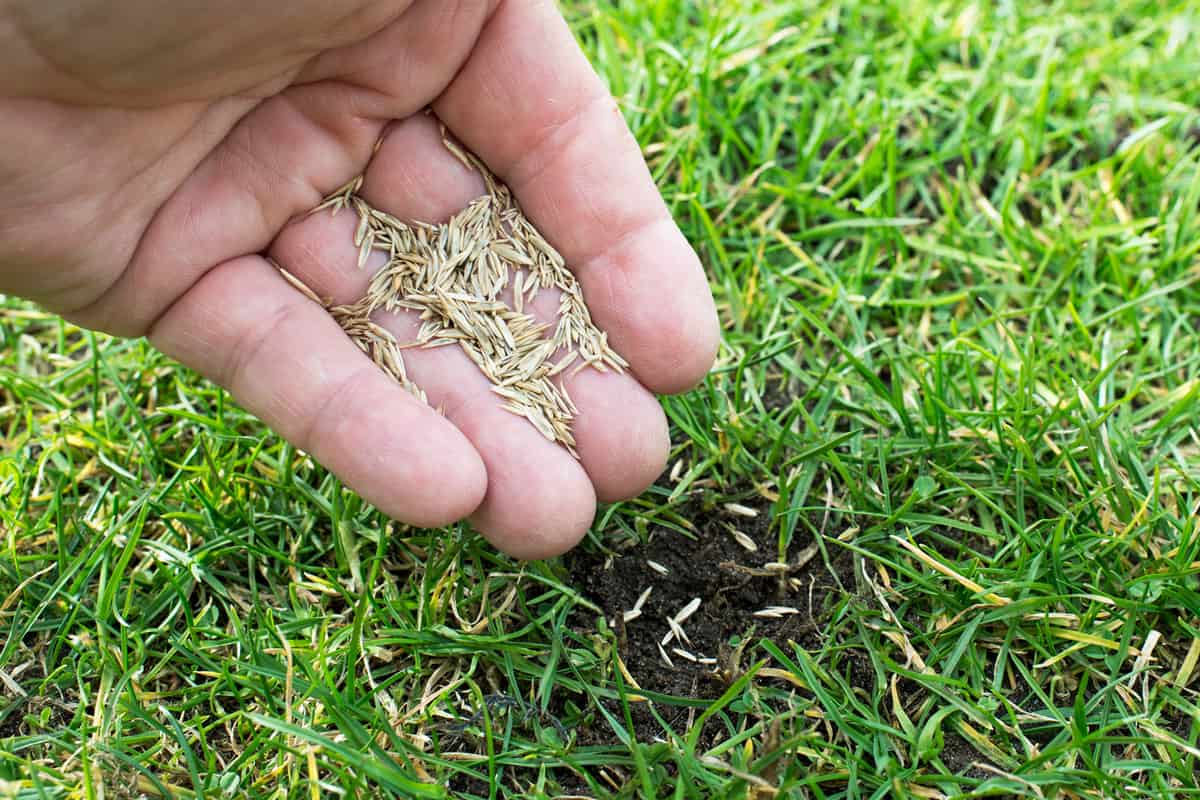
- Choose High-Quality Seeds: Select high-quality viola seeds from a reputable source. Fresh seeds with a high germination rate will give you the best chance of success.
- Read the Seed Packet: Carefully read the instructions on the seed packet, as it will provide valuable information about specific requirements for that variety, such as optimal planting depth and spacing.
- Prep the Soil: Prepare the soil by loosening it with a garden fork and removing any weeds or debris. You can also amend the soil with compost or organic matter to improve fertility and drainage.
- Water the Soil: Before planting, make sure the soil is evenly moist but not waterlogged. Proper soil moisture will help with seed germination and provide a good growing environment for the seedlings.
- Sow the Seeds Correctly: Follow the instructions on the seed packet regarding the planting depth and spacing. Viola seeds are small, so a general rule of thumb is to lightly press them on the soil surface but not bury them too deeply, as they need light to germinate.
- Keep the Soil Moist: Regularly check the soil moisture and water as needed to keep it consistently moist. Avoid overwatering, as this can lead to rot or fungal diseases. A watering can or a gentle spray from a hose is recommended to prevent dislodging the seeds or damaging the delicate seedlings.
- Provide Proper Lighting: If starting seeds indoors, place them in a well-lit area or provide artificial grow lights to ensure the proper amount of light for seedling growth. Outdoor-planted violas should receive at least 4-6 hours of direct sunlight per day.
- Thin Out the Seedlings: Once the viola seedlings have emerged and developed a few sets of true leaves, thin them out to allow enough space for each plant to grow. Crowded seedlings can compete for nutrients and airflow, leading to stunted growth.
- Protect from Pests and Diseases: Monitor your viola seedlings for any signs of pests or diseases, such as aphids or powdery mildew. Take appropriate measures, such as handpicking pests or using organic pest control methods, to protect your plants from damage.
- Maintain Regular Care: Give your viola seedlings regular care and maintenance throughout their growth. This includes providing adequate water, fertilizing with a balanced organic fertilizer, and removing any faded flowers to encourage continuous blooming.
By following these tips, you can increase the chances of success when planting viola seeds and enjoy a beautiful display of vibrant and charming flowers in your garden.
Conclusion
Growing violas from seeds can be a delightful and rewarding experience for any gardener. With their vibrant colors and delicate blooms, violas add a touch of charm and elegance to any garden or landscape. By considering factors such as sunlight, soil quality, watering, and temperature, you can create the ideal conditions for your viola seeds to thrive.
Whether you choose to start your viola seeds indoors or plant them directly in your garden, following the proper techniques will increase your chances of success. Starting indoors allows for better control over the growing conditions and gives your plants a head start before transplanting them outdoors. On the other hand, direct outdoor planting can be just as successful, provided you choose the right time and prepare the soil properly.
Remember to choose high-quality seeds, prepare the soil, and provide adequate water and light for your seedlings. Additionally, thinning out the seedlings and protecting them from pests and diseases will contribute to their overall health and growth. Regular care and maintenance will ensure your violas continue to bloom and bring joy throughout the growing season.
By following these guidelines and incorporating your own gardening insights, you can create a beautiful viola garden that will enchant both you and anyone who visits your outdoor space.
So, roll up your sleeves, get your hands dirty, and watch as your viola seeds transform into stunning flowers that brighten up your garden and lift your spirits.
Frequently Asked Questions about When To Plant Viola Seeds
Was this page helpful?
At Storables.com, we guarantee accurate and reliable information. Our content, validated by Expert Board Contributors, is crafted following stringent Editorial Policies. We're committed to providing you with well-researched, expert-backed insights for all your informational needs.


0 thoughts on “When To Plant Viola Seeds”