Home>Gardening & Outdoor>Plant Care & Gardening Tips>How To Propagate Mums

Plant Care & Gardening Tips
How To Propagate Mums
Modified: August 17, 2024
Learn the best plant care and gardening tips for propagating mums. Discover the step-by-step process to successfully propagate your mums at home.
(Many of the links in this article redirect to a specific reviewed product. Your purchase of these products through affiliate links helps to generate commission for Storables.com, at no extra cost. Learn more)
Introduction
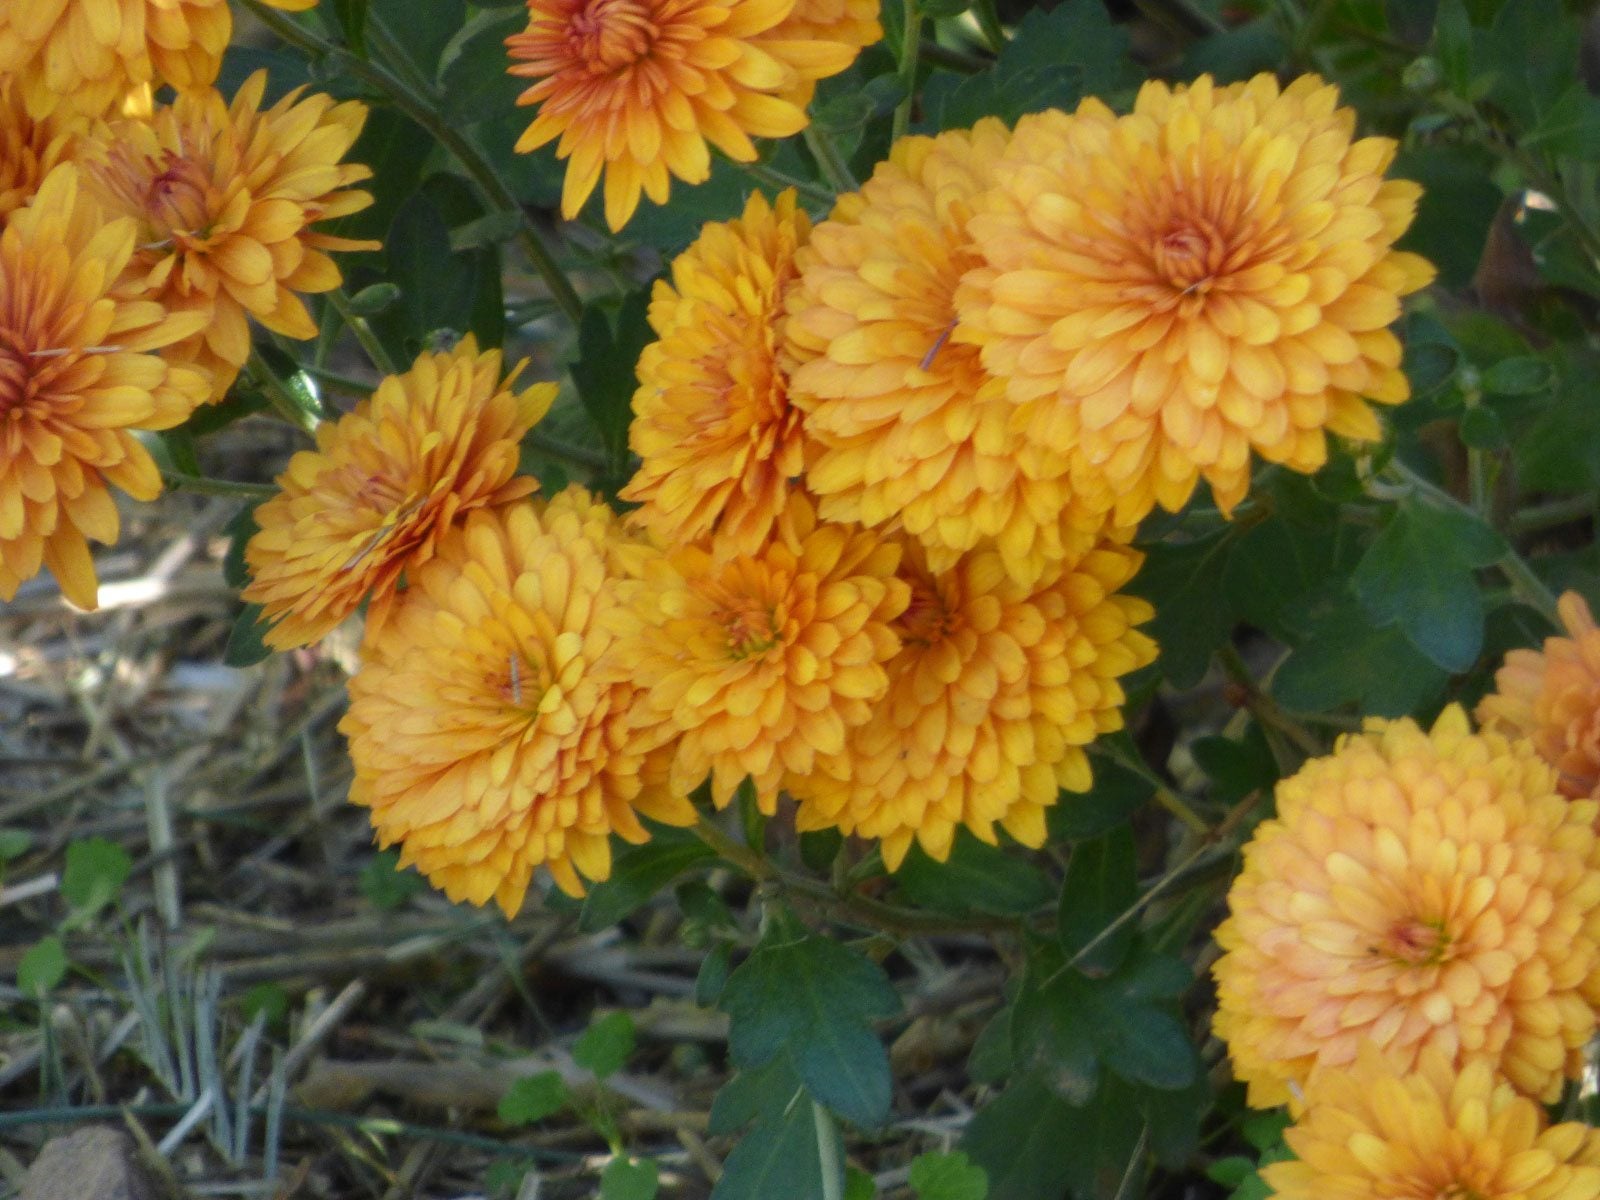
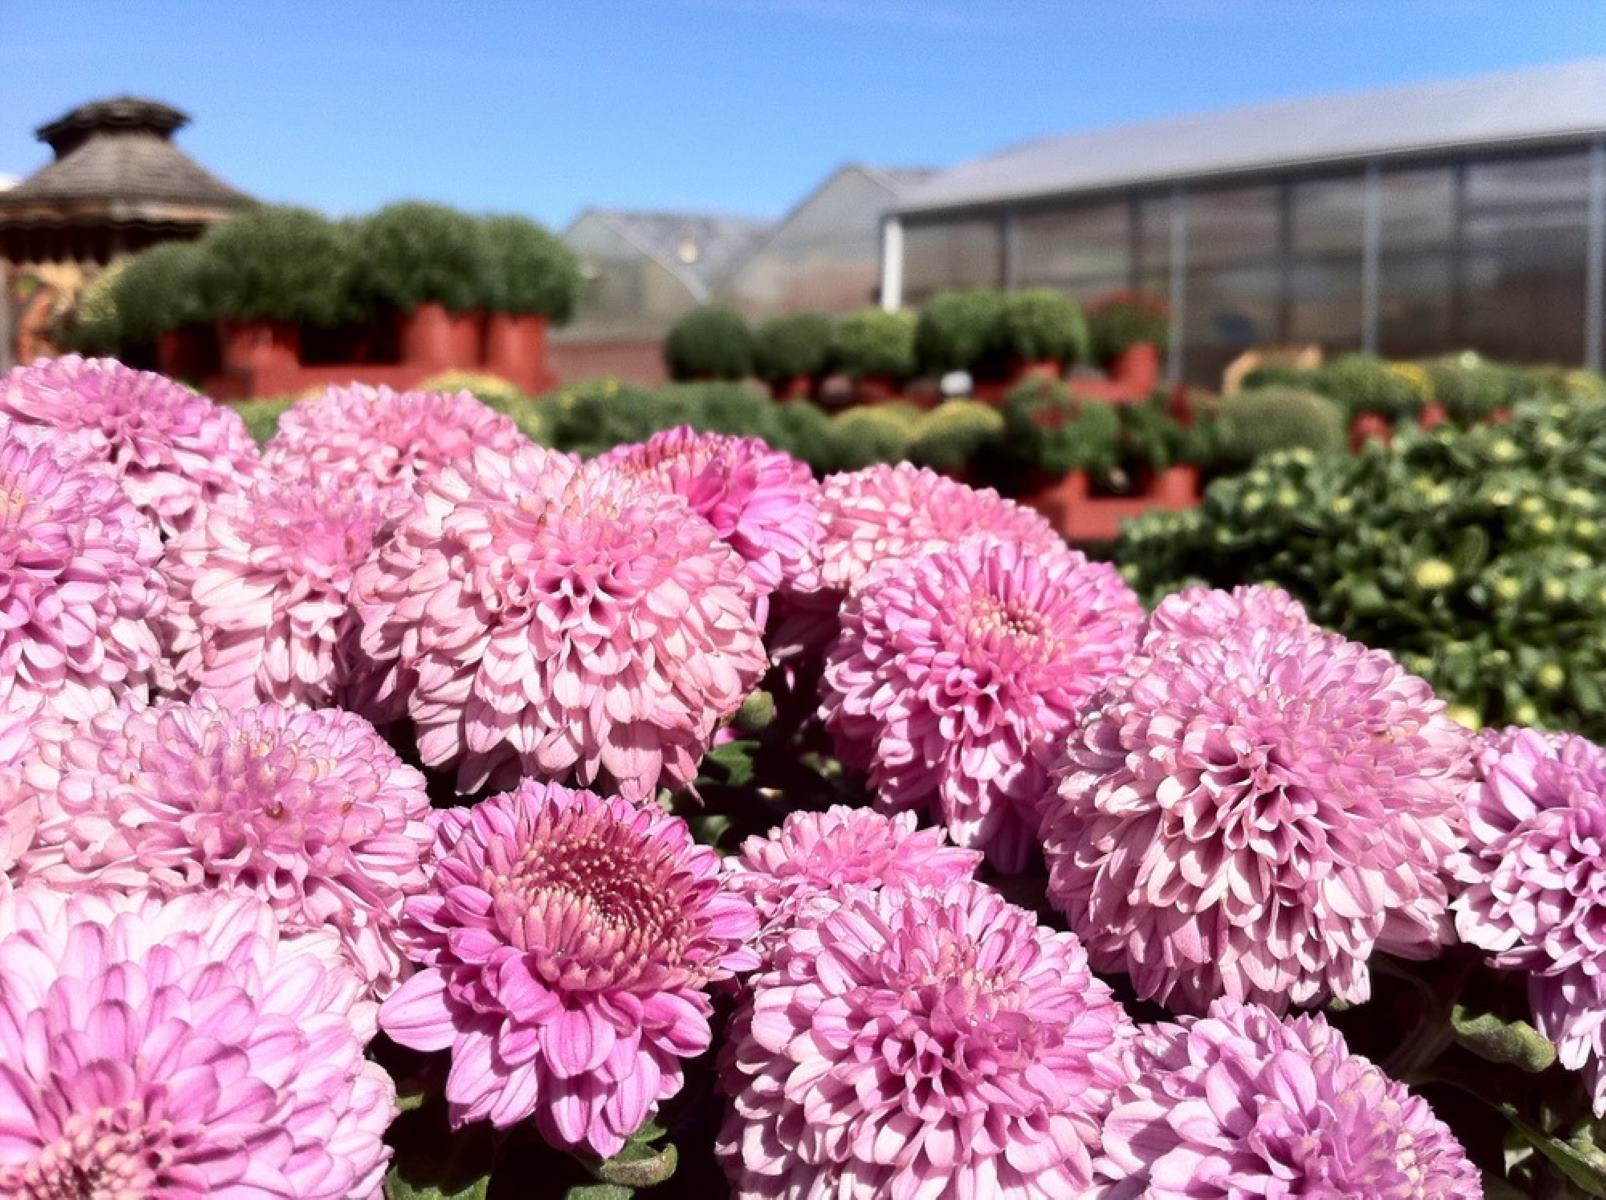
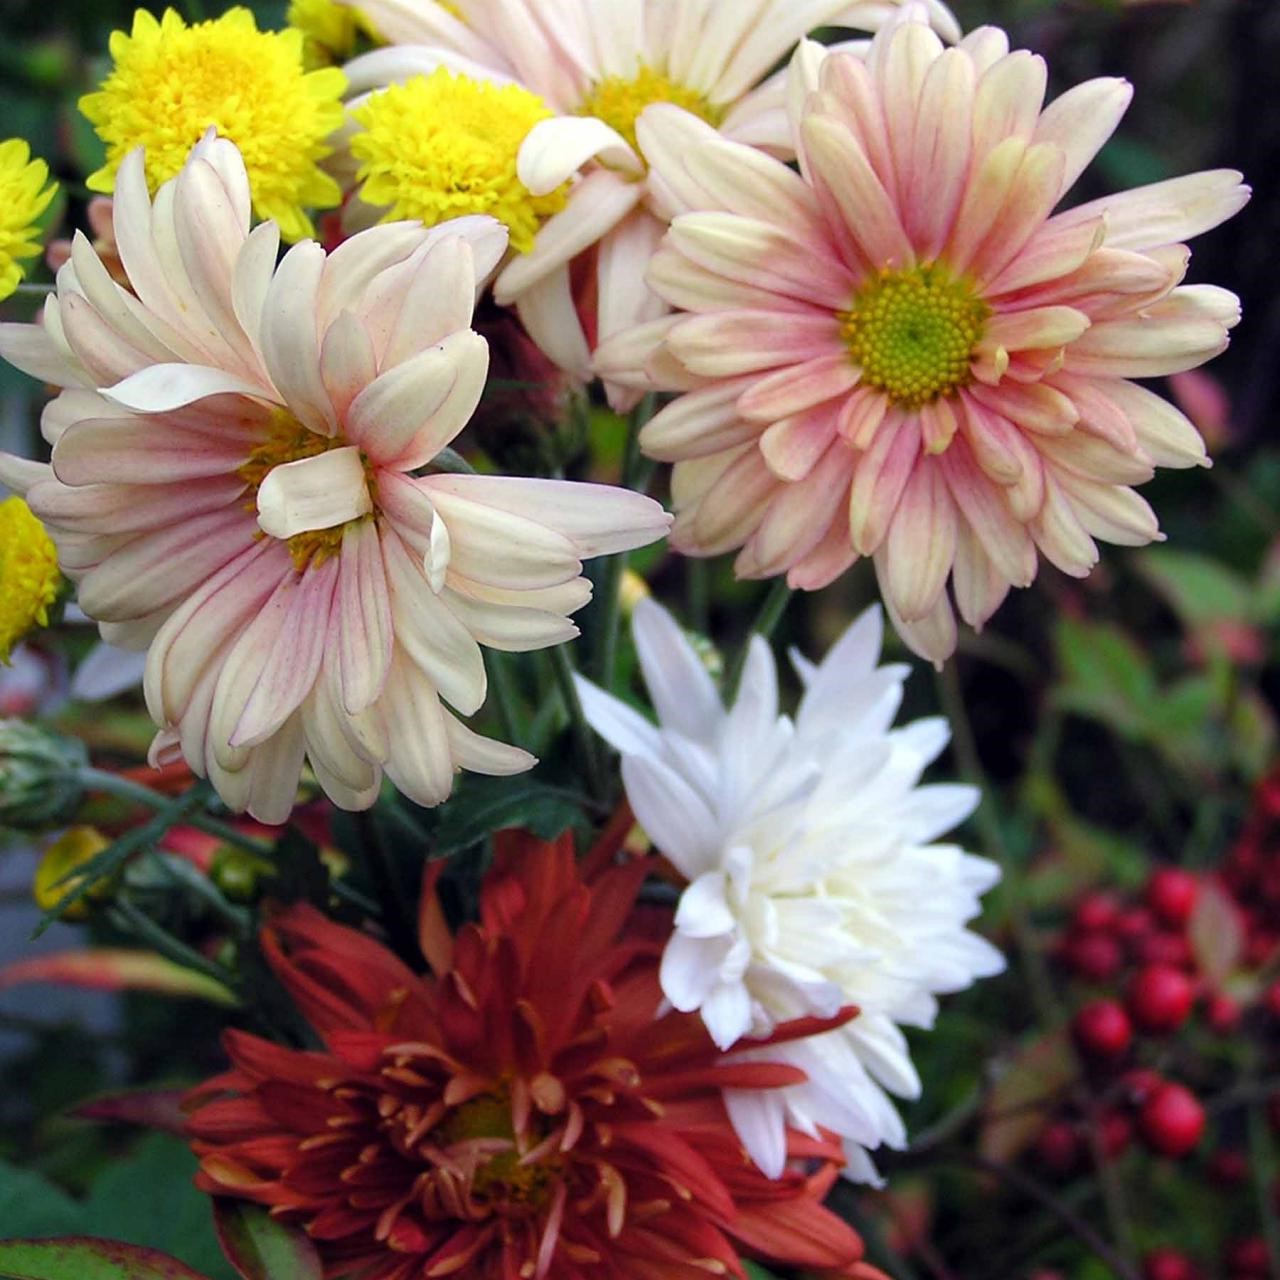
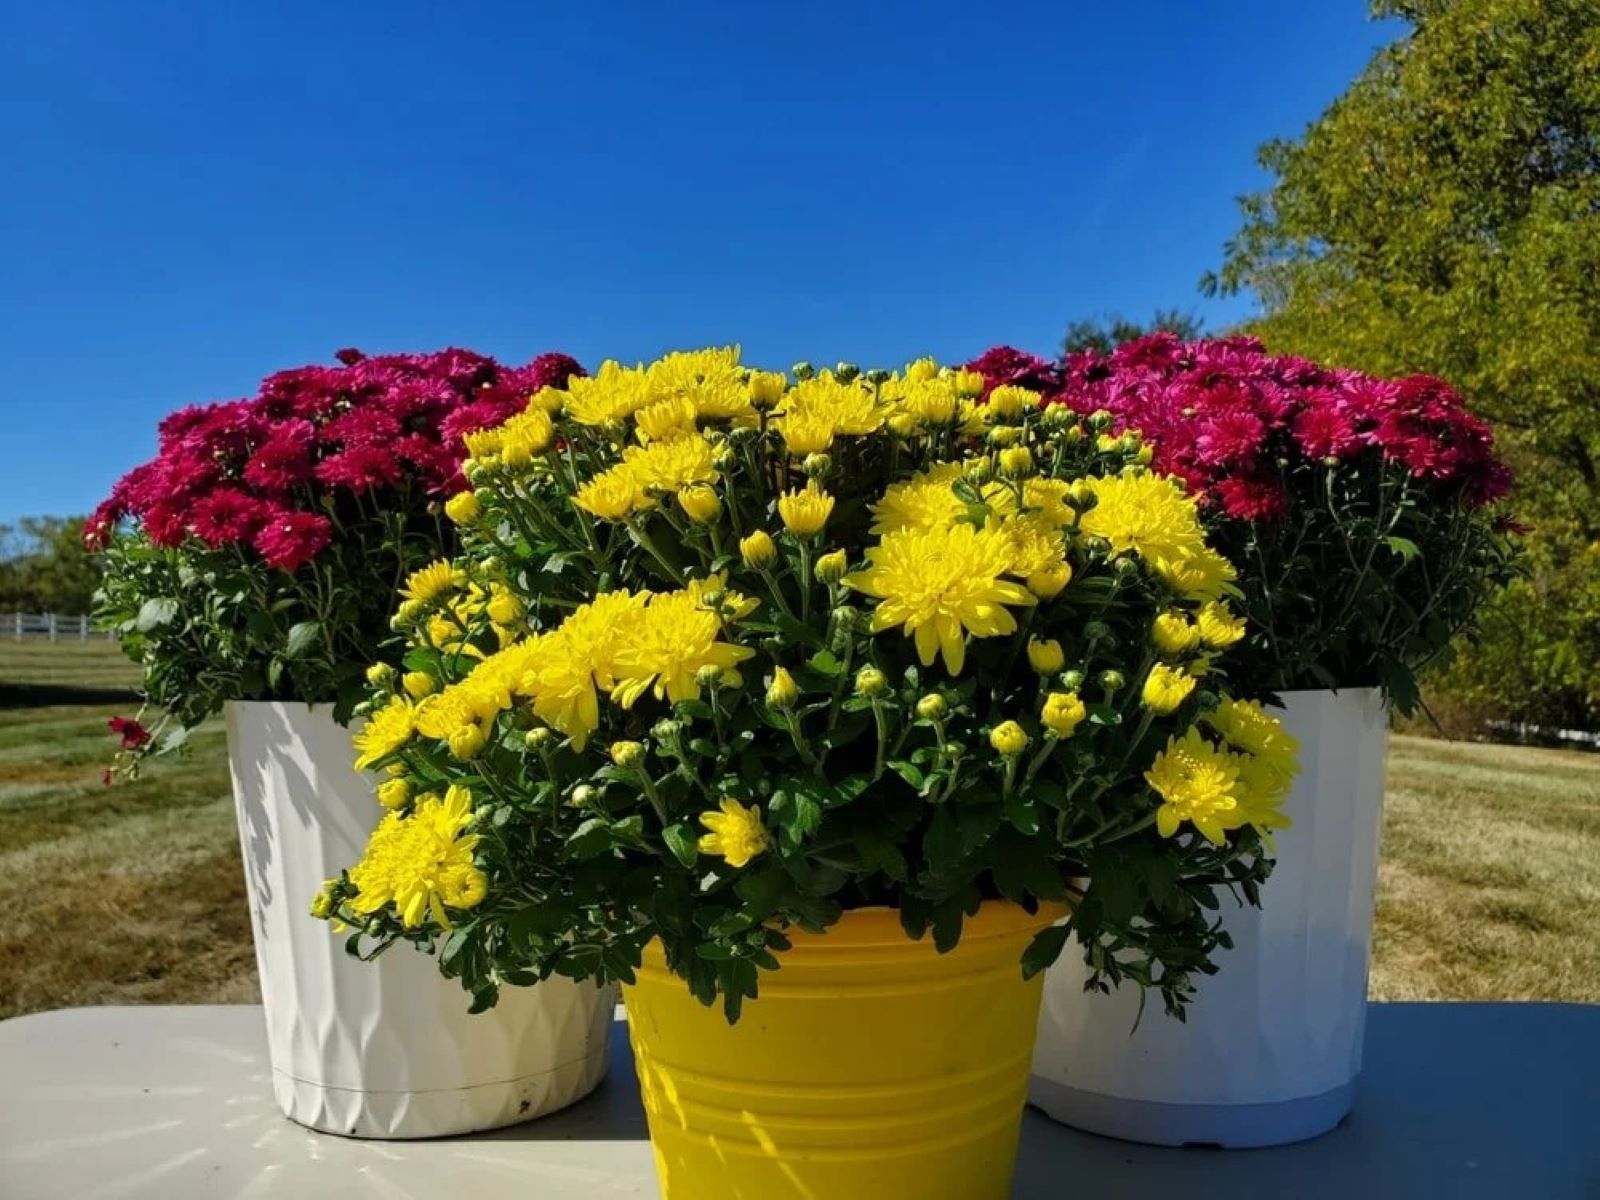
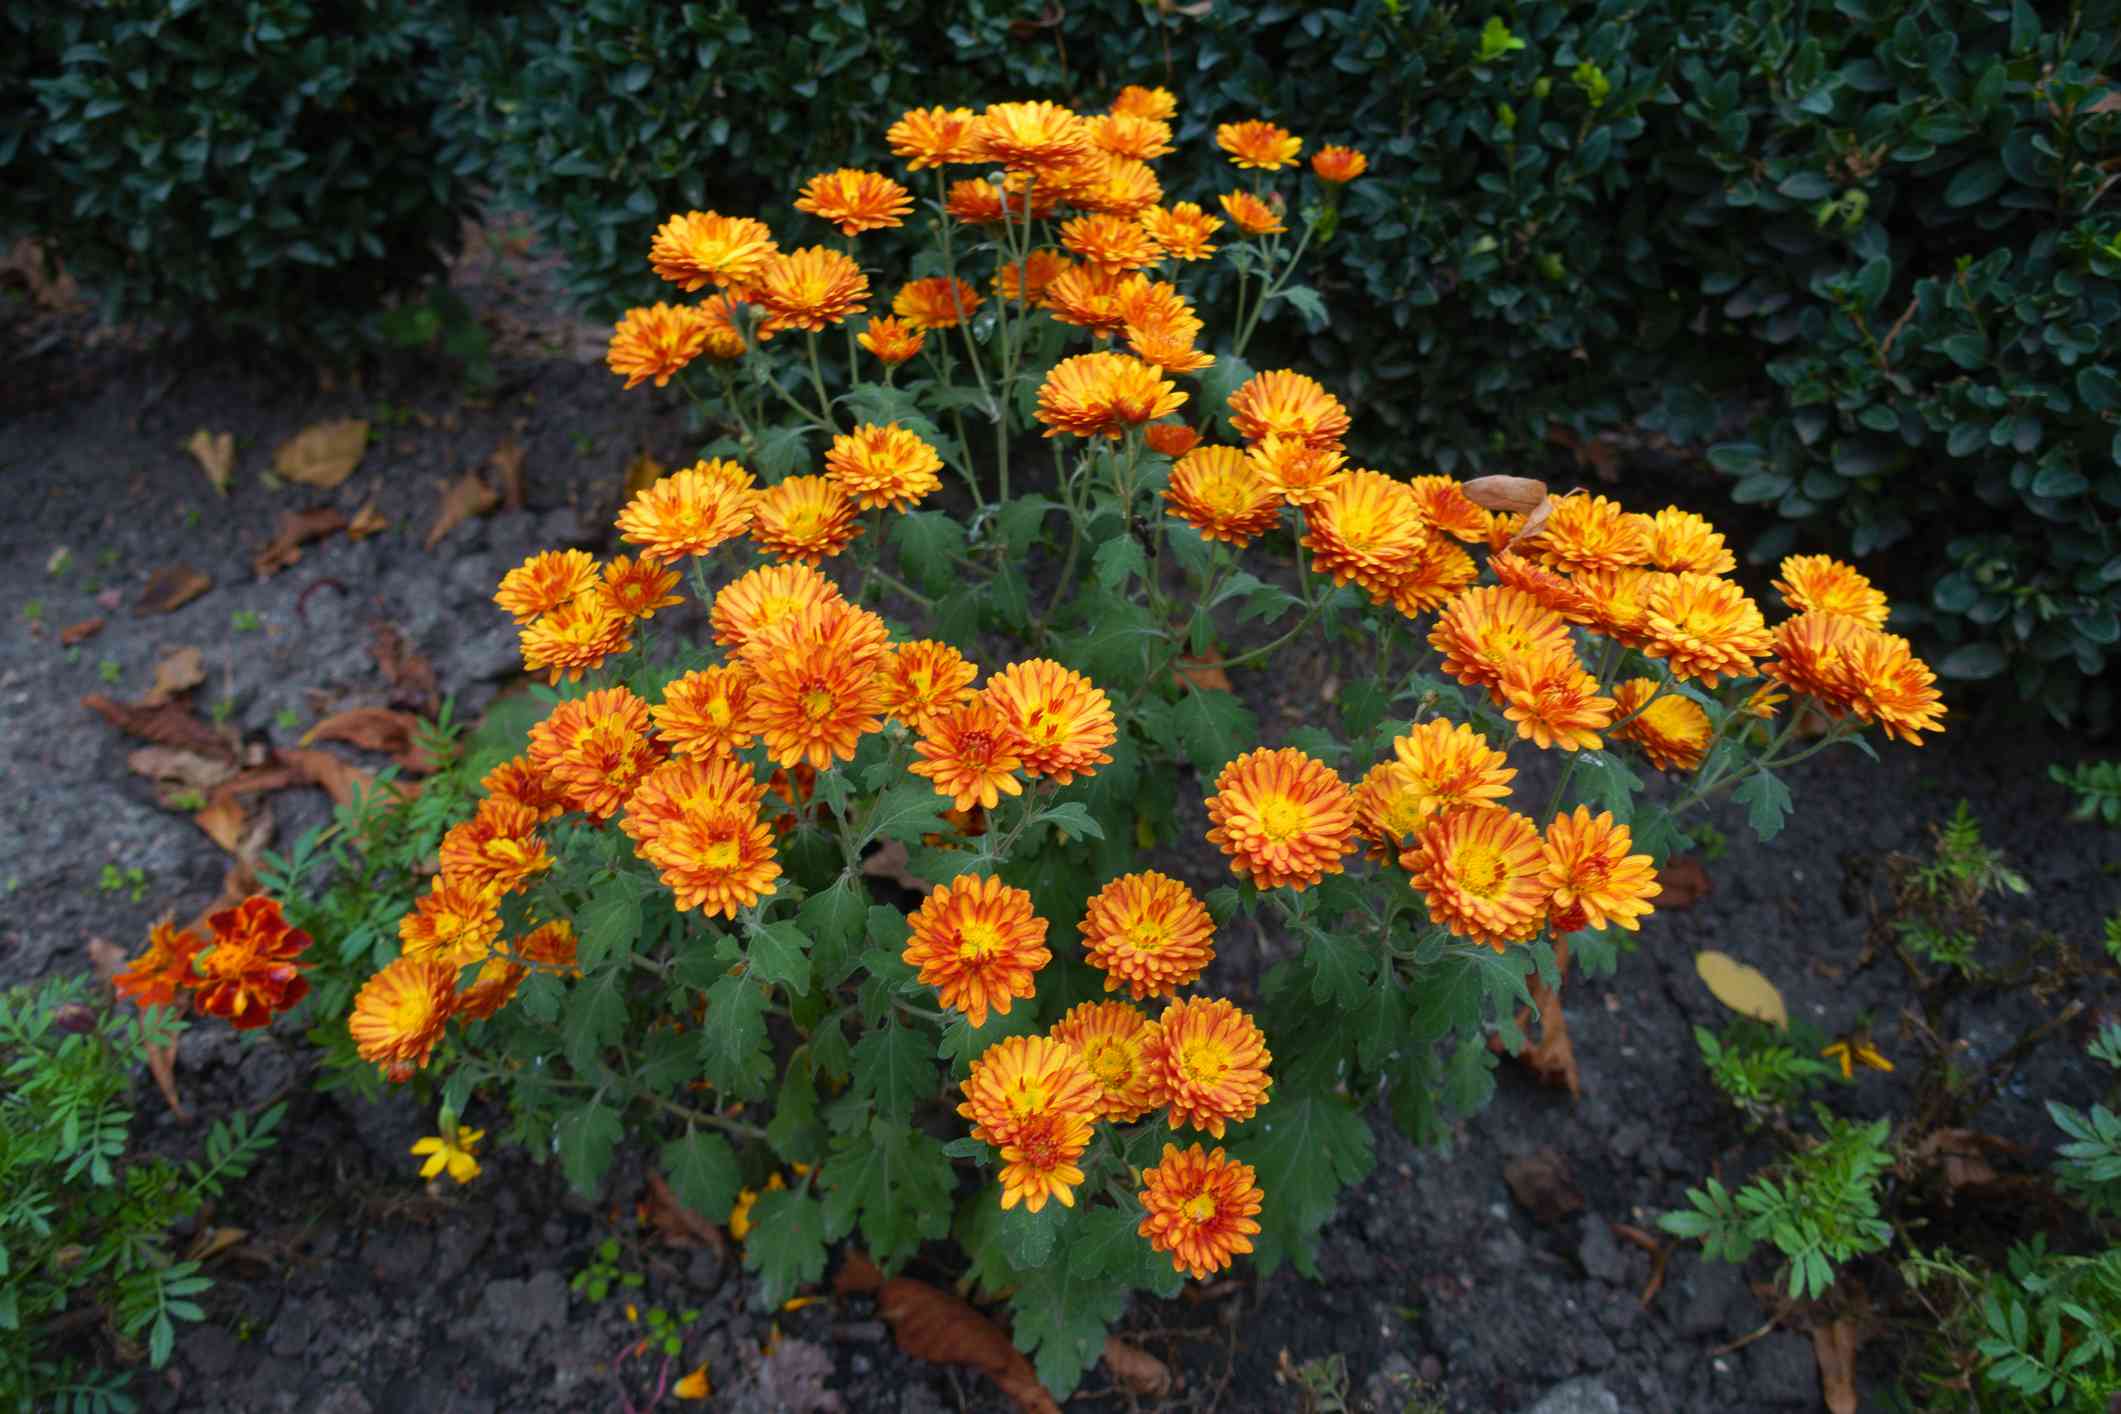
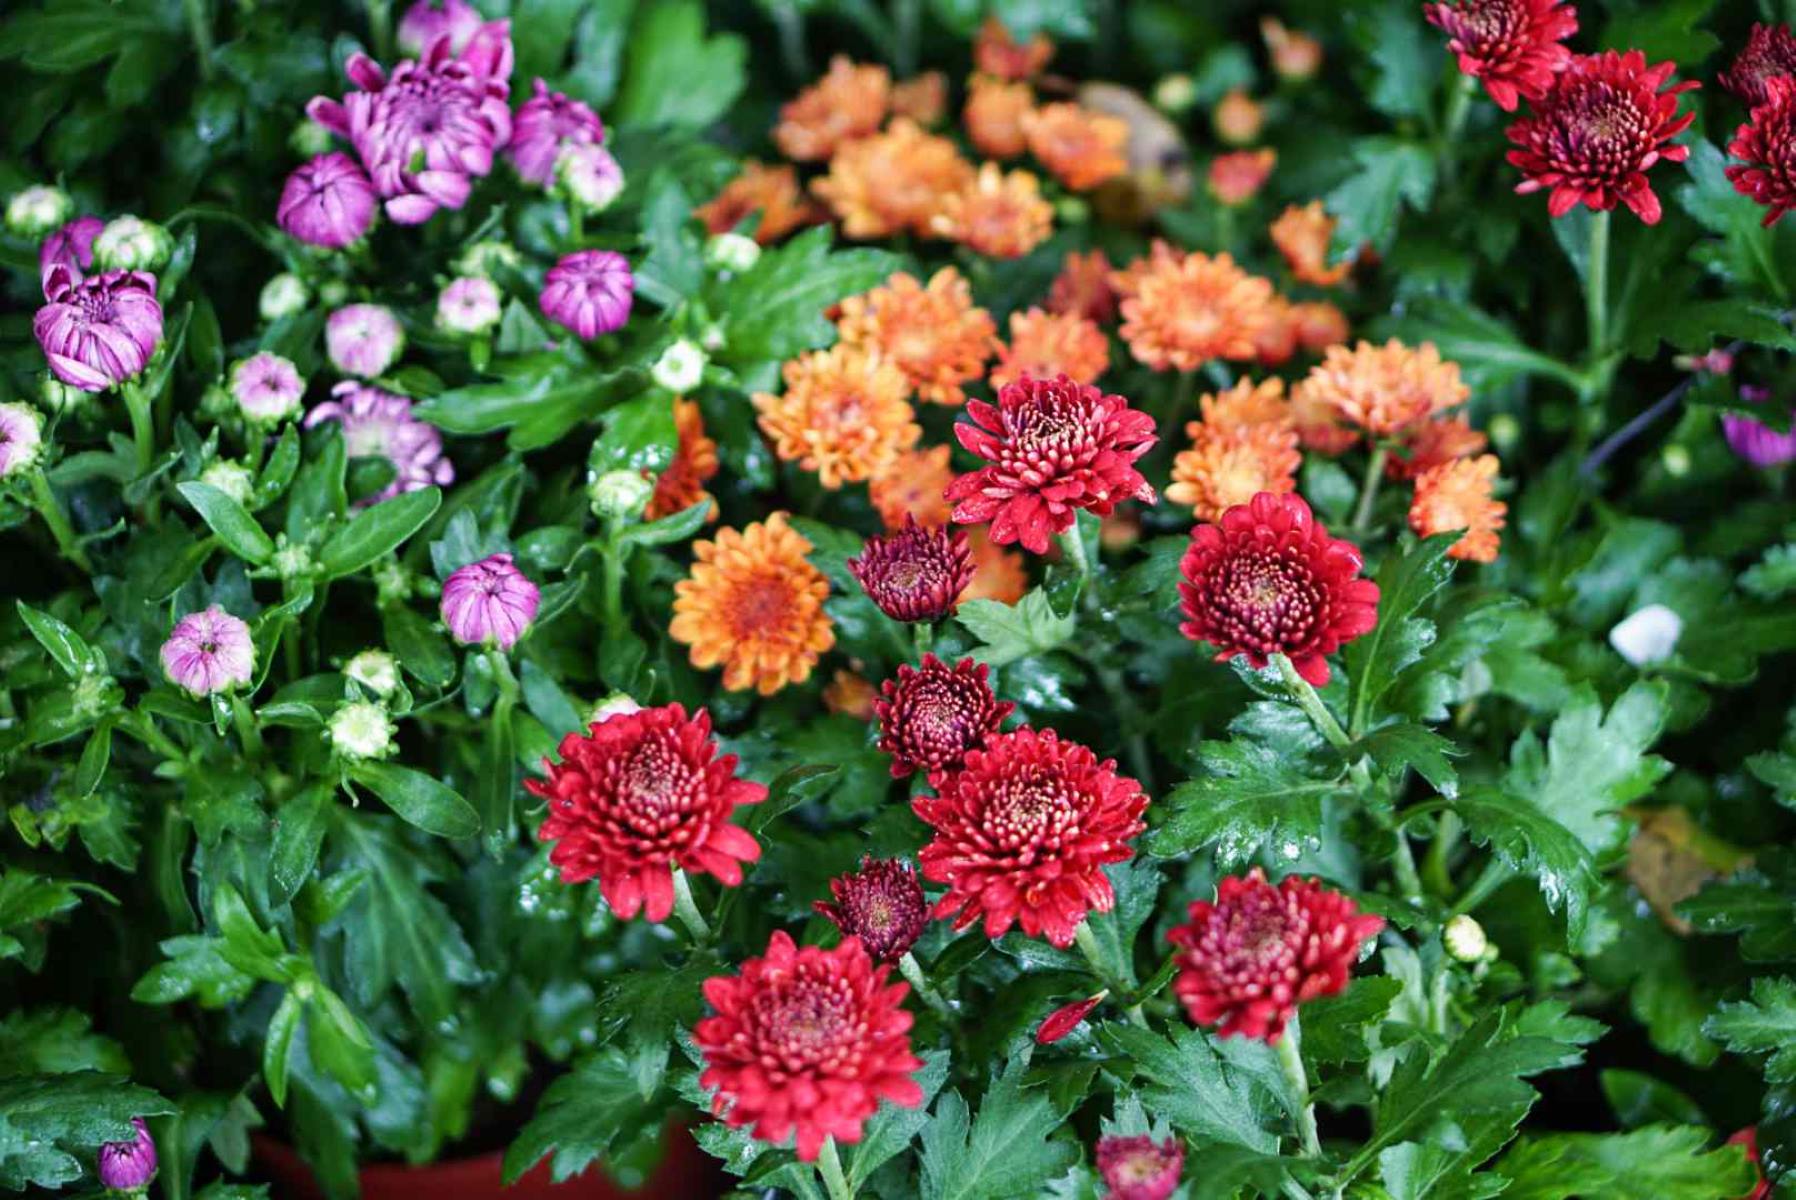
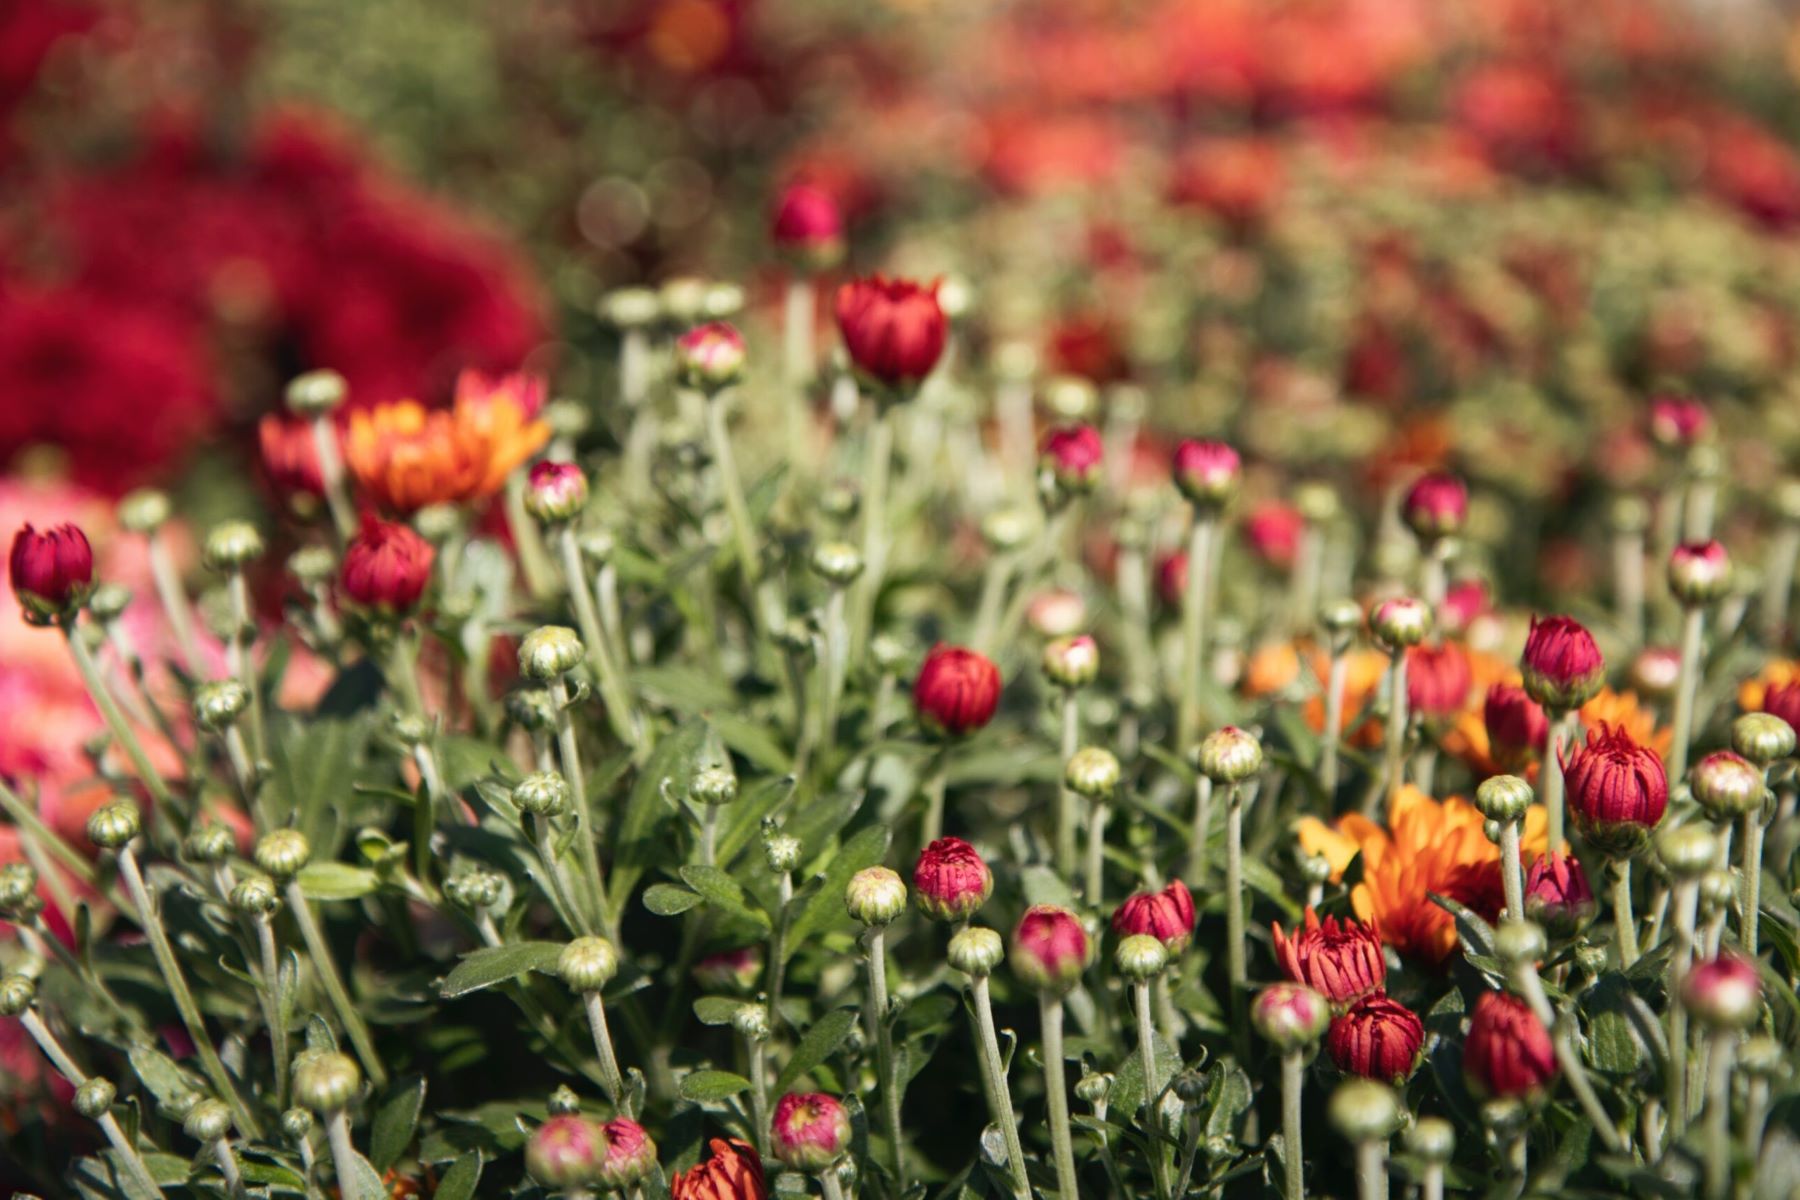
Mums, also known as chrysanthemums, are beloved for their vibrant blooms and resilience in various climates. These perennial plants are a staple in many gardens, adding a burst of color in the fall when other flowers may be fading. While purchasing mature mums from a nursery is a common practice, propagating these beauties can be a rewarding and cost-effective way to expand your garden or share the joy of gardening with others.
Propagating mums can be achieved through several methods, each with its own unique set of benefits and considerations. Whether you choose to divide existing plants, take cuttings, or utilize layering techniques, the process of propagation allows you to create new mums from established ones, ensuring a continuous cycle of growth and beauty in your garden.
In this comprehensive guide, we will explore the various methods of propagating mums, providing step-by-step instructions and valuable tips to help you successfully propagate these stunning flowers. Whether you're a seasoned gardener or a novice enthusiast, learning how to propagate mums will deepen your connection to these plants and empower you to expand your garden with confidence. So, roll up your sleeves, grab your gardening tools, and let's dive into the wonderful world of mum propagation!
Key Takeaways:
- Propagating mums through division, cuttings, or layering allows gardeners to create new plants, expand their gardens, and share the beauty of mums with others, contributing to the vitality and diversity of outdoor spaces.
- By understanding the optimal timing, selecting healthy parent plants, and providing consistent care, gardeners can successfully propagate mums through division, cuttings, or layering, nurturing new plants that enrich the garden with vibrant blooms.
Read more: How To Propagate Wisteria From Seed
Propagation by Division
Propagation by division is a popular and straightforward method for multiplying mums. This technique is particularly effective for well-established mums that have become dense and crowded over time. By dividing the plant into smaller sections, you can rejuvenate the existing plant and create new, healthy mums to populate other areas of your garden.
Step-by-Step Guide:
-
Timing: The best time to divide mums is in the early spring, just as new growth begins to emerge. This allows the divided sections to establish themselves before the onset of harsh weather.
-
Preparation: Start by watering the mum thoroughly a day or two before dividing it. This will help the plant recover more quickly from the division process.
-
Lifting the Plant: Carefully dig around the base of the mum, ensuring that you dig deep enough to avoid damaging the roots. Once the plant is loosened from the soil, gently lift it out, taking care to preserve as much of the root system as possible.
-
Division: Using a sharp, clean knife or garden spade, divide the mum into sections. Each section should have several healthy shoots and a portion of the root system. Aim for divisions that are at least 4-6 inches in diameter to ensure they have enough energy to thrive independently.
-
Replanting: Plant the divided sections in prepared soil, ensuring that the root system is well-covered and the shoots are positioned at the appropriate depth. Water the newly planted sections thoroughly to help them settle into their new environment.
-
Care: Provide regular watering and monitor the newly divided mums for signs of stress. Applying a balanced fertilizer can also support their establishment and growth.
Benefits of Division:
-
Revitalization: Dividing mums allows you to rejuvenate the original plant, promoting healthier growth and improved flowering.
-
Expansion: By creating multiple new plants from a single mum, you can expand your garden or share the divisions with fellow gardening enthusiasts.
-
Cost-Effective: Propagating mums through division is a budget-friendly way to populate your garden with beautiful blooms, as it eliminates the need to purchase new plants.
Propagation by division offers a practical and rewarding way to multiply your mums while ensuring the continued vitality of the original plant. With proper care and attention, the divided sections will establish themselves, rewarding you with a bountiful display of colorful blooms in the seasons to come.
Propagation by Cuttings
Propagating mums through cuttings is a popular method that allows you to create new plants with genetic traits identical to the parent plant. This technique is particularly advantageous when you want to preserve the specific characteristics of a particular mum, such as its color, size, or bloom shape. By taking cuttings from healthy, established mums, you can propagate new plants that retain the desirable qualities of the original, ensuring a consistent and uniform display of blooms in your garden.
Step-by-Step Guide:
-
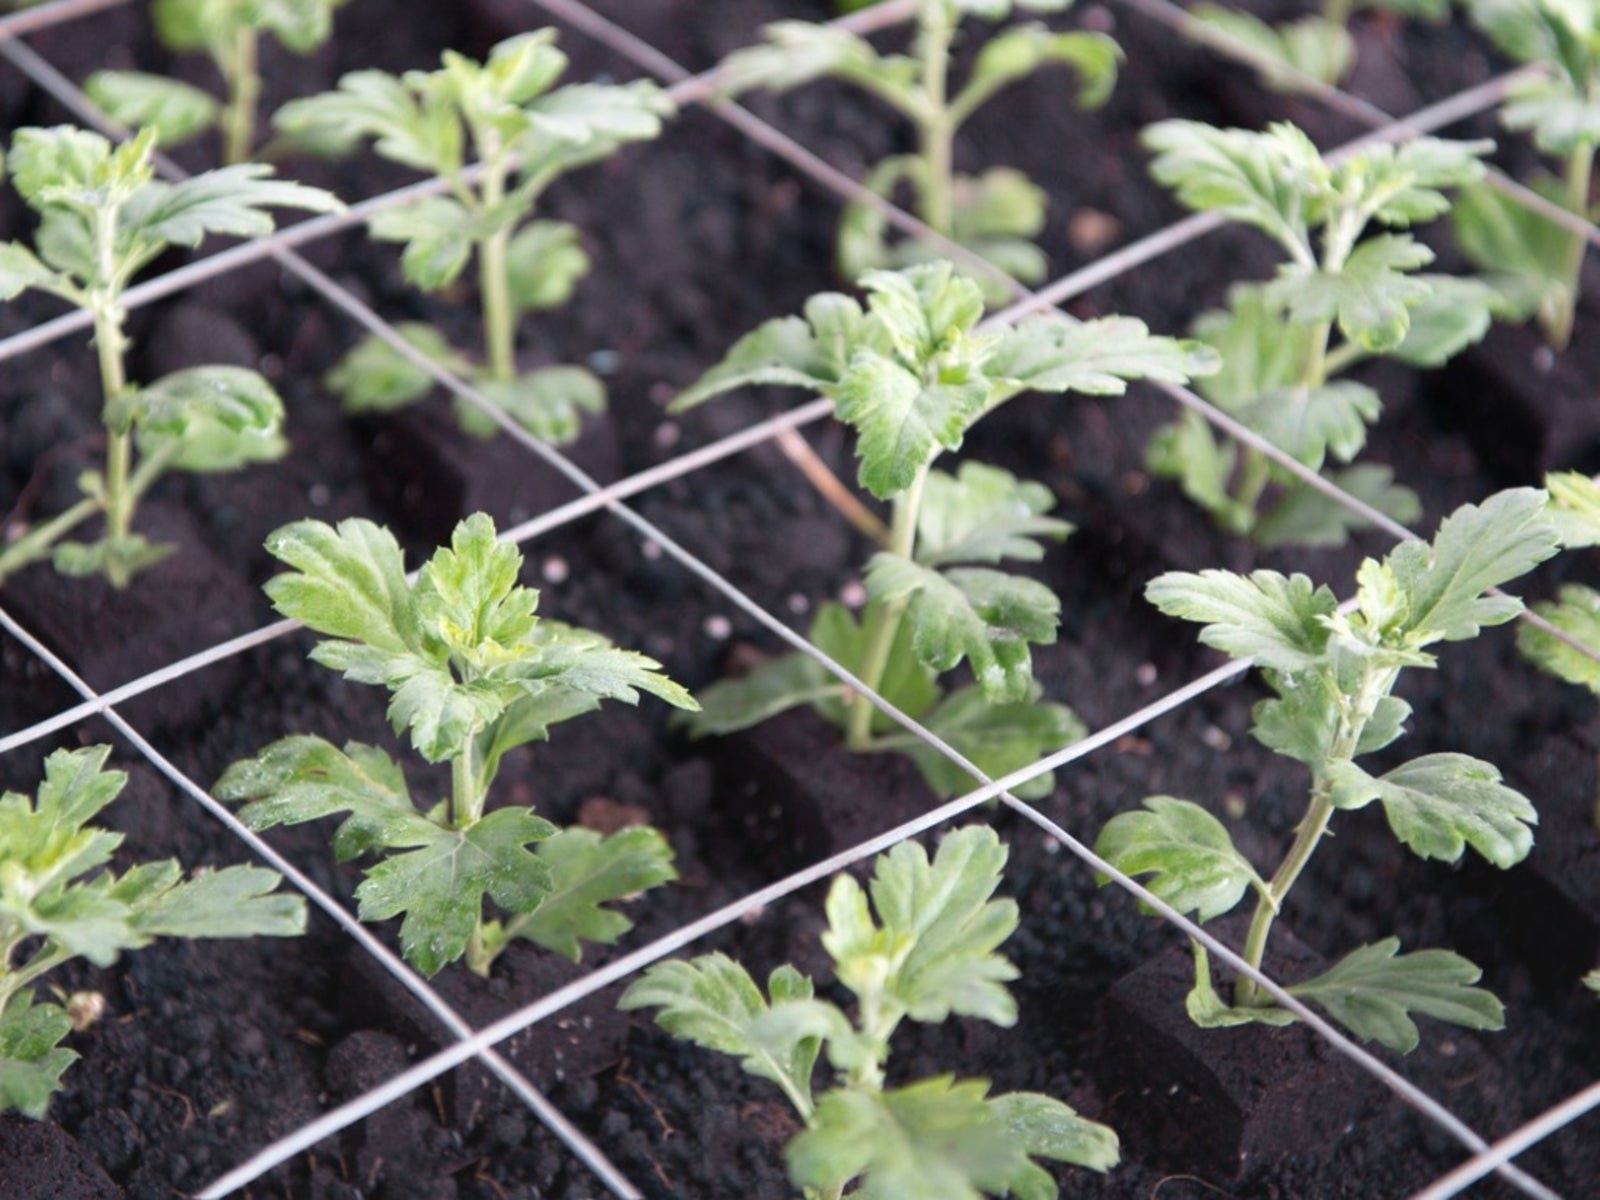
Selecting the Cuttings: Choose a healthy, non-flowering stem from the mum plant. The selected stem should be free from any signs of disease or damage and should ideally measure 3-6 inches in length.
-
Preparing the Cutting: Using a sharp, clean pair of garden shears, make a clean cut at a 45-degree angle just below a leaf node. Remove any lower leaves to expose the nodes along the stem.
-
Rooting Hormone (Optional): While not mandatory, applying a rooting hormone to the cut end of the stem can encourage faster root development. Dip the cut end into the rooting hormone, ensuring that it is evenly coated.
-
Planting the Cutting: Prepare a small pot with a well-draining potting mix. Create a hole in the soil using a pencil or similar tool and gently insert the cutting, ensuring that at least two nodes are buried in the soil. Firm the soil around the cutting to provide stability.
-
Moisture and Light: Place the potted cutting in a warm, bright location with indirect sunlight. Keep the soil consistently moist but not waterlogged to promote root development.
-
Root Development: Over the following weeks, monitor the cutting for signs of new growth, indicating successful root development. A gentle tug on the cutting will provide insight into whether roots have formed.
-
Transplanting: Once the cutting has established a healthy root system, it can be transplanted into a larger container or directly into the garden, where it will continue to grow and flourish.
Benefits of Cuttings:
-
Genetic Consistency: Propagating mums through cuttings ensures that the new plants retain the exact genetic traits of the parent plant, preserving specific characteristics and qualities.
-
Rapid Growth: Cuttings often establish themselves more quickly than seeds, allowing for a faster transition to mature, flowering plants.
-
Cost-Effective: By creating new mums from cuttings, you can expand your garden without the need to purchase additional plants, making it a budget-friendly propagation method.
Propagation by cuttings offers a reliable and efficient way to multiply mums while maintaining the desired traits of the parent plant. With patience and proper care, the rooted cuttings will develop into robust, blooming mums, adding beauty and charm to your garden landscape.
Propagation by Layering
Propagation by layering is a technique that capitalizes on the mums' natural ability to form roots along their stems, allowing you to create new plants while the parent plant remains intact. This method is particularly advantageous for mums with flexible stems, as it enables you to encourage root development in a controlled manner, resulting in strong, independent plants once the layering process is complete.
Step-by-Step Guide:
-
Selecting the Stem: Identify a healthy, flexible stem on the mum plant that is suitable for layering. Ideally, choose a stem that is not currently flowering and is free from any signs of disease or damage.
-
Preparation: Gently bend the selected stem towards the ground, ensuring that a portion of it remains exposed. Using a small garden spade or similar tool, create a shallow trench in the soil where the bent portion of the stem will make contact with the ground.
-
Wounding the Stem (Optional): To encourage the formation of roots, you can make a small incision or scrape the underside of the bent portion of the stem. This process, known as wounding, can stimulate the plant's natural response to produce roots at the wounded site.
-
Securing the Stem: Once the stem is positioned in the trench, use U-shaped pins or small rocks to secure it in place. This ensures that the bent portion remains in contact with the soil, facilitating the rooting process.
-
Soil and Moisture: Cover the exposed portion of the stem with soil, ensuring that it is in direct contact with the earth. Keep the soil consistently moist to provide an optimal environment for root development.
-
Root Formation: Over the following weeks, monitor the layered stem for signs of root development. You may gently uncover a small section of the stem to check for emerging roots, ensuring that the plant is responding positively to the layering process.
-
Separation: Once the layered stem has developed a healthy root system, it can be carefully separated from the parent plant. Use clean, sharp garden shears to sever the rooted section from the original plant, ensuring that it has a sufficient root mass to thrive independently.
Read more: How To Pick Mums
Benefits of Layering:
- Minimal Disruption: Propagation by layering allows you to create new plants without disturbing the parent plant, preserving its overall structure and appearance.
- Strong Root System: Layered plants often develop robust root systems, promoting their ability to thrive once separated from the parent plant.
- Adaptability: This method is well-suited for mums with flexible stems, providing an effective means of propagating these versatile plants.
Propagation by layering offers a practical and effective way to multiply mums, leveraging the plant's natural growth tendencies to create new, independent specimens. With patience and attentive care, the layered stems will develop into flourishing mums, enriching your garden with their vibrant blooms and lush foliage.
Tips for Successful Propagation
Successful propagation of mums requires attention to detail and a nurturing approach to ensure the new plants thrive. Whether you choose division, cuttings, or layering, the following tips will enhance your propagation endeavors and contribute to the overall health and vitality of the mums in your garden.
-
Timing is Key: Understanding the optimal timing for propagation is crucial. For division, early spring is ideal, while taking cuttings is best done in late spring or early summer. Layering can be initiated in the spring and allowed to develop over the growing season.
-
Healthy Parent Plants: Selecting healthy, vigorous parent plants for propagation sets the stage for success. Ensure that the parent plants are free from disease, pests, and stress, as these factors can impact the viability of the propagated offspring.
-
Quality Soil and Drainage: Whether planting divided sections, cuttings, or layered stems, providing well-draining soil is essential. Good soil structure and drainage promote healthy root development and reduce the risk of water-related issues.
-
Consistent Moisture: Maintaining consistent moisture levels is crucial during the establishment phase. Avoid waterlogged conditions, as they can lead to root rot, while allowing the soil to dry out excessively can hinder root development.
-
Protection from Extreme Conditions: Newly propagated mums may be sensitive to extreme heat, cold, or wind. Providing a sheltered environment or temporary shading can help them acclimate and thrive.
-
Regular Monitoring: Keep a close eye on the propagated mums, observing them for signs of stress, disease, or inadequate moisture. Prompt intervention can prevent issues from escalating and support the plants' overall well-being.
-
Balanced Nutrition: Providing a balanced fertilizer or organic amendments can support the growth and establishment of propagated mums. However, avoid over-fertilization, as this can lead to excessive foliage growth at the expense of flower production.
-
Patience and Perseverance: Propagation is a process that requires patience. Not all attempts may yield immediate results, but with perseverance and attentive care, the majority of propagated mums will establish themselves and flourish.
By incorporating these tips into your propagation practices, you can increase the likelihood of success and enjoy the satisfaction of nurturing new mums from existing plants. Each propagation method offers its own unique rewards, and by applying these tips, you can maximize the potential for healthy, thriving mums in your garden.
Conclusion
In conclusion, the art of propagating mums is a gratifying journey that allows gardeners to expand their floral landscapes, share the beauty of mums with others, and deepen their connection to these resilient and captivating plants. Whether through division, cuttings, or layering, each propagation method offers its own set of advantages and rewards, contributing to the overall vitality and diversity of a garden.
Propagation by division presents an opportunity to revitalize established mums, promoting healthier growth and an increased abundance of vibrant blooms. This method not only allows for the expansion of one's garden but also offers a cost-effective means of populating outdoor spaces with the beauty of mums. By carefully dividing and transplanting sections of the original plant, gardeners can witness the rejuvenation and multiplication of their beloved mums, ensuring a continuous cycle of growth and renewal.
The propagation of mums through cuttings provides a pathway to preserve the specific genetic traits of the parent plant, resulting in new mums that mirror the desirable qualities of their predecessors. This method offers a rapid and efficient means of creating new plants, allowing for a seamless transition from cuttings to mature, flowering mums. With patience and attentive care, the rooted cuttings develop into robust, blooming mums, enriching the garden with a consistent display of captivating blooms.
Propagation by layering harnesses the mums' natural ability to form roots along their stems, enabling gardeners to create new plants while preserving the overall structure and appearance of the parent plant. This method offers a practical and effective means of multiplying mums, leveraging the plant's innate growth tendencies to produce new, independent specimens. With careful monitoring and nurturing, the layered stems develop into flourishing mums, enhancing the garden with their vibrant blooms and lush foliage.
By incorporating the essential tips for successful propagation, gardeners can enhance the likelihood of success and enjoy the satisfaction of nurturing new mums from existing plants. From understanding the optimal timing for propagation to providing consistent moisture and balanced nutrition, these tips contribute to the overall health and vitality of the propagated mums, ensuring their successful establishment and long-term flourishing.
In essence, the art of propagating mums is a testament to the resilience and adaptability of these beloved plants. It offers a journey of discovery, patience, and nurturing, ultimately leading to the creation of new mums that enrich the garden with their beauty and charm. Whether you're a seasoned gardener or a novice enthusiast, the process of propagating mums is a rewarding endeavor that deepens one's appreciation for the wonders of nature and the joy of gardening.
Frequently Asked Questions about How To Propagate Mums
Was this page helpful?
At Storables.com, we guarantee accurate and reliable information. Our content, validated by Expert Board Contributors, is crafted following stringent Editorial Policies. We're committed to providing you with well-researched, expert-backed insights for all your informational needs.


0 thoughts on “How To Propagate Mums”