Home>Garden Essentials>How To Propagate Wisteria From Seed
Garden Essentials
How To Propagate Wisteria From Seed
Modified: March 15, 2024
Learn how to propagate wisteria from seed in your garden and enjoy the beauty of this stunning flowering vine.
(Many of the links in this article redirect to a specific reviewed product. Your purchase of these products through affiliate links helps to generate commission for Storables.com, at no extra cost. Learn more)
Introduction
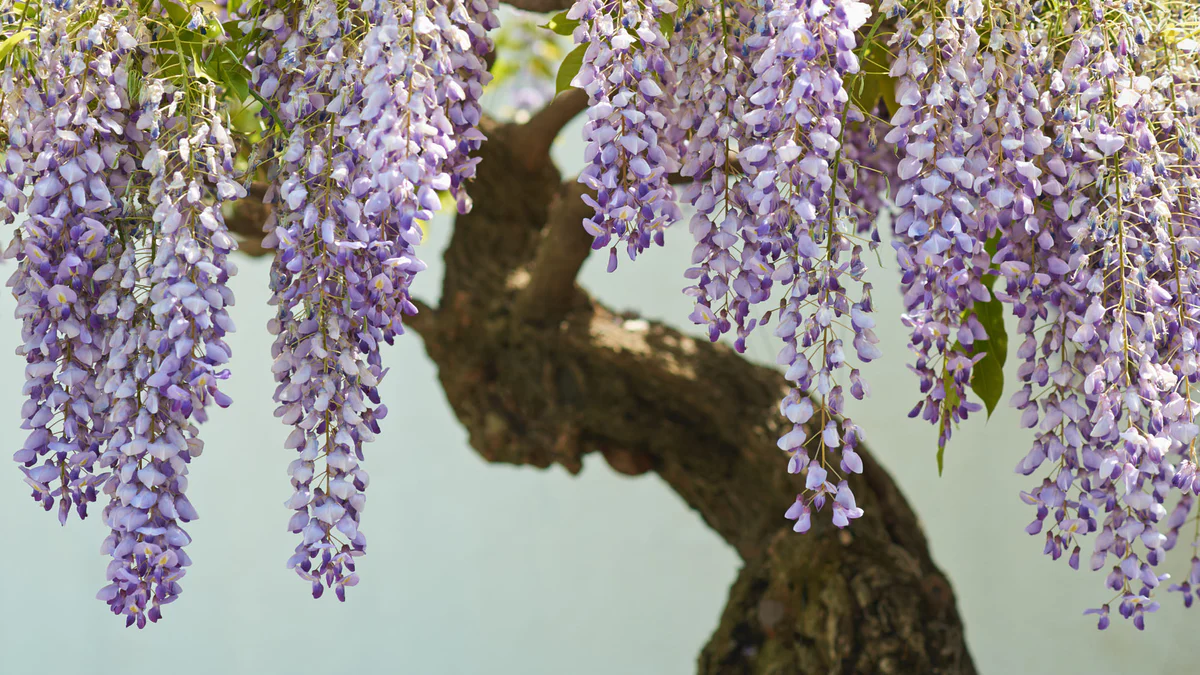
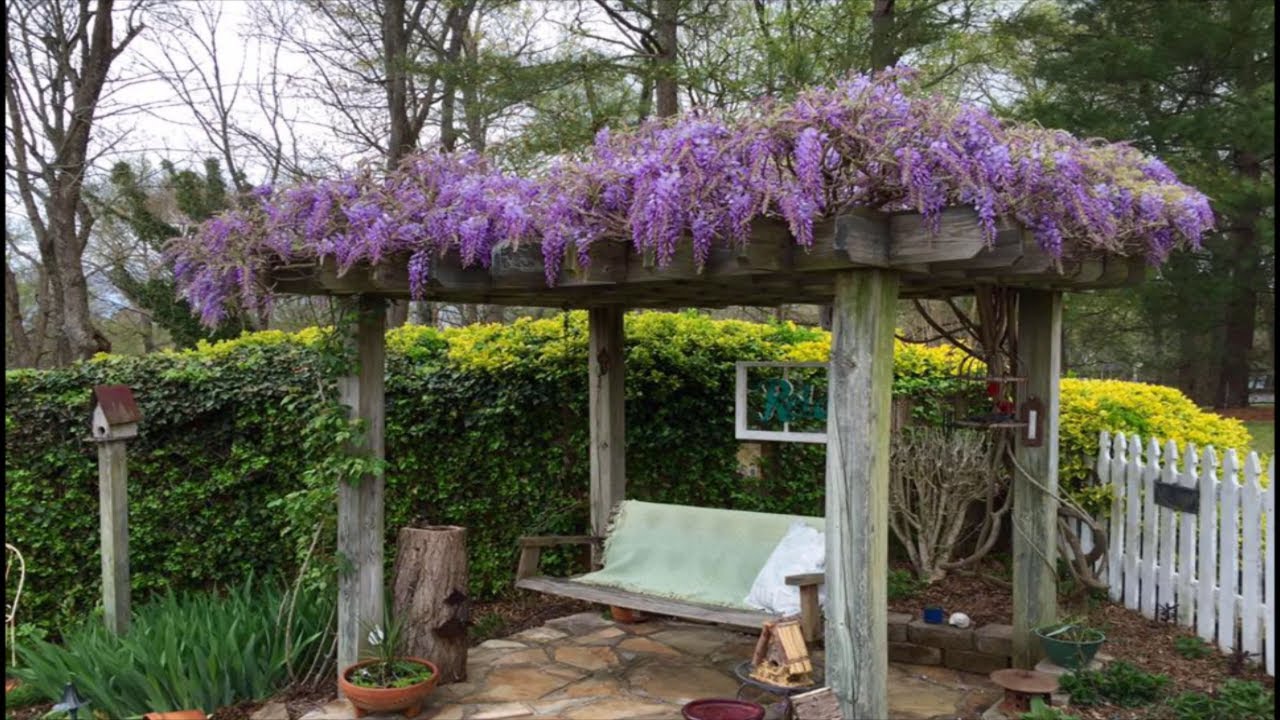
Welcome to the world of wisteria propagation! If you’re a gardening enthusiast looking to add a touch of elegance and beauty to your outdoor space, propagating wisteria from seed can be a rewarding and cost-effective option. Wisteria is famous for its stunning cascades of flowers that adorn pergolas, trellises, and archways, creating a picturesque scene.
In this article, we will explore the benefits of propagating wisteria from seed, guide you on choosing the right wisteria seeds, provide detailed steps for preparing the soil, stratification process, planting the seeds, and caring for the seedlings. We will also discuss transplanting the seedlings to ensure their successful growth and development.
By following these steps, you can enjoy the process of watching your wisteria seedlings grow into beautiful, blooming plants that will bring joy and delight for years to come.
Key Takeaways:
- Propagating wisteria from seed is a cost-effective and rewarding way to grow unique and resilient plants, fostering a deeper connection to nature and the joy of witnessing their growth.
- Choosing the right seeds, preparing the soil, and providing proper care are essential for successfully propagating wisteria from seed, leading to the beautiful transformation of seedlings into stunning, blooming vines.
Read more: How To Grow Wisteria From Seeds
Benefits of Propagating Wisteria from Seed
When it comes to propagating wisteria, there are several advantages to starting from seed:
- Economical: Propagating wisteria from seed is a cost-effective option compared to purchasing mature plants or grafted varieties. Seeds are relatively inexpensive and widely available, making it an affordable choice for gardeners.
- Greater Variety: Growing wisteria from seed opens up a world of possibilities in terms of variety. By selecting seeds from different wisteria cultivars or species, you have the opportunity to create unique and diverse plants that may exhibit a range of colors, growth habits, and flower sizes.
- Satisfaction and Connection: Propagating wisteria from seed allows you to take part in the complete life cycle of the plant. Witnessing the transformation from a tiny seed to a flourishing vine can be incredibly rewarding. It also creates a deeper connection and appreciation for the plant, as you have nurtured it from its very beginning.
- Adaptability: Seed-grown wisteria plants tend to be more resilient and adaptable to their specific growing conditions. These plants develop stronger root systems and have the ability to adapt to various soil types and climates. This ensures a higher chance of success in your garden.
- Long-Term Investment: While growing wisteria from seed requires patience and time, the long-term rewards are well worth it. With proper care and maintenance, your wisteria vines will establish themselves and provide you with years of beautiful blooms and a stunning focal point in your garden.
Overall, propagating wisteria from seed provides not only a cost-effective approach but also offers the thrill of creating unique variations and a deeper connection with the plant. With the right care and attention, your seed-grown wisteria will become a delightful addition to your garden oasis.
Choosing the Right Wisteria Seeds
When it comes to choosing wisteria seeds for propagation, there are a few important factors to consider:
- Variety: Decide on the specific wisteria variety or species you want to grow. There are different types of wisteria available, such as Wisteria sinensis (Chinese wisteria), Wisteria floribunda (Japanese wisteria), and Wisteria frutescens (American wisteria). Each variety has its own unique characteristics, including flower color, length of flower clusters, and overall growth habit. Choose a variety that suits your preferences and matches your garden’s climate and conditions.
- Quality: When purchasing wisteria seeds, it’s important to select high-quality seeds from a reputable source. Look for seeds that are fresh, plump, and free from any mold or damage. It’s also a good idea to choose seeds that have been properly stored and packaged to ensure their viability.
- Viability: Some wisteria seeds have a hard outer coating that can make them difficult to germinate. To improve the germination rate, you can either scarify the seeds by nicking or filing the seed coat or choose seeds that have already gone through a stratification process. Stratified seeds have been subjected to a period of cold treatment, which helps break down the seed coat and promotes germination.
- Quantity: Consider the number of seeds you will need to achieve the desired number of plants. Keep in mind that not all seeds will germinate, and it’s always good to have extras. Depending on your space and planting goals, determine how many seeds to purchase to ensure a successful propagation process.
- Local Regulations: Check if there are any local regulations or restrictions on growing wisteria in your area. In some regions, wisteria is considered an invasive species and may be subject to specific rules and regulations. It’s important to be aware of and comply with any restrictions to prevent any ecological or environmental issues.
By taking these factors into account, you can choose the right wisteria seeds that are well-suited to your preferences and growing conditions. This will set the foundation for a successful wisteria propagation journey.
Preparing the Soil
Proper soil preparation is crucial for the successful growth of wisteria seedlings. Here are the steps to prepare the soil:
- Choose the Right Location: Wisteria thrives in full sun, so select a location that receives at least 6-8 hours of direct sunlight daily. Make sure the area has well-draining soil to prevent waterlogging, which can lead to root rot.
- Clear the Area: Remove any existing vegetation, weeds, rocks, or debris from the planting site. This will provide a clean and unobstructed space for the wisteria seedlings to grow.
- Improve Drainage: If your soil has poor drainage, amend it by adding organic matter like compost or well-rotted manure. This will help improve water drainage and provide essential nutrients for the seedlings.
- Test the Soil: It is a good practice to test the soil’s pH levels before planting. Wisteria prefers slightly acidic to neutral soil with a pH range of 6.0 to 7.0. If the pH is outside this range, you can adjust it by adding amendments like lime to raise the pH or sulfur to lower it.
- Loosen the Soil: Use a garden fork or tiller to loosen the soil in the planting area. This will break up any compacted soil, improve aeration, and ensure that the roots can penetrate easily.
- Remove Weeds: Before planting, ensure that the area is free from weeds. Weeds can compete with the wisteria seedlings for nutrients and water, hindering their growth. Use a garden hoe or hand tools to carefully remove any weeds or their roots.
- Level the Soil: Smooth out the soil surface and create a level surface for planting the wisteria seeds. This will provide an even and stable foundation for the seedlings to establish their roots.
By preparing the soil properly, you create a favorable environment for wisteria seedling growth. Nutrient-rich and well-drained soil will support the healthy development of the plants, ensuring the best possible start for your wisteria propagation journey.
Stratification Process
The stratification process is an important step in preparing wisteria seeds for germination. It involves subjecting the seeds to a period of cold treatment to simulate the natural conditions they would experience in their native habitats. This process helps break down the hard seed coat and triggers the germination process. Here’s how to stratify wisteria seeds:
- Clean the Seeds: Gently remove any pulp or debris from the wisteria seeds. Rinse the seeds with water to ensure they are clean and free from any impurities. Dry them thoroughly before proceeding to the next step.
- Prepare the Stratification Medium: Choose a suitable stratification medium such as damp sand, peat moss, or vermiculite. Moisten the medium with water until it is moist but not overly wet. The medium should have enough moisture to provide a humid environment for the seeds during the stratification process.
- Place the Seeds in the Medium: Spread a layer of the moist stratification medium in a container or plastic bag. Place the wisteria seeds on top of the medium, making sure they are evenly spaced and not touching each other. Cover the seeds with an additional layer of the stratification medium.
- Label and Seal: Label the container or bag with the seed variety and the date of stratification. Seal the container or bag to create a closed environment that retains moisture and allows for air circulation.
- Refrigerate the Seeds: Place the container or bag in the refrigerator for a period of 4 to 12 weeks. The ideal temperature for stratification is around 1-5°C (34-41°F). Check the moisture levels periodically and add water if needed to maintain the desired humidity.
- Check for Germination: After the stratification period, remove the seeds from the refrigerator and carefully inspect them for any signs of germination. Germinated seeds will show a small root protrusion or swelling. Discard any seeds that show signs of mold or decay.
Remember that each species or variety of wisteria may require a slightly different stratification period, so it’s important to research the specific requirements for the seeds you are working with. By following the stratification process, you will maximize the germination rate and increase the chances of successful wisteria seedling emergence.
To propagate wisteria from seed, collect mature pods in the fall, remove the seeds, and soak them in warm water for 24 hours. Then, plant the seeds in a well-draining soil mix and keep them moist until they germinate.
Read more: How To Germinate Wisteria Pods
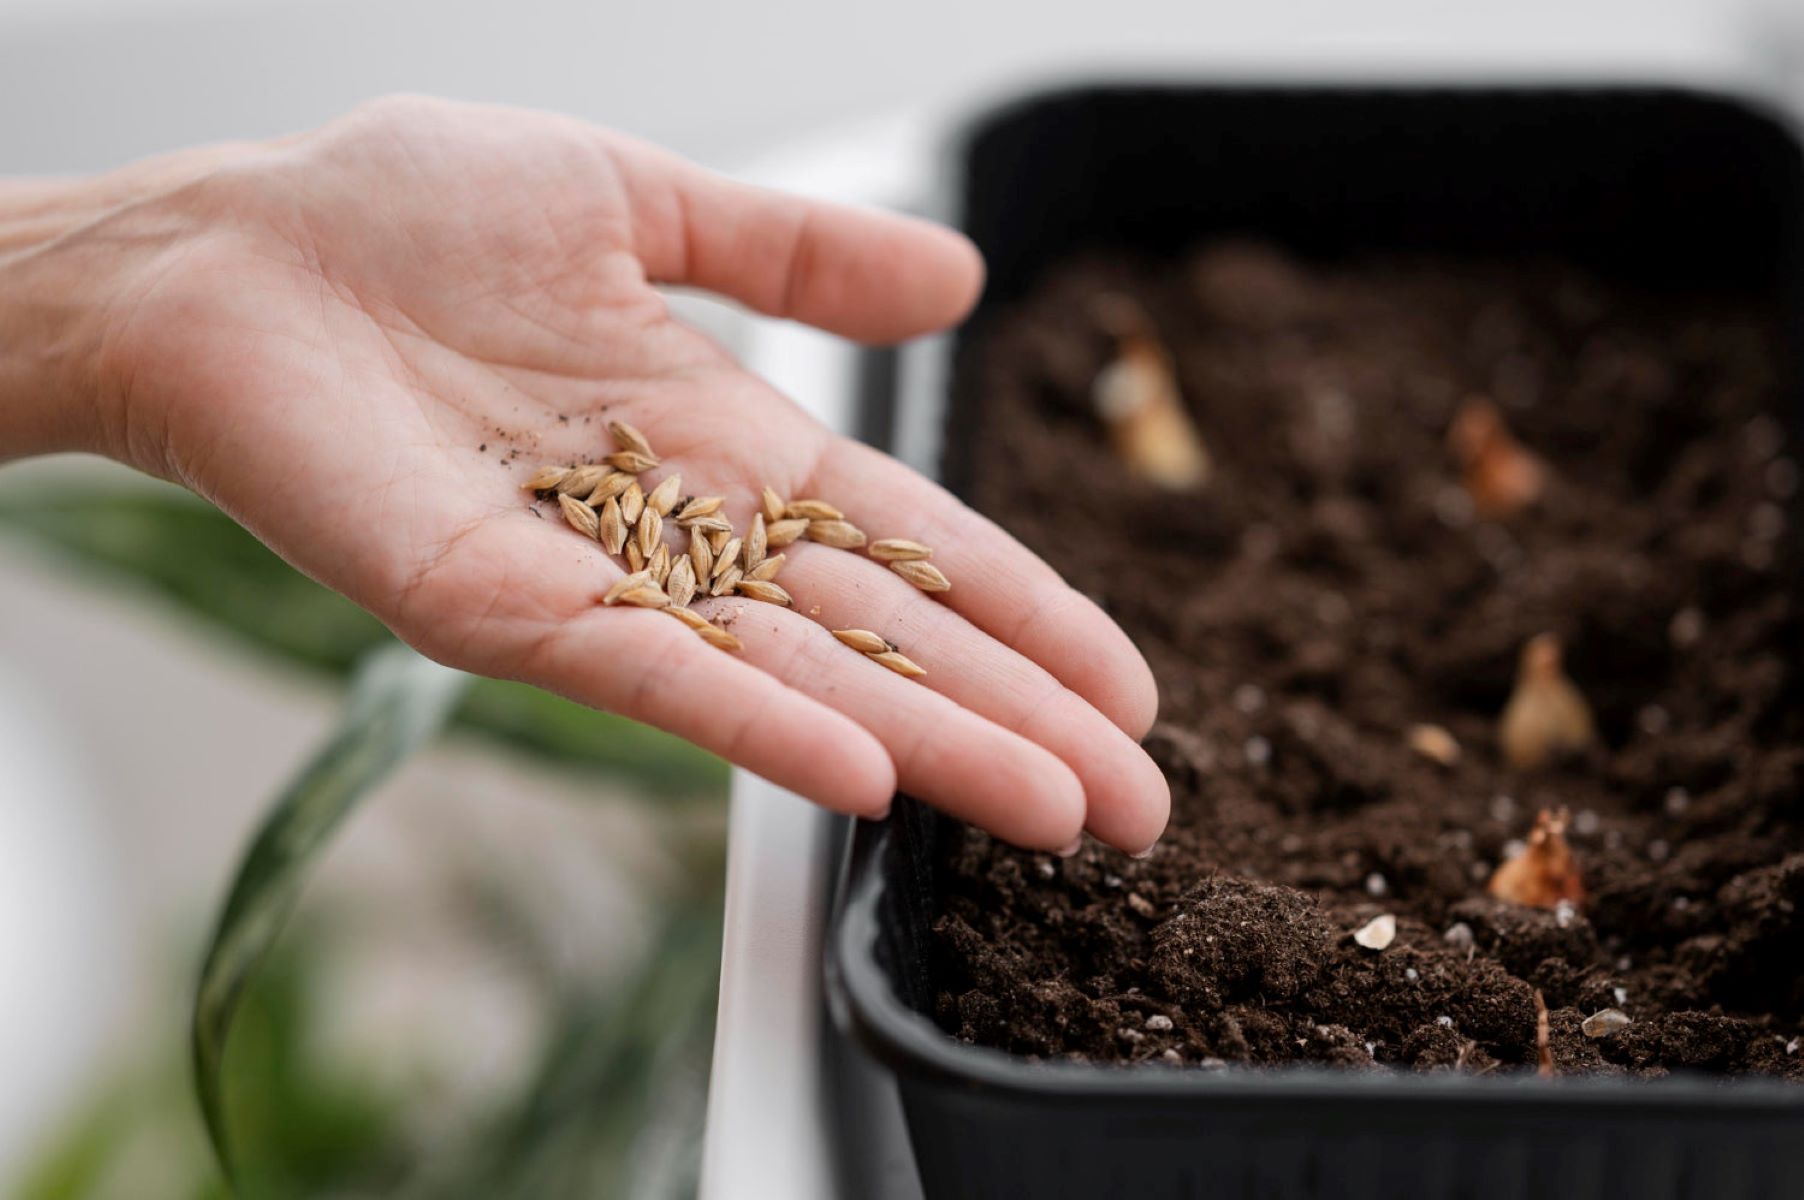
Planting Wisteria Seeds
Once the stratification process is complete, it’s time to plant the wisteria seeds. Follow these steps to ensure successful planting:
- Select Containers or Seed Trays: Choose suitable containers or seed trays for planting the wisteria seeds. Make sure the containers have drainage holes at the bottom to prevent waterlogged soil.
- Prepare the Planting Medium: Fill the containers with a well-draining potting mix. You can mix equal parts of peat moss, perlite, and vermiculite to create a light and airy medium for the seeds.
- Plant the Seeds: Make small indentations in the planting medium, about ½ inch deep. Place one wisteria seed in each indentation and cover it with a thin layer of the potting mix. Press lightly to ensure good seed-to-soil contact.
- Water the Seeds: Gently water the seeds using a watering can or mist sprayer. Keep the soil moist but not waterlogged. Avoid overwatering, as excessive moisture can lead to fungal diseases or rot.
- Provide Warmth and Light: Place the containers in a warm and sunny location, such as a greenhouse or a sunny windowsill. Wisteria seeds require a warm environment with temperatures around 21-27°C (70-80°F) to encourage germination.
- Monitor and Maintain Moisture: Regularly check the moisture levels in the containers and water as needed to keep the soil consistently moist. Avoid allowing the soil to dry out completely, as this can hinder seed germination.
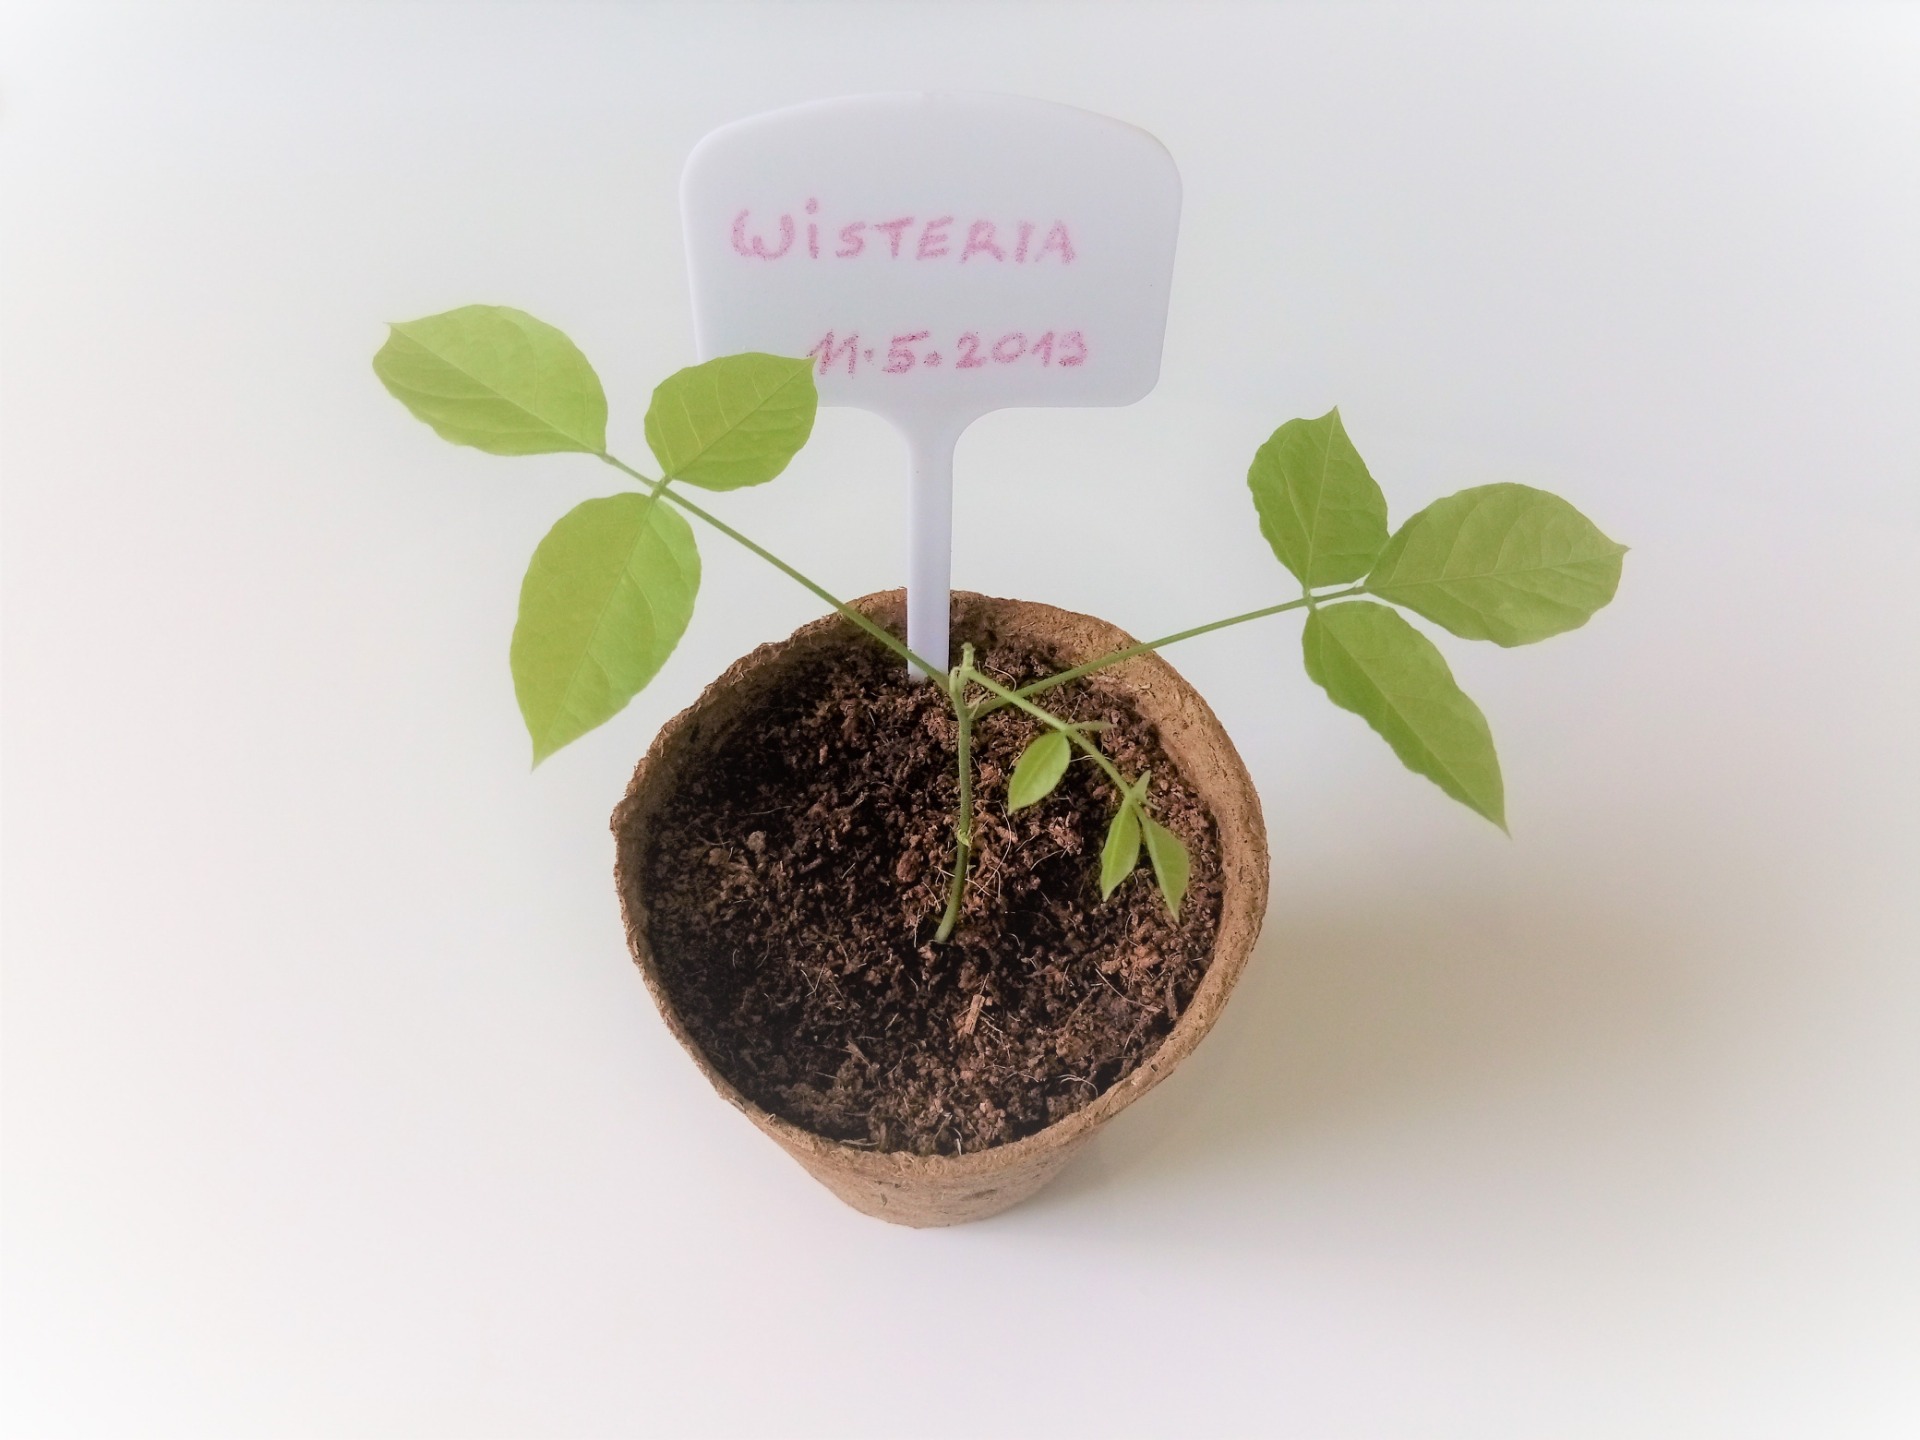
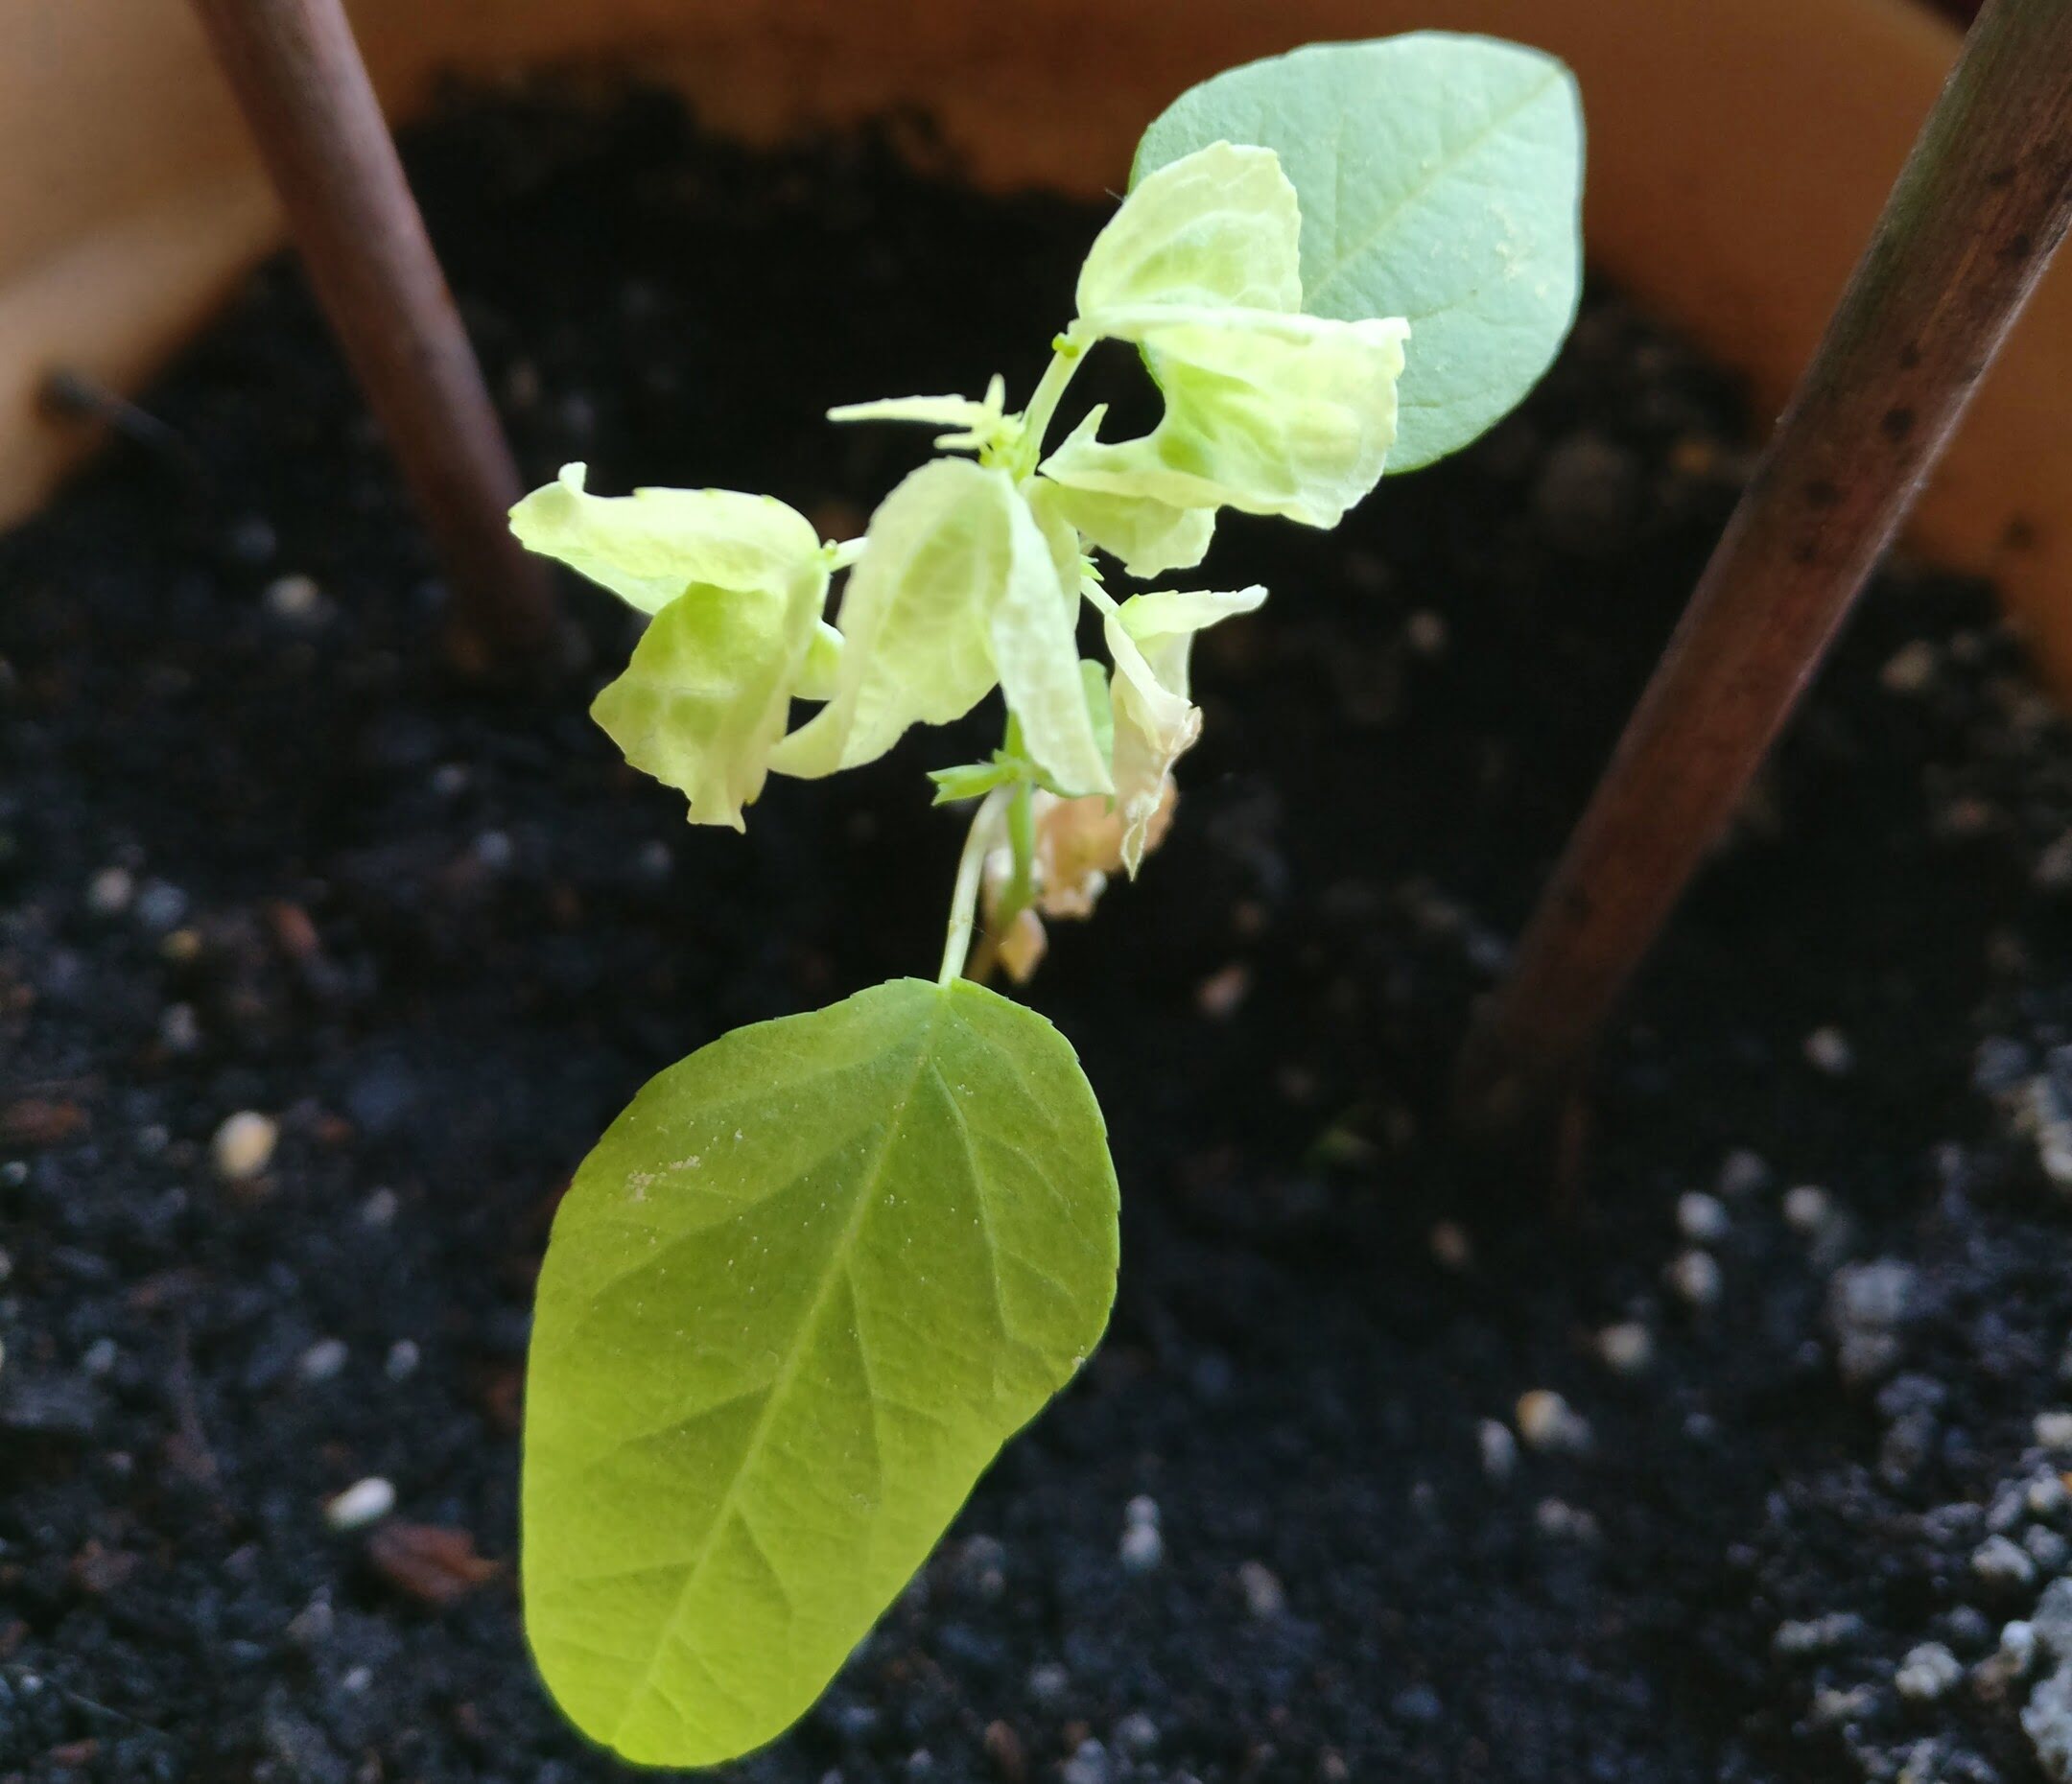
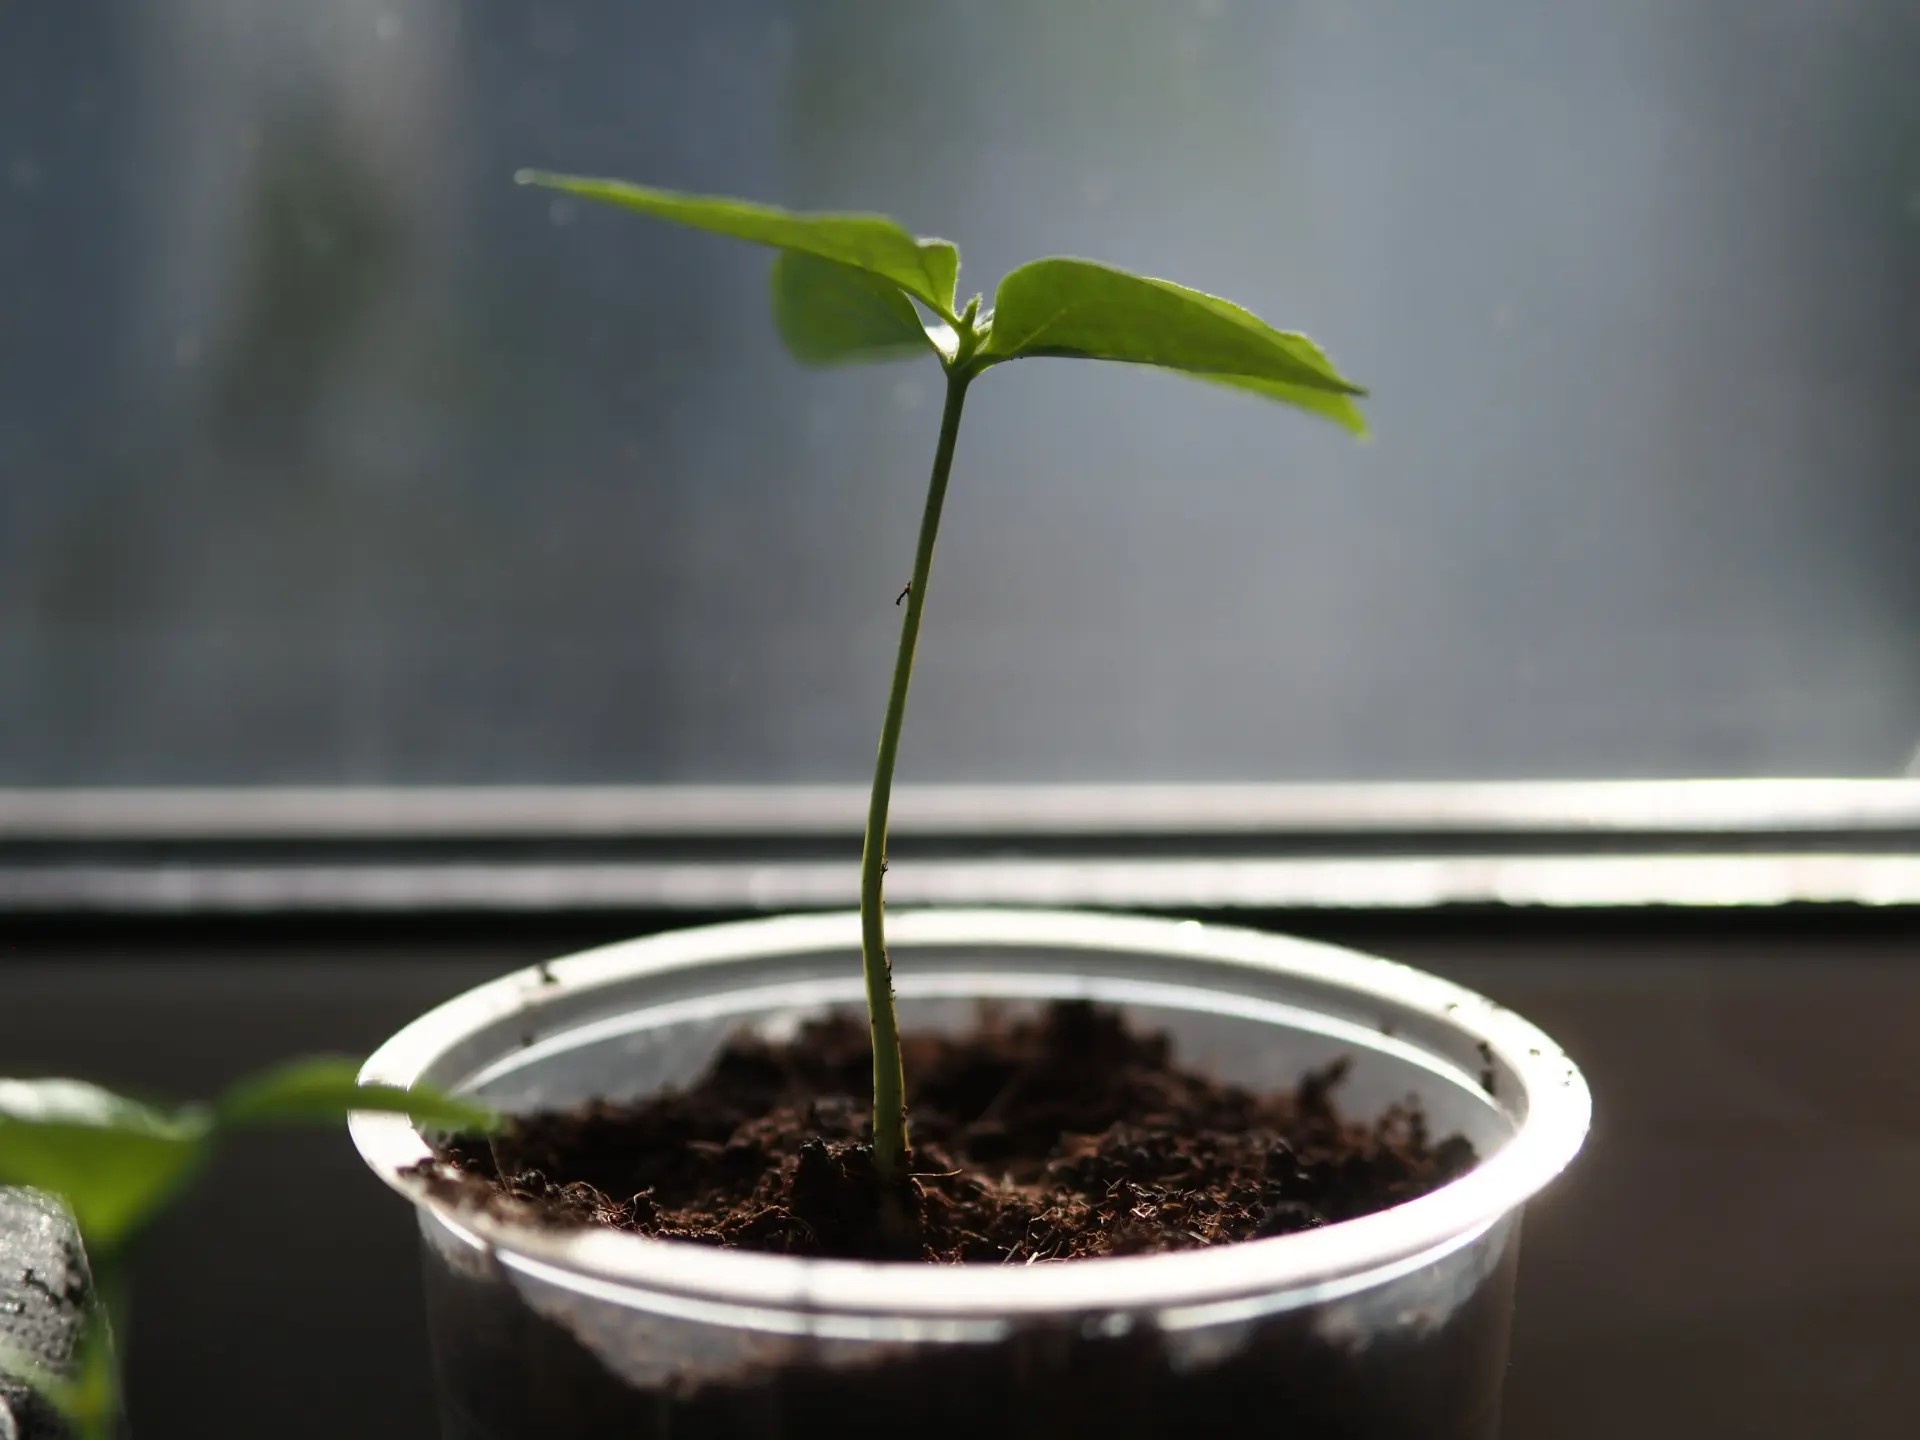
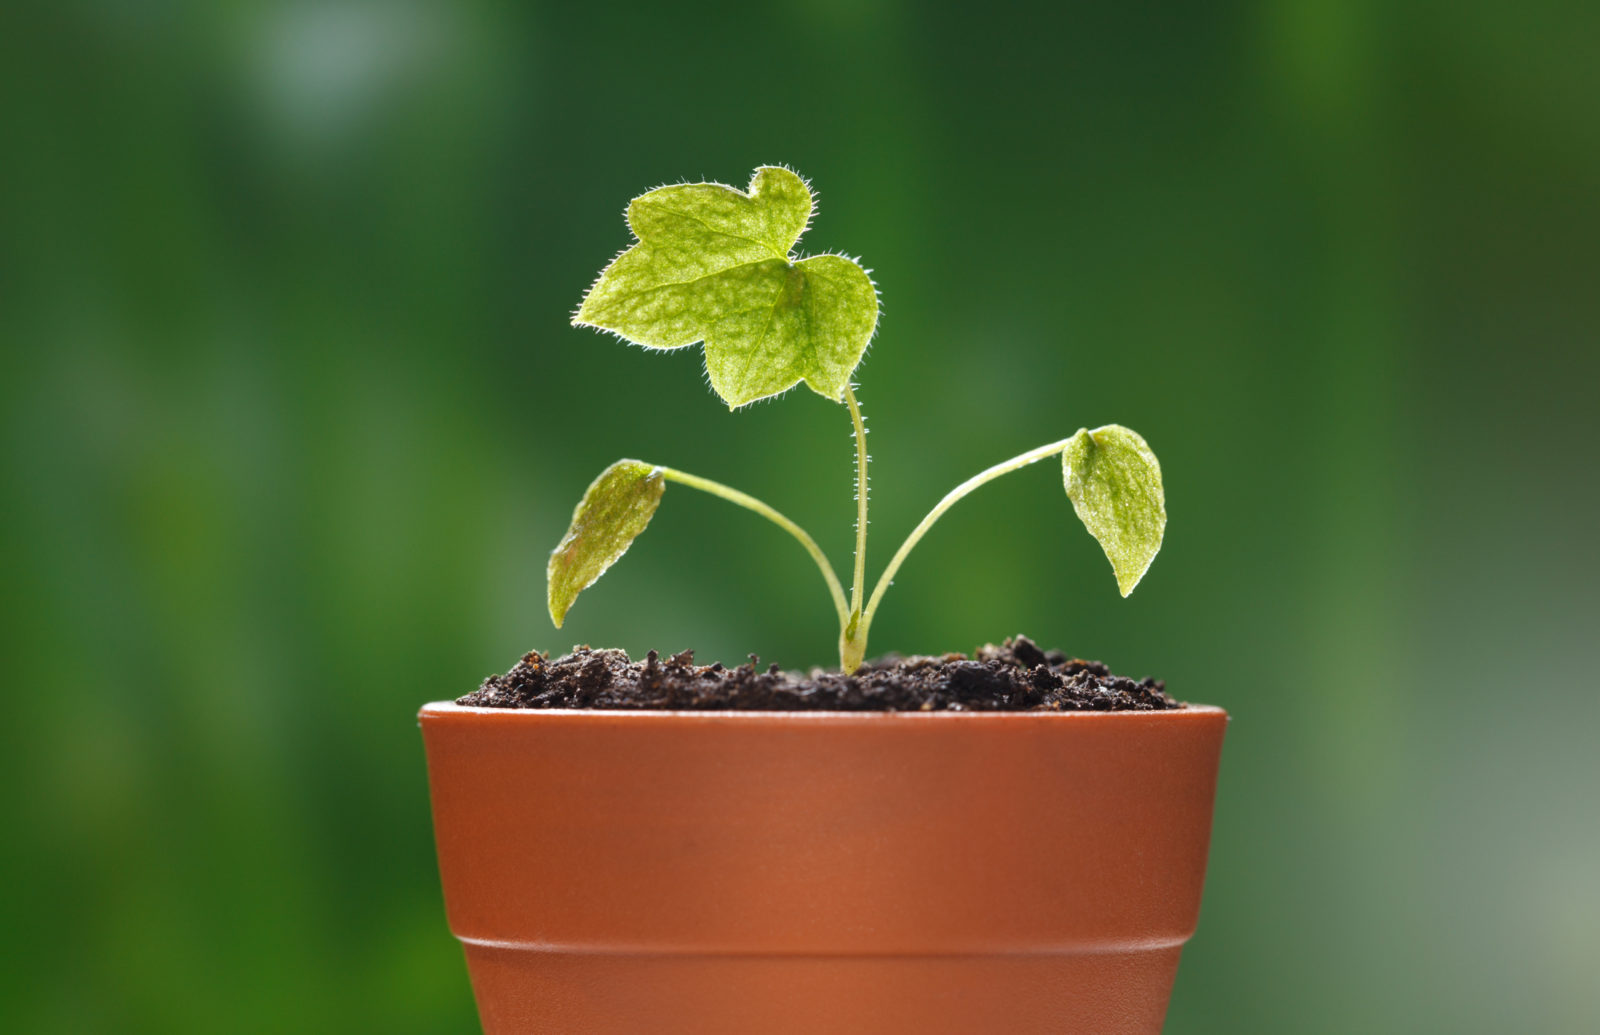
- Germination and Seedling Care: Be patient, as wisteria seeds can take several weeks or even months to germinate. Once the seedlings emerge, provide them with adequate sunlight, water, and proper air circulation. Thin out the weaker seedlings if they are overcrowded to allow the stronger ones to thrive.
- Harden Off and Transplant: After the seedlings have developed a few sets of leaves and are strong enough, gradually expose them to outdoor conditions by placing them in a sheltered area for a few hours each day. This process, called hardening off, prepares the seedlings for eventual transplanting into their final growing location.
By following these steps, you can successfully plant wisteria seeds and kick-start the growth of your wisteria seedlings. Remember to provide them with the right conditions, care, and attention as they emerge and develop into beautiful wisteria plants.
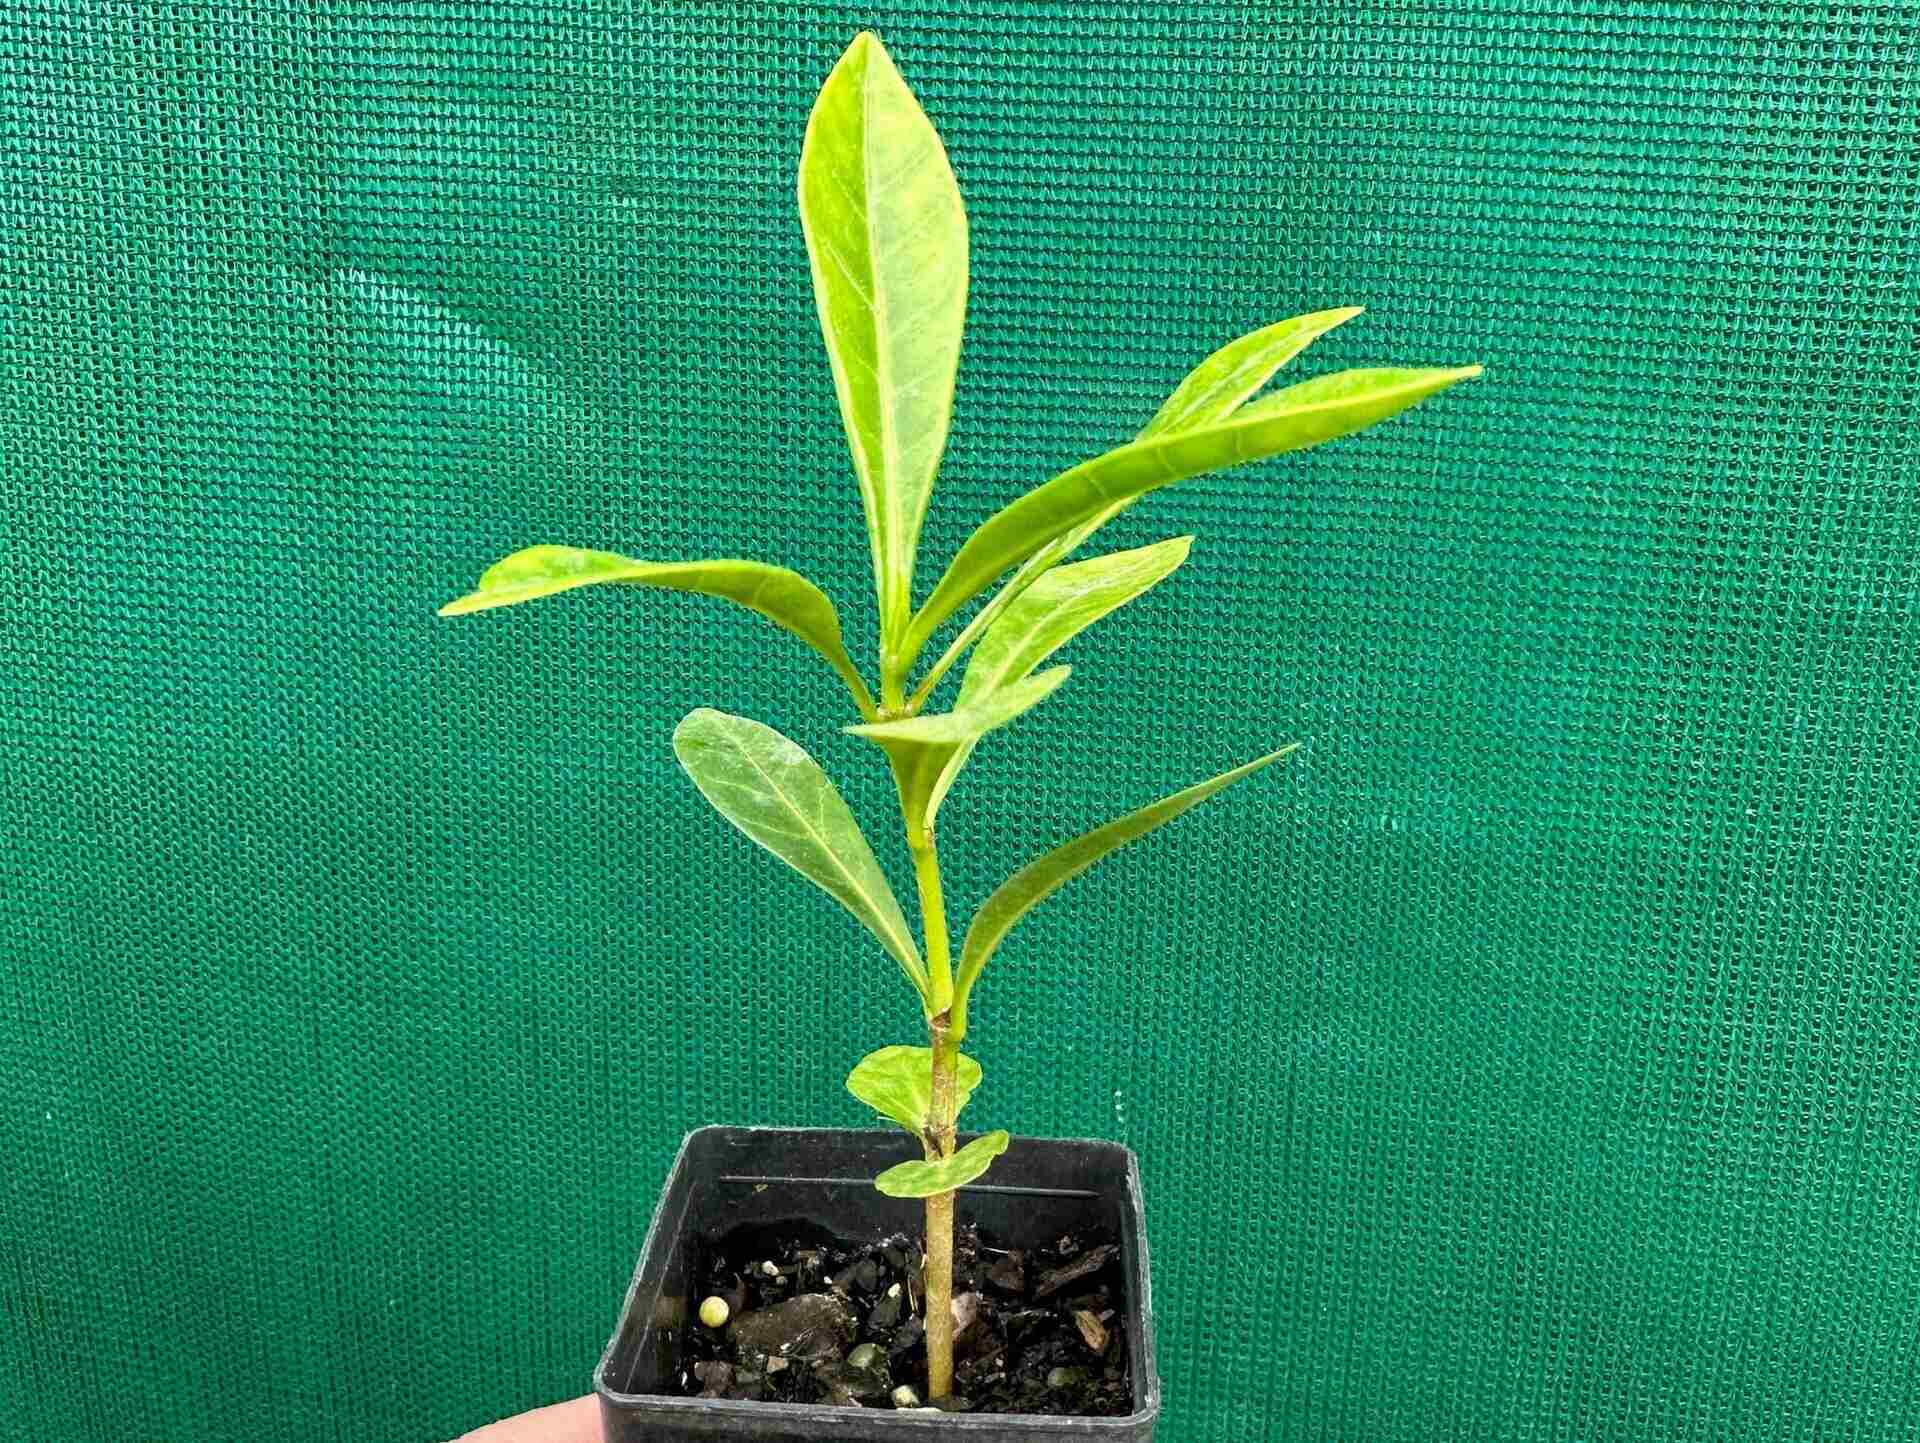
Caring for Wisteria Seedlings
Once your wisteria seedlings have emerged, they require proper care and attention to ensure healthy growth and development. Follow these tips to care for your wisteria seedlings:
- Watering: Provide regular watering to keep the soil consistently moist but not waterlogged. Water deeply, ensuring the roots receive enough hydration. Avoid overwatering, as it can lead to root rot.
- Fertilization: Feed your wisteria seedlings with a balanced liquid fertilizer once every 4-6 weeks during the growing season. This will provide essential nutrients for optimal growth. Follow the manufacturer’s instructions for correct dosage and application.
- Support: As the seedlings grow, provide support in the form of a stake or trellis to help them climb and establish their vines. This will ensure proper growth and prevent the seedlings from sprawling on the ground.
- Pruning: Regularly prune the seedlings to encourage bushier growth and develop a strong framework. Cut back any excessively long or wayward shoots to maintain a desirable shape. Pruning can be done in late winter or early spring before the new growth begins.
- Protection from Pests and Diseases: Monitor your seedlings for any signs of pests such as aphids or fungal diseases like powdery mildew. If necessary, use organic pest control methods or consult a local garden center for appropriate treatments.
- Sunlight Exposure: Ensure that your wisteria seedlings receive full sun exposure for a majority of the day. This will promote vigorous growth and abundant blooming in the future.
- Watch for Weed Competition: Regularly remove any weeds that may emerge near the wisteria seedlings. Weeds can compete for nutrients and hinder the growth of your plants.
- Monitor for Signs of Stress or Weakness: Keep a close eye on your wisteria seedlings for any signs of stress, such as wilting foliage or stunted growth. Address any issues promptly to prevent further damage and ensure the vitality of your plants.
By providing proper care and attention, your wisteria seedlings will thrive and grow into beautiful, blooming vines. Stay consistent with your care routine, adjust as needed based on environmental conditions, and watch with delight as your wisteria seedlings mature into stunning plants.
Transplanting Wisteria Seedlings
Transplanting wisteria seedlings is an important step in their growth journey to provide them with more space and optimal growing conditions. Here is a step-by-step guide on how to transplant your wisteria seedlings:
- Timing: Choose the right time to transplant your wisteria seedlings. It is best to transplant them in early spring before new growth begins or in late autumn once the leaves have fallen. Avoid transplanting during hot summer months or during periods of extreme cold.
- Select the Planting Site: Choose a location that provides full sun exposure and has well-draining soil. Wisteria plants prefer fertile soil with a pH of 6.0 to 7.0. Prepare the new planting site by digging a hole that is wide and deep enough to accommodate the roots of the seedling.
- Prepare the Seedlings: Carefully remove the wisteria seedlings from their current containers or seed trays. Gently loosen the roots if they are tightly bound. Be cautious not to damage the delicate roots.
- Planting: Place the wisteria seedling in the prepared hole, ensuring that the soil level is the same as it was in the previous container. Backfill the hole with soil, gently firming it around the roots. Water the newly transplanted seedling thoroughly.
- Support: Install a sturdy trellis or support structure near the newly transplanted seedling. This will provide stability and allow the seedling to climb and establish its vines as it grows.
- Watering: Keep the soil consistently moist in the first few weeks after transplanting. Water deeply and regularly, especially during periods of dry weather, to help the seedling establish its roots in the new location.
- Mulching: Apply a layer of organic mulch around the base of the transplanted seedling. This will help retain moisture, suppress weeds, and regulate soil temperature. Leave a gap around the stem to avoid excessive moisture against the plant.
- Monitor and Maintain: Keep a close eye on the transplanted seedling for any signs of stress, such as wilting or yellowing leaves. Provide proper care, including regular watering, as the seedling acclimates to its new growing environment.
Transplanting wisteria seedlings may initially result in some minor stress or setback. However, with proper care and attention, the plants will quickly adapt and resume their growth. Soon enough, you will be rewarded with beautiful wisteria vines that will grace your garden with their elegant blooms.
Conclusion
Propagating wisteria from seed can be a fulfilling and rewarding experience for gardeners. By choosing the right wisteria seeds, preparing the soil, undergoing the stratification process, planting the seeds, caring for the seedlings, and eventually transplanting them, you can enjoy the journey of witnessing your wisteria seedlings grow into stunning, blooming vines.
There are numerous benefits to propagating wisteria from seed, including cost-effectiveness, a wide variety of options, a sense of satisfaction and connection, adaptability, and long-term investment. Starting from seed allows you to be part of the plant’s entire life cycle and creates a deeper appreciation for the beauty and resilience of wisteria plants.
As you embark on this propagation adventure, remember to provide the necessary care for your wisteria seedlings. This includes proper watering, fertilization, support, pruning, and protection from pests and diseases. Be patient and attentive, as wisteria seedlings may take time to establish themselves, but the end result will be well worth the effort.
Whether you’re adding wisteria to a pergola, trellis, or archway, these beautiful flowering vines will transform your outdoor space into a picturesque oasis. Take delight in the vibrant colors, delicate fragrance, and cascading blossoms that wisteria offers season after season.
So, get your hands dirty, have fun with the propagation process, and enjoy the beauty of wisteria as it adorns your garden with its enchanting blooms. May your wisteria propagation journey be filled with growth, beauty, and a deep connection to the wonders of nature.
Frequently Asked Questions about How To Propagate Wisteria From Seed
Was this page helpful?
At Storables.com, we guarantee accurate and reliable information. Our content, validated by Expert Board Contributors, is crafted following stringent Editorial Policies. We're committed to providing you with well-researched, expert-backed insights for all your informational needs.


0 thoughts on “How To Propagate Wisteria From Seed”