Home>Gardening & Outdoor>Pool & Spa Care>How To Remove A Jet From A Hot Tub
Pool & Spa Care
How To Remove A Jet From A Hot Tub
Modified: August 28, 2024
Learn how to safely remove a jet from your hot tub with our expert pool and spa care tips. Keep your hot tub running smoothly with our step-by-step guide.
(Many of the links in this article redirect to a specific reviewed product. Your purchase of these products through affiliate links helps to generate commission for Storables.com, at no extra cost. Learn more)
Introduction
Removing a jet from a hot tub may seem like a daunting task, but with the right guidance and a bit of know-how, it can be a manageable and rewarding undertaking. Whether you're looking to replace a malfunctioning jet, upgrade to a more advanced model, or simply perform maintenance on your hot tub, understanding the process of jet removal is essential.
As a pool and spa enthusiast, you understand the importance of keeping your hot tub in optimal condition. A malfunctioning or clogged jet can detract from the overall enjoyment and therapeutic benefits of your hot tub experience. By learning how to remove and replace a jet, you can ensure that your hot tub remains in top-notch condition, providing you with a relaxing and rejuvenating oasis for years to come.
In this comprehensive guide, we will walk you through the step-by-step process of removing a jet from your hot tub. From gathering the necessary tools and materials to reassembling the hot tub after the jet removal, we will cover each stage in detail, empowering you to tackle this task with confidence.
By the end of this guide, you will have the knowledge and skills to successfully remove a jet from your hot tub, allowing you to maintain and optimize your spa experience. So, let's dive in and discover the key steps to effectively removing a jet from your hot tub.
Key Takeaways:
- Removing a jet from a hot tub requires gathering tools, draining the tub, disconnecting power, removing panels, locating and disconnecting the jet, removing the jet, cleaning the area, and reassembling the tub.
- Regular maintenance and attentive care are essential for preserving the functionality and enjoyment of your hot tub, ensuring it remains a cherished retreat for relaxation and wellness.
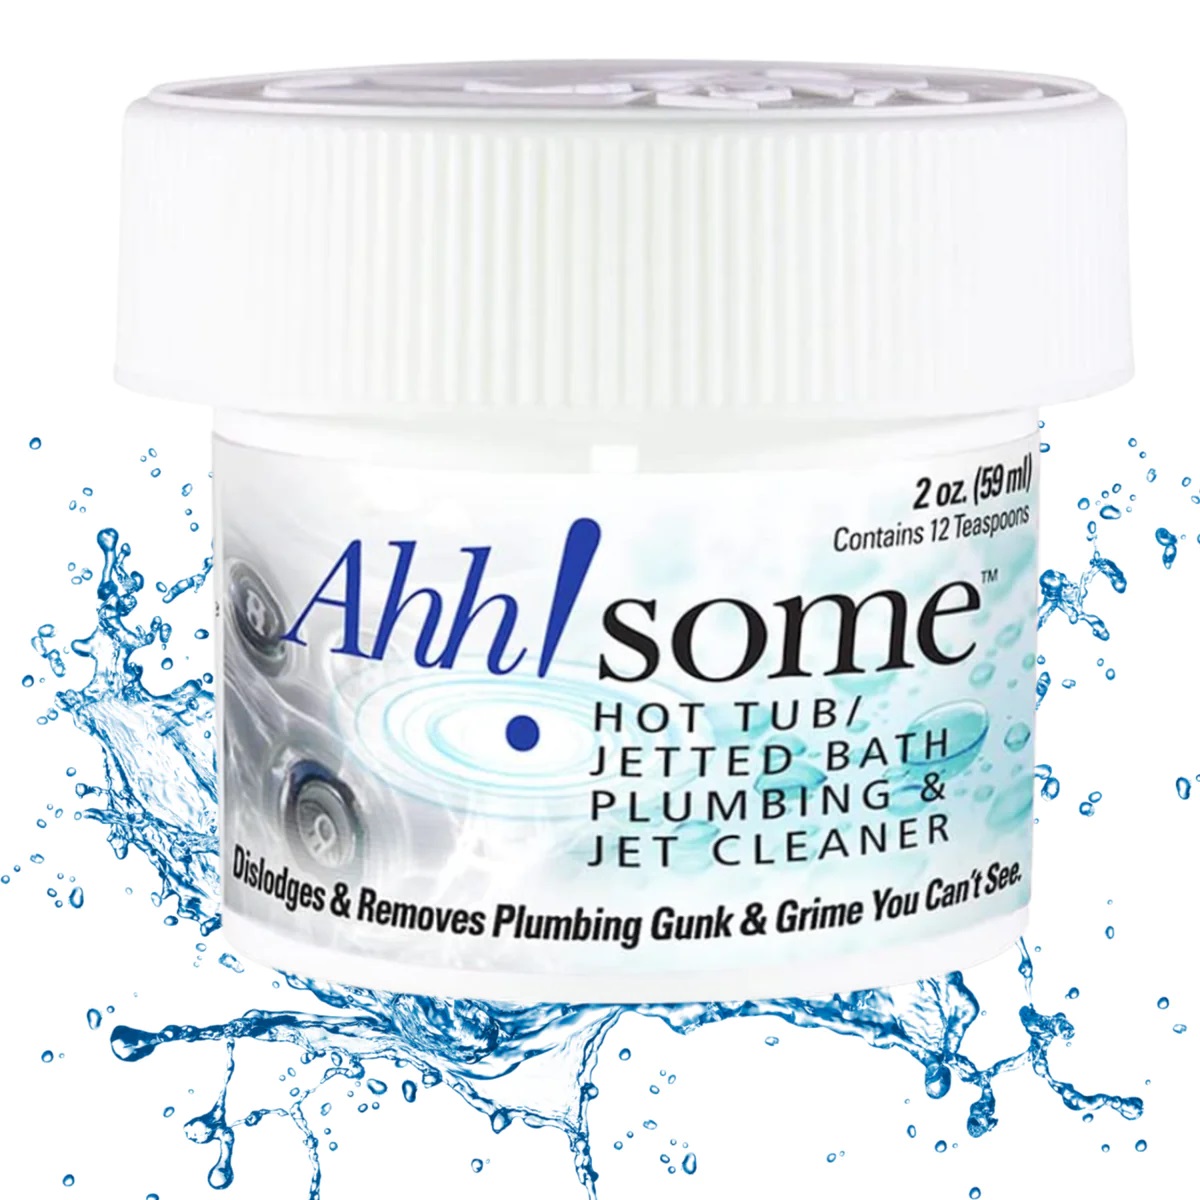
Read more: How To Replace Hot Tub Jets
Gather Necessary Tools and Materials
Before embarking on the process of removing a jet from your hot tub, it’s essential to gather the necessary tools and materials. Having the right equipment at your disposal will streamline the jet removal process and ensure that you can complete the task efficiently.
Here’s a list of the tools and materials you’ll need:
- Screwdriver Set: A set of screwdrivers, including both flathead and Phillips head varieties, will be indispensable for removing screws and accessing the inner components of the hot tub.
- Adjustable Wrench: An adjustable wrench will enable you to loosen and disconnect plumbing fittings and other components as you access the jet.
- Silicone Lubricant: Having silicone lubricant on hand can aid in loosening stubborn jet fittings and making the removal process smoother.
- Towel or Rag: Keeping a towel or rag nearby will allow you to wipe away any excess water or moisture as you work on the jet removal.
- Replacement Jet (Optional): If you’re removing the jet for replacement purposes, ensure that you have the new jet ready to install once the old one is removed.
By gathering these tools and materials before you begin, you’ll be well-prepared to tackle the task of removing the jet from your hot tub. With everything at your fingertips, you can proceed with confidence, knowing that you have what you need to complete the job effectively.
Drain the Hot Tub
Before you can access and remove the jet from your hot tub, it’s crucial to drain the tub to a suitable level. Draining the hot tub serves two primary purposes: it allows you to work on the jet without water obstructing your access, and it prevents potential water spillage and damage during the removal process.
Here’s a step-by-step guide to draining your hot tub:
- Turn Off the Power: Before beginning the draining process, switch off the power to the hot tub at the circuit breaker. This precautionary measure ensures your safety while working on the tub.
- Locate the Drain Valve: Hot tubs are equipped with a drain valve, typically located near the bottom of the tub. Identify the drain valve’s position to prepare for the draining process.
- Attach a Hose (Optional): If your hot tub features a drain valve with a hose attachment, connect a garden hose to the valve. This will allow the water to flow directly to a suitable drainage area, such as a floor drain or outdoor space.
- Open the Drain Valve: With the hose in place, open the drain valve to initiate the water drainage. If your hot tub doesn’t have a hose attachment, simply open the valve and direct the water flow as needed.
- Monitor the Water Level: As the hot tub drains, keep an eye on the water level to ensure that it reaches the desired depth for the jet removal process. Depending on your hot tub’s size, this may take some time.
- Close the Drain Valve: Once the hot tub has reached the appropriate water level for jet removal, close the drain valve to halt the water flow. If you used a hose, disconnect it and store it properly.
By following these steps, you can effectively drain your hot tub to the necessary level, setting the stage for the subsequent stages of the jet removal process. With the tub emptied to a suitable depth, you can proceed with confidence, knowing that you’ve prepared the environment for successful jet removal.
Disconnect the Power
Prior to initiating the process of removing the jet from your hot tub, it’s crucial to disconnect the power supply to ensure your safety and prevent any electrical mishaps. Hot tubs are powered by electricity, and working on them without disconnecting the power can pose significant risks. By following the steps outlined below, you can safely disconnect the power supply before proceeding with the jet removal.
- Locate the Circuit Breaker: The circuit breaker, which controls the power supply to your hot tub, is typically situated near the tub or in a designated electrical panel. Identify the specific breaker that corresponds to the hot tub.
- Switch Off the Breaker: Once you’ve located the appropriate circuit breaker, switch it off to cut off the power supply to the hot tub. This action will prevent any electrical currents from flowing to the tub while you work on the jet removal.
- Verify the Power Disconnection: After turning off the circuit breaker, it’s essential to verify that the power to the hot tub has been successfully disconnected. You can do this by attempting to turn on the hot tub’s control panel or observing any indicator lights to ensure that they are inactive.
- Use a Lockout Tag (Optional): If you want to provide an additional layer of safety, consider using a lockout tag on the circuit breaker. This tag serves as a visual reminder that the power supply to the hot tub has been deliberately disconnected, preventing accidental reactivation of the power.
By following these steps to disconnect the power supply, you can create a safe working environment for the jet removal process. Prioritizing safety at every stage of the maintenance or repair work is essential for both your well-being and the successful completion of the task at hand.
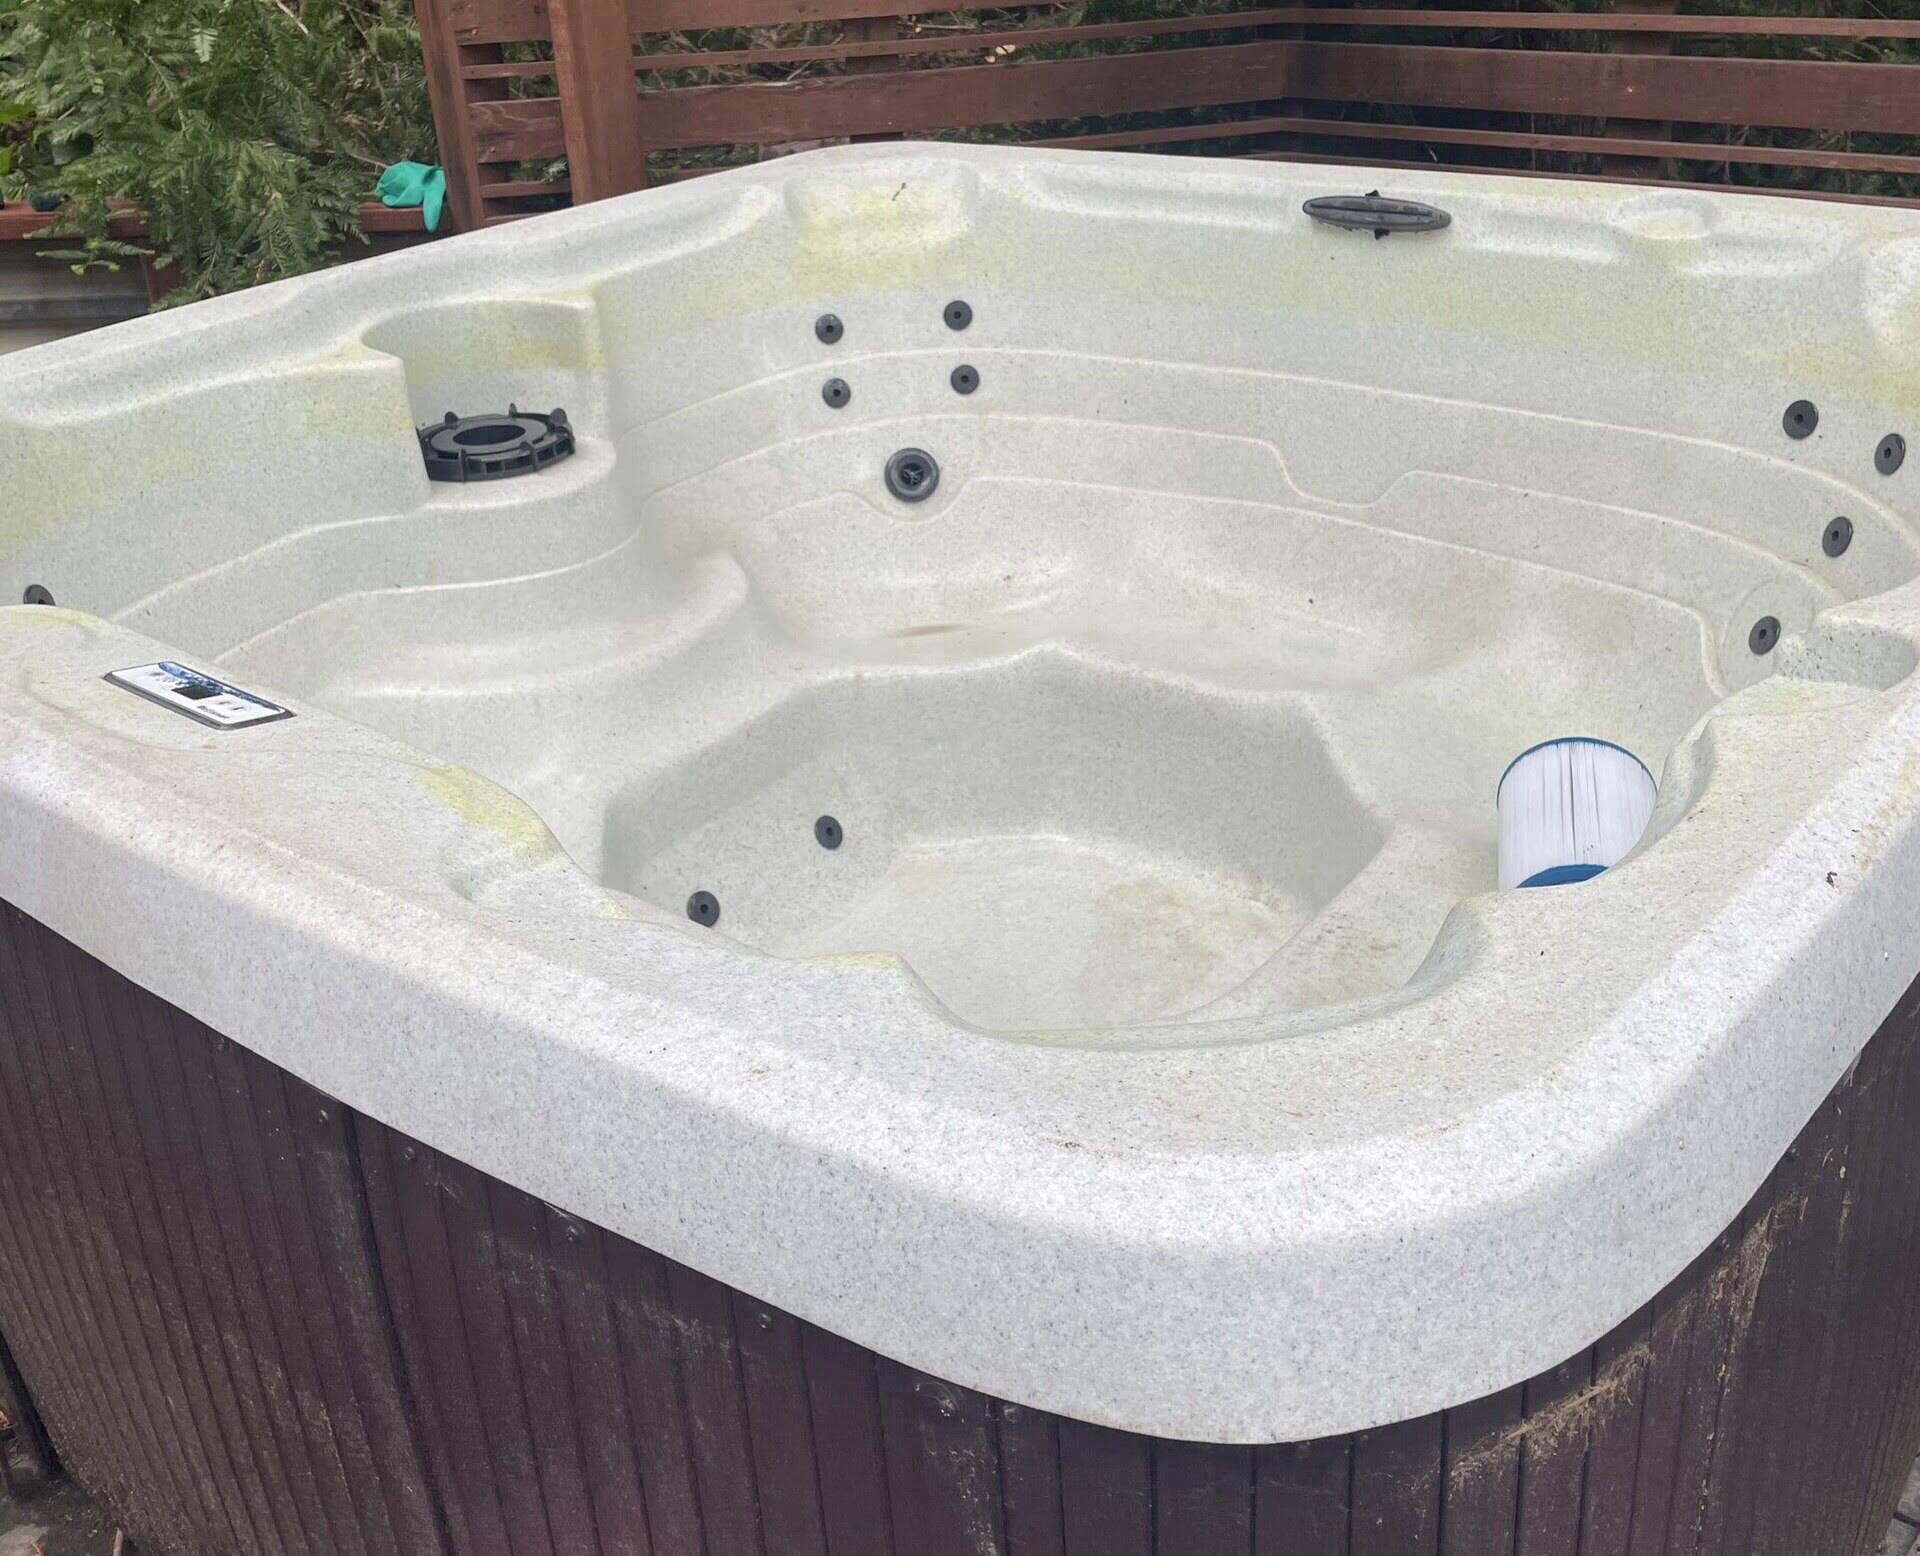
Remove the Panels
Accessing the inner components of your hot tub, including the jets, often requires removing the panels that encase the tub’s exterior. These panels are designed to provide insulation and support while concealing the internal workings of the hot tub. By carefully removing the panels, you can gain access to the area where the jet is located, facilitating its removal and any necessary maintenance or replacement.
Here’s a step-by-step guide to removing the panels from your hot tub:
- Identify Panel Fasteners: Take note of the fasteners securing the panels in place. These may include screws, clips, or other types of fastening mechanisms, depending on your hot tub’s design.
- Use the Appropriate Tools: Depending on the type of fasteners used, select the appropriate tools, such as a screwdriver or socket wrench, to loosen and remove them. Ensure that you have a secure grip on the tools to avoid slippage.
- Store Fasteners Safely: As you remove the fasteners, keep them organized and store them in a safe place. This will prevent misplacement and ensure that you can reattach the panels securely after completing the jet removal process.
- Carefully Remove the Panels: With the fasteners removed, carefully detach the panels from the hot tub’s frame. Exercise caution to avoid damaging the panels or the tub’s exterior during this process.
- Set Aside the Panels: Once the panels are removed, place them in a safe and dry location, away from the immediate work area. This will prevent any accidental damage and ensure that they remain in good condition for reinstallation.
By following these steps, you can effectively remove the panels from your hot tub, granting you access to the inner workings where the jet is located. With the panels out of the way, you’re one step closer to accessing and removing the jet as part of your hot tub maintenance or repair efforts.
To remove a jet from a hot tub, first, locate the retaining ring around the jet. Use a wrench to loosen the ring and then gently pull the jet out of the hot tub. Be careful not to damage the surrounding area.
Read more: How To Remove Hot Tub From Deck
Locate and Disconnect the Jet
Once you’ve gained access to the inner components of your hot tub by removing the panels, it’s time to locate and disconnect the jet that requires removal. Jets are integral to the hydrotherapy experience provided by hot tubs, but over time, they may need to be replaced or serviced due to wear and tear. By following the steps outlined below, you can effectively locate and disconnect the jet in preparation for its removal.
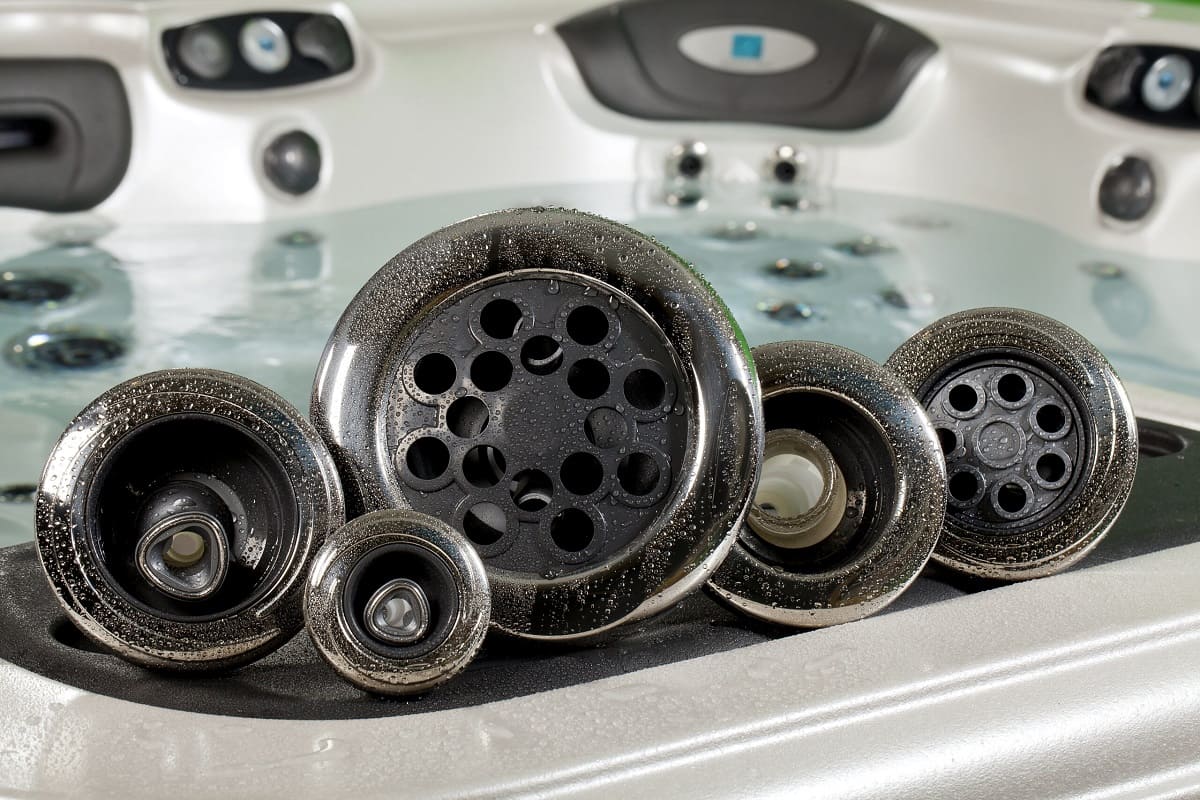
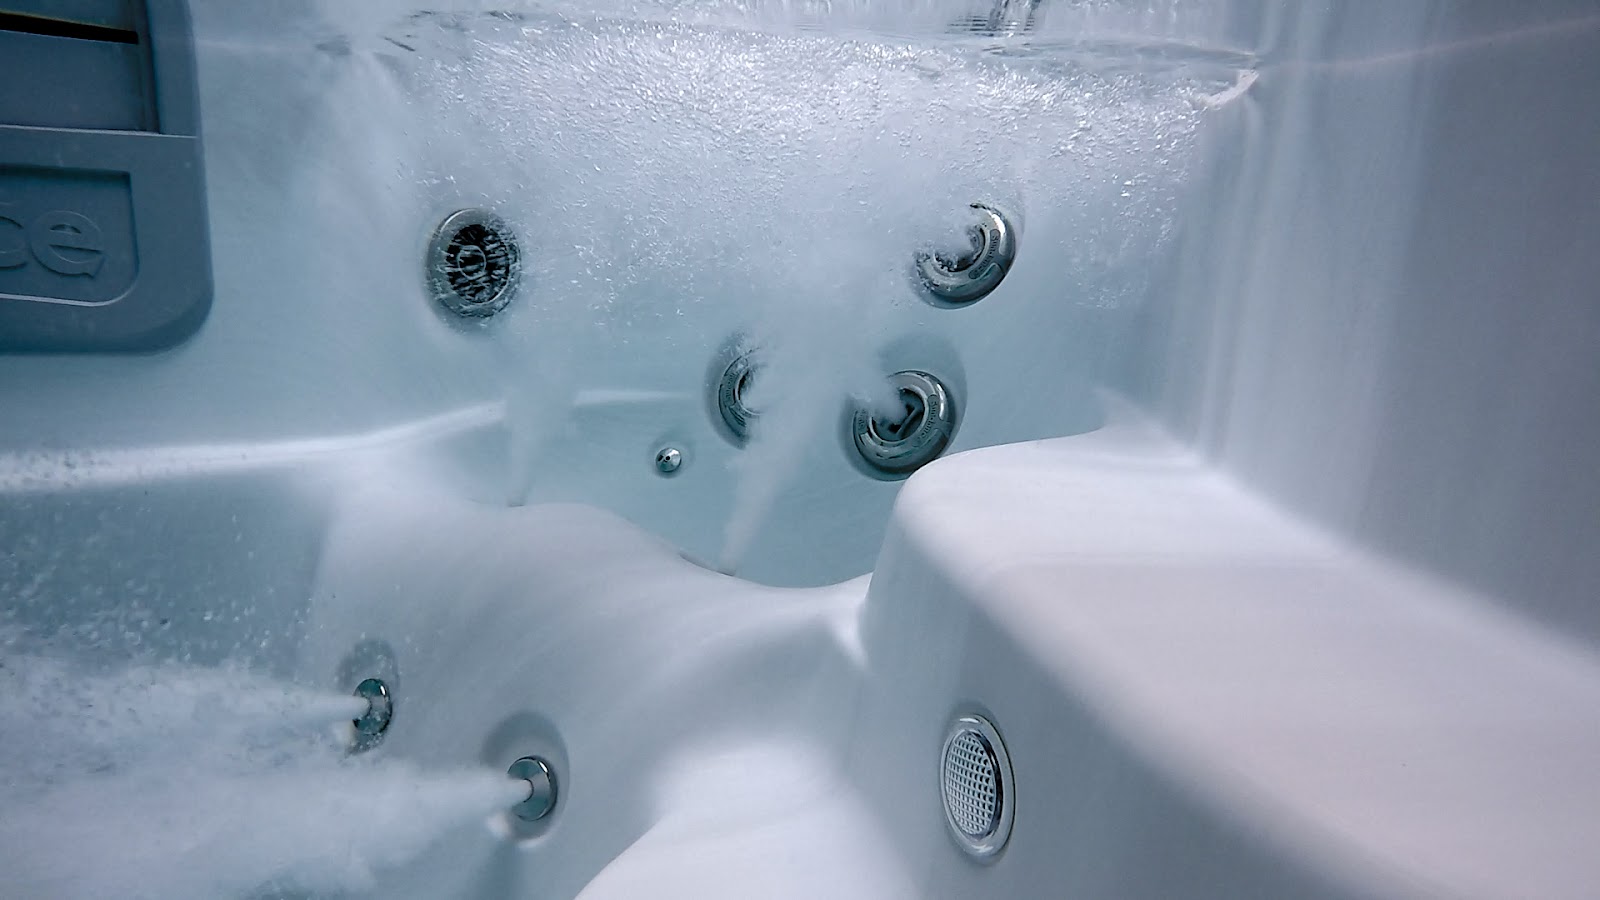
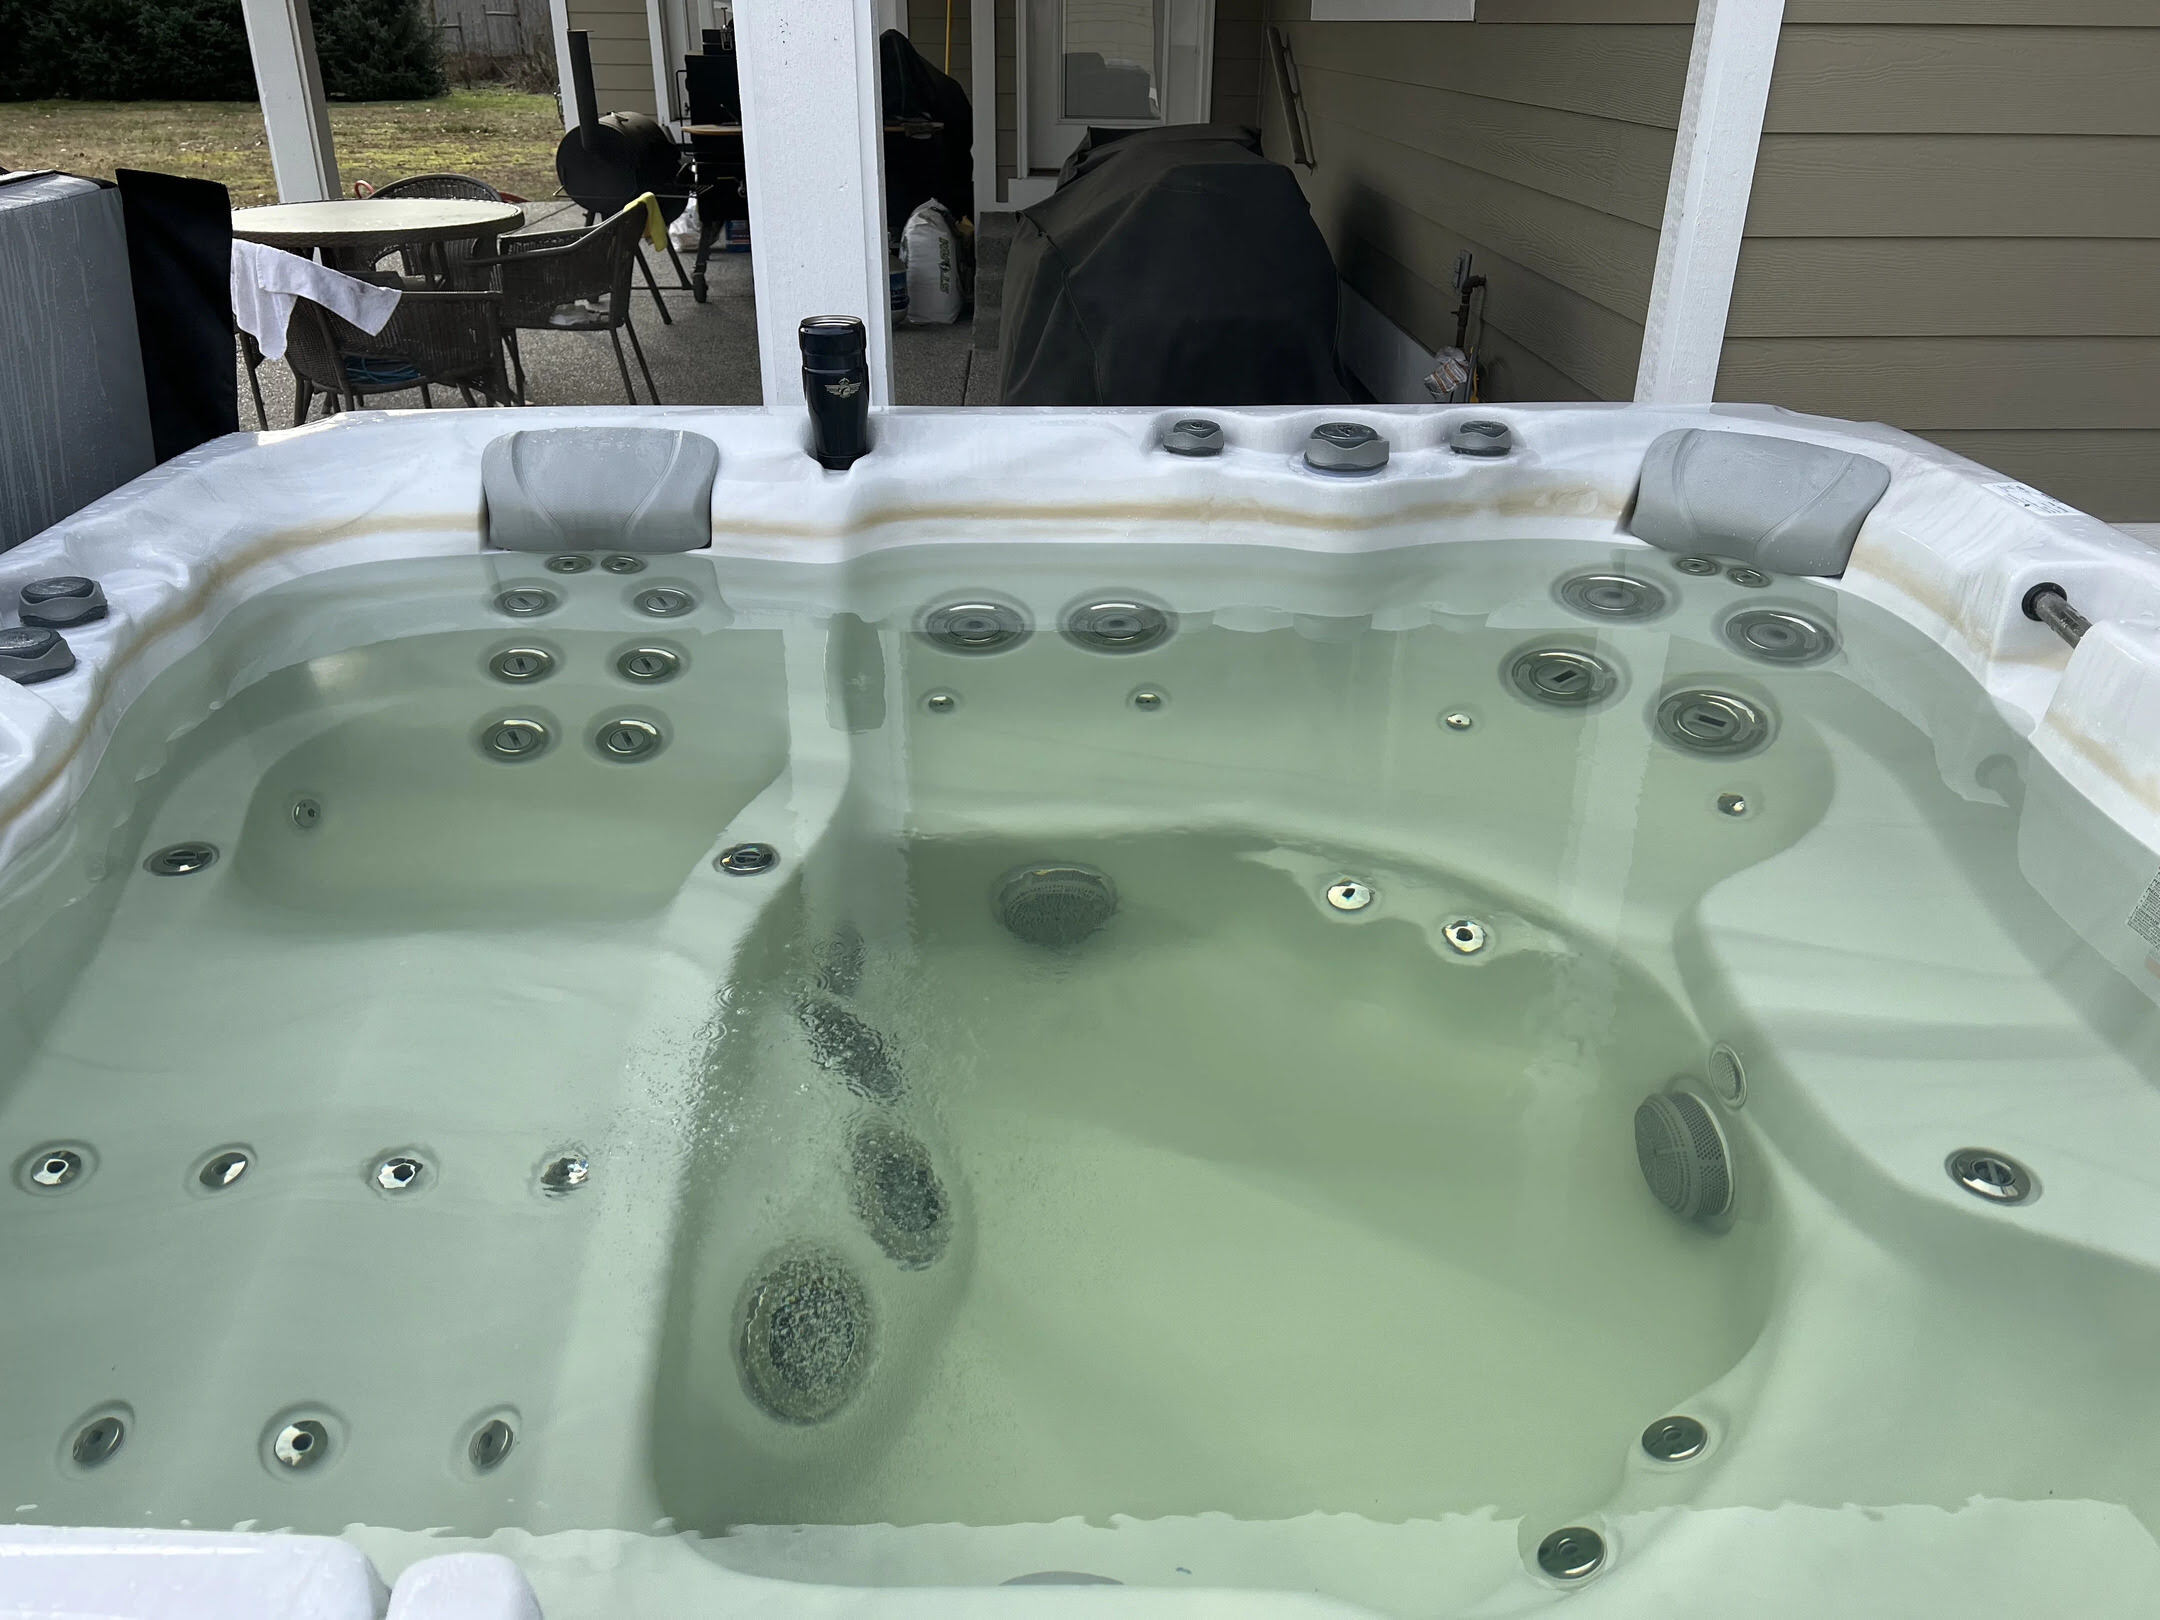
- Identify the Targeted Jet: Survey the interior of the hot tub to locate the specific jet that you intend to remove. Jets are typically positioned along the walls and seats of the tub, and they may vary in design based on the model and manufacturer.
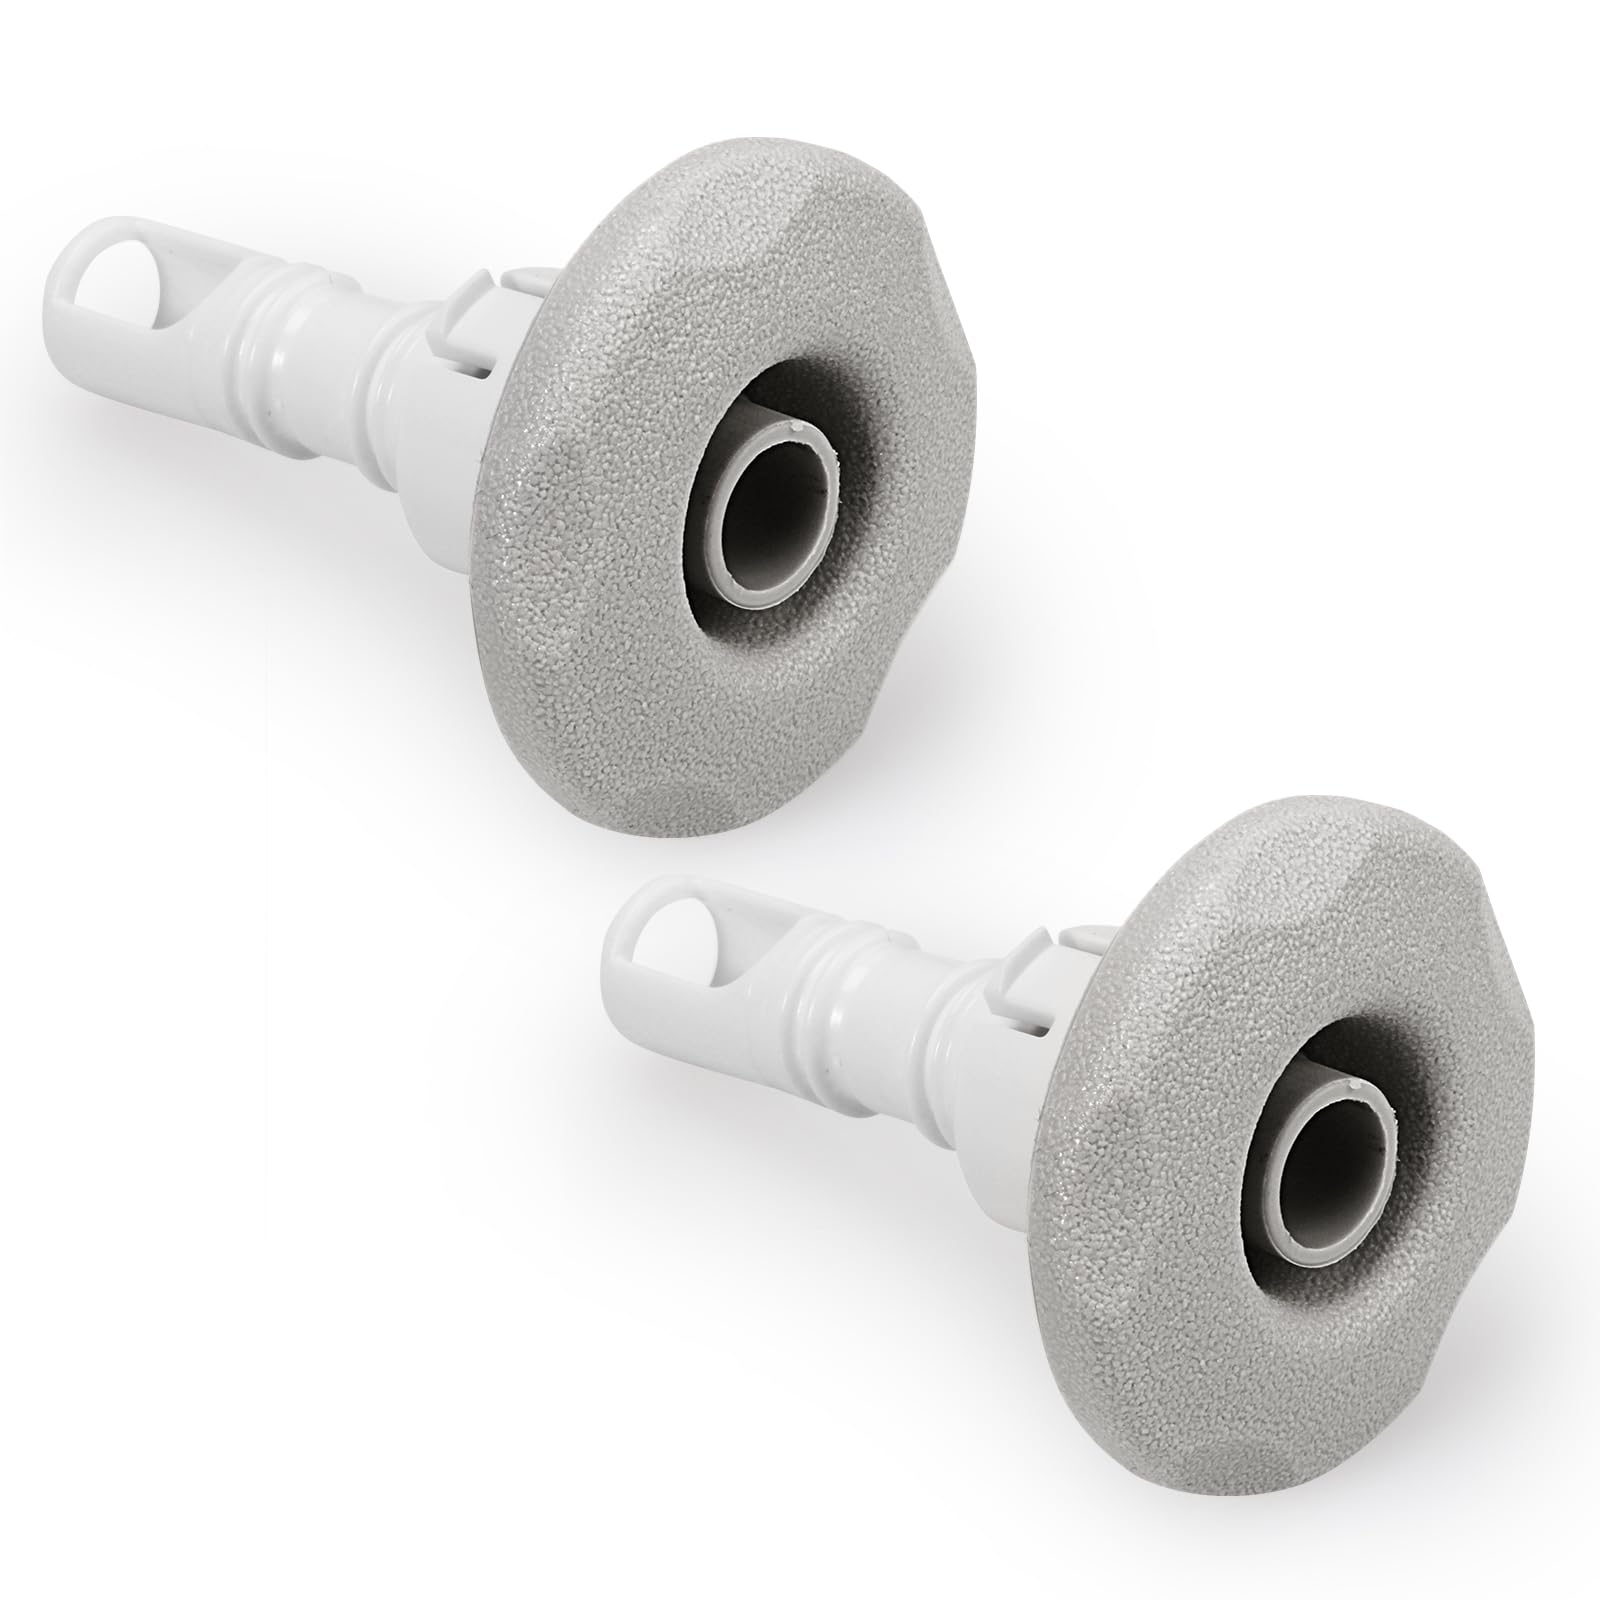
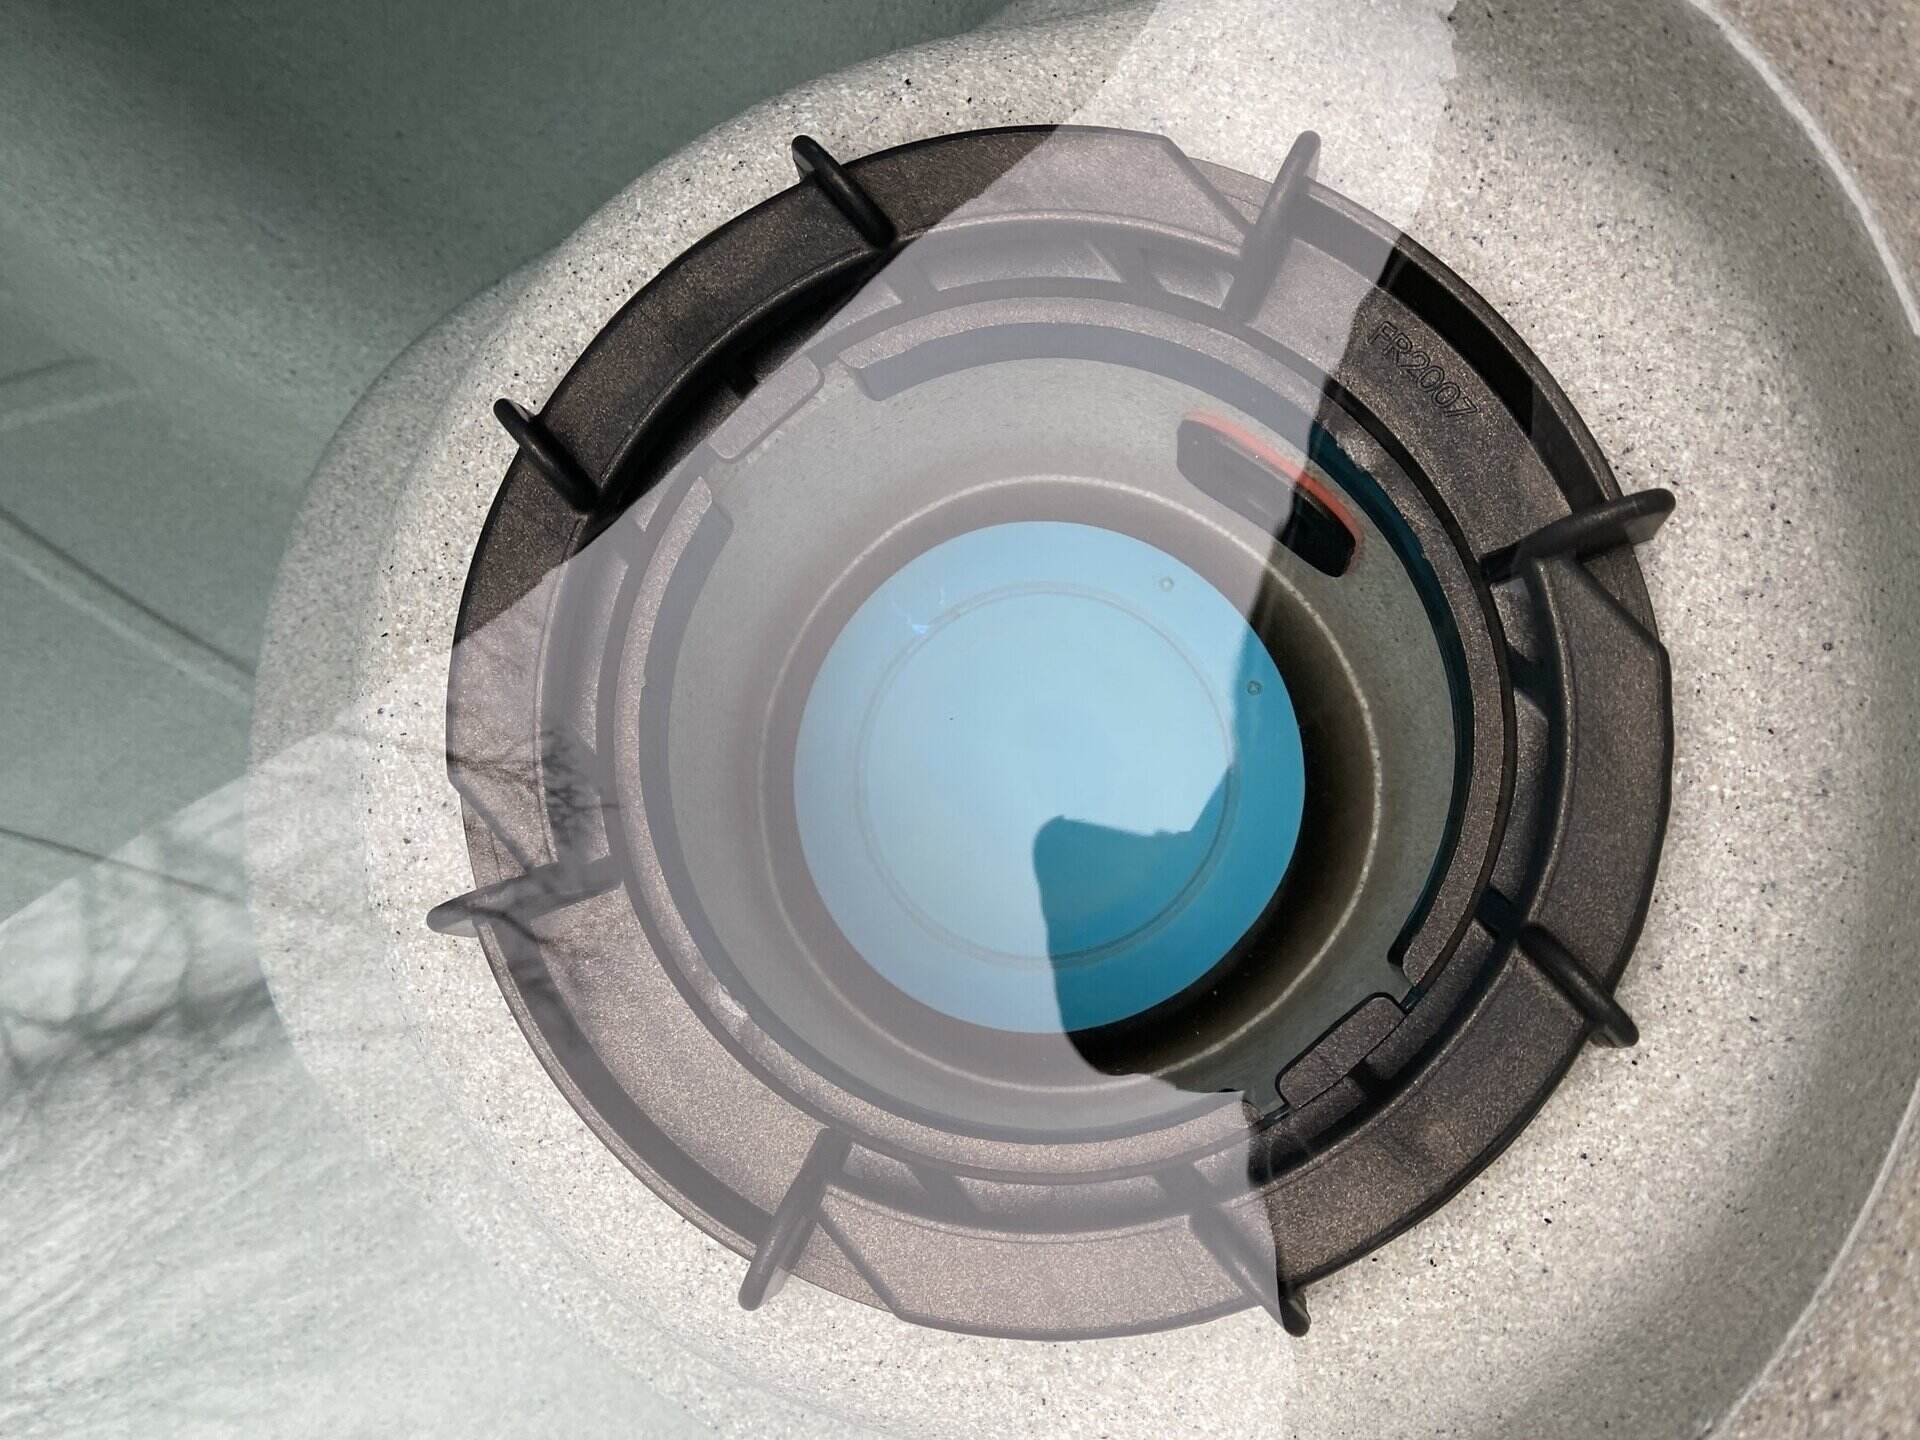
- Examine the Jet Fittings: Take note of the fittings and connections securing the jet in place. These may include threaded collars, retaining rings, or other fastening mechanisms that hold the jet in position within the hot tub’s shell.
- Disconnect the Plumbing: If the jet is connected to plumbing or air lines, carefully disconnect these connections using an adjustable wrench or the appropriate tools. Exercise caution to avoid damaging the plumbing components during this process.
- Loosen the Jet Fittings: Using the necessary tools, such as a wrench or pliers, carefully loosen the fittings and fasteners that secure the jet in place. Apply steady and controlled force to avoid slippage or damage to the surrounding components.
- Inspect for Sealants (If Applicable): In some cases, jets may be sealed with silicone or other adhesives to prevent water leakage. If sealants are present, gently break the seal using a utility knife or a suitable tool to facilitate the jet’s removal.
By carefully following these steps, you can effectively locate and disconnect the jet from your hot tub, preparing it for removal and any subsequent maintenance or replacement. This process sets the stage for seamlessly removing the jet and addressing any maintenance or upgrade needs to enhance your hot tub experience.
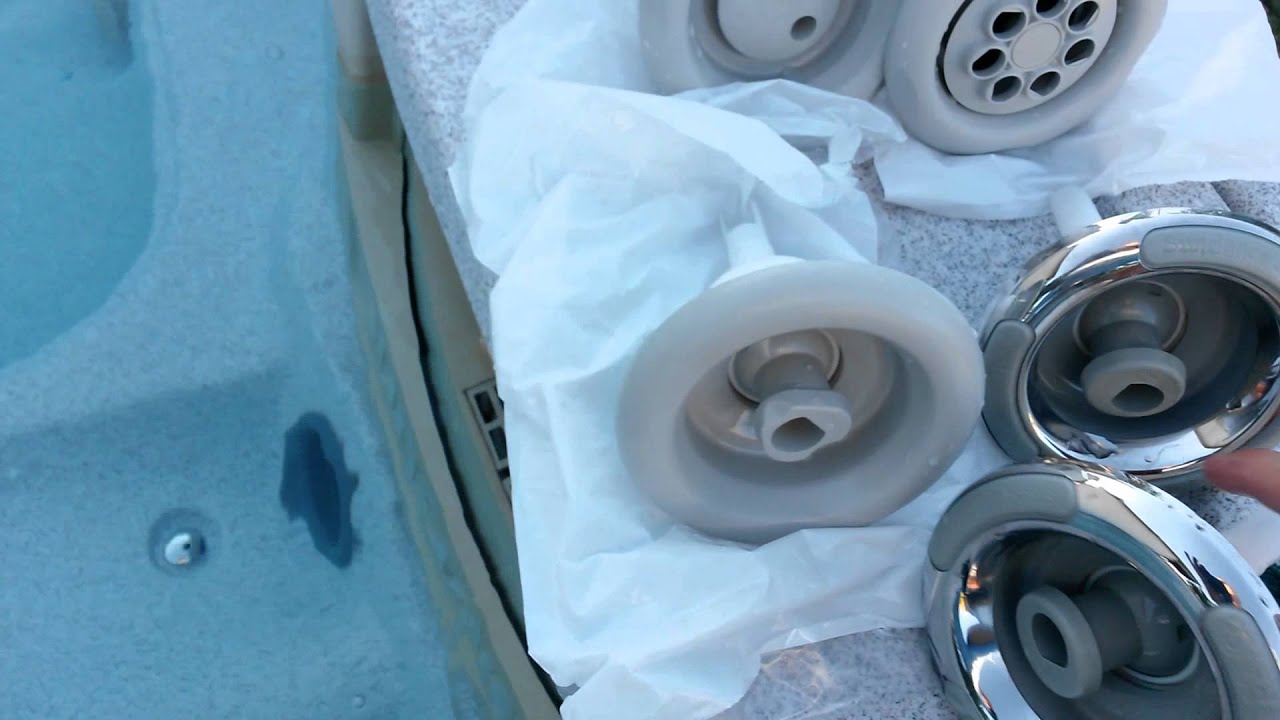
Remove the Jet
With the jet located and disconnected from the hot tub, the next essential step is to remove the jet from its position within the tub’s shell. This process requires precision and care to ensure that the jet is safely extracted without causing any damage to the surrounding components. By following the steps outlined below, you can effectively remove the jet from your hot tub, paving the way for any necessary maintenance, repairs, or upgrades.
- Apply Lubricant (If Needed): If the jet fittings are tightly secured or have become stuck over time, applying a silicone-based lubricant can help loosen the connections and facilitate the removal process. Allow the lubricant to penetrate the fittings for a few minutes before proceeding.
- Use the Appropriate Tools: Depending on the type of fittings and fasteners securing the jet, utilize the appropriate tools, such as a wrench, pliers, or jet removal tool, to carefully extract the jet from its position. Ensure that you have a firm grip on the tools to maintain control during the removal process.
- Apply Controlled Force: With the tools in hand, apply controlled force to loosen and extract the jet from the hot tub’s shell. Exercise patience and avoid using excessive force that could lead to damage. If the jet resists removal, reapply lubricant and attempt the extraction process again.
- Inspect the Jet Cavity: Once the jet has been removed, take a moment to inspect the cavity from which it was extracted. Look for any signs of damage, wear, or debris that may need to be addressed before installing a new jet or reattaching the existing one.
- Store the Removed Jet (If Applicable): If you plan to reinstall the same jet after maintenance or repairs, store it in a safe and dry location to prevent damage. Ensure that it remains clean and free from any contaminants during storage.
By carefully following these steps, you can successfully remove the jet from your hot tub, preparing it for any necessary maintenance, repairs, or replacement. This process marks a pivotal stage in your hot tub maintenance journey, allowing you to address specific issues and optimize the performance of your spa’s hydrotherapy features.
Clean the Area
After removing the jet from your hot tub, it’s essential to take the time to clean the surrounding area and ensure that it is free from debris, residue, and any potential contaminants. Cleaning the jet cavity and the adjacent components not only prepares the area for any maintenance or replacement tasks but also contributes to the overall hygiene and longevity of your hot tub. By following the steps outlined below, you can effectively clean the area and create an optimal environment for the next stages of your hot tub maintenance or repair process.
- Remove Debris and Residue: Use a soft brush or cloth to gently remove any debris, dirt, or residue from the area surrounding the jet cavity. Pay attention to crevices and hard-to-reach areas to ensure thorough cleaning.
- Inspect for Buildup: Check for any mineral deposits, mold, or mildew that may have accumulated in the vicinity of the jet. If present, address these issues using appropriate cleaning solutions and tools to eliminate buildup effectively.
- Clean the Jet Cavity: Wipe the interior of the jet cavity with a clean cloth or sponge to remove any lingering particles or moisture. This step is crucial to ensure that the cavity is pristine and ready for the installation of a new jet or the reattachment of the existing one.
- Sanitize the Area (Optional): Consider using a hot tub-safe sanitizer or cleaning solution to sanitize the cleaned area, further enhancing the hygiene and cleanliness of the jet cavity and its surroundings. Follow the manufacturer’s recommendations for the safe use of sanitizing products.
- Allow the Area to Dry: After cleaning and sanitizing, allow the area to air dry thoroughly before proceeding with any reinstallation or maintenance tasks. Ensuring that the area is completely dry is essential for the proper installation and functioning of the jet and its associated components.
By conscientiously following these steps, you can effectively clean the area surrounding the removed jet, setting the stage for any necessary maintenance, repairs, or the installation of a new jet. This meticulous approach to cleanliness and hygiene contributes to the overall wellness and performance of your hot tub, ensuring a rejuvenating and hygienic hydrotherapy experience for you and your guests.
Reassemble the Hot Tub
With the jet removed, cleaned, and any necessary maintenance or replacements completed, it’s time to reassemble your hot tub, restoring it to its fully operational and inviting state. Reassembly involves carefully reinstalling the panels, reconnecting the plumbing, and ensuring that all components are securely in place. By following the steps outlined below, you can effectively reassemble your hot tub, bringing it one step closer to providing a rejuvenating and enjoyable hydrotherapy experience.
- Retrieve the Panels: Gather the panels that were removed earlier and ensure that they are clean and free from any damage. Inspect the fasteners and attachment points to confirm that they are in good condition and ready for reinstallation.
- Position the Panels: Carefully position the panels around the hot tub’s exterior, aligning them with their respective attachment points. Exercise caution to avoid scratching or denting the panels as you maneuver them into place.
- Secure the Panels: Using the appropriate fasteners and tools, securely attach the panels to the hot tub’s frame. Ensure that each panel is snugly in place, providing insulation and support for the tub’s internal components.
- Reconnect the Plumbing (If Applicable): If the jet required disconnection of plumbing or air lines, carefully reconnect these components, ensuring that they are properly secured and free from leaks. Exercise caution to avoid overtightening or damaging the connections.
- Inspect for Proper Fit: Once the panels are reattached and any plumbing connections are secured, inspect the hot tub to ensure that all components are properly aligned and in their respective positions. Address any discrepancies or misalignments as needed.
By methodically following these steps, you can effectively reassemble your hot tub, bringing it one step closer to being fully operational and ready for use. Taking the time to ensure that each component is securely in place and functioning as intended contributes to the overall performance and longevity of your hot tub, providing you with a reliable and rejuvenating hydrotherapy experience.
Read more: How To Remove Biofilm From Hot Tub
Conclusion
Congratulations! You’ve successfully navigated the process of removing a jet from your hot tub, gaining valuable insights into the intricate maintenance and repair tasks that contribute to the optimal performance of your hydrotherapy oasis. By following the comprehensive steps outlined in this guide, you’ve acquired the knowledge and skills to tackle jet removal with confidence and precision, ensuring that your hot tub remains in top-notch condition.
As you reflect on the journey of jet removal, it’s important to recognize the significance of regular maintenance and attentive care when it comes to preserving the functionality and enjoyment of your hot tub. Whether you embarked on this task to address a malfunctioning jet, upgrade to a new model, or simply perform routine maintenance, your dedication to maintaining your hot tub speaks volumes about your commitment to creating a relaxing and rejuvenating environment.
Looking ahead, the insights gained from this experience will serve you well as you continue to care for your hot tub, addressing any future maintenance needs with confidence and proficiency. From draining the tub to disconnecting the power, removing panels, and extracting the jet, each step in the process has equipped you with valuable expertise that will enhance your hot tub maintenance endeavors in the future.
Remember, the journey of hot tub maintenance is a rewarding one, filled with opportunities to optimize your spa experience and ensure that it remains a cherished retreat for relaxation and wellness. As you reassemble your hot tub and prepare to indulge in its soothing waters once again, take pride in the care and attention you’ve invested in preserving this essential source of rejuvenation.
With the jet removal process successfully completed, your hot tub stands ready to provide you with countless moments of tranquility and rejuvenation, offering a sanctuary where you can unwind, recharge, and embrace the therapeutic benefits of hydrotherapy. As you bask in the warmth of your revitalized hot tub, savor the satisfaction of knowing that you’ve mastered the art of jet removal, empowering you to keep your spa in impeccable condition for years to come.
Here’s to many more blissful moments in your meticulously maintained hot tub, where the cares of the day melt away, and relaxation takes center stage.
Frequently Asked Questions about How To Remove A Jet From A Hot Tub
Was this page helpful?
At Storables.com, we guarantee accurate and reliable information. Our content, validated by Expert Board Contributors, is crafted following stringent Editorial Policies. We're committed to providing you with well-researched, expert-backed insights for all your informational needs.


0 thoughts on “How To Remove A Jet From A Hot Tub”