Home>Health & Lifestyle>Air Quality & Filtration>How To Make Plug In Air Freshener Refills

Air Quality & Filtration
How To Make Plug In Air Freshener Refills
Modified: January 9, 2024
Learn how to make your own plug-in air freshener refills for a healthier indoor environment. Improve air quality and filtration with this simple DIY solution.
(Many of the links in this article redirect to a specific reviewed product. Your purchase of these products through affiliate links helps to generate commission for Storables.com, at no extra cost. Learn more)
Introduction
Welcome to the world of DIY air freshening! If you're looking to elevate the ambiance of your living space while also enjoying the benefits of essential oils, creating your own plug-in air freshener refills is a fantastic way to achieve both. Not only does this allow you to customize the scents to your preference, but it also enables you to control the ingredients, ensuring that only natural and non-toxic elements are dispersed into your home.
Traditional air fresheners often contain synthetic fragrances and harmful chemicals, which can have adverse effects on indoor air quality. By opting for a DIY approach, you can promote a healthier environment while indulging in delightful aromas. In this guide, we'll walk you through the step-by-step process of making your own plug-in air freshener refills using essential oils and natural ingredients. Get ready to embark on a journey of creativity, wellness, and a fresher home!
Key Takeaways:
- Create your own plug-in air freshener refills using essential oils and natural ingredients to customize scents and promote a healthier indoor environment. It’s a fun DIY project that elevates your living space!
- By reusing and refilling empty plug-in air freshener units, you’re contributing to sustainable practices, reducing waste, and enjoying delightful, natural fragrances tailored to your preferences. Craft your own personalized scents!
Read more: How To Refill A Febreze Air Freshener
Materials Needed
Before diving into the DIY process, it’s essential to gather the necessary materials. Here’s what you’ll need:
- An empty plug-in air freshener refill
- Essential oils of your choice (such as lavender, eucalyptus, lemon, or peppermint)
- Carrier oil (options include sweet almond oil, fractionated coconut oil, or grapeseed oil)
- Distilled water
- A small funnel
- A toothpick or small stir stick
- Labels (optional, for noting the scent and date of creation)
Once you have these materials on hand, you’re all set to embark on the journey of crafting your own custom-scented plug-in air freshener refills. Let’s move on to the step-by-step process of preparing and refilling your plug-in with delightful, natural fragrances.
Step 1: Gather Your Supplies
Before beginning the refill process, ensure that your work area is clean and well-ventilated. This will help maintain the integrity of the essential oils and carrier liquids, preventing any potential contamination.
Begin by carefully disassembling the empty plug-in air freshener refill. Most refills are designed to be disassembled easily, typically by twisting or gently prying apart the plastic housing. Once opened, dispose of any remaining old wick or liquid to prepare the refill for the new scent infusion.
Next, gather your essential oils and carrier oil. The choice of essential oils is entirely up to your preference and the desired scent profile. Whether you opt for the calming aroma of lavender, the invigorating freshness of eucalyptus, the uplifting scent of lemon, or the minty essence of peppermint, the options are abundant. Selecting a carrier oil is equally important, as it dilutes the essential oils and aids in their dispersion. Sweet almond oil, fractionated coconut oil, and grapeseed oil are excellent choices for this purpose.
Having your distilled water, small funnel, and toothpick or stir stick at the ready is crucial for a seamless refill process. The funnel will facilitate the transfer of liquids into the refill, while the toothpick or stir stick will assist in blending the essential oils and carrier oil with the water, ensuring a harmonious mixture.
Lastly, if you wish to label your refill with the scent and date of creation, have your labels prepared and within reach. This optional step adds a personal touch and allows you to keep track of the various scents you create over time.
With your supplies organized and prepared, you’re now ready to move on to the next step: preparing the essential oil blend for your refill.
Step 2: Prepare the Essential Oil Blend
Creating a well-balanced and aromatic essential oil blend is the heart of crafting your custom-scented plug-in air freshener refill. This step allows you to tailor the scent to your liking and infuse your living space with delightful and natural fragrances.
Begin by selecting the essential oils that will constitute your blend. Consider the mood or ambiance you wish to create. Are you aiming for a calming and soothing atmosphere, an energizing and invigorating environment, or a refreshing and uplifting scent profile? Once you’ve identified your desired outcome, choose essential oils that align with your vision. For example, lavender and chamomile are renowned for their calming properties, while citrus oils like lemon and bergamot bring a revitalizing and uplifting essence.
When blending the essential oils, it’s important to consider the strength of each oil and how they harmonize with one another. A general guideline is to use around 30 total drops of essential oil per 100ml of carrier liquid. However, this can be adjusted based on personal preference and the potency of the oils. For a 100ml refill, a balanced blend could consist of 10-15 drops of a top note oil (e.g., citrus), 5-10 drops of a middle note oil (e.g., floral or herbal), and 5-10 drops of a base note oil (e.g., woody or earthy).
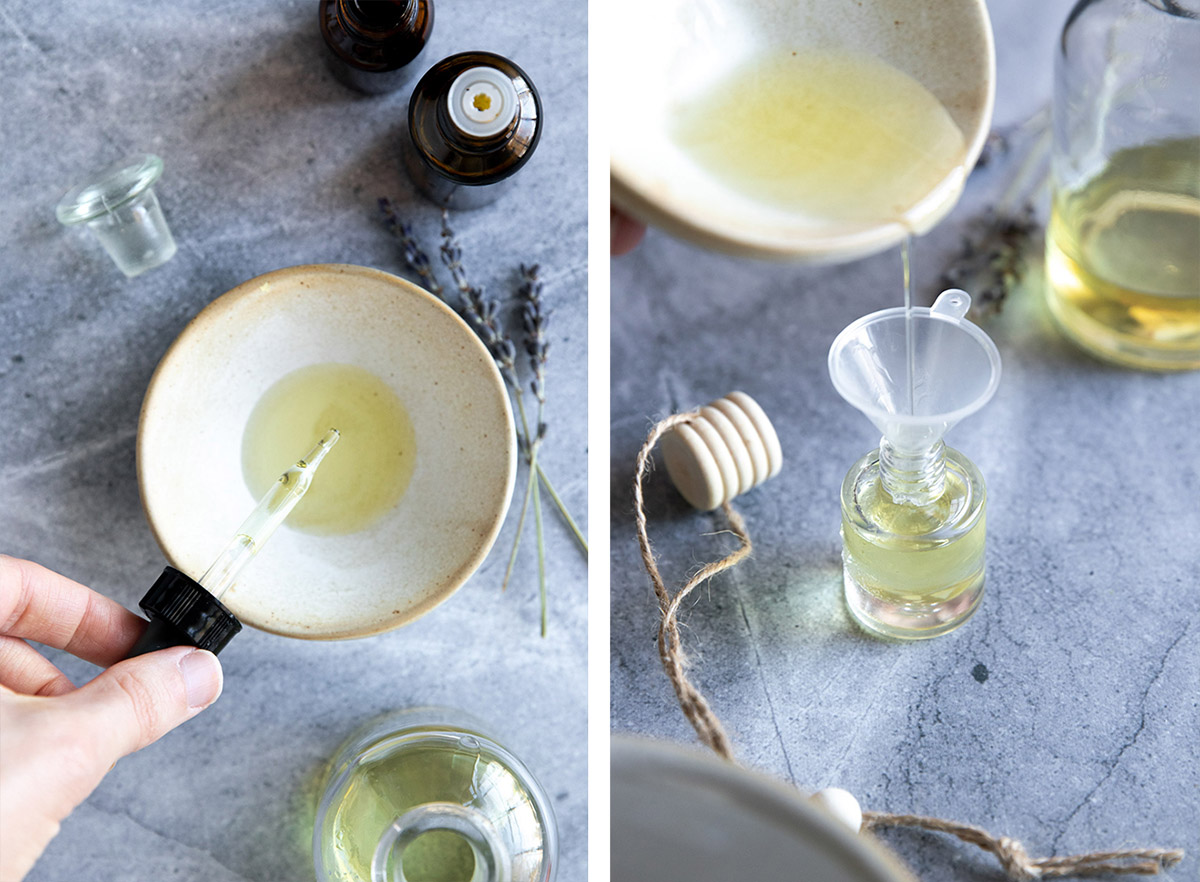
Using the small funnel, carefully add the essential oils to the empty plug-in air freshener refill. Start with the base note oils, followed by the middle and top notes. This layering technique allows the scents to meld together seamlessly, resulting in a well-rounded and complex aroma.
After adding the essential oils, pour the carrier oil into the refill. The carrier oil serves as a medium for the essential oils, aiding in their dispersion and ensuring a consistent scent release. It’s important to leave some space at the top of the refill to accommodate the addition of distilled water in the next step.
With the essential oil blend expertly prepared and housed within the refill, it’s time to move on to the next step: refilling the plug-in with distilled water and reassembling the unit.
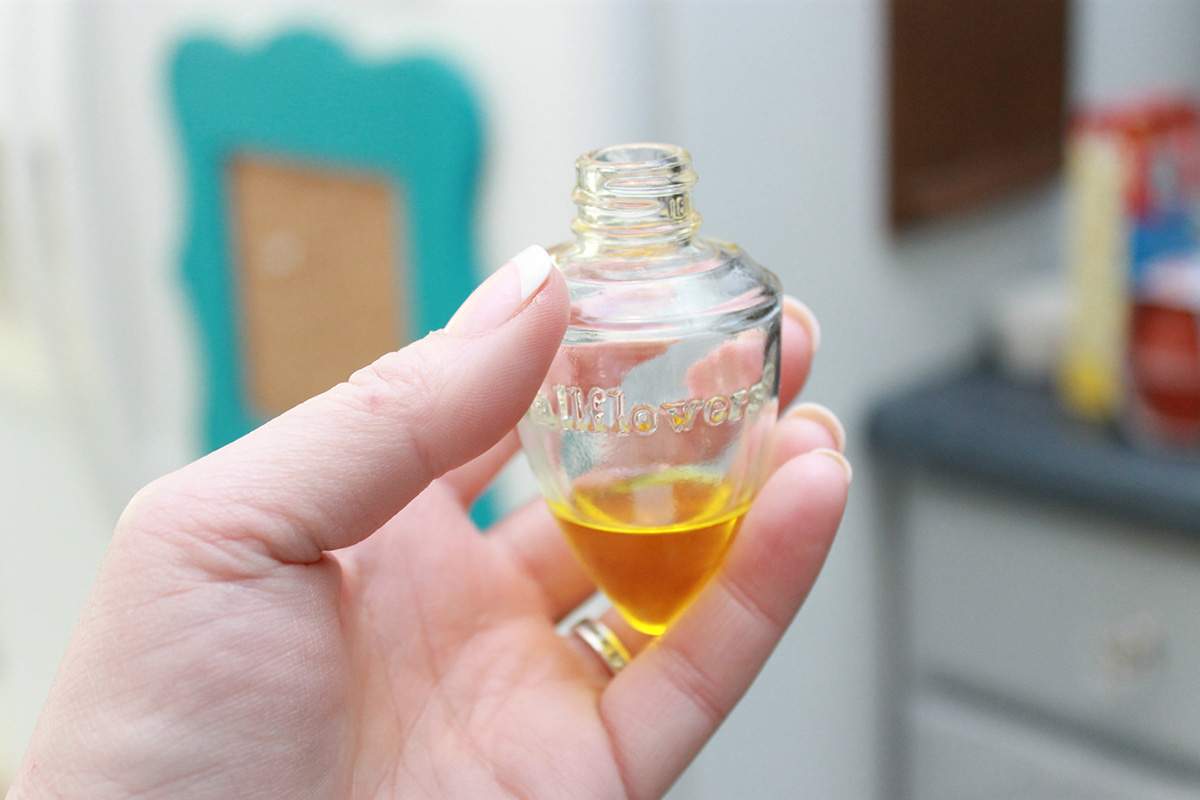
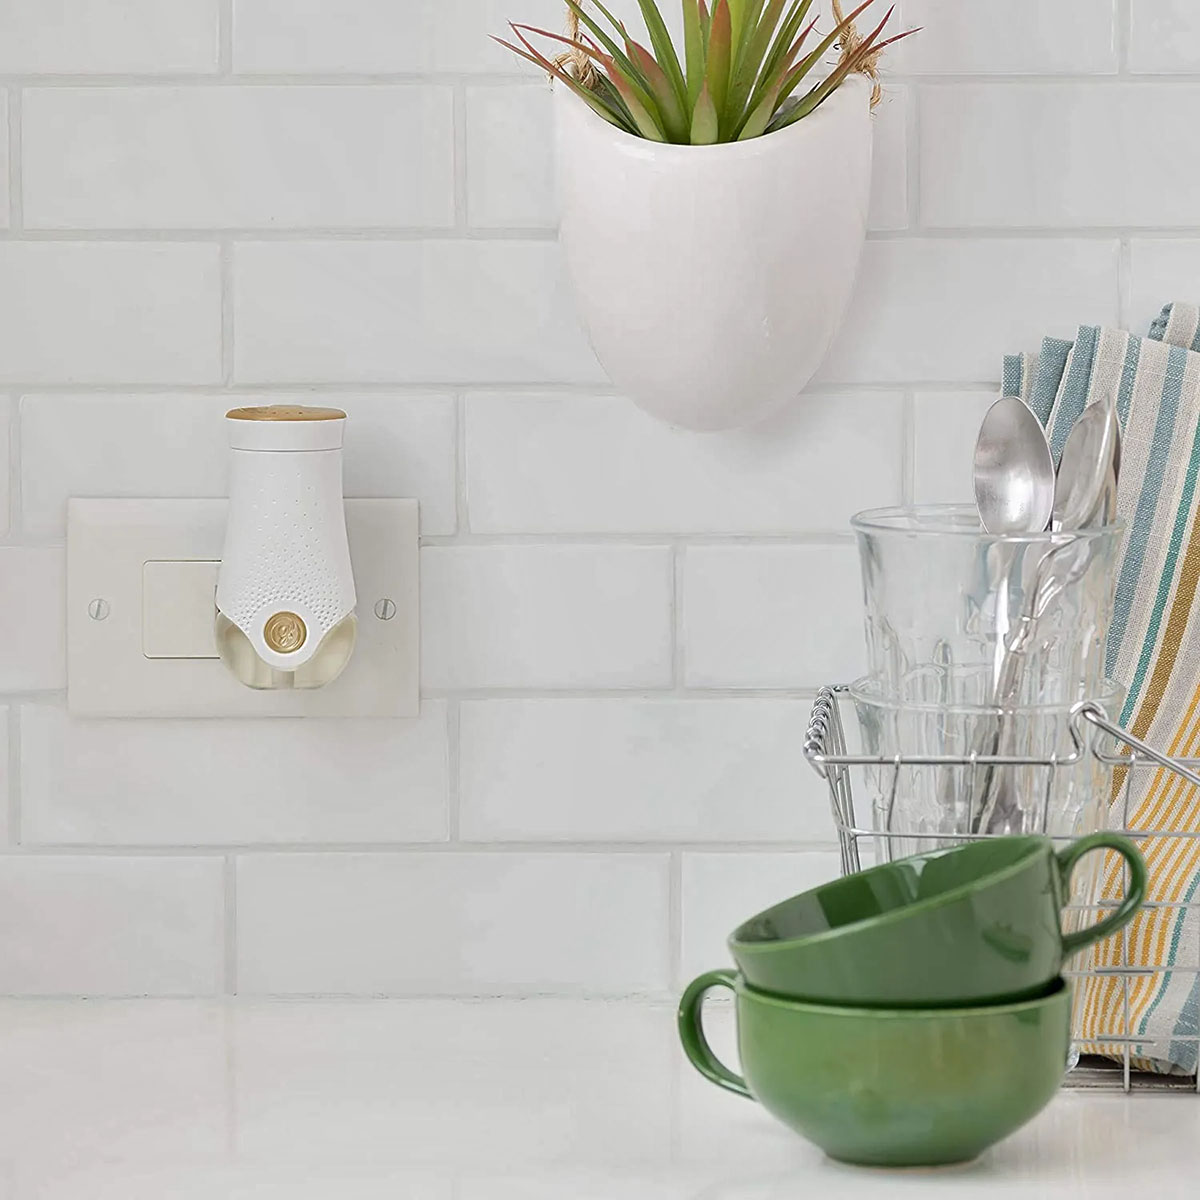
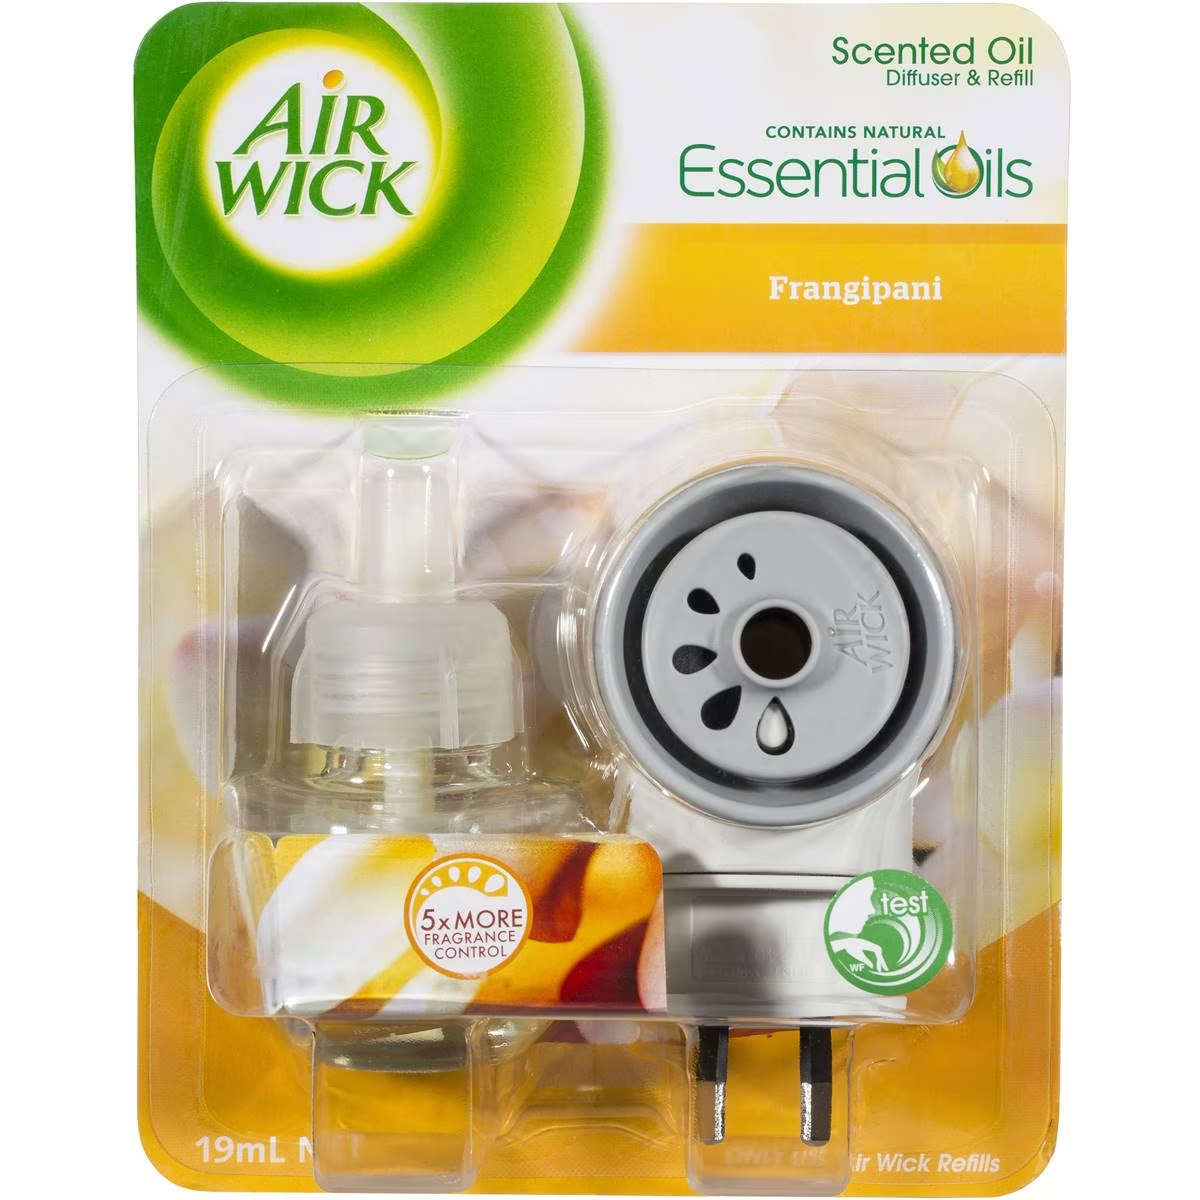
To make plug-in air freshener refills, carefully remove the wick and empty the old fragrance oil. Then, refill the bottle with your own essential oil and carrier oil mixture, and replace the wick. This will allow you to customize the scent and save money.
Step 3: Refill the Empty Plug-In
With the essential oil blend in place, it’s time to infuse the refill with distilled water, the final component that will facilitate the gradual release of the delightful scents into your living space.
Using the small funnel, carefully pour distilled water into the refill, ensuring not to overfill it. Leave a small gap at the top to allow for proper blending and absorption of the liquids. The addition of water dilutes the essential oils and carrier oil, enabling them to disperse effectively without overwhelming the senses.
Once the refill is filled with the desired amount of water, use a toothpick or small stir stick to gently blend the contents. This ensures that the essential oils, carrier oil, and water combine harmoniously, creating a uniform solution that will emit a consistent and balanced fragrance over time.
It’s important to handle the refill with care during this step to prevent any spillage and to maintain a clean work area. The gentle blending of the liquids will help achieve an even distribution of the essential oil blend within the water, setting the stage for a delightful olfactory experience once the plug-in is activated.
After successfully refilling the plug-in with the essential oil blend and distilled water, you’re now ready to reassemble the unit, ensuring that it’s secure and ready to diffuse your custom-crafted scent into your home. Let’s move on to the final step: reassembling the plug-in to complete the refill process.
Read also: 15 Best Air Freshener Refill For 2025
Step 4: Reassemble the Plug-In
As the refill process nears completion, it’s time to reassemble the plug-in air freshener, ensuring that it is securely put back together and ready to diffuse your custom-crafted scent into your living space.
Begin by carefully reattaching the top and bottom portions of the refill, ensuring a snug fit to prevent any leaks or spills. Most plug-in refills are designed to be reassembled easily, typically by aligning and pressing the two parts together until they interlock securely. This step is crucial in maintaining the integrity of the refill and preventing any potential seepage of the liquid contents.
Once the refill is securely reassembled, it’s important to inspect it for any signs of leakage or misalignment. This ensures that the refill is ready for use and will function as intended once inserted into the air freshener unit.
Before inserting the refill into the air freshener unit, it’s a good practice to wipe the exterior of the refill with a clean, dry cloth to remove any residual liquid and ensure a clean and tidy appearance. This simple step adds a touch of finesse to the refill process and contributes to a polished presentation within your living space.
With the plug-in air freshener refill expertly reassembled and prepared for use, it’s time to insert it into the air freshener unit and enjoy the delightful aromas that will emanate from your custom-crafted creation. Let’s conclude this DIY journey and reflect on the satisfaction of creating your own natural and personalized plug-in air freshener refills.
Conclusion
Congratulations on successfully creating your own custom-scented plug-in air freshener refills! By embarking on this DIY journey, you’ve not only infused your living space with delightful and natural fragrances but also taken a proactive step towards promoting a healthier indoor environment. The use of essential oils and natural ingredients allows you to enjoy the benefits of aromatherapy while avoiding the potentially harmful chemicals often found in commercial air fresheners.
Through careful selection and blending of essential oils, you’ve personalized the ambiance of your home, tailoring the scents to suit your preferences and create the desired atmosphere. Whether you’ve opted for calming lavender, invigorating eucalyptus, uplifting lemon, or refreshing peppermint, the scents that now permeate your living space are a reflection of your creativity and wellness-oriented choices.
Furthermore, by reusing and refilling empty plug-in air freshener units, you’ve contributed to sustainable practices, reducing waste and environmental impact. This eco-friendly approach aligns with the principles of conscious living and mindful consumption, showcasing your commitment to both personal well-being and environmental stewardship.
As you revel in the delightful aromas that emanate from your custom-crafted plug-in air freshener refills, take a moment to appreciate the artistry and intentionality behind your creation. The scents that envelop your home are not only a testament to your DIY prowess but also a testament to your dedication to a healthier and more harmonious living environment.
With your newfound knowledge and hands-on experience, you now have the expertise to continue crafting an array of custom-scented plug-in air freshener refills, experimenting with different essential oil blends and expanding your olfactory repertoire. This ongoing journey of creativity and wellness promises to elevate the ambiance of your living space and infuse it with the scents that resonate with you on a personal level.
Thank you for joining us on this aromatic DIY adventure. May your home be filled with the delightful fragrances of your own making, creating an atmosphere that is uniquely yours and brimming with natural beauty and wellness.
Frequently Asked Questions about How To Make Plug In Air Freshener Refills
Was this page helpful?
At Storables.com, we guarantee accurate and reliable information. Our content, validated by Expert Board Contributors, is crafted following stringent Editorial Policies. We're committed to providing you with well-researched, expert-backed insights for all your informational needs.




0 thoughts on “How To Make Plug In Air Freshener Refills”