Articles
How To Make A Propane Refill Adapter
Modified: August 27, 2024
Learn how to make a propane refill adapter with our informative articles. Get step-by-step instructions and expert tips to save money and refill your propane tanks easily.
(Many of the links in this article redirect to a specific reviewed product. Your purchase of these products through affiliate links helps to generate commission for Storables.com, at no extra cost. Learn more)
Introduction
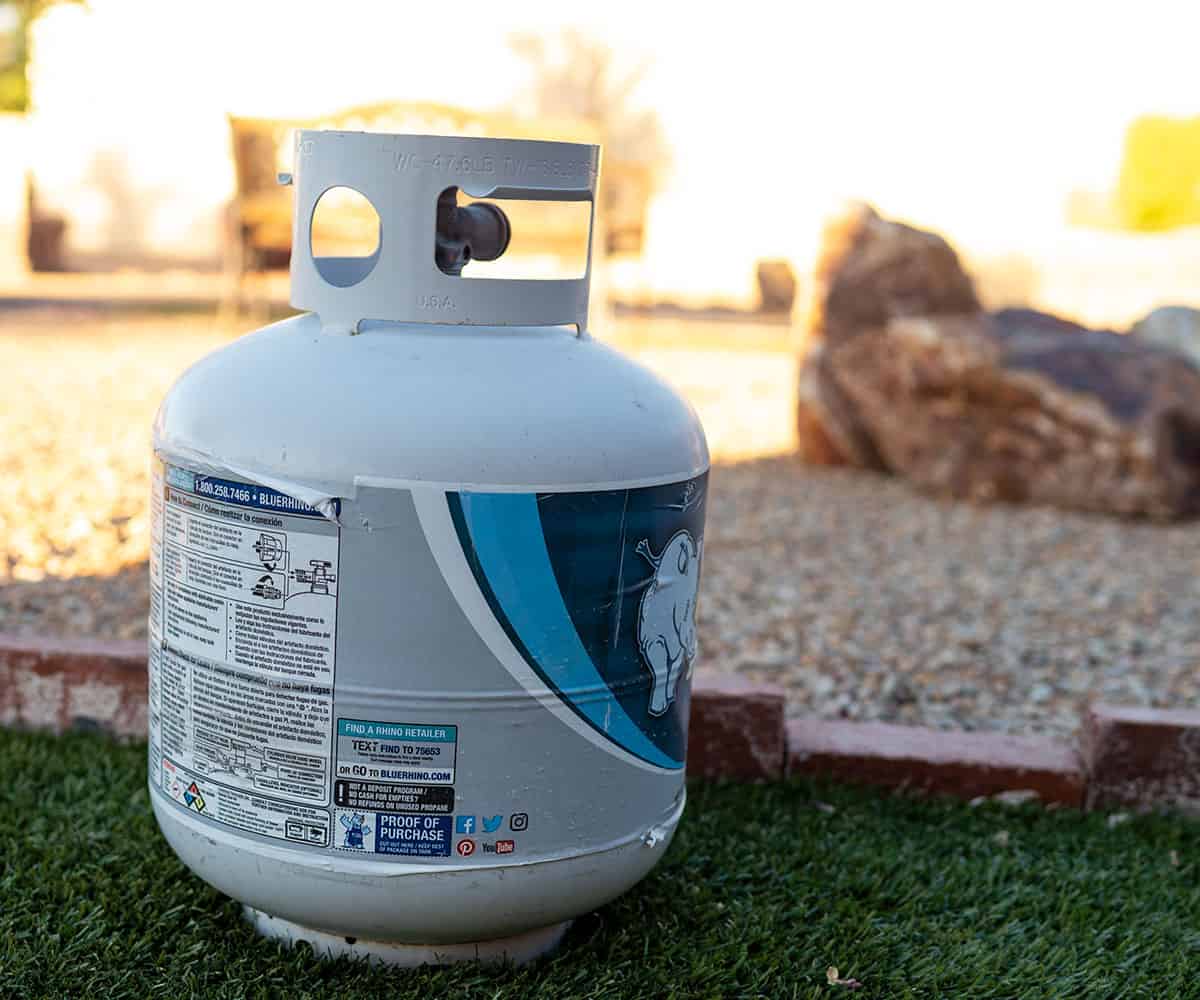
Propane is a commonly used fuel for various applications, from heating and cooking to powering generators and outdoor grills. However, constantly purchasing new propane tanks can be expensive and inconvenient. That’s where a propane refill adapter comes in handy.
A propane refill adapter allows you to refill your empty propane tanks from a larger, refillable propane cylinder. It’s a cost-effective and environmentally friendly solution that allows you to reuse your existing propane tanks instead of constantly buying new ones.
In this article, we’ll guide you through the step-by-step process of making a propane refill adapter, enabling you to refill your propane tanks in a safe and efficient manner. But before we dive into the details, let’s take a look at the materials you’ll need for this project.
Key Takeaways:
- Save money and reduce waste by making a propane refill adapter to reuse existing tanks, while enjoying the convenience of propane-powered devices.
- Prioritize safety throughout the process, from gathering materials to monitoring the refill, and safely storing the refill adapter for future use.
Read more: How To Make Plug In Air Freshener Refills
Materials Needed
Before you begin making your propane refill adapter, make sure you have the following materials:
- A brass or stainless steel propane refill adapter valve
- A propane tank with a compatible valve
- A propane tank with a larger capacity to serve as the refill source
- A wrench or pliers for tightening and loosening connections
- A leak detector solution or soapy water
- Safety gloves and goggles to protect yourself during the process
It’s important to use a brass or stainless steel refill adapter valve for durability and resistance to corrosion. Additionally, ensure that the valve is compatible with both your empty propane tank and the refill source tank.
The propane tank you use as the refill source should have a larger capacity than your empty propane tank to accommodate the refill process. Make sure both tanks are in good condition and free from leaks, cracks, or any other damage.
Having a wrench or pliers on hand will help you tighten and loosen connections securely, ensuring a leak-free refill process. Additionally, having a leak detector solution or soapy water can help you identify any leaks and prevent any potential hazards.
Lastly, always prioritize your safety during the entire process. Wear safety gloves and goggles to protect your hands and eyes from any potential accidents or propane leaks.
Now that you have all the necessary materials, let’s move on to the step-by-step process of making a propane refill adapter!
Step 1: Gather Necessary Tools
Before you can create your propane refill adapter, it’s important to gather all the necessary tools. Here’s a list of tools you’ll need:
- A drill
- Drill bits
- A file
- A deburring tool
- A wrench or pliers
- Thread seal tape
The drill will be used to create a hole in the empty propane cylinder’s valve assembly, allowing you to attach the refill adapter valve. Make sure you have the appropriate drill bits that match the size of the refill adapter valve. This will ensure a proper fit and prevent any leaks.
A file and deburring tool are essential for smoothing out the rough edges after drilling the hole. This step is crucial to ensure a tight and secure connection when attaching the refill adapter valve. It’s important to create a clean opening that is free from any burrs or sharp edges.
A wrench or pliers will be used to tighten and secure the connections between the refill adapter valve and the propane tanks. This will help prevent any gas leaks during the refill process. Make sure you have the appropriate size wrench or pliers to fit the valves and connections.
Lastly, thread seal tape is vital for creating a tight and reliable seal between the connections. This tape is specifically designed to prevent leaks and ensure a secure connection. Wrap a few layers of thread seal tape around the threads of the refill adapter valve to enhance the sealing properties and prevent any gas leaks.
Once you’ve gathered all the necessary tools, you’re ready to move on to the next step – preparing the propane cylinder for the refill adapter valve.
Step 2: Prepare the Propane Cylinder
Before you can attach the refill adapter valve to the propane cylinder, you need to prepare the cylinder by following these steps:
- Inspect the propane cylinder: Check the cylinder for any signs of damage, such as dents, rust, or leaks. It’s important to ensure that the cylinder is in good condition and safe to use.
- Release any remaining propane: If there is any propane left in the cylinder, you need to release it safely. To do this, connect the cylinder to a propane appliance or burner and open the valve to let the gas escape. Make sure you do this in a well-ventilated area, away from any open flames or sparks.
- Remove the valve cover: Most propane cylinders have a protective valve cover. Use a wrench or pliers to carefully remove the cover and expose the cylinder’s valve assembly.
- Drill a hole in the valve assembly: Use a drill with the appropriate drill bit size to create a hole in the valve assembly. The size of the hole should match the size of the refill adapter valve you will be using. Take caution while drilling and ensure that the hole is clean and free from any debris.
- Smooth out the edges: After drilling the hole, use a file to smooth out any rough edges around the opening. This will ensure a clean and secure connection when attaching the refill adapter valve. Follow up with a deburring tool to remove any burrs or sharp edges.
- Clean the valve assembly: Use a clean cloth or paper towel to wipe away any dust or debris from the valve assembly. Ensuring a clean surface will promote better sealing when connecting the refill adapter valve.
- Apply thread seal tape: Wrap a few layers of thread seal tape around the threads of the valve assembly. This will help create a tight and leak-free connection when attaching the refill adapter valve.
Once you’ve prepared the propane cylinder, it’s time to move on to the next step – setting up the refill adapter.
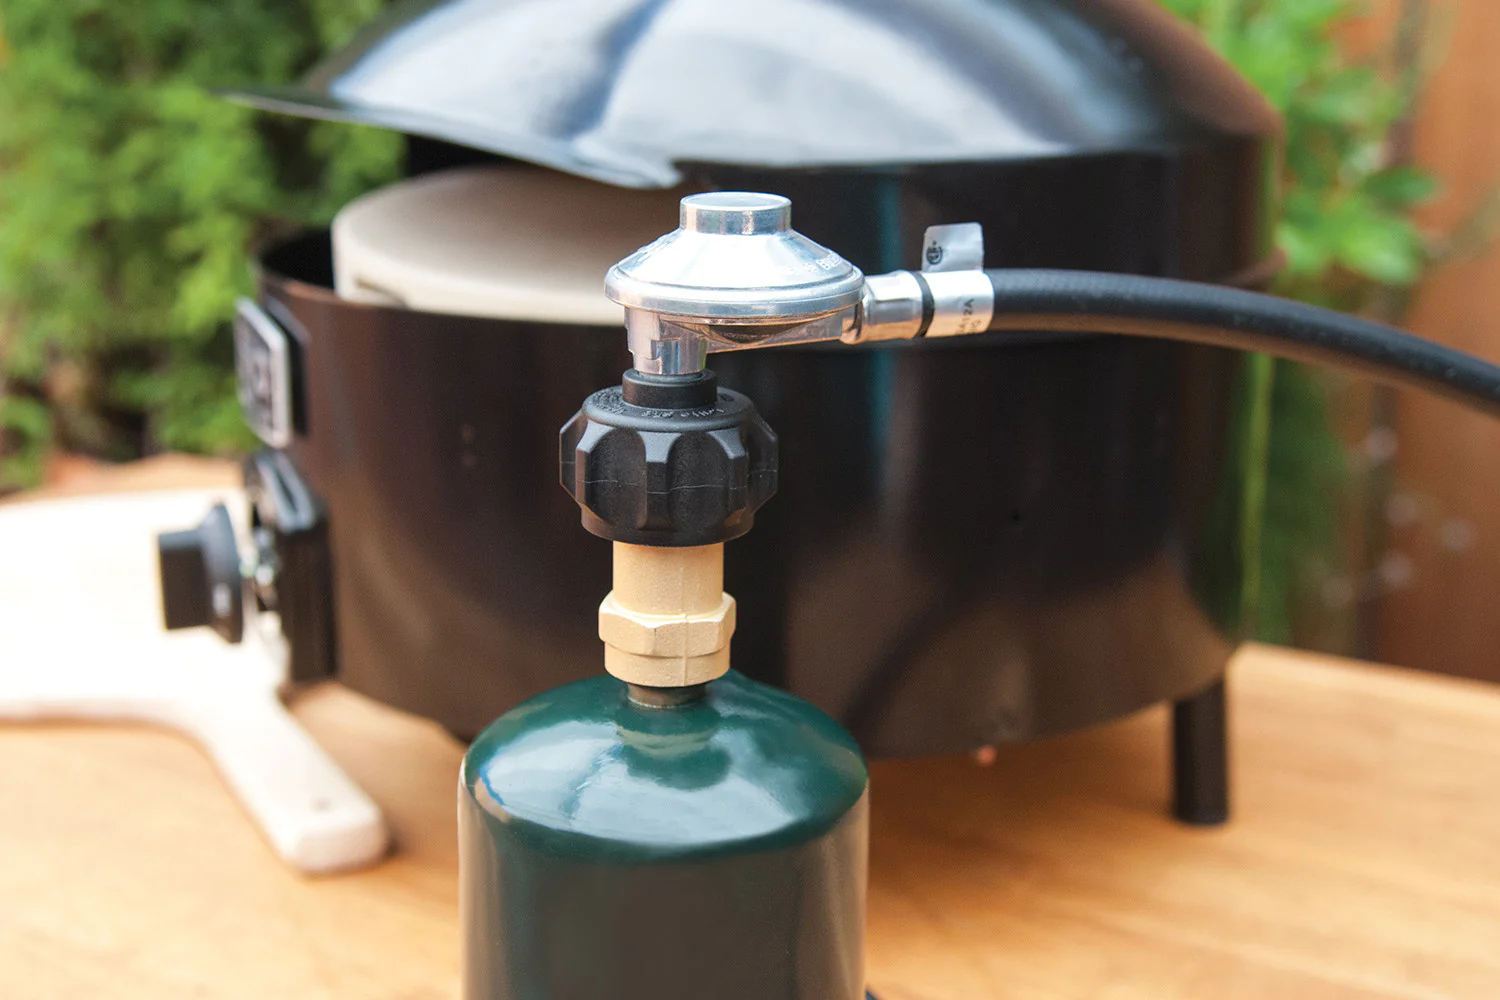
Step 3: Set Up the Refill Adapter
Now that you have prepared the propane cylinder, it’s time to set up the refill adapter. Follow these steps to properly assemble the refill adapter:
- Inspect the refill adapter: Check the refill adapter valve for any signs of damage or defects. Ensure that all the components are in good condition before proceeding.
- Screw the refill adapter valve onto the cylinder: Take the refill adapter valve and align it with the drilled hole in the propane cylinder’s valve assembly. Use your hand to screw it in clockwise until it is snug. Make sure not to overtighten to avoid damaging the threads.
- Secure the refill adapter valve: Using a wrench or pliers, gently tighten the refill adapter valve onto the cylinder until it is securely in place. Take caution not to apply too much force to prevent any damage or leaks.
- Ensure a tight and leak-free connection: Once the refill adapter valve is firmly attached, check for any potential leaks. Apply a leak detector solution or soapy water around the connection area. If you notice any bubbles forming, it indicates a leak. In that case, tighten the connection further until the leak stops.
- Inspect the overall setup: Take a moment to inspect the entire setup, including the refill adapter valve and the propane cylinder. Make sure everything is properly secured and there are no signs of leaks or loose fittings.
By following these steps, you have successfully set up the refill adapter and attached it to the propane cylinder. Now, you’re ready to move on to the next step – connecting the propane tanks.
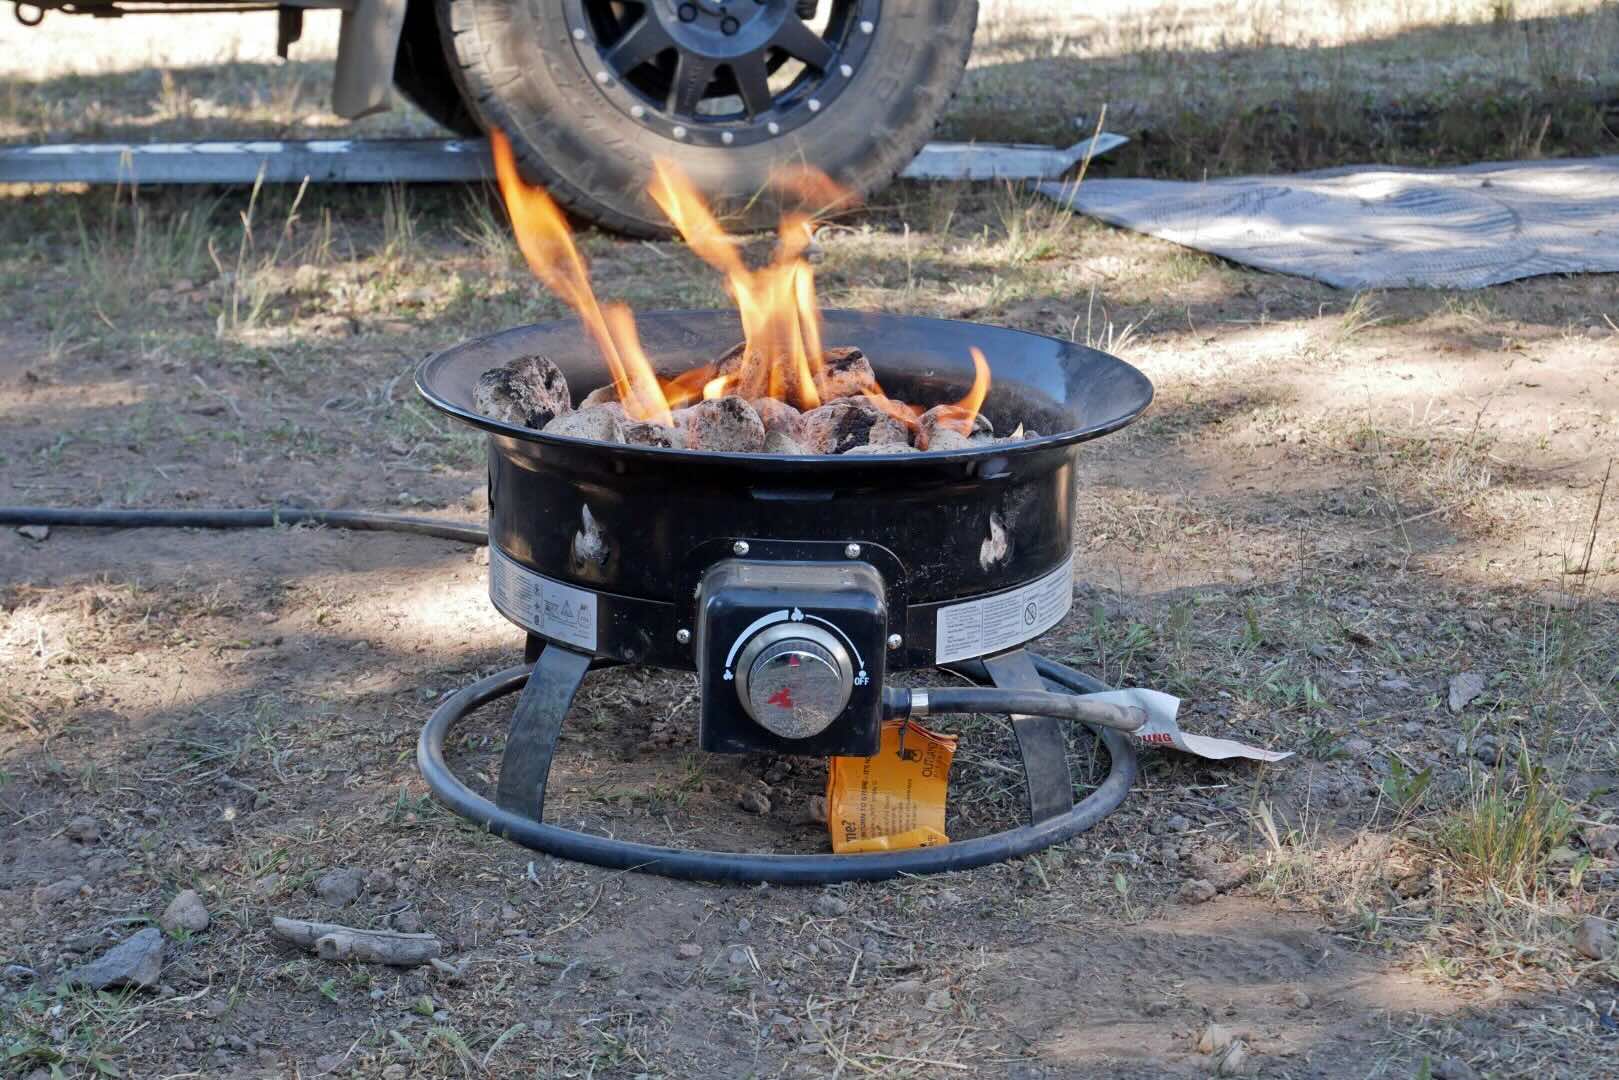
Read more: How To Make Your Own Propane Fire Pit
Step 4: Connect the Propane Tanks
With the refill adapter set up, it’s time to connect the propane tanks. Follow these steps to safely and securely connect the tanks:
- Identify the empty propane tank: Locate the propane tank that needs to be refilled. Ensure it is in good condition and free from any leaks or damage.
- Identify the refill source tank: Choose a propane tank with a larger capacity to serve as the refill source. Ensure it is also in good condition and free from any leaks or damage.
- Inspect the valve on the empty tank: Examine the valve on the empty propane tank and ensure it is free from debris and in proper working condition. Remove any protective caps if necessary.
- Line up the valves: Align the valve on the refill source tank with the refill adapter valve on the empty tank. Make sure the valves are properly lined up before proceeding.
- Connect the tanks: Attach the refill source tank’s valve to the refill adapter valve by turning it clockwise. Use a wrench or pliers to securely tighten the connection, ensuring a leak-free seal.
- Check for leaks: Apply a leak detection solution or soapy water around the connection point. Look for any bubbles indicating a leak. If a leak is present, tighten the connection further, or consider using a new seal if necessary.
- Ensure stability: Ensure that the connected tanks are stable and secure. Avoid exerting any unnecessary force or placing them in a precarious position to prevent accidents or damage.
Once the propane tanks are properly connected, you’re ready to move on to the next step – the actual process of refilling the empty propane tank.
When making a propane refill adapter, ensure that all connections are secure and airtight to prevent leaks and ensure safe operation. Double-check the compatibility of the adapter with your specific propane tank and refill source.
Step 5: Begin Refilling
Now that the propane tanks are securely connected, it’s time to start the refill process. Follow these steps to begin refilling the empty propane tank:
- Ensure the refill source tank is in an upright position: Make sure the refill source tank is standing upright on a stable surface. This will help facilitate the transfer of propane smoothly.
- Open the valve on the refill source tank: Slowly open the valve on the refill source tank counterclockwise. This will release the propane and initiate the transfer process.
- Monitor the pressure: As the propane flows from the refill source tank into the empty tank, keep a close eye on the pressure gauge or indicator. This will help you gauge the progress of the refill.
- Be patient: Refilling an empty propane tank may take some time, depending on the size of the tanks and the flow rate of the propane. It’s important to be patient and allow the process to complete naturally.
- Avoid overfilling: Keep a watchful eye on the propane level in the empty tank. It’s crucial not to overfill the tank, as this can lead to potential safety hazards. Once the tank is adequately filled, you need to stop the refill process.
- Close the valve on the refill source tank: Once the empty tank is filled to the desired level, close the valve on the refill source tank by turning it clockwise. This will stop the flow of propane.
It’s essential to exercise caution and follow proper safety measures while refilling the propane tank. If you are not experienced or comfortable with the process, it is advised to seek professional assistance.
With the refill complete, you can now move on to the next step – monitoring the refill process.
Step 6: Monitor the Refill Process
While the propane tank is being refilled, it’s important to closely monitor the refill process to ensure safety and efficient operation. Follow these steps to properly monitor the refill process:
- Stay attentive and observant: Keep an eye on the refill process from start to finish. Avoid any distractions and focus on the tanks and the surrounding area.
- Watch for any leaks: Continuously inspect the connection between the refill adapter valve and the propane tanks for any signs of leaks. Look for any bubbling or hissing sounds that may indicate a leak. If you notice a leak, close the valve on the refill source tank immediately and address the issue before proceeding.
- Check the pressure gauge: Regularly check the pressure gauge on the empty propane tank to monitor the progress of the refill. Ensure that it is gradually increasing and reaching the desired level.
- Take note of any unusual behavior or issues: If you observe any abnormal behavior, such as sudden fluctuations in pressure, strange smells, or unusual sounds, it’s crucial to stop the refill process immediately and investigate the cause. Safety should always be the top priority.
- Follow safety guidelines: Adhere to the safety guidelines provided by the propane tank manufacturer and any applicable regulations. Ensure proper ventilation and avoid smoking or open flames in the vicinity. Be prepared to take immediate action in case of emergencies.
- Be patient: Refilling a propane tank may take some time, depending on factors such as tank size and the flow rate of propane. It’s important to be patient throughout the process and avoid rushing or attempting to speed up the refill.
By closely monitoring the refill process, you can identify and address any issues promptly, ensuring a safe and successful refill. Once you are satisfied with the progress and the tank has reached its desired level, you’re ready to move on to the next step – disconnecting the tanks.
Step 7: Disconnect the Tanks
After the refill process is complete, it’s important to safely disconnect the propane tanks. Follow these steps to properly disconnect the tanks:
- Close the valve on the empty tank: Start by turning the valve on the empty propane tank clockwise to close it. This will prevent any gas from escaping.
- Close the valve on the refill source tank: Next, close the valve on the refill source tank by turning it clockwise. This will ensure that no propane is flowing through the system.
- Release any remaining pressure: To release any remaining pressure in the system, carefully open the valve on the empty tank for a brief moment. This will allow any excess gas to escape.
- Disconnect the tanks: Use a wrench or pliers to loosen and remove the connection between the refill adapter valve and the refill source tank. Ensure a steady grip and be cautious of any potential gas leaks.
- Inspect the tanks and connection: Once the tanks are disconnected, visually inspect them for any signs of damage or leaks. Check the connection points to ensure they are clean and in good condition. Address any issues immediately.
- Securely close the empty tank: Make sure the valve on the empty propane tank is tightly closed. Replace any protective caps or covers to maintain the integrity of the valve assembly.
- Store the tanks safely: Store the propane tanks in a well-ventilated and secure area away from any ignition sources. Follow proper safety guidelines for propane storage to avoid any accidents or hazards.
By following these steps, you can safely disconnect the propane tanks and ensure that no gas is leaking from the system. Properly storing the tanks in a safe location will also help maintain their condition for future use.
Now that the tanks are disconnected and safely stored, you can move on to the final step – safely storing the refill adapter.
Read more: How To Make Transmission Adapter Plate
Step 8: Safely Store the Refill Adapter
After completing the propane refill process, it’s important to properly store the refill adapter for future use. Follow these steps to safely store the refill adapter:
- Clean the refill adapter: Use a clean cloth or paper towel to wipe off any dirt, debris, or propane residue from the refill adapter. Ensure that it is clean and dry before storage.
- Inspect the refill adapter: Examine the refill adapter for any signs of damage, such as cracks, dents, or loose components. It’s important to ensure that the refill adapter is in good condition for safe and effective use in the future.
- Secure the refill adapter: If applicable, replace any protective caps or covers on the refill adapter to protect it from damage and keep it free from dust or debris. This will help extend its lifespan and maintain its functionality.
- Store in a cool, dry place: Find a suitable storage location for the refill adapter. Choose a cool, dry area away from direct sunlight, excessive heat, or moisture. This will help prevent any damage or corrosion and ensure the longevity of the adapter.
- Label and organize: To easily identify the refill adapter in the future, consider labeling the storage container or area where it is kept. You can also keep it in a designated storage box or bag along with other propane-related accessories.
- Keep out of reach of children: Ensure that the stored refill adapter is in a secure location that is inaccessible to children or unauthorized individuals. Propane-related equipment should always be handled with care and stored responsibly.
By following these steps, you can safely store the refill adapter and prolong its lifespan. Proper care and storage will ensure that it remains in good condition and ready for use when needed.
With the refill adapter securely stored, you have successfully completed the entire process of making and using a propane refill adapter. By reusing your existing propane tanks, you can save money and reduce waste, while still enjoying the convenience of propane-powered devices.
Remember to always prioritize safety when handling propane and propane-related equipment. If you have any doubts or concerns, consult a professional or seek guidance from experts in propane handling and usage. Stay safe and enjoy the benefits of your propane refill adapter!
Conclusion
By following the step-by-step process outlined in this article, you have learned how to make a propane refill adapter and safely refill your empty propane tanks. This cost-effective and environmentally friendly solution allows you to reuse your existing propane tanks, saving you money and reducing waste.
Throughout the process, it is crucial to prioritize safety. Always inspect the tanks for damage, ensure proper ventilation, and follow safety guidelines provided by the propane tank manufacturer. Additionally, be vigilant during the refill process, monitoring for any signs of leaks or abnormalities.
Remember to gather the necessary materials, including a proper refill adapter valve, wrench or pliers, and leak detection solution. Prepare the propane cylinder by making a clean hole and applying thread seal tape for a secure connection. Set up the refill adapter by securely attaching and tightening the valve onto the cylinder.
Connect the propane tanks, maintaining stability and checking for leaks. Begin the refill process by opening the valve on the refill source tank and monitoring the pressure gauge. Be patient throughout the process, ensuring not to overfill the tank.
Once the refill is complete, safely disconnect the tanks and store them in a well-ventilated and secure area. Clean and inspect the refill adapter before storing it as well. Label the storage container and keep it out of the reach of children.
Using a propane refill adapter not only allows you to save money and reduce waste but also gives you the convenience of refilling your empty propane tanks at your own pace. Just remember to always prioritize safety and follow the proper guidelines.
Now that you have the knowledge and skills to create and use a propane refill adapter, you can enjoy the benefits of propane-powered applications without the hassle of constantly purchasing new tanks. Embrace this cost-effective and eco-friendly solution and enjoy the flexibility it offers.
Now that you're set with your DIY propane refill adapter, why not take your grilling game up a notch? Our next guide on must-have grill enhancements offers everything needed to transform basic barbecuing into a sensational feast. From innovative grilling tools to stylish decor additions, find out how to elevate every outdoor cooking experience.
Frequently Asked Questions about How To Make A Propane Refill Adapter
Was this page helpful?
At Storables.com, we guarantee accurate and reliable information. Our content, validated by Expert Board Contributors, is crafted following stringent Editorial Policies. We're committed to providing you with well-researched, expert-backed insights for all your informational needs.


0 thoughts on “How To Make A Propane Refill Adapter”