
Articles
How To Turn Off Water To Toilet
Modified: August 25, 2024
Discover step-by-step articles on how to easily turn off the water supply to your toilet and avoid potential plumbing issues.
(Many of the links in this article redirect to a specific reviewed product. Your purchase of these products through affiliate links helps to generate commission for Storables.com, at no extra cost. Learn more)
Introduction
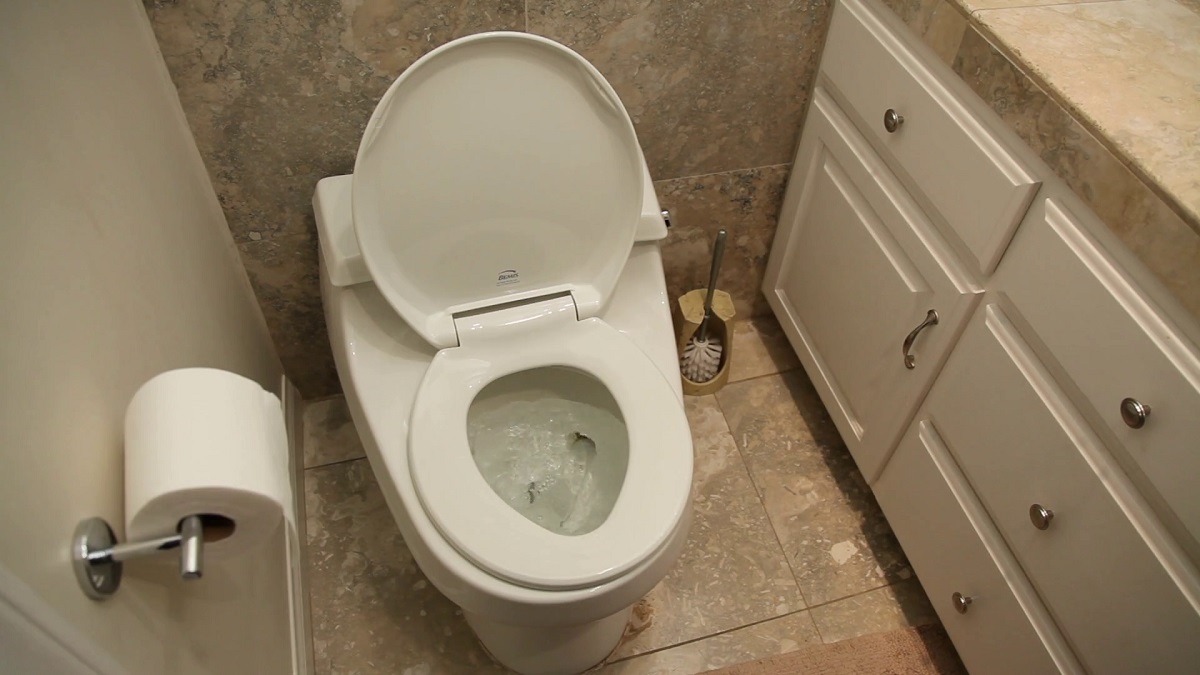
Turning off the water supply to a toilet is an important procedure that everyone should know how to do. Whether you’re dealing with a leaky toilet, performing maintenance or repairs, or simply need to replace the toilet, being able to shut off the water effectively will save you from potential water damage and unnecessary expenses. In this article, we will guide you through the step-by-step process of turning off the water supply to a toilet.
Before we begin, it is important to note that every toilet may have slightly different shut-off valve locations and types. However, the overall process remains the same. By following these steps, you can confidently and safely turn off the water to your toilet.
Key Takeaways:
- Knowing how to locate and turn off the water supply to your toilet can prevent potential water damage and save you time and money on repairs or maintenance.
- By following the step-by-step process of shutting off the water supply, you can confidently tackle various toilet-related tasks with ease and peace of mind.
Read more: How To Turn Off Water In A Bathtub
Step 1: Locate the Shut-Off Valve
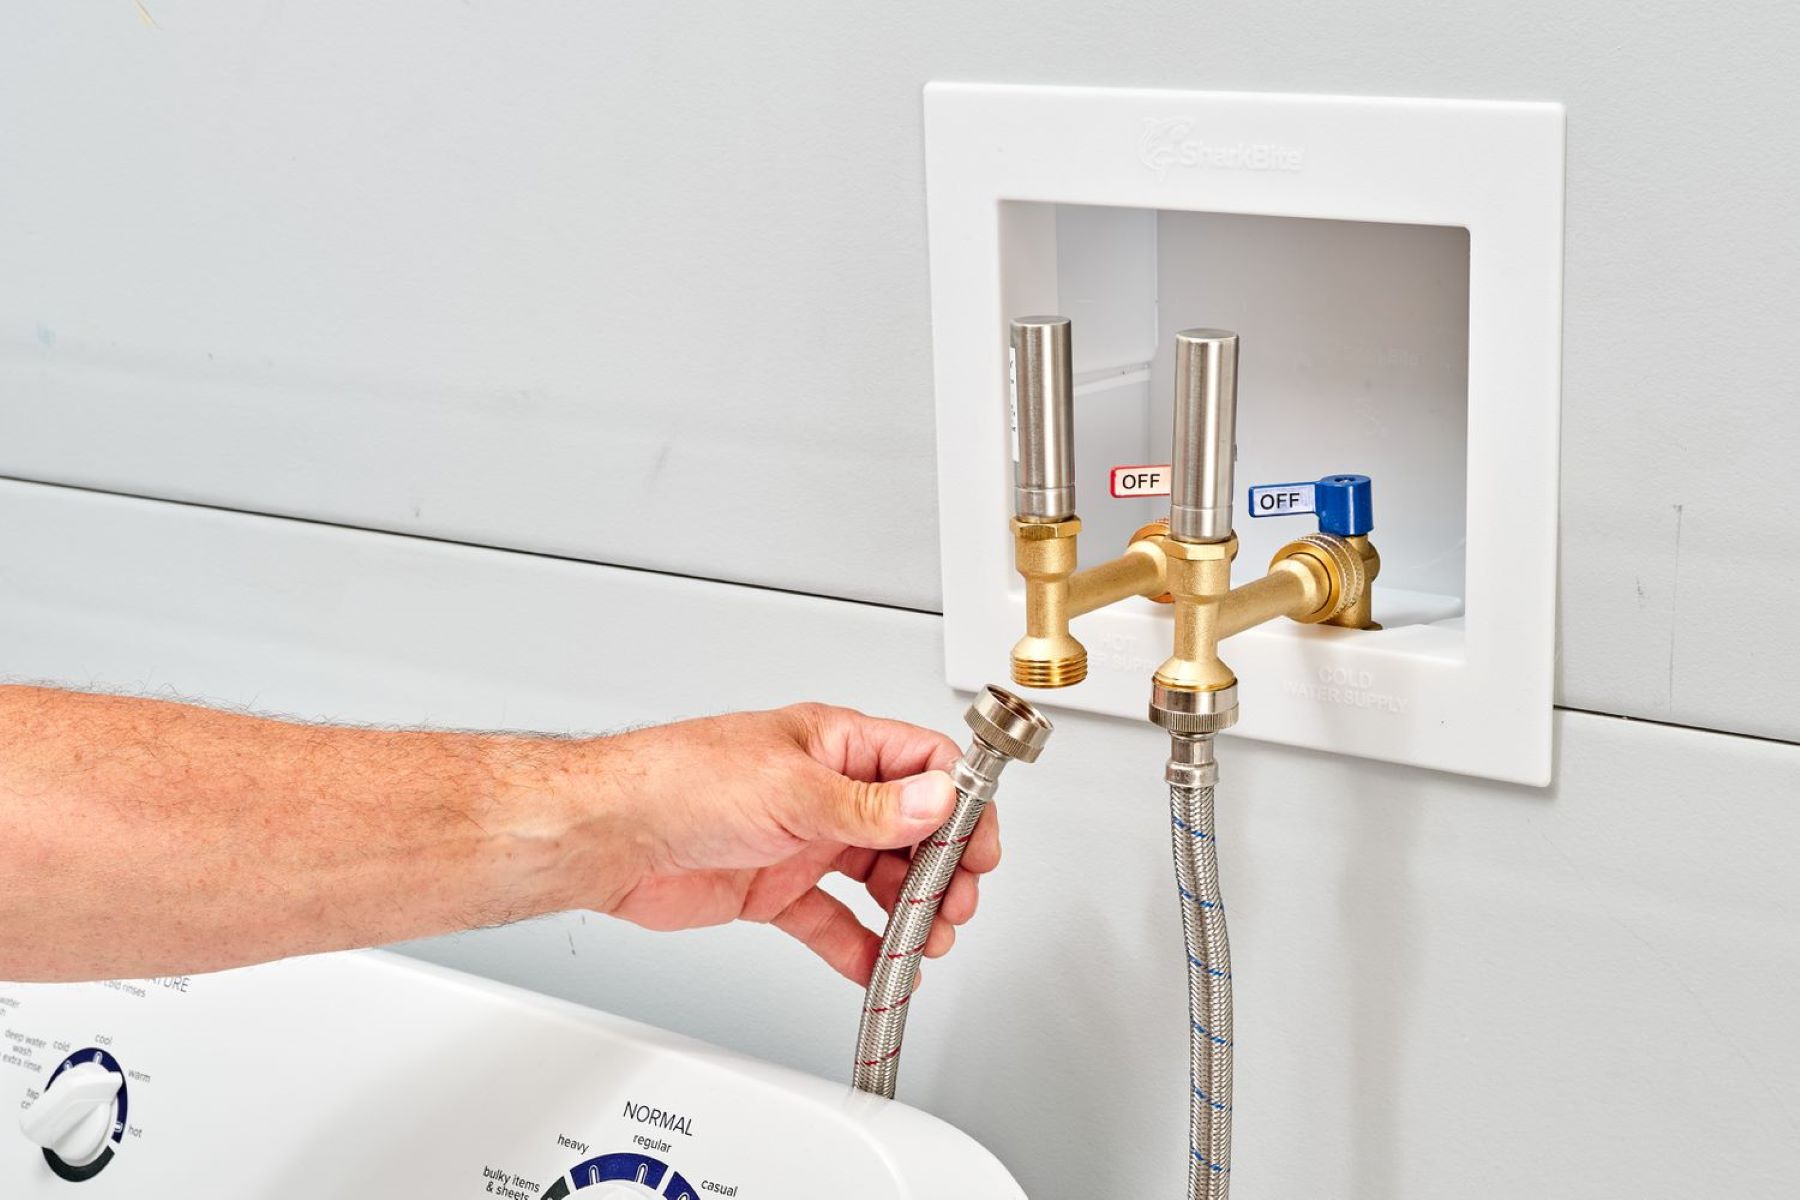
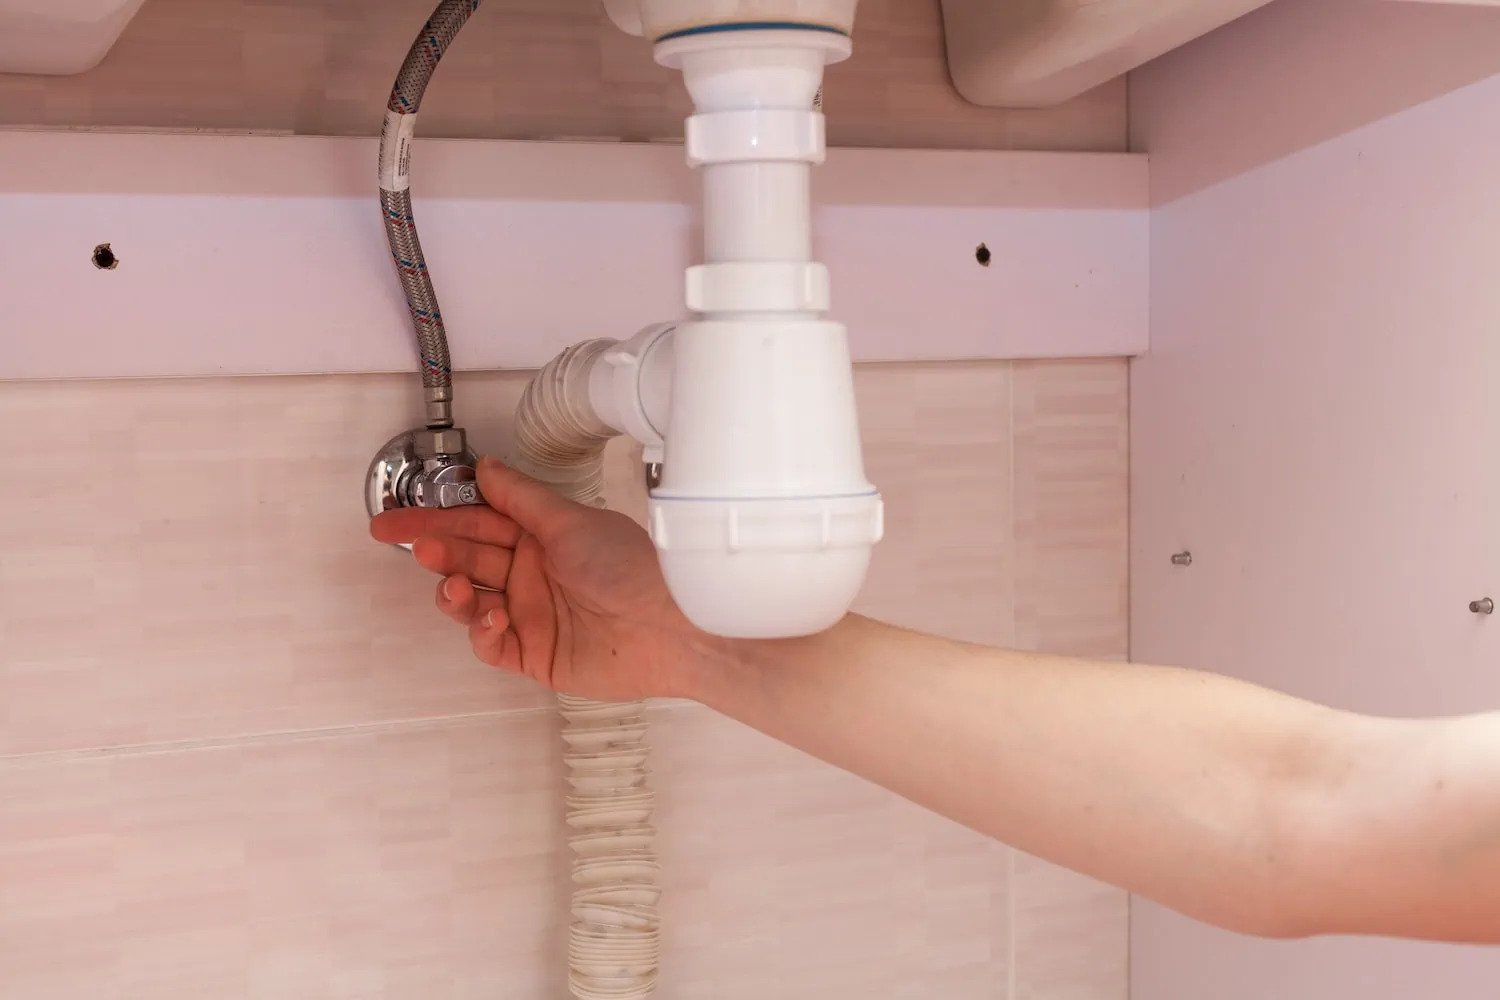
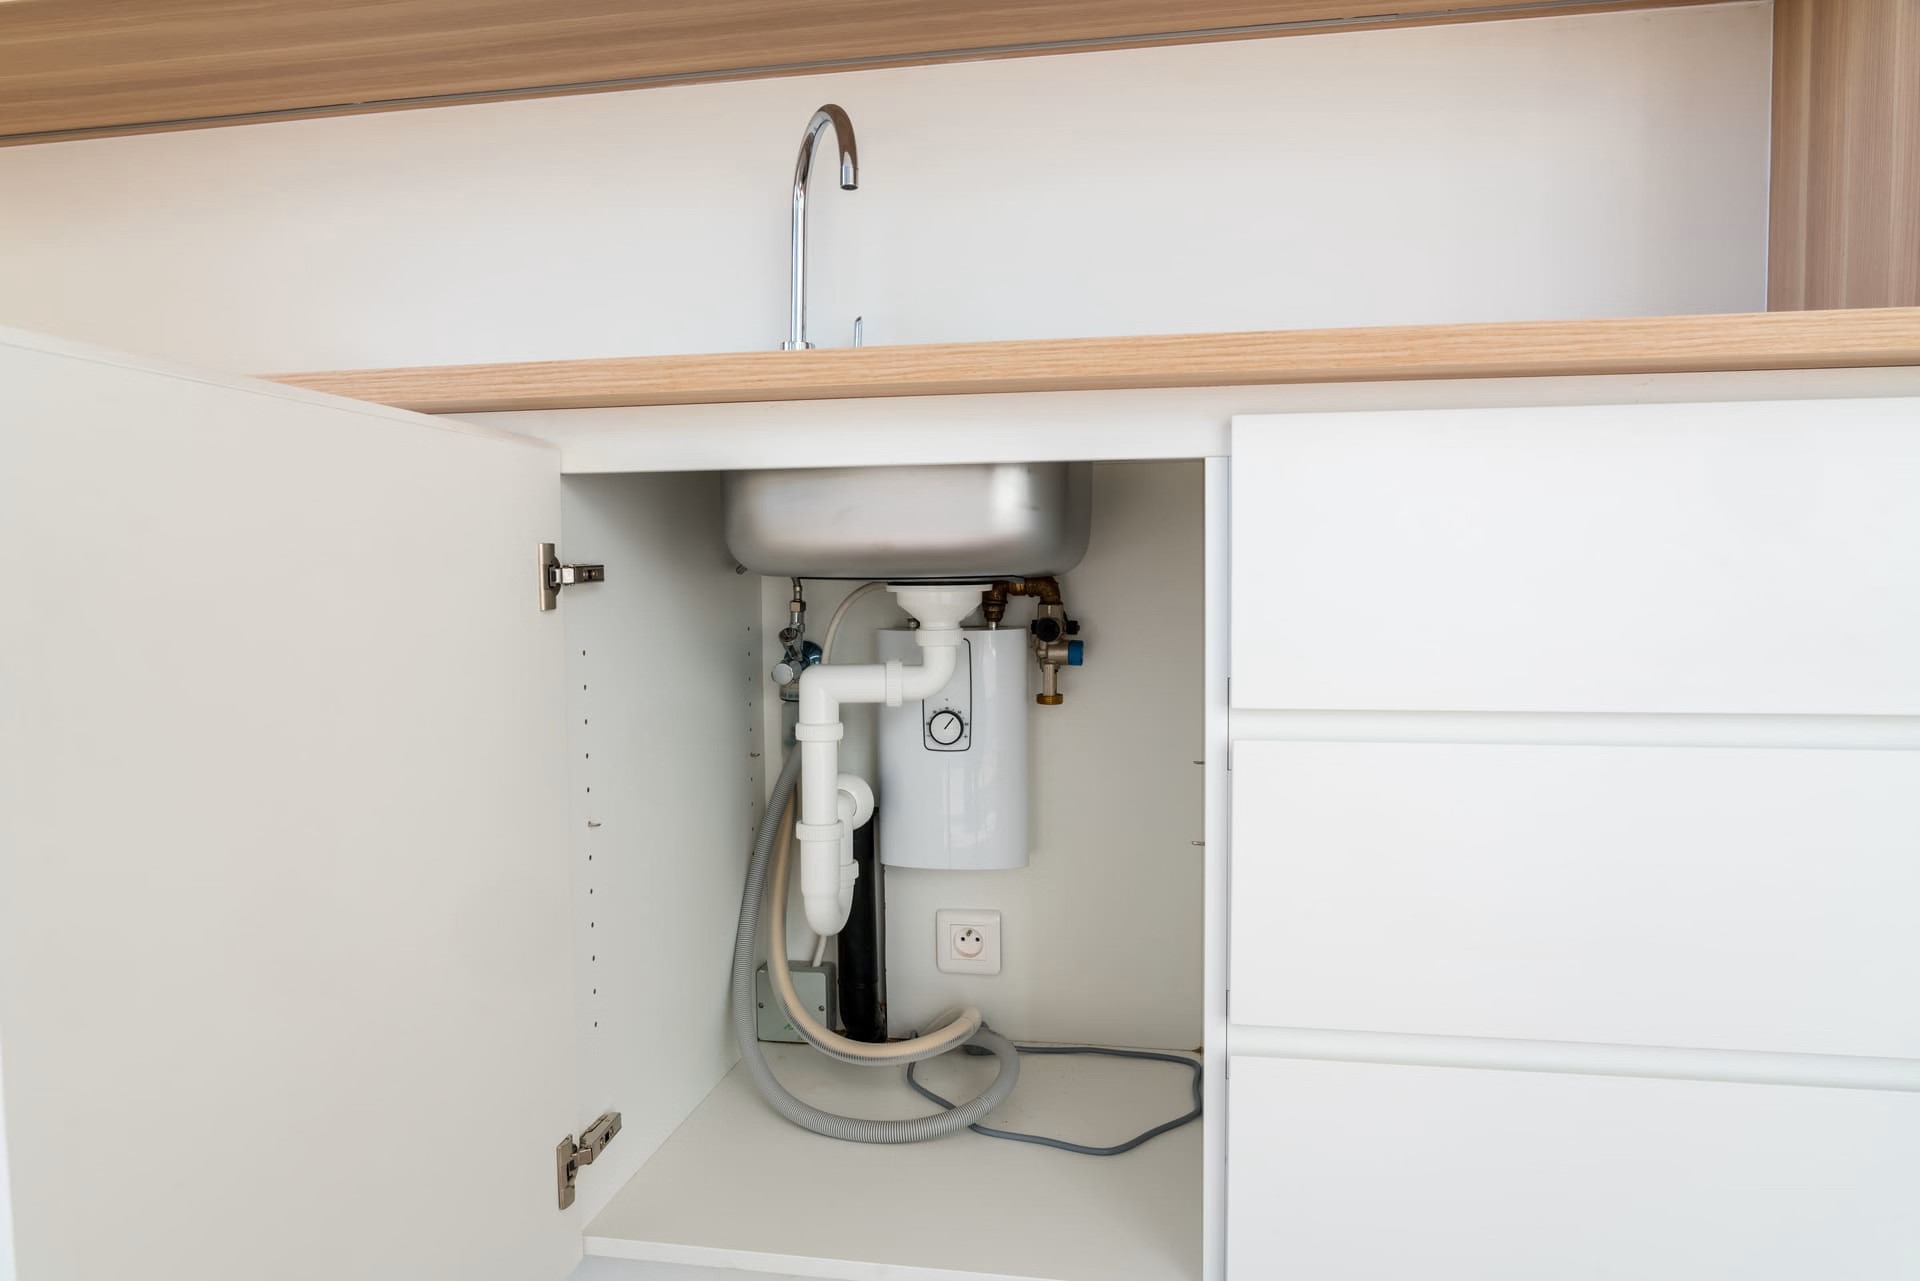
The shut-off valve for your toilet is typically located near the base of the toilet or on the water supply line leading to the toilet. It is important to identify the shut-off valve before proceeding with turning off the water supply. Here’s how you can locate the shut-off valve:
- Start by visually inspecting the area around the toilet. Look for a small metal or plastic valve that is connected to a water pipe.
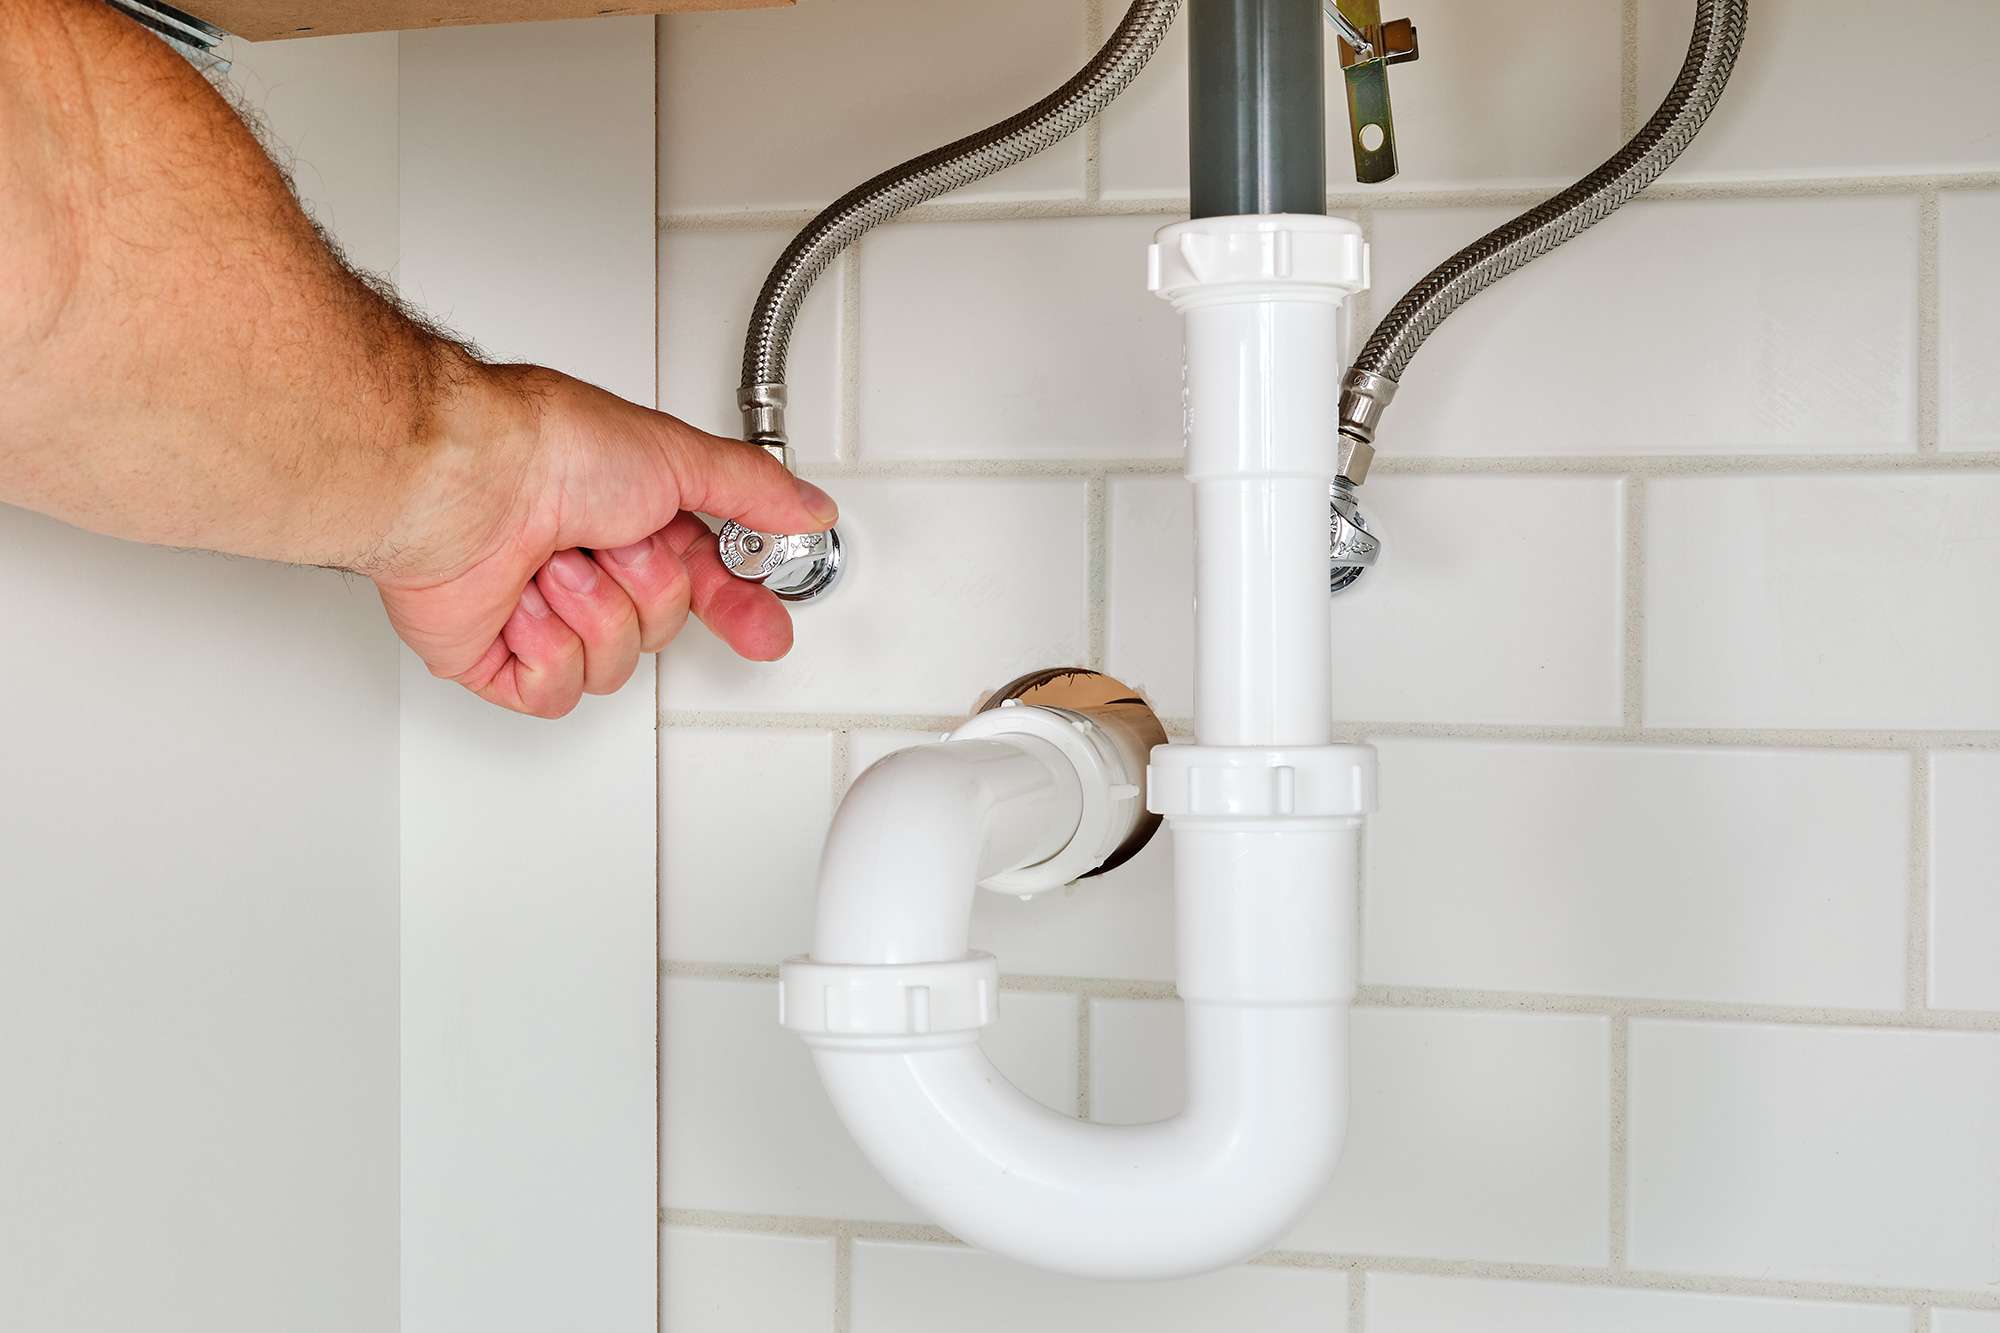
- If you don’t see a valve near the toilet, try looking for a valve under the sink that may also control the water supply to the toilet.
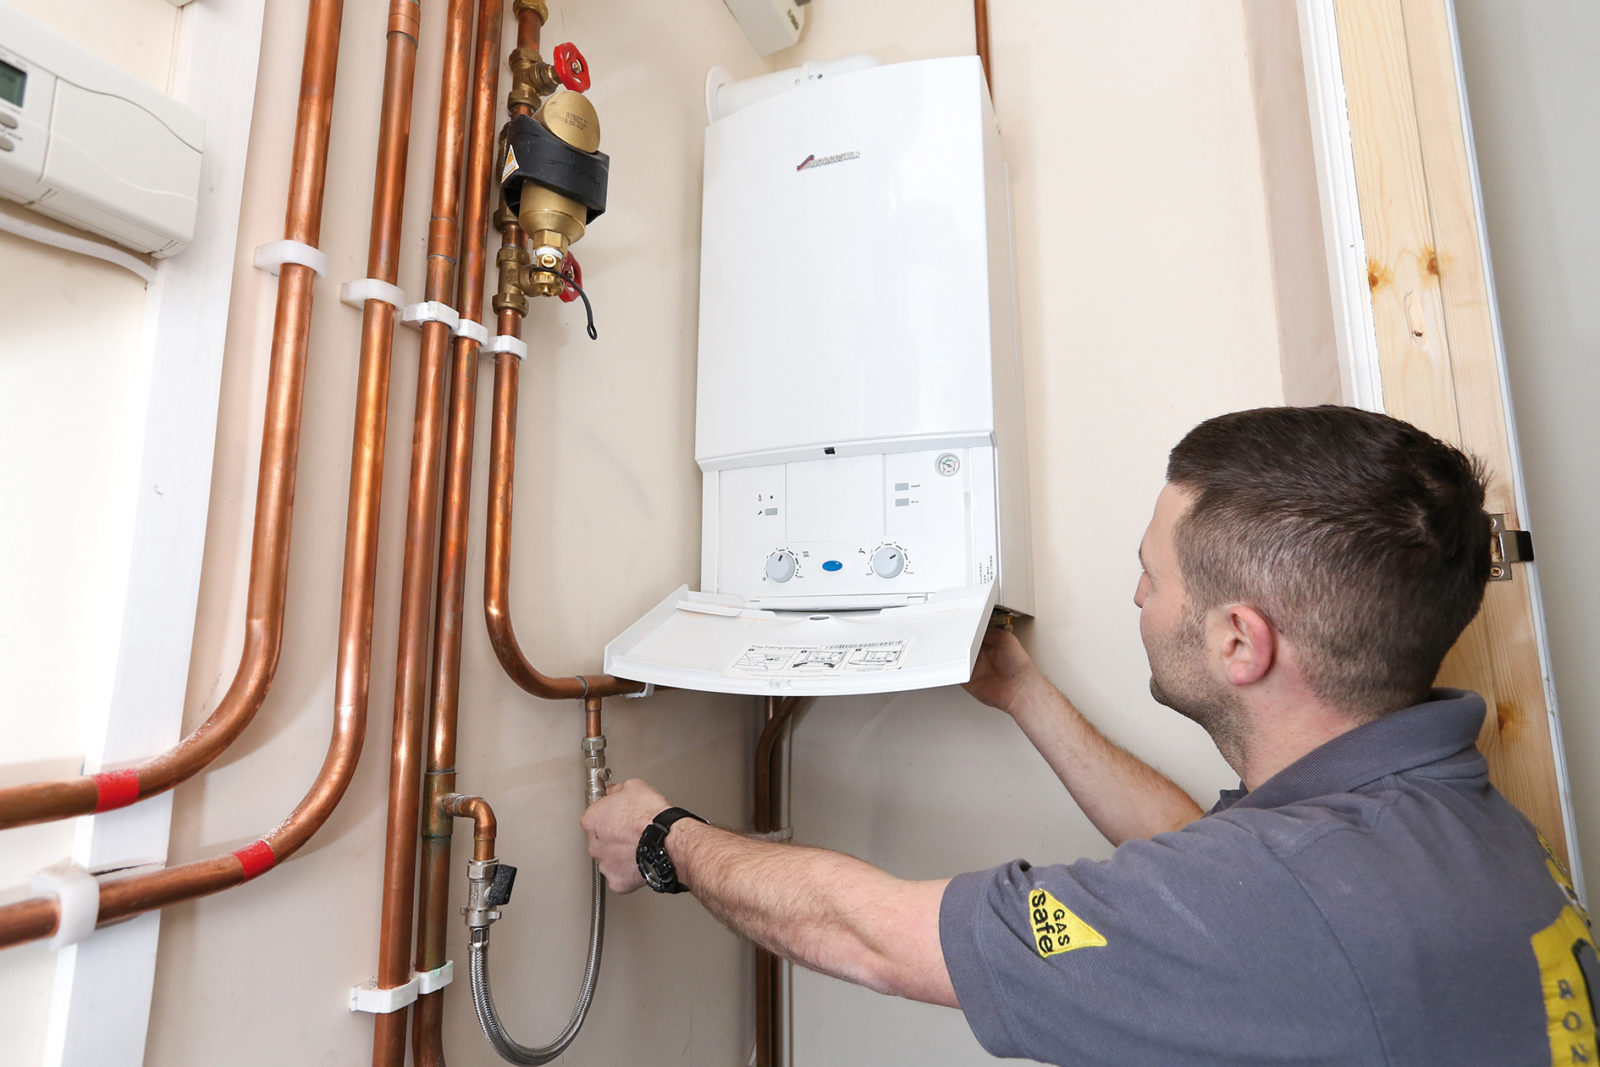
- In some cases, the shut-off valve may be located in a nearby utility room or basement. Check these areas as well.
- If you’re unable to locate the shut-off valve, refer to the toilet’s instruction manual or contact a professional plumber for assistance.
Once you have located the shut-off valve, you’re ready to proceed to the next step.
Step 2: Turn Off the Water Supply
Now that you have located the shut-off valve, it’s time to turn off the water supply to the toilet. Follow these simple steps:
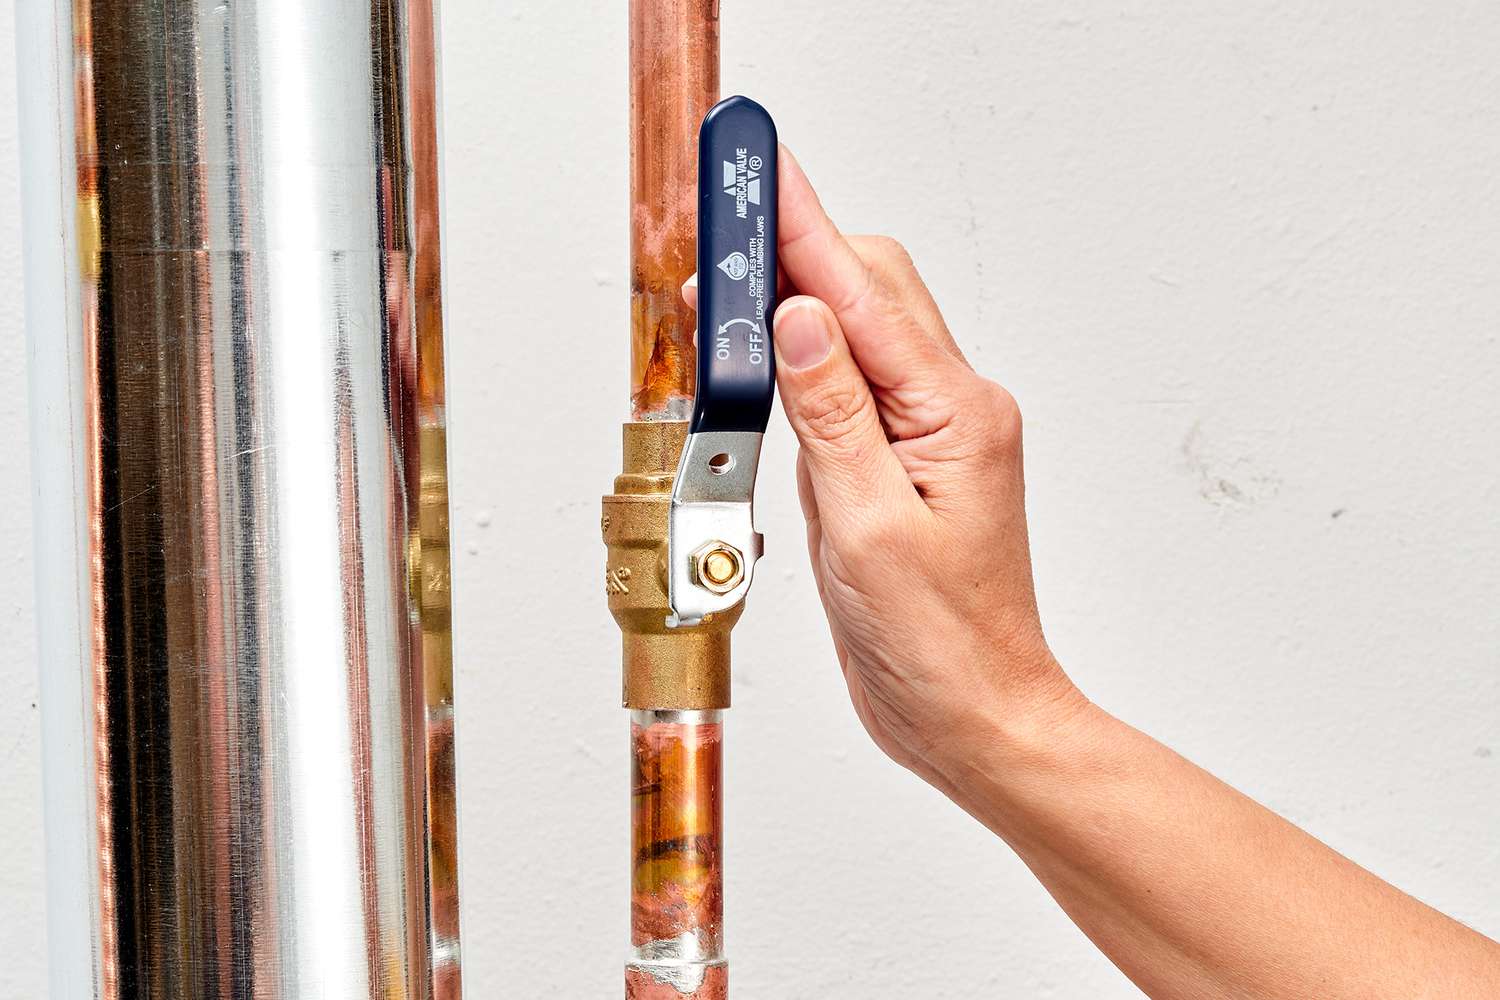
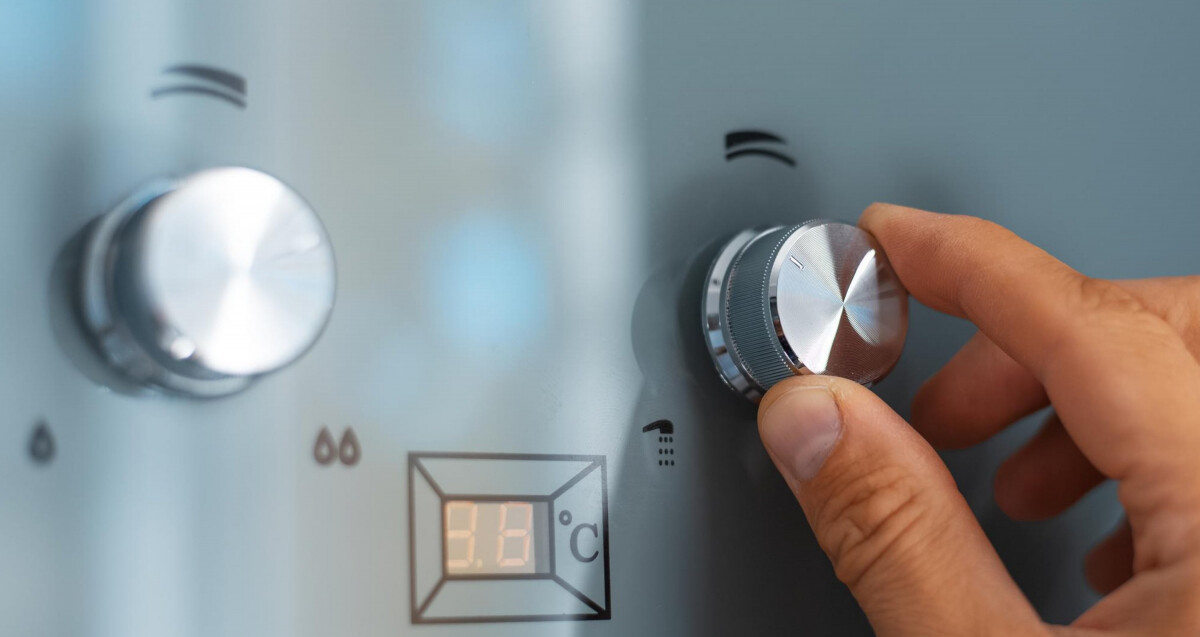
- Rotate the valve handle clockwise to shut off the water supply. In most cases, turning the valve clockwise will close it, but some valves may require a quarter-turn or multiple rotations.
- As you turn the valve, listen for the sound of water flow stopping. This indicates that the water supply has been successfully shut off.
- Once the water supply is shut off, briefly flush the toilet to drain any remaining water from the tank and bowl. This will make it easier and cleaner to work on the toilet.
It’s worth mentioning that if the shut-off valve is difficult to turn or if you encounter any issues, it is recommended to seek assistance from a professional plumber who can help resolve the problem.
With the water supply now turned off, you can move on to the next step.
Locate the shut-off valve behind or beside the toilet. Turn the valve clockwise to shut off the water supply. If the valve is stuck, use a pair of pliers to gently turn it.
Step 3: Flush the Toilet and Remove the Remaining Water
After turning off the water supply, the next step is to flush the toilet and remove any remaining water from the tank and bowl. This will prevent any water spills or leaks while you work on the toilet. Follow these steps:
- Press and hold down the toilet handle to flush the toilet. This will drain as much water as possible from the tank and bowl.
- If the water level doesn’t lower significantly, open the toilet tank lid and locate the flapper valve. Gently lift the flapper valve to allow more water to drain into the bowl.
- Using a towel, sponge, or wet/dry vacuum, remove any remaining water from the tank and bowl. This will ensure a clean and dry working area.
It’s important to avoid splashing or spilling the water during this step. Wearing rubber gloves can also help protect your hands from dirty water.
Once you have successfully flushed and removed the remaining water, you can move on to the next step in the process.
Step 4: Test the Water Supply
Now that you have turned off the water supply and flushed the toilet, it’s time to test whether the water supply has been effectively shut off. Follow these steps to ensure that there is no water flowing into the toilet:
- Go back to the shut-off valve and ensure that it is still in the closed position. Double-check by turning the valve handle clockwise to make sure it is snugly closed.
- Listen closely for any sounds of running water or hissing. If you hear any, it means that the shut-off valve might not be fully closed, and you should adjust it accordingly.
- Visually inspect the toilet tank and bowl to ensure that no water is filling up. If you notice any water continuing to flow, it indicates that the shut-off valve is not properly closed or there may be a faulty valve.
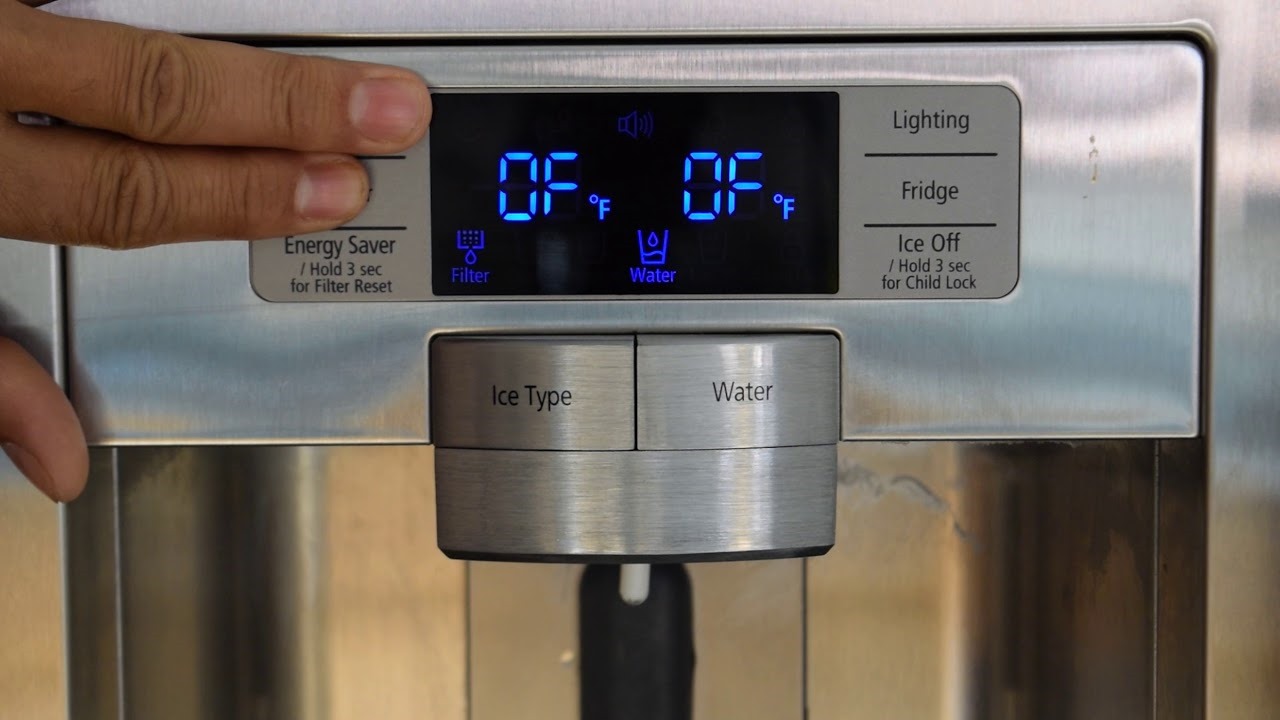
- If you have access to the water meter, you can also check if the meter is still running after shutting off the toilet’s water supply. If it is, there might be a hidden water leak that needs to be addressed.
If you encounter any issues during the testing process or if you notice water still flowing into the toilet, it is recommended to consult a professional plumber to address the problem.
By following these steps and successfully testing the water supply, you can be confident that the water to your toilet has been effectively turned off.
Read more: How To Turn Off Water To Washer
Conclusion
Knowing how to turn off the water supply to your toilet is a valuable skill that every homeowner should possess. Whether you’re dealing with a plumbing issue, performing maintenance, or simply need to replace the toilet, being able to shut off the water will save you time, money, and potential water damage.
In this article, we have provided you with a step-by-step guide on how to turn off the water to your toilet. By locating the shut-off valve, turning off the water supply, flushing the toilet, and testing for any water flow, you can ensure that the water to your toilet is effectively shut off.
Remember that while these steps serve as a general guide, the location and type of shut-off valve may vary from one toilet to another. It is always recommended to consult the toilet’s instruction manual or seek professional assistance if you encounter any difficulties or uncertainties.
By having the knowledge and confidence to turn off the water supply to your toilet, you can tackle various toilet-related tasks with ease and peace of mind. Whether it’s a DIY project or a necessary repair, you are now equipped with the skills to tackle it safely and efficiently.
So the next time you need to work on your toilet, follow these steps, and rest assured that you have successfully turned off the water supply. Stay proactive and keep your toilet in good working condition.
Frequently Asked Questions about How To Turn Off Water To Toilet
Was this page helpful?
At Storables.com, we guarantee accurate and reliable information. Our content, validated by Expert Board Contributors, is crafted following stringent Editorial Policies. We're committed to providing you with well-researched, expert-backed insights for all your informational needs.


0 thoughts on “How To Turn Off Water To Toilet”