Home>Health & Lifestyle>Family & Pet-Friendly Home Design>How To Clean A Petsafe Litter Box
Family & Pet-Friendly Home Design
How To Clean A Petsafe Litter Box
Modified: February 26, 2024
Keep your family and pet-friendly home clean with our expert tips on how to clean a Petsafe litter box. Create a healthy environment for your pets and loved ones.
(Many of the links in this article redirect to a specific reviewed product. Your purchase of these products through affiliate links helps to generate commission for Storables.com, at no extra cost. Learn more)
Introduction
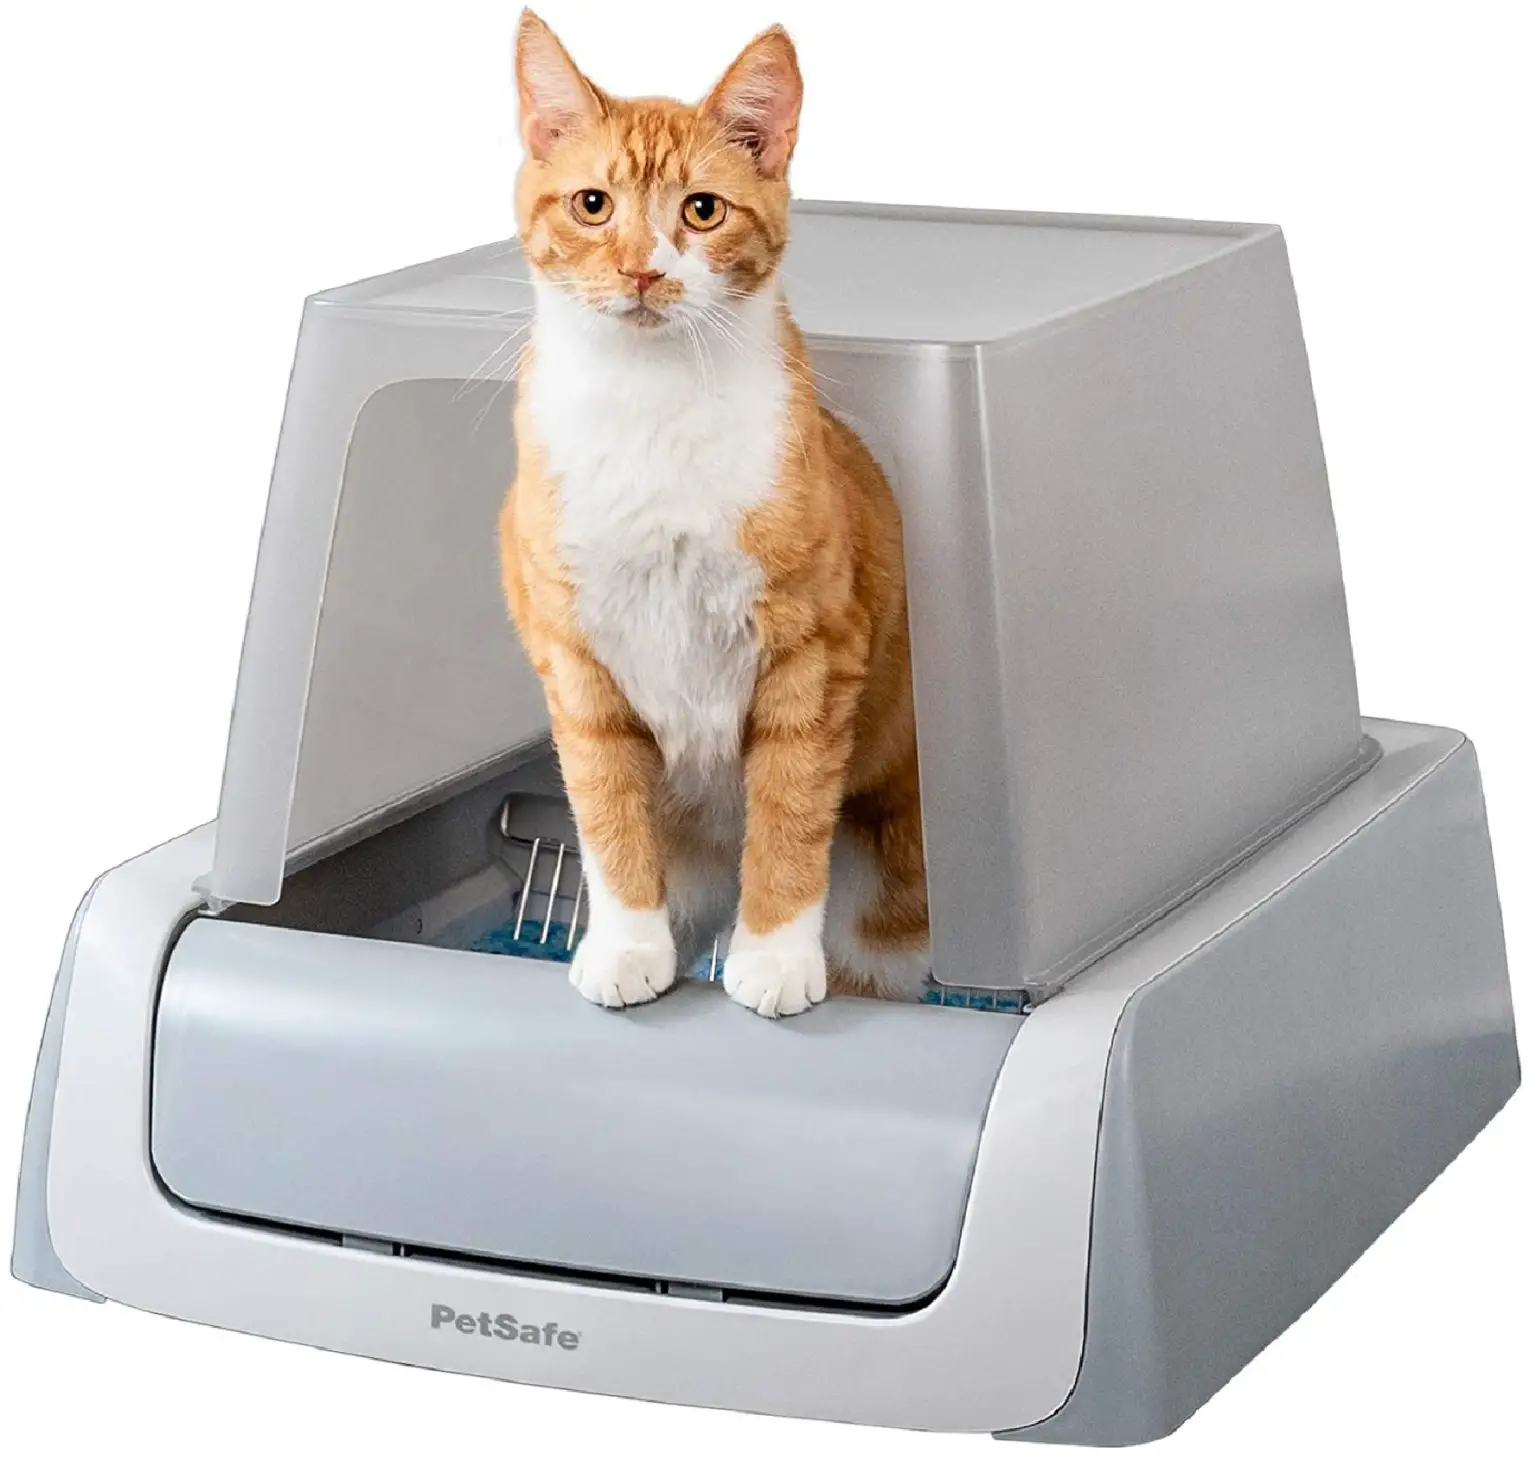
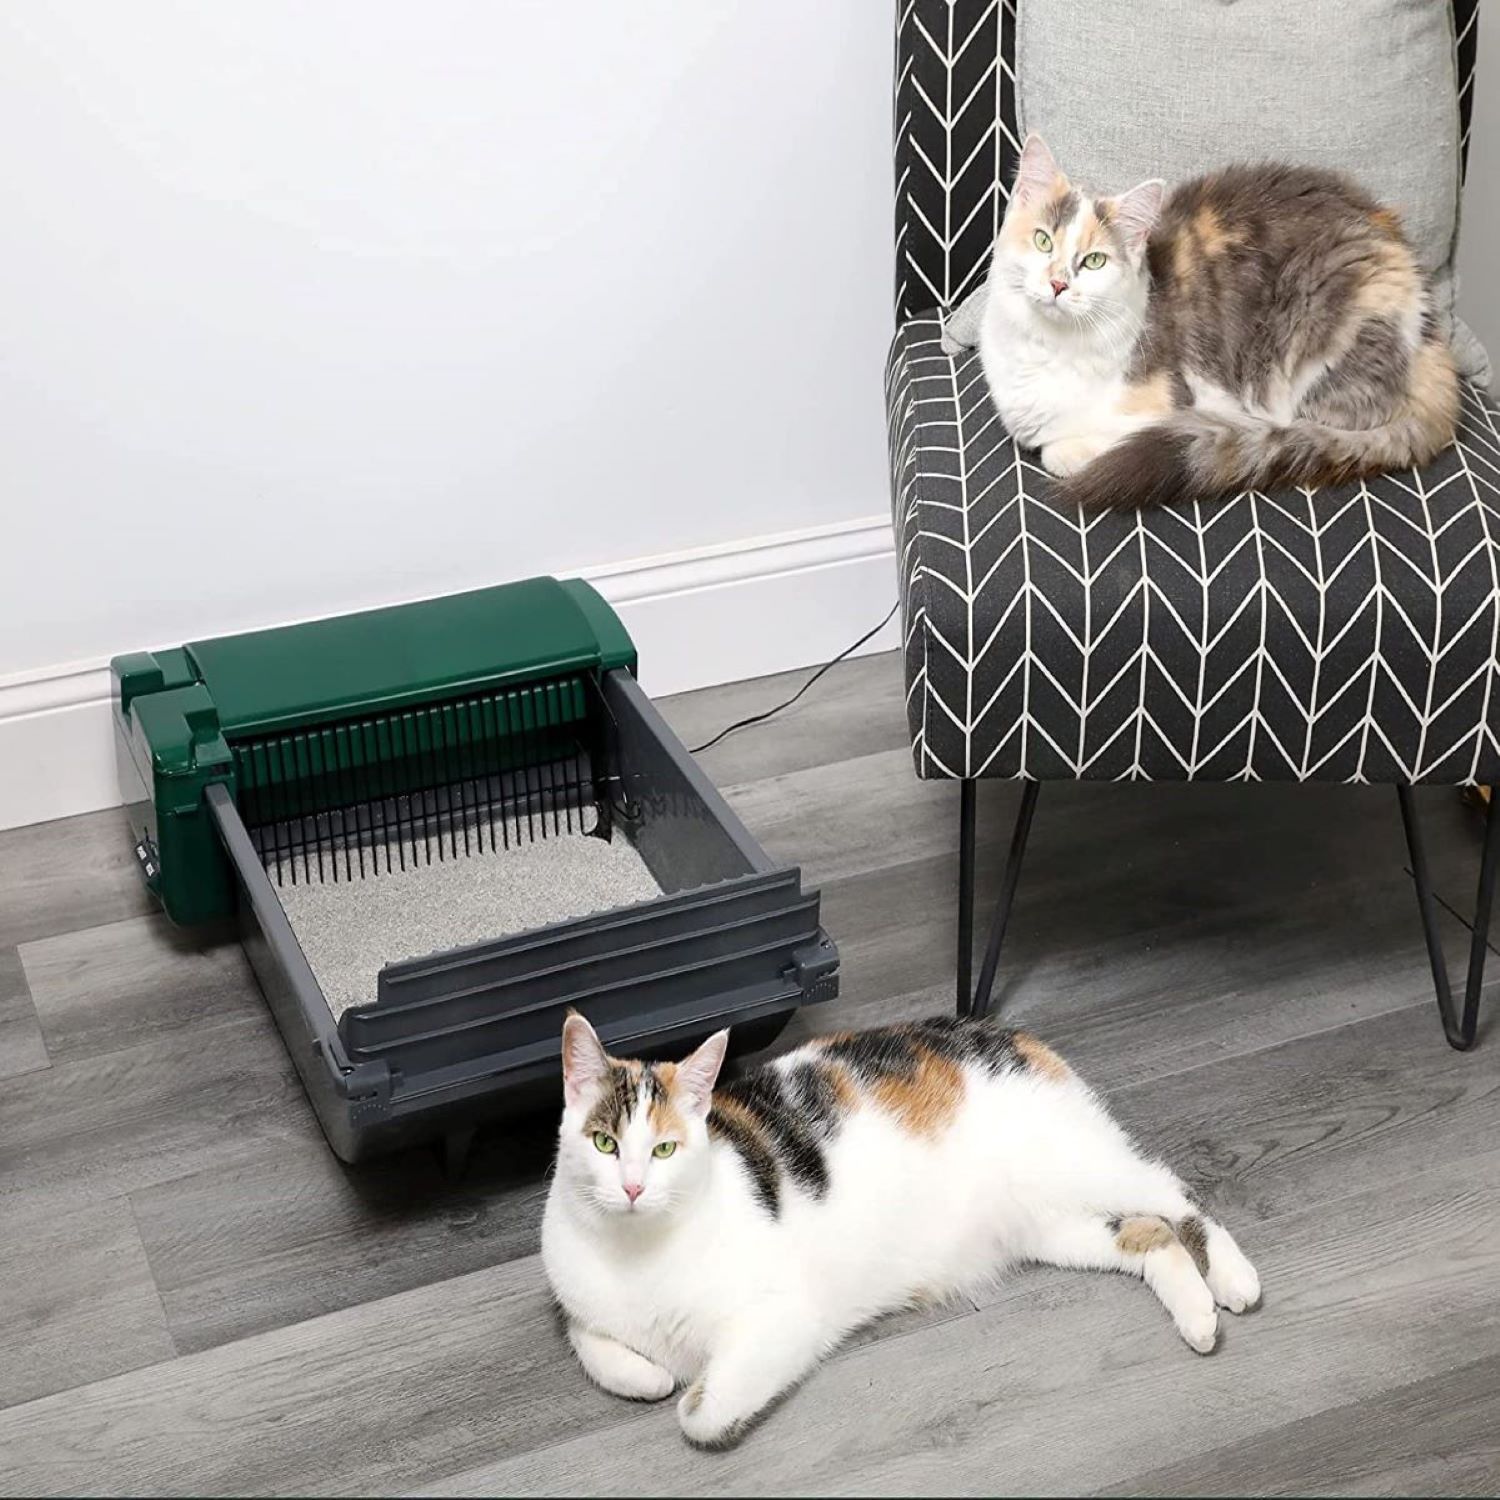
Keeping a clean and odor-free environment for your feline friend is essential for their well-being and your home's hygiene. Regular maintenance of your PetSafe litter box is crucial to ensure that your pet has a comfortable and hygienic space to do their business. Cleaning a PetSafe litter box may seem like a daunting task, but with the right approach and tools, it can be a straightforward and manageable process.
In this comprehensive guide, we will walk you through the step-by-step process of cleaning your PetSafe litter box effectively. Whether you are a seasoned pet owner or a novice, this guide will equip you with the knowledge and techniques to maintain a clean and inviting litter box for your beloved feline companion.
By following the steps outlined in this guide, you can ensure that your pet's litter box remains a pleasant and sanitary space, minimizing odors and promoting a healthier environment for both your pet and your family. Let's dive into the details of how to clean a PetSafe litter box and create a fresh and inviting space for your furry friend.
Key Takeaways:
- Keep your feline friend happy and your home odor-free by gathering the right supplies and following a step-by-step process to clean your PetSafe litter box. It’s easy and essential for a healthy environment!
- Prioritize safety and thorough cleaning to maintain a hygienic and inviting space for your pet. By following the detailed guide, you ensure a clean and comfortable environment for your beloved feline companion.
Step 1: Gather the necessary supplies
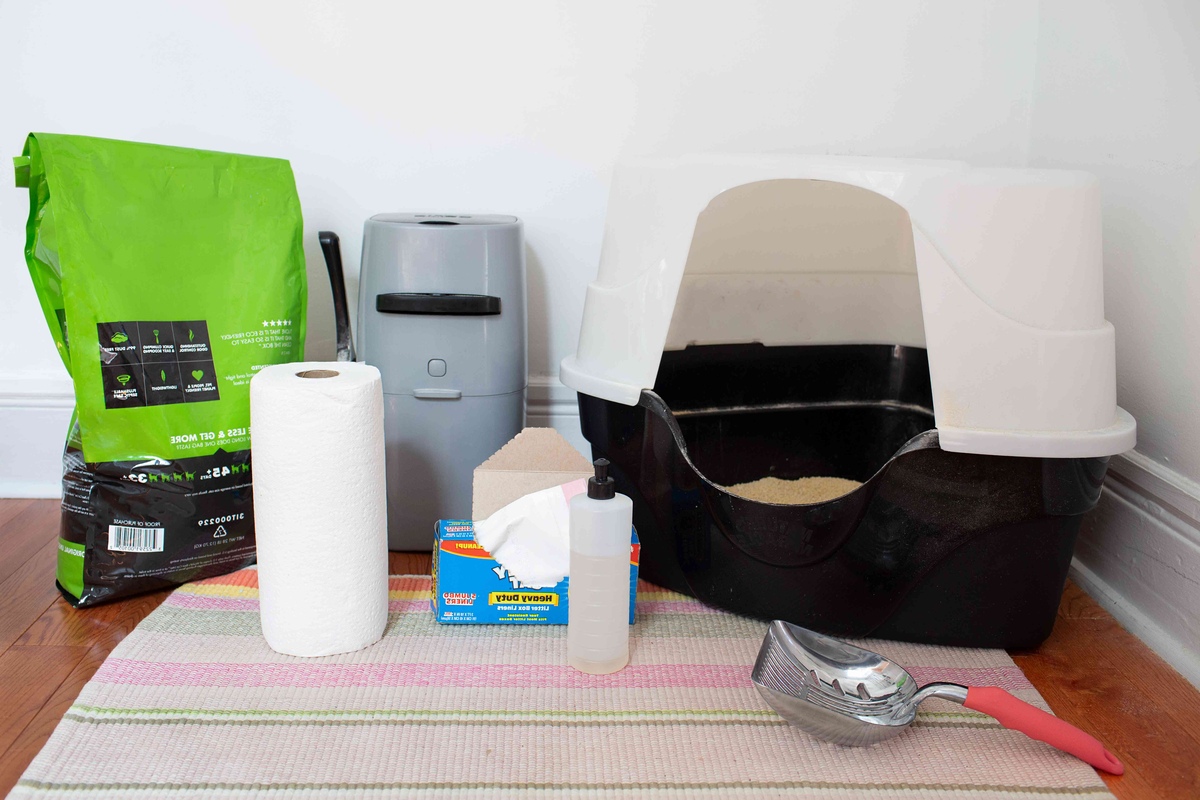
Before embarking on the task of cleaning your PetSafe litter box, it's essential to gather the necessary supplies to ensure a thorough and efficient cleaning process. Having the right tools at your disposal will streamline the task and help you achieve a pristine result. Here's a comprehensive list of supplies you will need:
-
Rubber Gloves: To protect your hands from coming into direct contact with waste and cleaning solutions, it's advisable to wear rubber gloves throughout the cleaning process.
-
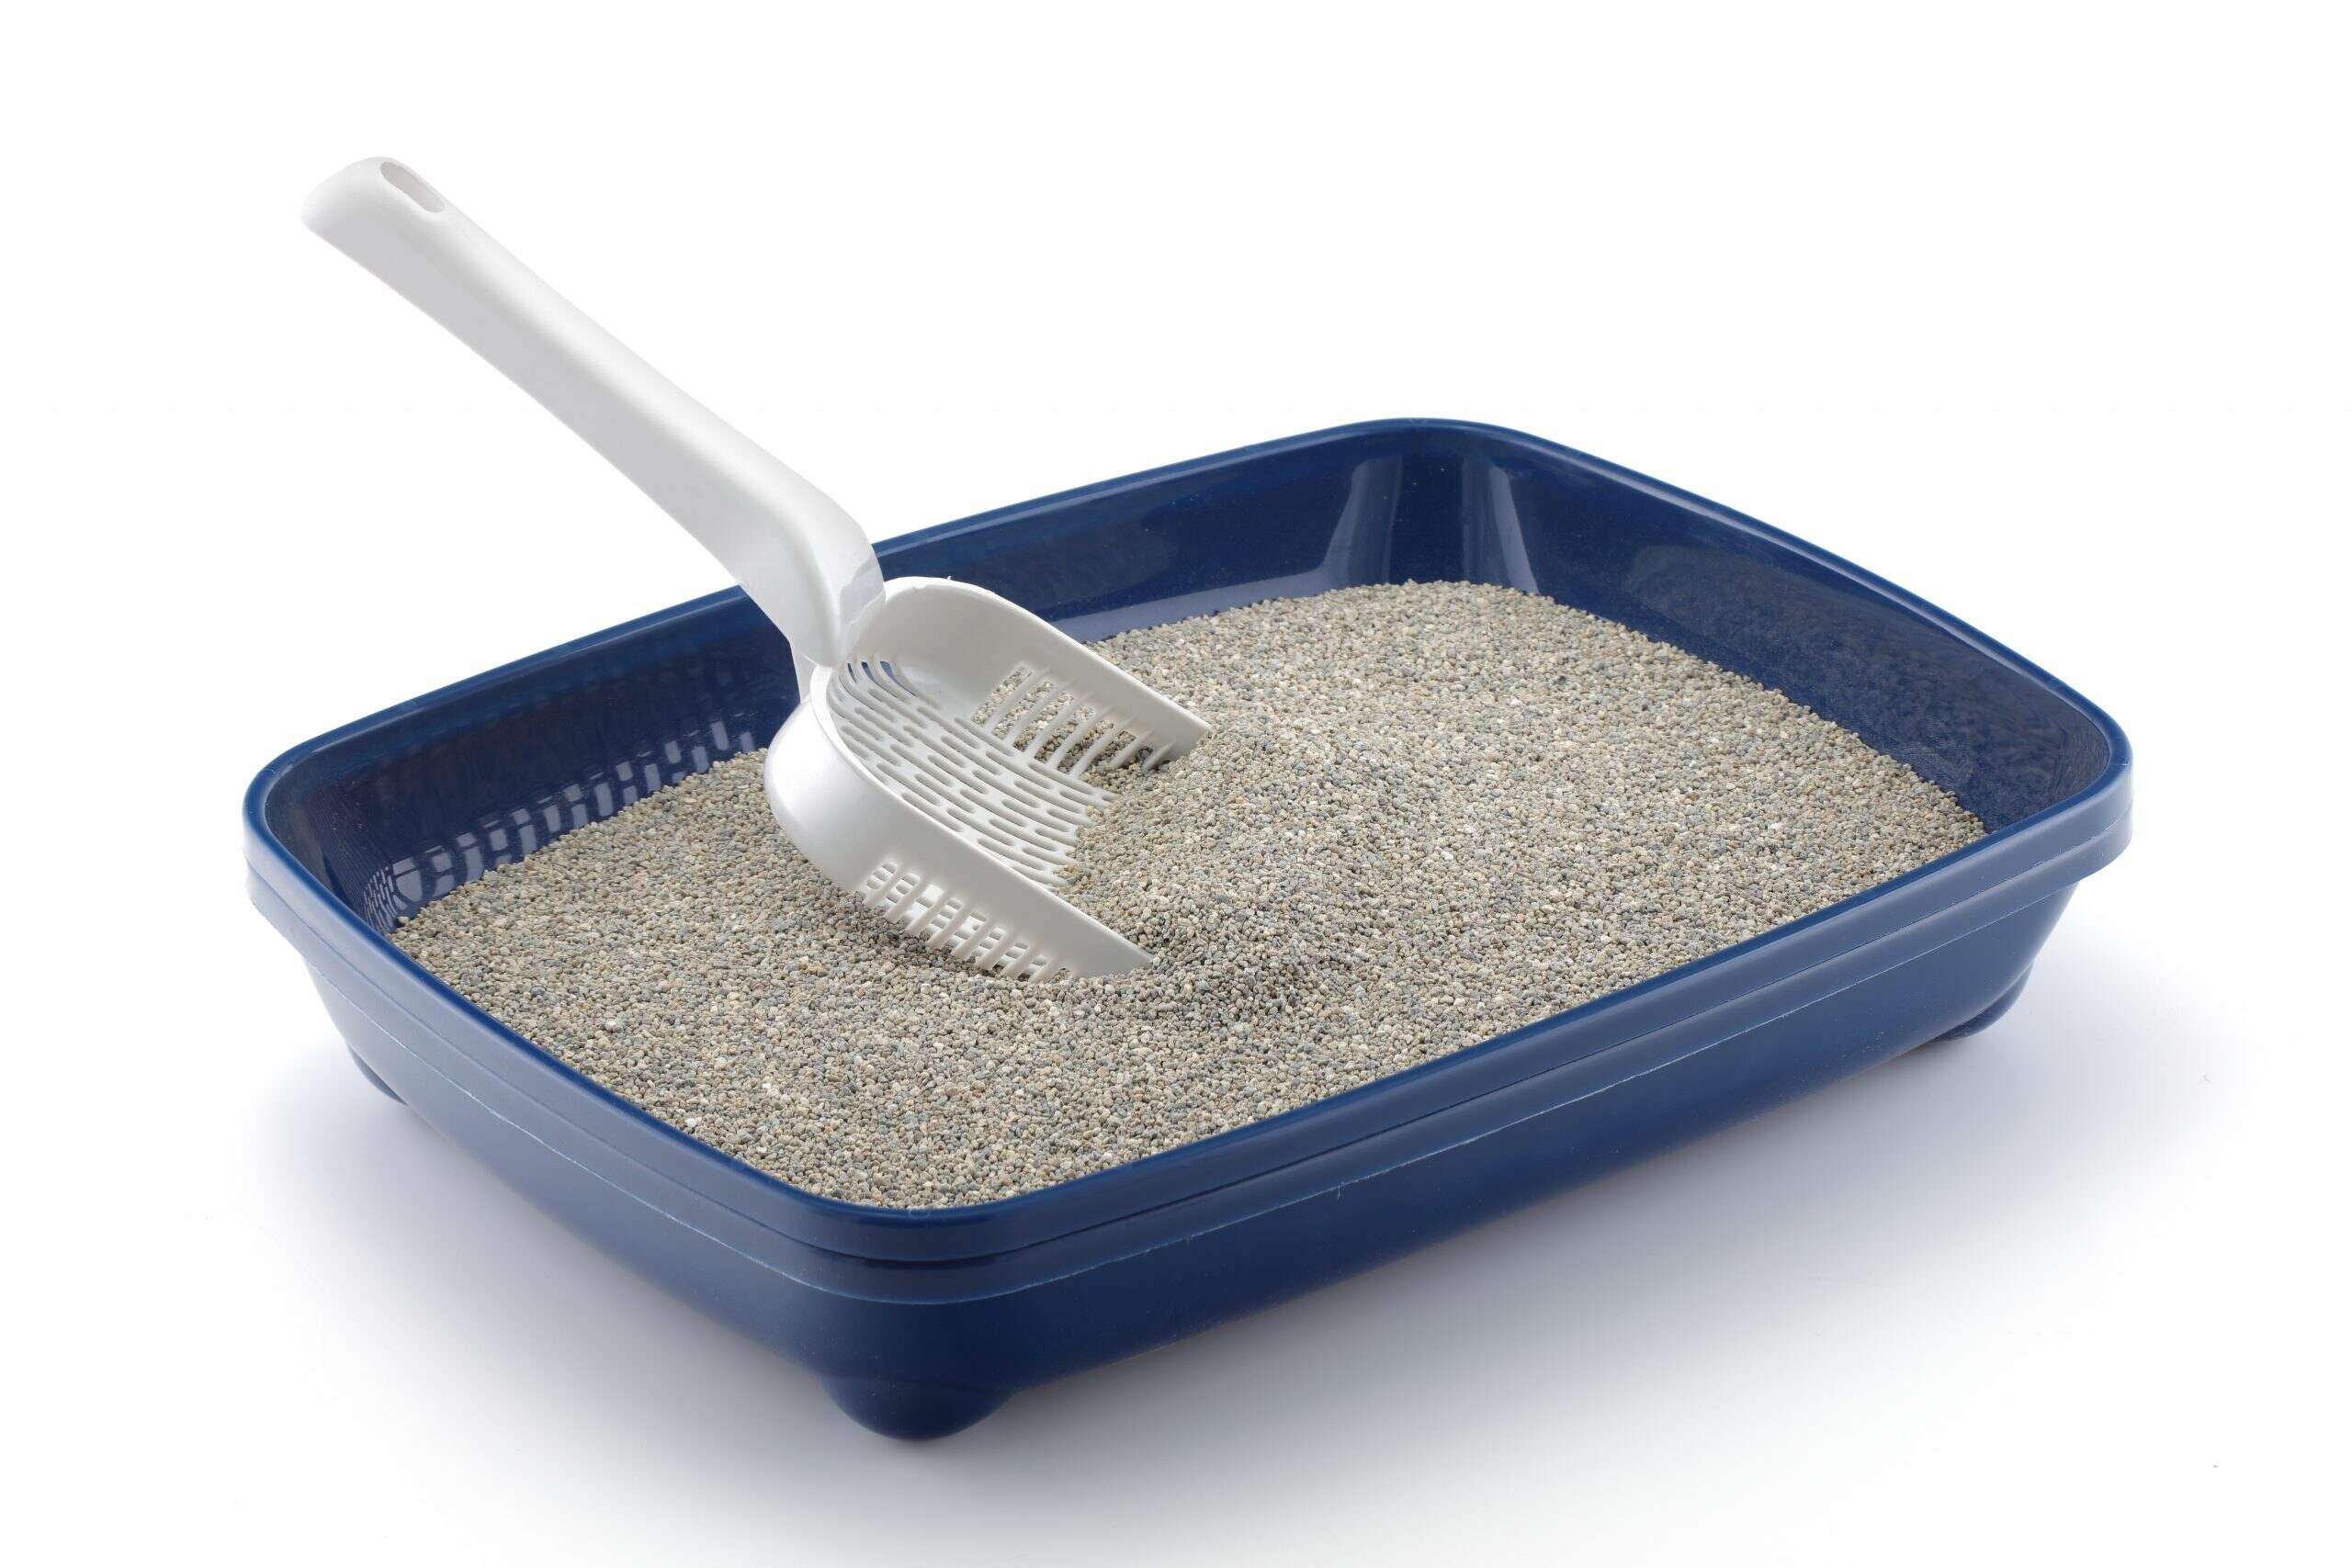
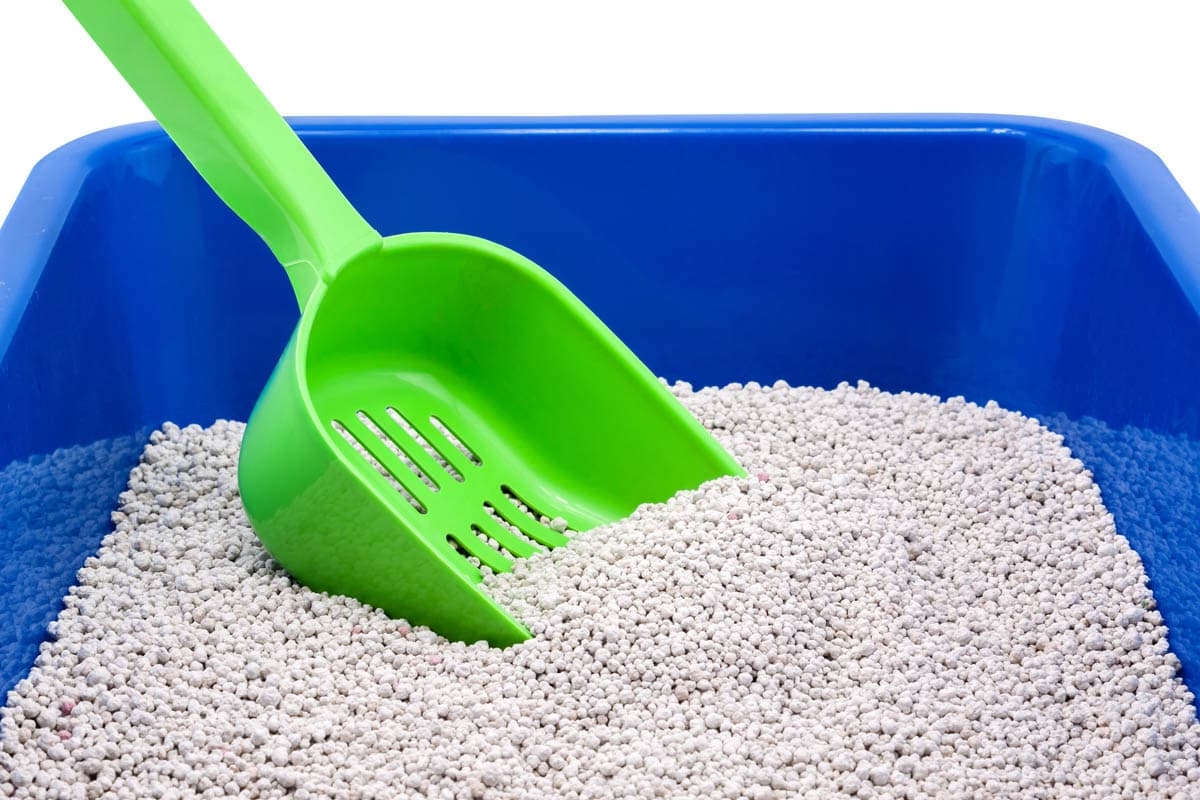
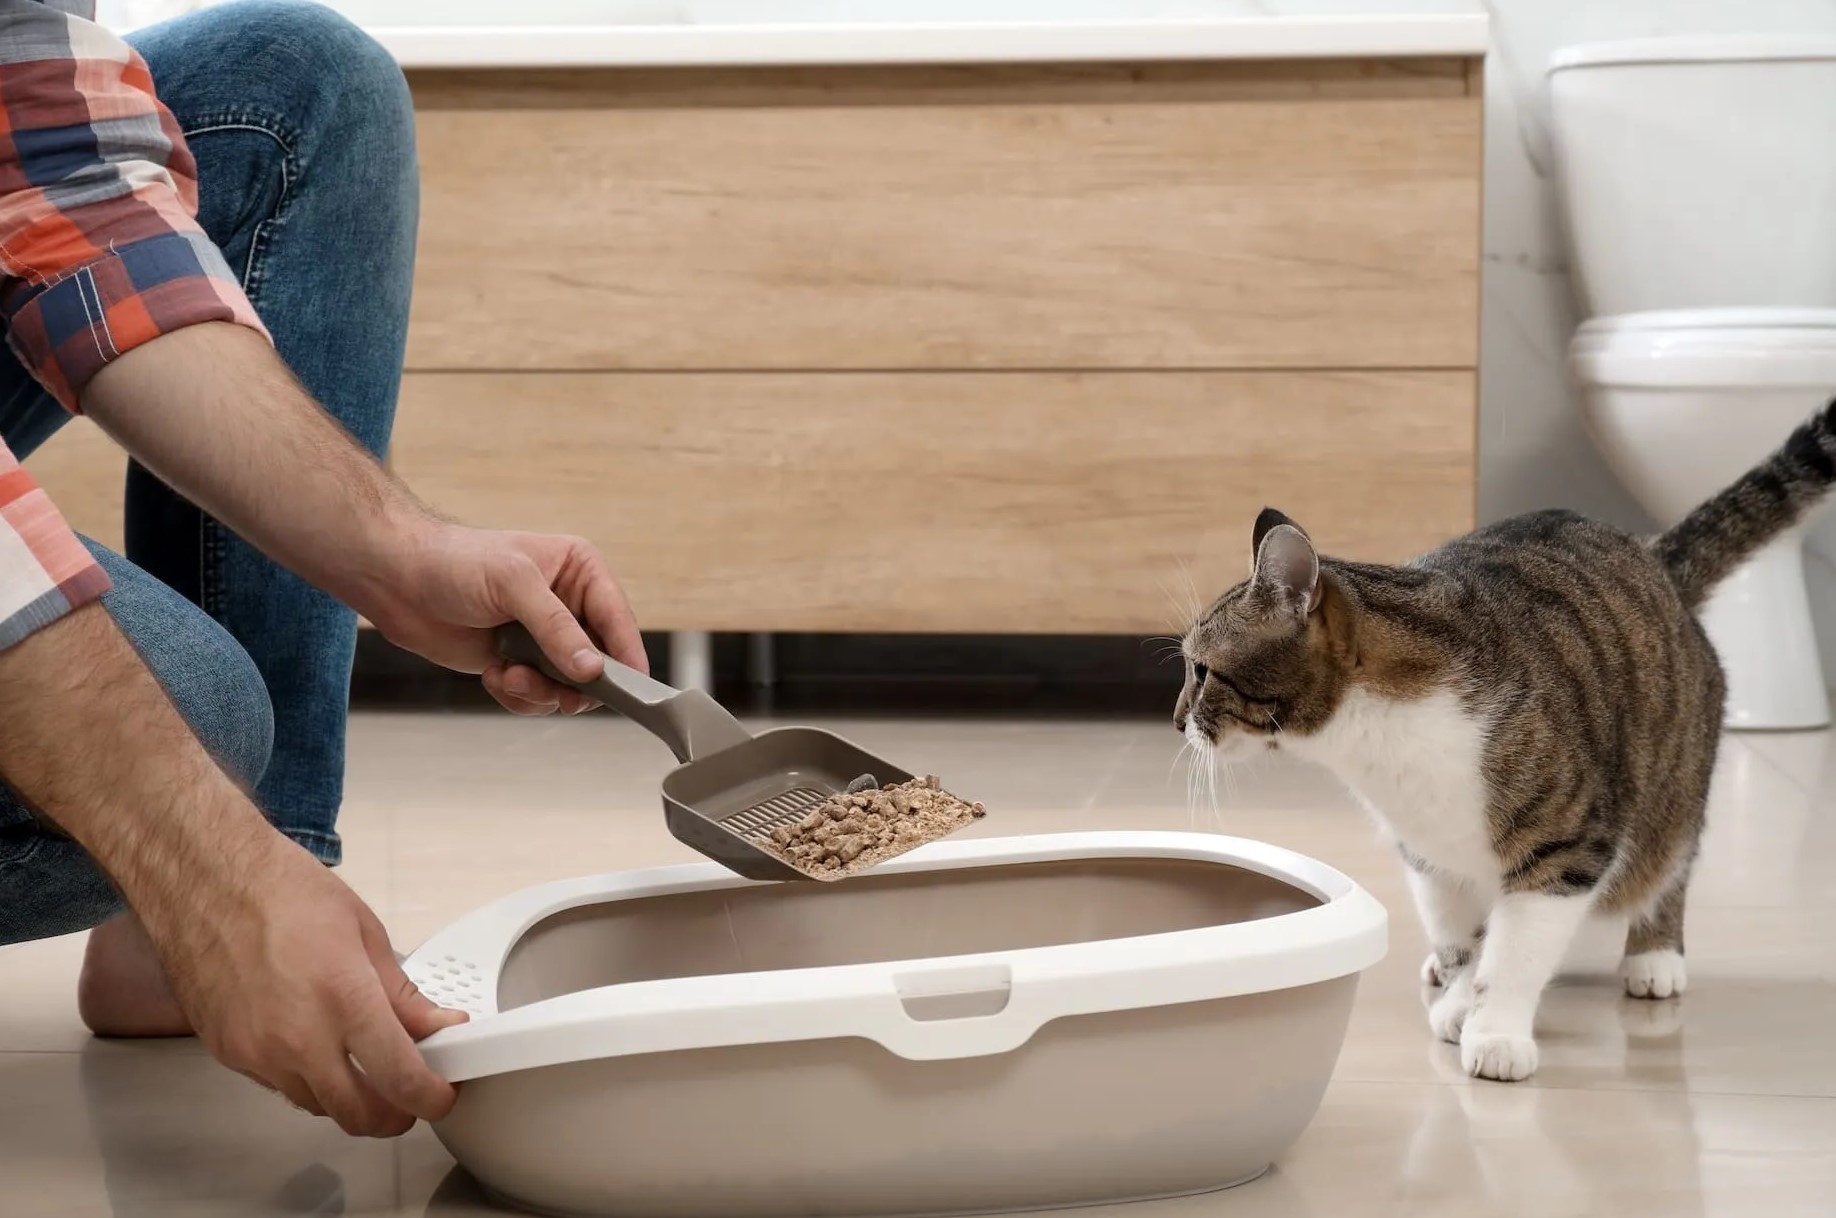
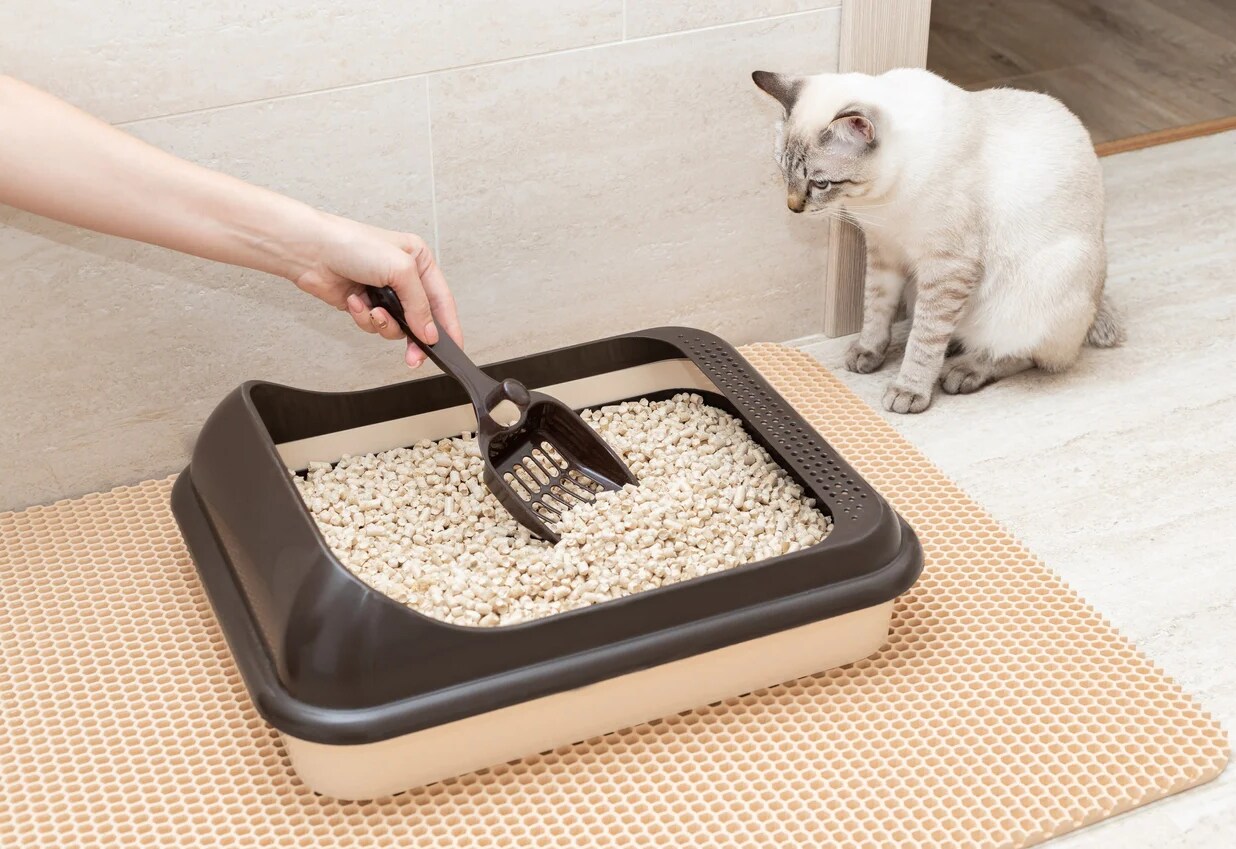
Scoop or Litter Scooper: A dedicated scoop or litter scooper is essential for removing solid waste and clumps from the litter box. Choose a scoop with a sturdy handle and a slotted design to allow clean litter to sift through while retaining waste.
-
Mild Detergent or Pet-Safe Cleaning Solution: Select a gentle detergent or a cleaning solution specifically formulated for pet accessories. Avoid using harsh chemicals or strong-smelling cleaners, as these may deter your cat from using the litter box.
-
Warm Water: Having access to warm water will facilitate the removal of stubborn waste and ensure a thorough cleaning of the litter box and its components.
-
Soft Brush or Cloth: A soft-bristled brush or a cloth is useful for scrubbing and wiping down the interior and exterior surfaces of the litter box. Opt for a non-abrasive material to avoid scratching the plastic.
-
Vinegar: Vinegar is a natural and effective cleaning agent that can help neutralize odors and disinfect the litter box. Dilute vinegar with water to create a gentle cleaning solution.
-
Towels or Paper Towels: Keep a supply of towels or paper towels handy for drying the litter box after cleaning. Absorbent towels will help remove excess moisture and ensure the litter box is completely dry before refilling it with fresh litter.
-
Replacement Litter: If the existing litter is soiled or has lost its effectiveness in controlling odors, it's advisable to have a fresh supply of litter on hand to refill the box after cleaning.
By gathering these essential supplies, you will be well-prepared to tackle the task of cleaning your PetSafe litter box with confidence and efficiency. With the right tools and a systematic approach, you can maintain a clean and hygienic environment for your feline companion, promoting their health and well-being while ensuring a pleasant living space for your family.
Step 2: Turn off and unplug the litter box
Before initiating the cleaning process, it is crucial to ensure the safety of both the individual conducting the cleaning and the electronic components of the litter box. Turning off and unplugging the litter box from the power source is the initial step in this regard.
-
Safety First: Always prioritize safety when handling electronic devices. Turning off and unplugging the litter box minimizes the risk of electrical accidents and ensures a safe environment for the cleaning process.
-
Preventing Malfunctions: Electronic litter boxes are equipped with sensors and moving parts that can pose a risk during cleaning if the unit is powered. By turning off and unplugging the device, you prevent any accidental activation of the cleaning cycle or other functions, reducing the risk of malfunctions.
-
Avoiding Electrical Hazards: Water and cleaning solutions are commonly used during the cleaning process. Unplugging the litter box eliminates the risk of electrical hazards that may arise from the exposure of electronic components to moisture.
-
Protecting the Power Cord: Unplugging the power cord from the electrical outlet allows for unrestricted access to the litter box, facilitating thorough cleaning without the hindrance of a connected power source.
-
Ensuring Proper Drying: After cleaning, it is essential to allow the litter box to dry completely before plugging it back in. This ensures that no moisture is present within the device, preventing potential damage to the electrical components.
By following this crucial step of turning off and unplugging the litter box, you create a safe and conducive environment for the subsequent cleaning process. This proactive measure not only safeguards the integrity of the electronic components but also prioritizes the safety of the individual performing the cleaning.
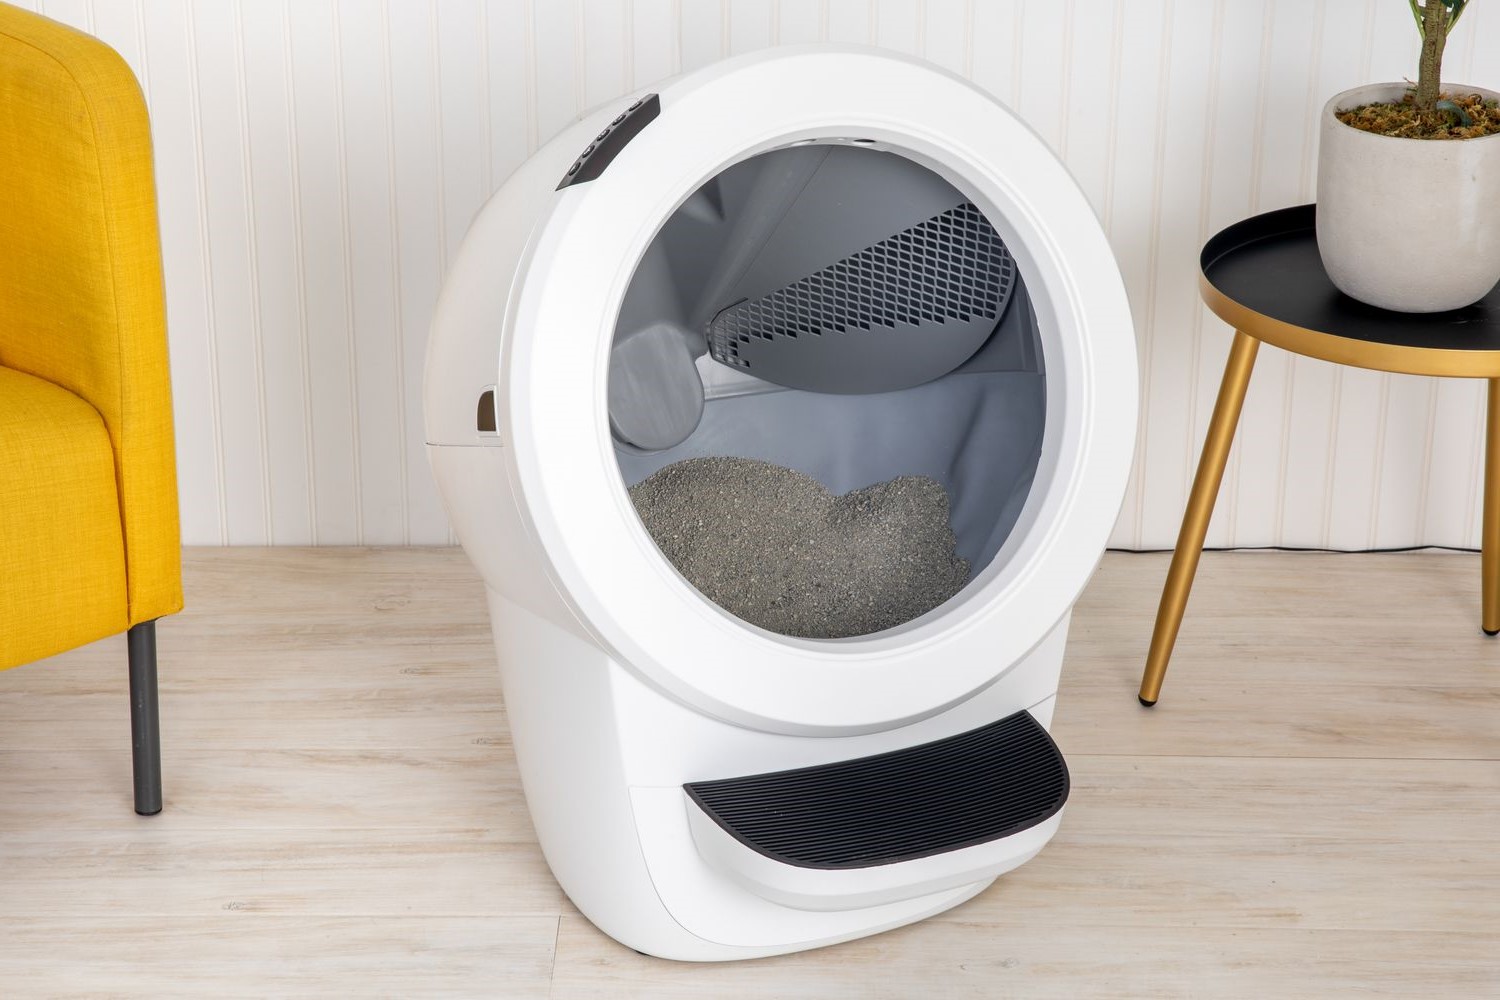
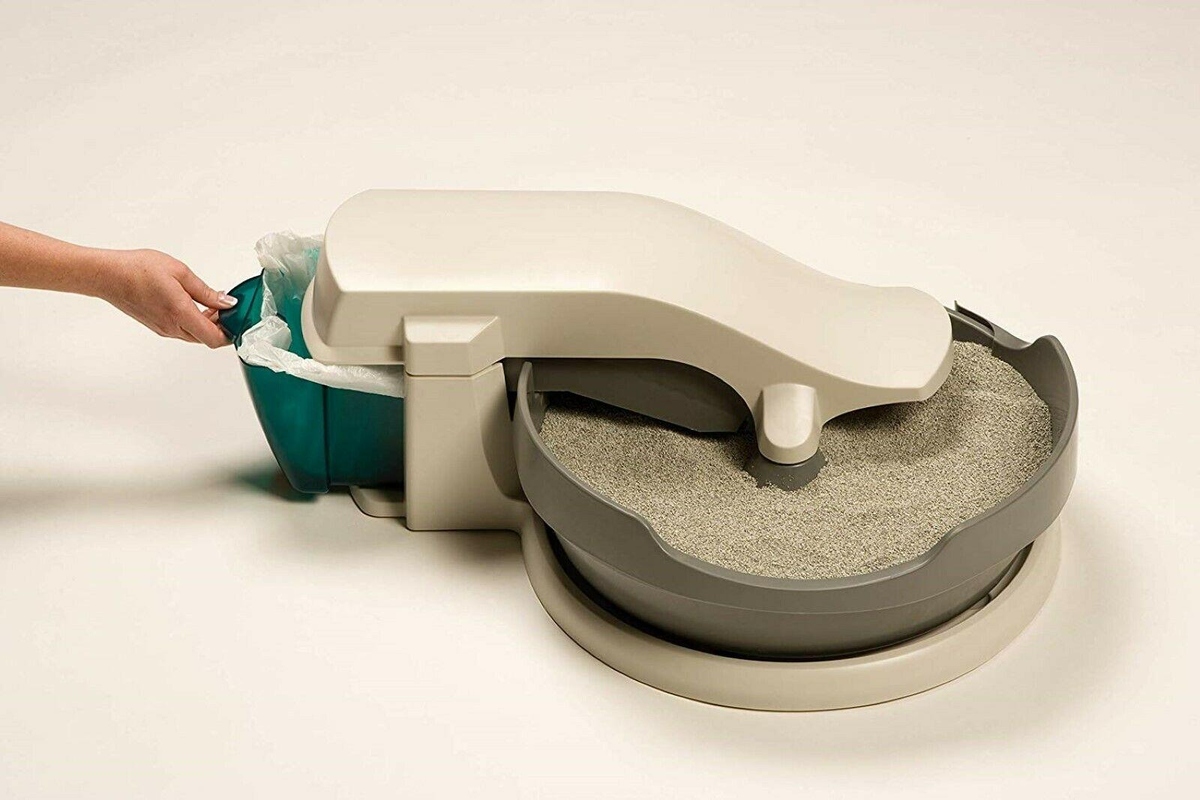
Step 3: Remove the waste receptacle
With the litter box safely turned off and unplugged, the next step in the cleaning process is to remove the waste receptacle from the unit. The waste receptacle, also known as the waste bin or tray, is designed to collect and contain the soiled litter and waste, making it a pivotal component to address during the cleaning routine.
-
Locate the Waste Receptacle: Depending on the specific model of the PetSafe litter box, the waste receptacle is typically accessible from the front or top of the unit. Refer to the manufacturer's instructions if you are unsure about the removal process.
-
Handle with Care: When handling the waste receptacle, it's important to exercise care and attention. The receptacle may contain soiled litter and waste, so wearing rubber gloves is advisable to maintain hygiene and minimize direct contact with the waste.
-
Dispose of the Waste: Once the waste receptacle is removed from the litter box, carefully dispose of the contents in a designated waste disposal area. Use a dedicated waste bag or container to contain the soiled litter, ensuring proper containment and disposal of the waste.
-
Thorough Inspection: While the waste receptacle is detached, take the opportunity to inspect it for any signs of wear, damage, or residual waste that may have accumulated. This inspection allows for proactive maintenance, such as replacing worn-out receptacles or addressing any issues that may compromise the functionality of the unit.
-
Cleaning the Receptacle: After emptying the waste receptacle, it's essential to clean it thoroughly to remove any remaining waste residue and odors. Using a mild detergent or pet-safe cleaning solution, along with warm water, scrub the receptacle to ensure it is impeccably clean and free from any lingering odors.
By meticulously addressing the removal of the waste receptacle and attending to the associated cleaning tasks, you set the stage for a comprehensive cleaning process that promotes hygiene and maintains the functionality of the PetSafe litter box. This step not only ensures the removal of soiled litter and waste but also allows for the inspection and maintenance of the waste receptacle, contributing to the overall cleanliness and efficiency of the litter box.
Step 4: Dispose of the waste and clean the receptacle
Once the waste receptacle has been removed from the PetSafe litter box, the next crucial step is to effectively dispose of the waste and thoroughly clean the receptacle. This process is essential for maintaining a hygienic environment for your feline companion and ensuring the efficient operation of the litter box.
Read more: How To Clean A Litter Box With Vinegar
Disposal of Waste
Proper disposal of the soiled litter and waste is paramount to minimize odors and maintain cleanliness. Use a dedicated waste bag or container to contain the soiled litter, ensuring secure containment and easy disposal. By promptly and responsibly disposing of the waste, you prevent the accumulation of odors and maintain a fresh and inviting environment for your pet.
Cleaning the Receptacle
Cleaning the waste receptacle is a critical aspect of the maintenance routine for your PetSafe litter box. Begin by rinsing the receptacle with warm water to remove any loose debris and residual waste. Next, apply a mild detergent or a pet-safe cleaning solution to the receptacle, ensuring thorough coverage of all surfaces. Use a soft brush or cloth to scrub the receptacle, paying particular attention to any areas with stubborn waste residue or odors.
After scrubbing, rinse the receptacle with clean water to remove the cleaning solution and any remaining debris. To further neutralize odors and disinfect the receptacle, consider using a diluted solution of vinegar and water. Vinegar is a natural and effective cleaning agent that helps eliminate odors and sanitize the receptacle, promoting a clean and hygienic environment for your pet.
Once the receptacle has been cleaned and rinsed, dry it thoroughly using towels or allow it to air-dry completely. Ensuring that the receptacle is completely dry is essential before reassembling the litter box to prevent the growth of mold or bacteria. By meticulously cleaning and drying the receptacle, you maintain a sanitary environment and uphold the functionality of the PetSafe litter box.
By diligently following the steps to dispose of the waste and clean the receptacle, you contribute to the overall cleanliness and hygiene of the litter box, creating a comfortable and inviting space for your feline companion. This proactive approach to maintenance ensures that your pet has a pristine environment for their essential activities, promoting their well-being and enhancing the overall living environment for your family.
Step 5: Clean the litter box
Cleaning the litter box is a pivotal step in maintaining a hygienic and inviting environment for your feline companion. A thorough cleaning routine not only eliminates odors but also ensures that the litter box remains a comfortable and sanitary space for your pet's essential activities. Here's a detailed guide on how to effectively clean the litter box:
Emptying the Litter
Begin the cleaning process by emptying the remaining litter from the box. Use a dedicated scoop or litter scooper to remove any solid waste and clumps, ensuring that the litter box is completely emptied. Dispose of the used litter responsibly, and consider using a waste bag or container to contain the soiled litter for easy disposal.
Read more: How To Clean A Litter Box In An Apartment
Scrubbing and Washing
Once the litter box is empty, it's time to thoroughly scrub and wash the interior surfaces. Prepare a cleaning solution using a mild detergent or a pet-safe cleaning solution diluted in warm water. With a soft-bristled brush or cloth, scrub the interior surfaces of the litter box, paying particular attention to any areas with stubborn waste residue or odors. Ensure that all surfaces are meticulously cleaned to eliminate any lingering odors and maintain a hygienic environment.
Rinsing and Drying
After scrubbing, rinse the litter box with clean water to remove any traces of the cleaning solution and debris. Thoroughly rinse and inspect the box to ensure that it is free from any cleaning residue. Once rinsed, dry the litter box completely using towels or allow it to air-dry. It is crucial to ensure that the litter box is completely dry before refilling it with fresh litter to prevent the growth of mold or bacteria.
Inspecting for Wear and Tear
While cleaning the litter box, take the opportunity to inspect it for any signs of wear, damage, or persistent odors. Check for any cracks, scratches, or areas that may harbor odors or impede the effectiveness of the box. Address any issues promptly to maintain the functionality and cleanliness of the litter box.
By meticulously following these steps to clean the litter box, you uphold a high standard of hygiene and create a comfortable and inviting space for your pet. A clean litter box not only promotes your pet's well-being but also contributes to a fresh and pleasant living environment for your family. Regular maintenance and cleaning ensure that your PetSafe litter box remains a reliable and hygienic solution for your pet's needs.
Step 6: Reassemble the litter box
Once the waste receptacle and the interior of the litter box have been thoroughly cleaned and dried, it is time to reassemble the components to restore the PetSafe litter box to its fully functional state. Proper reassembly is essential to ensure that the litter box operates efficiently and provides a clean and inviting space for your feline companion.
Begin by carefully placing the clean waste receptacle back into its designated position within the litter box. Ensure that it is securely fitted and properly aligned to prevent any potential issues during operation. Pay attention to any latches or locking mechanisms that may be present to secure the waste receptacle in place.
Next, if your PetSafe litter box features any additional components such as odor-control filters or accessories, reattach or reinstall them according to the manufacturer's instructions. These components play a crucial role in maintaining a fresh and odor-free environment for your pet, and their proper installation is integral to the overall functionality of the litter box.
After reassembling the components, take a moment to inspect the litter box to ensure that all parts are securely in place and that there are no loose fittings or potential hazards that could affect its operation. This thorough inspection is a proactive measure to address any issues before they impact the litter box's performance.
Once the components have been successfully reassembled and inspected, the final step is to plug in and turn on the PetSafe litter box. Ensure that the power cord is securely connected to the electrical outlet and that the unit powers on as expected. This step verifies that the litter box is ready to resume its essential function of providing a clean and hygienic space for your pet.
By meticulously reassembling the litter box and conducting a comprehensive inspection, you reaffirm the integrity and functionality of the PetSafe litter box. This proactive approach ensures that your feline companion has a pristine and inviting space for their essential activities, contributing to their well-being and enhancing the overall living environment for your family.
Read more: How To Clean A Litter Box With Pellets
Step 7: Plug in and turn on the litter box
After completing the meticulous cleaning and reassembly process, the final step in the maintenance routine for your PetSafe litter box is to plug in and turn on the unit. This crucial step verifies that the litter box is ready to resume its essential function of providing a clean and hygienic space for your feline companion.
Begin by ensuring that the power cord is securely connected to the electrical outlet. Double-check the connection to guarantee a stable power supply to the litter box. It is essential to position the litter box in a suitable location with easy access to the power source, ensuring that the power cord is not stretched or strained.
Once the power cord is securely connected, proceed to turn on the PetSafe litter box according to the manufacturer's instructions. Depending on the model, this may involve pressing a power button or activating a switch to initiate the operational mode. Observe the unit to ensure that it powers on as expected, with indicator lights or display panels functioning as intended.
As the litter box powers on, take note of any audible cues or visual indicators that signify the unit's readiness for use. Some models may emit a brief sound or display a specific light pattern upon activation. Familiarize yourself with the normal operational indicators to promptly identify any irregularities in the unit's performance.
After confirming that the litter box is powered on and operational, observe its initial cycle to ensure that all components function smoothly. Pay attention to the movement of the waste receptacle, the activation of cleaning mechanisms, and any audible cues that indicate the unit's normal operation. This observation allows you to verify that the litter box is fully functional and ready to provide a clean and inviting space for your pet.
By diligently following the steps to plug in and turn on the litter box, you complete the comprehensive cleaning and maintenance routine, reaffirming the functionality and reliability of the PetSafe litter box. This proactive approach ensures that your feline companion has a pristine and inviting space for their essential activities, contributing to their well-being and enhancing the overall living environment for your family.
To clean a Petsafe litter box, start by unplugging the unit and removing the waste bin. Dispose of the waste and wash the bin with mild soap and water. Wipe down the rest of the unit with a damp cloth and let it dry before reassembling.
Conclusion
Maintaining a clean and odor-free environment for your feline companion is a fundamental aspect of responsible pet ownership. By following the comprehensive guide on cleaning a PetSafe litter box, you have equipped yourself with the knowledge and techniques to ensure that your pet has a comfortable and hygienic space for their essential activities.
Regular cleaning and maintenance of the PetSafe litter box are essential not only for your pet's well-being but also for promoting a fresh and inviting living environment for your family. By adhering to the step-by-step process outlined in this guide, you have taken proactive measures to uphold the cleanliness and functionality of the litter box, contributing to a harmonious coexistence with your beloved pet.
The meticulous approach to cleaning the litter box, from gathering the necessary supplies to reassembling the components, reflects your commitment to providing the best care for your feline companion. By prioritizing hygiene and cleanliness, you have created a space that fosters your pet's health and comfort while minimizing odors and maintaining a pleasant home environment.
Furthermore, the attention to detail in inspecting and cleaning the waste receptacle, as well as the interior of the litter box, demonstrates your dedication to ensuring a sanitary and inviting space for your pet. Your proactive approach to maintenance not only promotes your pet's well-being but also reflects your role as a conscientious and caring pet owner.
As you plug in and turn on the PetSafe litter box, you reaffirm the culmination of your efforts in maintaining a clean and hygienic environment for your feline companion. The successful completion of the cleaning routine signifies your commitment to providing a comfortable and inviting space for your pet's essential activities.
By following this guide, you have not only enhanced the living environment for your family but also strengthened the bond with your pet through the provision of a clean and welcoming space. Your dedication to maintaining a pristine litter box underscores your role as a responsible and caring pet owner, ensuring that your feline companion thrives in a hygienic and comfortable environment.
In conclusion, the thorough cleaning and maintenance of the PetSafe litter box exemplify your commitment to providing the best care for your pet, fostering their well-being and happiness within your home.
Frequently Asked Questions about How To Clean A Petsafe Litter Box
Was this page helpful?
At Storables.com, we guarantee accurate and reliable information. Our content, validated by Expert Board Contributors, is crafted following stringent Editorial Policies. We're committed to providing you with well-researched, expert-backed insights for all your informational needs.

0 thoughts on “How To Clean A Petsafe Litter Box”