Home>Storage & Organization>Kitchen Organizing Tools>How To Clean A Kitty Litter Box
Kitchen Organizing Tools
How To Clean A Kitty Litter Box
Modified: August 23, 2024
Learn the best methods for cleaning a kitty litter box and keeping your kitchen organizing tools in top shape. Find expert tips and advice here!
(Many of the links in this article redirect to a specific reviewed product. Your purchase of these products through affiliate links helps to generate commission for Storables.com, at no extra cost. Learn more)
Introduction
Cleaning a kitty litter box is an essential task for any cat owner. A clean litter box not only ensures your feline friend has a hygienic space to do their business but also helps maintain a fresh and odor-free environment in your home. While the thought of cleaning a litter box may not be the most appealing, it is a straightforward process that, when done regularly, can become a quick and manageable chore.
In this comprehensive guide, we will walk you through the step-by-step process of cleaning a kitty litter box, providing you with valuable tips and insights to make the task efficient and effective. By following these simple yet crucial steps, you can ensure that your cat's litter box remains a clean and inviting space for your pet, while also contributing to a clean and pleasant living environment for you and your family.
A well-maintained litter box is not only beneficial for your cat's health and well-being but also plays a significant role in preventing unpleasant odors from permeating your home. With the right approach and a few essential tools, you can transform the chore of cleaning the litter box into a routine that is both manageable and rewarding.
Now, let's delve into the step-by-step process of cleaning a kitty litter box, equipping you with the knowledge and confidence to maintain a clean and hygienic environment for your beloved feline companion.
Key Takeaways:
- Keep your kitty litter box clean by gathering essential supplies, removing old litter, and thoroughly cleaning and drying the box. This ensures a hygienic space for your cat and a fresh environment for your family.
- Dispose of kitty litter waste responsibly by securely sealing it in a trash bag, following local waste disposal guidelines, and considering eco-friendly options. This promotes a clean living space and demonstrates responsible pet care.
Read more: How To Clean A Petsafe Litter Box
Step 1: Gather the necessary supplies
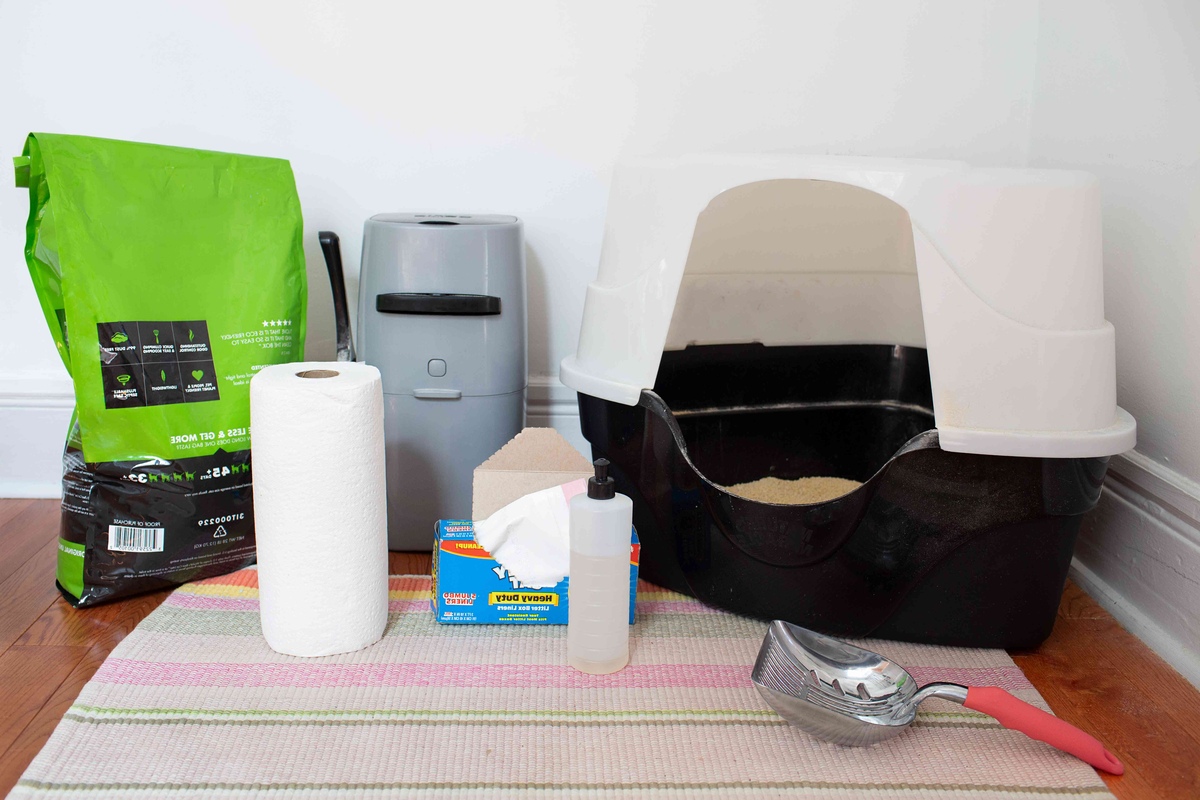
Before embarking on the task of cleaning your kitty litter box, it's essential to gather the necessary supplies to ensure a thorough and efficient cleaning process. Having the right tools at hand will not only streamline the task but also contribute to maintaining a hygienic environment for both you and your feline friend. Here's a comprehensive list of supplies you'll need:
-
Rubber Gloves: To protect your hands from coming into direct contact with the litter and waste, it's advisable to wear rubber gloves throughout the cleaning process. This not only maintains hygiene but also minimizes the risk of exposure to bacteria.
-
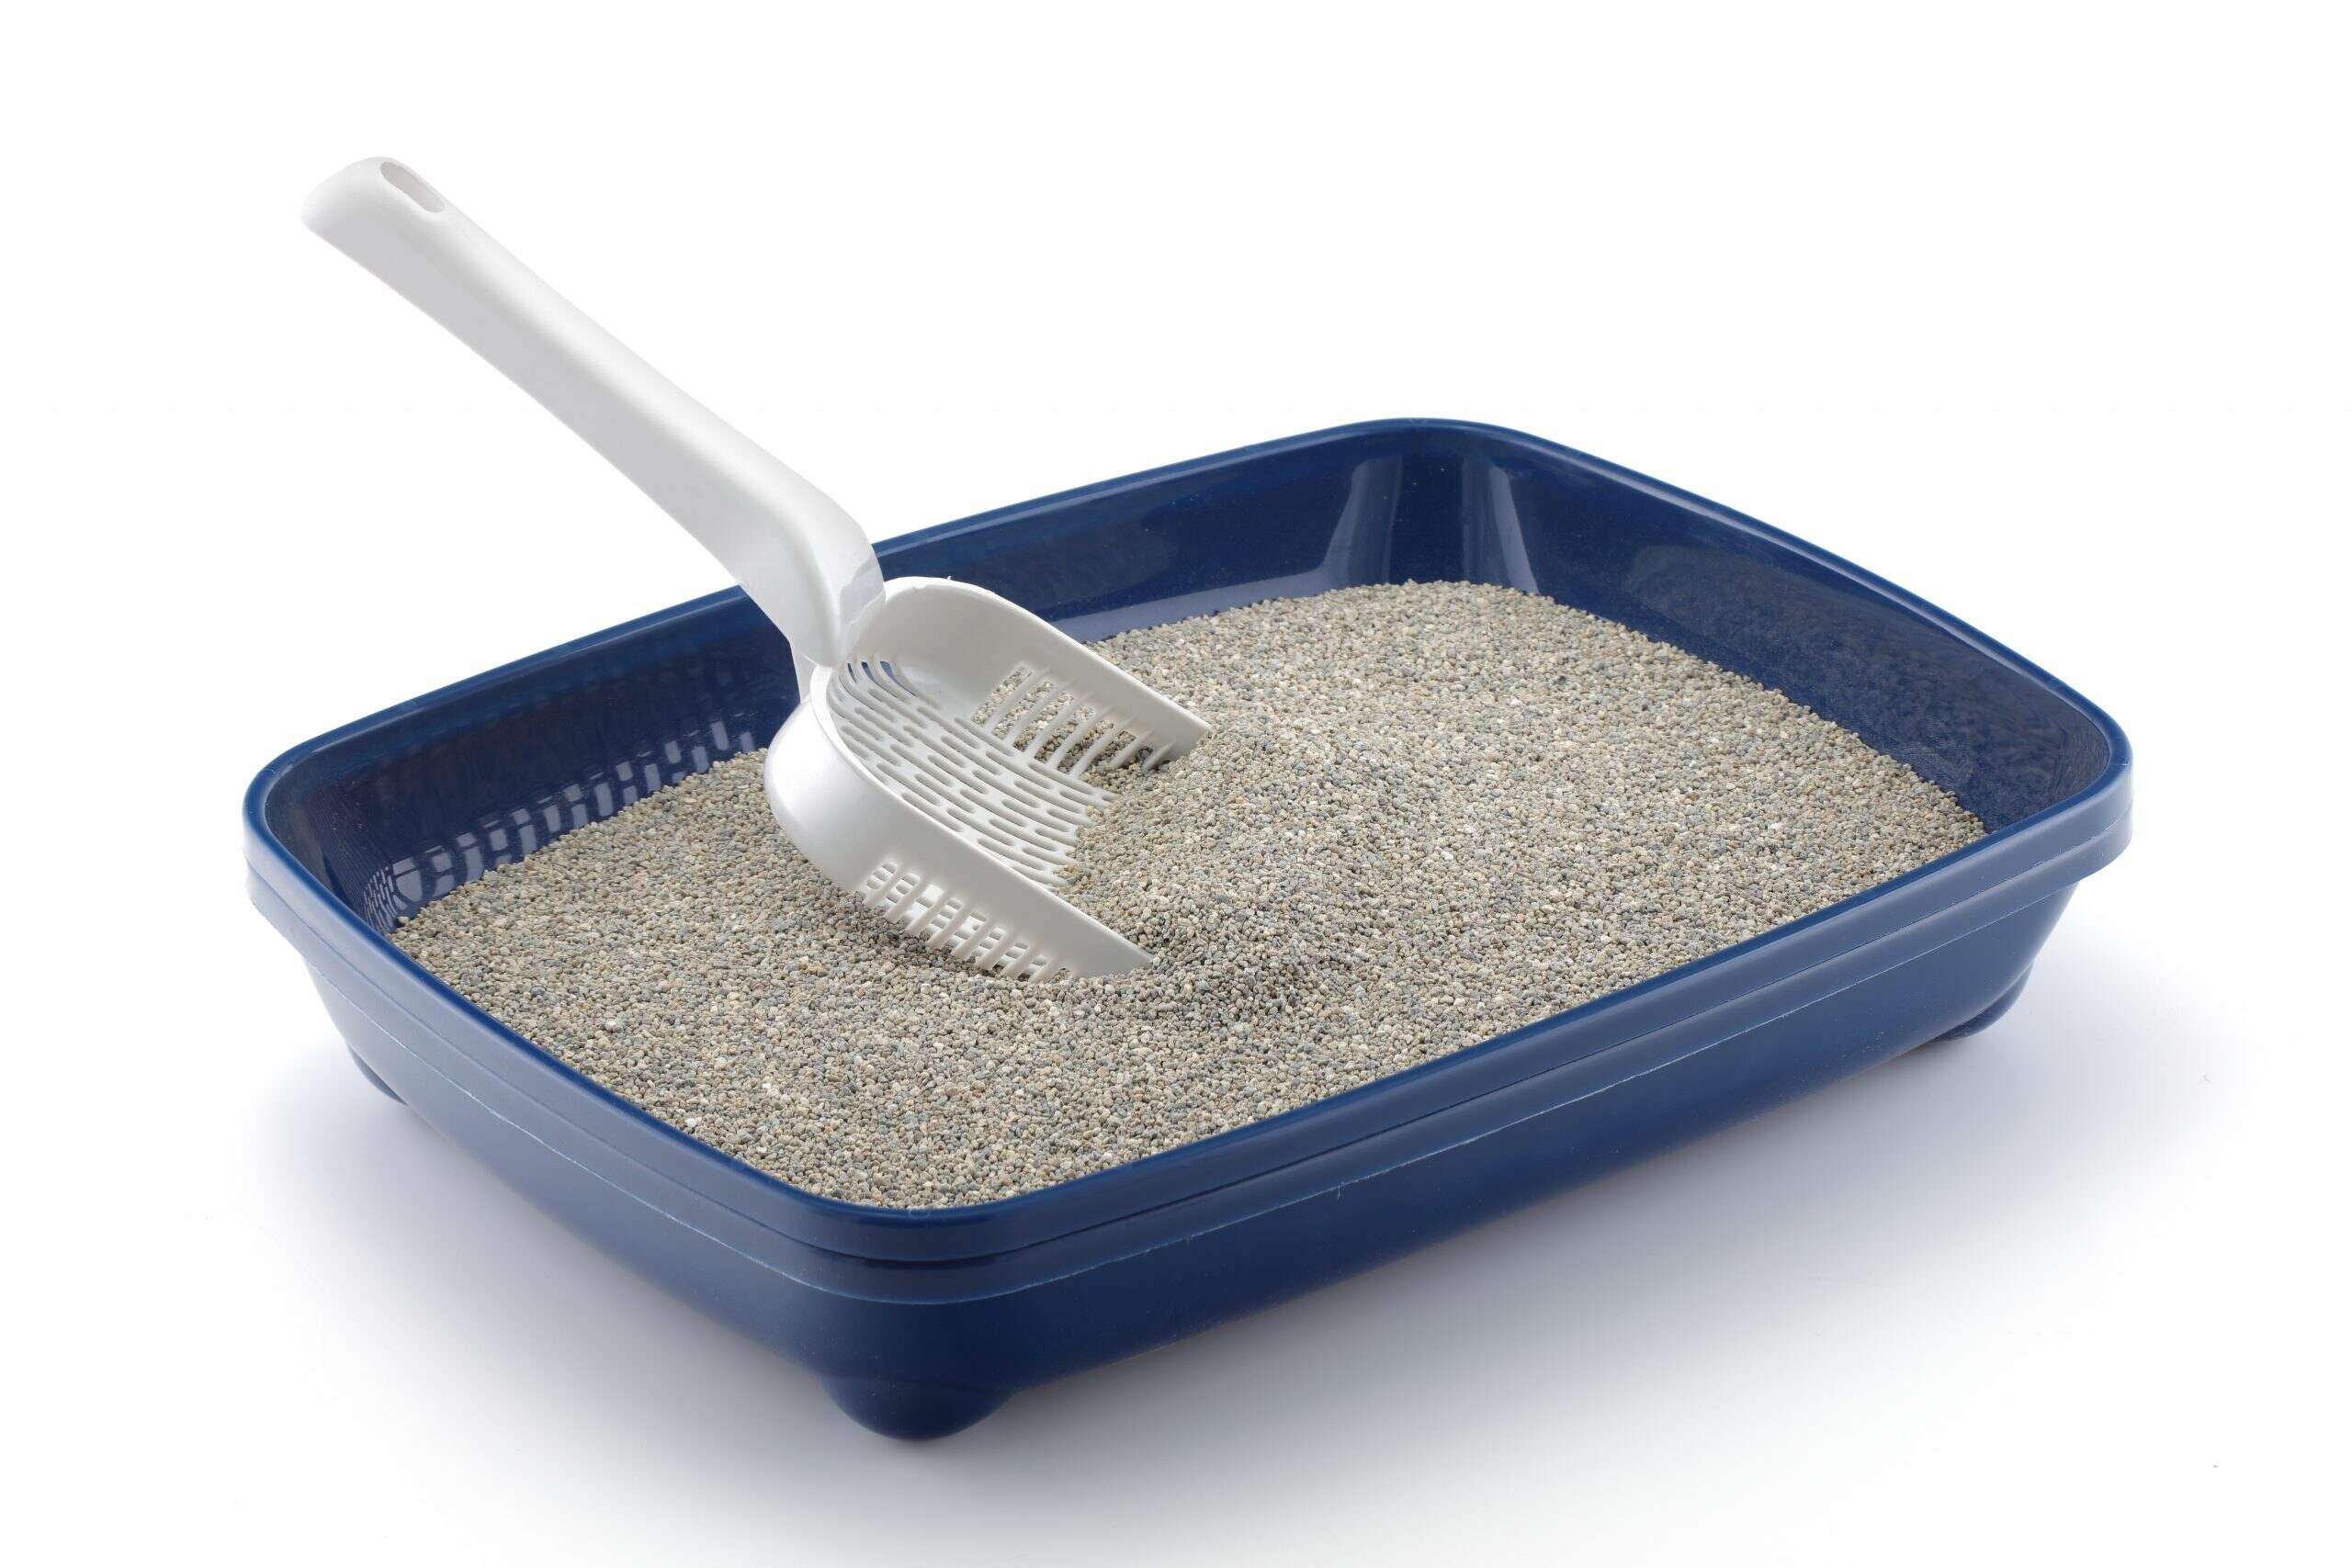
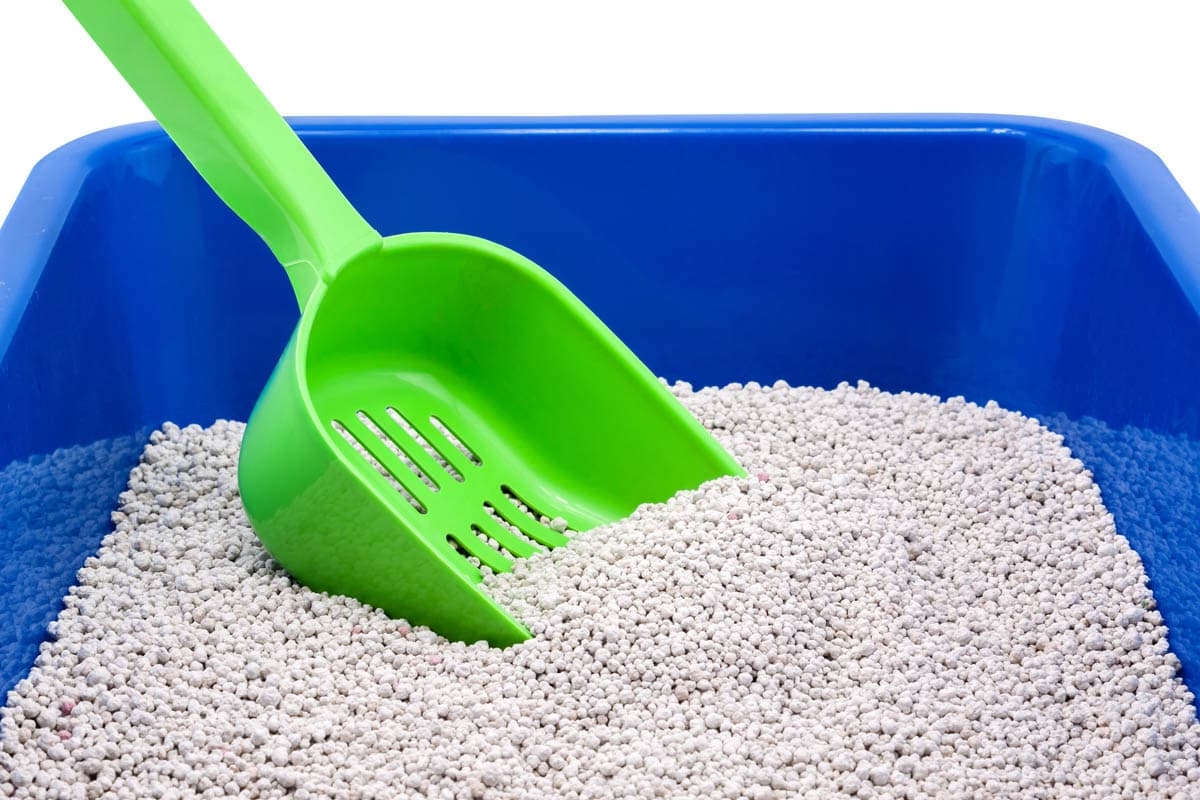
Scoop or Litter Scooper: An essential tool for removing clumps and solid waste from the litter box. Invest in a sturdy and durable scoop designed specifically for cat litter, as it will make the cleaning process more efficient.
-
Litter Box Liners (Optional): If you prefer using liners in your litter box, ensure you have an adequate supply on hand. Liners can make the cleaning process more convenient and help extend the life of the litter box.
-
Mild Detergent or Pet-Safe Cleaner: Choose a gentle detergent or pet-safe cleaner to thoroughly wash and disinfect the litter box. Avoid using harsh chemicals or strong-smelling cleaners, as these can be off-putting to your cat and may leave behind residual odors.
-
Scrub Brush or Sponge: A dedicated scrub brush or sponge will aid in removing any stubborn residue or stains from the litter box. Opt for a brush with sturdy bristles that can effectively scrub away dirt and grime.
-
Fresh Cat Litter: Ensure you have a sufficient supply of fresh cat litter to refill the box after cleaning. The type of litter you choose should align with your cat's preferences and any specific recommendations from your veterinarian.
-
Trash Bags: Have a few sturdy trash bags on hand for disposing of the old litter and waste. Double-bagging the waste can help contain odors and prevent leakage.
By gathering these essential supplies before you begin, you can streamline the cleaning process and ensure that you have everything you need to maintain a clean and inviting litter box for your cat. With the right tools at your disposal, you'll be well-prepared to tackle the subsequent steps of cleaning the litter box effectively and efficiently.
Step 2: Remove the old litter
Once you have gathered the necessary supplies, it's time to begin the process of removing the old litter from the cat's litter box. This step is crucial in maintaining a clean and hygienic environment for your feline companion. Here's a detailed guide on how to effectively remove the old litter:
-
Prepare the Area: Before removing the old litter, it's advisable to place the litter box in an easily accessible and well-ventilated area. This will make the cleaning process more convenient and help minimize any potential mess.
-
Wear Rubber Gloves: To maintain hygiene and protect your hands from coming into direct contact with the old litter and waste, it's essential to wear rubber gloves throughout this process.
-
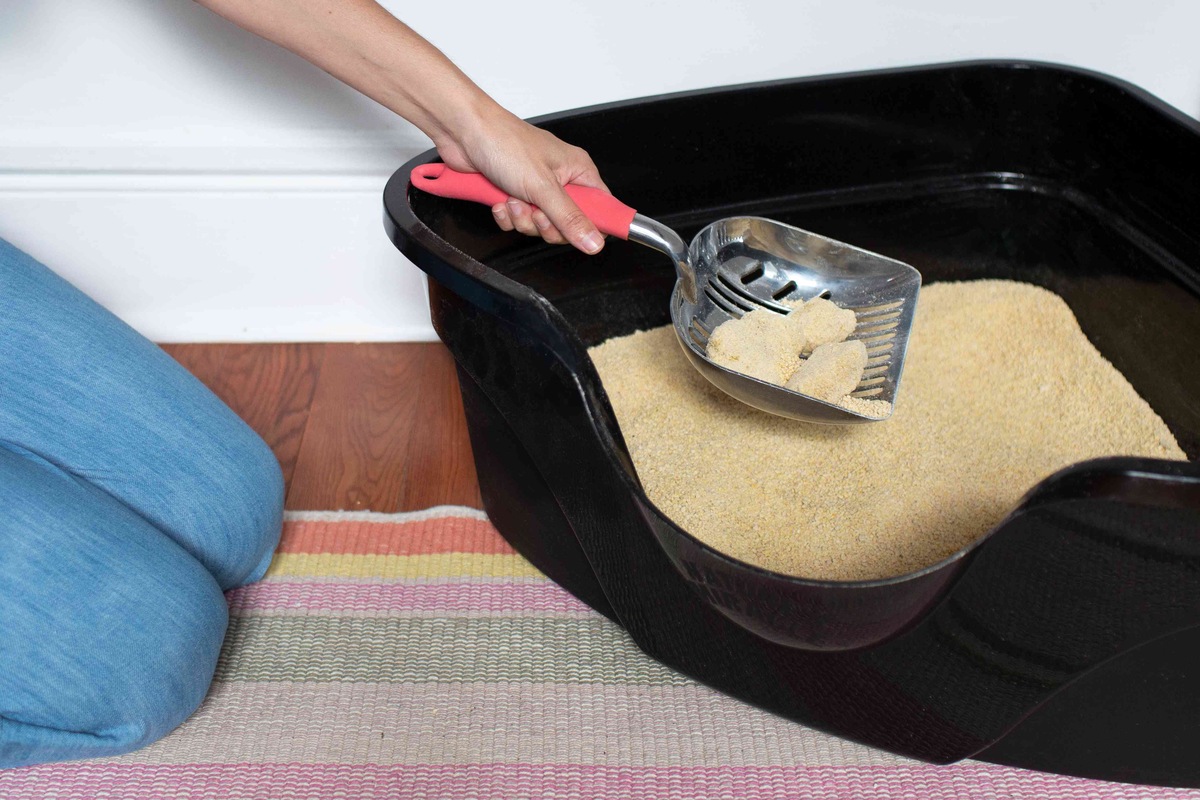
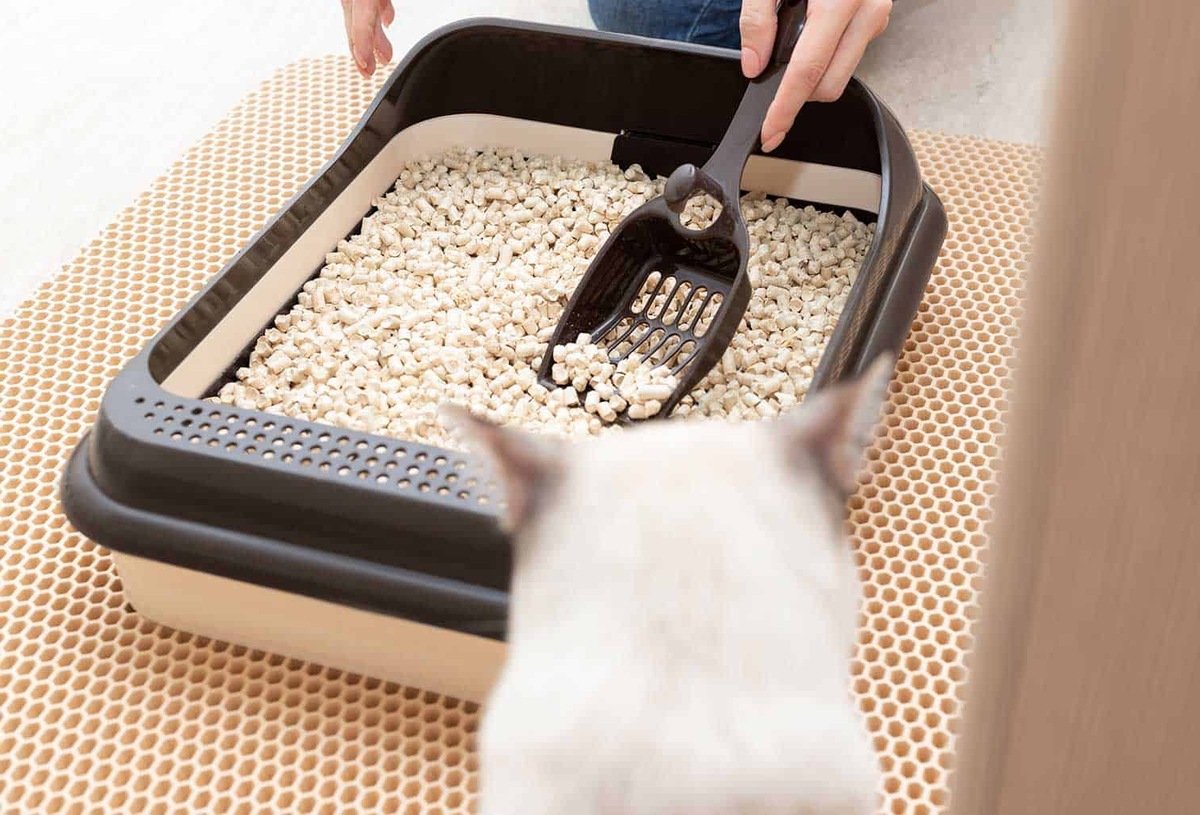
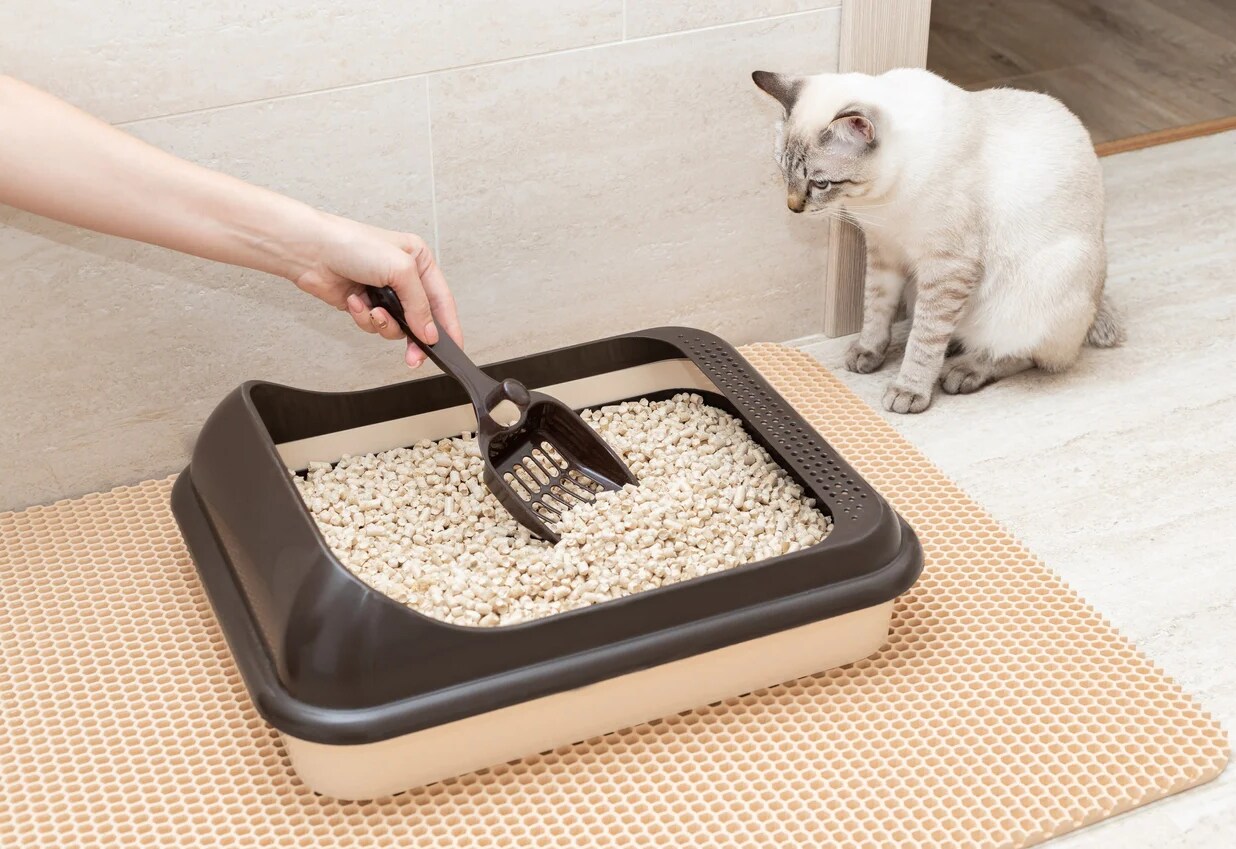
Use a Litter Scooper: Armed with a sturdy litter scooper, carefully sift through the old litter, removing any clumps and solid waste. It's important to be thorough in this step to ensure that the litter box is effectively cleared of any soiled litter.
-
Dispose of Waste: Place the scooped waste into a sturdy trash bag, ensuring that it is securely sealed to contain odors. Double-bagging the waste can provide an extra layer of protection against leakage and odors.
-
Empty the Remaining Litter: Once the waste has been removed, carefully empty the remaining litter from the box into the trash bag. It's important to dispose of the old litter responsibly, following any local waste disposal guidelines.
-
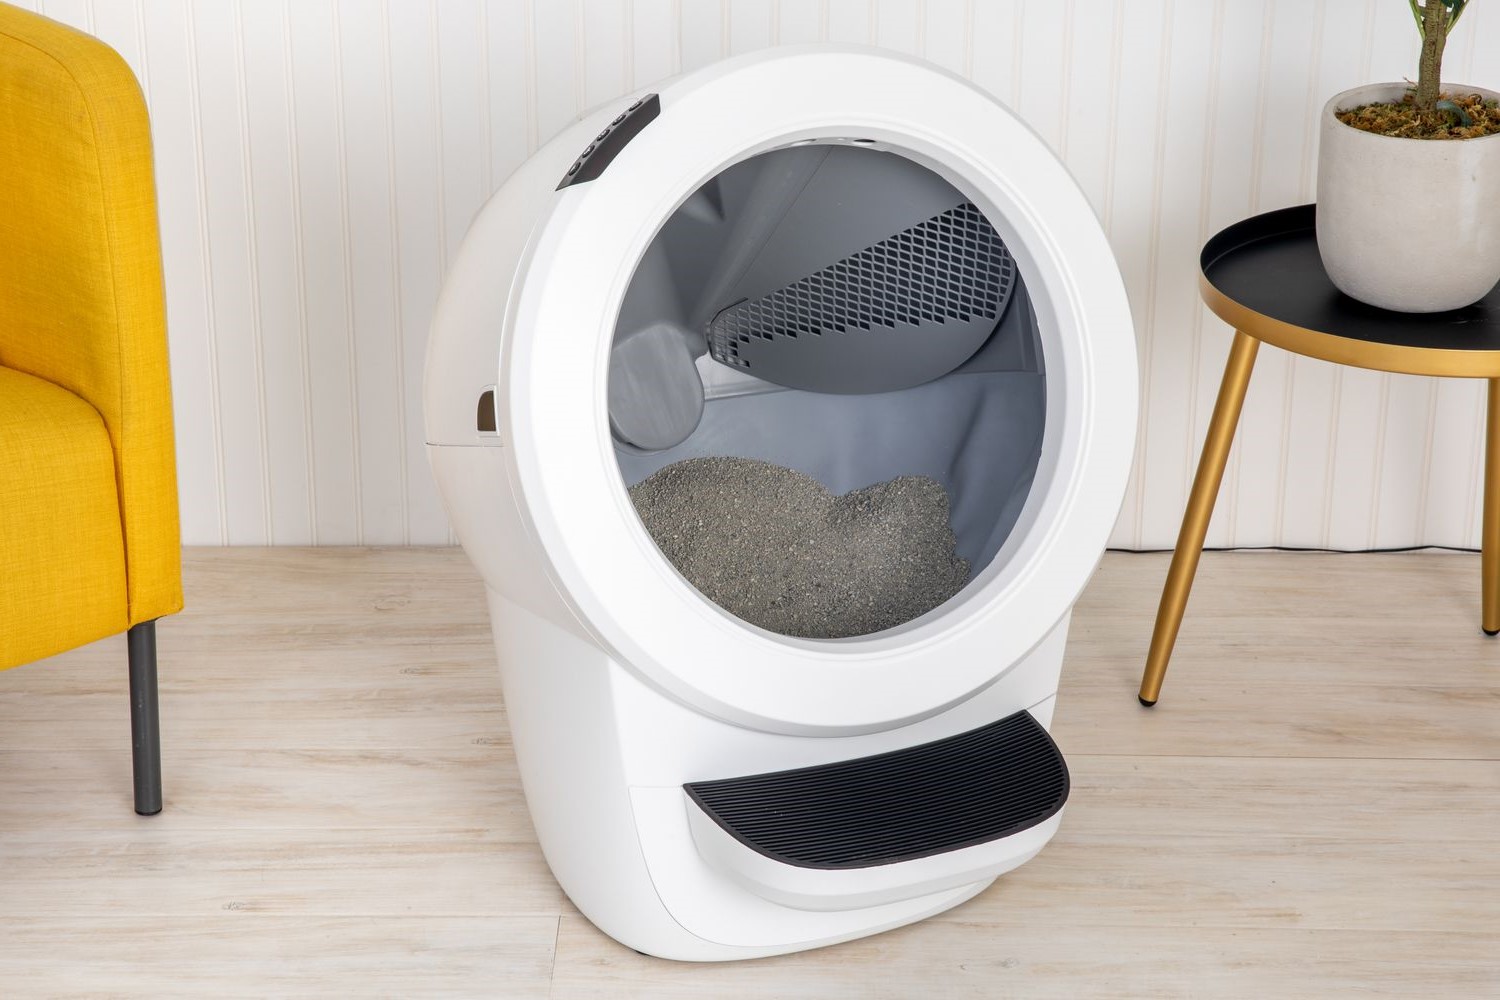
Inspect the Litter Box: Take this opportunity to inspect the litter box for any signs of wear or damage. If you notice any cracks, stains, or persistent odors, it may be time to consider replacing the litter box to maintain a clean and hygienic environment for your cat.
By following these detailed steps, you can effectively remove the old litter from the cat's litter box, setting the stage for the subsequent cleaning and maintenance steps. This thorough approach ensures that the litter box is thoroughly cleared of waste and old litter, laying the foundation for a fresh and inviting space for your feline companion.
Step 3: Clean the litter box
Cleaning the litter box is a crucial step in maintaining a hygienic environment for your cat. A thorough cleaning not only removes lingering odors and bacteria but also ensures that your feline companion has a clean and inviting space for their essential activities. Here's a detailed guide on how to effectively clean the litter box:
-
Empty the Litter Box: Begin by completely emptying the litter box of any remaining litter and debris. Use a scoop or small shovel to ensure that the box is entirely free of old litter and waste. Dispose of the old litter in a sealed trash bag, following any local waste disposal guidelines.
-
Wash with Mild Detergent: Once the litter box is empty, it's time to thoroughly wash it with a mild detergent or pet-safe cleaner. Use a scrub brush or sponge to scrub the interior surfaces of the box, ensuring that all traces of waste and residue are removed. Pay close attention to corners and crevices where dirt and bacteria may accumulate.
-
Rinse Thoroughly: After washing the litter box, rinse it thoroughly with clean water to remove any remaining detergent or cleaner. Ensure that all soap residue is completely eliminated, as any lingering chemicals can be off-putting to your cat and may deter them from using the box.
-
Dry the Litter Box: Once the litter box has been washed and rinsed, allow it to air dry completely. Placing the box in a well-ventilated area or under the sun can expedite the drying process. It's essential to ensure that the box is completely dry before adding fresh litter, as moisture can lead to clumping and unpleasant odors.
-
Inspect for Damage: While the litter box is drying, take the opportunity to inspect it for any signs of damage or wear. Check for cracks, scratches, or areas of discoloration that may harbor bacteria or odors. If the litter box shows significant wear, it may be time to consider replacing it with a new one.
By following these detailed steps, you can effectively clean the litter box, ensuring that it is free of odors, bacteria, and residue. A clean litter box not only promotes your cat's well-being but also contributes to a fresh and pleasant environment in your home. With the right approach and attention to detail, maintaining a clean litter box can become a manageable and rewarding aspect of pet care.
Scoop the litter box at least once a day to remove waste and clumps. Wash the box with mild soap and water every 1-2 weeks to prevent odors and bacteria buildup.
Step 4: Dry the litter box
After thoroughly cleaning the litter box, the next crucial step is to ensure that it is completely dry before adding fresh litter. Properly drying the litter box is essential to prevent moisture-related issues such as clumping, bacterial growth, and unpleasant odors. Here's a detailed guide on how to effectively dry the litter box:
-
Air Drying: Once the litter box has been washed and rinsed, place it in a well-ventilated area to air dry. Choose a location with ample airflow, such as a sunny spot or near an open window. Allowing natural air circulation will expedite the drying process and help eliminate any residual moisture.
-
Sunlight Exposure: If weather permits, placing the litter box outdoors in direct sunlight can significantly aid in the drying process. Sunlight not only accelerates drying but also possesses natural disinfectant properties, helping to further sanitize the litter box.
-
Use of Absorbent Materials: To expedite the drying process, consider placing clean, dry towels or absorbent cloths inside the litter box. These materials can help absorb any remaining moisture and promote faster drying. Ensure that the towels are clean and free of any contaminants that could compromise the hygiene of the litter box.
-
Thorough Inspection: While the litter box is drying, take the opportunity to conduct a thorough inspection of its interior and exterior surfaces. Check for any signs of lingering moisture, ensuring that all areas are completely dry before proceeding to the next step.
-
Patience and Attention to Detail: It's essential to exercise patience and allow adequate time for the litter box to dry completely. Rushing this step may lead to residual moisture, which can contribute to clumping and the development of odors. By paying close attention to detail and ensuring thorough drying, you can set the stage for a clean and inviting environment for your cat.
By following these detailed steps and exercising diligence in the drying process, you can ensure that the litter box is completely dry and ready for the addition of fresh litter. A dry litter box not only promotes the longevity of the litter but also provides a comfortable and hygienic space for your cat's essential activities. With the right approach, you can effectively complete this crucial step, contributing to a clean and pleasant environment for both you and your feline companion.
Read more: How To Clean A Litter Box With Vinegar
Step 5: Add fresh litter
Adding fresh litter to the clean litter box is a pivotal step in maintaining a hygienic and inviting environment for your cat. The type of litter you choose plays a significant role in your cat's comfort and overall litter box experience. Here's a detailed guide on how to effectively add fresh litter to the clean box:
-
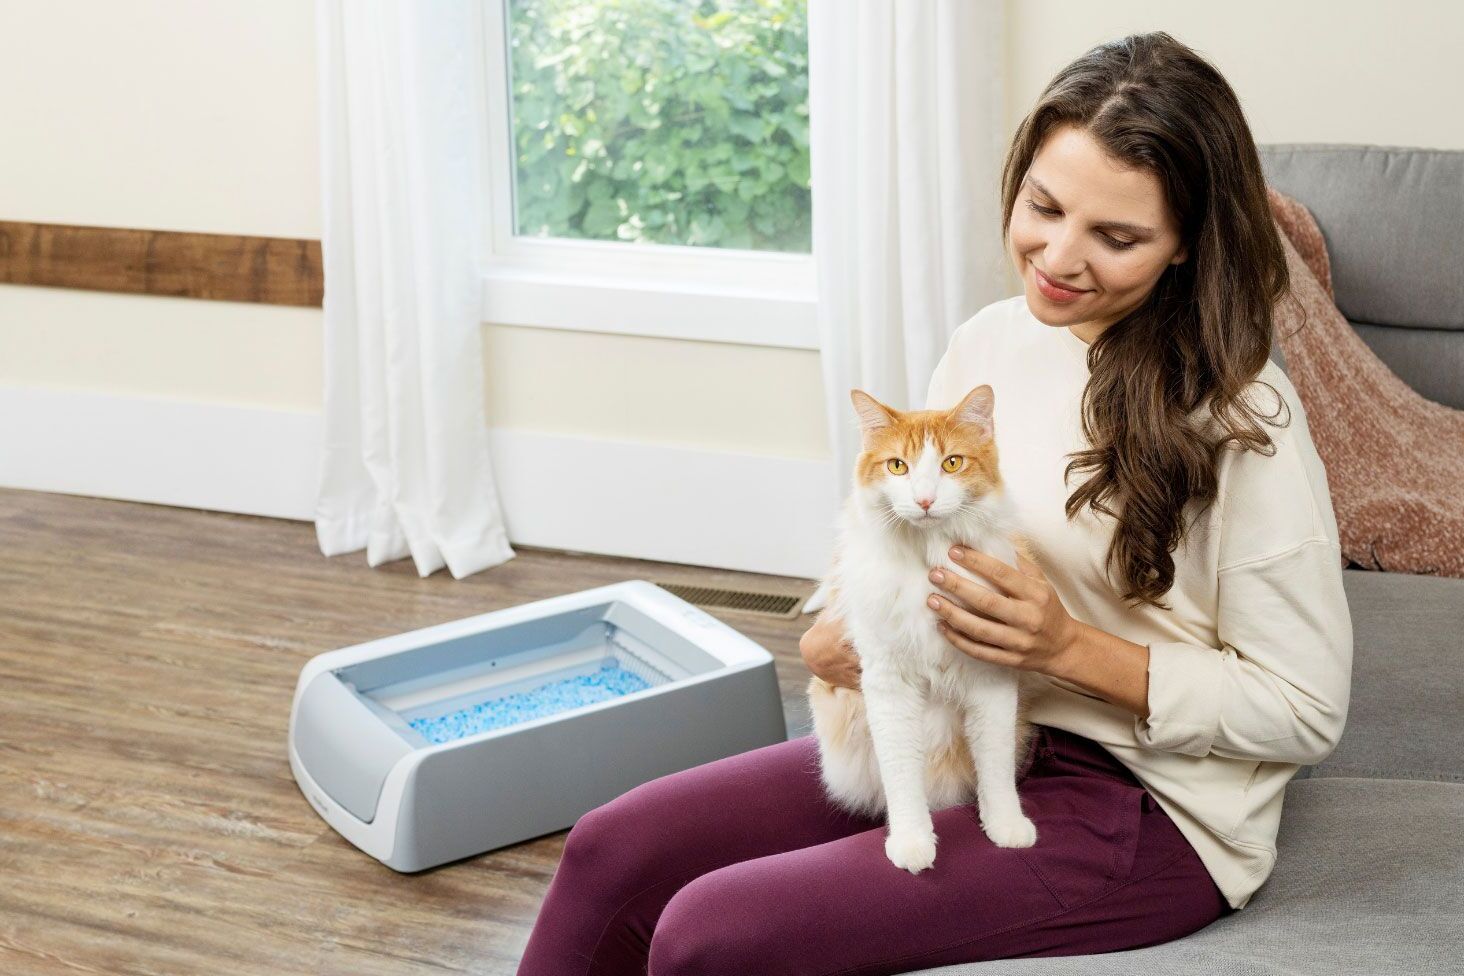
Select the Right Litter: Choose a high-quality cat litter that aligns with your cat's preferences and any specific recommendations from your veterinarian. There are various types of cat litter available, including clumping, non-clumping, silica gel, and natural alternatives. Consider factors such as odor control, dust levels, and your cat's comfort when making your selection.
-
Fill to the Appropriate Depth: Once you've chosen the litter, carefully pour it into the clean litter box to achieve an appropriate depth. Most experts recommend filling the box with litter to a depth of around 2-3 inches. This depth allows for effective waste absorption and provides your cat with a comfortable surface for digging and covering their waste.
-
Maintain Consistency: If you are transitioning to a new type of litter, consider mixing small amounts of the new litter with the existing one over a period of time to allow your cat to acclimate to the change. Cats can be sensitive to alterations in their litter, so maintaining consistency can help prevent aversion to the new material.
-
Level the Surface: Use a scoop or your hand to level the surface of the fresh litter evenly. A smooth and level surface allows your cat to move and dig comfortably, promoting a positive litter box experience.
-
Observe Your Cat's Reaction: After adding the fresh litter, observe your cat's reaction to the new material. Some cats may immediately explore and use the clean litter box, while others may take some time to adjust. Providing positive reinforcement and encouragement can help your cat feel comfortable with the newly filled litter box.
By following these detailed steps, you can effectively add fresh litter to the clean box, ensuring a comfortable and hygienic environment for your cat. A clean and well-maintained litter box not only promotes your cat's well-being but also contributes to a harmonious and pleasant living space for both you and your feline companion. With the right approach and attention to detail, you can complete this essential step with confidence, knowing that you are providing the best possible environment for your beloved pet.
Step 6: Dispose of the waste properly
Proper disposal of the waste from the kitty litter box is a critical aspect of maintaining a clean and hygienic environment for both your cat and your household. Responsible waste disposal not only contributes to a fresh and odor-free living space but also minimizes the risk of bacterial contamination and environmental impact. Here's a detailed guide on how to effectively dispose of the waste from the litter box:
-
Secure Containment: After scooping out the waste from the litter box, it's essential to place it in a sturdy and securely sealed trash bag. Double-bagging the waste can provide an extra layer of protection against odors and leakage, ensuring that the waste is contained and isolated from the surrounding environment.
-
Proper Sealing: Ensure that the trash bag containing the waste is securely sealed to prevent any odors from escaping and to minimize the risk of leakage. Tying the bag tightly and securely can help contain odors and prevent the spread of bacteria, maintaining a clean and hygienic environment.
-
Responsible Disposal: When disposing of the waste-filled trash bag, it's important to adhere to local waste disposal guidelines and regulations. Some areas may have specific requirements for the disposal of pet waste, and it's crucial to follow these guidelines to ensure responsible and environmentally friendly waste management.
-
Avoid Flushing: It's important to note that cat litter and waste should never be flushed down the toilet. Cat feces can contain parasites and bacteria that are harmful to aquatic ecosystems, and flushing it can lead to environmental contamination. Additionally, many types of cat litter are not designed to disintegrate in water, posing a risk of clogging pipes and sewage systems.
-
Consider Biodegradable Options: If available, consider using biodegradable or compostable cat litter. These eco-friendly alternatives are designed to break down naturally, reducing the environmental impact of waste disposal. However, it's essential to research and ensure that the specific biodegradable litter is suitable for composting and adheres to local regulations.
-
Regular Waste Collection: Dispose of the waste-filled trash bag in accordance with your regular waste collection schedule. If you have specific guidelines for pet waste disposal in your area, such as designated pet waste bins or collection services, be sure to utilize these resources for responsible waste management.
By following these detailed steps, you can effectively dispose of the waste from the kitty litter box in a responsible and environmentally conscious manner. Proper waste disposal not only contributes to a clean and hygienic living environment but also demonstrates a commitment to responsible pet care and environmental stewardship. With attention to detail and adherence to local regulations, you can ensure that waste disposal is an integral part of maintaining a healthy and harmonious space for both you and your feline companion.
Conclusion
Maintaining a clean and hygienic litter box is not only essential for your cat's well-being but also contributes to a harmonious and pleasant living environment for you and your family. By following the comprehensive steps outlined in this guide, you can ensure that the process of cleaning and maintaining the litter box becomes a manageable and rewarding aspect of pet care.
Regular cleaning and maintenance of the litter box play a crucial role in preventing unpleasant odors from permeating your home and minimizing the risk of bacterial contamination. A clean litter box provides your cat with a comfortable and inviting space for their essential activities, promoting their physical and emotional well-being.
By gathering the necessary supplies, removing the old litter, thoroughly cleaning and drying the litter box, adding fresh litter, and responsibly disposing of the waste, you can establish a routine that ensures a consistently clean and hygienic environment for your feline companion.
Furthermore, the attention to detail and commitment to responsible waste disposal showcased in the cleaning process demonstrate a dedication to both pet care and environmental stewardship. By adhering to local waste disposal guidelines and considering eco-friendly alternatives, you can minimize the environmental impact of waste management while maintaining a clean and pleasant living space.
Ultimately, the process of cleaning a kitty litter box is an integral part of providing the best possible care for your cat and creating a comfortable and inviting home environment for your entire family. With the knowledge and insights gained from this guide, you are well-equipped to approach the task of cleaning the litter box with confidence and efficiency, ensuring that your beloved feline companion enjoys a clean and hygienic space for their essential activities.
Frequently Asked Questions about How To Clean A Kitty Litter Box
Was this page helpful?
At Storables.com, we guarantee accurate and reliable information. Our content, validated by Expert Board Contributors, is crafted following stringent Editorial Policies. We're committed to providing you with well-researched, expert-backed insights for all your informational needs.

0 thoughts on “How To Clean A Kitty Litter Box”