Home>Storage & Organization>Kitchen Organizing Tools>How To Clean A Litter Box With Pellets
Kitchen Organizing Tools
How To Clean A Litter Box With Pellets
Modified: August 24, 2024
Learn how to efficiently clean a litter box using pellets with our top kitchen organizing tools. Keep your space tidy and odor-free effortlessly!
(Many of the links in this article redirect to a specific reviewed product. Your purchase of these products through affiliate links helps to generate commission for Storables.com, at no extra cost. Learn more)
Introduction
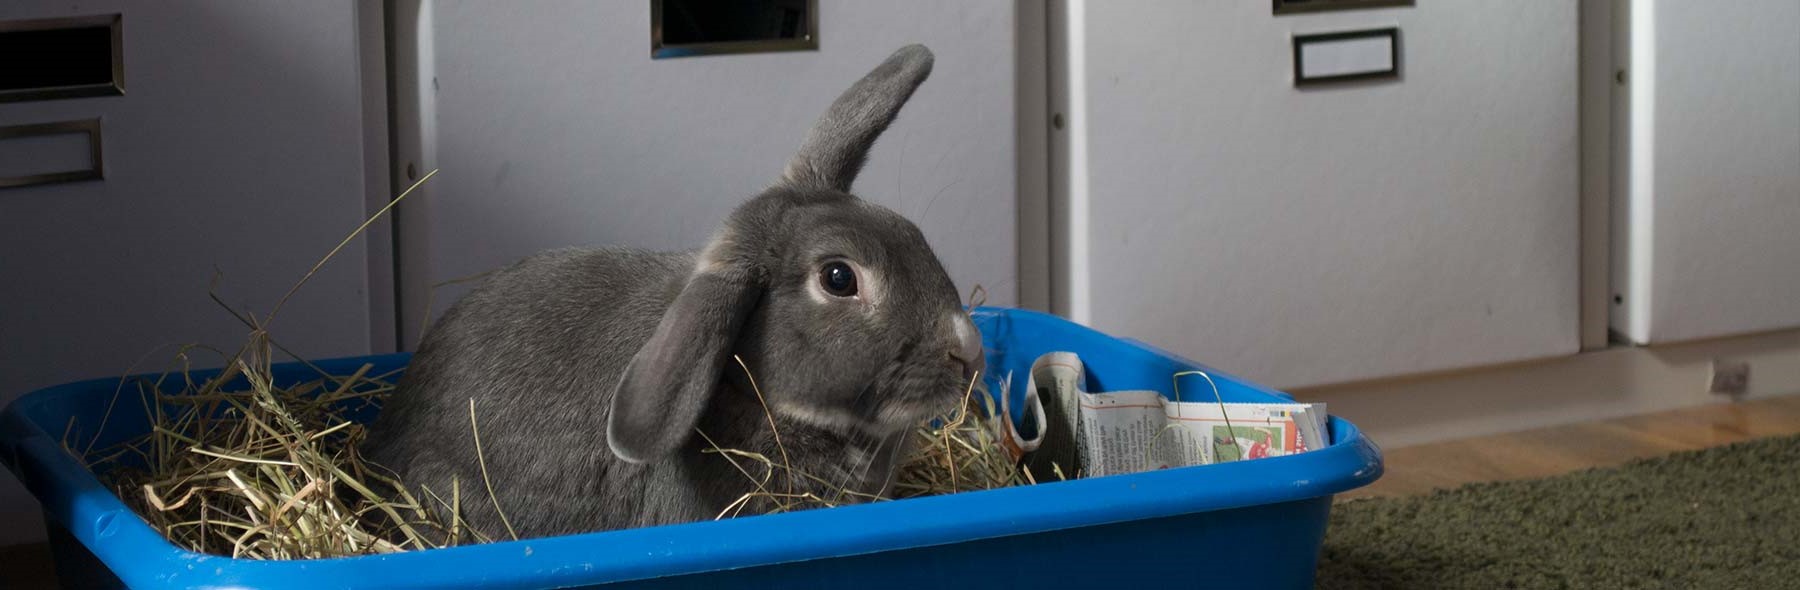
Cleaning a litter box with pellets is an essential task for pet owners who want to provide a clean and hygienic environment for their furry friends. Whether you have a cat, rabbit, or other small pets that use a litter box, maintaining a clean and odor-free space is crucial for their well-being and your home's cleanliness. By following a few simple steps and using the right supplies, you can efficiently clean a litter box with pellets, ensuring a fresh and inviting environment for your pet.
A clean litter box not only promotes good hygiene but also helps prevent unpleasant odors from permeating your home. Additionally, regular cleaning can contribute to the overall health and comfort of your pet, as it minimizes the risk of bacterial growth and infections. With the proper approach and a bit of effort, you can transform the chore of cleaning a litter box into a manageable and even rewarding task.
In this comprehensive guide, we will walk you through the step-by-step process of cleaning a litter box with pellets, from gathering the necessary supplies to disposing of the waste. By the end of this article, you will have a clear understanding of how to maintain a clean and fresh litter box for your beloved pet. So, let's dive into the details and learn how to keep your pet's litter box in top-notch condition!
Key Takeaways:
- Keep your pet’s litter box clean and odor-free by gathering essential supplies, removing old pellets, cleaning the box thoroughly, adding new pellets, and disposing of waste properly. Your pet will thank you for the fresh and hygienic environment!
- Maintaining a clean litter box with pellets is crucial for your pet’s well-being and your home’s cleanliness. Follow the step-by-step process to ensure a comfortable and inviting space for your furry friend while minimizing odors and bacterial growth.
Step 1: Gather the necessary supplies
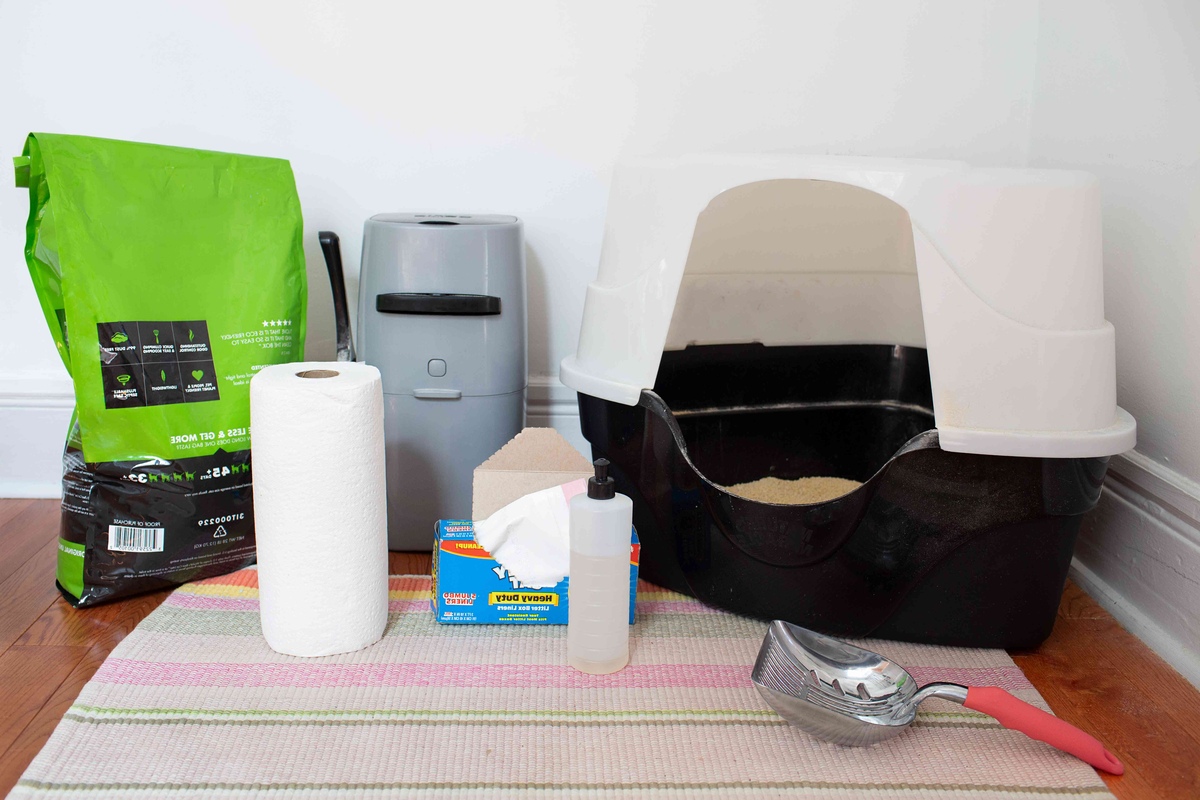
Before embarking on the task of cleaning a litter box with pellets, it's essential to gather the necessary supplies to ensure a thorough and efficient cleaning process. Having the right tools at hand will streamline the task and make the experience more manageable. Here's a detailed list of the supplies you'll need:
-
Rubber Gloves: To protect your hands from coming into direct contact with the soiled litter and to maintain hygiene throughout the cleaning process, a pair of rubber gloves is indispensable.
-
Scoop or Litter Scooper: A scoop or litter scooper is essential for removing soiled pellets and waste from the litter box. Look for a sturdy and durable scoop with a comfortable handle for ease of use.
-
Trash Bags: Keep several trash bags handy for disposing of the soiled litter and waste. Opt for strong, leak-proof bags to contain the waste securely.
-
Mild Detergent or Pet-Safe Cleaner: Using a mild detergent or a pet-safe cleaner is crucial for thoroughly cleaning the litter box. Ensure that the cleaner is safe for pets and effectively eliminates odors and bacteria.
-
Brush or Sponge: A brush or sponge will be useful for scrubbing and cleaning the interior of the litter box. Choose a brush with firm bristles or a sponge with a rough texture to remove any stubborn residue.
-
New Pellets: If you're using disposable pellets, ensure that you have a fresh supply on hand to replenish the litter box after cleaning. Having new pellets ready will enable you to maintain a clean and hygienic environment for your pet.
-
Optional: Litter Liner: If you use a liner in your litter box, ensure that you have a replacement liner available. A liner can make the cleaning process more convenient and help extend the life of the litter box.
By gathering these essential supplies, you'll be well-prepared to tackle the task of cleaning your pet's litter box with pellets. Having everything within reach will streamline the process and ensure that you can maintain a clean and inviting space for your pet with ease. Now that you have all the necessary supplies at your disposal, let's move on to the next step and delve into the process of cleaning the litter box with pellets.
Step 2: Remove the old pellets
Once you have gathered the necessary supplies, the next crucial step in cleaning a litter box with pellets is to remove the old, soiled pellets. This process is essential for maintaining a clean and hygienic environment for your pet and preventing the buildup of odors and bacteria. Here's a detailed guide on how to effectively remove the old pellets from the litter box:
-
Prepare the Work Area: Before you begin, choose a well-ventilated area for the cleaning process. It's advisable to work outdoors or in a well-ventilated room to minimize exposure to dust and odors. Additionally, place a large trash bag or disposable liner on the ground to collect the soiled pellets and waste, making the cleanup process more convenient.
-
Wear Rubber Gloves: Prior to handling the litter box, don a pair of rubber gloves to protect your hands from coming into direct contact with the soiled pellets. This not only maintains hygiene but also prevents potential skin irritation or exposure to bacteria.
-
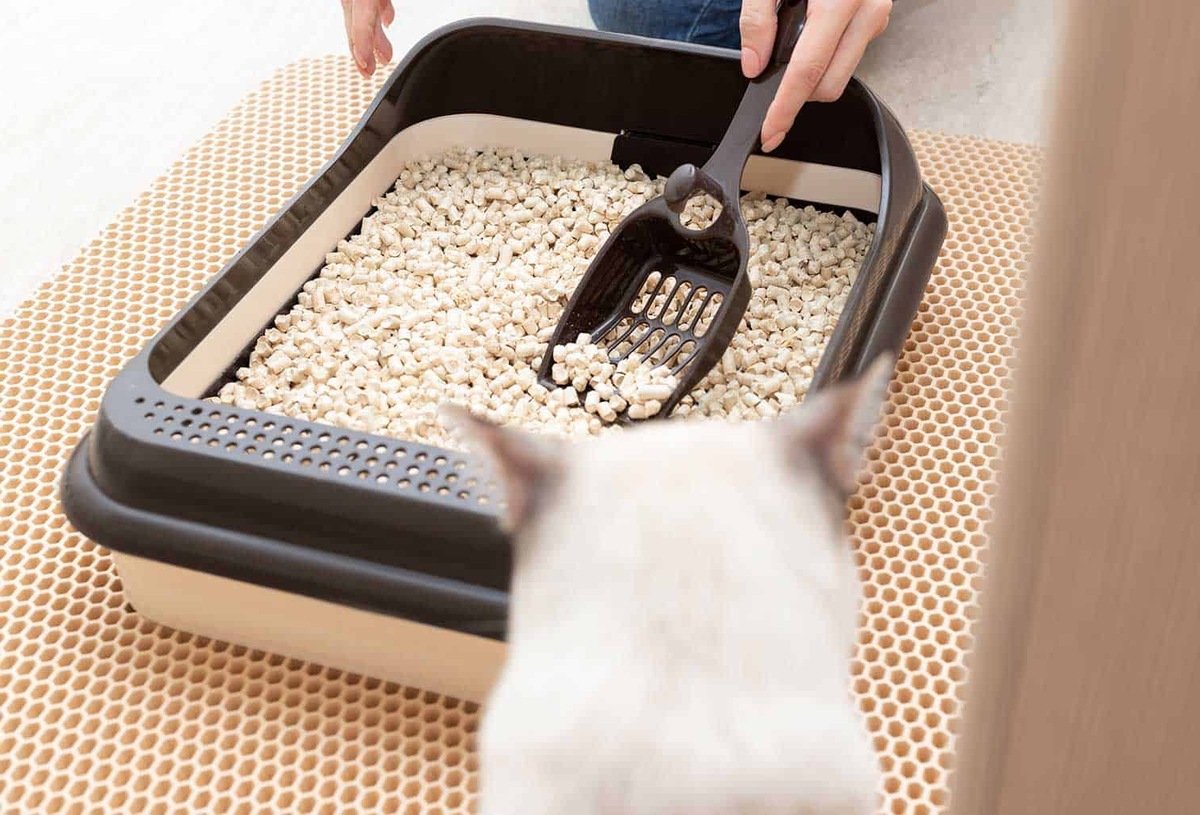
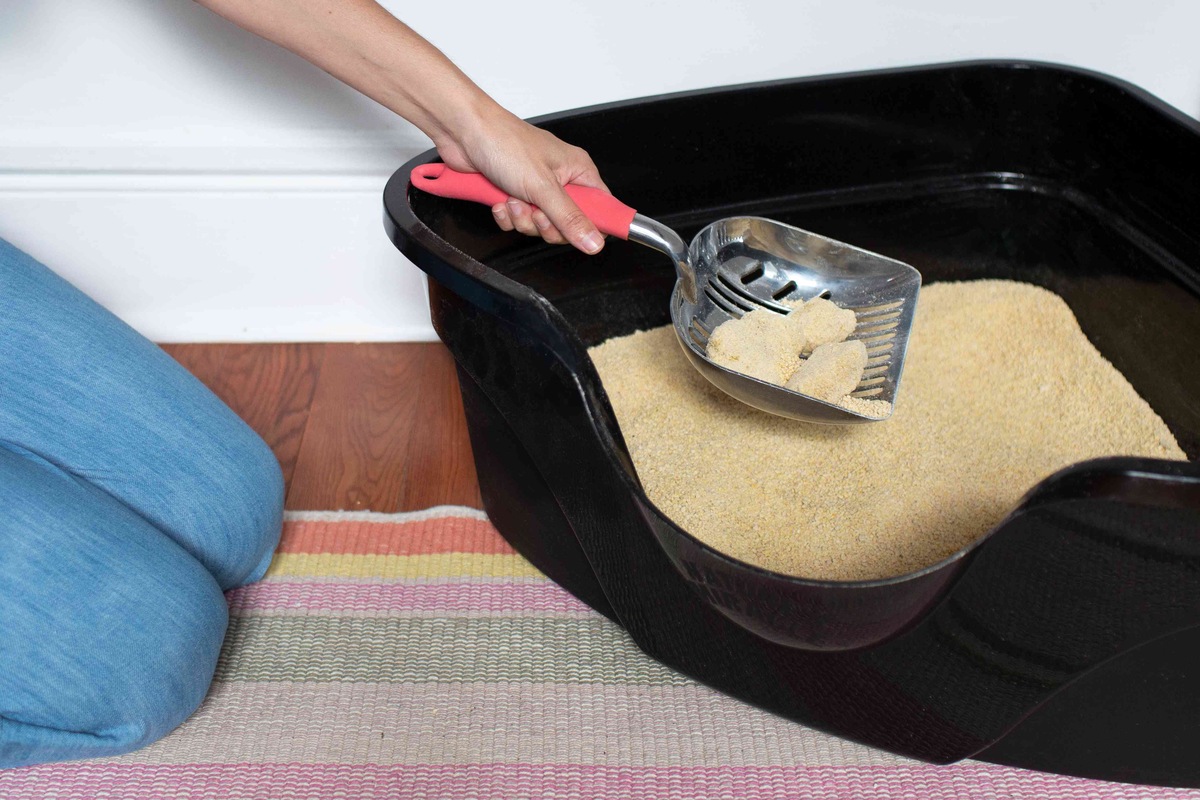
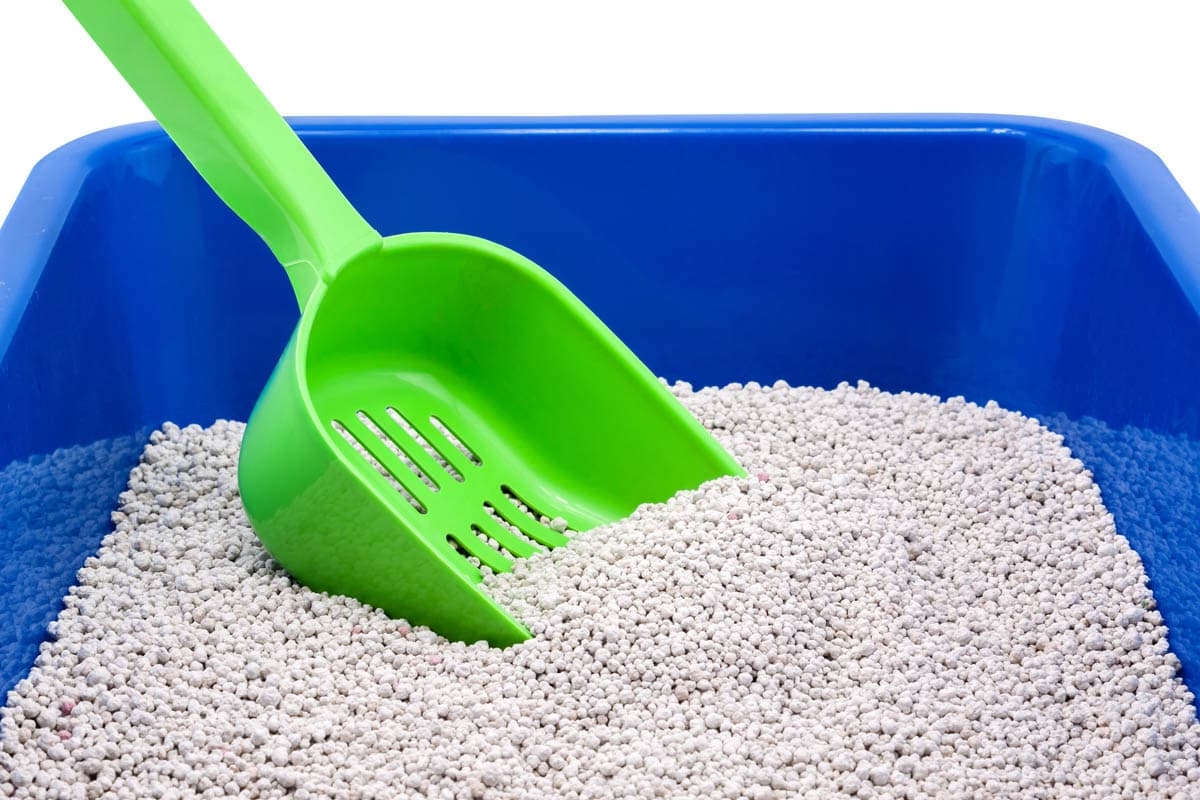
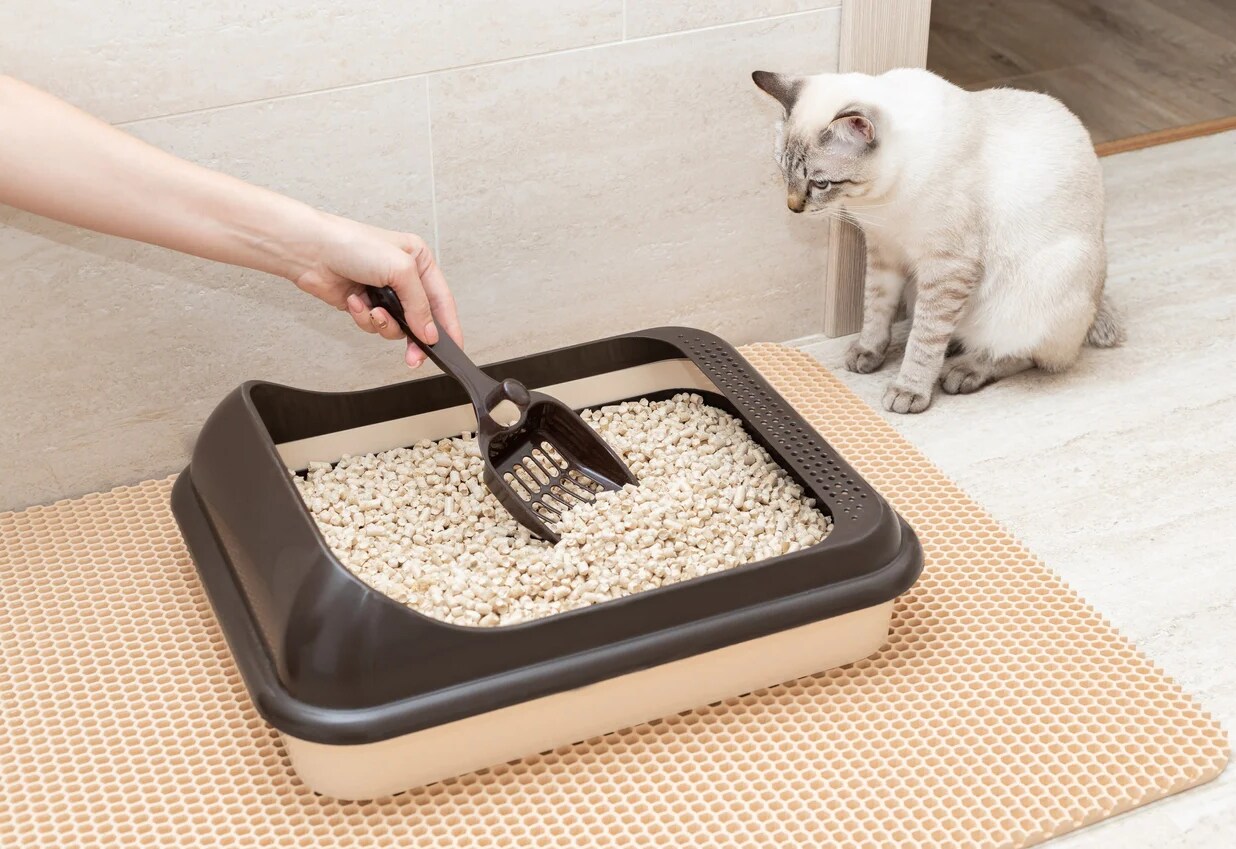
Use a Scoop or Litter Scooper: Armed with a sturdy scoop or litter scooper, carefully sift through the pellets in the litter box, removing any solid waste and soiled pellets. Ensure that the scoop effectively separates the clean pellets from the soiled ones, allowing you to discard the waste while retaining the reusable pellets.
-
Dispose of the Waste: As you scoop out the soiled pellets and waste, deposit them into the prepared trash bag or disposable liner. It's important to seal the bag securely to contain the odor and prevent any spillage. If you're using a disposable liner in the litter box, carefully lift and tie the liner to dispose of the waste.
-
Inspect the Litter Box: After removing the soiled pellets, take a moment to inspect the interior of the litter box for any remaining waste or residue. Use the scoop or a small brush to ensure that the box is free of debris, as a thorough inspection will set the stage for the next cleaning steps.
By following these steps, you can effectively remove the old, soiled pellets from the litter box, laying the foundation for a comprehensive cleaning process. With the old pellets removed and the waste disposed of, you're now ready to proceed to the next step and delve into the process of cleaning the litter box itself.
Step 3: Clean the litter box
With the old pellets and waste removed, the next critical step in the process of cleaning a litter box with pellets is to thoroughly clean the box itself. This step is essential for eliminating odors, bacteria, and residue, ensuring a fresh and hygienic environment for your pet. Here's a detailed guide on how to effectively clean the litter box:
-
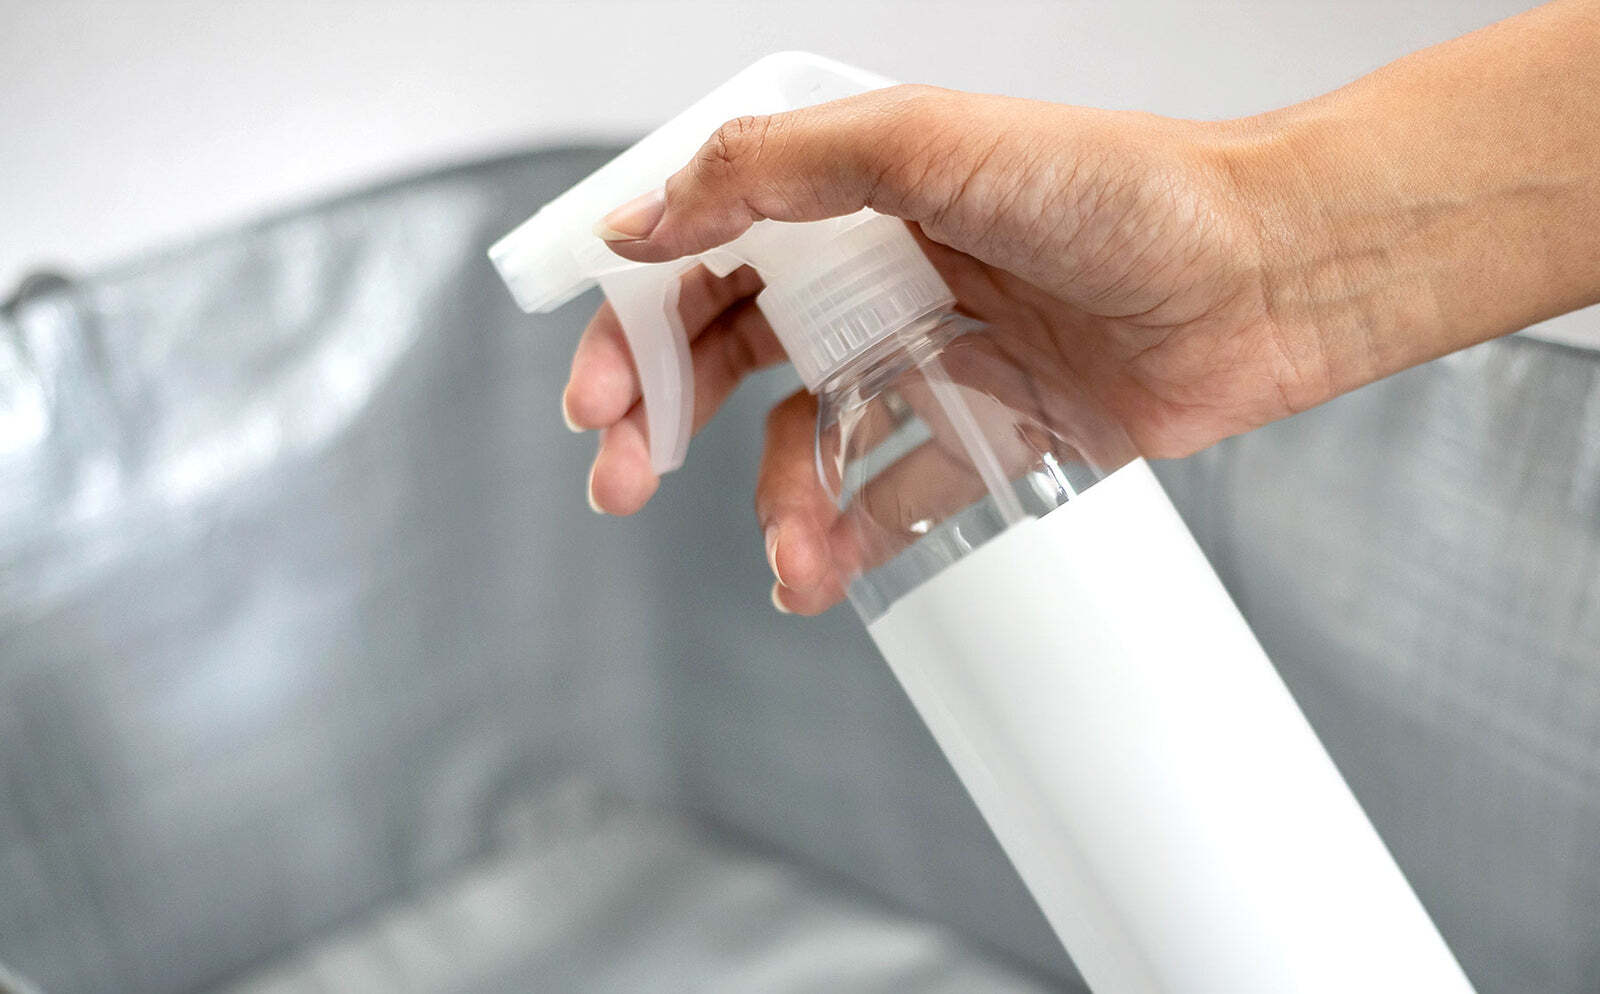
Prepare the Cleaning Solution: Begin by preparing a cleaning solution using a mild detergent or a pet-safe cleaner. Dilute the cleaner in warm water, ensuring that it is safe for pets and effectively eliminates odors and bacteria. The cleaning solution will serve as a powerful tool in restoring the cleanliness of the litter box.
-
Scrub the Interior: Armed with a brush or sponge, dip it into the prepared cleaning solution and thoroughly scrub the interior of the litter box. Focus on areas where residue and odors may linger, ensuring that the entire surface is cleaned. Pay particular attention to corners and crevices, as these areas are prone to accumulating waste and bacteria.
-
Rinse and Dry: Once the interior of the litter box has been scrubbed and cleaned, rinse it thoroughly with clean water to remove any traces of the cleaning solution. Ensure that all residue and suds are completely washed away. After rinsing, allow the litter box to air dry in a well-ventilated area or use a clean towel to dry it thoroughly.
-
Inspect for Residue: After the litter box has dried, inspect it carefully for any remaining residue or odors. If necessary, repeat the cleaning process to ensure that the box is entirely free of any lingering waste or bacteria. A meticulous inspection will guarantee that the litter box is impeccably clean and ready for the next step.
By following these steps, you can effectively clean the litter box, eradicating odors and bacteria while restoring its freshness and cleanliness. With the box thoroughly cleaned and dried, you're now prepared to move on to the next step and replenish it with fresh pellets, creating a welcoming and hygienic space for your pet.
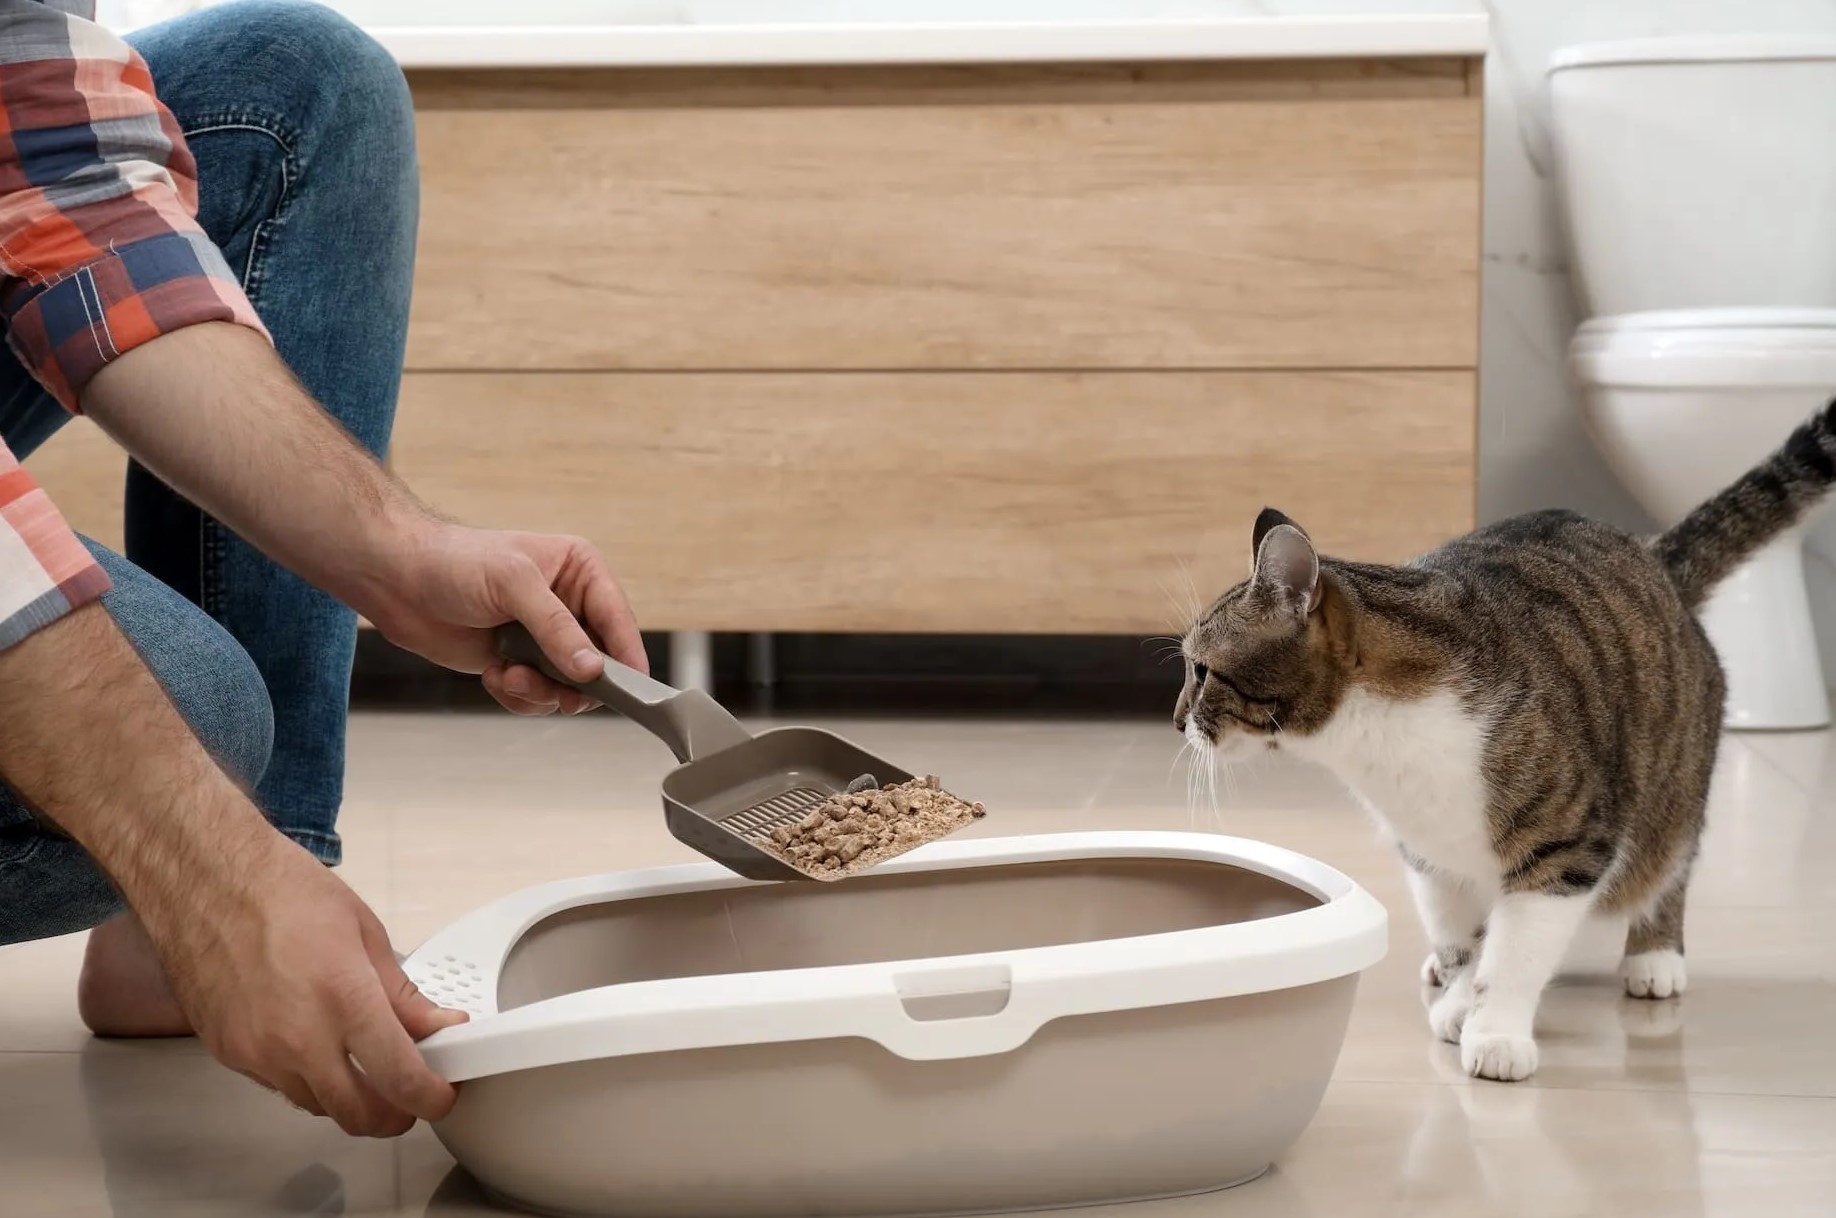
Use a scoop to remove solid waste daily. Stir the pellets to aerate and remove clumps. Replace pellets every 2-4 weeks. Clean the box with mild soap and water monthly.
Step 4: Add new pellets
After thoroughly cleaning the litter box, the next crucial step is to replenish it with fresh pellets, ensuring a clean and inviting environment for your pet. Adding new pellets not only provides a comfortable and hygienic surface for your pet but also helps maintain a fresh and odor-free litter box. Here's a detailed guide on how to effectively add new pellets to the litter box:
-
Select High-Quality Pellets: When adding new pellets to the litter box, it's essential to choose high-quality, absorbent pellets that are suitable for your pet's needs. Whether you prefer wood-based, paper-based, or other types of pellets, ensure that they are designed to control odors and provide optimal absorption.
-
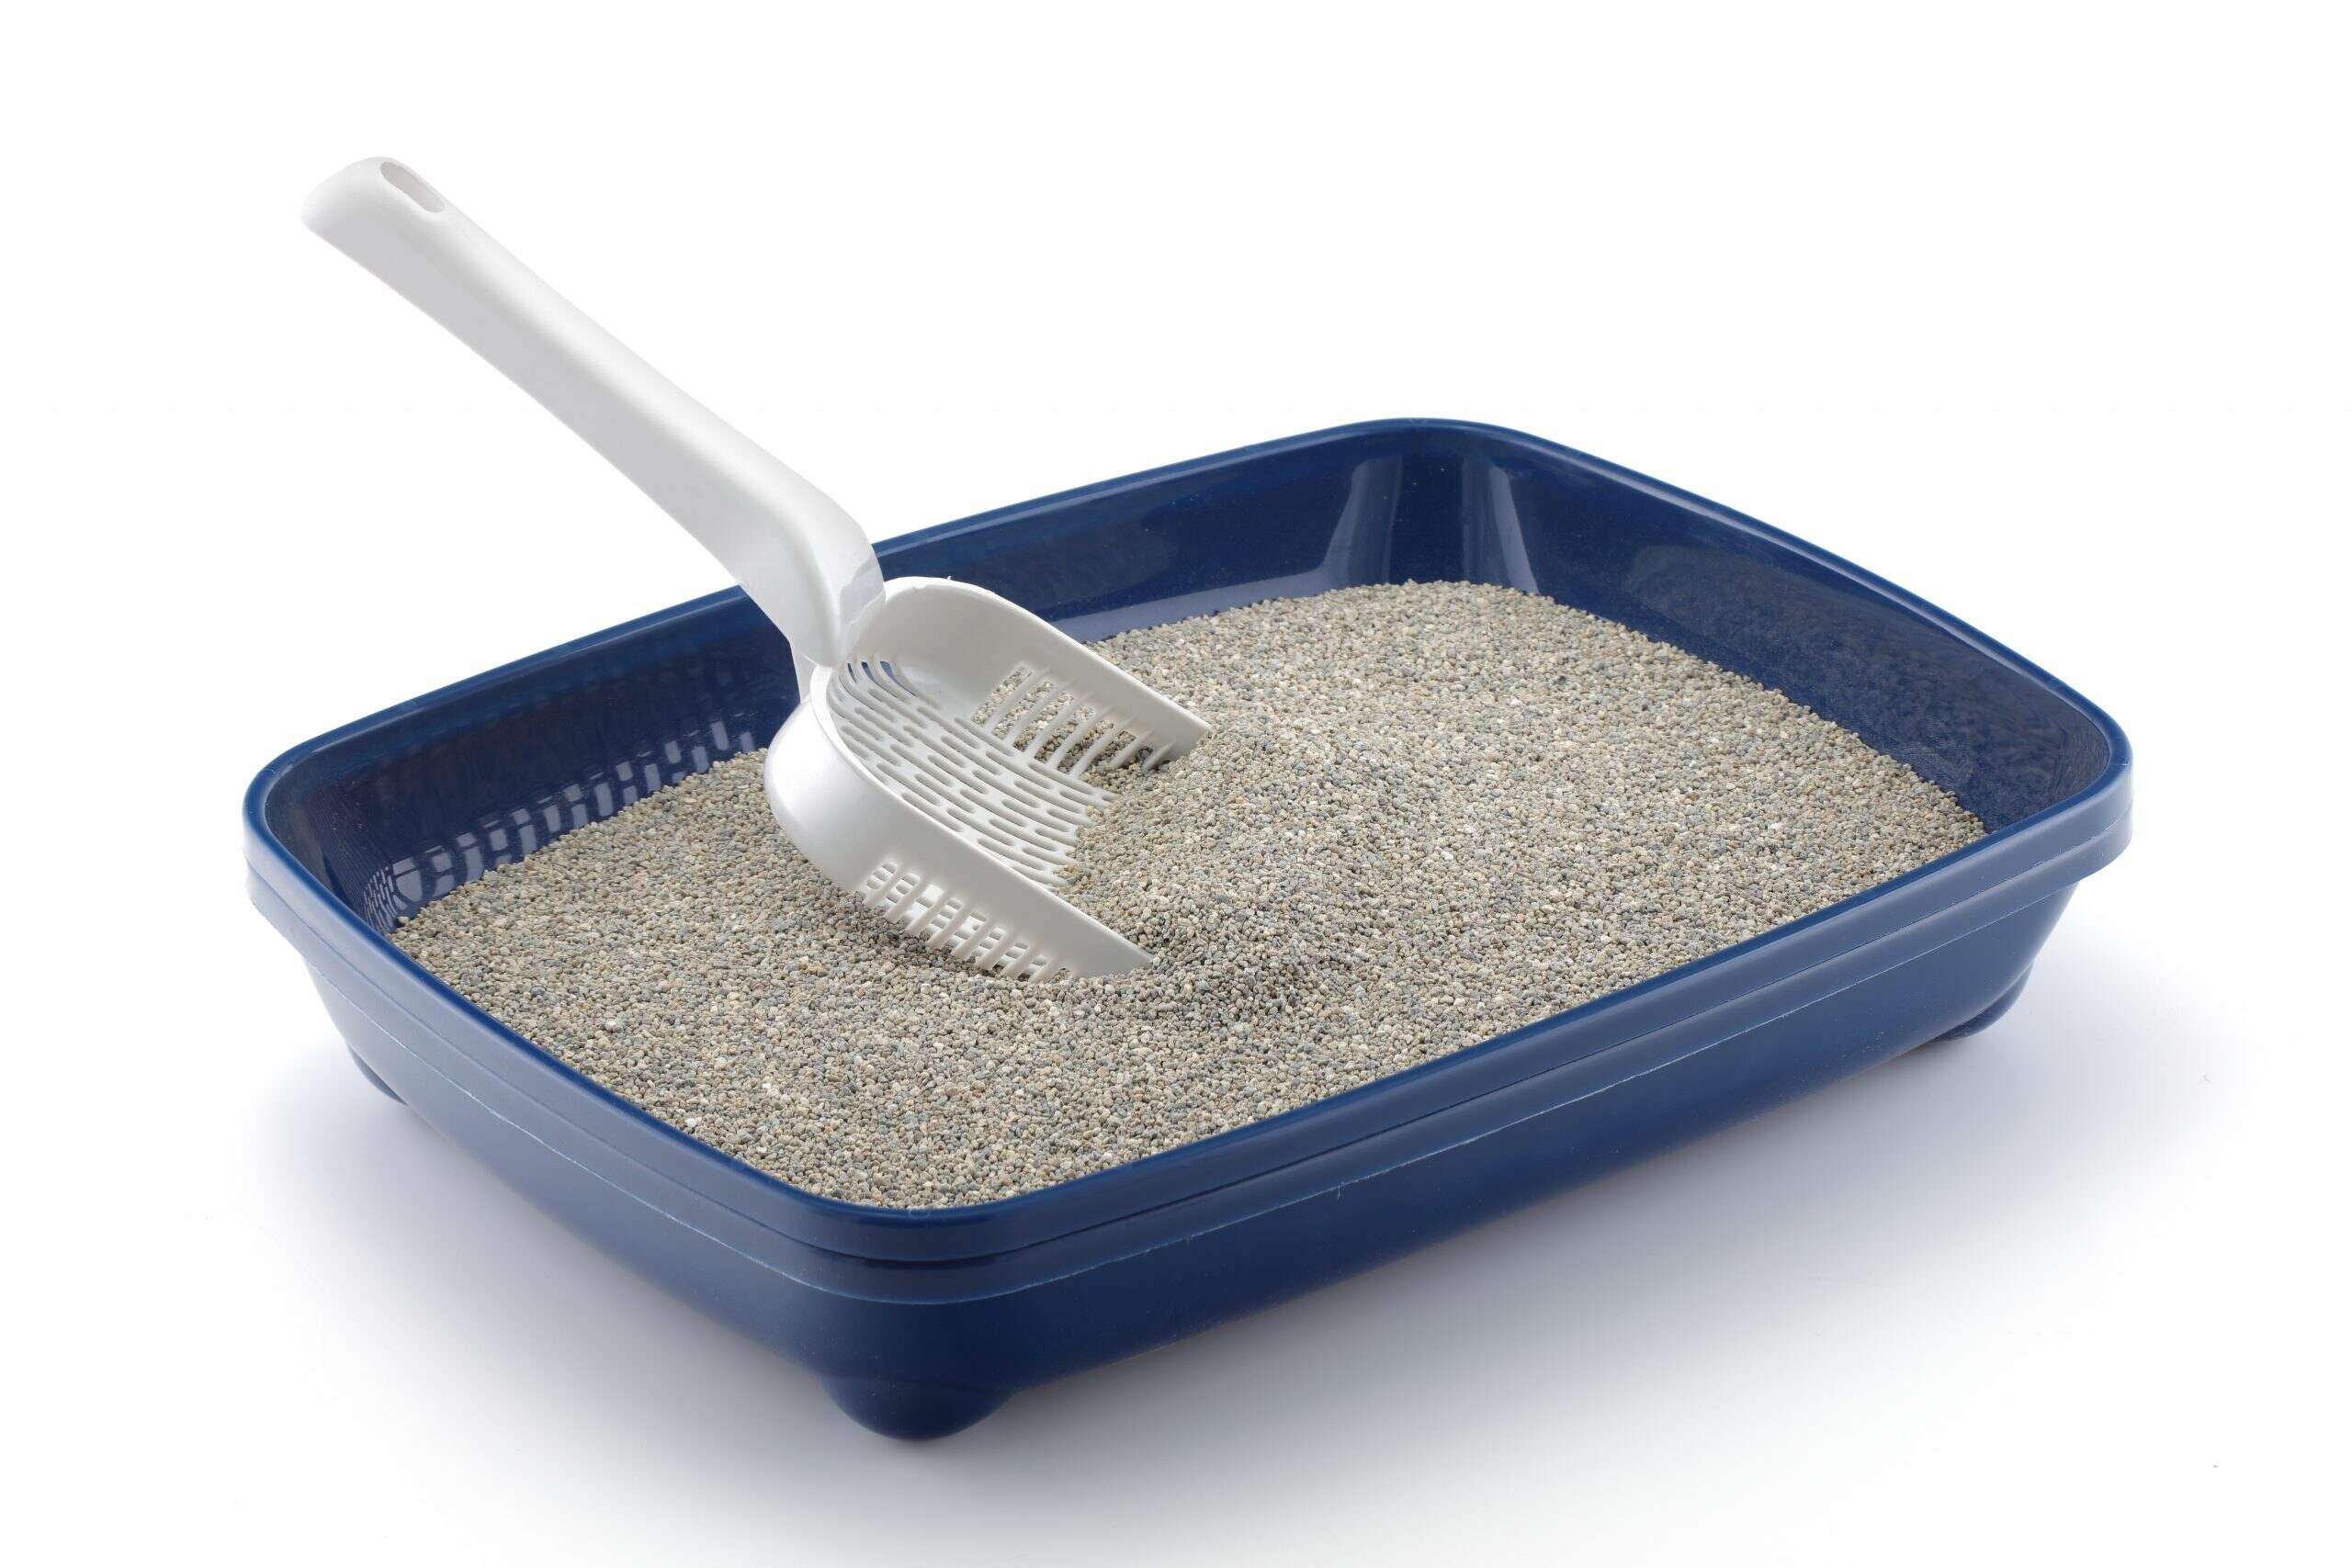
Evenly Distribute the Pellets: Begin by evenly distributing a layer of fresh pellets across the bottom of the clean litter box. Ensure that the pellets are spread out uniformly, creating a comfortable and supportive surface for your pet. The even distribution of pellets promotes effective absorption and odor control.
-
Maintain the Recommended Depth: Depending on the type of pellets and your pet's preferences, maintain the recommended depth of the pellet layer in the litter box. Adequate pellet depth ensures that your pet can comfortably engage with the litter while effectively containing waste and odors.
-
Consider Pellet Refresher: If desired, consider using a pellet refresher or odor-neutralizing product designed specifically for pellet-based litter. These products can help extend the freshness of the pellets and enhance odor control, contributing to a more pleasant and hygienic environment for your pet.
-
Optional: Introduce Scented Pellets: Some pet owners opt for scented pellets to further enhance odor control and create a pleasant aroma in the litter box area. If you choose to use scented pellets, ensure that they are safe for your pet and that the scent is not overpowering.
By following these steps, you can effectively add new pellets to the litter box, ensuring a clean, comfortable, and odor-free environment for your pet. With the litter box replenished with fresh pellets, your pet can enjoy a hygienic and inviting space, promoting their well-being and comfort.
Now that the litter box has been replenished with fresh pellets, you're ready to proceed to the final step of the cleaning process and dispose of the waste, ensuring a thorough and comprehensive cleaning routine for your pet's litter box.
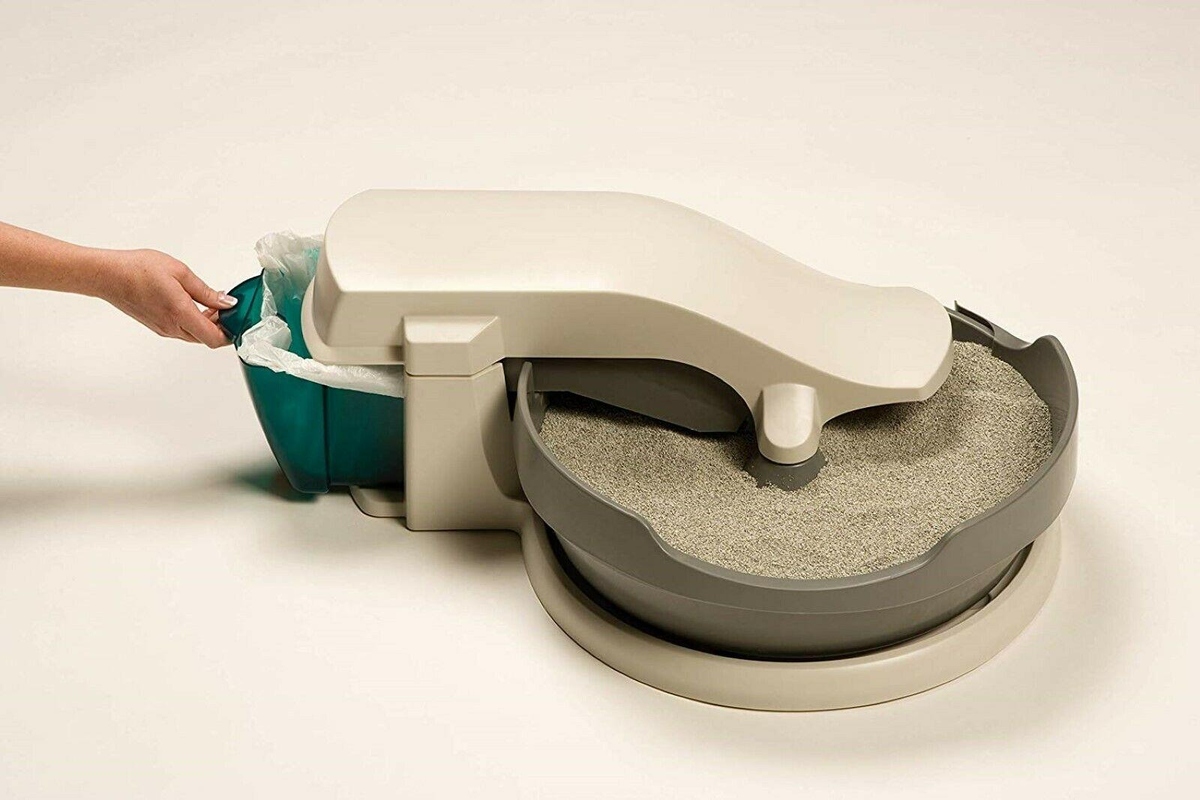
Read more: How To Clean A Petsafe Litter Box
Step 5: Dispose of the waste
Proper disposal of the waste from the litter box is the final crucial step in the comprehensive cleaning process. By effectively managing and disposing of the waste, you can ensure a hygienic and odor-free environment for your pet, as well as maintain a clean and inviting space in your home. Here's a detailed guide on how to efficiently dispose of the waste from the litter box:
-
Securely Seal the Waste: After adding fresh pellets to the litter box, gather the soiled litter and waste that was previously removed. Carefully tie the trash bag or liner containing the waste to securely seal it, preventing any odors or spillage.
-
Proper Disposal: Dispose of the sealed waste in an appropriate manner, adhering to local waste disposal guidelines and regulations. If the waste is designated for regular household trash collection, place it in the designated outdoor waste bin. For pet owners using biodegradable or compostable waste disposal methods, ensure that the waste is directed to the appropriate composting or waste management system.
-
Clean the Surrounding Area: After disposing of the waste, take a moment to clean and sanitize the area surrounding the litter box. Wipe down any surfaces that may have come into contact with the waste, ensuring that the immediate environment remains clean and hygienic.
-
Maintain Regular Waste Disposal: Establish a routine for regular waste disposal from the litter box to prevent the accumulation of soiled litter and waste. By consistently managing and disposing of the waste, you can uphold a clean and odor-free environment for your pet, promoting their health and well-being.
By following these steps, you can effectively dispose of the waste from the litter box, contributing to a clean and hygienic environment for your pet and maintaining a fresh and inviting space in your home. With the waste properly managed and the litter box replenished with fresh pellets, you have completed a thorough and comprehensive cleaning routine, ensuring the comfort and well-being of your beloved pet.
Conclusion
In conclusion, maintaining a clean and hygienic litter box with pellets is a fundamental aspect of responsible pet ownership. By following the step-by-step process outlined in this guide, pet owners can ensure that their furry companions have a comfortable and inviting space while minimizing the risk of odors and bacterial growth in the home environment.
The process begins with gathering the necessary supplies, including rubber gloves, a scoop or litter scooper, trash bags, mild detergent or pet-safe cleaner, a brush or sponge, and fresh pellets. These supplies form the foundation for a thorough and efficient cleaning routine, enabling pet owners to tackle the task with confidence and ease.
Removing the old pellets and waste from the litter box is a critical step in maintaining cleanliness. By carefully sifting through the pellets and disposing of the soiled waste, pet owners can lay the groundwork for a comprehensive cleaning process, setting the stage for a fresh and inviting environment for their pets.
Thoroughly cleaning the litter box itself is essential for eradicating odors and bacteria, ensuring that the box is impeccably clean and ready for the next step. By scrubbing the interior, rinsing, and inspecting for residue, pet owners can restore the freshness of the litter box, creating a comfortable and hygienic space for their pets.
Replenishing the litter box with fresh pellets is the next crucial step, providing a clean and absorbent surface for pets while contributing to odor control and overall cleanliness. Selecting high-quality pellets, evenly distributing them, and maintaining the recommended depth ensures that pets have a comfortable and hygienic environment in which to relieve themselves.
Finally, disposing of the waste from the litter box in a proper and timely manner is essential for maintaining a clean and odor-free environment. By securely sealing and disposing of the waste, pet owners can uphold a hygienic space for their pets while promoting a clean and inviting home environment.
In essence, the process of cleaning a litter box with pellets is a labor of love, reflecting a pet owner's commitment to providing a safe, comfortable, and hygienic space for their beloved companions. By following the guidelines outlined in this comprehensive guide, pet owners can navigate the cleaning process with confidence, ensuring that their pets enjoy a clean and inviting litter box environment.
Frequently Asked Questions about How To Clean A Litter Box With Pellets
Was this page helpful?
At Storables.com, we guarantee accurate and reliable information. Our content, validated by Expert Board Contributors, is crafted following stringent Editorial Policies. We're committed to providing you with well-researched, expert-backed insights for all your informational needs.

0 thoughts on “How To Clean A Litter Box With Pellets”