Home>Home Appliances>Bathroom Appliances>How To Clean A Hair Dryer Brush
Bathroom Appliances
How To Clean A Hair Dryer Brush
Modified: August 17, 2024
Learn how to effectively clean your hair dryer brush at home with our easy step-by-step guide. Keep your bathroom appliances in top condition!
(Many of the links in this article redirect to a specific reviewed product. Your purchase of these products through affiliate links helps to generate commission for Storables.com, at no extra cost. Learn more)
Introduction
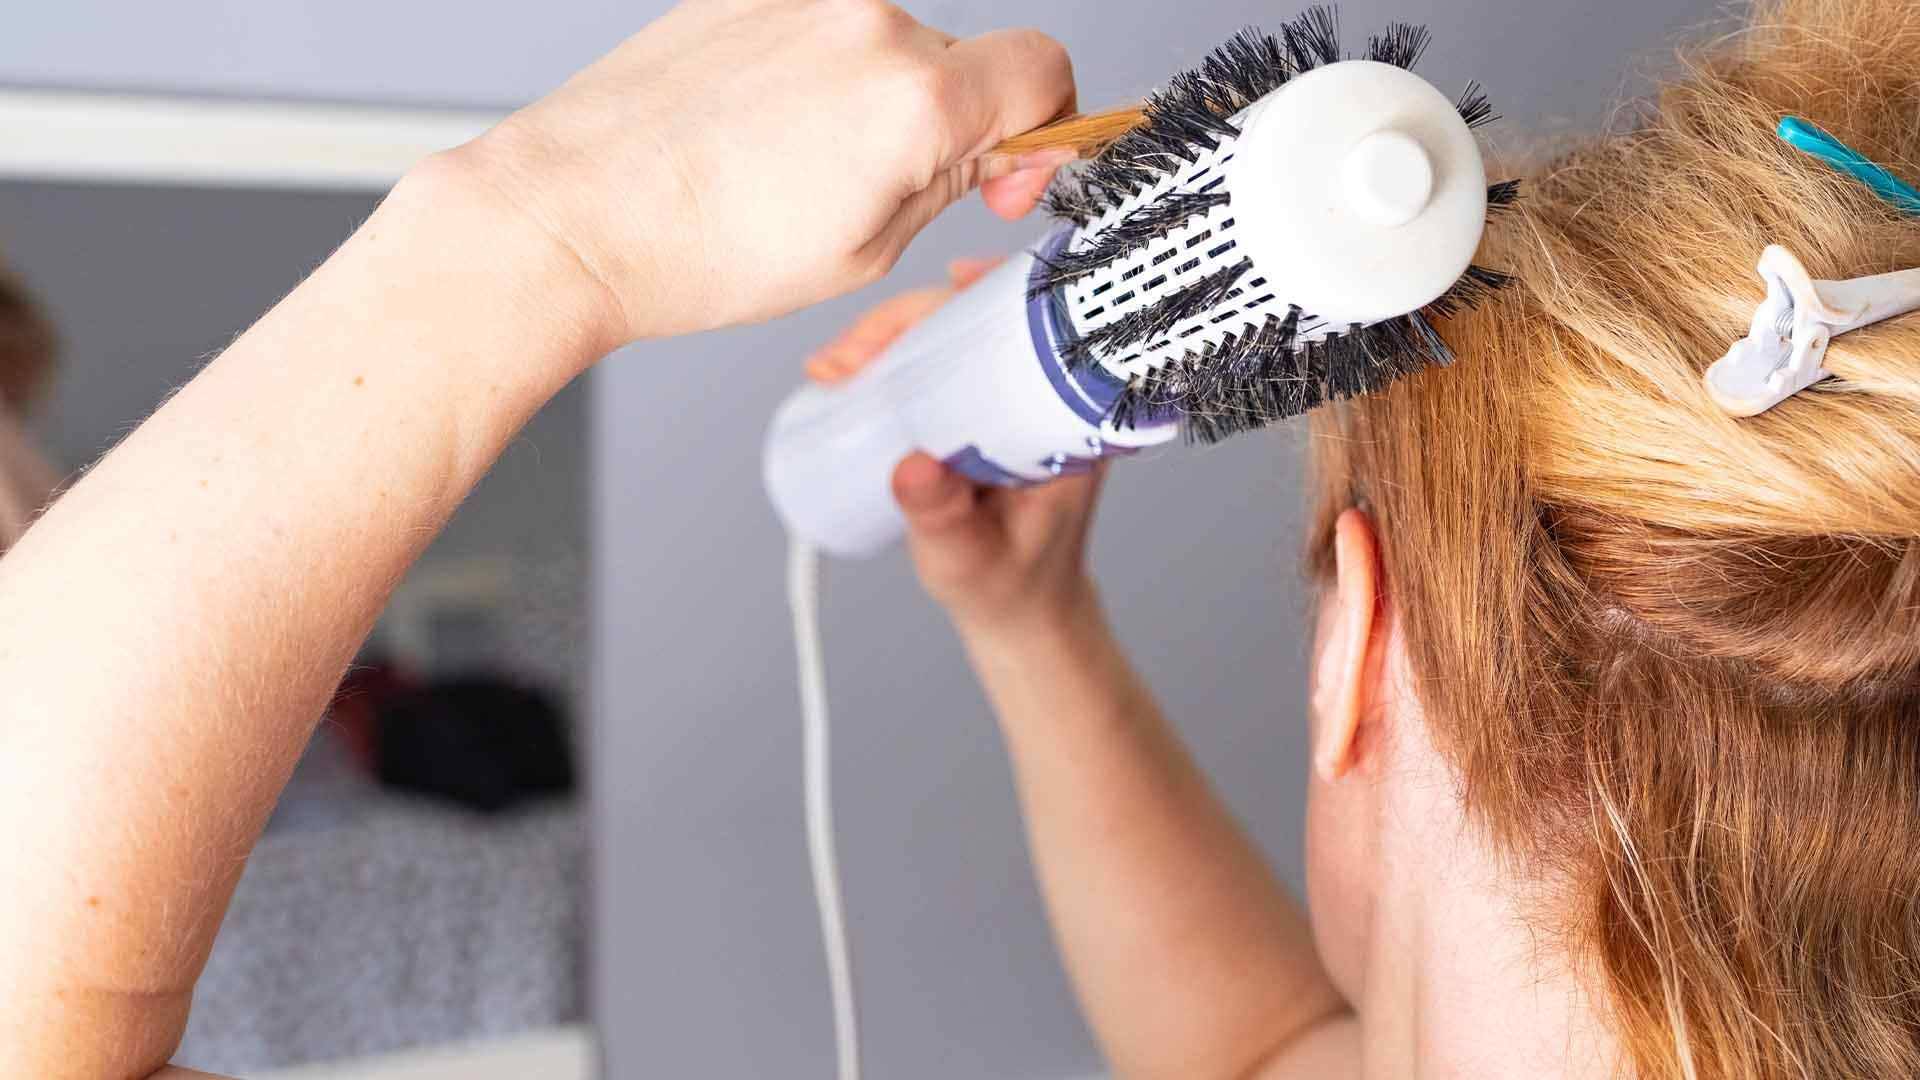
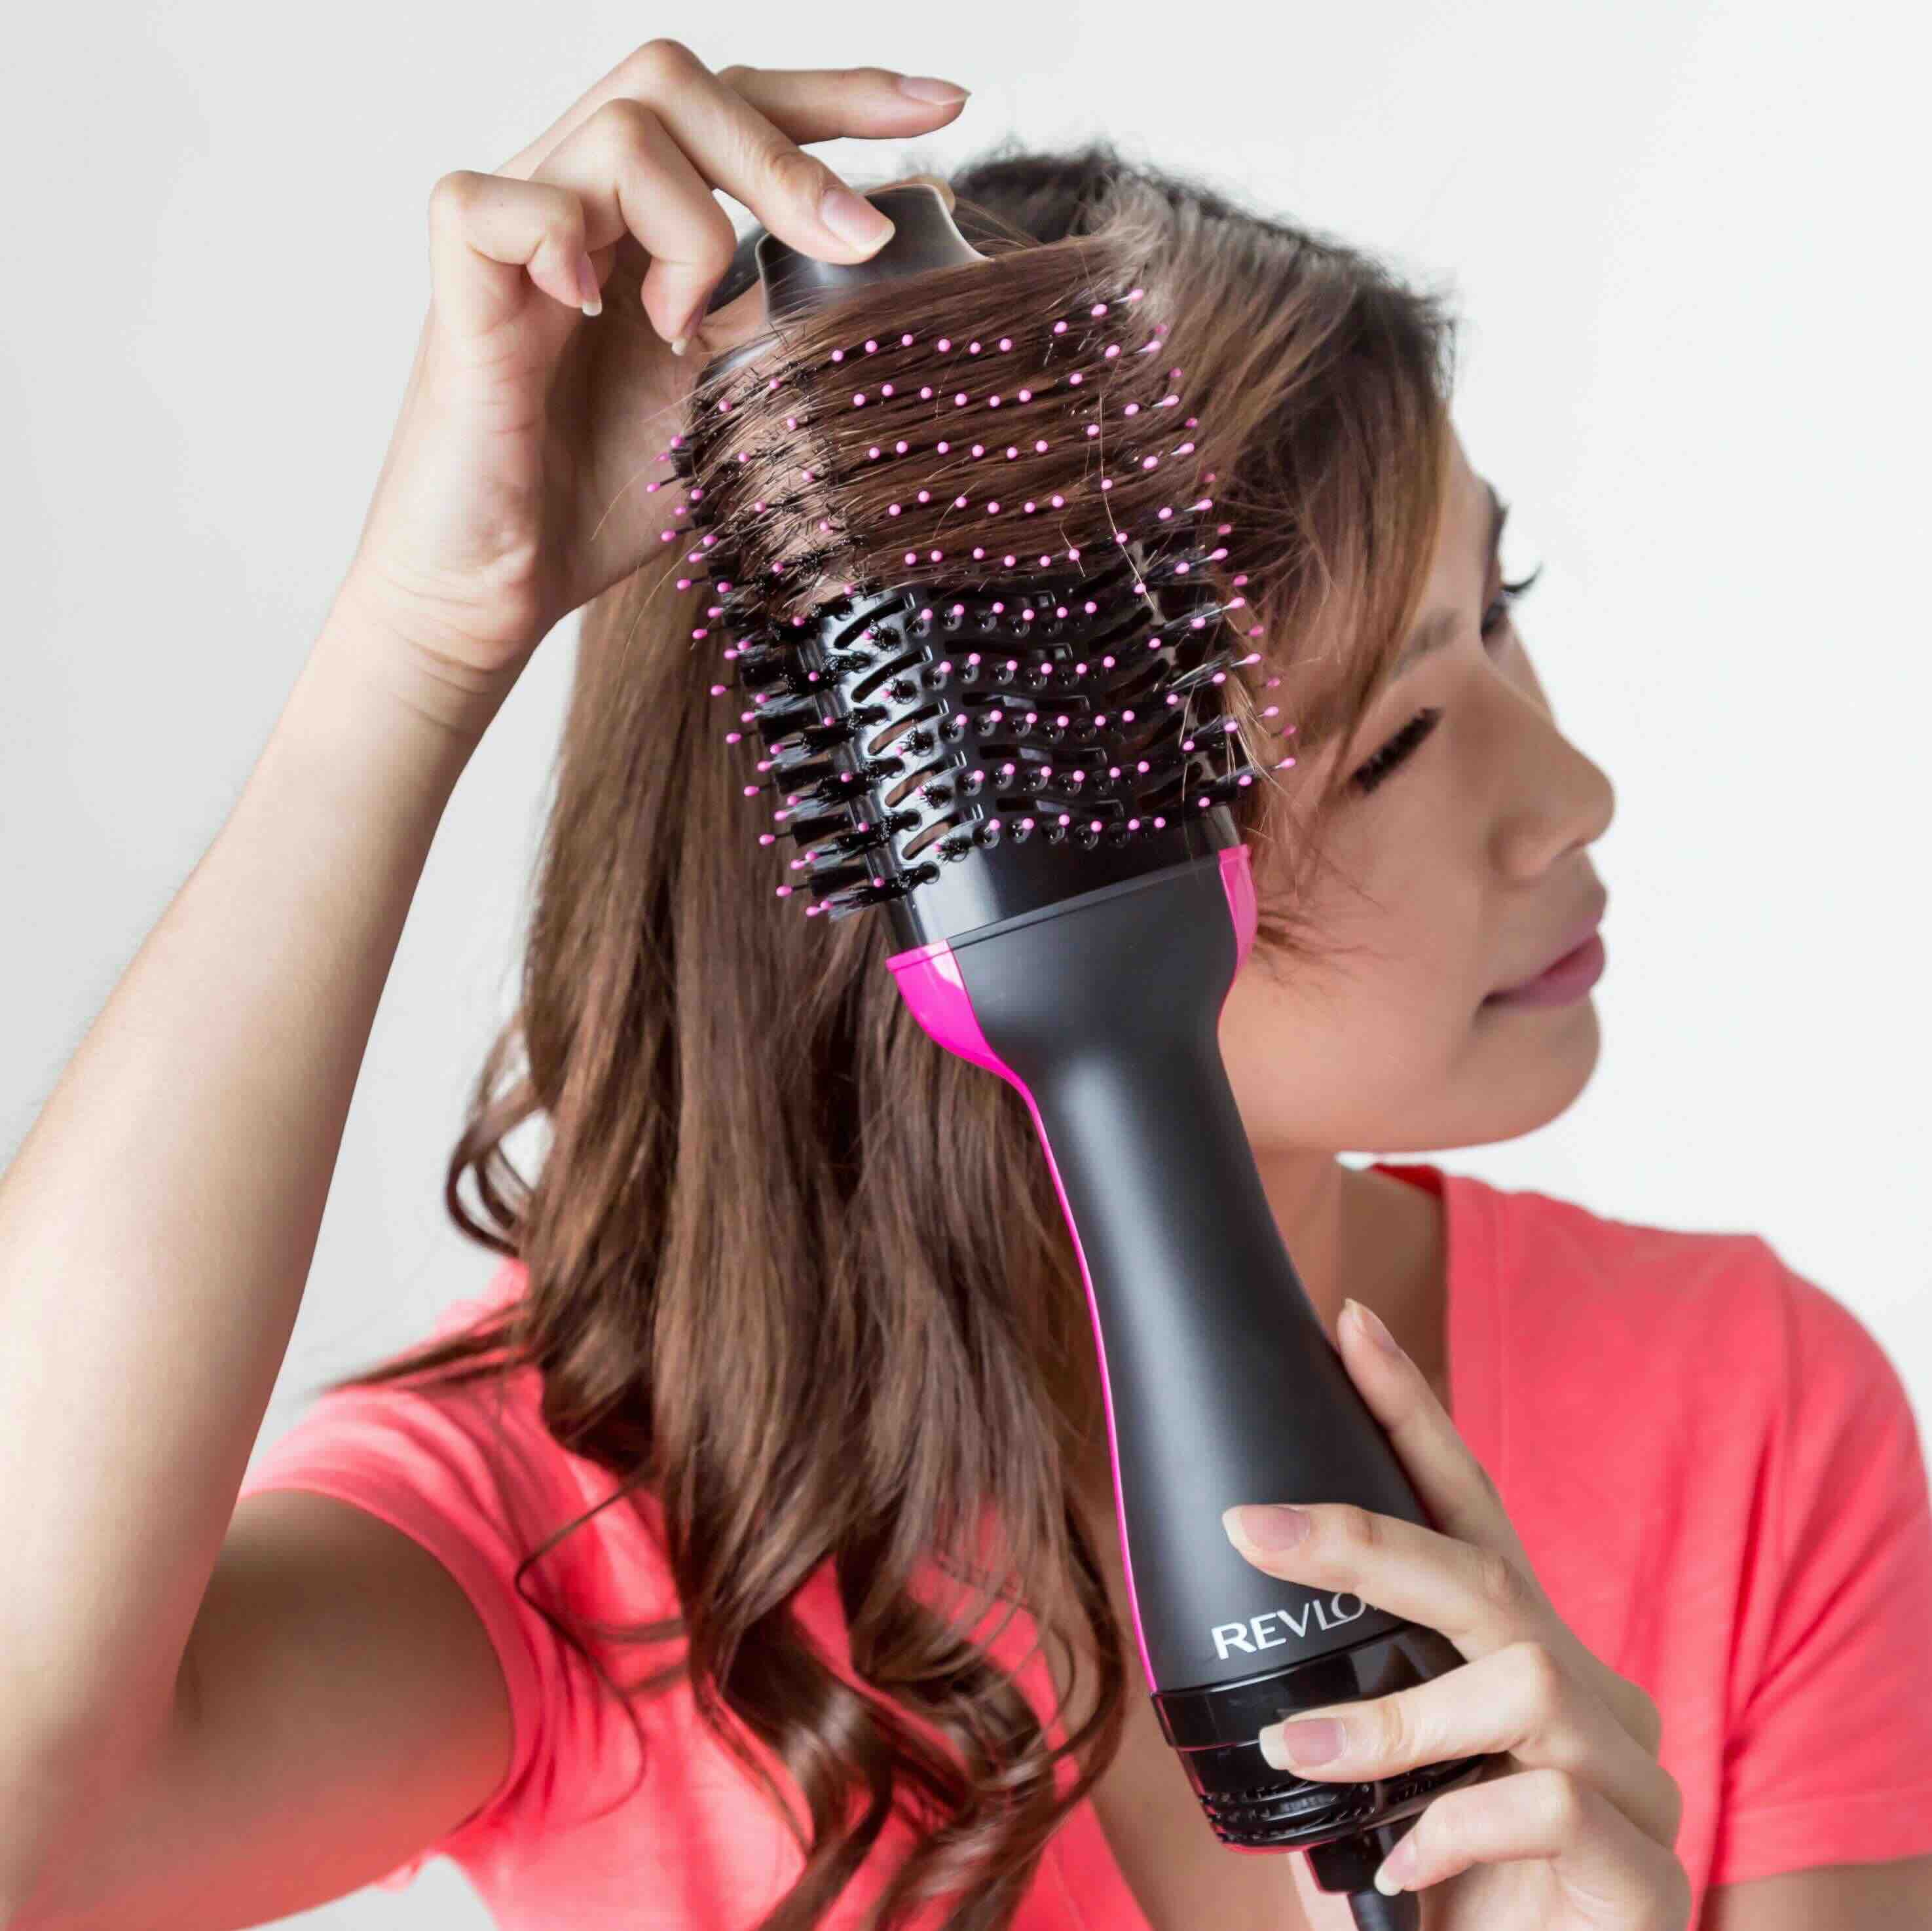
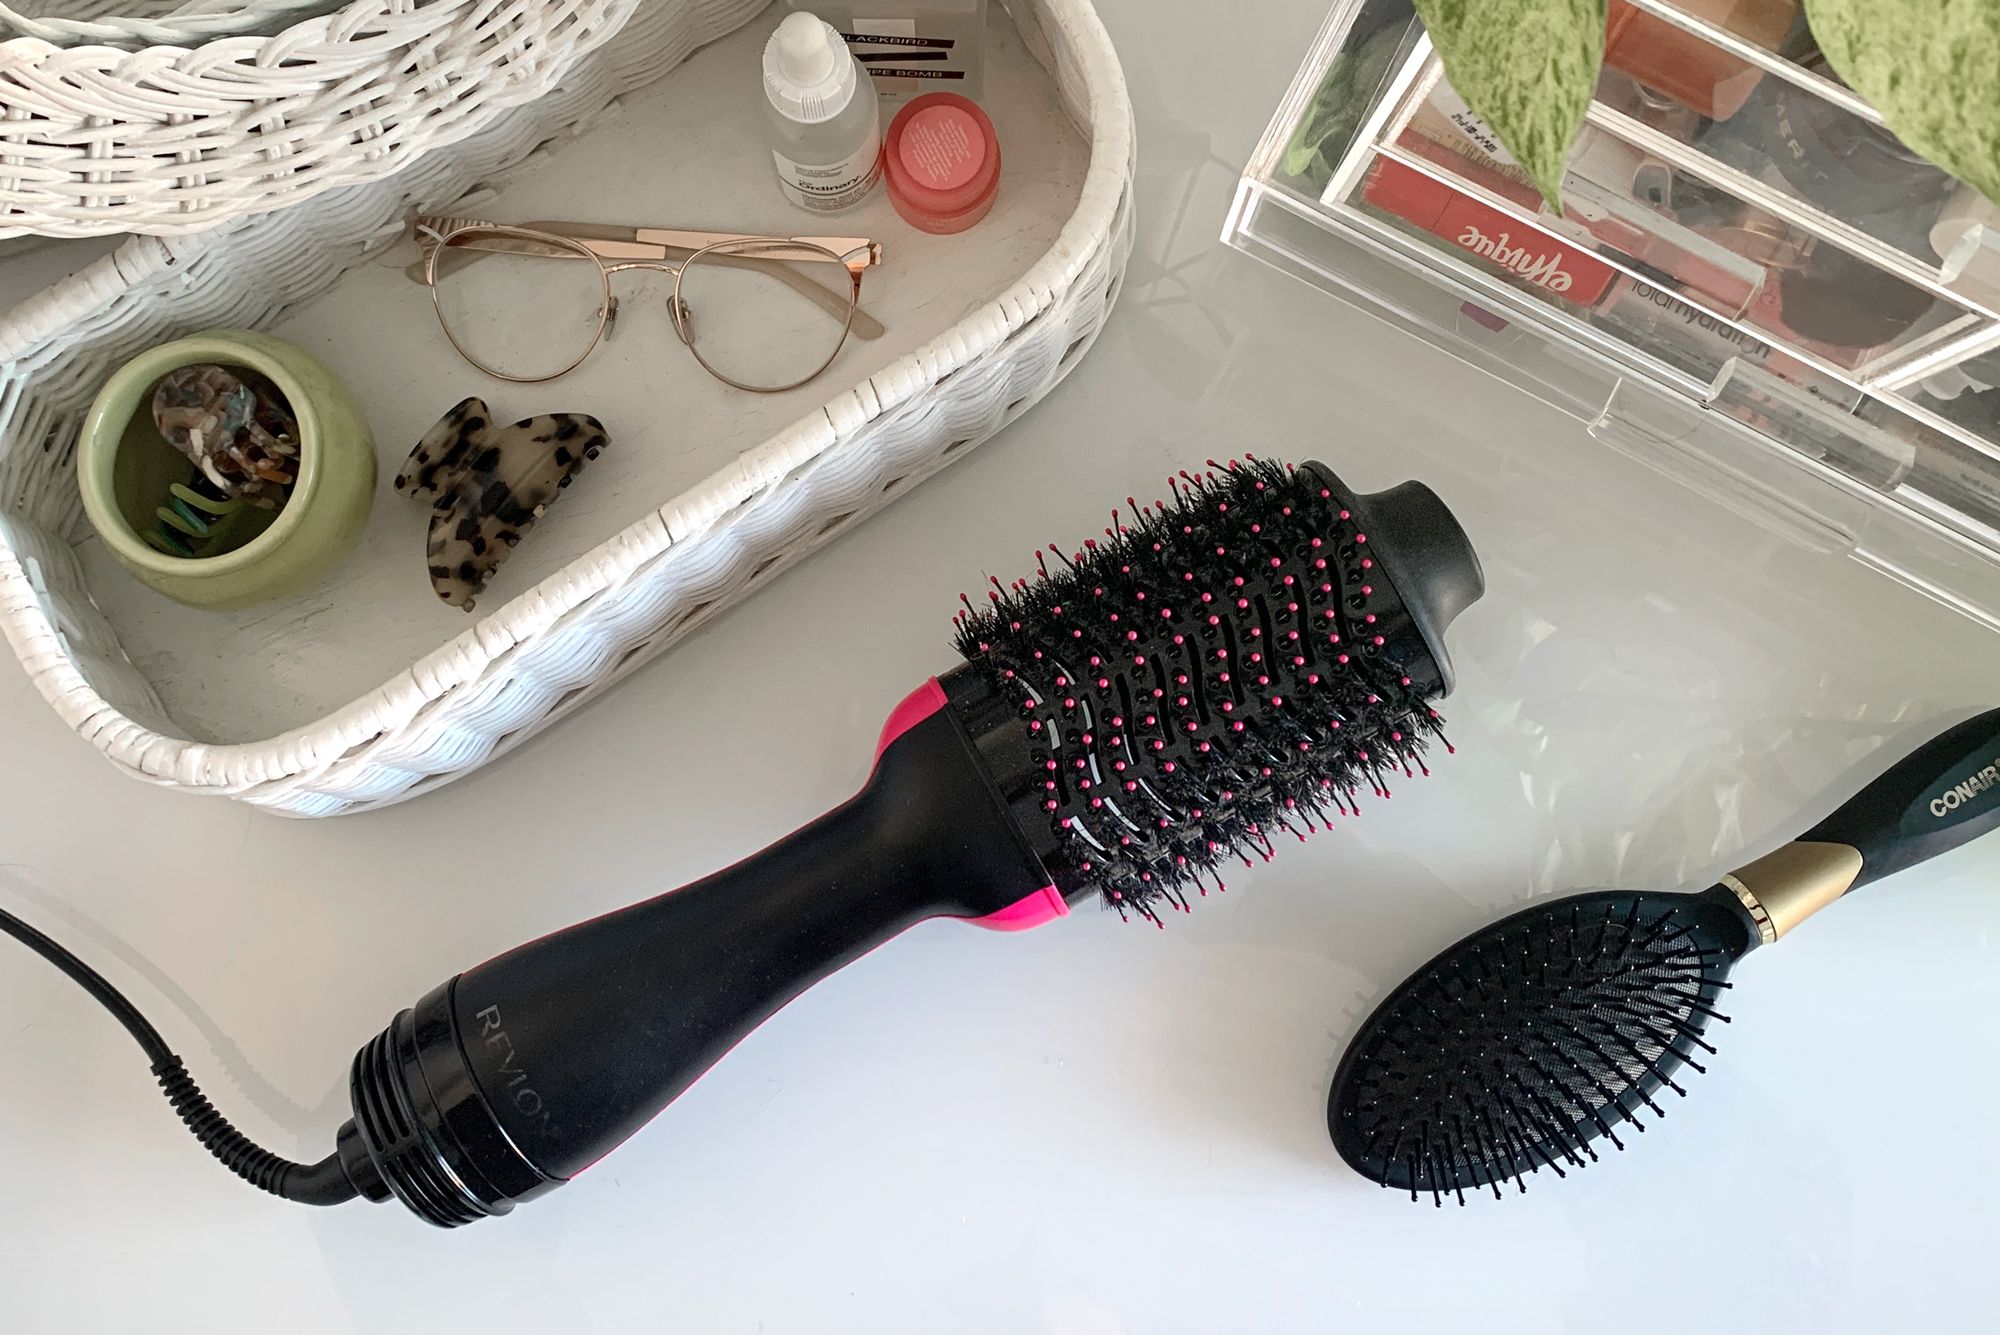
Welcome to our comprehensive guide on how to clean a hair dryer brush! Hair dryer brushes are fantastic tools for achieving salon-quality blowouts at home, but they do require regular cleaning to maintain optimal performance and hygiene. Over time, hair, dust, and styling products can accumulate on the bristles, barrel, and handle, potentially impacting the brush's effectiveness. By following the steps outlined in this article, you can ensure that your hair dryer brush remains in top condition, allowing you to continue achieving flawless hairstyles with ease.
Cleaning your hair dryer brush not only enhances its longevity but also contributes to healthier hair. A clean brush prevents the transfer of dirt, oil, and product buildup onto your freshly washed locks, promoting a more hygienic styling experience. Additionally, removing debris from the bristles and barrel helps maintain the brush's airflow, ensuring efficient drying and styling.
In the following sections, we will walk you through the step-by-step process of cleaning your hair dryer brush, from unplugging it for safety to reassembling it for future use. Whether you're a seasoned hair tool maintenance pro or a newcomer to the world of hair dryer brushes, this guide will equip you with the knowledge and techniques needed to keep your tool in pristine condition. Let's dive in and discover the secrets to maintaining a clean and effective hair dryer brush!
Key Takeaways:
- Regularly cleaning your hair dryer brush ensures it stays hygienic, functions optimally, and contributes to healthier hair by preventing the transfer of dirt, oil, and product buildup onto your locks.
- Prioritize safety by always unplugging the hair dryer brush before cleaning to minimize the risk of electrical hazards and ensure a secure and efficient cleaning process.
Read more: How To Use Hair Dryer Brush
Step 1: Unplug the Hair Dryer Brush
Before embarking on the cleaning process, it is crucial to prioritize safety by unplugging the hair dryer brush from the power source. This simple yet essential step ensures that you can work on the brush without the risk of electrical shock. Additionally, it prevents the accidental activation of the brush during the cleaning process, minimizing the potential for injury.
Unplugging the hair dryer brush also allows it to cool down if it has been in use, reducing the risk of burns during handling. By giving the appliance time to cool, you protect yourself from accidental contact with hot surfaces, such as the barrel or bristles.
Remember, safety should always come first when dealing with electrical appliances. Taking the time to unplug the hair dryer brush sets the stage for a secure and efficient cleaning process, ensuring that you can maintain your tool without any unnecessary risks.
Now that the hair dryer brush is safely unplugged, we can move on to the next step in the cleaning process: removing hair and debris from the brush.
Step 2: Remove Hair and Debris
Once the hair dryer brush is safely unplugged, it’s time to address the accumulation of hair and debris that may have gathered in the bristles and barrel. Over time, hair, dust, and styling products can become lodged in the bristles, diminishing the brush’s performance and potentially creating an unhygienic environment for your hair. Clearing out this buildup is essential for maintaining the brush’s effectiveness and ensuring a clean styling experience.
To begin, gently run your fingers or a wide-tooth comb through the bristles, loosening and removing any trapped hair. Be cautious while doing this, as the bristles may still retain some residual heat. As you work through the bristles, you’ll notice hair and debris coming loose, allowing you to discard them safely.
Next, inspect the barrel of the hair dryer brush. Using a soft, dry cloth or a small cleaning brush, carefully remove any accumulated debris from the barrel’s surface. Pay close attention to the area where the bristles meet the barrel, as this is a common spot for hair and product buildup. Ensuring that the barrel is free from obstructions promotes optimal airflow and heat distribution during use.
By removing hair and debris from the bristles and barrel, you not only maintain the brush’s functionality but also create a more sanitary environment for your hair. With this crucial step completed, we can now proceed to the next phase of the cleaning process: addressing the cleanliness of the bristles themselves.
Step 3: Clean the Bristles
Now that the hair dryer brush is free from hair and debris, it’s time to focus on cleaning the bristles themselves. Over time, styling products, oils, and residues from hair can accumulate on the bristles, affecting their performance and potentially transferring buildup to your freshly washed hair. By thoroughly cleaning the bristles, you can ensure that your hair dryer brush continues to deliver exceptional results without compromising on hygiene.
Start by preparing a gentle cleaning solution. This can be achieved by mixing a small amount of mild shampoo or liquid soap with warm water in a bowl. Stir the solution to create a soapy mixture that will effectively break down any product buildup on the bristles.
Next, dip a soft-bristled brush or an old toothbrush into the soapy solution. Gently scrub the bristles of the hair dryer brush, working in small sections to ensure thorough cleaning. Pay particular attention to areas where residue is most likely to accumulate, such as the base of the bristles near the barrel.
After scrubbing the bristles, rinse the brush under lukewarm running water to remove the soapy residue and loosened buildup. Be mindful not to submerge the entire brush in water, as this can damage the internal components. Instead, focus on rinsing the bristles and barrel while avoiding prolonged exposure to water.
Once rinsed, gently shake the brush to remove excess water and pat it dry with a clean, lint-free towel. To ensure that the bristles are completely dry before use, allow the brush to air dry in a well-ventilated area for several hours. Avoid using the hair dryer brush until it is fully dry to prevent the risk of electrical hazards.
By cleaning the bristles with a gentle solution and allowing them to air dry thoroughly, you can maintain the cleanliness and functionality of your hair dryer brush. With the bristles now refreshed, we can move on to the next step: cleaning the barrel of the brush.
To clean a hair dryer brush, first unplug it and remove any hair or debris from the bristles. Then, use a damp cloth with a mild soap to wipe down the brush and let it air dry completely before using it again.
Step 4: Clean the Barrel
As we continue the hair dryer brush cleaning process, it’s essential to pay attention to the barrel, where styling products, oils, and debris can accumulate over time. Cleaning the barrel not only contributes to the overall hygiene of the brush but also ensures efficient airflow and heat distribution during use.
To begin, dampen a soft, lint-free cloth with a small amount of isopropyl alcohol or a mild cleaning solution. Gently wipe the cloth along the surface of the barrel, focusing on areas where product buildup is likely to occur. This targeted approach helps to dissolve and lift residues without exposing the internal components of the brush to excessive moisture.
If the buildup on the barrel is particularly stubborn, you can use a cotton swab or a soft-bristled brush dipped in the cleaning solution to address specific areas. Take care to avoid using excessive force or abrasive materials that could damage the barrel’s surface.
After cleaning the barrel, use a clean, damp cloth to wipe away any remaining cleaning solution or alcohol. Ensure that the barrel is thoroughly dry before proceeding to the next step, as any residual moisture could pose a risk when the brush is plugged in for future use.
By effectively cleaning the barrel of the hair dryer brush, you can maintain its performance and hygiene, contributing to a more pleasant and effective styling experience. With the barrel now clean, we can move on to addressing the handle of the brush.
Step 5: Wipe Down the Handle
While the bristles and barrel are crucial components of the hair dryer brush, it’s important not to overlook the handle when it comes to maintaining cleanliness and functionality. The handle is often exposed to styling products, oils, and general wear and tear, making it essential to give it some attention during the cleaning process.
Begin by preparing a gentle cleaning solution using mild soap or a suitable household cleaner diluted in water. Dampen a soft, lint-free cloth with the cleaning solution and wring out any excess moisture to prevent it from penetrating the handle’s internal components.
Gently wipe down the handle of the hair dryer brush with the damp cloth, paying close attention to areas where residues and buildup are most likely to accumulate. Take care to avoid allowing moisture to seep into the crevices of the handle, as this could potentially affect the brush’s internal mechanisms.
If the handle has intricate details or textured surfaces, use a soft-bristled brush or a cotton swab dipped in the cleaning solution to address hard-to-reach areas. This targeted approach ensures comprehensive cleaning without compromising the integrity of the handle.
After wiping down the handle, use a clean, damp cloth to remove any residual cleaning solution. Once the handle is free from cleaning agents, dry it thoroughly with a lint-free towel to prevent moisture from lingering on the surface.
By addressing the handle of the hair dryer brush in the cleaning process, you contribute to the overall cleanliness and longevity of the tool. With the handle now clean and dry, we can proceed to the final step: reassembling the hair dryer brush for future use.
Step 6: Reassemble the Hair Dryer Brush
With the individual components of the hair dryer brush now thoroughly cleaned and dried, it’s time to reassemble the tool in preparation for future use. Proper reassembly ensures that the brush functions optimally and that all parts are securely in place, promoting a safe and effective styling experience.
Begin by carefully examining the bristles, barrel, and handle to ensure that they are completely dry. Any residual moisture could potentially affect the brush’s performance or pose a risk when the tool is plugged in.
Once you have confirmed that all components are dry, carefully align the barrel with the handle, ensuring that it slots into place securely. Take care to avoid forcing the parts together, as this could cause damage to the brush’s internal mechanisms.
Next, gently press the bristles into position, ensuring that they are evenly distributed around the barrel. This step helps to maintain the brush’s airflow and ensures that the bristles are ready to deliver exceptional styling results.
If your hair dryer brush features removable attachments, such as styling heads or diffusers, reattach them according to the manufacturer’s instructions. Ensure that they are securely fastened to the barrel to prevent any issues during use.
Once the hair dryer brush is fully reassembled, give it a final inspection to confirm that all components are in place and secure. This thorough check ensures that the brush is ready for future use, allowing you to enjoy a seamless and effective styling experience.
By following the reassembly process, you can rest assured that your hair dryer brush is prepared for future use, delivering exceptional results while maintaining optimal hygiene and functionality.
With the hair dryer brush now reassembled, you have successfully completed the comprehensive cleaning process, ensuring that your tool is primed for future styling sessions. By incorporating regular cleaning into your hair care routine, you can prolong the lifespan of your hair dryer brush and enjoy consistently impressive styling results.
Conclusion
Congratulations on successfully completing the comprehensive cleaning process for your hair dryer brush! By following the step-by-step guide outlined in this article, you have taken proactive steps to maintain the cleanliness, functionality, and safety of your essential styling tool.
Regularly cleaning your hair dryer brush not only enhances its longevity but also contributes to a more hygienic and effective styling experience. By removing hair, debris, and product buildup from the bristles, barrel, and handle, you ensure that your brush continues to deliver exceptional results without compromising on cleanliness or performance.
Remember to prioritize safety by always unplugging the hair dryer brush before initiating the cleaning process. This simple yet crucial step minimizes the risk of electrical hazards and ensures that you can work on the brush safely and effectively.
As you reassemble the hair dryer brush, take a moment to appreciate the care and attention you have invested in maintaining this essential styling tool. By incorporating regular cleaning into your hair care routine, you can enjoy consistently impressive results while prolonging the lifespan of your hair dryer brush.
We hope that this guide has equipped you with the knowledge and techniques needed to keep your hair dryer brush in pristine condition. By following these cleaning steps on a regular basis, you can continue to achieve flawless hairstyles with ease, knowing that your hair dryer brush is clean, hygienic, and ready to deliver exceptional results.
Thank you for taking the time to prioritize the maintenance of your hair dryer brush. We trust that the insights shared in this guide will empower you to enjoy a seamless and effective styling experience while promoting the longevity and performance of your essential hair care tool.
Frequently Asked Questions about How To Clean A Hair Dryer Brush
Was this page helpful?
At Storables.com, we guarantee accurate and reliable information. Our content, validated by Expert Board Contributors, is crafted following stringent Editorial Policies. We're committed to providing you with well-researched, expert-backed insights for all your informational needs.

0 thoughts on “How To Clean A Hair Dryer Brush”