Home>Home Appliances>Bathroom Appliances>How To Clean A Sticky Hair Dryer
Bathroom Appliances
How To Clean A Sticky Hair Dryer
Modified: August 17, 2024
Learn how to effectively clean a sticky hair dryer and keep your bathroom appliances in top condition. Follow our expert tips for a hassle-free cleaning process.
(Many of the links in this article redirect to a specific reviewed product. Your purchase of these products through affiliate links helps to generate commission for Storables.com, at no extra cost. Learn more)
Introduction
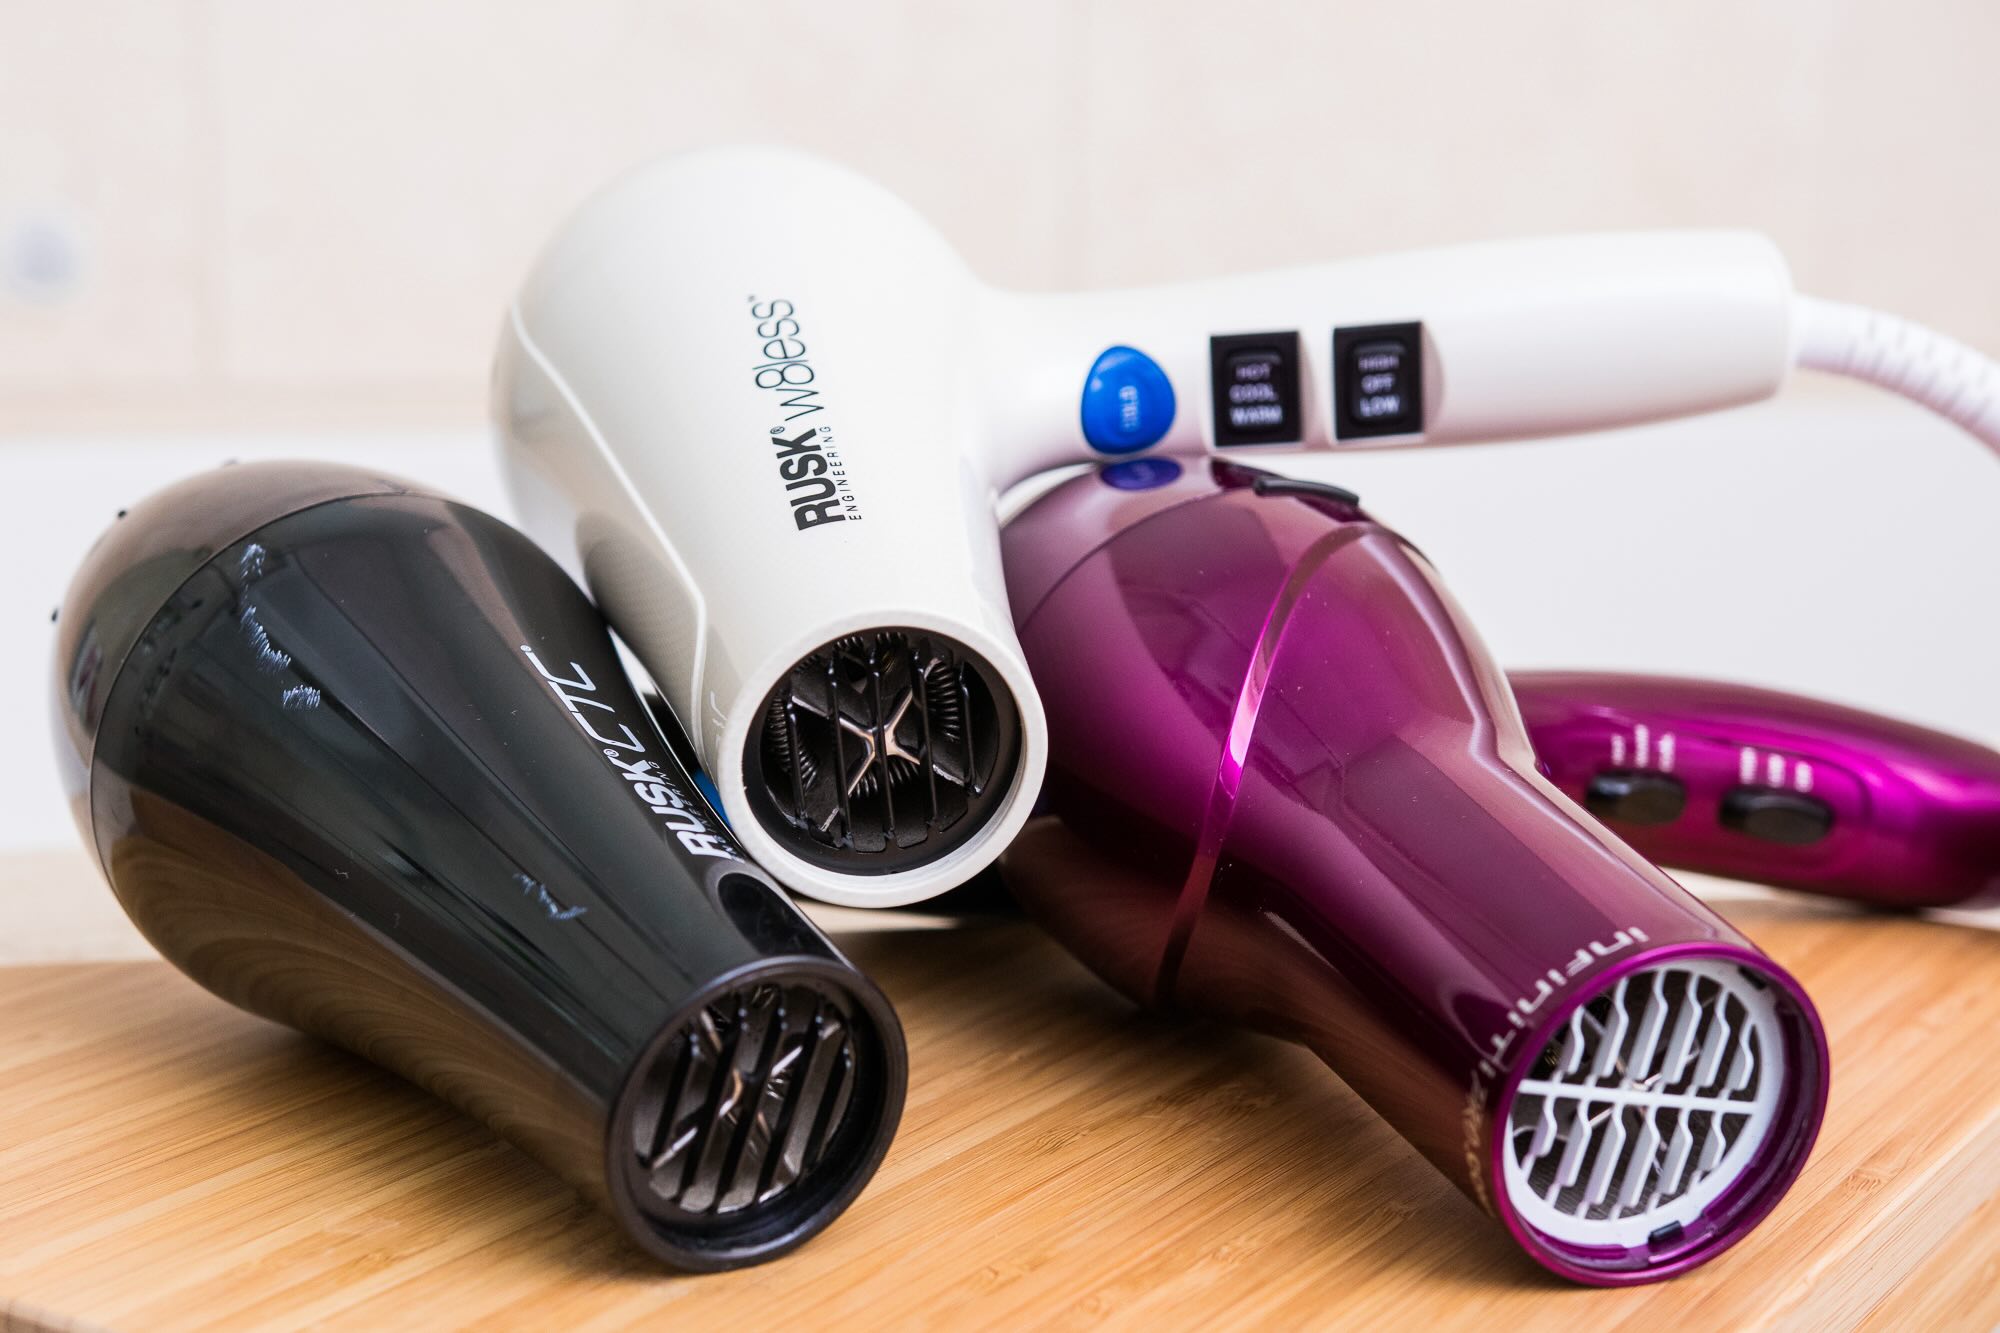
Welcome to the ultimate guide on how to clean a sticky hair dryer! Over time, hair dryers can accumulate sticky residue from hair products, dust, and other environmental factors, leading to decreased performance and potential hygiene concerns. However, with the right approach and a little bit of effort, you can restore your hair dryer to its former glory and ensure it operates efficiently.
In this comprehensive guide, we will walk you through the step-by-step process of cleaning a sticky hair dryer, providing valuable tips and insights along the way. By following these instructions, you can maintain a clean and functional hair dryer, prolong its lifespan, and enjoy optimal performance with every use.
So, if you've noticed that your hair dryer has become sticky or grimy, don't fret! With a few simple materials and a bit of elbow grease, you can revitalize your hair dryer and keep it in top condition. Let's dive into the cleaning process and discover how to restore your hair dryer to its pristine state.
Key Takeaways:
- Keep your hair dryer clean to maintain its performance and hygiene. Regular cleaning with mild dish soap, warm water, and vinegar can remove sticky residue and ensure optimal functionality.
- Unplug the hair dryer before cleaning to prioritize safety. Carefully clean the filter, exterior, and nozzle to restore the appliance to its pristine state and enjoy reliable results.
Read more: How To Clean A Sticky Floor
Materials Needed
Before you embark on the journey of cleaning your sticky hair dryer, it’s essential to gather the necessary materials. Here’s what you’ll need:
- Mild dish soap: Choose a gentle, non-abrasive dish soap to effectively remove sticky residue without damaging the hair dryer’s components.
- Warm water: Prepare a basin or container of warm water to use for cleaning purposes.
- Soft-bristled brush or toothbrush: Opt for a soft-bristled brush or toothbrush to gently scrub away grime and residue from the hair dryer’s filter and exterior.
- Clean, dry cloth: Have a clean, dry cloth on hand to wipe down the hair dryer and absorb excess moisture during the cleaning process.
- Cotton swabs: These are useful for reaching small crevices and corners, ensuring a thorough cleaning of the hair dryer’s nozzle and other intricate parts.
- Vinegar (optional): If the sticky residue is particularly stubborn, vinegar can be used as a natural cleaning agent to help dissolve and remove the buildup.
By having these materials at your disposal, you’ll be well-equipped to tackle the task of cleaning your hair dryer effectively and efficiently. Now that you’ve gathered the necessary supplies, it’s time to dive into the step-by-step cleaning process.
Step 1: Unplug the Hair Dryer
Before you begin cleaning your sticky hair dryer, it’s crucial to ensure that the appliance is completely disconnected from its power source. Unplugging the hair dryer eliminates the risk of electrical shock and allows you to handle the device safely during the cleaning process.
To unplug the hair dryer, simply grasp the plug firmly and gently pull it from the electrical outlet. It’s important to confirm that the hair dryer is completely powered down before proceeding with the cleaning steps. By taking this precautionary measure, you can prioritize your safety and avoid any potential accidents while handling the appliance.
Once the hair dryer is unplugged, set it aside in a safe and dry location, ensuring that the cord and plug are kept away from any water sources. With the hair dryer disconnected from the power supply, you’re ready to move on to the next steps of the cleaning process, confident in the knowledge that you can work on the appliance without any electrical hazards.
Remember, safety always comes first, and unplugging the hair dryer is the essential first step in preparing for a thorough cleaning. With the appliance safely disconnected, you can proceed to the subsequent steps with peace of mind, knowing that you’re taking the necessary precautions to maintain a secure environment while cleaning your hair dryer.
Step 2: Remove the Filter
With the hair dryer safely unplugged, it’s time to focus on removing the filter, a crucial component that often accumulates sticky residue and debris. The filter plays a vital role in preventing foreign particles from entering the internal components of the hair dryer, so keeping it clean is essential for maintaining optimal performance.
Locate the filter on your hair dryer. In most models, the filter is situated at the rear of the appliance, near the air intake. Depending on the design of your hair dryer, the filter may be removable or require a specific tool for extraction. Consult the user manual for guidance on locating and removing the filter, as the process may vary based on the hair dryer’s make and model.
If the filter is detachable, gently slide or unclip it from its housing, taking care to handle it delicately to avoid causing any damage. In some cases, the filter may be secured with screws or fasteners, so be prepared to use the appropriate tools, such as a screwdriver, to safely remove it from the hair dryer.
Once the filter is removed, take a moment to inspect it closely. You may notice a buildup of sticky residue, dust, and hair product remnants that have accumulated over time. This accumulation can impede airflow and diminish the hair dryer’s efficiency, making regular filter cleaning an essential maintenance task.
By removing the filter, you’ve taken the first step in addressing the sticky residue that may be affecting your hair dryer’s performance. With the filter in hand, it’s time to proceed to the next stage of the cleaning process, where you’ll focus on restoring it to a clean and functional state.
Step 3: Clean the Filter
Now that you’ve removed the filter from your hair dryer, it’s time to focus on cleaning this essential component to eliminate the sticky residue and restore optimal airflow. A clean filter is crucial for maintaining the efficiency and longevity of your hair dryer, so investing time in this step will yield significant benefits.
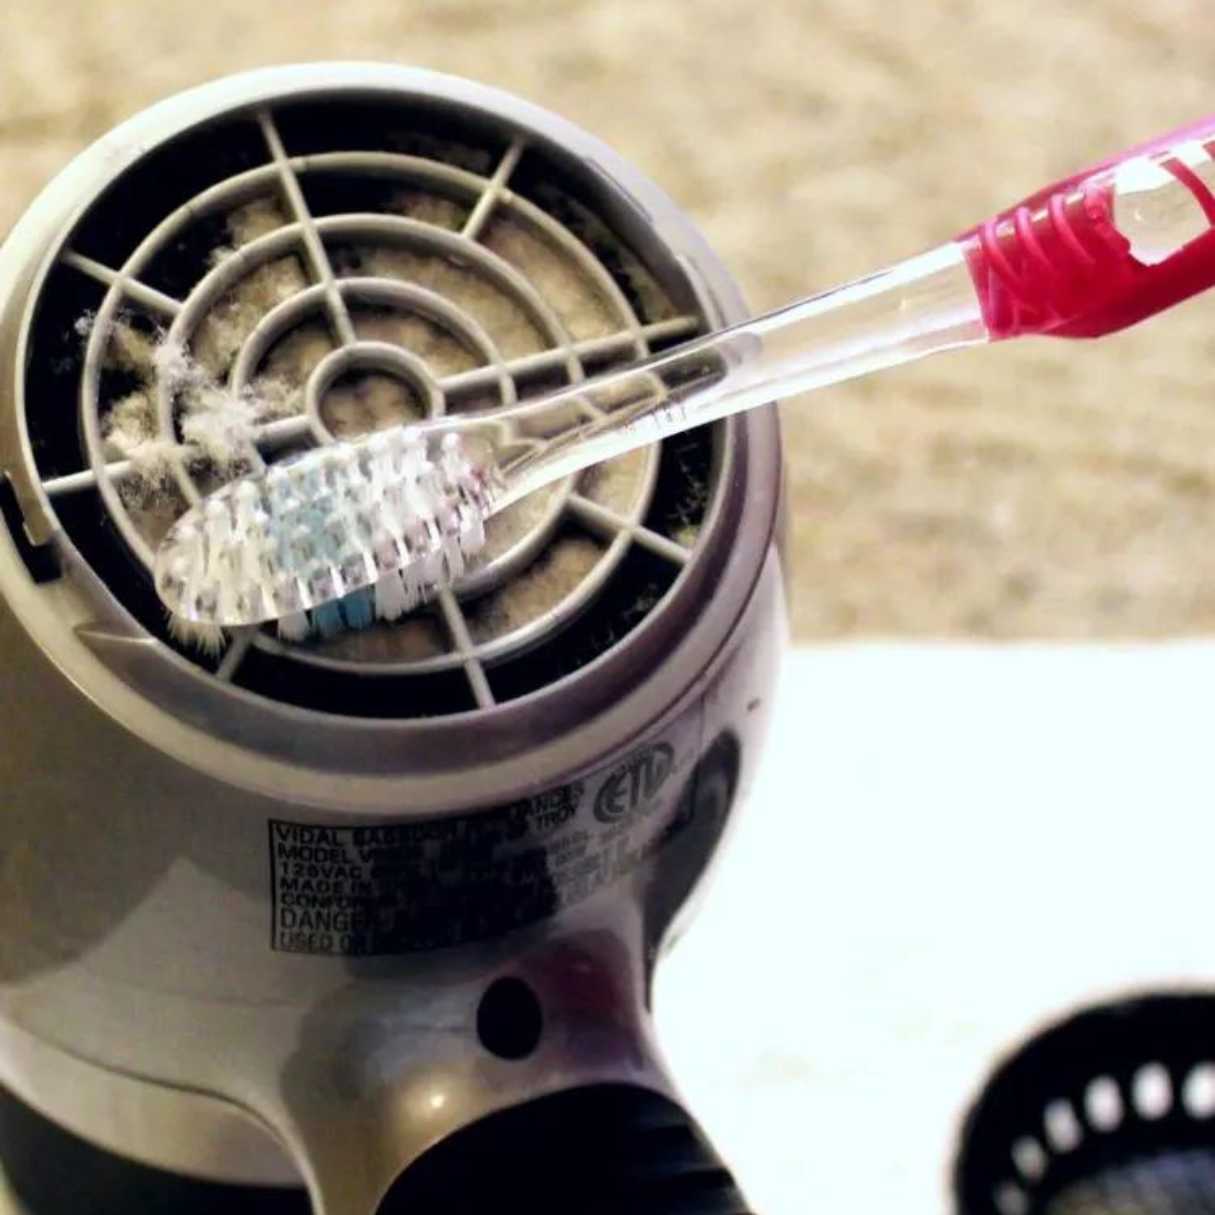
Begin by assessing the condition of the filter. If you notice a visible buildup of sticky residue, dust, or debris, it’s essential to address these issues promptly. Start by tapping the filter gently to dislodge any loose particles, and then use a soft-bristled brush or a toothbrush to gently scrub away the stubborn residue. Take care to avoid using excessive force, as you don’t want to damage the filter during the cleaning process.
If the sticky residue proves to be particularly stubborn, you can create a gentle cleaning solution by mixing mild dish soap with warm water. Submerge the filter in this solution and allow it to soak for a few minutes to help loosen the residue. After soaking, use the soft-bristled brush or toothbrush to gently scrub the filter, paying close attention to areas with visible buildup.
For stubborn residue that remains after the initial cleaning, consider using a cotton swab dipped in vinegar to target specific areas. Vinegar’s natural acidic properties can help dissolve and remove persistent residue without causing damage to the filter. However, it’s important to rinse the filter thoroughly with clean water after using vinegar to ensure that no residual odor or residue remains.
Once you’ve thoroughly cleaned the filter, rinse it under running water to remove any soapy residue and ensure that it’s completely clean. Gently shake off any excess water and use a clean, dry cloth to pat the filter dry. Allow the filter to air-dry completely before reattaching it to the hair dryer, ensuring that it’s free from any moisture before proceeding.
By cleaning the filter diligently, you’re taking proactive steps to maintain the performance and hygiene of your hair dryer. With the filter now free from sticky residue and debris, you’re ready to move on to the next stages of the cleaning process, confident in the knowledge that your hair dryer will soon be restored to its optimal condition.
To clean a sticky hair dryer, unplug it and use a damp cloth with a mild soap to wipe the exterior. For the interior, use a small brush to remove any buildup and then use a vacuum to remove any remaining debris. Allow the hair dryer to fully dry before using it again.
Read more: How To Clean A Hair Dryer Brush
Step 4: Clean the Exterior
With the filter cleaned and set aside, it’s time to turn your attention to the exterior of the hair dryer. Over time, the exterior surfaces can accumulate sticky residue, dust, and hair product buildup, detracting from the appliance’s appearance and potentially affecting its performance. By thoroughly cleaning the exterior, you can ensure that your hair dryer not only looks its best but also operates at its full potential.
Begin by preparing a gentle cleaning solution using mild dish soap and warm water. Dampen a clean, dry cloth with the soapy solution, ensuring that it’s not overly saturated. Gently wipe down the exterior surfaces of the hair dryer, paying close attention to areas where sticky residue and grime are most prevalent. Take care to avoid getting any water or cleaning solution near the hair dryer’s electrical components or openings.
For stubborn residue that doesn’t respond to the soapy solution, consider using a cotton swab dipped in vinegar to target specific areas. Vinegar’s natural cleaning properties can help dissolve and remove persistent residue without damaging the hair dryer’s exterior surfaces. However, it’s important to wipe the area with a damp cloth after using vinegar to remove any residual odor or residue.
After addressing the sticky residue, use a clean, damp cloth to wipe down the exterior surfaces once more, removing any remaining soap or vinegar residue. Once the surfaces are clean, use a dry cloth to pat them dry, ensuring that no moisture remains on the hair dryer’s exterior.
As you clean the exterior, pay attention to any buttons, switches, and control settings, ensuring that they are free from sticky residue and operate smoothly. If necessary, use a cotton swab or soft-bristled brush to clean around these areas, removing any buildup that may affect their functionality.
By thoroughly cleaning the exterior of your hair dryer, you’re not only addressing the sticky residue but also maintaining the appliance’s overall cleanliness and appearance. With the exterior now free from grime and buildup, you’re ready to proceed to the next stages of the cleaning process, confident in the knowledge that your hair dryer will soon be restored to its optimal condition.
Step 5: Clean the Nozzle
As you continue the process of cleaning your sticky hair dryer, it’s essential to pay special attention to the nozzle, a critical component that directs airflow and heat during operation. Over time, the hair dryer’s nozzle can become clogged with sticky residue, dust, and debris, impacting its performance and efficiency. By thoroughly cleaning the nozzle, you can ensure that your hair dryer operates at its full potential, delivering optimal results with every use.
Begin by examining the nozzle closely to assess the extent of any sticky residue or buildup. Depending on the design of your hair dryer, the nozzle may feature small openings or vents that can become clogged with debris, hindering the airflow and heat distribution. If you notice any visible residue or blockages, it’s essential to address these issues promptly to restore the nozzle to a clean and functional state.
To clean the nozzle, start by using a soft-bristled brush or toothbrush to dislodge any loose particles and residue. Gently brush the exterior and interior surfaces of the nozzle, taking care to remove any buildup that may be obstructing the airflow. If the residue proves to be particularly stubborn, consider using a cotton swab dipped in mild soapy water to target specific areas, ensuring thorough cleaning of the nozzle’s intricate components.
If the nozzle features small openings or vents, use a toothpick or a similar tool to carefully dislodge any debris that may be obstructing these areas. Take care to avoid using excessive force, as you don’t want to damage the delicate components of the nozzle during the cleaning process.
For stubborn residue that remains after the initial cleaning, consider using a cotton swab dipped in vinegar to dissolve and remove persistent buildup. Vinegar’s natural cleaning properties can effectively tackle stubborn residue without causing damage to the nozzle. However, it’s important to rinse the nozzle thoroughly with clean water after using vinegar to ensure that no residual odor or residue remains.
Once you’ve thoroughly cleaned the nozzle, rinse it under running water to remove any soapy or vinegar residue, ensuring that it’s completely clean. Gently shake off any excess water and use a clean, dry cloth to pat the nozzle dry. Allow the nozzle to air-dry completely before reattaching it to the hair dryer, ensuring that it’s free from any moisture before proceeding.
By diligently cleaning the nozzle, you’re taking proactive steps to maintain the performance and functionality of your hair dryer. With the nozzle now free from sticky residue and debris, you’re ready to move on to the next stages of the cleaning process, confident in the knowledge that your hair dryer will soon be restored to its optimal condition.
Step 6: Reassemble the Hair Dryer
With the individual components of your hair dryer thoroughly cleaned, it’s time to reassemble the appliance, ensuring that each part is securely in place and ready for use. Proper reassembly is crucial for maintaining the functionality and safety of your hair dryer, allowing you to enjoy its benefits with confidence and peace of mind.
Begin by carefully reattaching the filter to the hair dryer, ensuring that it fits snugly into its designated housing. If the filter requires screws or fasteners, use the appropriate tools to secure it in place, taking care not to overtighten the fasteners to avoid damaging the filter or the hair dryer’s casing.
Next, align the nozzle with its corresponding opening on the hair dryer, gently pressing it into place until it is securely attached. Ensure that the nozzle is positioned correctly to allow for unobstructed airflow during operation, optimizing the hair dryer’s performance.
Once the filter and nozzle are reattached, take a moment to inspect the hair dryer’s exterior, ensuring that all buttons, switches, and control settings are free from residue and operate smoothly. If necessary, use a soft, dry cloth to wipe down the exterior surfaces, removing any lingering moisture and ensuring that the appliance is clean and dry.
Before plugging the hair dryer back into the electrical outlet, take a final moment to inspect the appliance, confirming that all components are securely reassembled and free from any visible residue. This careful attention to detail ensures that the hair dryer is ready for use, with no loose parts or residual buildup that could affect its performance.
Once you’ve verified that the hair dryer is fully reassembled and clean, you can proceed to plug the appliance back into the electrical outlet, preparing it for future use. With the hair dryer reassembled and restored to its optimal condition, you can look forward to enjoying its reliable performance and the benefits of a clean, well-maintained appliance.
By diligently reassembling the hair dryer and ensuring that all components are clean and securely in place, you’ve completed the final step in the comprehensive cleaning process. With your hair dryer now restored to its pristine state, you can confidently incorporate it into your daily routine, knowing that it’s clean, efficient, and ready to deliver exceptional results.
Conclusion
Congratulations on successfully completing the comprehensive cleaning process for your sticky hair dryer! By following the step-by-step instructions outlined in this guide, you’ve taken proactive measures to address sticky residue, grime, and debris that may have accumulated over time, restoring your hair dryer to its optimal condition.
Regular maintenance and cleaning of your hair dryer are essential for ensuring its longevity, performance, and hygiene. By incorporating these cleaning practices into your routine, you can prolong the life of your hair dryer, maintain its efficiency, and enjoy the benefits of a clean and well-functioning appliance.
Remember to incorporate these cleaning steps into your regular maintenance schedule, addressing any sticky residue or buildup as soon as it becomes noticeable. By doing so, you can prevent excessive accumulation of grime and ensure that your hair dryer continues to operate at its best.
We hope that this guide has been informative and helpful, providing you with valuable insights into the process of cleaning a sticky hair dryer. By investing a little time and effort into proper maintenance, you can extend the lifespan of your hair dryer and continue to enjoy its reliable performance for years to come.
Thank you for taking the initiative to care for your hair dryer and prioritize its cleanliness and functionality. With your newly cleaned and revitalized hair dryer, you can look forward to effortless styling and reliable results, knowing that your appliance is in prime condition.
Here’s to a clean, efficient, and long-lasting hair dryer that continues to meet your styling needs with excellence!
Now that you’ve mastered cleaning your sticky hair dryer, why stop there? Extend your newfound skills to other household gadgets with our detailed guide on keeping all your devices spotless. You’ll find simple, straightforward strategies that make any cleaning task seem like a breeze. No more guessing games when handling your essential appliances, just clear steps to achieve pristine results every time. Ready to tackle more? Check out our comprehensive article on the best methods for appliance upkeep.
Frequently Asked Questions about How To Clean A Sticky Hair Dryer
Was this page helpful?
At Storables.com, we guarantee accurate and reliable information. Our content, validated by Expert Board Contributors, is crafted following stringent Editorial Policies. We're committed to providing you with well-researched, expert-backed insights for all your informational needs.

0 thoughts on “How To Clean A Sticky Hair Dryer”