Home>Home Appliances>Bathroom Appliances>How To Diffuse Hair With A Blow Dryer

Bathroom Appliances
How To Diffuse Hair With A Blow Dryer
Modified: August 16, 2024
Learn how to properly diffuse your hair using a blow dryer with our expert tips and techniques. Get the best results with the right bathroom appliances.
(Many of the links in this article redirect to a specific reviewed product. Your purchase of these products through affiliate links helps to generate commission for Storables.com, at no extra cost. Learn more)
Introduction
Welcome to the world of hair styling! Whether you have naturally curly hair or you want to add some texture and volume to your locks, learning how to diffuse your hair with a blow dryer can be a game-changer. The diffuser attachment is a fantastic tool that helps to disperse the airflow, reduce frizz, and enhance the natural texture of your hair. By following the right techniques and using the proper products, you can achieve beautiful, bouncy curls or waves without causing heat damage.
In this comprehensive guide, we will walk you through the process of diffusing your hair with a blow dryer, covering everything from choosing the right blow dryer and preparing your hair to the finishing touches that will leave you with stunning, salon-worthy results. Whether you are a seasoned pro or a complete novice in the world of hair styling, this article will equip you with the knowledge and skills to master the art of diffusing your hair at home.
So, grab your blow dryer, pick up your favorite hair products, and get ready to transform your tresses into a gorgeous mane of luscious curls or waves. It's time to embrace your natural texture and unleash the full potential of your locks with the magic of diffusing!
Key Takeaways:
- Embrace your natural hair texture and enhance it with a diffuser attachment on a blow dryer. Follow the right techniques and products to achieve stunning, salon-worthy curls or waves at home, while minimizing heat damage and frizz.
- Select a blow dryer with a diffuser attachment, prepare your hair with the right products, and follow a systematic approach to diffusing for beautiful, head-turning curls or waves. Celebrate the natural beauty of your locks with confidence and creativity.
Choosing the Right Blow Dryer
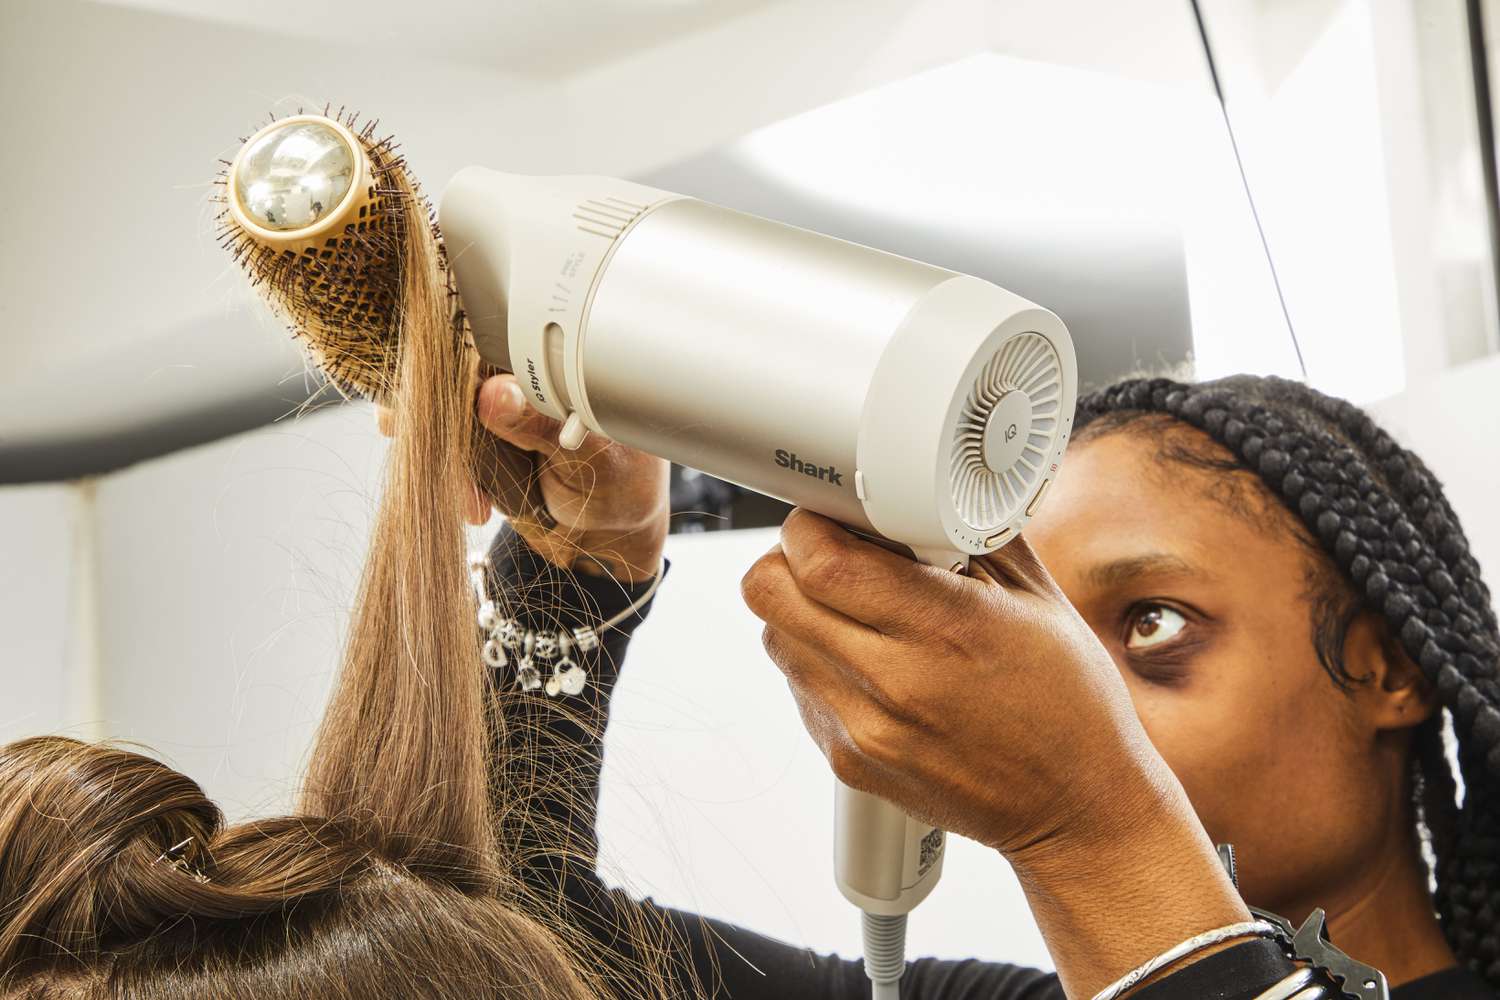
When it comes to diffusing your hair, selecting the right blow dryer is crucial for achieving the best results. Here are some key factors to consider when choosing a blow dryer for diffusing:
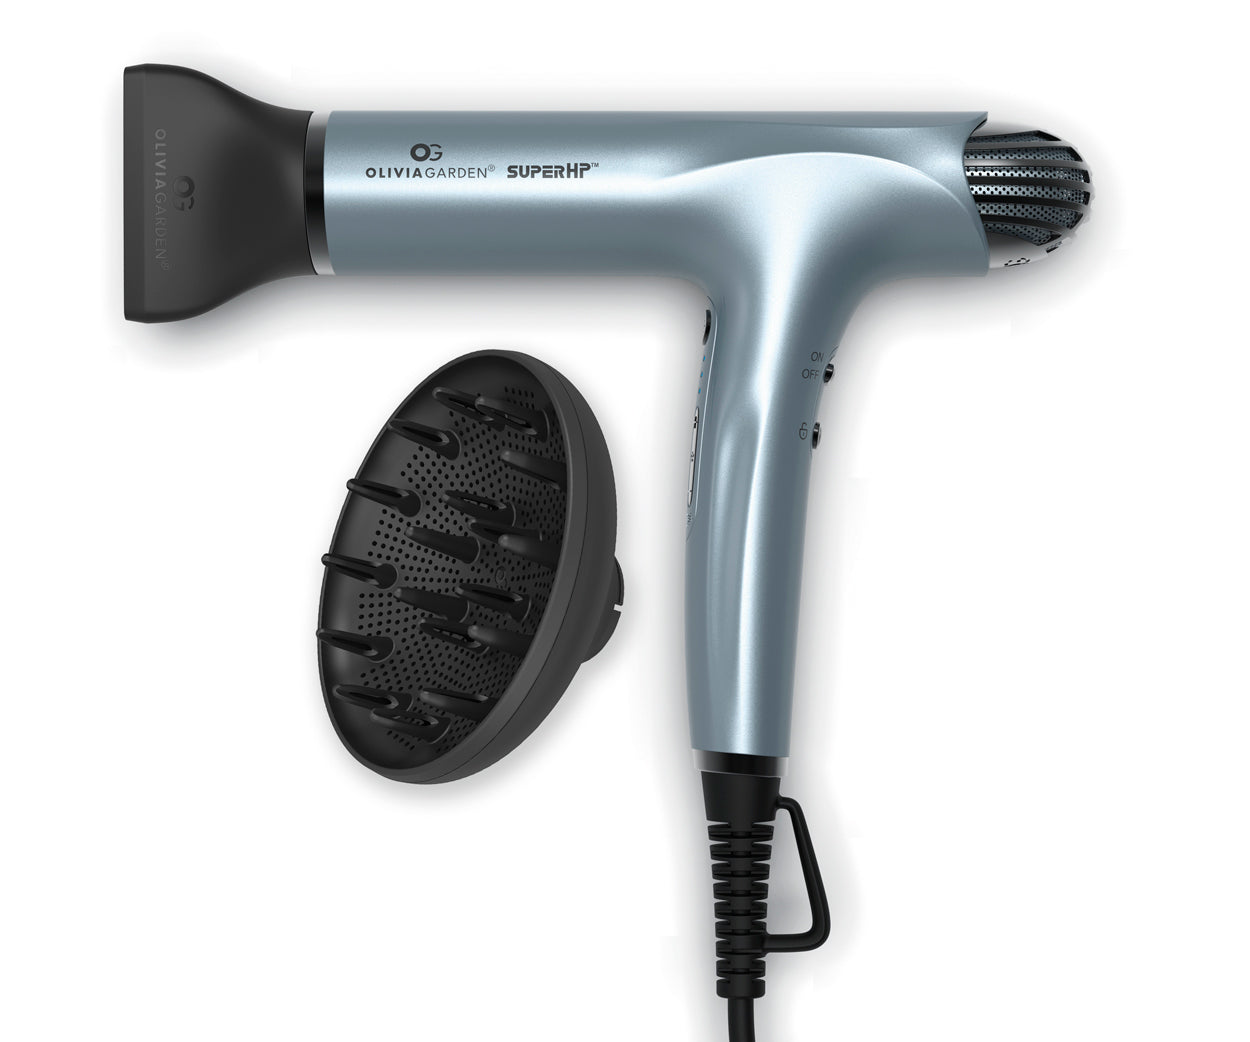
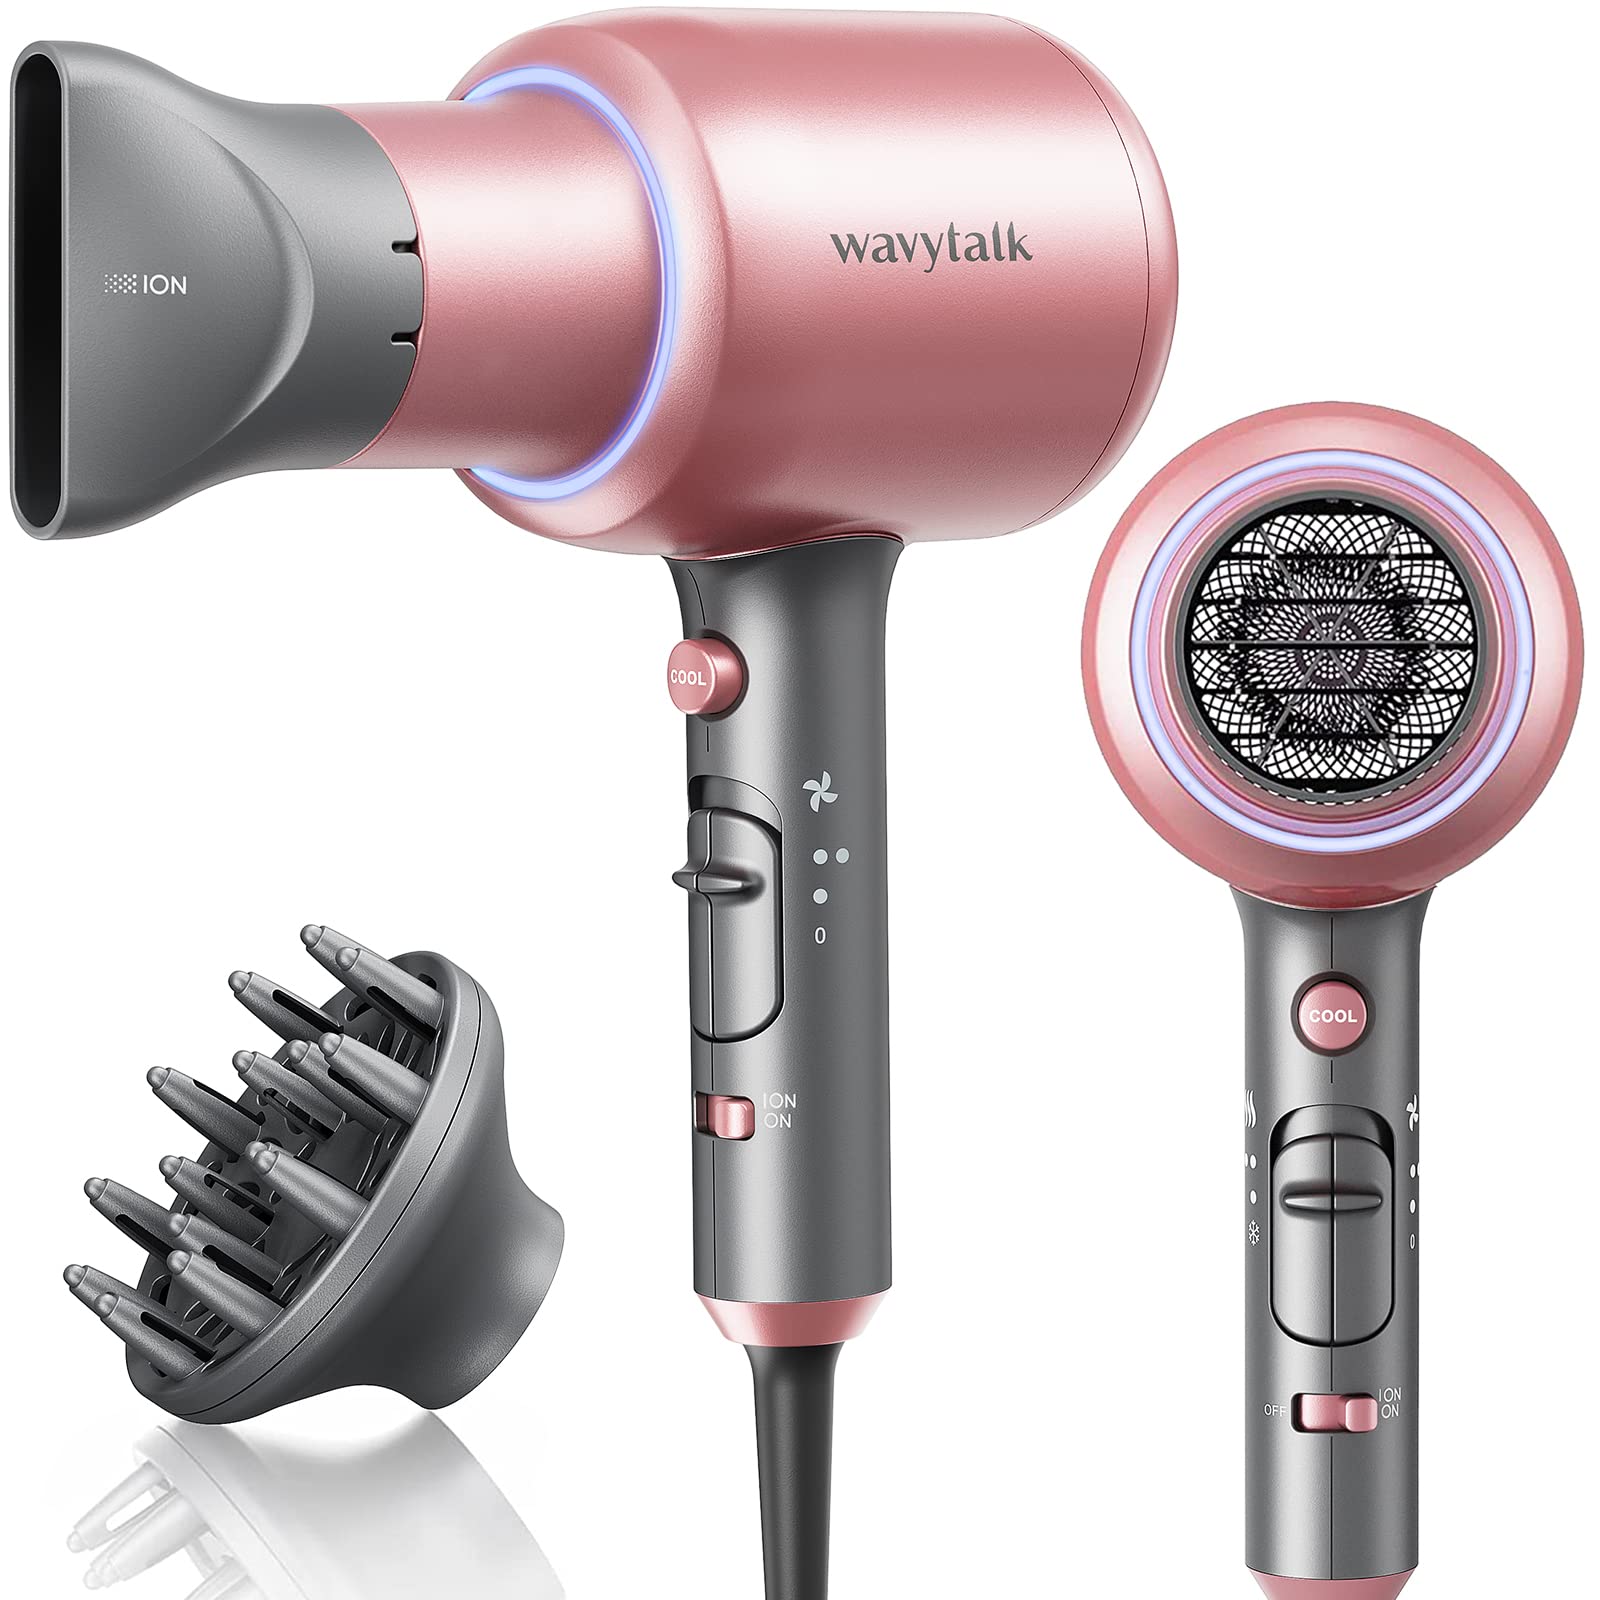
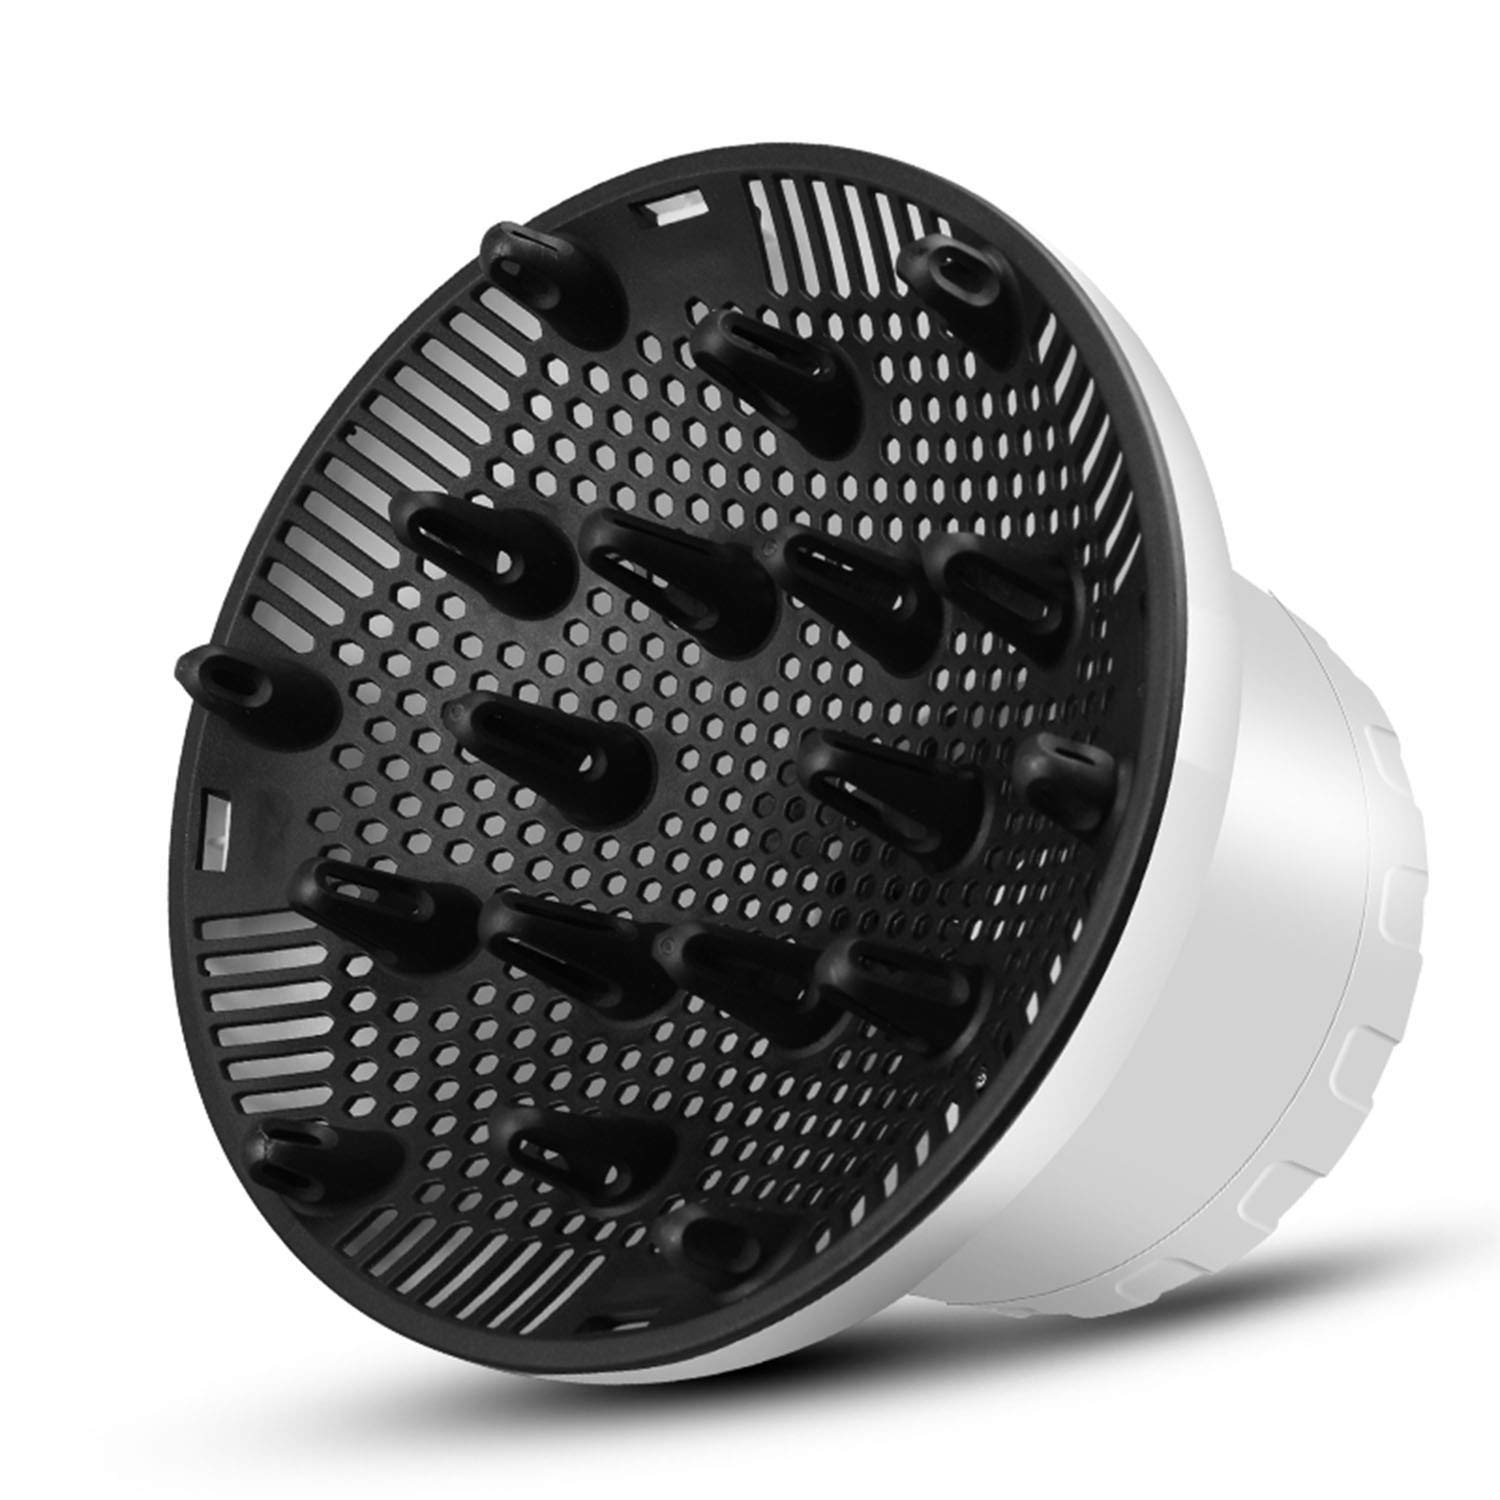
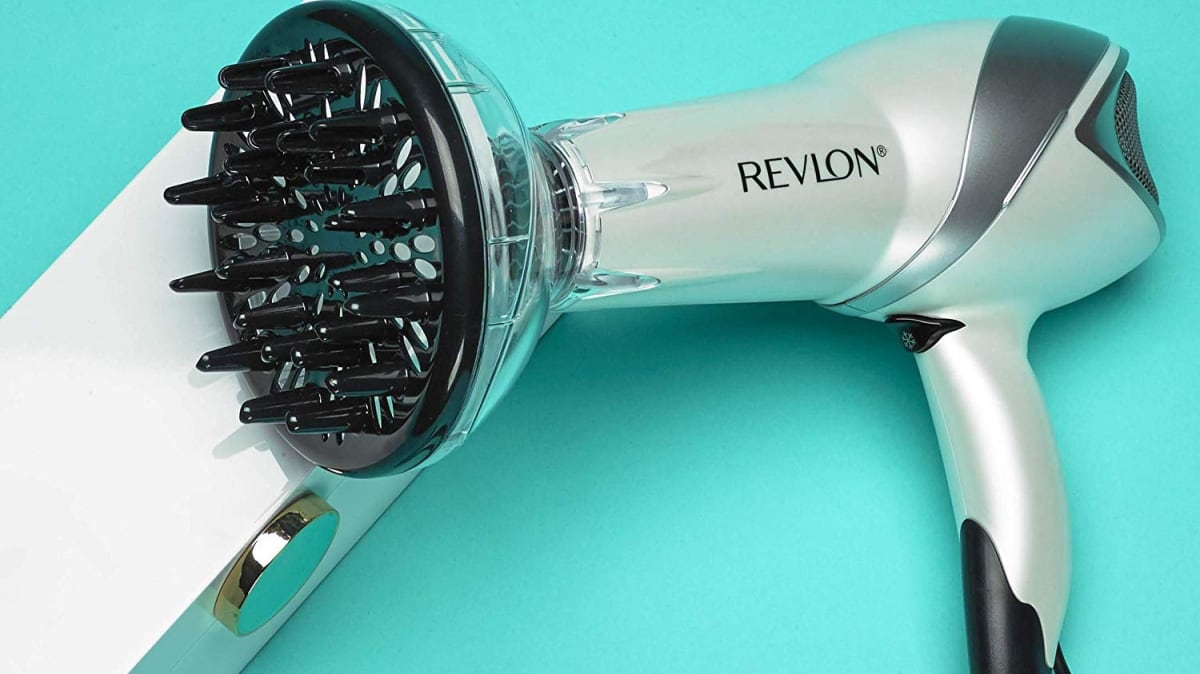
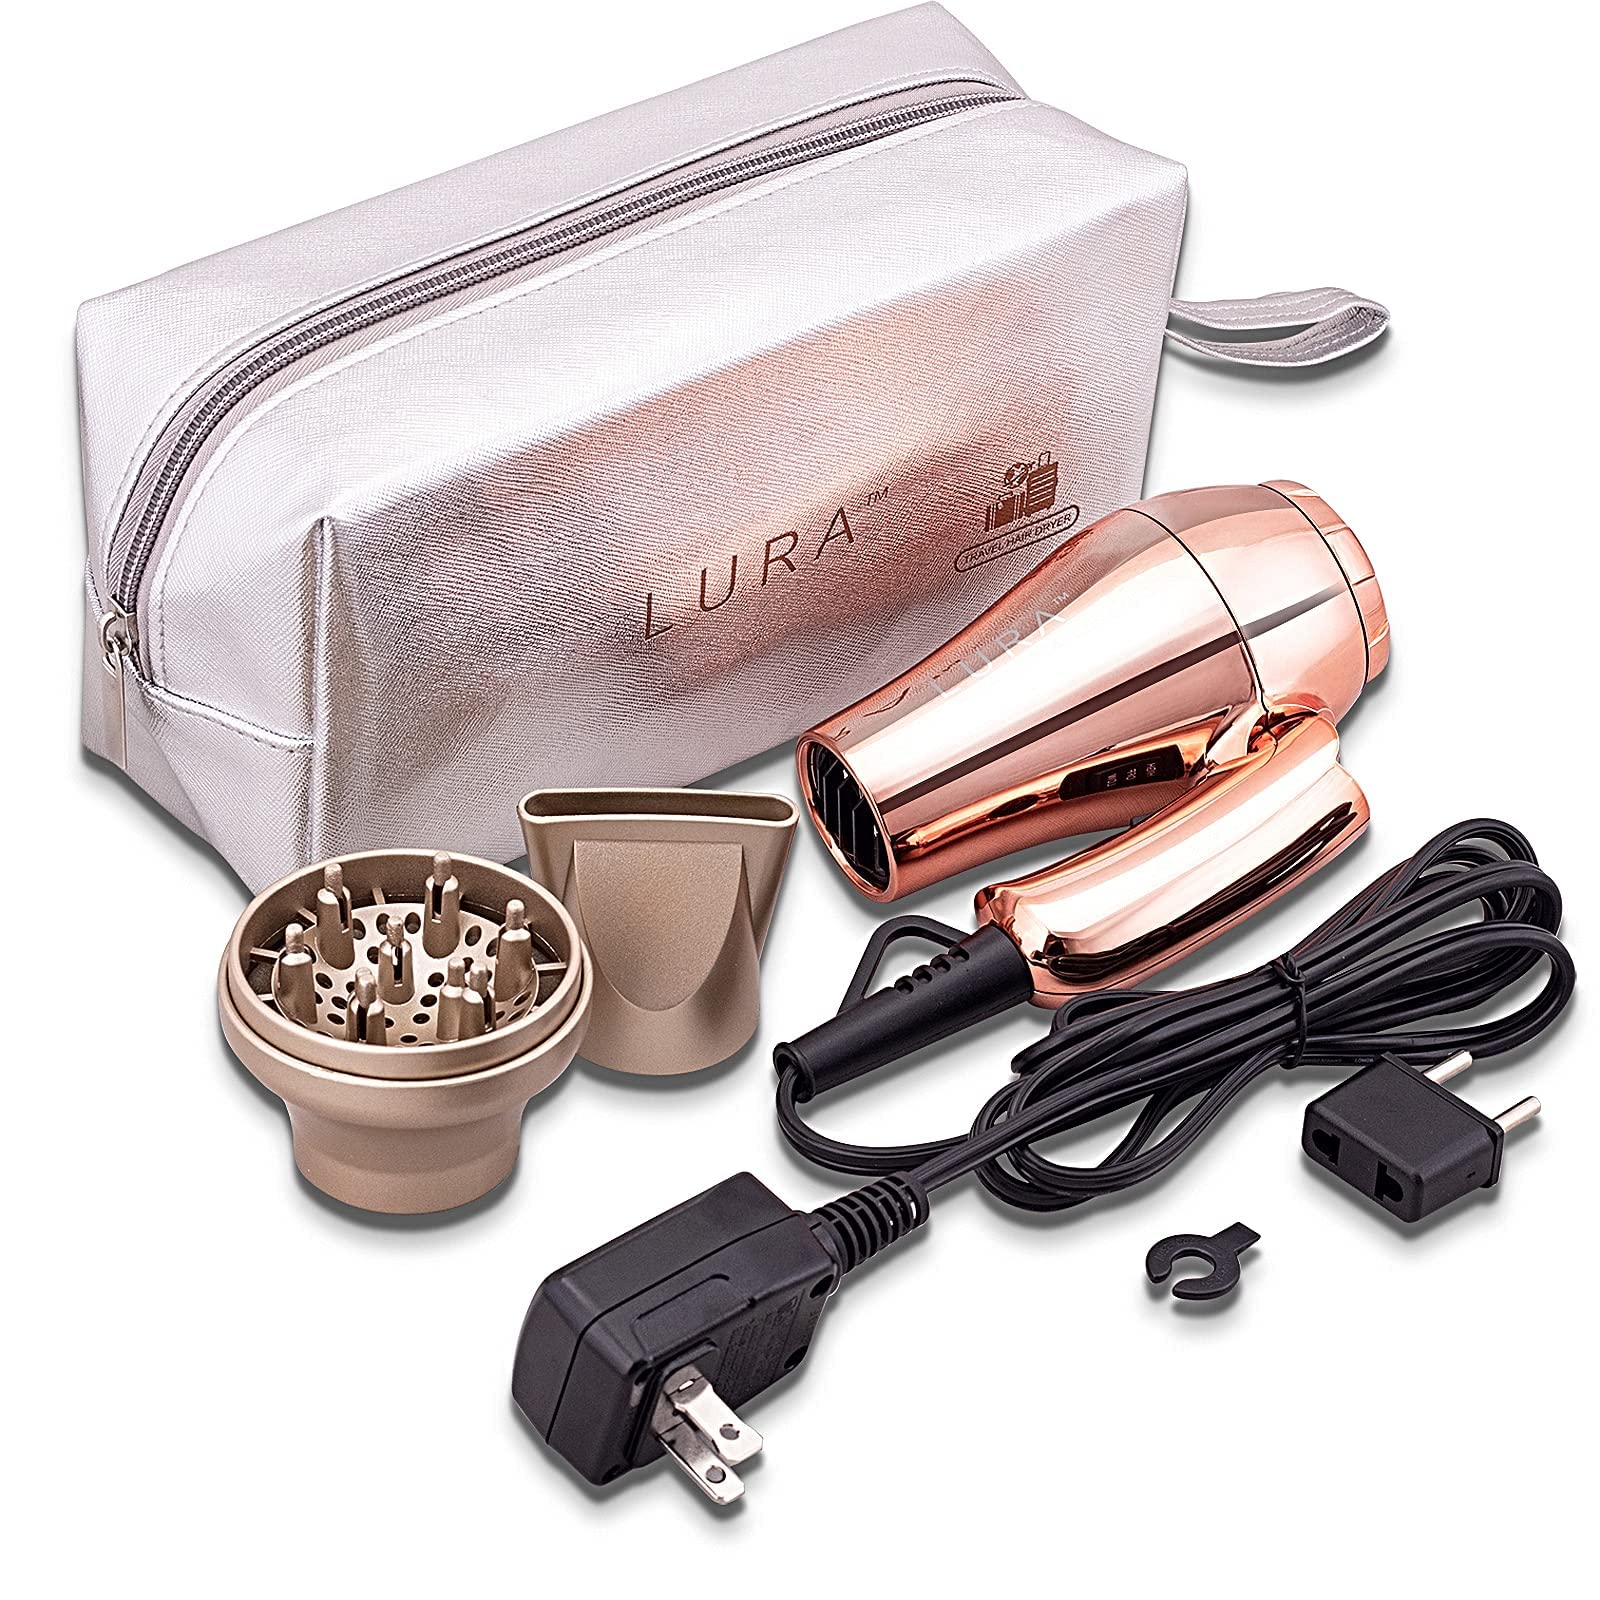
- Diffuser Attachment: Look for a blow dryer that comes with a diffuser attachment. This specialized tool is designed to evenly distribute the airflow, helping to enhance your hair’s natural texture and reduce frizz. The diffuser should have prongs or fingers that allow you to gently scrunch your hair as you dry it, promoting beautiful, defined curls or waves.
- Heat Settings: Opt for a blow dryer that offers multiple heat and speed settings. This versatility allows you to customize the airflow and temperature based on your hair type and the desired style. For instance, if you have fine or delicate hair, you can use lower heat settings to prevent damage, while thicker or coarser hair may benefit from higher heat settings for efficient drying.
- Technology: Consider blow dryers with advanced technologies such as ceramic, tourmaline, or ionic features. Ceramic and tourmaline materials help distribute heat evenly and reduce frizz, while ionic technology emits negative ions to break down water molecules for faster drying and smoother, shinier hair.
- Wattage: Higher wattage blow dryers tend to offer more powerful airflow, which can speed up the drying process and reduce the risk of heat damage. Look for a blow dryer with a wattage of at least 1800 watts for efficient and effective drying.
- Ergonomic Design: A lightweight and ergonomic blow dryer can make the diffusing process more comfortable and convenient, especially if you have long or thick hair that requires extended drying time. Look for a model that is easy to handle and maneuver, with intuitive controls for seamless operation.
By carefully considering these factors, you can select a blow dryer that is well-suited for diffusing your hair, providing you with the necessary features and functionality to achieve stunning results while minimizing the risk of heat damage or frizz.
Preparing Your Hair
Before you begin the diffusing process, it’s essential to prepare your hair to ensure optimal results. Follow these steps to get your locks ready for the diffusing magic:
- Start with Clean, Damp Hair: Begin by washing your hair with a hydrating shampoo and conditioner to cleanse and nourish your locks. Once you’ve finished washing, gently towel-dry your hair to remove excess moisture, leaving it slightly damp for the diffusing process. Avoid rubbing your hair vigorously with the towel, as this can cause frizz and disrupt your hair’s natural texture.
- Apply a Leave-In Conditioner: To help protect your hair from heat damage and enhance its moisture levels, apply a lightweight, nourishing leave-in conditioner evenly throughout your damp hair. This step can help minimize frizz and maintain the natural elasticity and softness of your locks during the diffusing process.
- Use a Curl-Enhancing Product: If you have naturally curly or wavy hair, consider applying a curl-enhancing product, such as a mousse or styling cream, to define and accentuate your curls. Work the product through your hair, focusing on the mid-lengths and ends to encourage beautiful, well-defined curls as you diffuse.
- Detangle Gently: Use a wide-tooth comb or a detangling brush to gently remove any knots or tangles from your hair. Starting from the ends and working your way up to the roots, carefully detangle your locks to ensure even distribution of products and to prevent breakage or damage during the diffusing process.
By following these preparation steps, you can set the stage for successful and effortless diffusing, ensuring that your hair is primed for the heat and airflow while maintaining its natural moisture and texture. With your hair prepped and ready, you’re one step closer to achieving stunning, bouncy curls or waves with the help of your trusty blow dryer and diffuser attachment.
Applying Heat Protectant
Before subjecting your hair to the heat of a blow dryer, it’s crucial to shield your locks with a high-quality heat protectant product. Heat protectants form a protective barrier on the hair’s surface, helping to minimize damage caused by heat styling tools. Here’s how to apply heat protectant effectively before diffusing your hair:
- Choose the Right Product: Look for a heat protectant spray, serum, or cream specifically formulated for use with heat styling tools. Opt for a product that suits your hair type and provides the level of protection you need, whether it’s targeted at preventing damage, reducing frizz, or adding shine.
- Even Distribution: Spray or apply the heat protectant product evenly throughout your damp hair, ensuring thorough coverage from roots to ends. Use a wide-tooth comb or your fingers to gently distribute the product, making sure that every strand is coated for maximum protection.
- Focus on the Ends: Pay extra attention to the ends of your hair, as they tend to be more susceptible to damage. Apply a slightly larger amount of heat protectant to the ends to create an additional barrier against the heat from the blow dryer.
- Avoid Overloading: While it’s important to coat your hair adequately, be mindful of using too much product, as this can weigh down your hair and affect the diffusing process. Use a moderate amount of heat protectant to strike the right balance between protection and maintaining your hair’s natural movement and texture.
By incorporating a heat protectant into your pre-diffusing routine, you can help safeguard your hair from the potential damage associated with heat styling. This proactive step not only protects your locks but also contributes to maintaining the health, shine, and manageability of your hair, ensuring that it remains in top condition as you work on creating beautiful, diffused curls or waves.
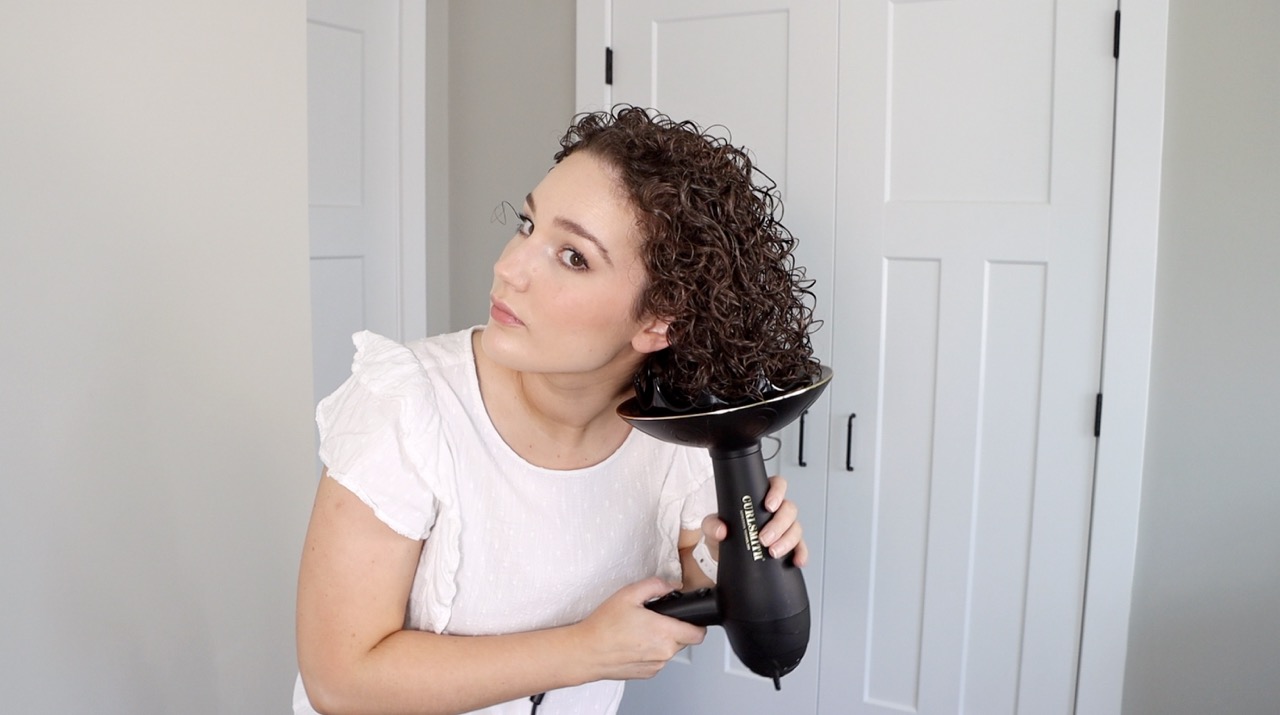
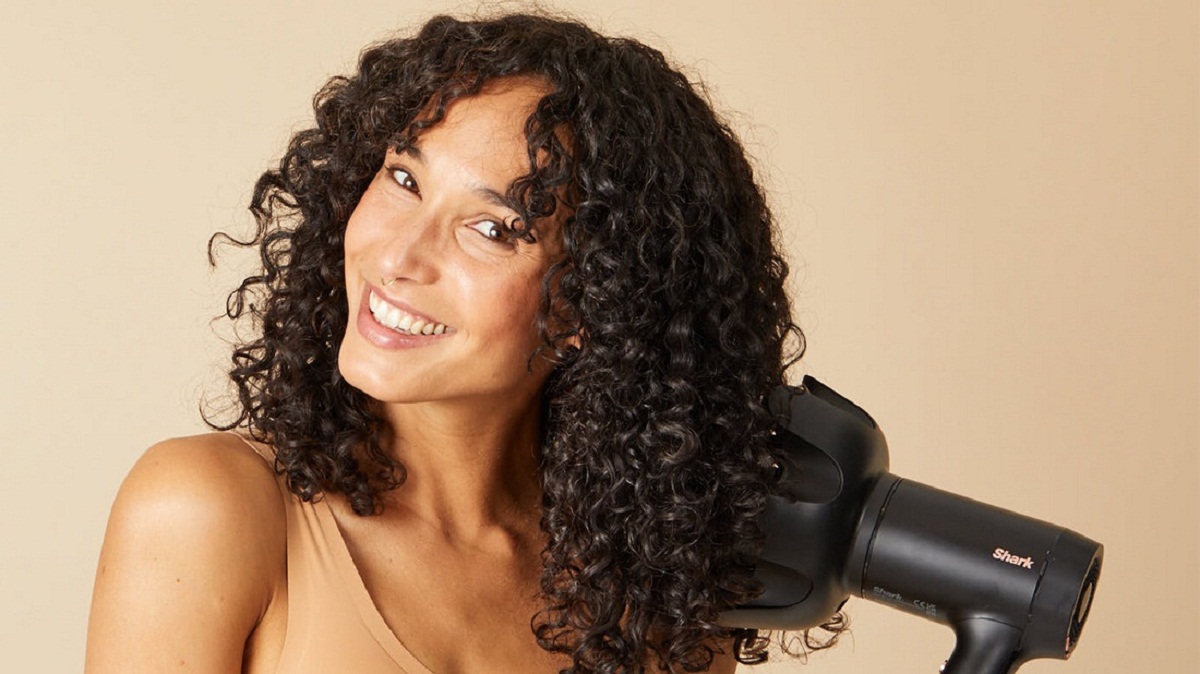
Use a diffuser attachment on your blow dryer to gently dry and define curls. Start on low heat and speed to avoid frizz, and scrunch hair as you dry.
Sectioning Your Hair
Properly sectioning your hair before diffusing is a key step that can make a significant difference in the outcome of your styling efforts. By dividing your hair into manageable sections, you can ensure that each strand receives equal attention and optimal heat distribution during the diffusing process. Here’s how to section your hair effectively for flawless results:
- Divide into Sections: Start by dividing your hair into sections, typically two to four, depending on the thickness and volume of your hair. Use hair clips or hair ties to secure the sections you’re not working on, keeping them out of the way while you focus on diffusing one section at a time.
- Begin at the Bottom: Start with the bottom sections of your hair, gradually working your way up to the top layers. This approach ensures that the lower layers, which tend to be closer to the scalp and may hold more moisture, receive adequate drying and styling attention.
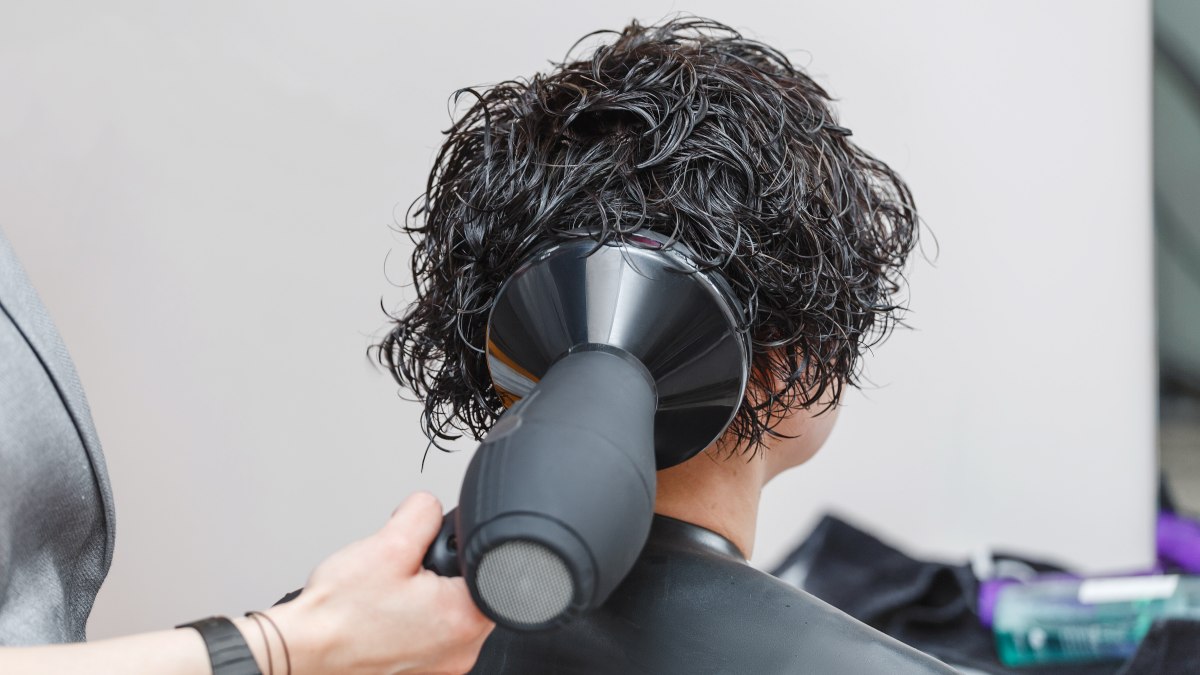
- Even Distribution: When diffusing each section, ensure that the heat and airflow reach all areas of the hair. Gently place the diffuser at the roots of the section and lift it toward your scalp, allowing the prongs or fingers of the diffuser to cradle the hair and evenly disperse the airflow for consistent drying and styling.
- Scrunching Technique: As you diffuse each section, use a gentle scrunching motion with your hands to encourage the formation of curls or waves. This technique helps enhance the natural texture of your hair and promotes the definition and bounce of your curls as they dry.
By taking the time to section your hair methodically, you can ensure that each part of your hair receives the attention it needs for a uniform and beautifully diffused result. This approach allows you to work systematically through your hair, maximizing the effectiveness of the diffuser and achieving stunning, salon-quality curls or waves with ease.
Read more: What Is A Diffuser On A Hair Dryer
Diffusing Your Hair
Now comes the exciting part – the actual diffusing process that will transform your damp locks into gorgeous, voluminous curls or waves. When diffusing your hair, it’s important to follow a methodical approach to achieve the best results. Here’s a step-by-step guide to diffusing your hair with a blow dryer:
- Start with the Lowest Heat Setting: Begin by setting your blow dryer to the lowest heat setting to minimize the risk of heat damage, especially if you have fine or delicate hair. You can adjust the speed setting based on your preference and the thickness of your hair.
- Position the Diffuser: Attach the diffuser to the nozzle of your blow dryer, ensuring a secure fit. Position the diffuser at the roots of a section of hair and hold it in place, allowing the prongs or fingers of the diffuser to cradle the hair as you gently lift it toward your scalp.
- Scrunch and Hold: With the diffuser in place, use a scrunching motion with your hands to lift the hair toward your scalp, maintaining the diffuser’s position to evenly distribute the airflow. Hold the position for a few seconds before releasing and moving on to the next section, ensuring that the hair sets in its natural curl or wave pattern.
- Work Through Each Section: Repeat the process of diffusing, scrunching, and holding for each section of your hair, starting from the bottom and working your way up to the top layers. Take your time to ensure that each section receives adequate attention and that the curls or waves are forming beautifully as you diffuse.
- Adjust Heat and Speed as Needed: Depending on your hair type and the desired level of volume and definition, you can adjust the heat and speed settings of the blow dryer as you progress. If you need more volume, consider increasing the speed setting, while lower heat settings can help maintain the integrity of your curls or waves.
By following these steps and techniques, you can master the art of diffusing your hair with a blow dryer, unlocking the natural beauty of your curls or waves while minimizing frizz and heat damage. Embrace the process and enjoy the transformation as your damp hair evolves into a stunning mane of luscious, diffused perfection.
Finishing Touches
After completing the diffusing process, it’s time to add the finishing touches that will enhance the overall look and longevity of your beautifully styled curls or waves. These final steps can help lock in the texture, minimize frizz, and ensure that your hair looks fabulous throughout the day. Here are the essential finishing touches to consider:
- Allow Your Hair to Set: Once you’ve finished diffusing, allow your hair to cool and set for a few minutes before making any further adjustments. This cooling period helps the curls or waves to solidify and maintain their shape for longer-lasting results.
- Avoid Overhandling: Refrain from touching your hair excessively, as this can disrupt the curl pattern and lead to frizz. Allow your hair to naturally fall into place, and resist the temptation to run your fingers through it repeatedly.
- Apply a Lightweight Hair Oil or Serum: To add shine and tame any frizz or flyaways, consider applying a small amount of lightweight hair oil or serum to the mid-lengths and ends of your hair. Use your fingertips to gently work the product through your curls or waves, focusing on areas that may benefit from extra smoothing and definition.
- Avoid Heavy Products: When selecting finishing products, opt for lightweight formulas that won’t weigh down your hair or compromise its natural bounce and movement. Look for products specifically designed to enhance curls or waves without leaving a heavy or greasy residue.
- Set with a Flexible Hold Hairspray: If you prefer added hold and longevity for your styled curls or waves, lightly mist your hair with a flexible hold hairspray. Choose a hairspray that offers a natural, touchable finish without stiffness or crunchiness, allowing your hair to maintain its soft, bouncy texture.
By incorporating these finishing touches into your styling routine, you can elevate the appearance and manageability of your diffused hair, ensuring that your curls or waves look stunning and stay beautifully defined throughout the day. Embrace your natural texture and enjoy the confidence that comes with effortlessly styled, head-turning hair.
Conclusion
Congratulations on mastering the art of diffusing your hair with a blow dryer! By following the techniques and tips outlined in this guide, you’ve gained the knowledge and skills to transform your damp locks into a gorgeous mane of luscious curls or waves. The diffusing process, when approached with the right tools and methods, can unlock the natural beauty of your hair, allowing you to embrace and enhance your unique texture with confidence.
Remember, the key to successful diffusing lies in selecting the right blow dryer with a diffuser attachment, preparing your hair with the appropriate products, and following a systematic approach to sectioning and diffusing your locks. By taking the time to care for your hair and follow these steps, you can achieve stunning, salon-worthy results at home, all while minimizing the risk of heat damage and frizz.
Whether you have naturally curly, wavy, or straight hair, mastering the art of diffusing opens up a world of styling possibilities, allowing you to create effortless, textured looks that showcase the natural beauty of your locks. Embrace your unique hair texture, experiment with different products and techniques, and enjoy the journey of discovering the endless styling potential that diffusing your hair has to offer.
So, grab your blow dryer, attach the diffuser, and let your creativity flow as you embark on the exciting adventure of diffusing your hair. With the right tools, knowledge, and a touch of creativity, you can achieve stunning, head-turning styles that celebrate the natural texture and beauty of your hair. Here’s to fabulous curls, gorgeous waves, and the confidence that comes with effortlessly styled, diffused perfection!
Frequently Asked Questions about How To Diffuse Hair With A Blow Dryer
Was this page helpful?
At Storables.com, we guarantee accurate and reliable information. Our content, validated by Expert Board Contributors, is crafted following stringent Editorial Policies. We're committed to providing you with well-researched, expert-backed insights for all your informational needs.

0 thoughts on “How To Diffuse Hair With A Blow Dryer”