Home>Home Appliances>Bathroom Appliances>How To Get A Dent Out Of A Car With A Hair Dryer
Bathroom Appliances
How To Get A Dent Out Of A Car With A Hair Dryer
Modified: February 18, 2024
Learn the simple technique of using a hair dryer to remove dents from your car. Discover an easy and affordable solution with common bathroom appliances.
(Many of the links in this article redirect to a specific reviewed product. Your purchase of these products through affiliate links helps to generate commission for Storables.com, at no extra cost. Learn more)
Introduction
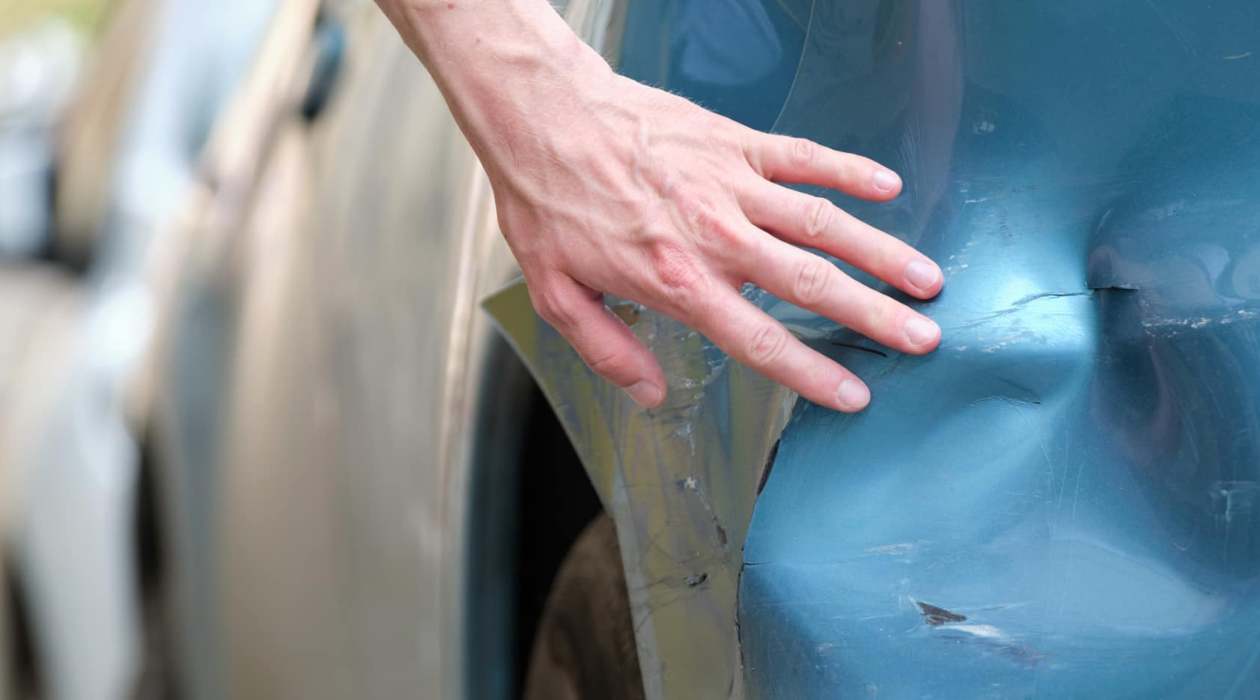
Welcome to the ultimate guide on how to get a dent out of a car with a hair dryer. Whether it’s a minor ding from a parking lot mishap or a more significant dent from a small collision, the good news is that you can often address these issues at home with a few simple tools and techniques. This method is particularly effective for small to medium-sized dents that haven’t caused the paint to crack or chip. By utilizing the power of heat and cold, along with some strategic pressure, you can restore your car’s exterior to its former glory without the need for costly professional repairs.
Not only does this approach save you money, but it also empowers you to take matters into your own hands and achieve a sense of satisfaction from seeing the results of your efforts. So, gather your materials, roll up your sleeves, and let’s delve into the step-by-step process of using a hair dryer to remove those unsightly dents from your vehicle.
Key Takeaways:
- Easily remove car dents at home using a hair dryer, compressed air, and simple tools. Save money and feel empowered by achieving impressive results on minor to moderate dents.
- Heat, cool, and apply pressure to pop out car dents with caution and patience. Enjoy the satisfaction of restoring your car’s exterior using DIY methods and basic materials.
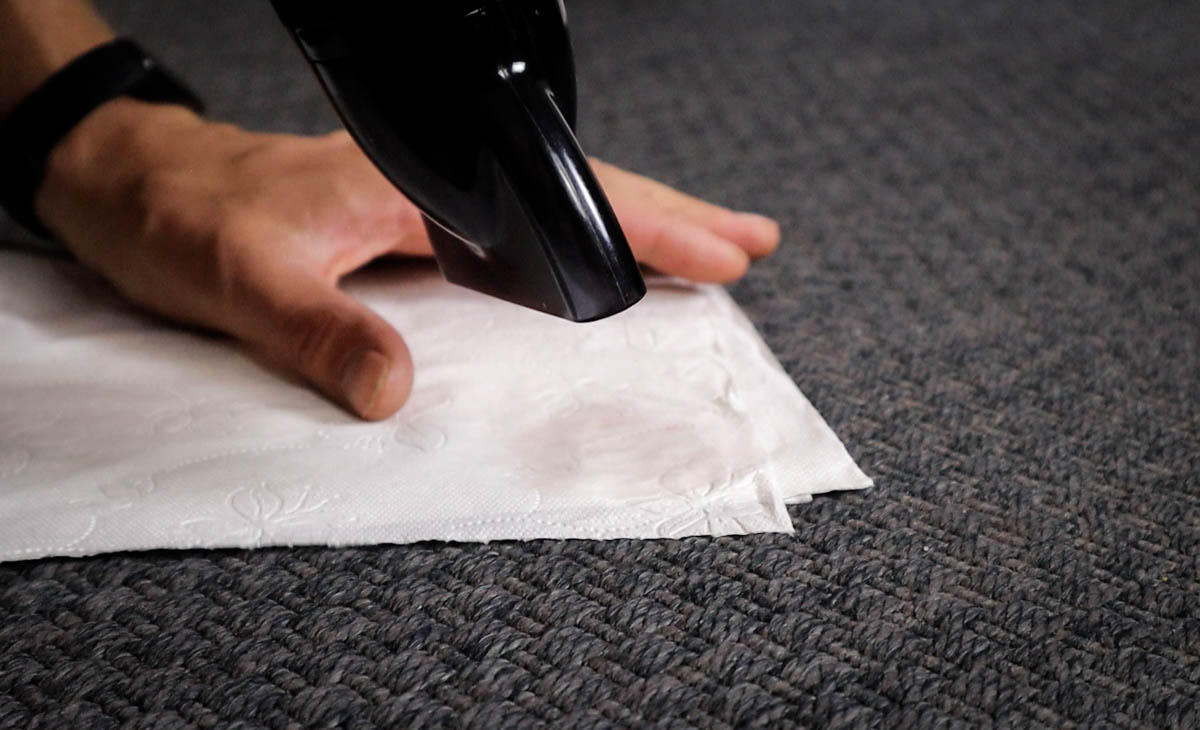
Read more: How To Get Furniture Dents Out Of Carpet
Materials Needed
Before embarking on the journey of dent removal, it’s essential to gather the necessary materials. Here’s what you’ll need:
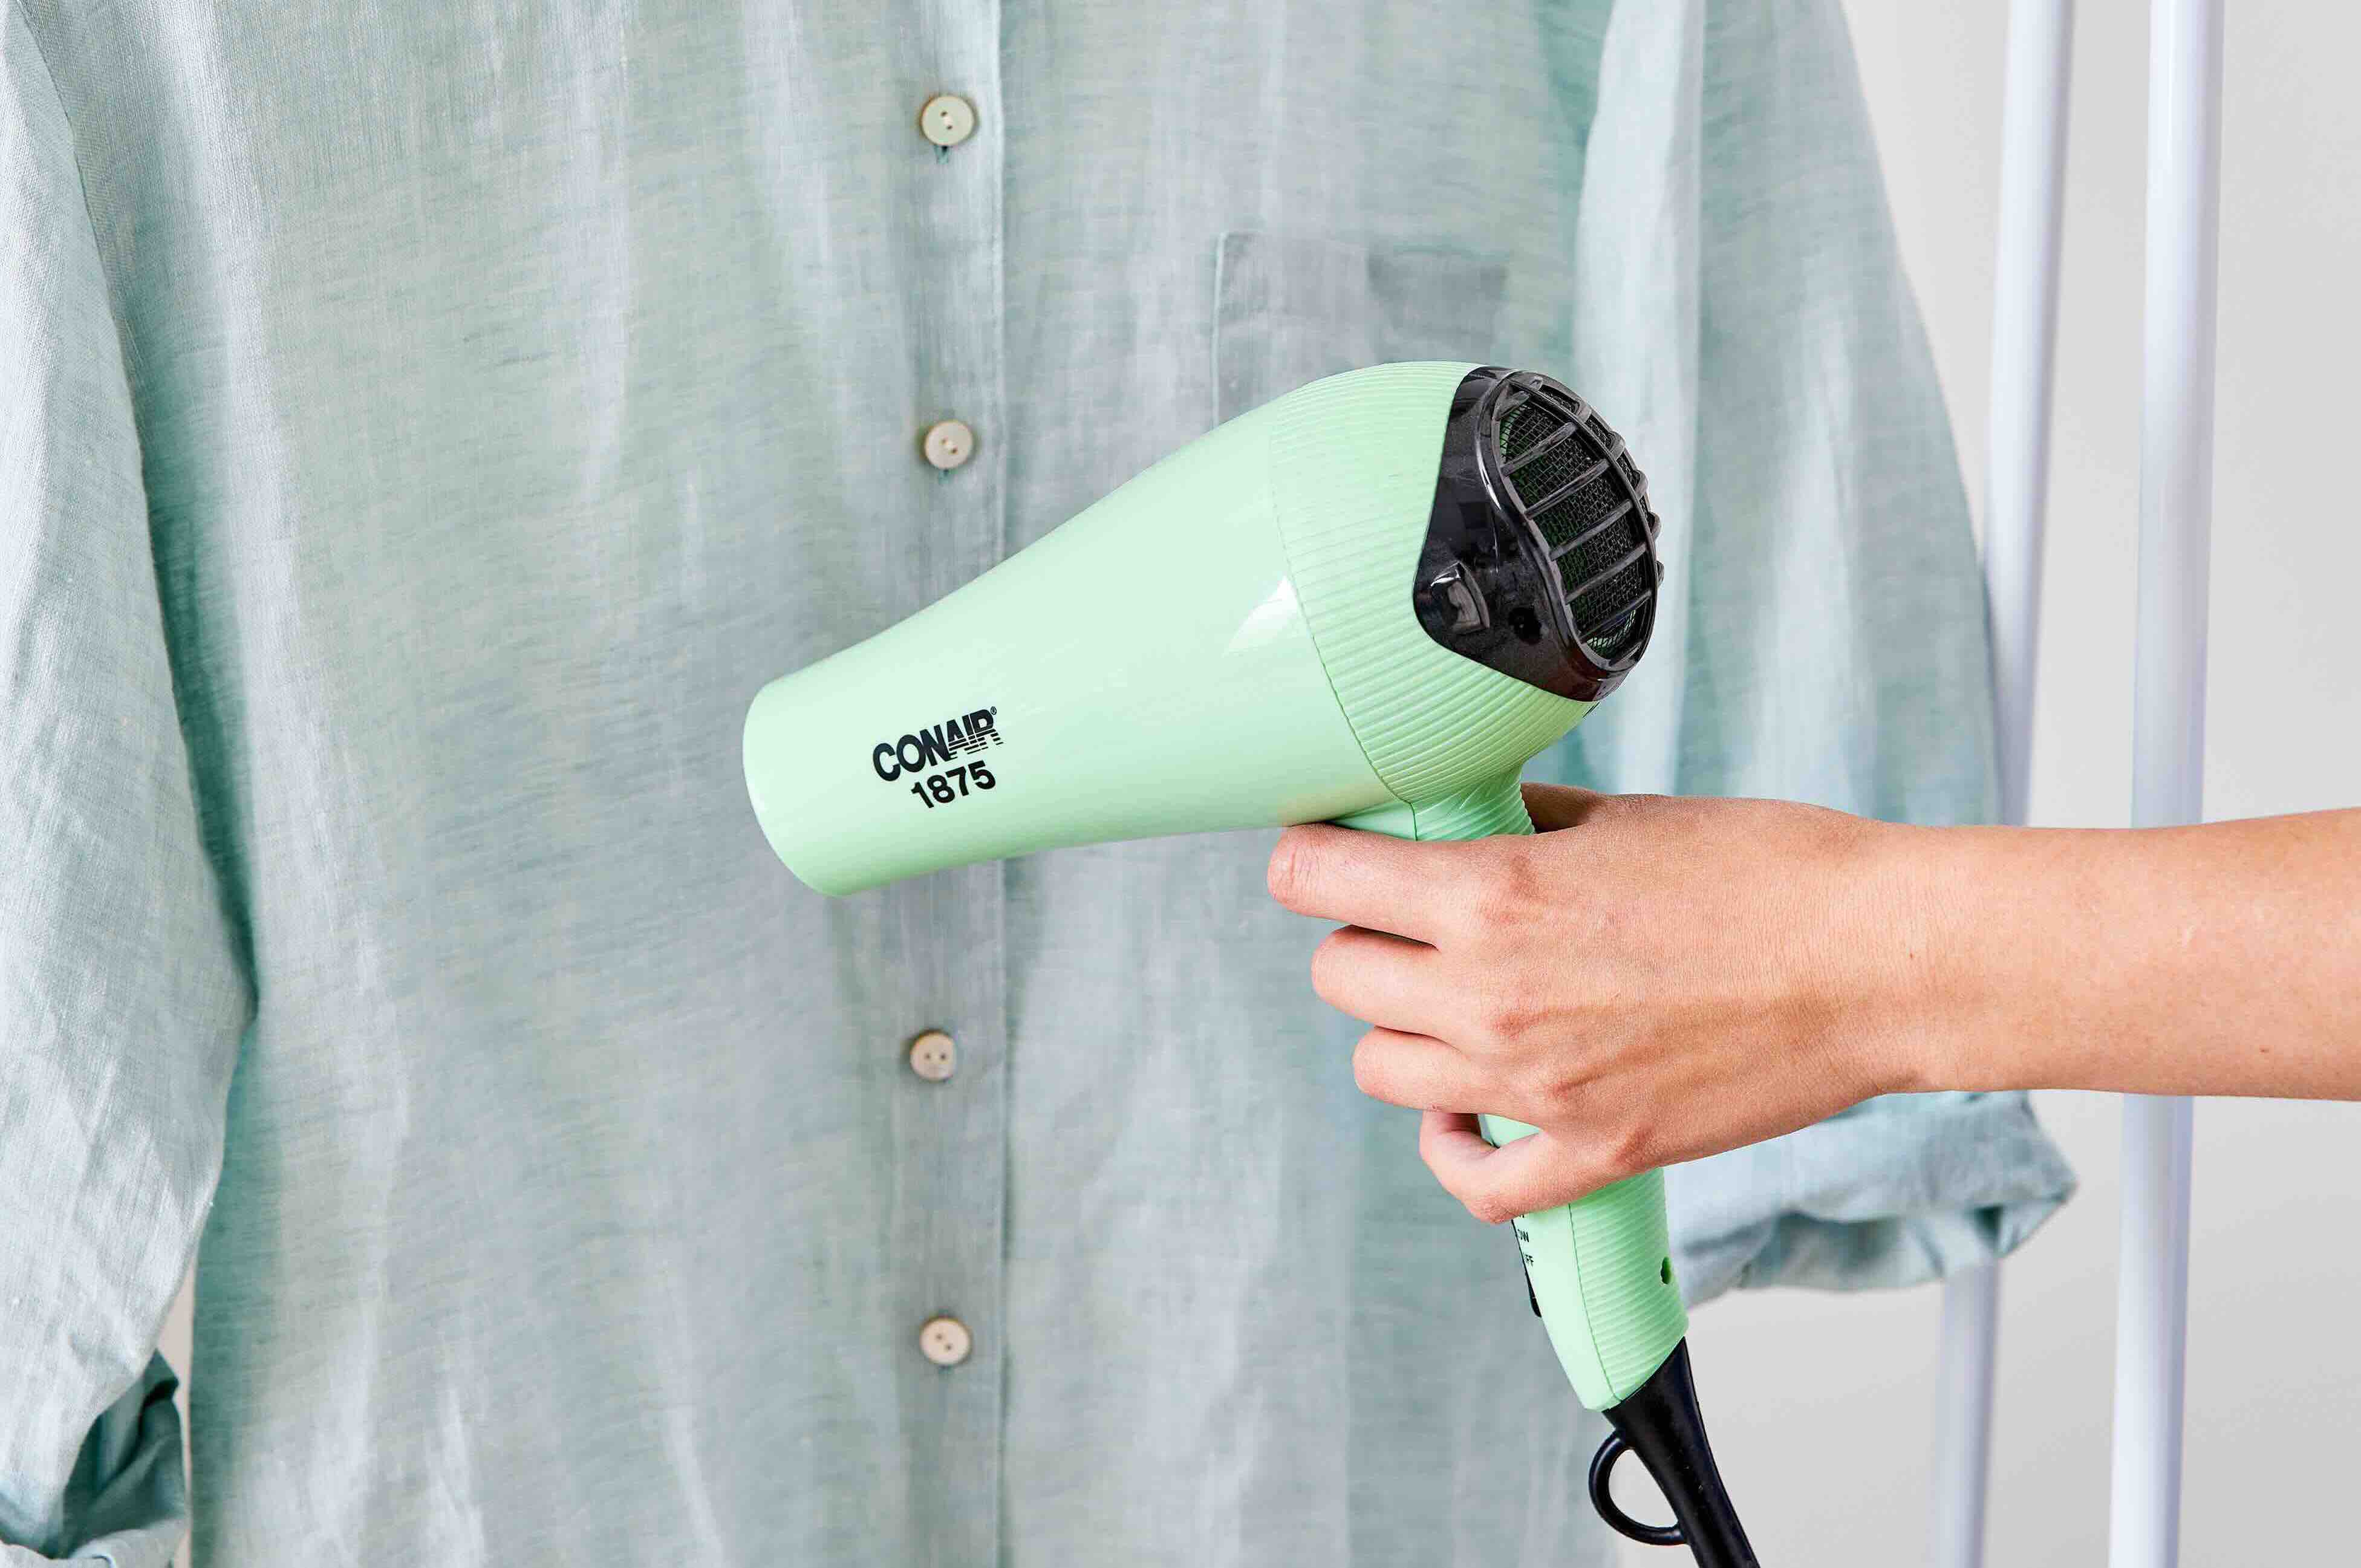
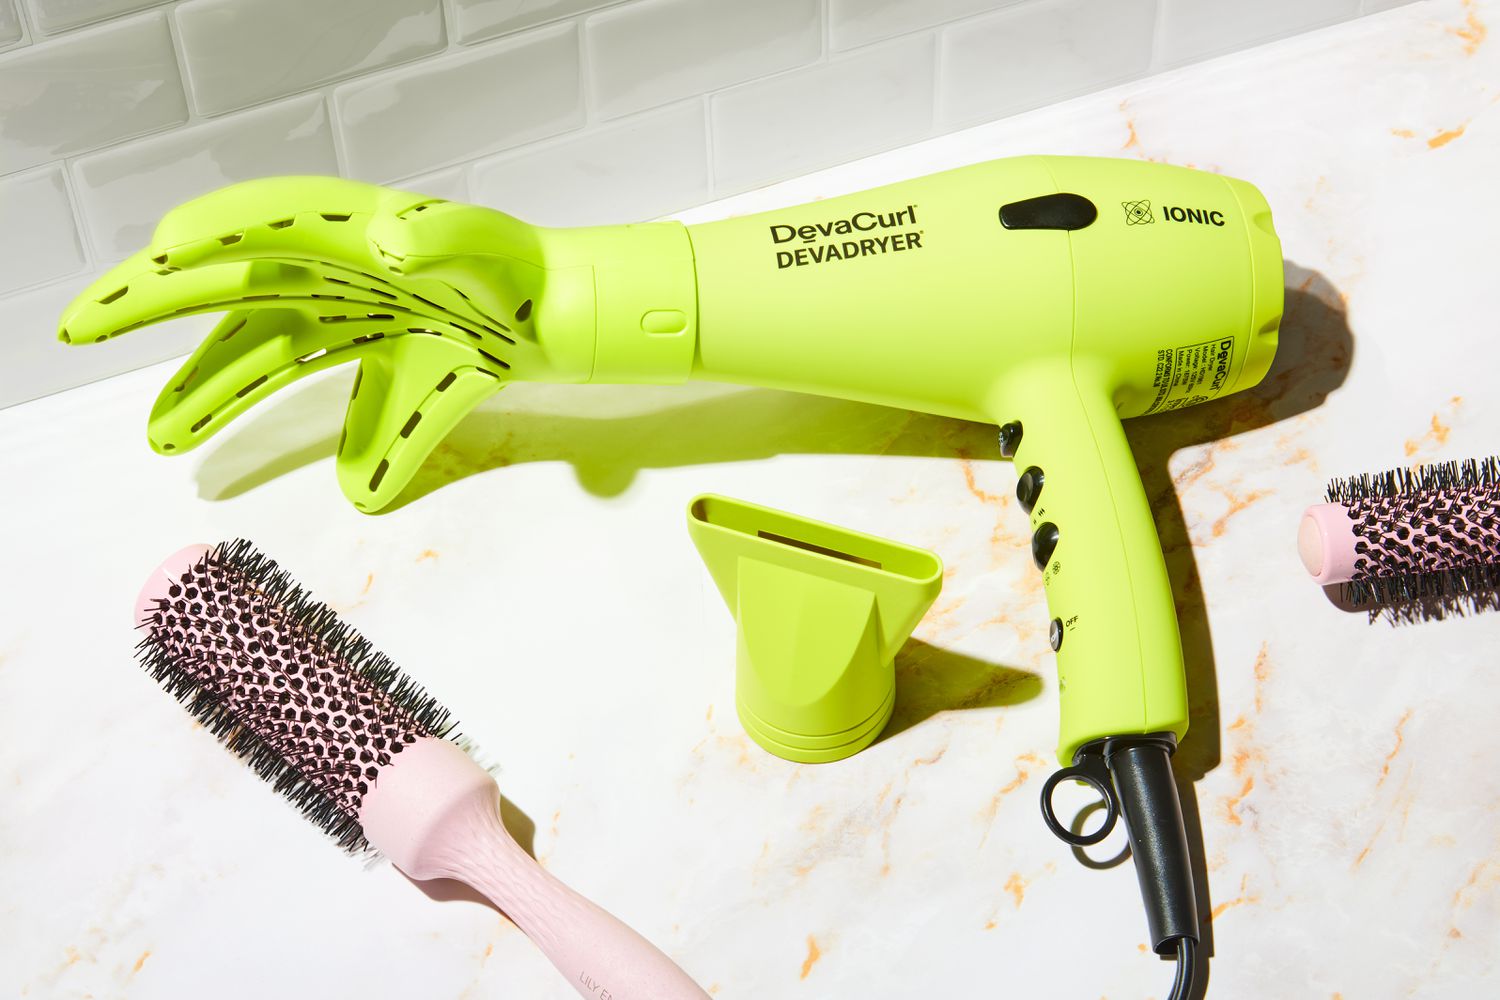
- A hair dryer: Opt for a high-heat setting to effectively warm the metal surface of the car.
- Compressed air: This will be used to rapidly cool the heated metal, aiding in the dent removal process.
- Protective gloves: Ensure your hands are shielded from the heat of the hair dryer and the cold from the compressed air.
- Microfiber cloth: Use this to wipe the surface of the car and ensure it’s free from any debris or dirt that could interfere with the process.
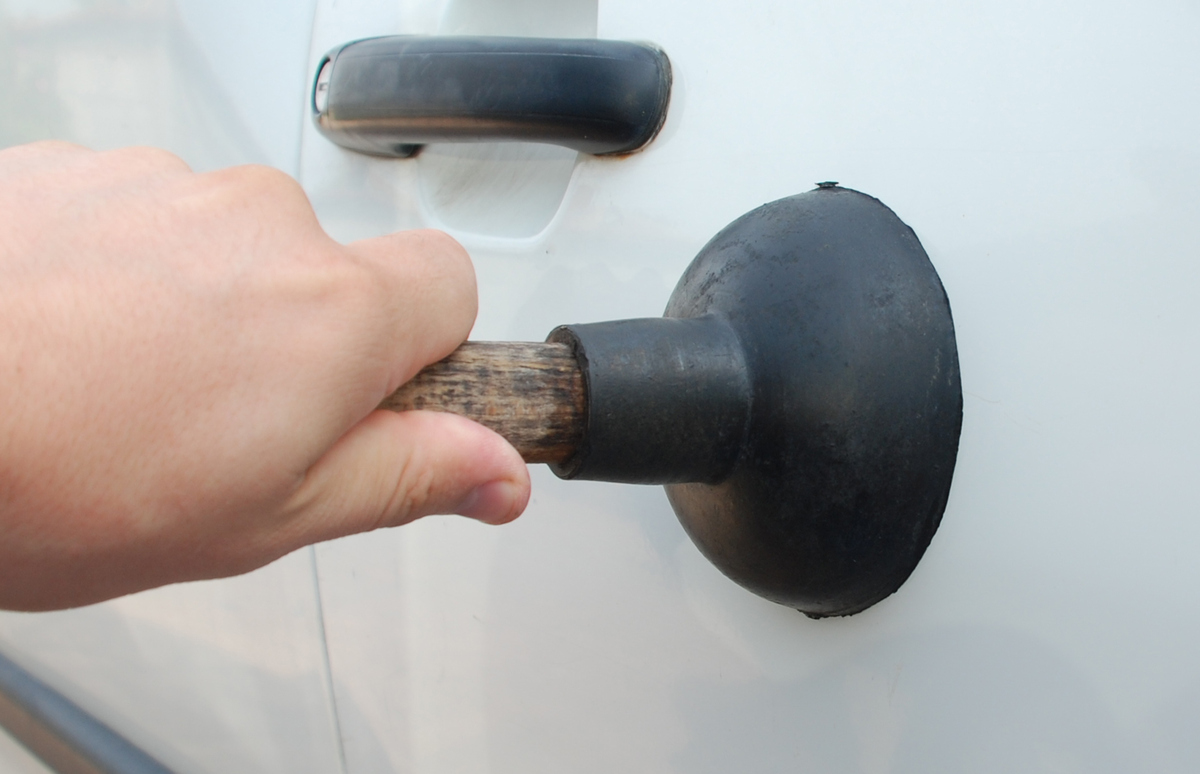
- Plunger or suction cup: Depending on the location of the dent, a plunger or suction cup can provide the necessary force to pop the dent out.
- Isopropyl alcohol: This will help to clean the area around the dent, removing any wax or grease that could impede the process.
- Paint protection: After successfully removing the dent, it’s advisable to apply a layer of paint protection to safeguard the area from potential damage.
With these materials at your disposal, you’ll be well-equipped to tackle the task of eliminating those bothersome dents from your vehicle’s exterior.
Step 1: Heat the Dent
The first step in the dent removal process involves using a hair dryer to apply heat to the affected area. Start by plugging in the hair dryer and setting it to its highest heat setting. Hold the hair dryer approximately 6 to 8 inches away from the dent and move it back and forth, ensuring that the heat is evenly distributed over the surface of the dent. The goal here is to gradually warm the metal, making it more malleable and allowing it to regain its original shape.
Continue heating the area for several minutes, periodically checking the temperature of the metal with your hand. It’s crucial to exercise caution and avoid overheating the paint, as this could lead to damage. As you apply the heat, you may notice the metal starting to expand slightly, which is a positive sign that the process is underway.
Throughout this step, maintain a steady and consistent movement with the hair dryer, ensuring that the heat is evenly dispersed across the dent. By doing so, you’ll optimize the metal’s flexibility and pave the way for the subsequent steps in the dent removal process.
Use a hair dryer to heat the dent for 2-3 minutes, then quickly spray the area with compressed air. The sudden change in temperature can pop the dent out.
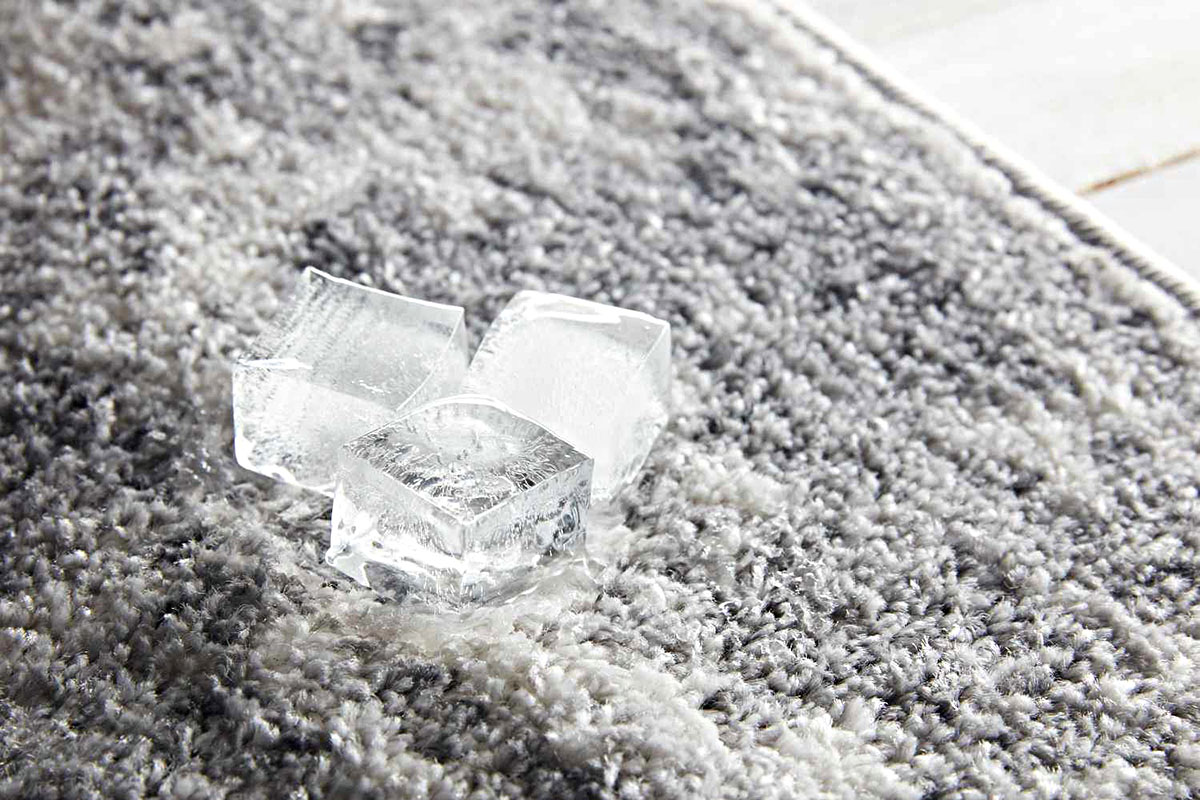
Step 2: Cool the Area
After adequately heating the dent, the next crucial step is to rapidly cool the metal to encourage it to revert to its original shape. This can be achieved by using a can of compressed air, typically used for cleaning electronics. Hold the can upside down and spray the compressed air directly onto the heated dent. The rapid cooling effect of the compressed air will cause the metal to contract, potentially aiding in the restoration of its original form.
As you apply the compressed air, you may hear a cracking or popping sound, which is a positive indication that the metal is responding to the temperature change. It’s important to continue directing the compressed air at the dent for several seconds, ensuring that the metal undergoes a significant cooling process. This rapid transition from heat to cold prompts the metal to contract, potentially assisting in the reduction of the dent’s prominence.
Throughout this step, it’s advisable to wear protective gloves to shield your hands from the extreme cold emitted by the compressed air. Additionally, be mindful of the potential frost that may form on the surface of the metal as a result of the rapid cooling process. By effectively cooling the area, you set the stage for the subsequent step, which involves applying pressure to pop the dent out and restore the car’s exterior to its former state.
Step 3: Push the Dent Out
With the metal now heated and rapidly cooled, it’s time to apply strategic pressure to pop the dent out and restore the car’s exterior. Depending on the location and accessibility of the dent, there are a few methods you can employ to achieve this.
If the dent is on a flat surface, a plunger can be used to create the necessary suction for popping the dent out. Moisten the surface of the dent with a small amount of water, place the plunger over the center of the affected area, and firmly press it against the car’s body. With a quick, pulling motion, the suction created by the plunger may be sufficient to reverse the dent and restore the metal to its original position.
For dents in areas where a plunger may not be suitable, a suction cup can serve a similar purpose. By moistening the surface of the dent and applying the suction cup, you can exert the necessary force to pop the dent out and achieve the desired result. It’s important to approach this step with patience and persistence, as it may require multiple attempts to fully eliminate the dent.
Alternatively, if the dent is accessible from behind the panel, you can gently push it out from the inside using your hands or a soft mallet. Exercise caution and apply gradual pressure to avoid causing damage to the paint or the metal. With careful maneuvering and the application of strategic force, you can gradually work the dent out until the surface is restored to its original state.
Once the dent has been successfully popped out, it’s advisable to clean the area with isopropyl alcohol to remove any residue or debris. Additionally, consider applying a layer of paint protection to safeguard the restored area from potential damage and maintain the integrity of your car’s exterior.
By following these steps and exercising patience and precision, you can effectively utilize a hair dryer to remove dents from your car, restoring its appearance and reclaiming its aesthetic appeal.
Read more: How To Get Dog Hairs Out Of A Car Carpet
Conclusion
In conclusion, the process of using a hair dryer to remove dents from a car presents a cost-effective and practical solution for addressing minor to moderate exterior damage. By harnessing the power of heat and cold, along with strategic pressure, you can often achieve impressive results without the need for professional intervention. This method not only saves you money but also empowers you to take matters into your own hands and witness the tangible outcomes of your efforts.
Throughout the process, it’s essential to exercise caution, patience, and precision, ensuring that the metal is heated and cooled effectively to facilitate the dent removal process. By following the step-by-step approach outlined in this guide, you can effectively restore your car’s exterior to its former glory, eliminating unsightly dents and regaining its aesthetic appeal.
Furthermore, the satisfaction derived from successfully addressing these imperfections can instill a sense of pride and accomplishment, reaffirming your ability to tackle automotive challenges with resourcefulness and ingenuity. As you embark on this DIY journey, remember to gather the necessary materials, approach each step with care and attention, and celebrate the transformative impact of your efforts.
So, the next time you encounter a dent on your car, armed with a hair dryer, compressed air, and a few other essential tools, you can confidently take on the task of restoring your vehicle’s exterior. With determination and the right approach, you have the capability to rejuvenate your car’s appearance and revel in the satisfaction of a job well done.
Embrace the opportunity to leverage this innovative method, and witness the remarkable results as you bid farewell to those bothersome dents, restoring your car’s pristine exterior with the power of a hair dryer.
Frequently Asked Questions about How To Get A Dent Out Of A Car With A Hair Dryer
Was this page helpful?
At Storables.com, we guarantee accurate and reliable information. Our content, validated by Expert Board Contributors, is crafted following stringent Editorial Policies. We're committed to providing you with well-researched, expert-backed insights for all your informational needs.

0 thoughts on “How To Get A Dent Out Of A Car With A Hair Dryer”