Home>Furniture & Design>Bathroom Accessories>How To Remove A Car Dent With A Plunger
Bathroom Accessories
How To Remove A Car Dent With A Plunger
Published: February 11, 2024
Learn how to remove a car dent with a plunger using simple bathroom accessories. Save time and money with this easy DIY dent removal method.
(Many of the links in this article redirect to a specific reviewed product. Your purchase of these products through affiliate links helps to generate commission for Storables.com, at no extra cost. Learn more)
Introduction
Have you ever found an unsightly dent on your car that seemed to appear out of nowhere? Whether it's from a minor fender bender, a stray shopping cart, or a rogue basketball, car dents can be a frustrating eyesore. While professional dent removal services can be costly, there's a surprisingly simple and effective DIY solution that you might not have considered: using a plunger.
Yes, you read that right – a plunger, the same tool you use to unclog a stubborn drain, can also come to the rescue when it comes to removing dents from your car. This unconventional method may raise some eyebrows, but many car owners have been pleasantly surprised by the results. Not only is it a budget-friendly alternative to professional repairs, but it's also a convenient solution that you can easily do at home.
In this guide, we'll walk you through the step-by-step process of using a plunger to remove a car dent. You'll learn about the materials needed, the proper technique for preparing the area, and the simple yet effective steps to restore your car's exterior to its former glory. By the end of this article, you'll have the knowledge and confidence to tackle that pesky dent and give your car a fresh, dent-free look – all with the help of a humble plunger.
Key Takeaways:
- Say goodbye to car dents with a plunger! It’s a budget-friendly and convenient DIY solution that can restore your car’s exterior to its former glory.
- By using a plunger, you can harness suction force to gradually reverse the effects of the dent, gently coaxing the metal back into place. It’s a simple and effective DIY alternative to professional dent removal services.
Read more: How To Remove Window Screen Plunger Pins
Materials Needed
To begin the process of removing a car dent with a plunger, you'll need a few essential materials. These items are readily available and can be easily obtained from your local hardware or automotive store. Here's what you'll need:
-
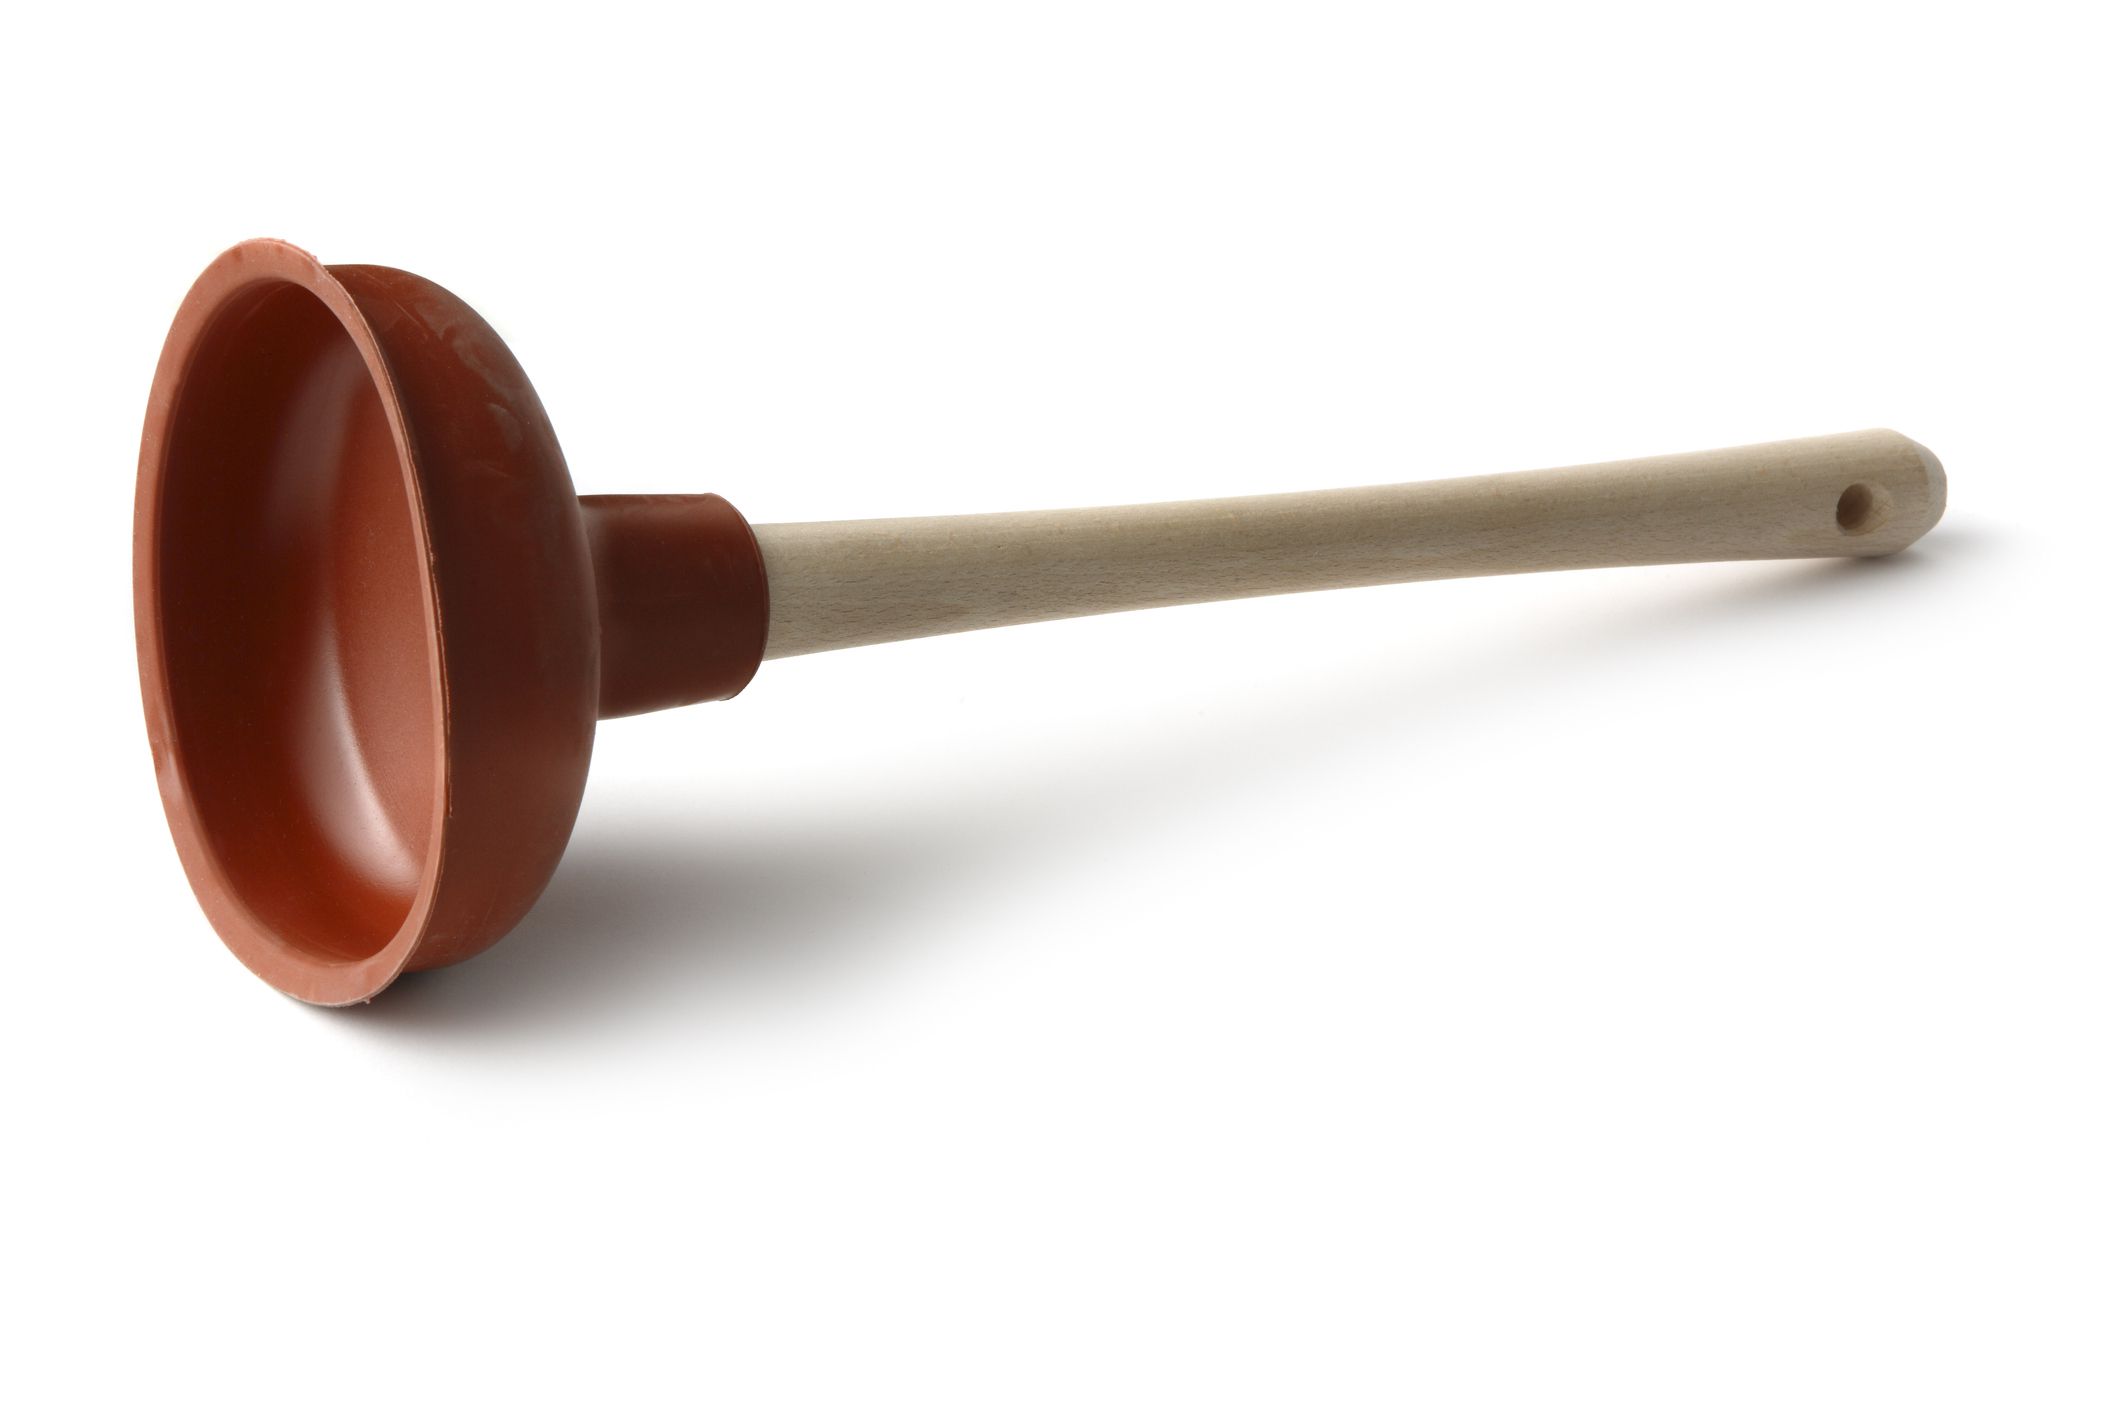
A Plunger: The star of the show, a standard rubber cup plunger is the primary tool for this DIY dent removal method. Ensure that the plunger is clean and free of any debris or residue to achieve optimal suction.
-
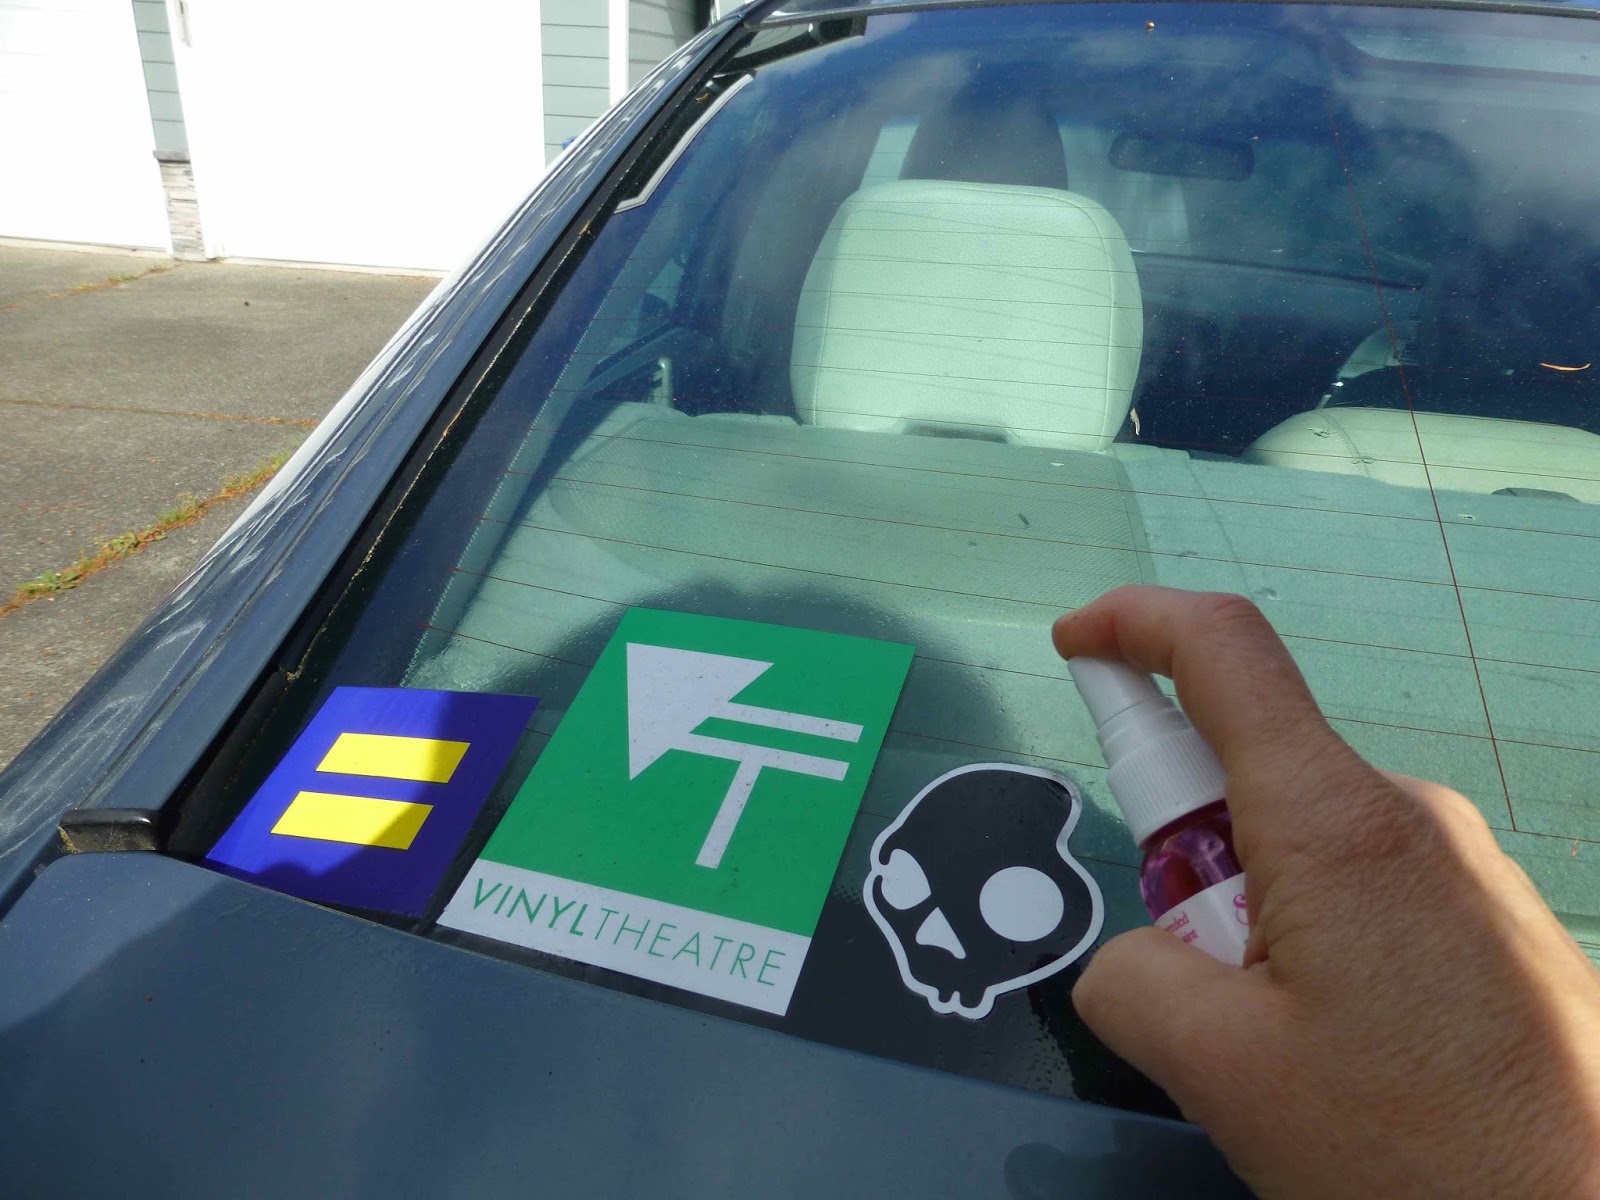
Lubricant: A lubricant such as water, petroleum jelly, or multipurpose spray lubricant will help create a better seal between the plunger and the car's surface, enhancing the suction effect.
-
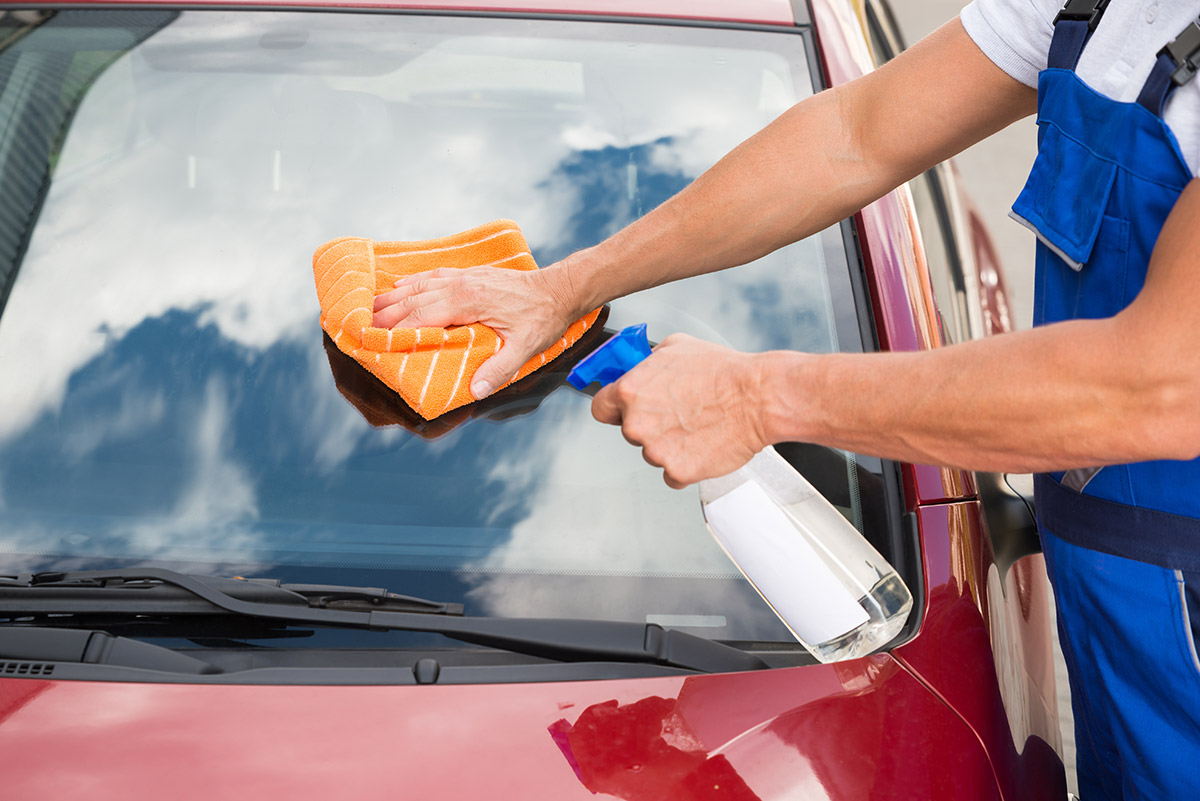
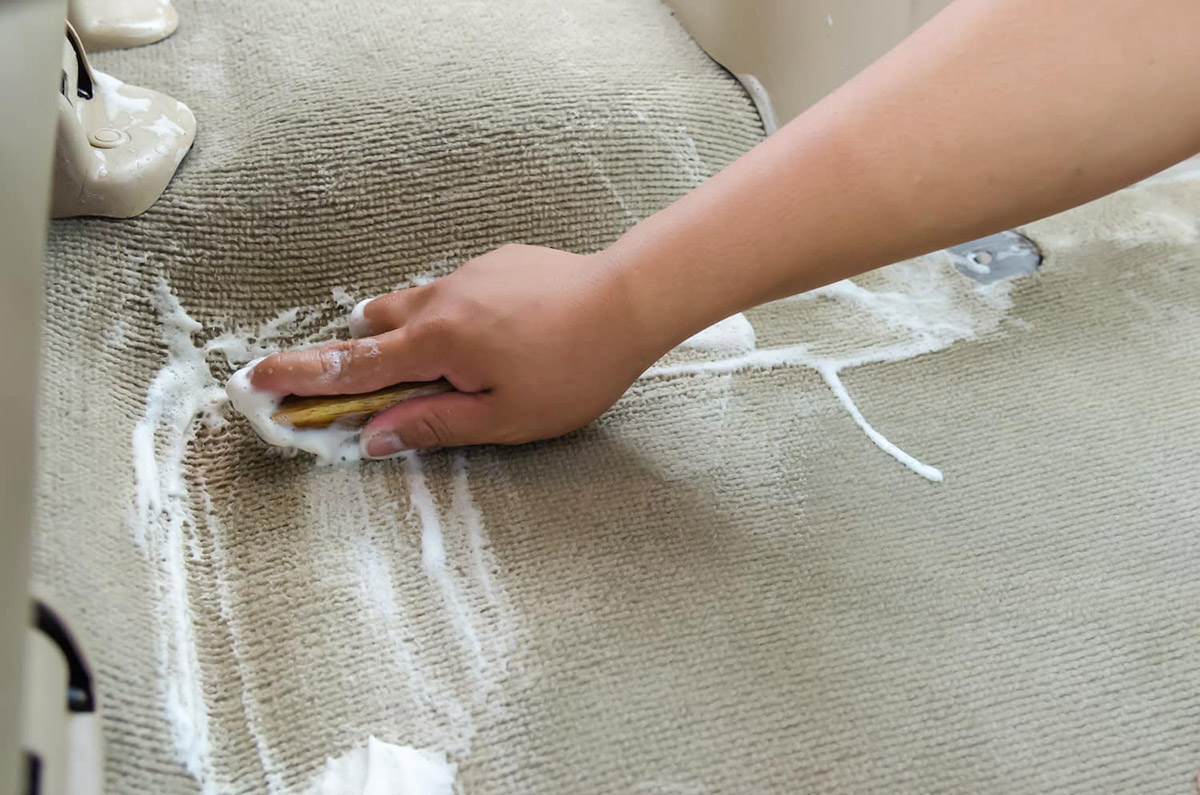
Clean Cloth or Towel: Having a clean cloth or towel on hand is essential for wiping the area around the dent and ensuring that the surface is free of any dirt, grime, or moisture that could interfere with the plunger's suction.
-
Access to Water: If you opt to use water as a lubricant, having access to a water source will be necessary for wetting the plunger cup before use.
-
Optional: Hair Dryer or Heat Gun: In some cases, applying heat to the dent area can make the metal more pliable, making it easier to remove the dent. A hair dryer or heat gun can be used to warm the surface before using the plunger.
-
Optional: Dent Pulling Tabs and Glue Gun: For more stubborn or complex dents, dent pulling tabs and a glue gun can be used in conjunction with the plunger to provide additional pulling force and leverage.
By gathering these materials, you'll be well-prepared to embark on the process of removing a car dent using a plunger. With the right tools at your disposal, you can approach the task with confidence and increase the likelihood of achieving successful results.
Step 1: Prepare the Area
Before diving into the process of using a plunger to remove a car dent, it's crucial to prepare the surrounding area to ensure optimal conditions for the dent removal procedure. Proper preparation can significantly impact the effectiveness of the plunger's suction and the overall outcome of the dent removal process.
-
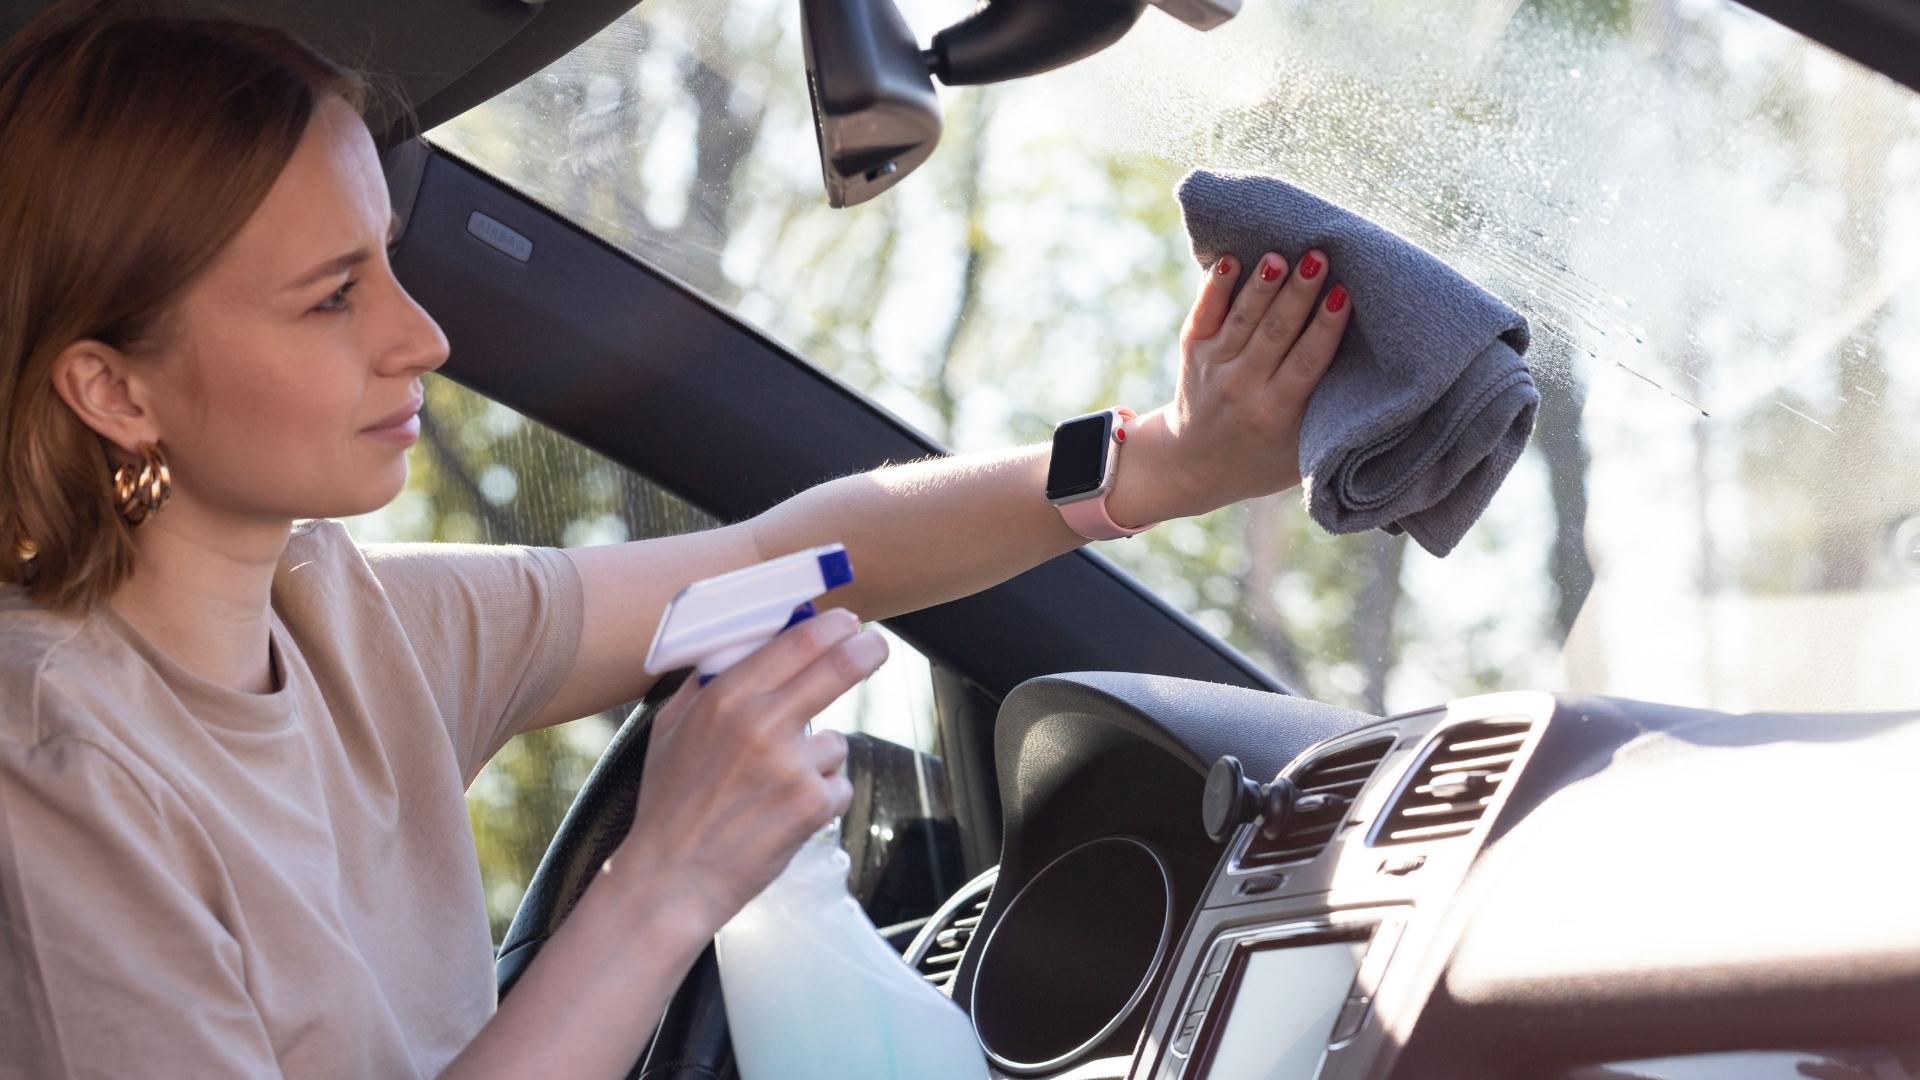
Clean the Surface: Begin by thoroughly cleaning the area around the dent using a clean cloth or towel. Removing any dirt, grime, or debris from the car's surface is essential to create a clean and smooth contact point for the plunger. Additionally, ensure that the surface is dry to facilitate a strong seal between the plunger and the car's exterior.
-
Assess the Dent: Take a close look at the dent to determine its size, depth, and location. Understanding the characteristics of the dent will help you position the plunger effectively and anticipate the force required to pull the dent out. Additionally, assessing the dent allows you to identify any potential obstacles or irregularities that may affect the dent removal process.
-
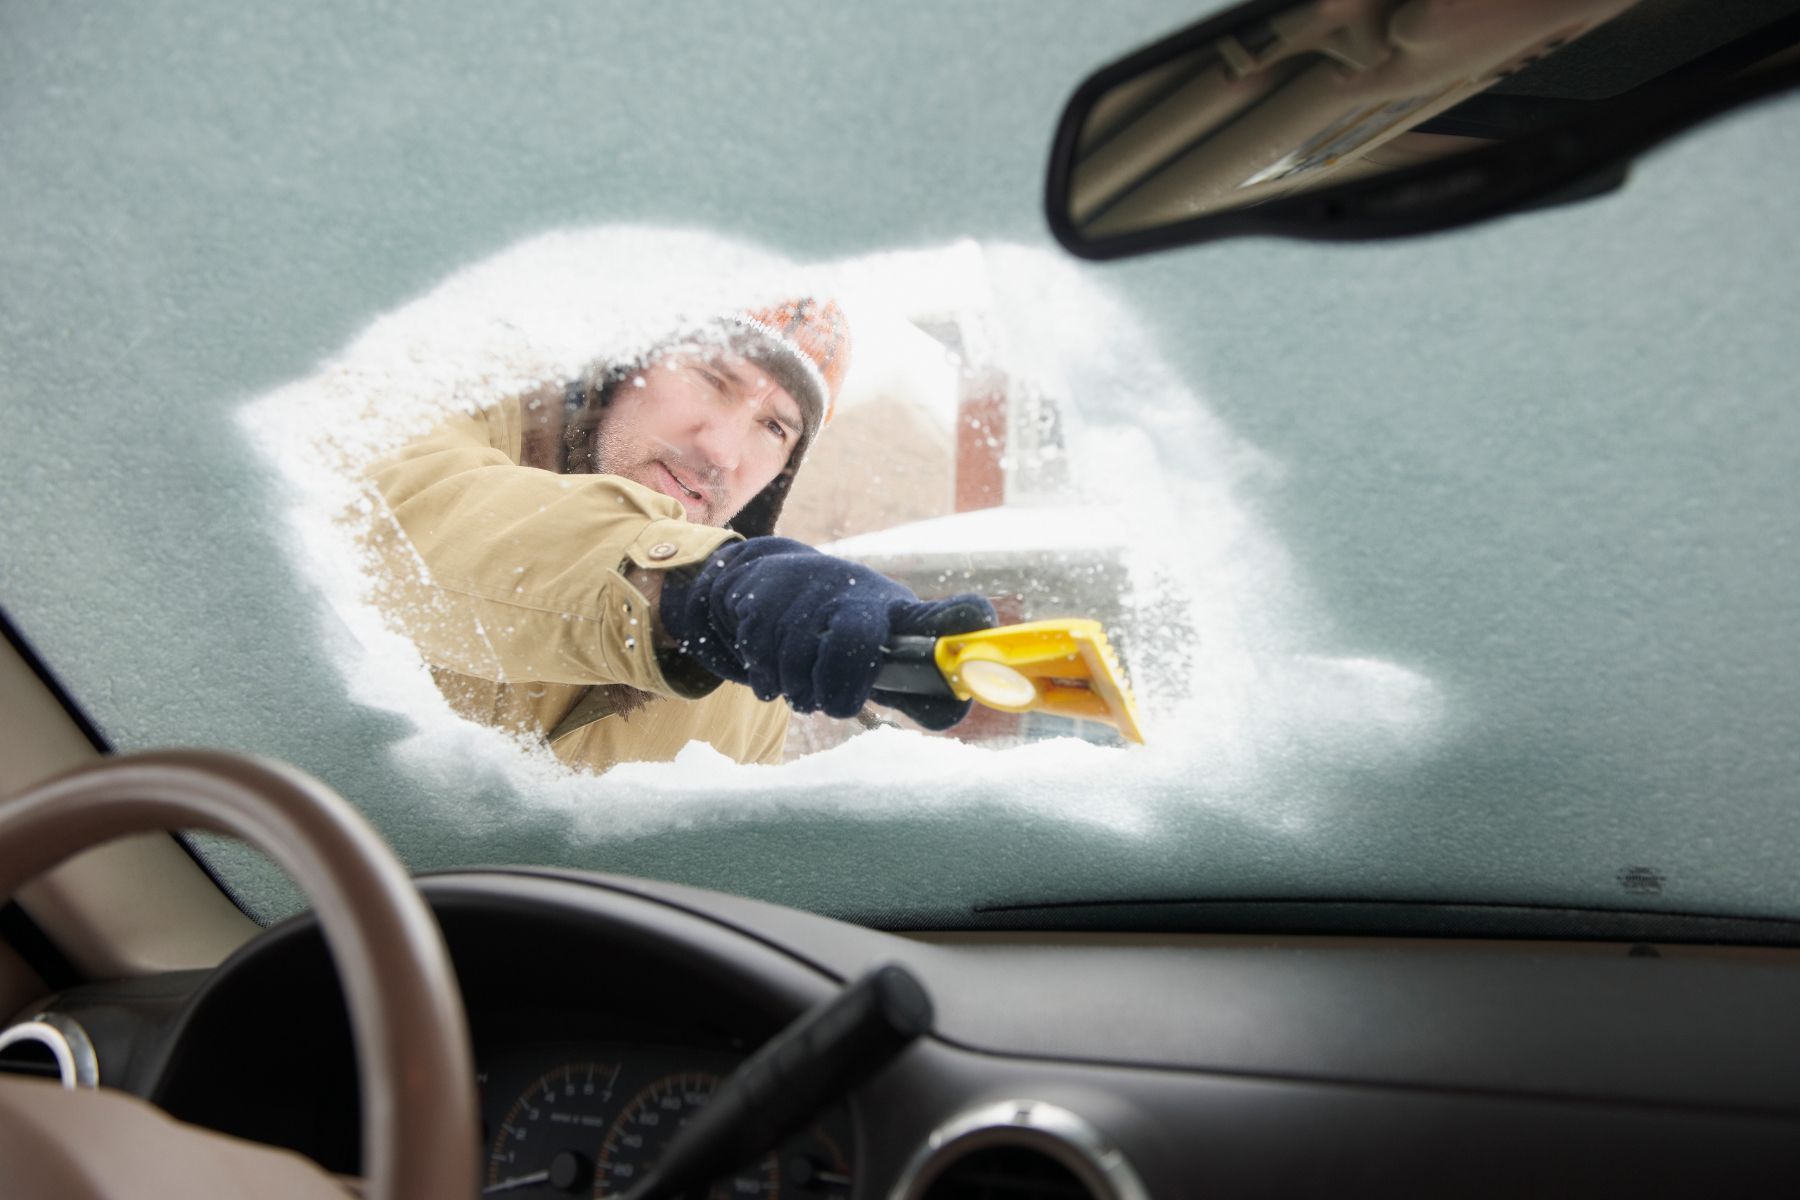
Consider Applying Heat (Optional): In some cases, particularly with larger or more stubborn dents, applying heat to the affected area can make the metal more pliable, making it easier to remove the dent. If you choose to use this optional step, you can use a hair dryer or heat gun to gently warm the surface of the dent. Be cautious not to overheat the area, as excessive heat can damage the car's paint.
-
Ensure Proper Suction Area: Verify that the plunger can create a tight seal on the car's surface around the dent. If the dent is located on a curved or contoured area of the car, you may need to adjust the position of the plunger to find a flat and stable suction point. This step is crucial for maximizing the plunger's suction force and achieving effective dent removal.
By meticulously preparing the area surrounding the dent, you set the stage for a successful dent removal process using a plunger. Taking the time to clean the surface, assess the dent, and potentially apply heat will contribute to a smoother and more efficient dent removal experience. With the area properly prepared, you can proceed to the next steps with confidence and precision.
Step 2: Apply Lubricant
Once the area surrounding the dent is meticulously prepared, the next crucial step in the process of using a plunger to remove a car dent is the application of lubricant. Lubricant plays a pivotal role in facilitating a strong and effective seal between the plunger and the car's surface, enhancing the suction force and optimizing the dent removal process.
The choice of lubricant is a key consideration, as it directly impacts the plunger's ability to create a tight seal and generate the necessary suction to pull out the dent. There are several options for lubricants that can be used in conjunction with a plunger for dent removal, each with its own advantages and considerations.
One of the most commonly used lubricants for this purpose is water. It is readily available, easy to apply, and can effectively enhance the plunger's suction capabilities. To apply water as a lubricant, simply wet the rubber cup of the plunger before positioning it on the car's surface. The moisture creates a seal between the plunger and the metal, allowing for better suction and grip when pulling the dent.
Another viable option for lubrication is petroleum jelly, which offers a thicker and more viscous consistency compared to water. Applying a small amount of petroleum jelly to the rim of the plunger cup can improve the seal and provide enhanced suction during the dent removal process. Additionally, petroleum jelly can help prevent air from seeping into the space between the plunger and the car's surface, further optimizing the suction effect.
For those who prefer a multipurpose solution, a spray lubricant can also be utilized to facilitate the plunger's adherence to the car's exterior. This type of lubricant is convenient to apply and can effectively reduce friction, allowing the plunger to create a stronger vacuum seal and exert greater pulling force on the dent.
In some instances, especially when dealing with more challenging dents, a combination of lubricants may be employed to maximize the plunger's effectiveness. For example, applying a small amount of petroleum jelly to the plunger cup and then lightly misting the area with a spray lubricant can create an ideal environment for successful dent removal.
By carefully selecting and applying the appropriate lubricant, you can significantly enhance the plunger's performance and increase the likelihood of successfully removing the car dent. The proper application of lubricant sets the stage for the subsequent steps in the dent removal process, ensuring that the plunger can exert maximum suction and effectively restore the car's exterior to its original condition.
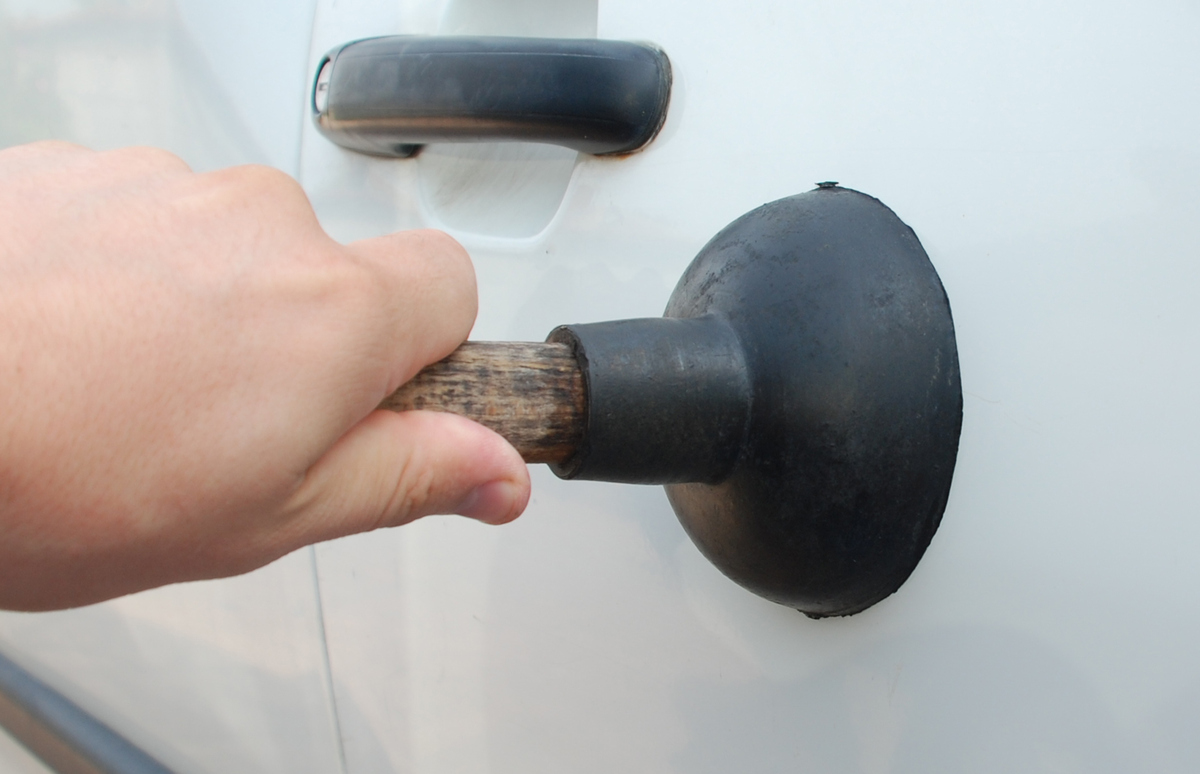
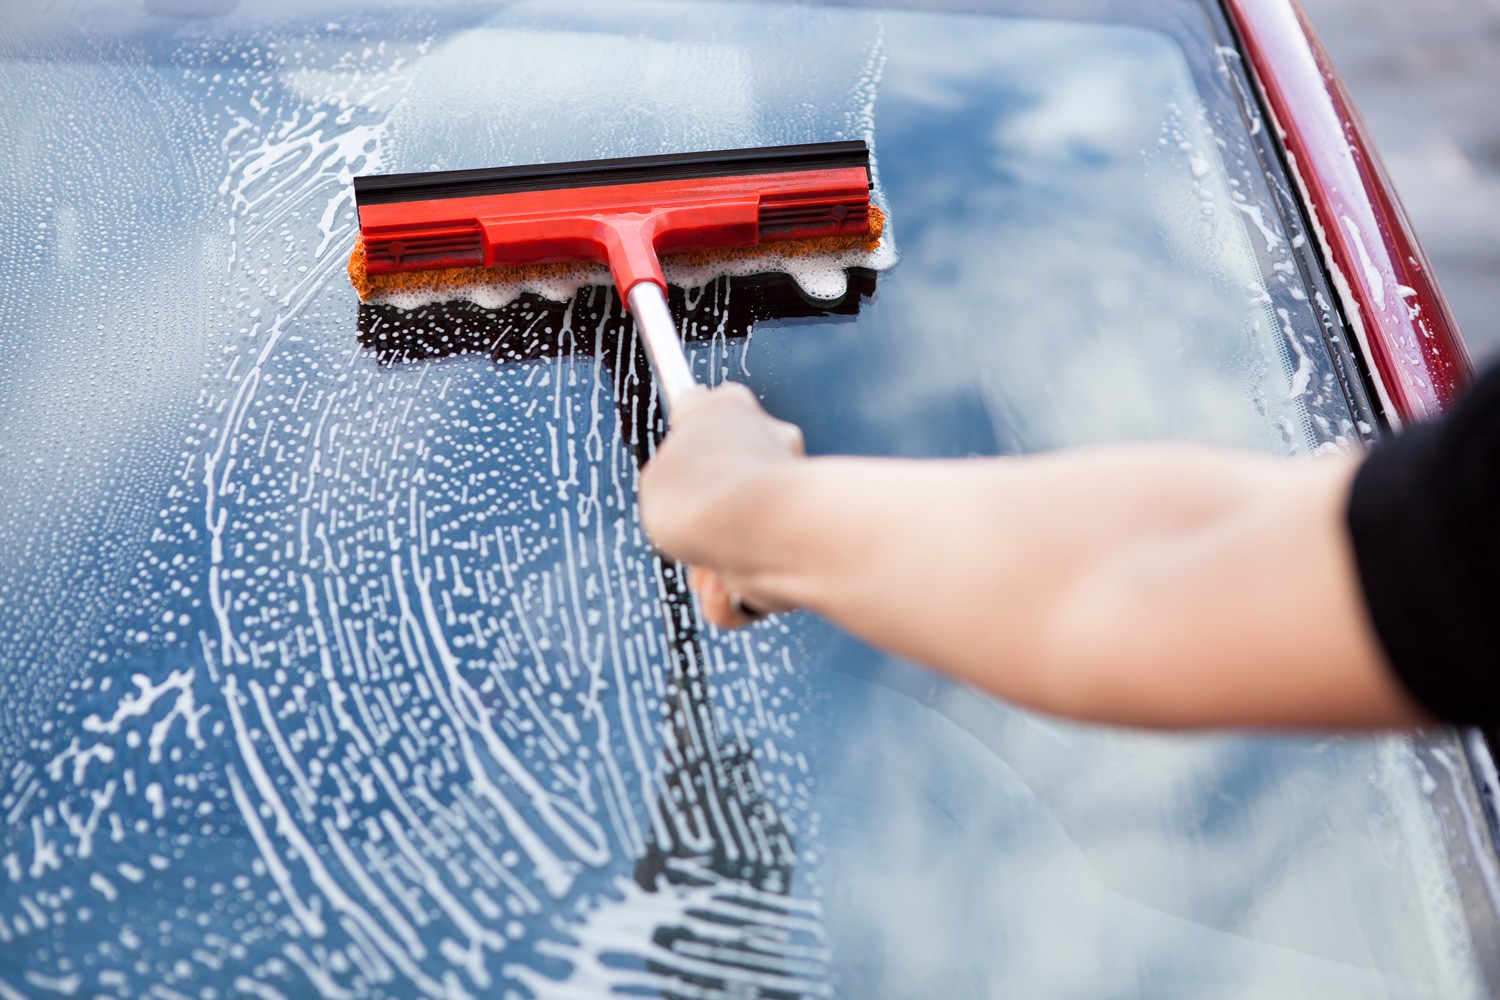
Apply some water to the dent and the plunger to create a good seal. Press the plunger firmly against the dent and pull it back to pop the dent out. Repeat if necessary.
Step 3: Position the Plunger
With the area prepared and the appropriate lubricant applied, the next critical step in the process of using a plunger to remove a car dent is positioning the plunger effectively. Proper positioning is essential to ensure that the plunger creates a strong seal and generates the necessary suction force to pull out the dent.
To begin, place the rubber cup of the plunger directly over the center of the dent, ensuring that it is positioned squarely and securely on the car's surface. It's important to align the plunger in a way that allows the rubber cup to make full contact with the metal, creating a tight seal that is crucial for successful dent removal.
When positioning the plunger, it's beneficial to exert gentle pressure while pressing it firmly against the car's surface. This helps to expel any air trapped beneath the rubber cup, allowing for a more effective seal and maximizing the plunger's suction force. Additionally, ensuring that the plunger is held in a stable and level position is key to maintaining consistent suction during the dent removal process.
Depending on the size and shape of the dent, you may need to adjust the position of the plunger to accommodate any contours or irregularities in the car's surface. If the dent is located on a curved area, such as a wheel arch or fender, you may need to reposition the plunger to find a flat and stable suction point. This adaptability is essential for optimizing the plunger's contact with the car's exterior and enhancing its pulling force.
As you position the plunger, it's important to maintain a steady and controlled grip to prevent any unnecessary movement or slippage during the dent removal process. A secure and stable placement of the plunger is crucial for ensuring that the pulling force is directed precisely at the dent, increasing the likelihood of a successful outcome.
By meticulously positioning the plunger over the dent, you set the stage for the subsequent step of pulling the plunger to initiate the dent removal process. With the plunger securely in place and creating a strong seal, you are ready to proceed with the next phase of restoring your car's exterior to its original condition.
Step 4: Pull the Plunger
With the plunger securely positioned over the dent and a strong seal established, the next pivotal step in the process of using a plunger to remove a car dent is pulling the plunger to initiate the dent removal process. This action applies the necessary force to create a vacuum effect, gradually pulling the dent out and restoring the car's exterior to its original state.
To begin the pulling process, grip the plunger handle firmly and steadily, ensuring a secure hold that allows for controlled and deliberate movement. With a confident grip, begin to pull the plunger directly away from the car's surface, exerting consistent and gradual force to initiate the suction effect.
As you pull the plunger, it's essential to maintain a steady and controlled motion, avoiding sudden jerks or erratic movements that could disrupt the suction force. By applying smooth and continuous pulling pressure, you allow the plunger to create a vacuum seal, gradually pulling the dent outward and restoring the metal to its original shape.
Depending on the size and depth of the dent, you may need to adjust the pulling force to accommodate the level of resistance encountered. For smaller dents, a moderate pulling force may be sufficient to gradually coax the metal back into place. In contrast, larger or more stubborn dents may require a more substantial pulling force to effectively restore the car's exterior.
Throughout the pulling process, it's important to monitor the progress closely, observing any changes in the dent's appearance and the level of resistance encountered. As the plunger exerts its suction force, you may notice the dent gradually diminishing in size or the metal beginning to return to its original contour.
In some instances, you may need to reposition the plunger and adjust the pulling angle to effectively target different areas of the dent. By approaching the dent removal process with adaptability and precision, you can optimize the pulling force and address specific areas of the dent to achieve comprehensive restoration.
By methodically pulling the plunger and applying consistent force, you harness the suction power to gradually reverse the effects of the dent, restoring the car's exterior to its former condition. This step requires patience, precision, and attentiveness to the changes occurring in the dent, ultimately leading to successful dent removal and a revitalized car appearance.
Step 5: Check the Dent
After applying the pulling force with the plunger, it's crucial to carefully assess the results by checking the dent. This step allows you to evaluate the progress made in removing the dent and determine if further action is necessary to achieve the desired outcome.
Begin by releasing the plunger from the car's surface and inspecting the area where the dent was located. As you examine the dent, pay close attention to any changes in its appearance, such as a reduction in size, the smoothing of creases, or the restoration of the metal's original contour. These visual cues provide valuable insights into the effectiveness of the dent removal process and indicate the extent of improvement achieved.
In some cases, the initial pulling action with the plunger may have successfully diminished the dent, resulting in a noticeable improvement in the car's exterior. However, for more stubborn or deep dents, it's possible that additional pulling attempts may be required to achieve comprehensive restoration. If the dent persists or only shows minimal improvement after the initial pulling, consider repeating the process with the plunger, adjusting the pulling angle and force as needed to target specific areas of the dent.
As you check the dent, it's essential to assess the surrounding metal for any signs of stretching, warping, or paint damage that may have occurred during the dent removal process. While the plunger method is generally gentle on the car's exterior, it's important to be mindful of any unintended effects and address them promptly to maintain the overall integrity of the vehicle's appearance.
Additionally, observing the dent under different lighting conditions can provide valuable insights into the effectiveness of the dent removal process. Natural sunlight or bright LED lighting can reveal subtle imperfections and irregularities in the metal, allowing for a comprehensive assessment of the dent's status.
Throughout the checking process, take note of any areas that may require further attention or refinement. By carefully evaluating the dent and its surrounding area, you can make informed decisions about the next steps in the dent removal process, ensuring that the car's exterior is restored to a smooth and pristine condition.
Ultimately, checking the dent serves as a crucial checkpoint in the dent removal process, providing valuable feedback on the effectiveness of the plunger method and guiding any additional actions necessary to achieve optimal results. With a thorough assessment, you can make informed decisions about the final steps to complete the dent removal process and admire the revitalized appearance of your car.
Conclusion
In conclusion, the process of using a plunger to remove a car dent offers a practical and cost-effective solution for addressing minor dents and restoring the vehicle's exterior to its original condition. By following the step-by-step approach outlined in this guide, car owners can confidently tackle the challenge of dent removal with a simple tool that is readily available in most households.
The effectiveness of the plunger method lies in its ability to harness suction force to gradually reverse the effects of the dent, gently coaxing the metal back into place. Through meticulous preparation of the dent area, the application of suitable lubricants, precise positioning of the plunger, and controlled pulling actions, car owners can achieve significant improvements in the appearance of their vehicles.
Furthermore, the plunger method offers a level of adaptability, allowing users to adjust the pulling force and angle to target specific areas of the dent, ensuring comprehensive restoration. This versatility makes it a viable option for addressing a wide range of dent sizes and shapes, providing car owners with a DIY alternative to professional dent removal services.
While the plunger method is effective for many minor dents, it's important to acknowledge that more complex or extensive damage may require professional assessment and repair. Additionally, careful attention should be given to the condition of the car's paint and metal during the dent removal process to prevent unintended damage.
Ultimately, the process of using a plunger to remove a car dent empowers car owners to take proactive steps in maintaining the appearance and integrity of their vehicles. By leveraging a simple household tool and following the outlined steps, individuals can achieve satisfying results, saving time and expenses associated with professional repairs.
As with any DIY endeavor, patience, attentiveness, and adaptability are key attributes for successful dent removal using a plunger. By embracing these qualities and approaching the process with confidence, car owners can enjoy the gratifying experience of witnessing their vehicles regain their pristine appearance, free from the unsightly blemishes of dents.
In essence, the plunger method exemplifies the ingenuity and resourcefulness that individuals can apply to address common automotive issues, reaffirming the notion that effective solutions can often be found in the most unexpected places. With the knowledge and guidance provided in this guide, car owners can embark on the journey of dent removal with a newfound sense of empowerment and capability, knowing that a simple household tool can make a remarkable difference in preserving the beauty of their vehicles.
Frequently Asked Questions about How To Remove A Car Dent With A Plunger
Was this page helpful?
At Storables.com, we guarantee accurate and reliable information. Our content, validated by Expert Board Contributors, is crafted following stringent Editorial Policies. We're committed to providing you with well-researched, expert-backed insights for all your informational needs.

0 thoughts on “How To Remove A Car Dent With A Plunger”