Home>Home Appliances>Bathroom Appliances>How To Clean Lint Out Of A Hair Dryer
Bathroom Appliances
How To Clean Lint Out Of A Hair Dryer
Modified: August 17, 2024
Learn how to effectively remove lint from your hair dryer and keep your bathroom appliances in top condition with our expert cleaning tips. Safeguard your bathroom appliances for long-lasting use.
(Many of the links in this article redirect to a specific reviewed product. Your purchase of these products through affiliate links helps to generate commission for Storables.com, at no extra cost. Learn more)
Introduction
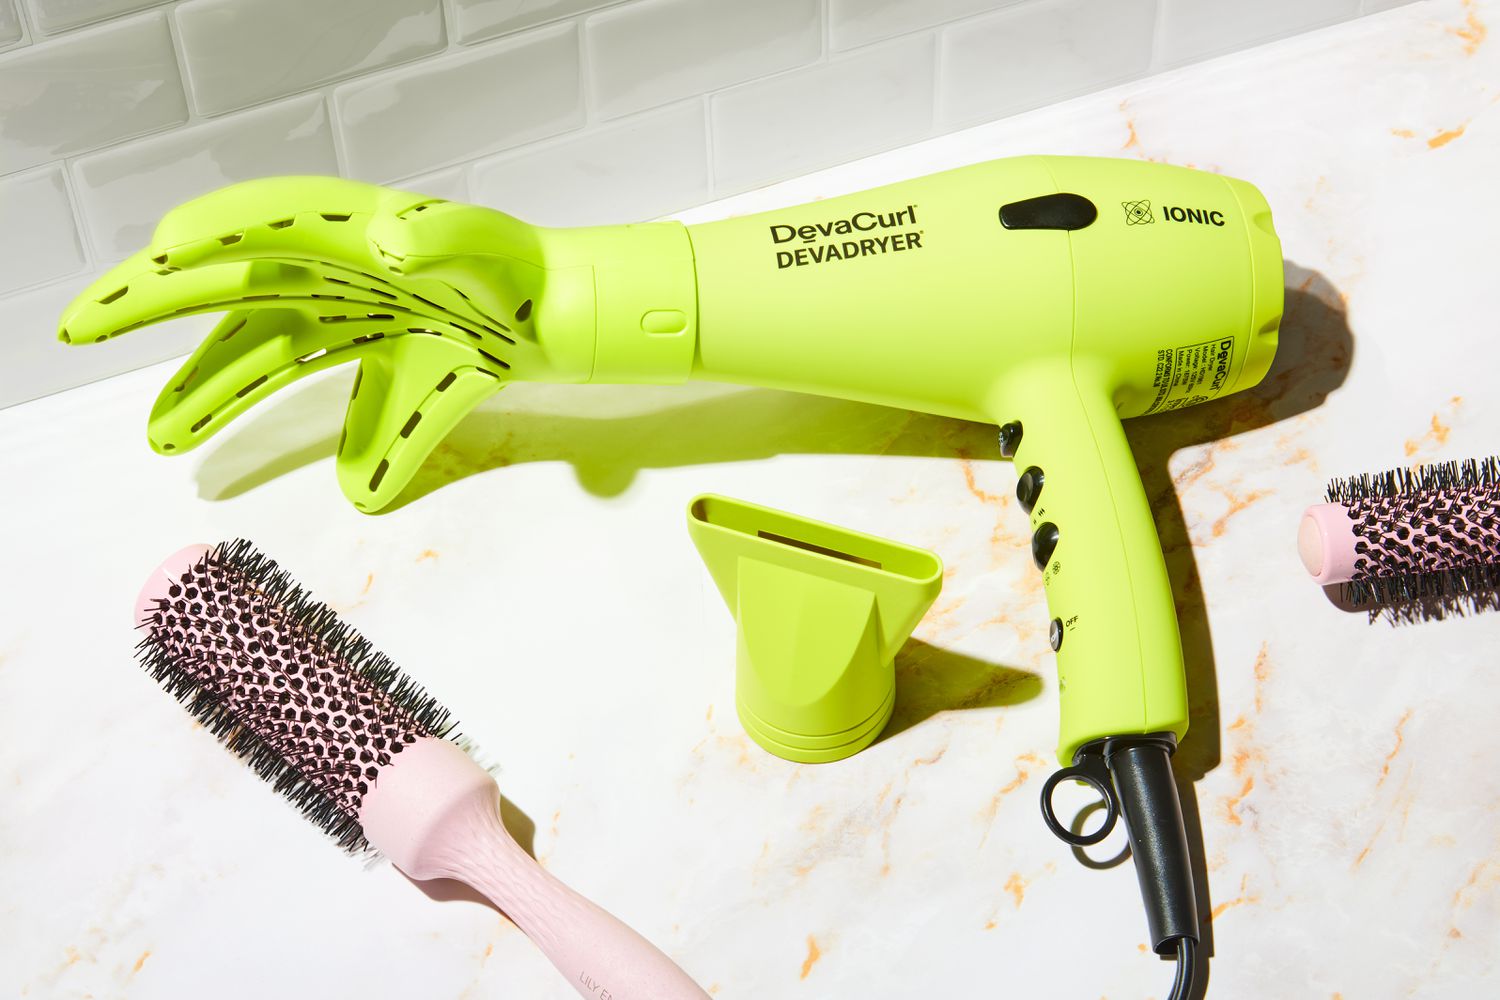
Welcome to the ultimate guide on how to clean lint out of a hair dryer. Hair dryers are essential tools in our daily routines, but over time, they can accumulate lint and dust, which can lead to decreased efficiency and even pose a fire hazard. By learning the proper techniques for cleaning your hair dryer, you can ensure its longevity and maintain its performance.
In this comprehensive guide, we will explore the step-by-step process of safely disassembling, cleaning, and reassembling a hair dryer. Additionally, we will cover essential safety precautions to keep in mind throughout the cleaning process. Whether you’re a professional hairstylist or simply someone who wants to extend the life of their hair dryer, this guide is for you.
So, let’s dive in and learn how to effectively remove lint from a hair dryer, ensuring that it continues to be a reliable tool in your daily routine.
Key Takeaways:
- Regularly cleaning your hair dryer is crucial for maintaining its efficiency and safety. Follow the step-by-step guide to remove lint and debris, ensuring reliable performance for years to come.
- Prioritize safety by following essential precautions and manufacturer’s instructions. With proper maintenance, your hair dryer will continue to be a reliable tool for your styling needs.
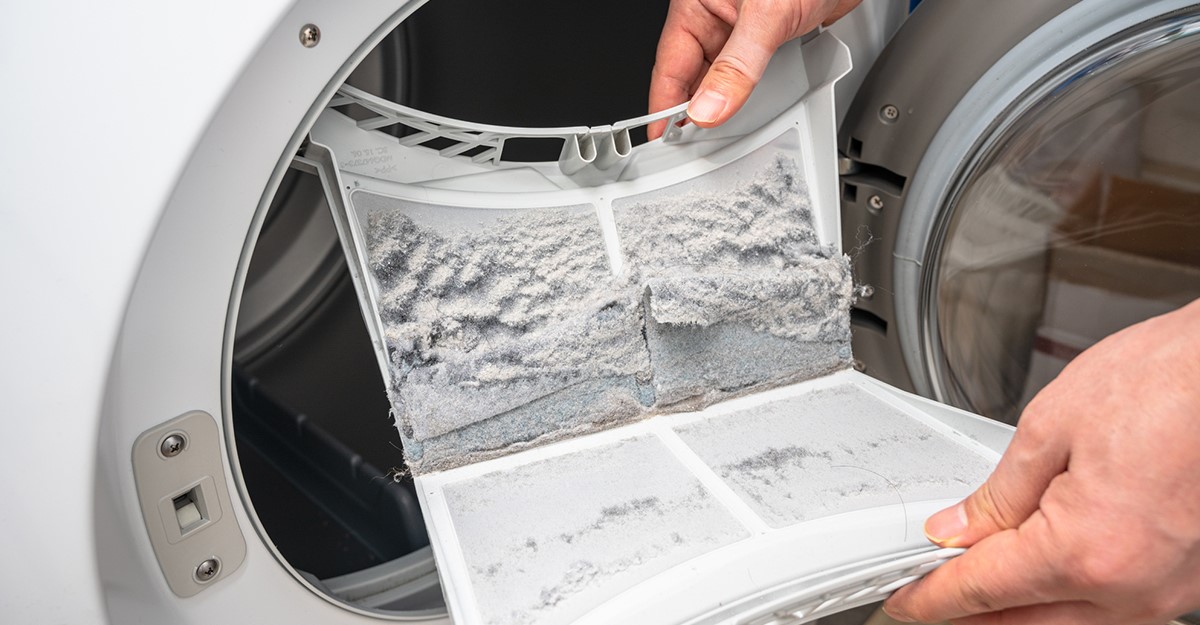
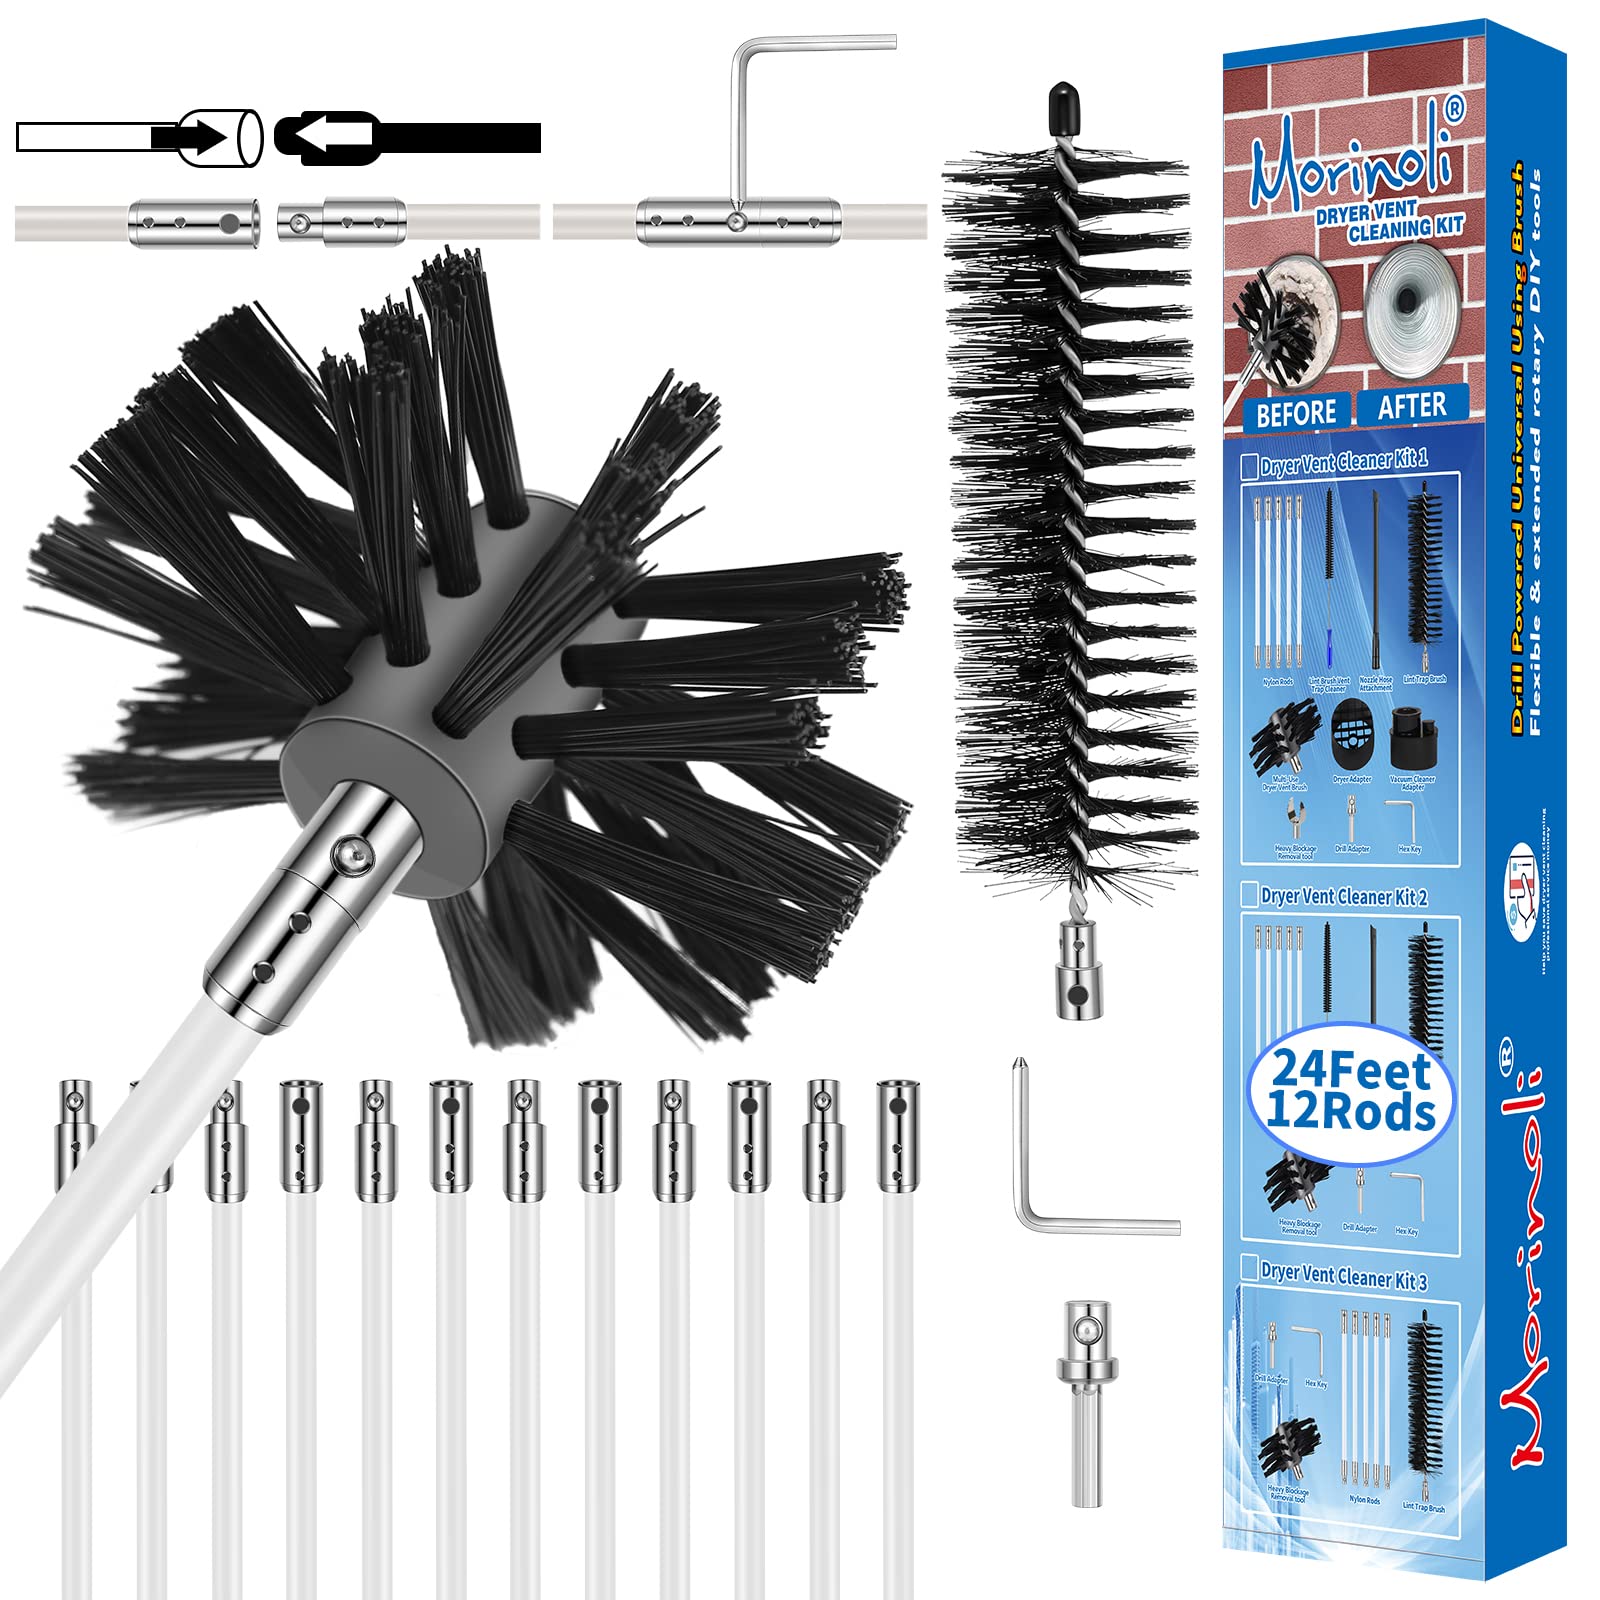
Read more: How To Clean Dryer Lint Trap
Safety Precautions
Before embarking on the journey of cleaning lint out of your hair dryer, it’s crucial to prioritize safety. Here are some essential safety precautions to keep in mind:
- Unplug the Hair Dryer: Always start by unplugging the hair dryer from the power source to prevent the risk of electrical shock.
- Allow Cooling Time: If the hair dryer has been in use, allow it to cool down completely before beginning the cleaning process to avoid burns or other injuries.
- Work in a Well-Ventilated Area: Cleaning the hair dryer can release accumulated dust and debris, so it’s best to work in a well-ventilated space to avoid inhaling airborne particles.
- Use Protective Gear: Consider wearing gloves and a dust mask to protect your hands and respiratory system from exposure to dust and lint.
- Follow Manufacturer’s Instructions: Refer to the hair dryer’s manual, if available, for specific cleaning instructions or warnings provided by the manufacturer.
- Avoid Water Exposure: Keep all cleaning activities away from water sources to prevent the risk of electrical hazards.
By adhering to these safety precautions, you can ensure a secure and efficient cleaning process for your hair dryer, minimizing any potential risks or accidents. Now that we’ve covered the safety essentials, let’s move on to the step-by-step process of disassembling the hair dryer for thorough cleaning.
Disassembling the Hair Dryer
Before delving into the cleaning process, it’s important to disassemble the hair dryer carefully to access the internal components. Here’s a step-by-step guide to disassembling your hair dryer:
- Unplug the Hair Dryer: Begin by unplugging the hair dryer from the power source to ensure safety during the disassembly process.
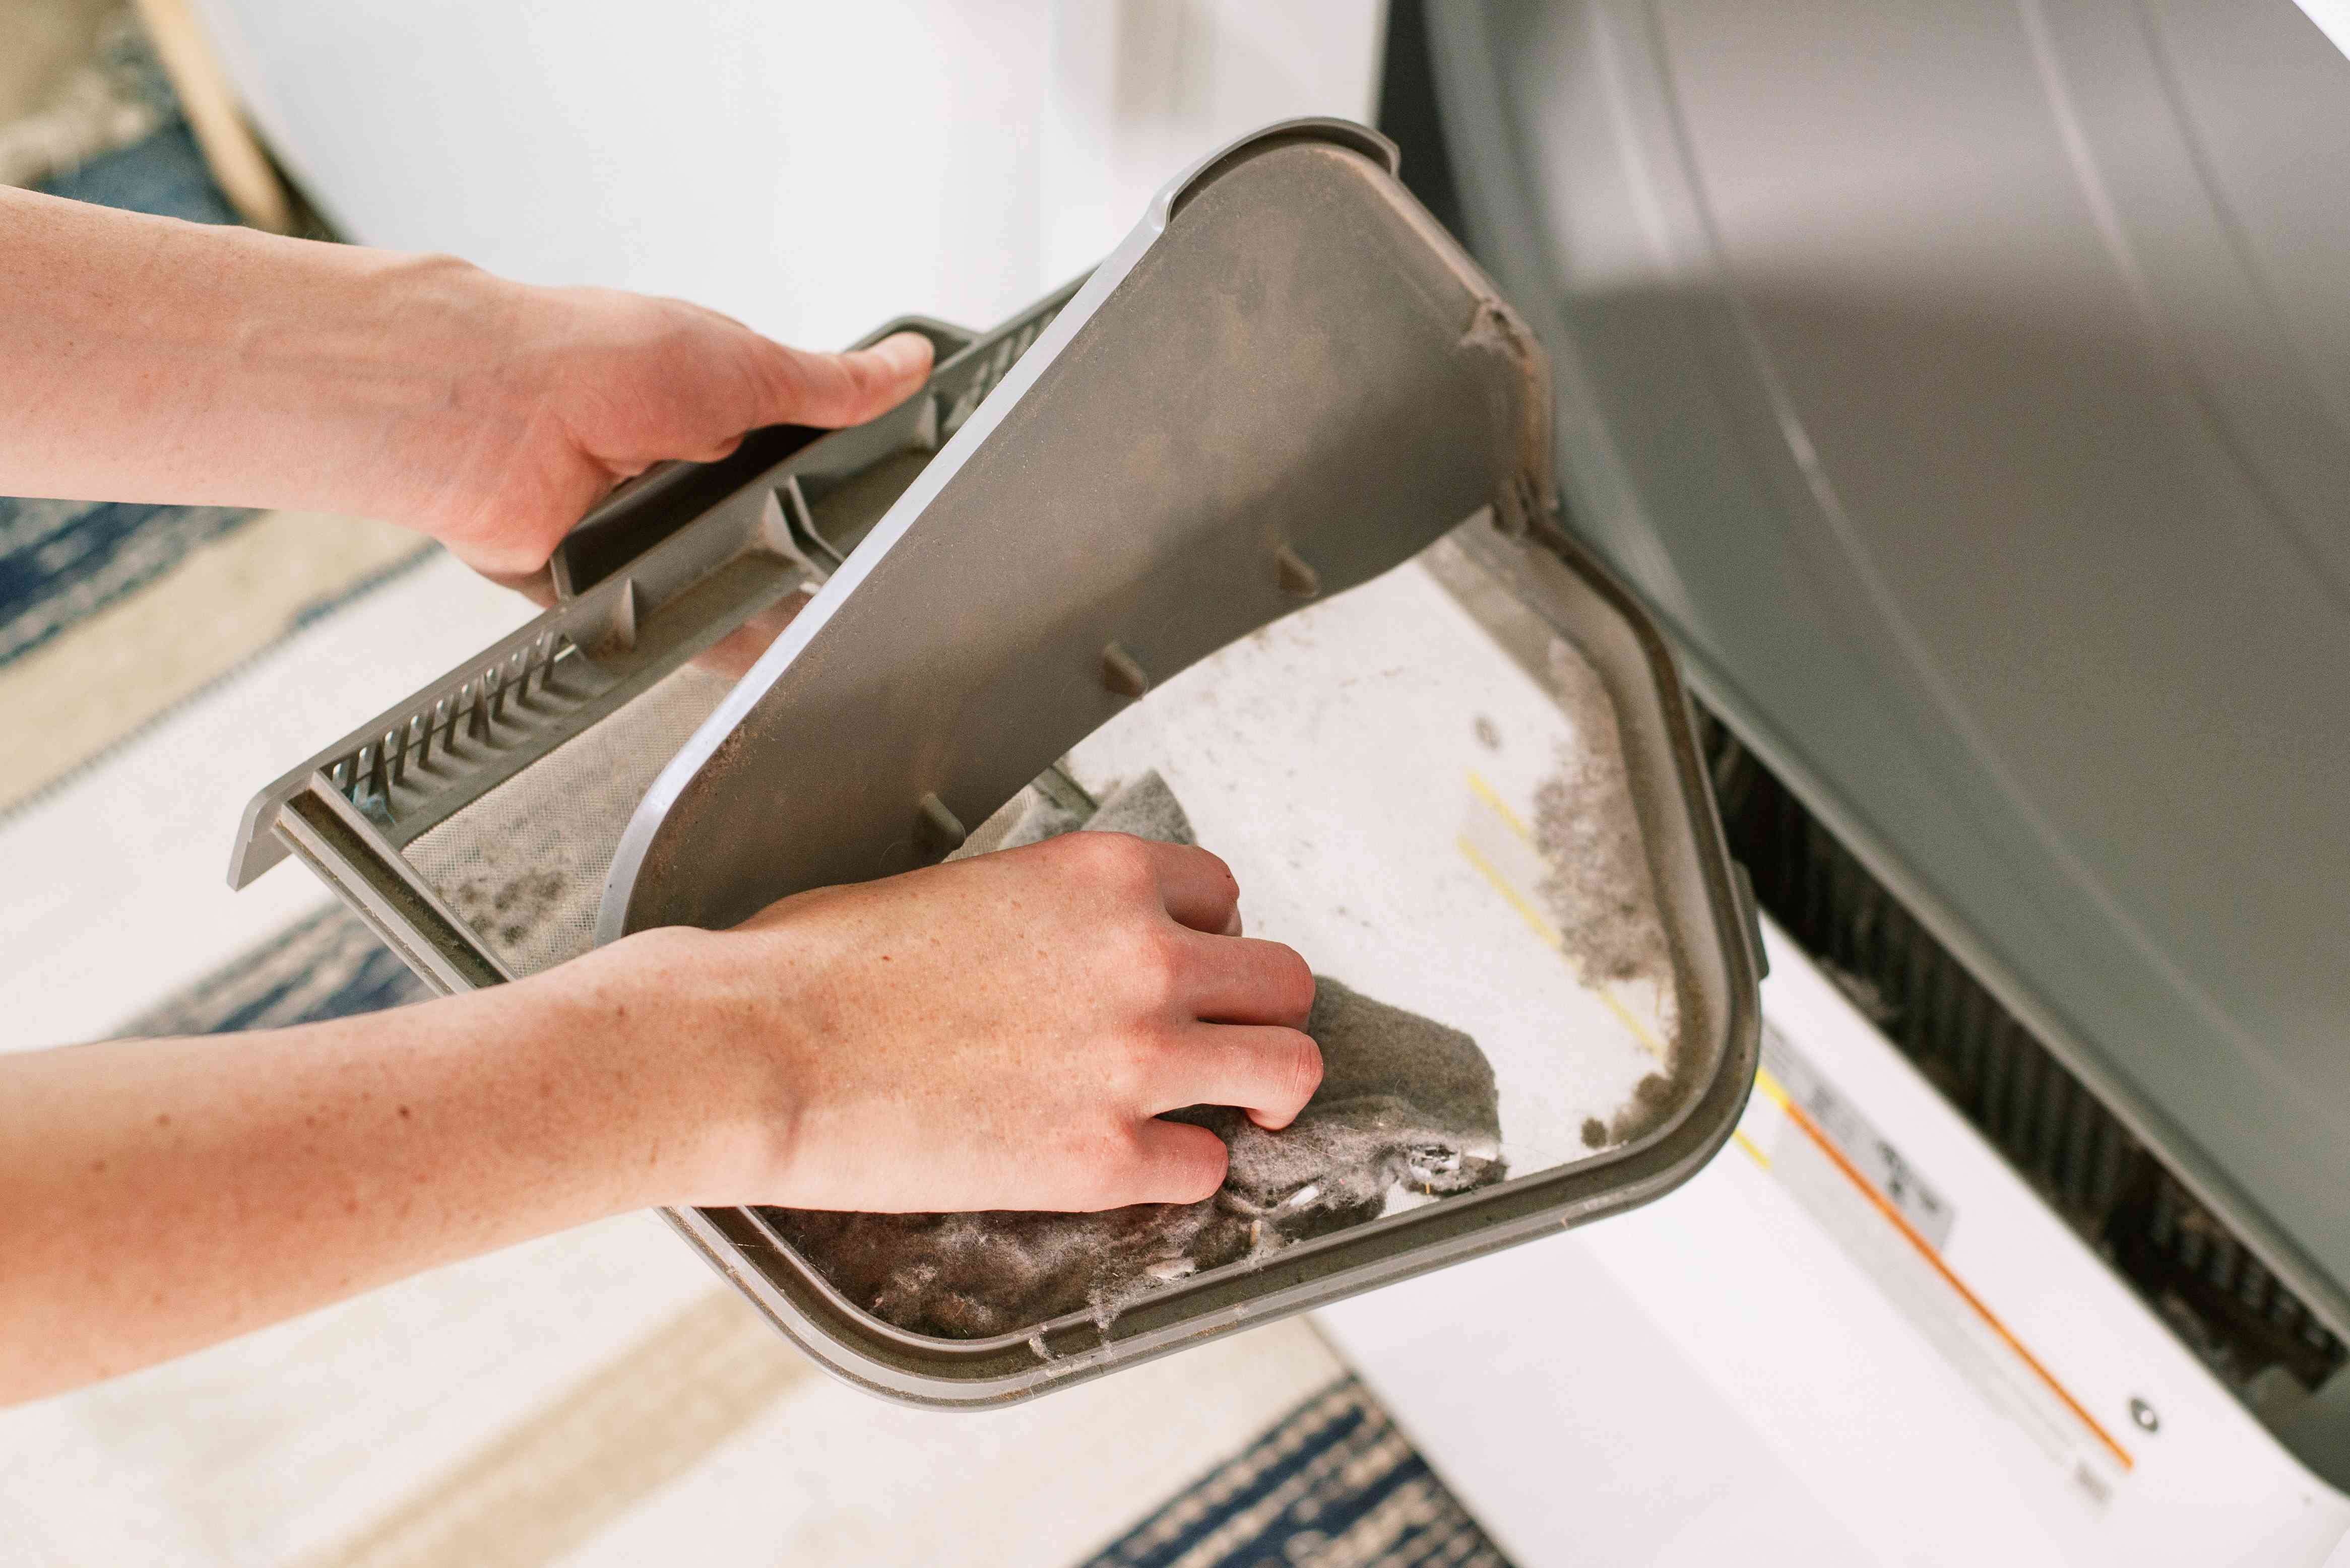
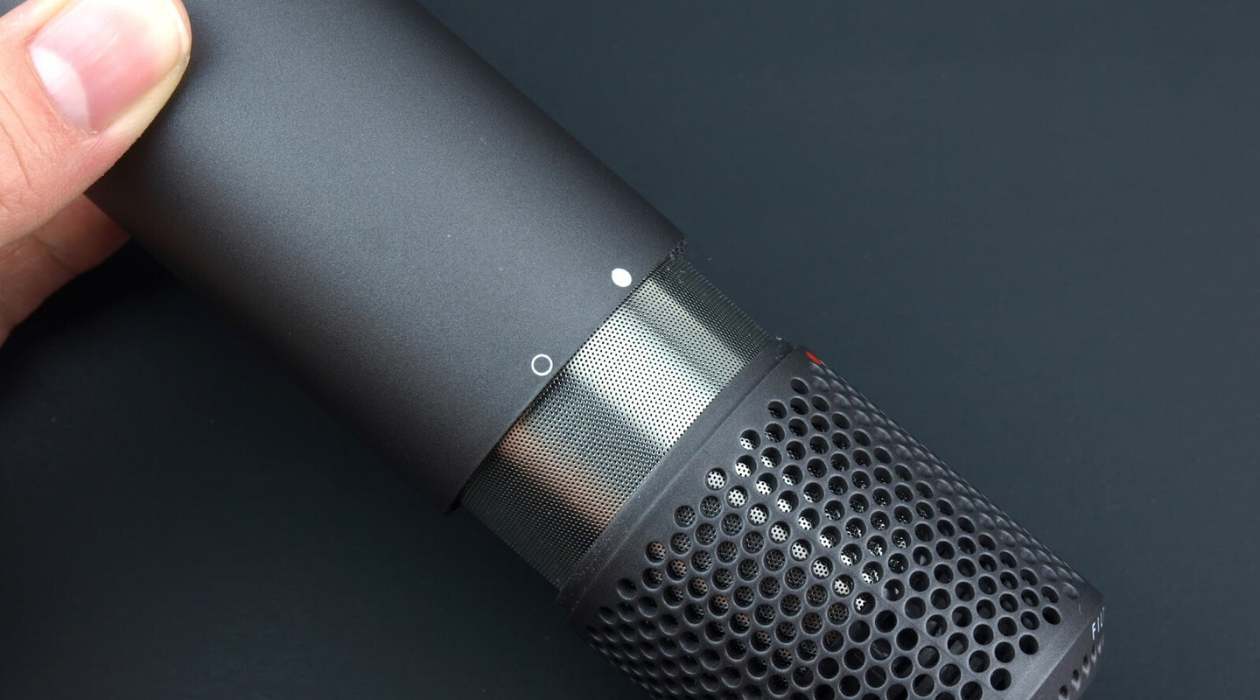
- Remove the Filter Cover: Many hair dryers have a removable filter cover near the air intake. Locate and gently remove this cover to access the filter and air intake area.
- Detach the Back Cover: Using a screwdriver, carefully remove the screws securing the back cover of the hair dryer. Once the screws are removed, gently detach the back cover to reveal the internal components.
- Separate the Housing: After removing the back cover, you may need to separate the housing to access the heating element and other internal parts. Refer to the hair dryer’s manual, if available, for specific instructions on separating the housing.
- Take Note of the Components: As you disassemble the hair dryer, take note of the placement and orientation of the components to ensure proper reassembly later.
By following these steps, you can safely disassemble your hair dryer and prepare it for thorough cleaning. Once the hair dryer is disassembled, you can proceed to remove the accumulated lint and debris from the air intake and other components. Let’s move on to the next step: removing lint from the air intake.
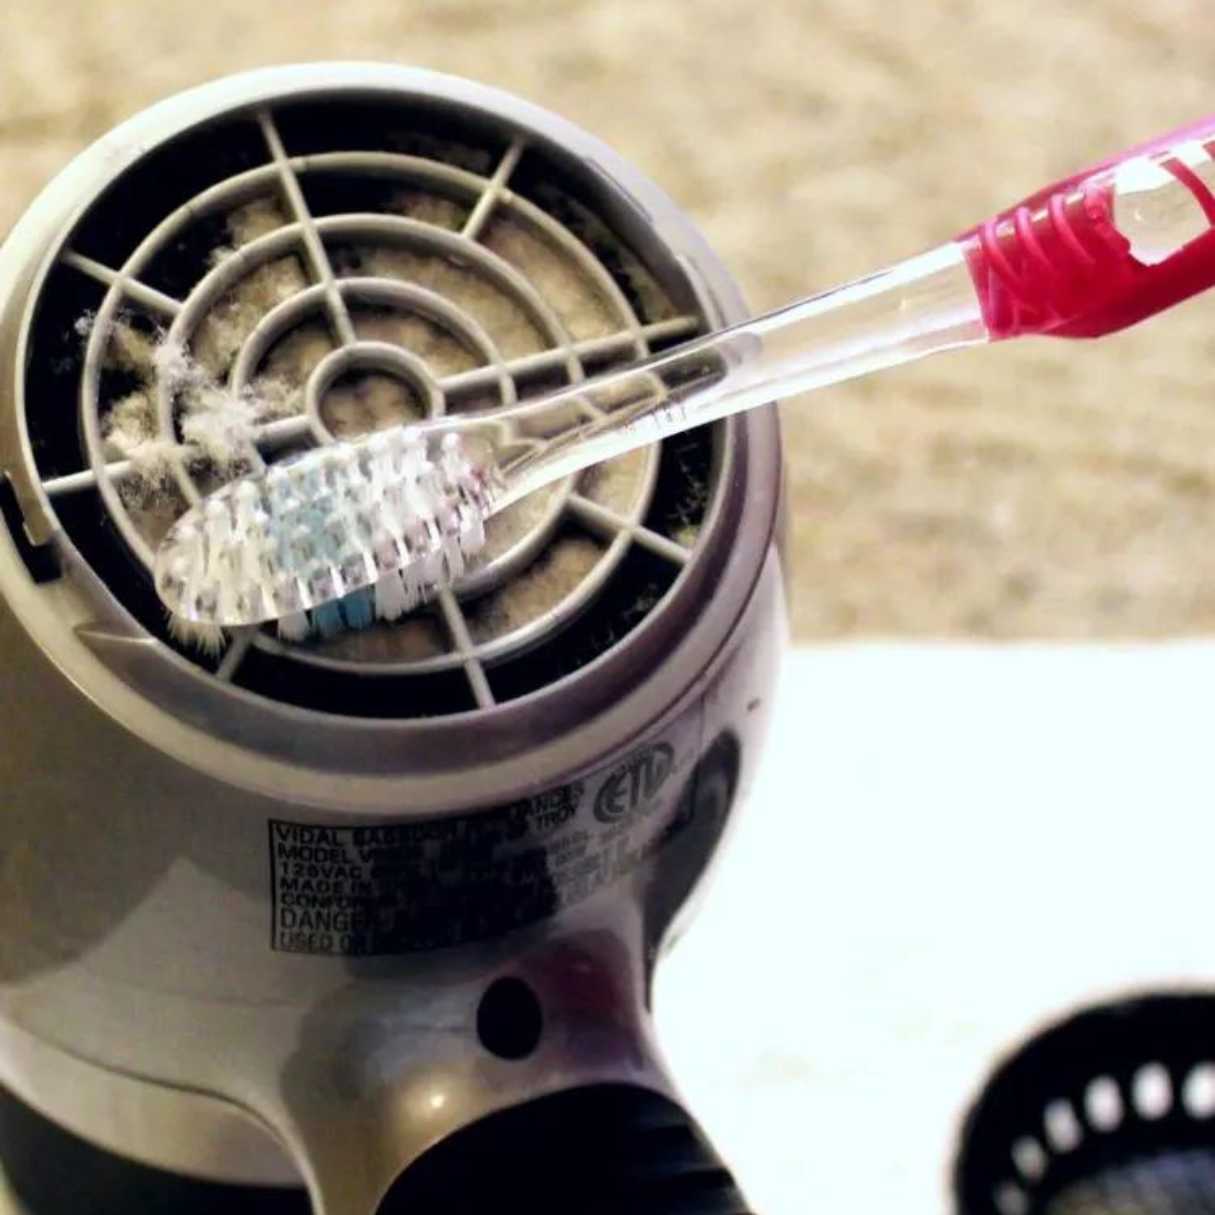
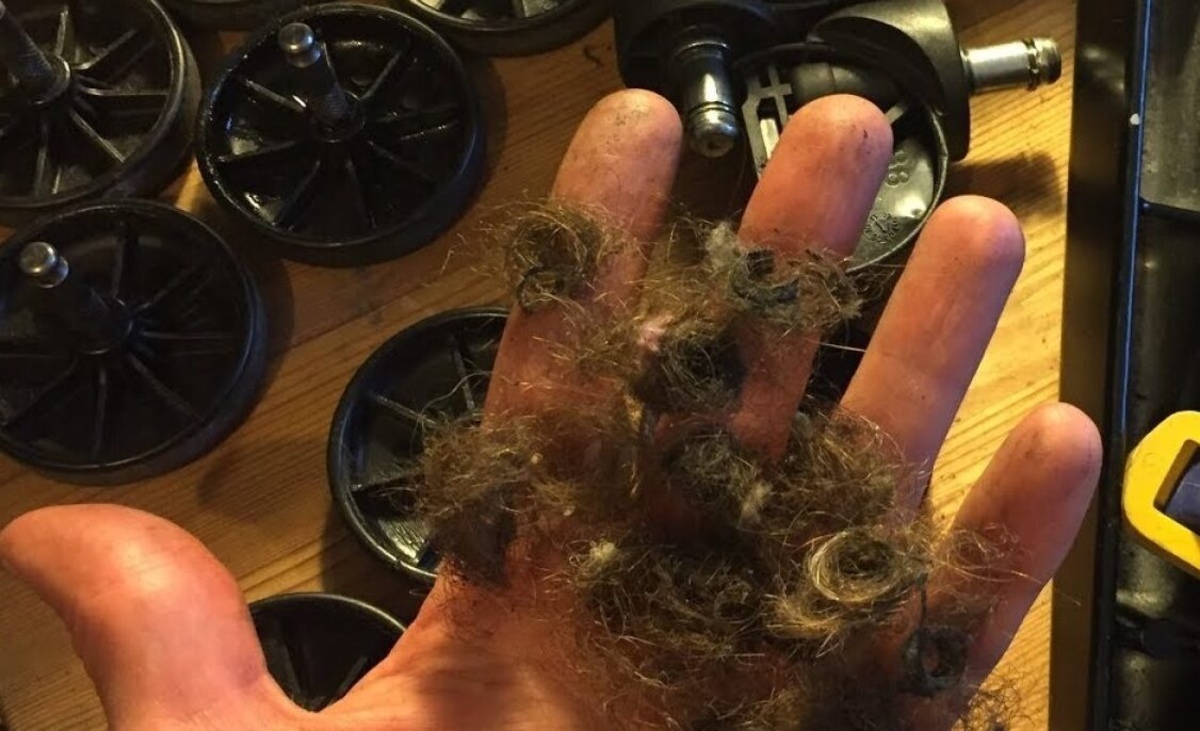
Removing Lint from the Air Intake
Once the hair dryer is disassembled, it’s time to focus on removing the accumulated lint from the air intake. The air intake is a crucial component of the hair dryer, as it draws in air to facilitate the drying process. Here’s a detailed guide on how to effectively clean the air intake:
- Inspect the Air Intake: Carefully examine the air intake area for any visible lint, dust, or debris. Use a flashlight if necessary to get a clear view of the interior.
- Use Compressed Air: If the lint is loosely accumulated, you can use compressed air to blow out the debris from the air intake. Hold the hair dryer in a position that allows the loosened lint to be blown out effectively.
- Brushing and Vacuuming: For more stubborn lint and debris, use a soft-bristled brush to gently dislodge the buildup. Follow up by using a vacuum cleaner with a brush attachment to remove the dislodged lint from the air intake.
- Clean the Filter: If your hair dryer is equipped with a removable filter, clean it thoroughly by rinsing it with water and allowing it to dry completely before reinstallation.
- Inspect and Reassemble: After cleaning the air intake, carefully inspect the area to ensure that all lint and debris have been removed. Once satisfied, proceed to reassemble the hair dryer by following the manufacturer’s instructions in reverse order.
By diligently cleaning the air intake, you can ensure that the hair dryer operates efficiently and that airflow is not obstructed by lint or debris. With the air intake cleaned, it’s time to address another critical component: the heating element.
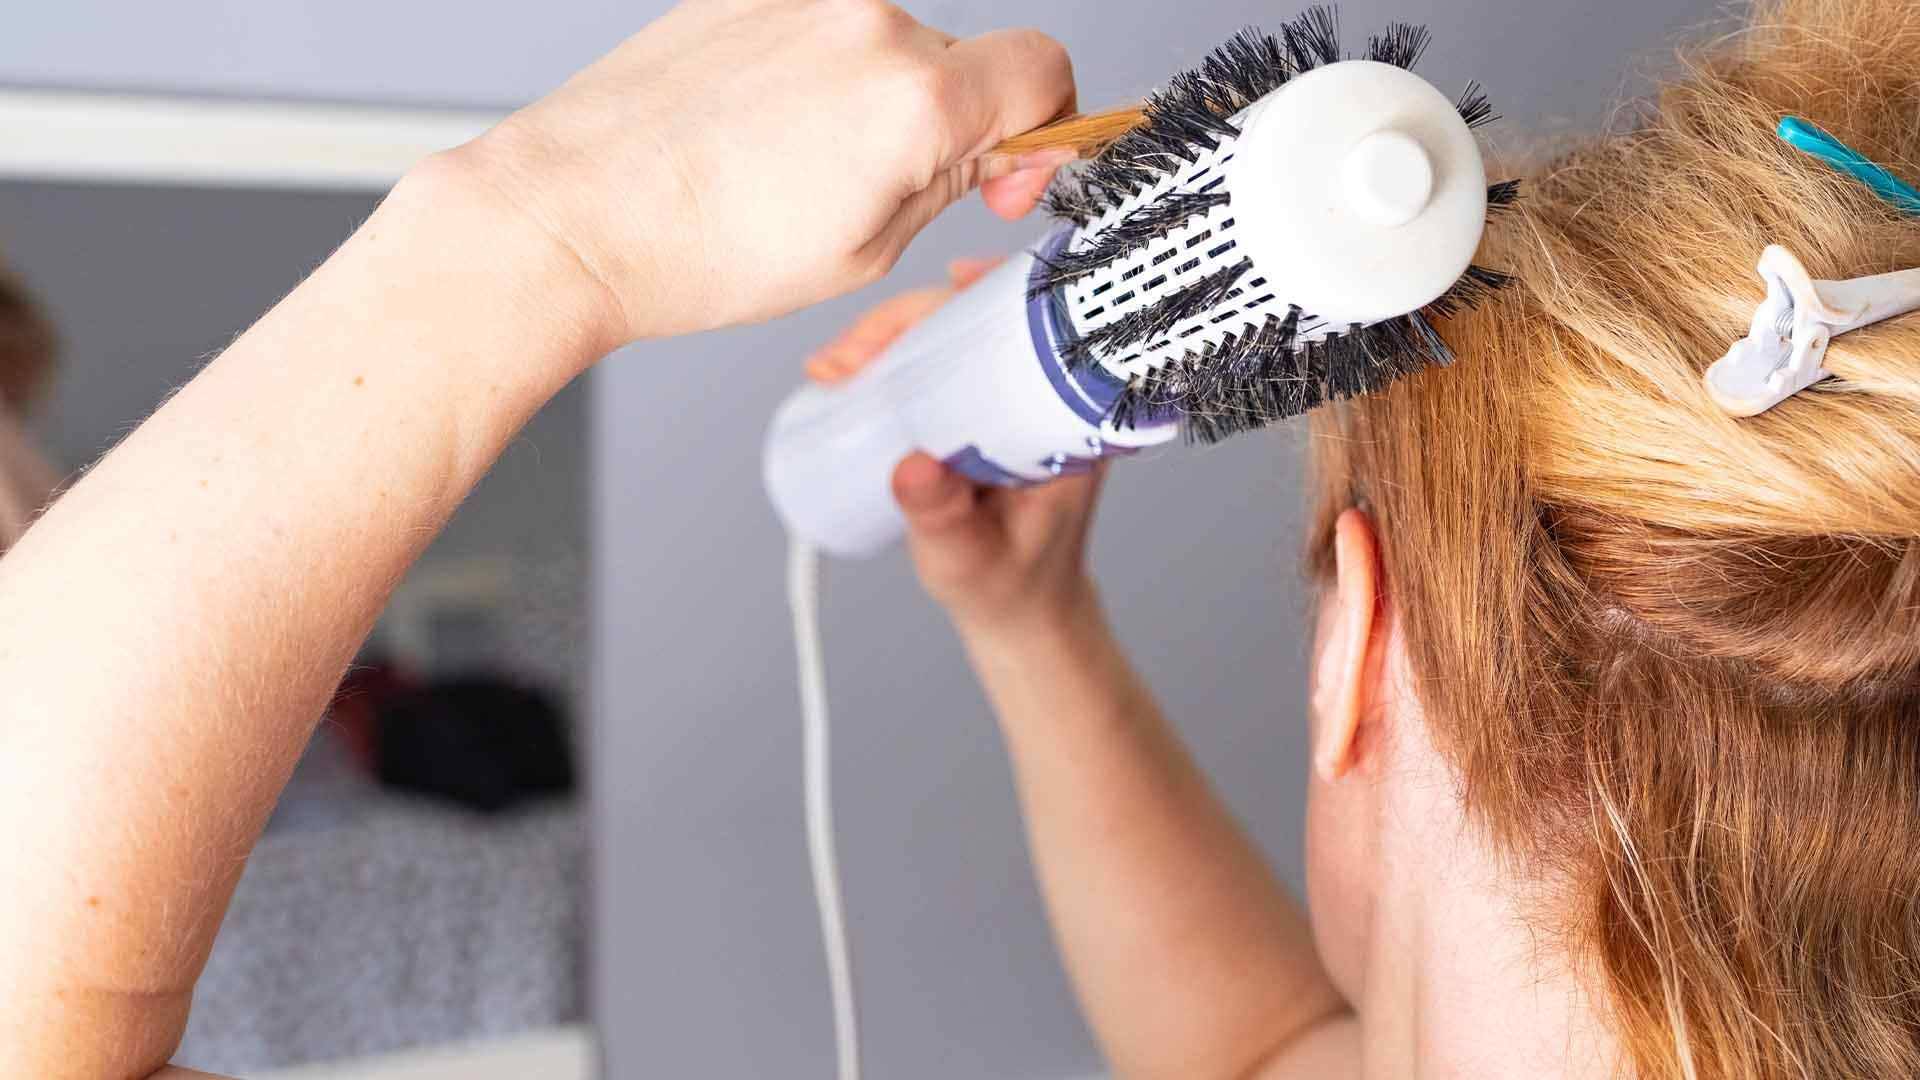
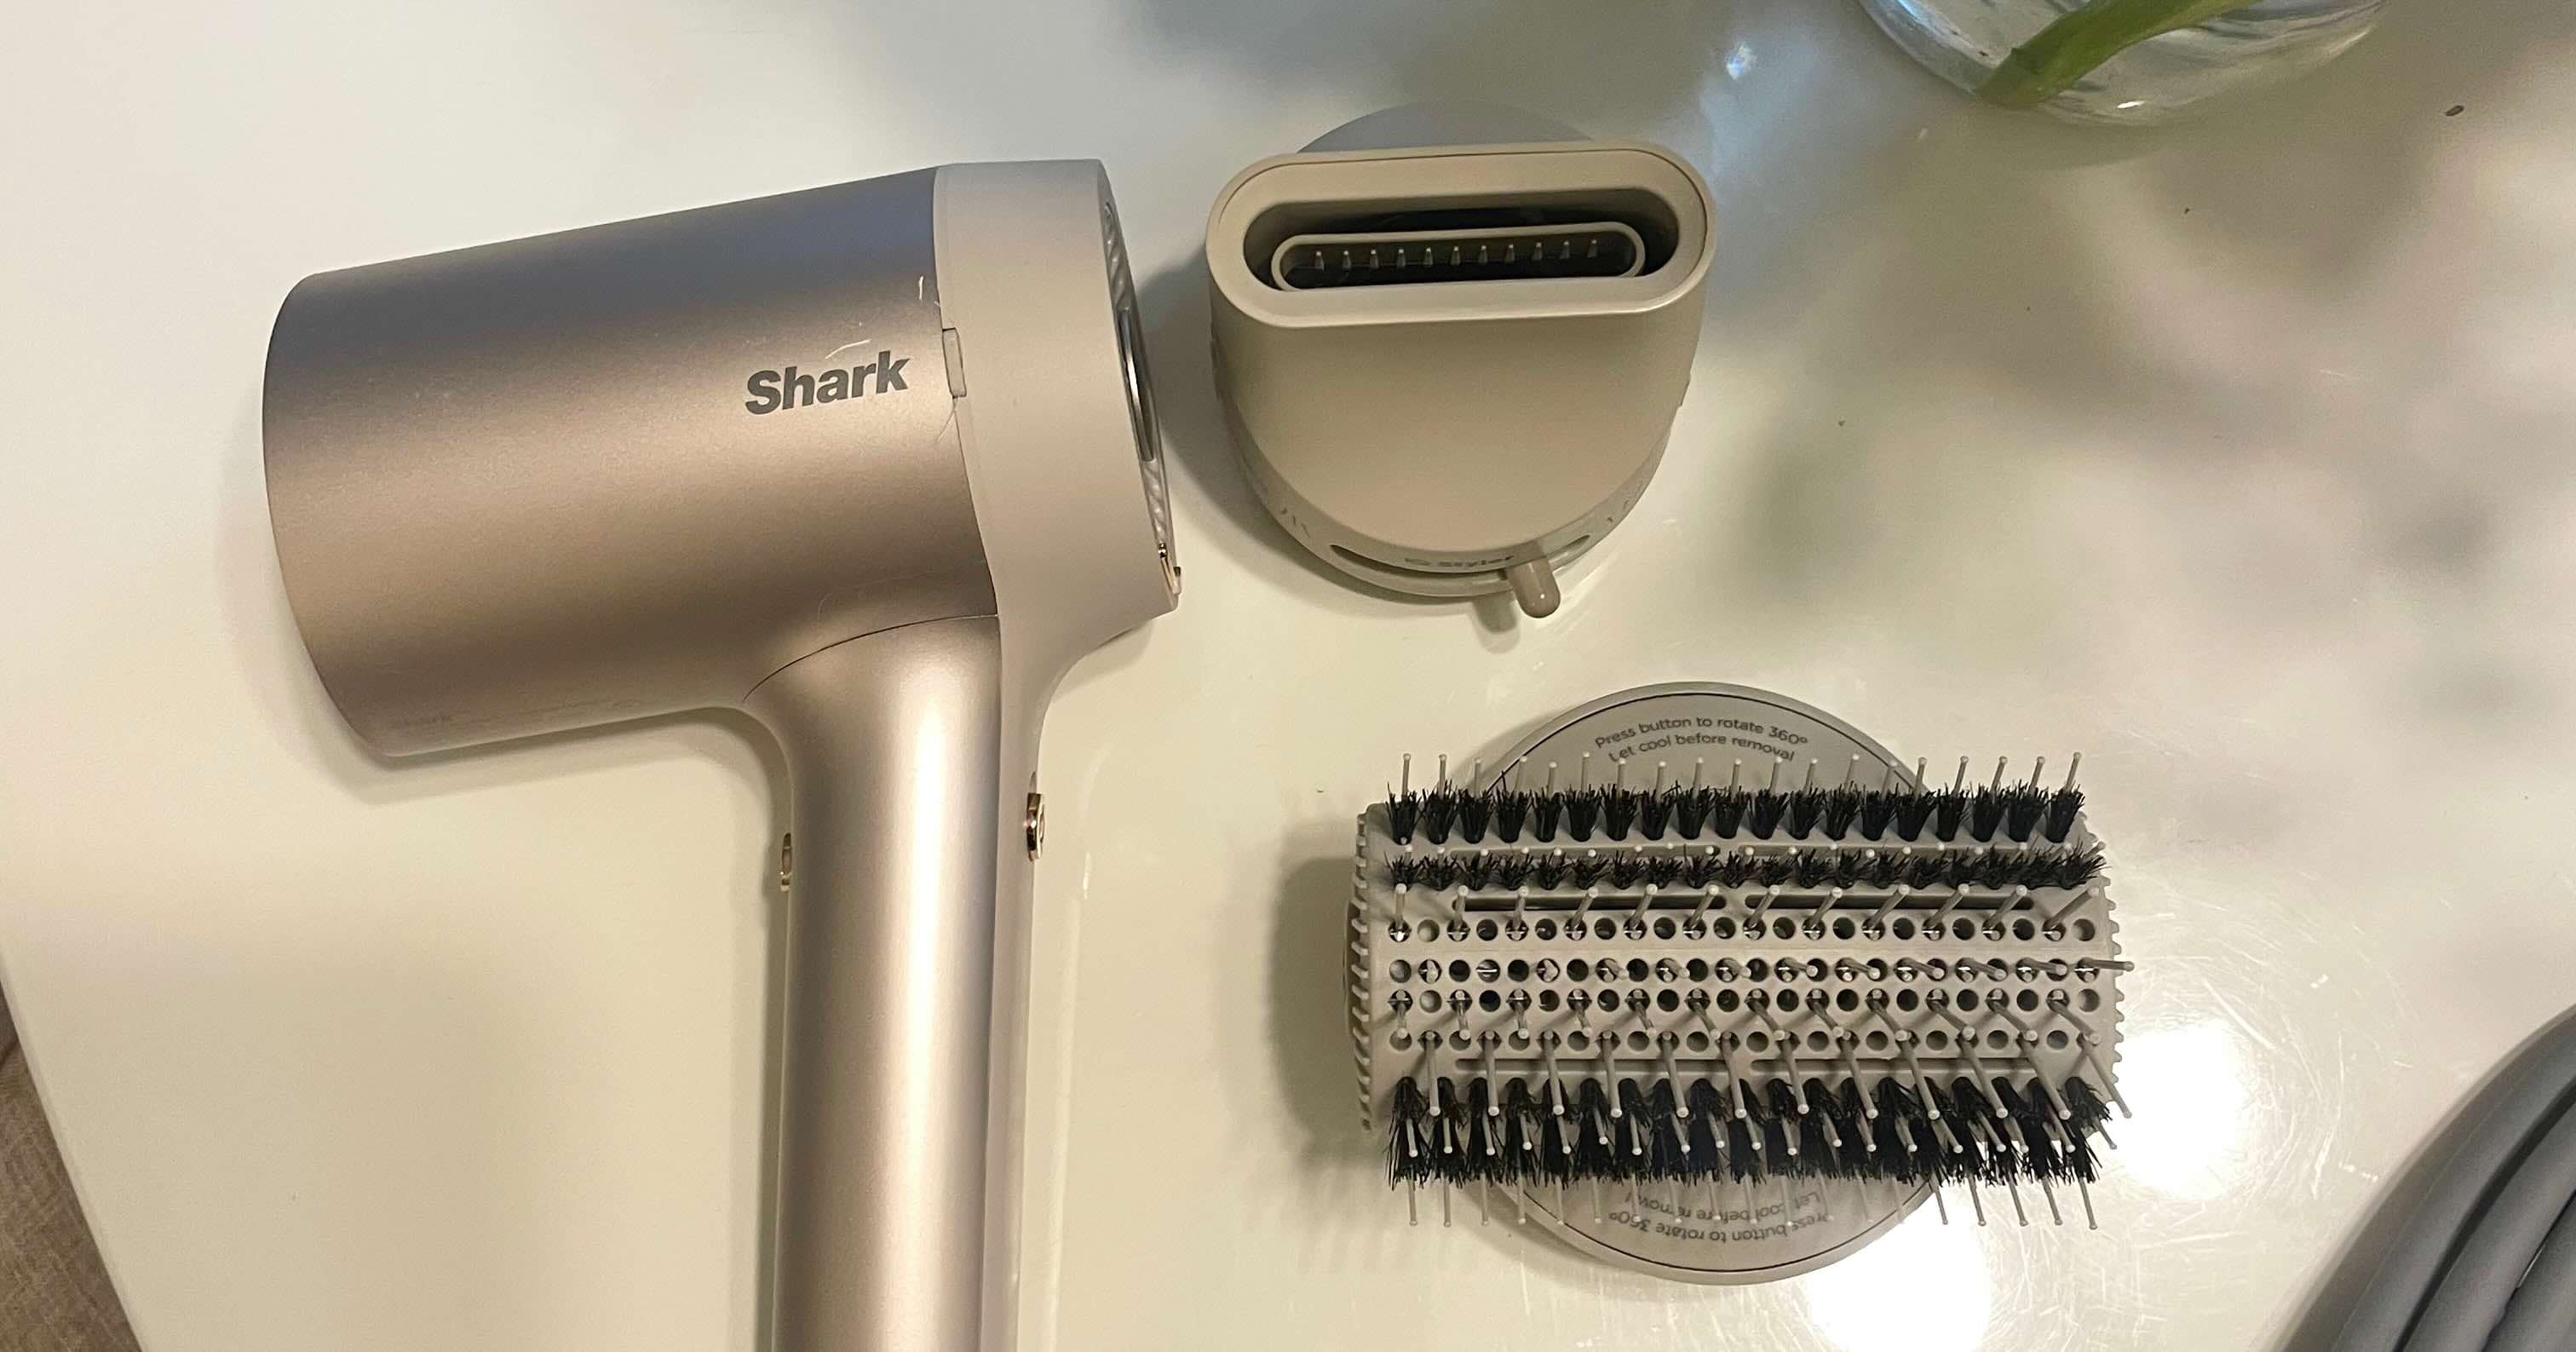
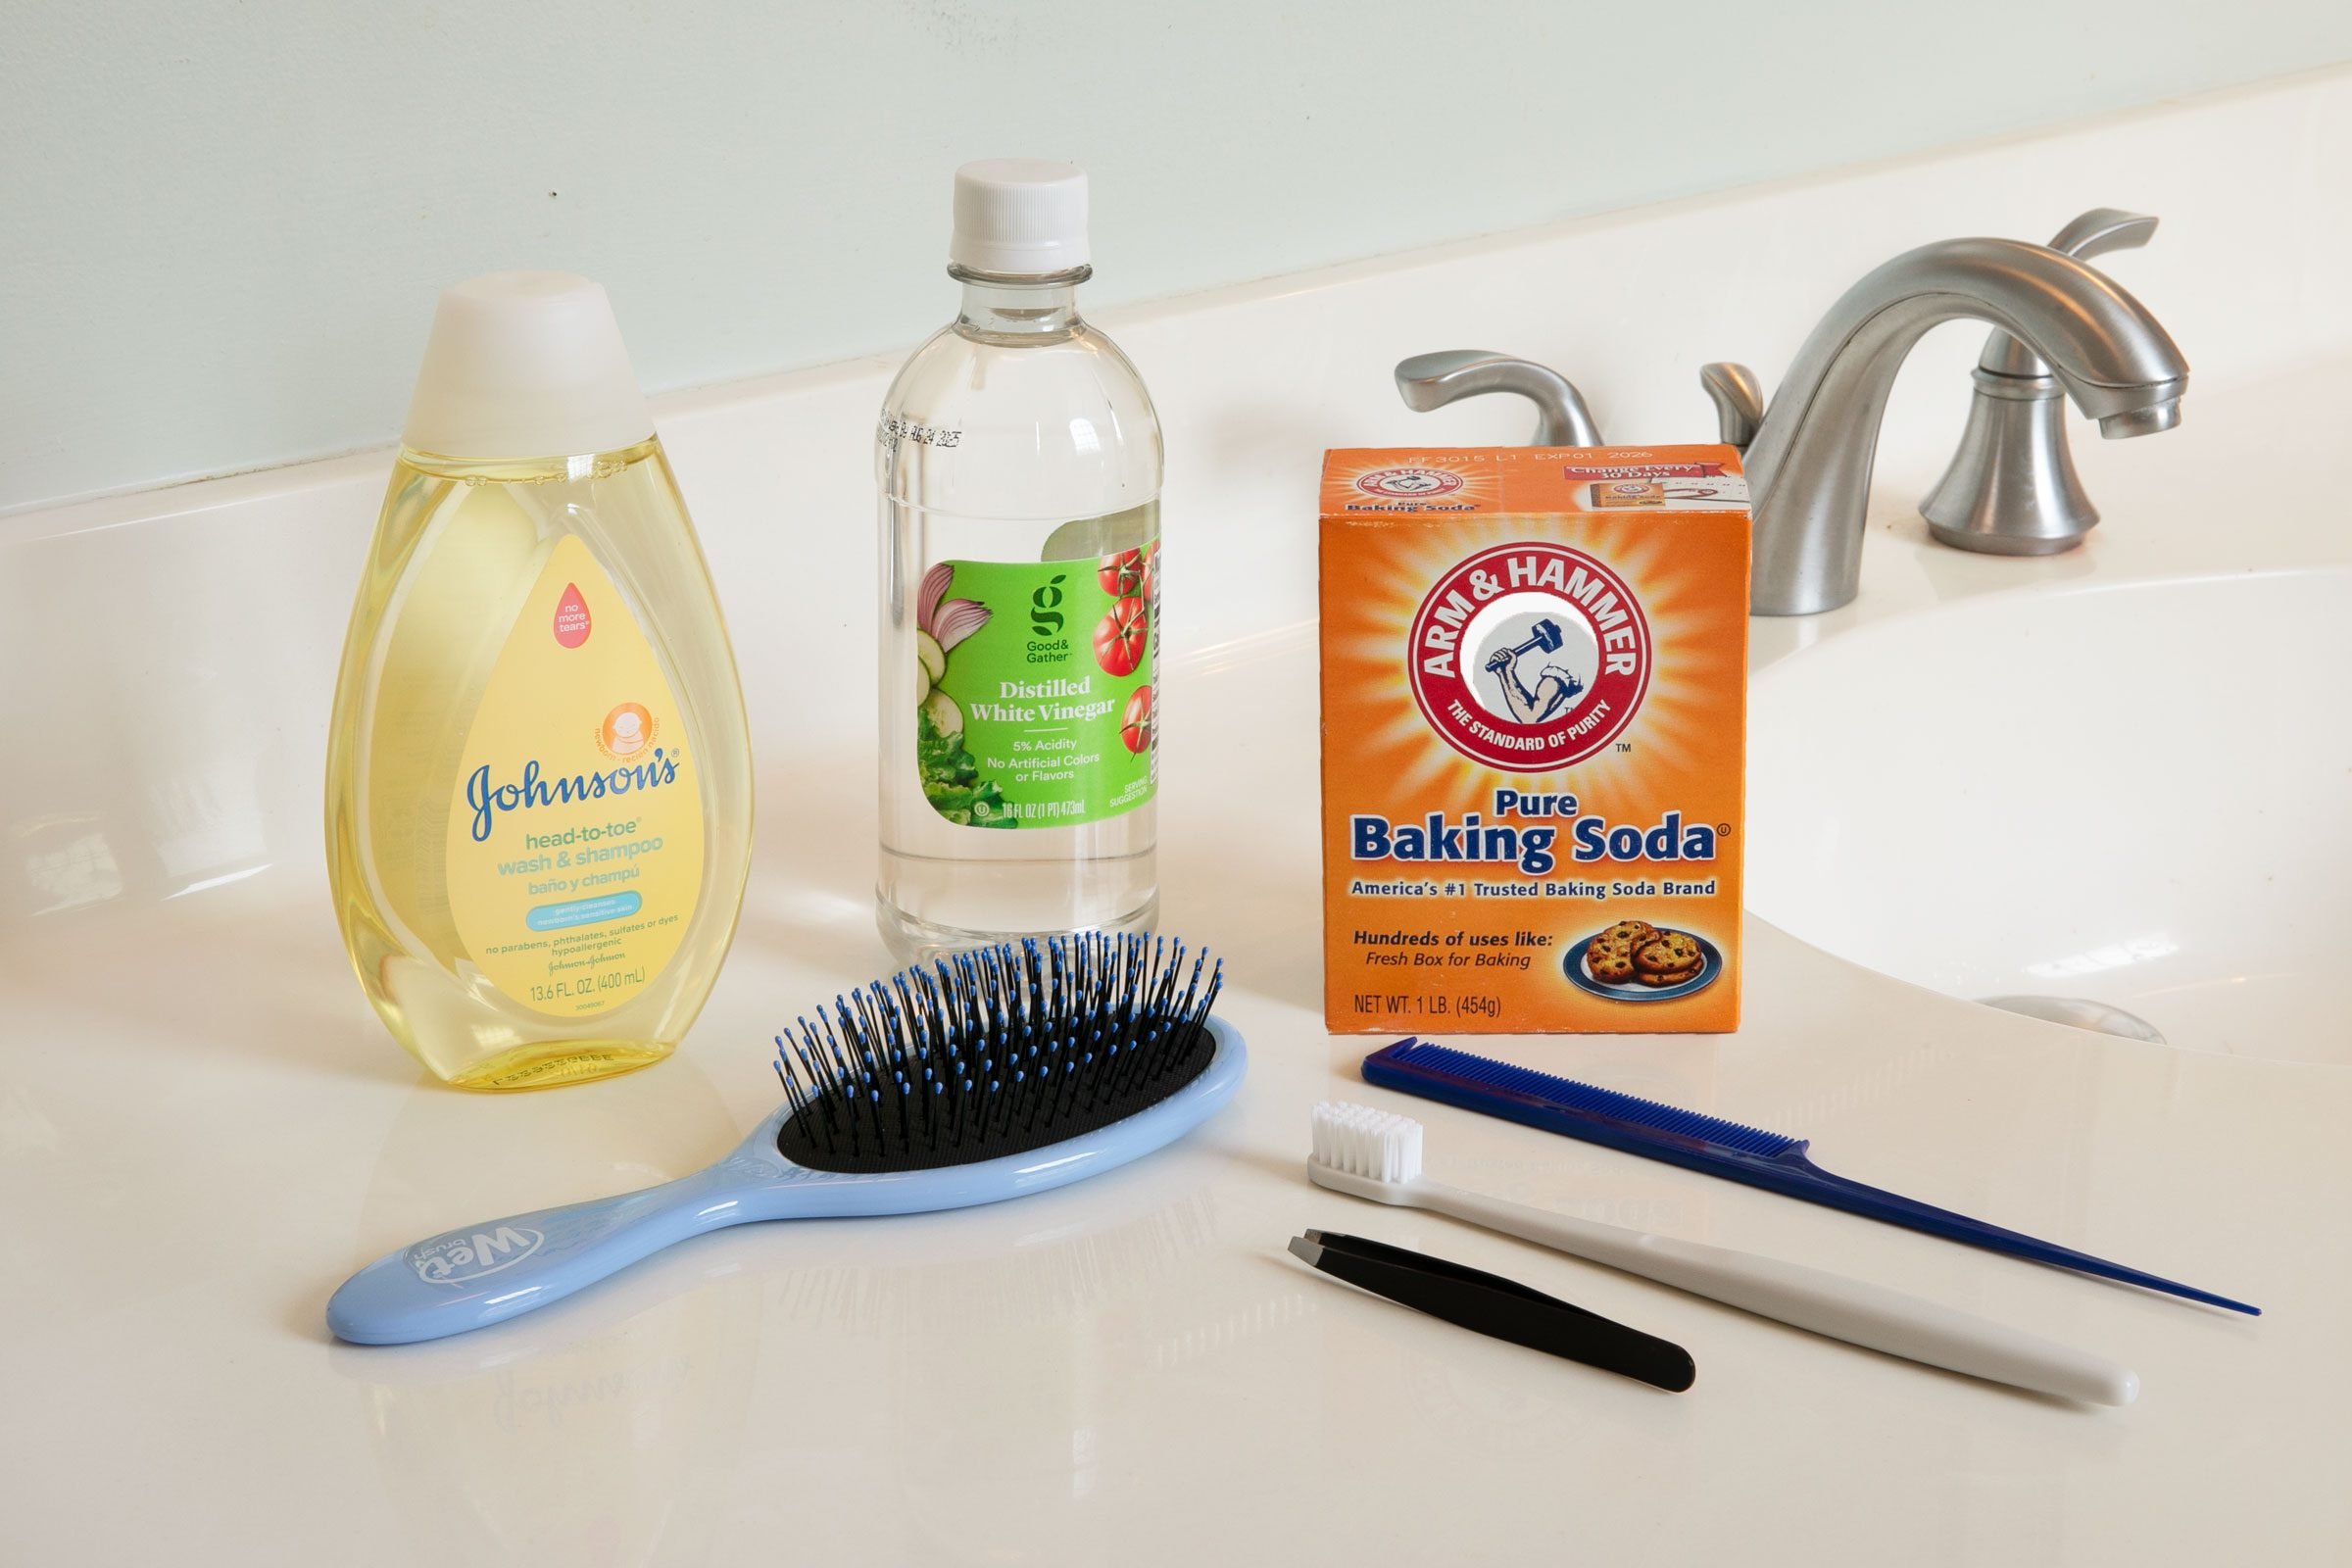
Use a small brush or toothbrush to gently remove lint from the hair dryer vent and fan. Be sure to unplug the dryer and clean it regularly to prevent overheating.
Cleaning the Heating Element
The heating element is a vital part of a hair dryer, responsible for generating the hot air that facilitates the drying and styling of hair. Over time, lint and dust can accumulate on the heating element, potentially impacting its performance and safety. Here’s a comprehensive guide on how to safely clean the heating element of your hair dryer:
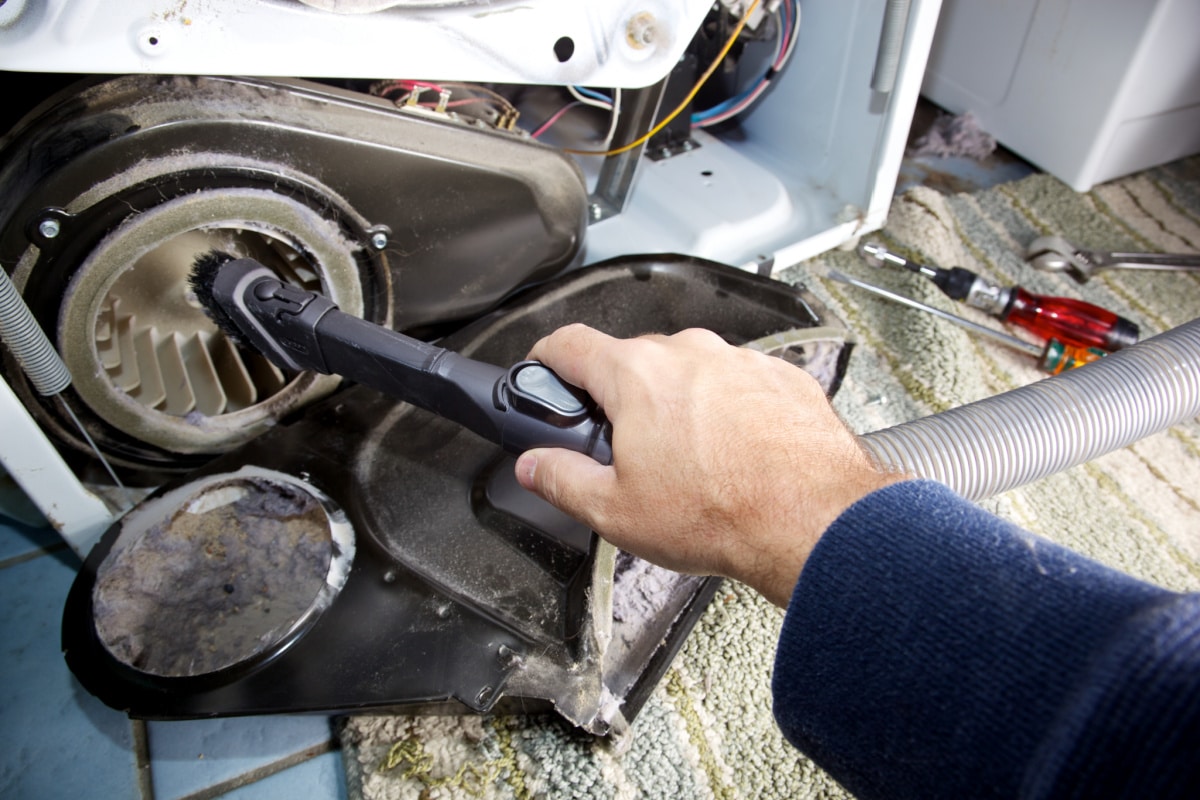
- Access the Heating Element: Once the hair dryer is disassembled, locate the heating element within the housing. Exercise caution, as the heating element may still retain residual heat.
- Use a Soft Brush or Cloth: Gently brush or wipe the heating element with a soft, dry cloth to remove any visible lint or dust. Avoid using water or abrasive cleaning materials, as they can damage the heating element.
- Compressed Air for Detailed Cleaning: For thorough cleaning, use compressed air to blow away any remaining lint or debris from the heating element. Hold the hair dryer in a position that allows the dislodged particles to be expelled effectively.
- Inspect for Residue: After cleaning, carefully inspect the heating element to ensure that it is free from any residual lint or debris. Any remaining buildup can be gently removed using a soft brush or cloth.
- Reassemble the Hair Dryer: Once the heating element is cleaned and inspected, proceed to reassemble the hair dryer by following the disassembly steps in reverse order. Ensure that all components are securely reattached.
By cleaning the heating element, you can maintain the efficiency and safety of your hair dryer, ensuring that it continues to provide reliable performance. With the air intake and heating element thoroughly cleaned, it’s time to reassemble the hair dryer and prepare it for future use.
Read more: Why Is Lint Coming Out Of The Dryer Vent
Reassembling the Hair Dryer
After completing the cleaning process, it’s essential to reassemble the hair dryer carefully to ensure that all components are securely in place. Here’s a step-by-step guide on reassembling your hair dryer:
- Refer to the Manual: If available, consult the hair dryer’s manual for specific reassembly instructions and diagrams. Following the manufacturer’s guidelines can help ensure a proper reassembly.
- Position the Housing: If the housing was separated during the disassembly process, carefully position and align it with the internal components before securing it in place.
- Secure the Back Cover: Using the appropriate screws, reattach the back cover of the hair dryer, ensuring that it is securely fastened to enclose the internal components.
- Reinstall the Filter Cover: If your hair dryer has a removable filter cover, place it back over the air intake and secure it in position.
- Test for Secure Fit: Before plugging in the hair dryer, double-check that all components are properly reassembled and secured. Any loose or misaligned parts should be adjusted accordingly.
- Plug in and Test: Once the hair dryer is reassembled, plug it into a power source and briefly turn it on to ensure that it operates smoothly and that airflow is unobstructed.
By following these reassembly steps, you can ensure that your hair dryer is ready for safe and efficient use. Proper reassembly is crucial for maintaining the integrity of the hair dryer and preventing any potential issues during operation. With the hair dryer successfully reassembled, it’s time to conclude our comprehensive guide.
Conclusion
Congratulations on successfully learning how to clean lint out of a hair dryer! By following the step-by-step process outlined in this guide, you have taken proactive measures to maintain the performance and safety of your hair dryer. Keeping your hair dryer free from lint and debris not only enhances its efficiency but also extends its lifespan, providing you with reliable performance for your hair styling needs.
Remember, regular maintenance and cleaning are essential for preserving the functionality of your hair dryer. By incorporating these cleaning practices into your routine, you can ensure that your hair dryer continues to operate at its best for years to come.
Additionally, prioritizing safety throughout the cleaning process is paramount. Always adhere to the safety precautions outlined in this guide, and consult the manufacturer’s instructions for specific cleaning recommendations. Your well-being and the longevity of your hair dryer depend on these essential safety measures.
As you reassemble your hair dryer and prepare to use it, take pride in the care and attention you’ve invested in maintaining this essential tool. Your dedication to proper maintenance will undoubtedly pay off in the form of a reliable and efficient hair dryer for all your styling needs.
Thank you for joining us on this journey to learn how to clean lint out of a hair dryer. We hope this guide has equipped you with the knowledge and confidence to keep your hair dryer in top condition. Happy styling!
Frequently Asked Questions about How To Clean Lint Out Of A Hair Dryer
Was this page helpful?
At Storables.com, we guarantee accurate and reliable information. Our content, validated by Expert Board Contributors, is crafted following stringent Editorial Policies. We're committed to providing you with well-researched, expert-backed insights for all your informational needs.

0 thoughts on “How To Clean Lint Out Of A Hair Dryer”