Home>Home Appliances>Bathroom Appliances>How To Use Shrink Wrap With A Hair Dryer
Bathroom Appliances
How To Use Shrink Wrap With A Hair Dryer
Modified: August 17, 2024
Learn how to use shrink wrap with a hair dryer for your bathroom appliances. Discover the best techniques and tips for a successful shrink wrap application.
(Many of the links in this article redirect to a specific reviewed product. Your purchase of these products through affiliate links helps to generate commission for Storables.com, at no extra cost. Learn more)
Introduction
Welcome to the world of shrink wrapping! If you're looking for a simple and effective way to protect and package your items, shrink wrap is an excellent solution. When it comes to using shrink wrap, a hair dryer can be a versatile and accessible tool. Whether you're a small business owner, a hobbyist, or simply interested in learning a new DIY technique, using shrink wrap with a hair dryer can be a game-changer.
Shrink wrap is a popular choice for packaging items because of its durability, transparency, and ability to conform to the shape of the object. It provides a protective barrier against moisture, dust, and tampering, making it ideal for a wide range of applications. From protecting artwork and electronics to bundling items for shipping, shrink wrap offers a professional and polished finish.
In this guide, we'll explore the materials needed and the step-by-step process for using shrink wrap with a hair dryer. Additionally, we'll share some valuable tips and tricks to ensure successful shrink wrapping. By the end of this article, you'll have the knowledge and confidence to expertly use shrink wrap with a hair dryer for your packaging needs. Let's dive in and discover the exciting world of shrink wrapping!
Key Takeaways:
- Master the art of shrink wrapping with a hair dryer for professional packaging results. Safeguard items with ease and precision, creating polished and secure packaging for various applications.
- Elevate your packaging expertise with shrink wrap and a hair dryer. Unleash creativity and confidence, achieving visually appealing and professional results for retail, gifting, and storage needs.
Materials Needed
Before embarking on your shrink wrapping journey, it's essential to gather the necessary materials. Here's a comprehensive list of items you'll need to get started:
- Shrink Wrap: Select high-quality shrink wrap that suits the size and shape of the items you plan to package. It's available in various widths and thicknesses, so choose the most appropriate type for your specific application.
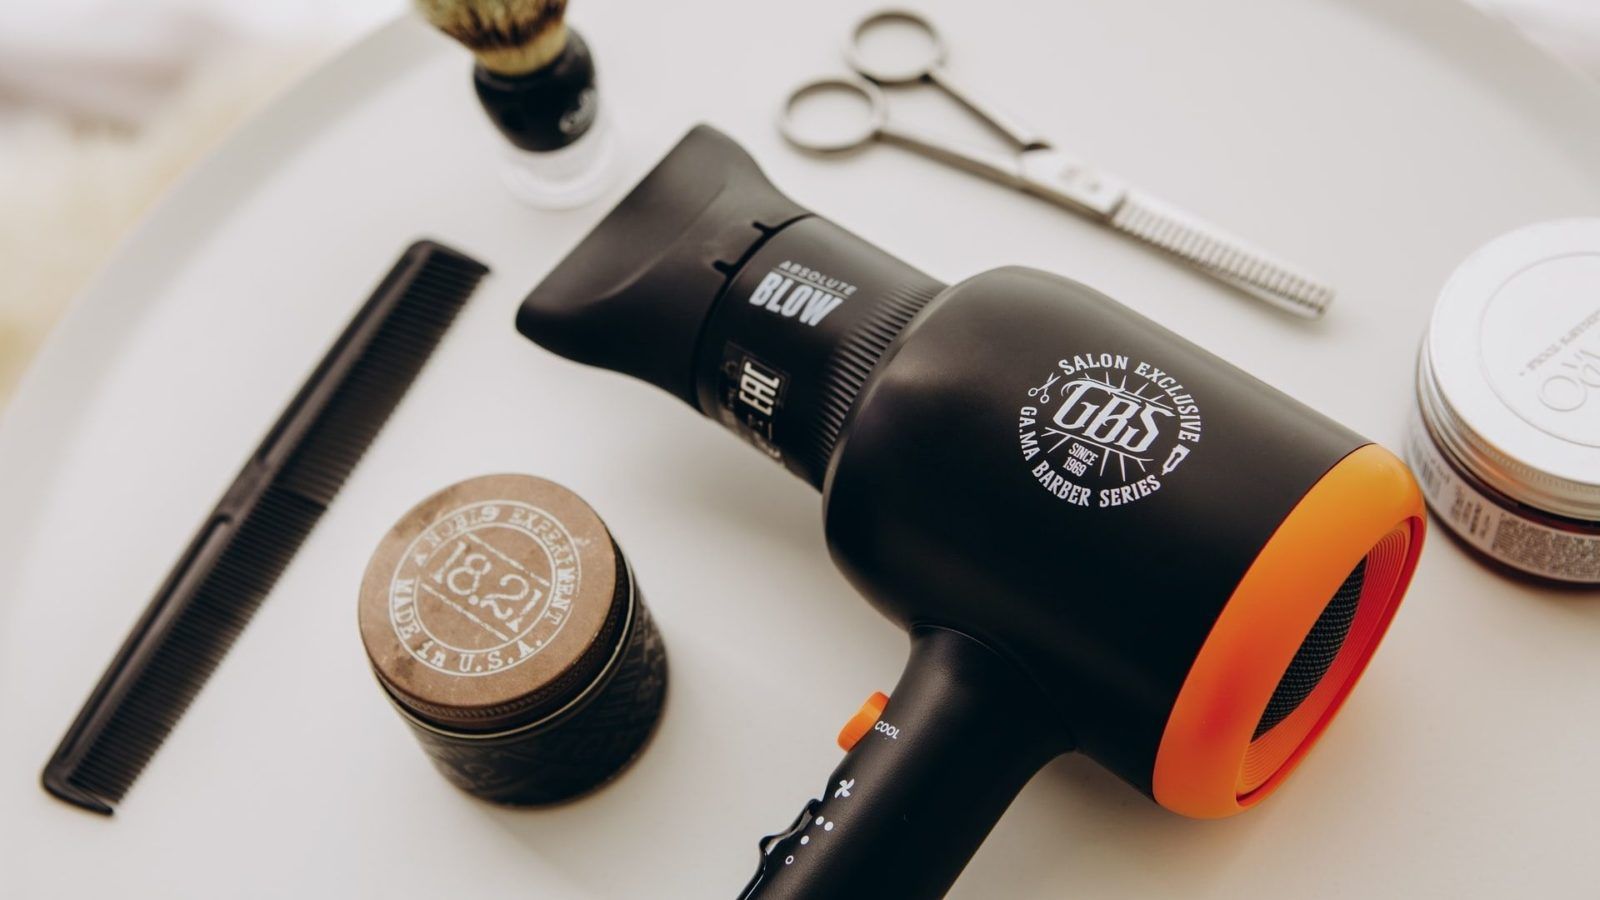
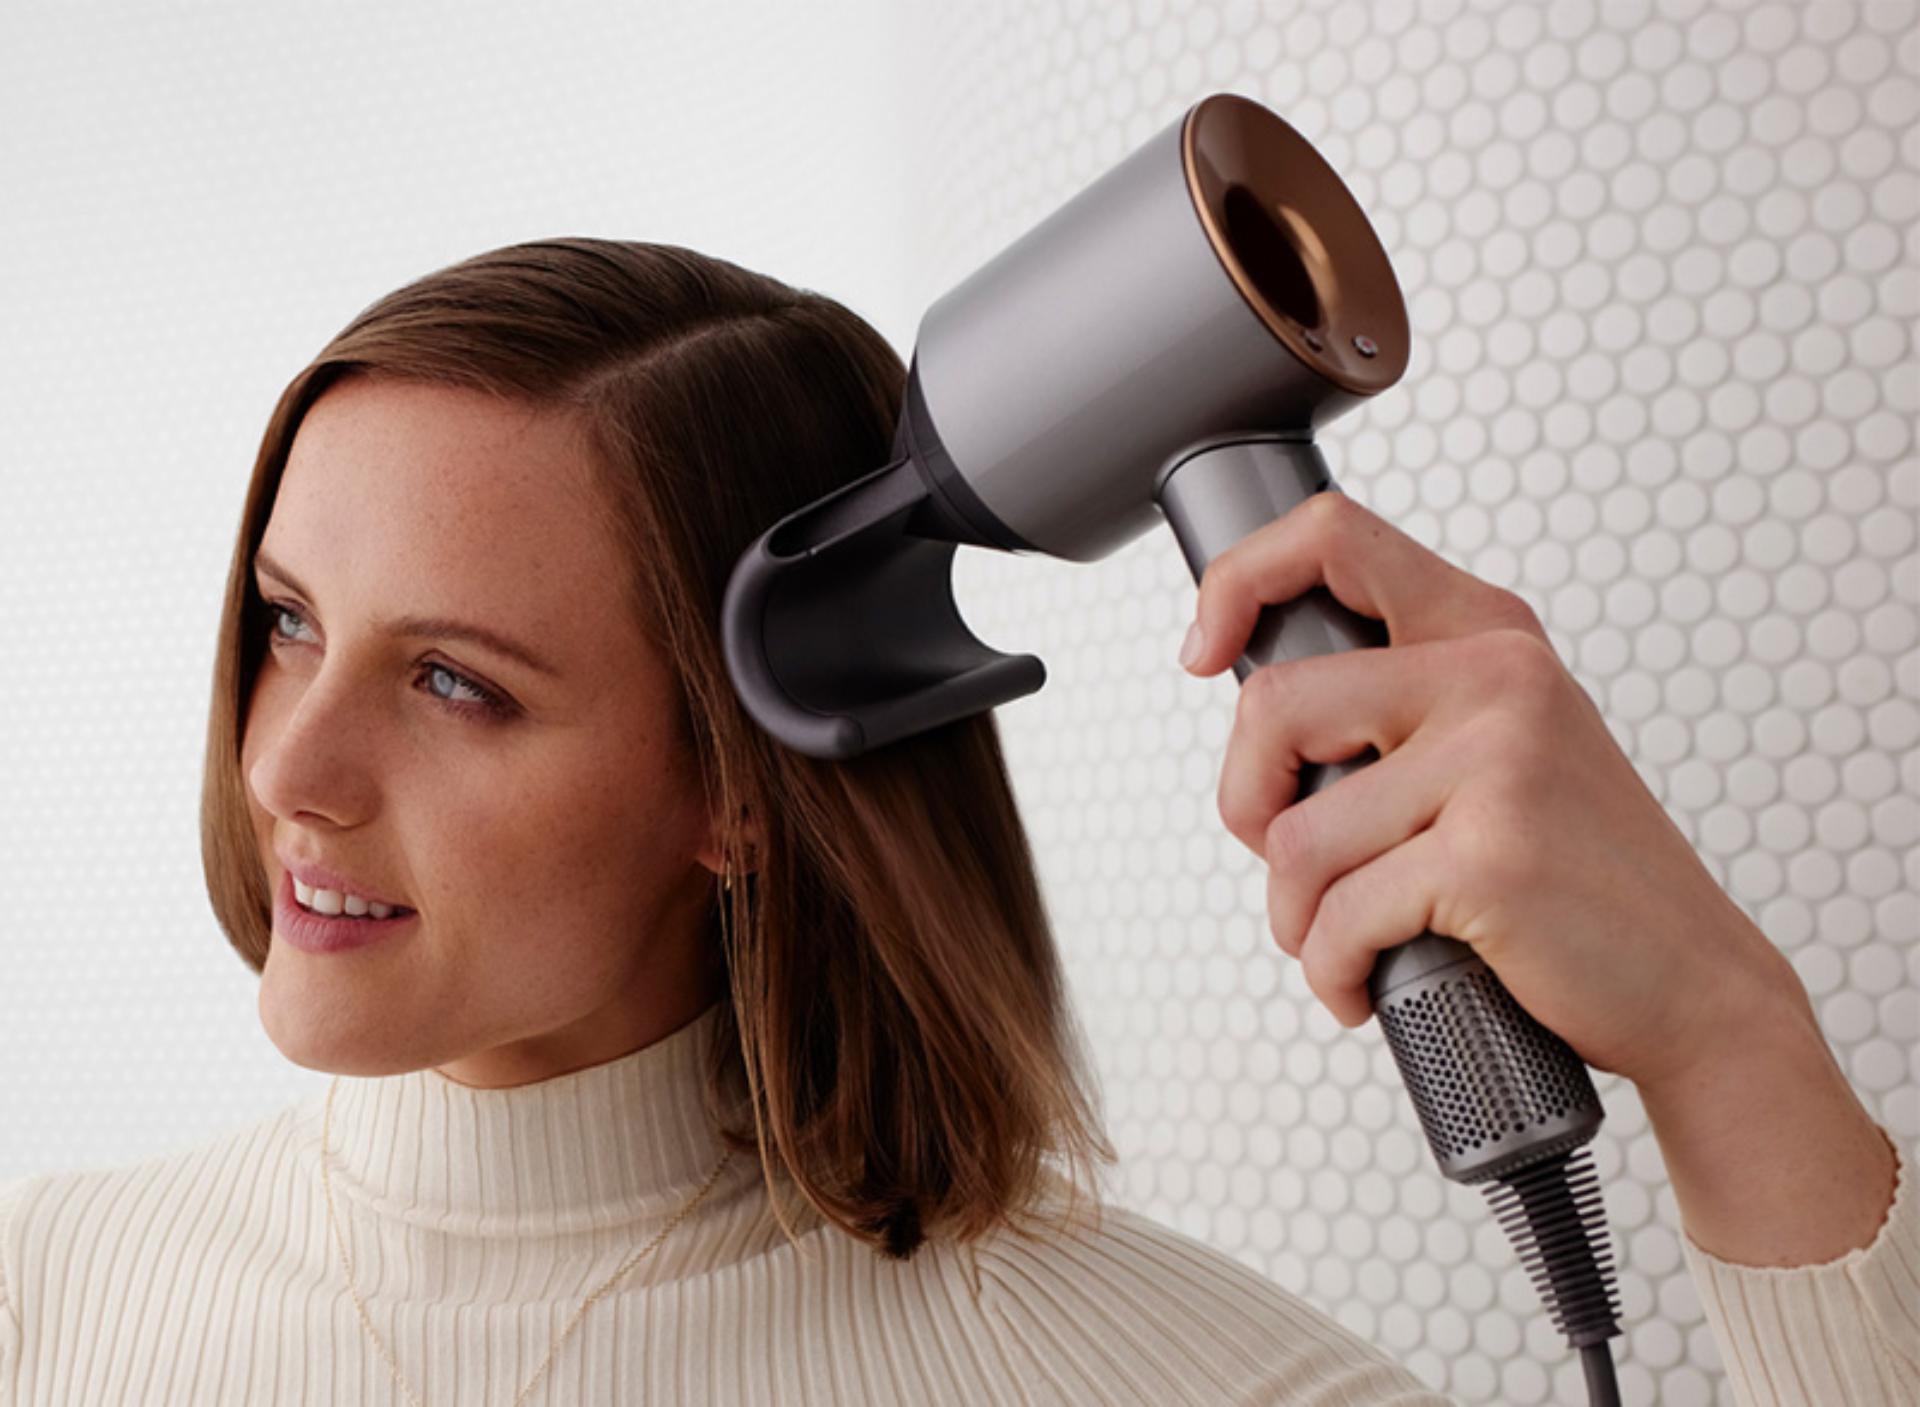
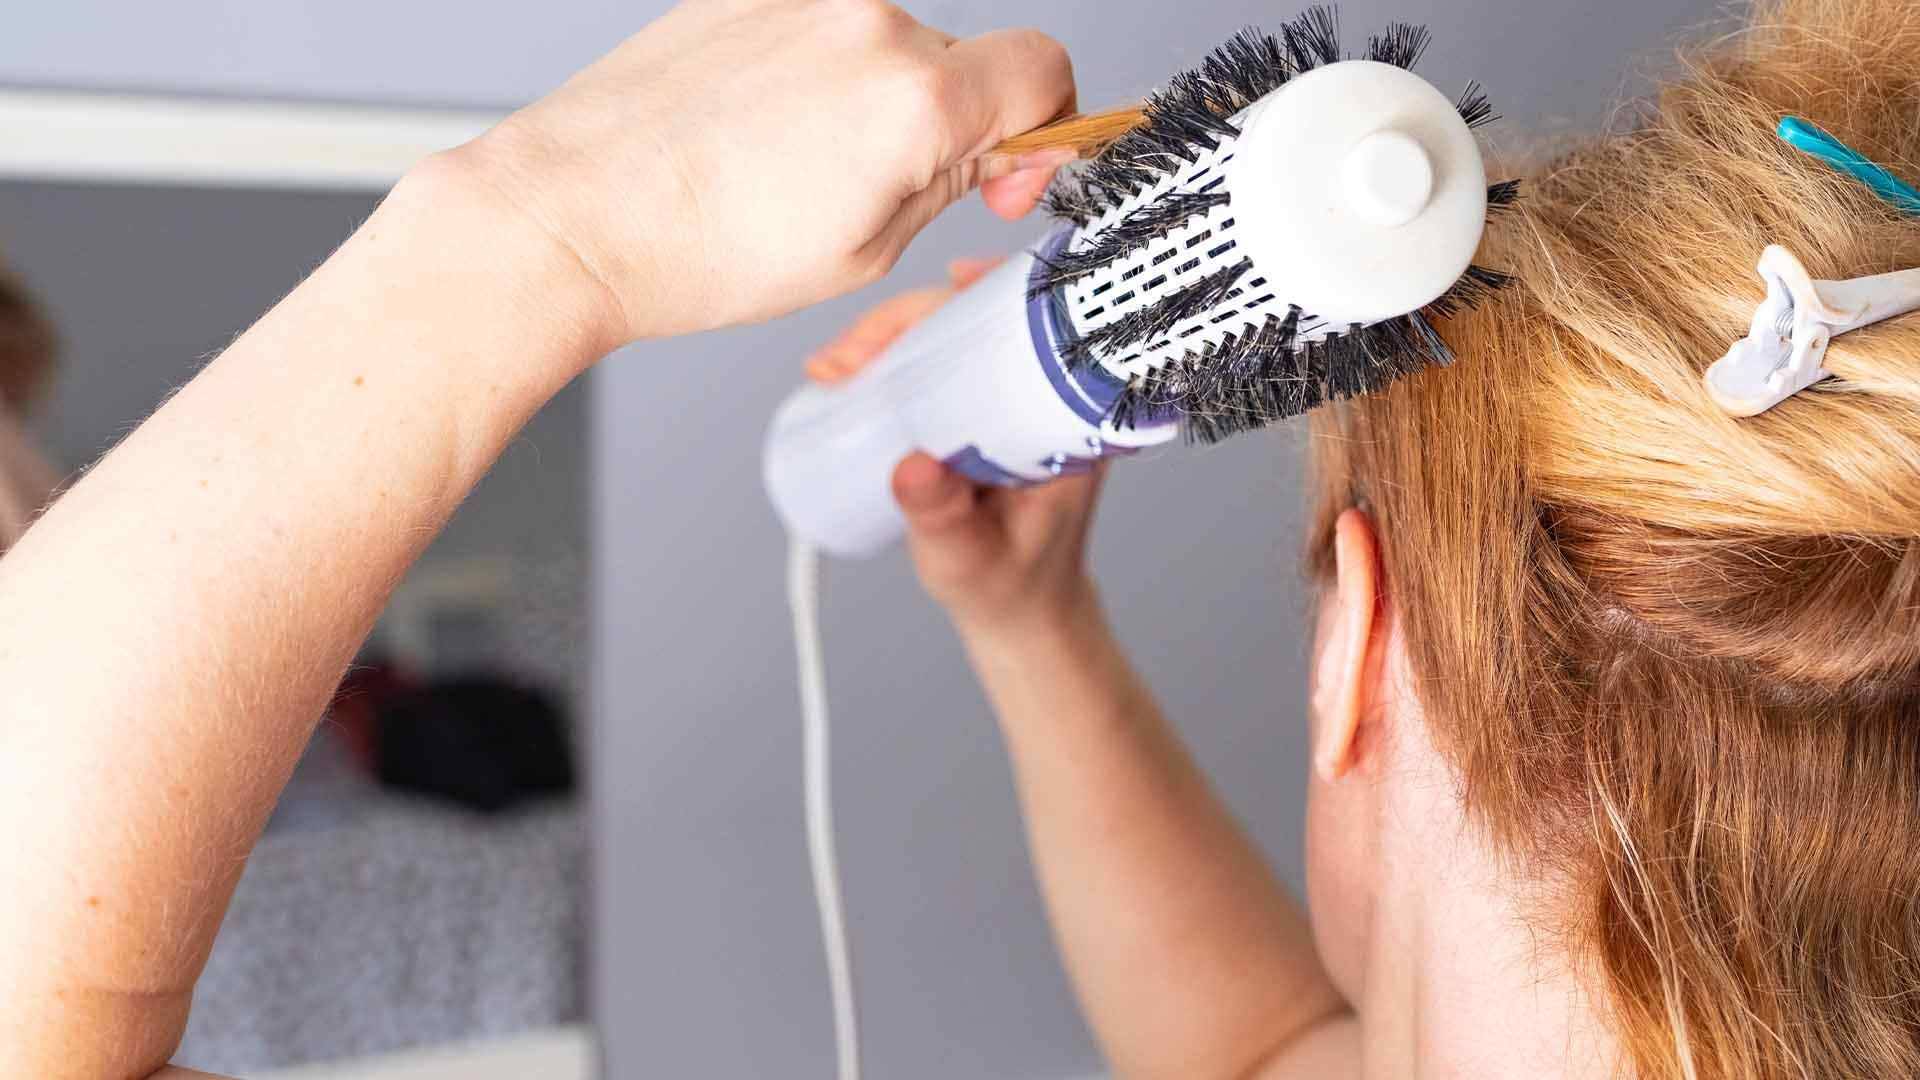
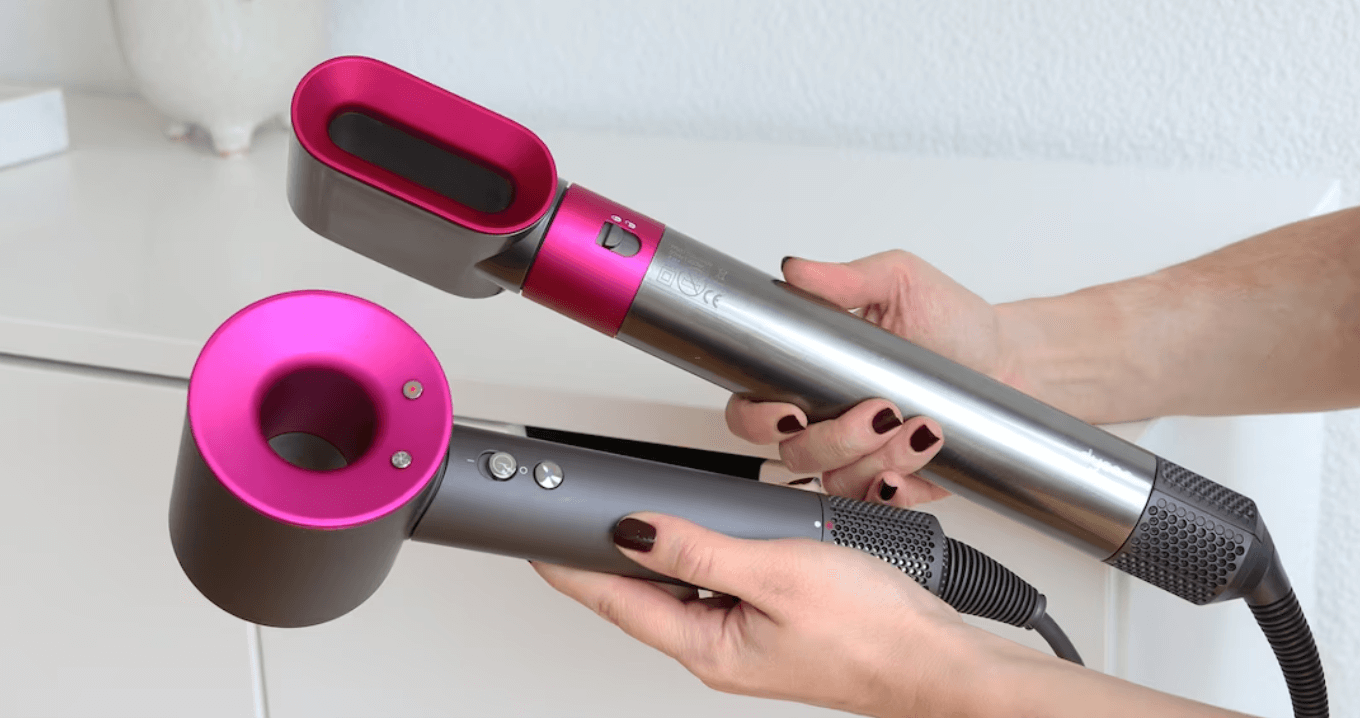
- Hair Dryer: Opt for a hair dryer with adjustable heat settings, as this will allow you to control the shrink wrap process more effectively. A higher heat setting can expedite the shrinking process, but be cautious not to apply excessive heat, especially to delicate items.
- Scissors: A pair of sharp scissors is essential for cutting the shrink wrap to the required size. Precision is key, so ensure your scissors are in good condition.
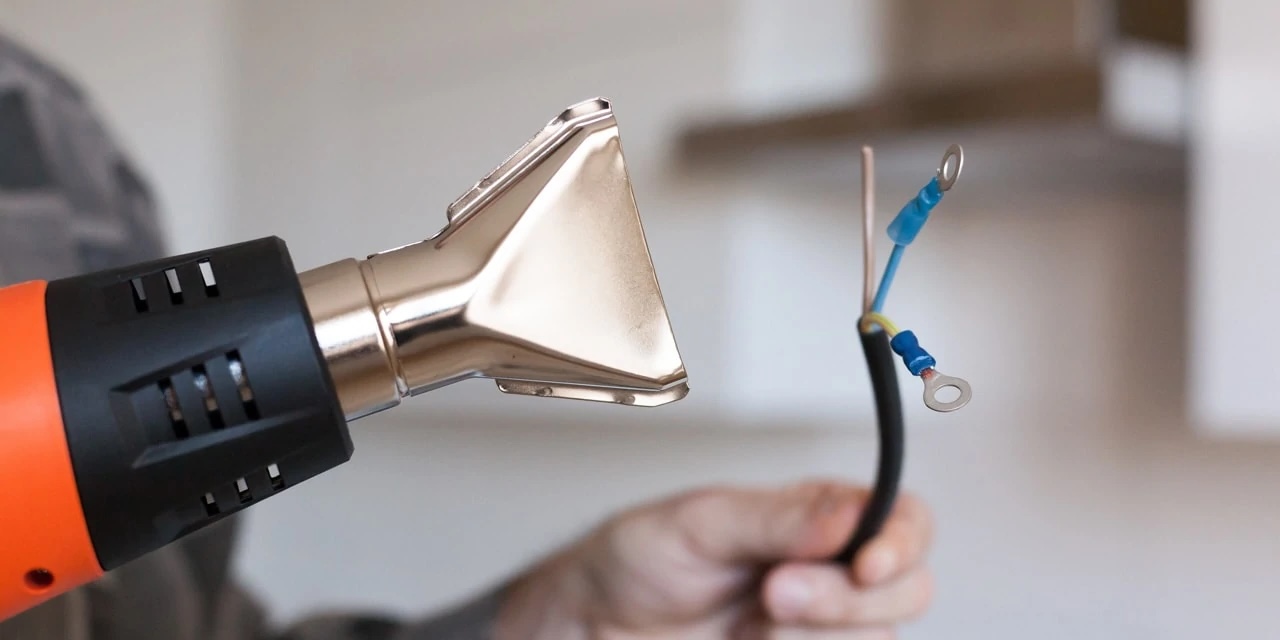
- Heat Gun (Optional): While a hair dryer is suitable for most shrink wrapping projects, a heat gun can be used as an alternative heat source. It provides concentrated heat and is particularly useful for larger or more complex items.
- Items to Wrap: Prepare the items you intend to shrink wrap. Whether it's a product for retail, a gift basket, or a collection of items for storage, ensure they are clean, dry, and free from any protruding or sharp edges that could puncture the shrink wrap.
- Work Surface: Set up a clean and clutter-free work area with ample space to maneuver the items and apply the shrink wrap. A flat, stable surface such as a table or countertop is ideal.
- Protective Gloves (Optional): If you're working with a heat gun or conducting a large shrink wrapping project, wearing heat-resistant gloves can provide added protection for your hands.
By ensuring you have these materials on hand, you'll be well-prepared to commence the shrink wrapping process with confidence and efficiency.
Steps for Using Shrink Wrap with a Hair Dryer
Now that you have assembled the necessary materials, it's time to dive into the step-by-step process of using shrink wrap with a hair dryer. Follow these clear and concise instructions to achieve professional and secure packaging results:
- Prepare the Items: Ensure that the items you plan to shrink wrap are clean, dry, and free from any debris. If necessary, arrange multiple items together for simultaneous wrapping.
- Cut the Shrink Wrap: Measure and cut a piece of shrink wrap that provides ample coverage for the item(s) while allowing for a small overlap. It's crucial to have enough shrink wrap to fully encase the items without being excessive.
- Position the Shrink Wrap: Carefully place the cut piece of shrink wrap over the items, ensuring that it drapes smoothly and evenly. If wrapping multiple items, arrange them in a manner that facilitates efficient and uniform coverage.
- Secure the Shrink Wrap: Use tape or adhesive to temporarily secure the shrink wrap in place. This will prevent it from shifting during the heating process and ensure a neat and professional appearance.
- Apply Heat: With your hair dryer set to a medium heat setting, begin directing the airflow over the shrink wrap. Keep the hair dryer in constant motion, evenly distributing the heat to avoid concentrating it in one area for too long.
- Observe the Shrinkage: As the shrink wrap is exposed to the heat, you will notice it starting to shrink and conform to the shape of the items. Pay close attention to any areas that may require additional heat to achieve a uniform and snug fit.
- Finalize the Shrink Wrap: Once the shrink wrap has uniformly shrunk to the desired tightness, turn off the hair dryer and allow the wrapped items to cool. Trim any excess shrink wrap if necessary, ensuring a neat and professional finish.
- Inspect the Results: Carefully examine the shrink-wrapped items to ensure that the shrink wrap is securely in place and free from any defects. Your items are now effectively shrink wrapped and ready for display, storage, or shipping.
By following these systematic steps, you can master the art of using shrink wrap with a hair dryer, achieving impeccable results for a variety of packaging needs. Embrace the process with patience and precision, and you'll soon become proficient in the art of shrink wrapping!
When using shrink wrap with a hair dryer, make sure to keep the hair dryer moving constantly to evenly distribute the heat and prevent the wrap from melting in one spot. This will help to create a smooth and professional finish.
Tips and Tricks
Enhance your shrink wrapping expertise with these invaluable tips and tricks that can elevate the quality and efficiency of your packaging endeavors:
- Choose the Right Shrink Wrap: Select shrink wrap that is compatible with the items you plan to package. Consider the size, shape, and fragility of the items to ensure the shrink wrap provides adequate protection without compromising the integrity of the contents.
- Test the Heat Settings: Before commencing the shrink wrapping process, test the hair dryer's heat settings on a small piece of shrink wrap. This allows you to gauge the heat intensity and make adjustments as needed to prevent overheating or under-shrinking.
- Work in a Well-Ventilated Area: Shrink wrapping can produce fumes when exposed to heat, so it's advisable to work in a well-ventilated space to dissipate any odors and maintain a comfortable environment.
- Avoid Excessive Heat: Exercise caution when applying heat to the shrink wrap, as excessive heat can cause damage to the items or result in uneven shrinkage. Maintain a consistent distance between the hair dryer and the shrink wrap to achieve controlled and uniform shrinking.
- Use a Heat Gun for Large Items: When shrink wrapping larger items or batches of products, a heat gun can expedite the shrinking process due to its concentrated heat output. Exercise care and precision when using a heat gun to avoid overheating the shrink wrap.
- Inspect for Imperfections: After shrink wrapping, carefully inspect the wrapped items for any imperfections, such as air pockets or loose areas. These can be rectified by applying localized heat and gently smoothing the shrink wrap with your hands.
- Consider Protective Gloves: If you anticipate prolonged exposure to heat or are working with a heat gun, wearing heat-resistant gloves can safeguard your hands from potential burns and provide a better grip when manipulating the shrink wrap.
- Practice Makes Perfect: Like any skill, mastering the art of shrink wrapping with a hair dryer takes practice. Experiment with different items and shrink wrap techniques to refine your proficiency and achieve optimal results.
By incorporating these tips and tricks into your shrink wrapping process, you can streamline your workflow, enhance safety measures, and produce impeccably packaged items with confidence and finesse.
Conclusion
Congratulations! You have now delved into the world of shrink wrapping and discovered the versatility and convenience of using a hair dryer as a tool for achieving professional packaging results. By mastering the art of shrink wrapping, you have unlocked a valuable skill that can benefit various aspects of your personal and professional endeavors.
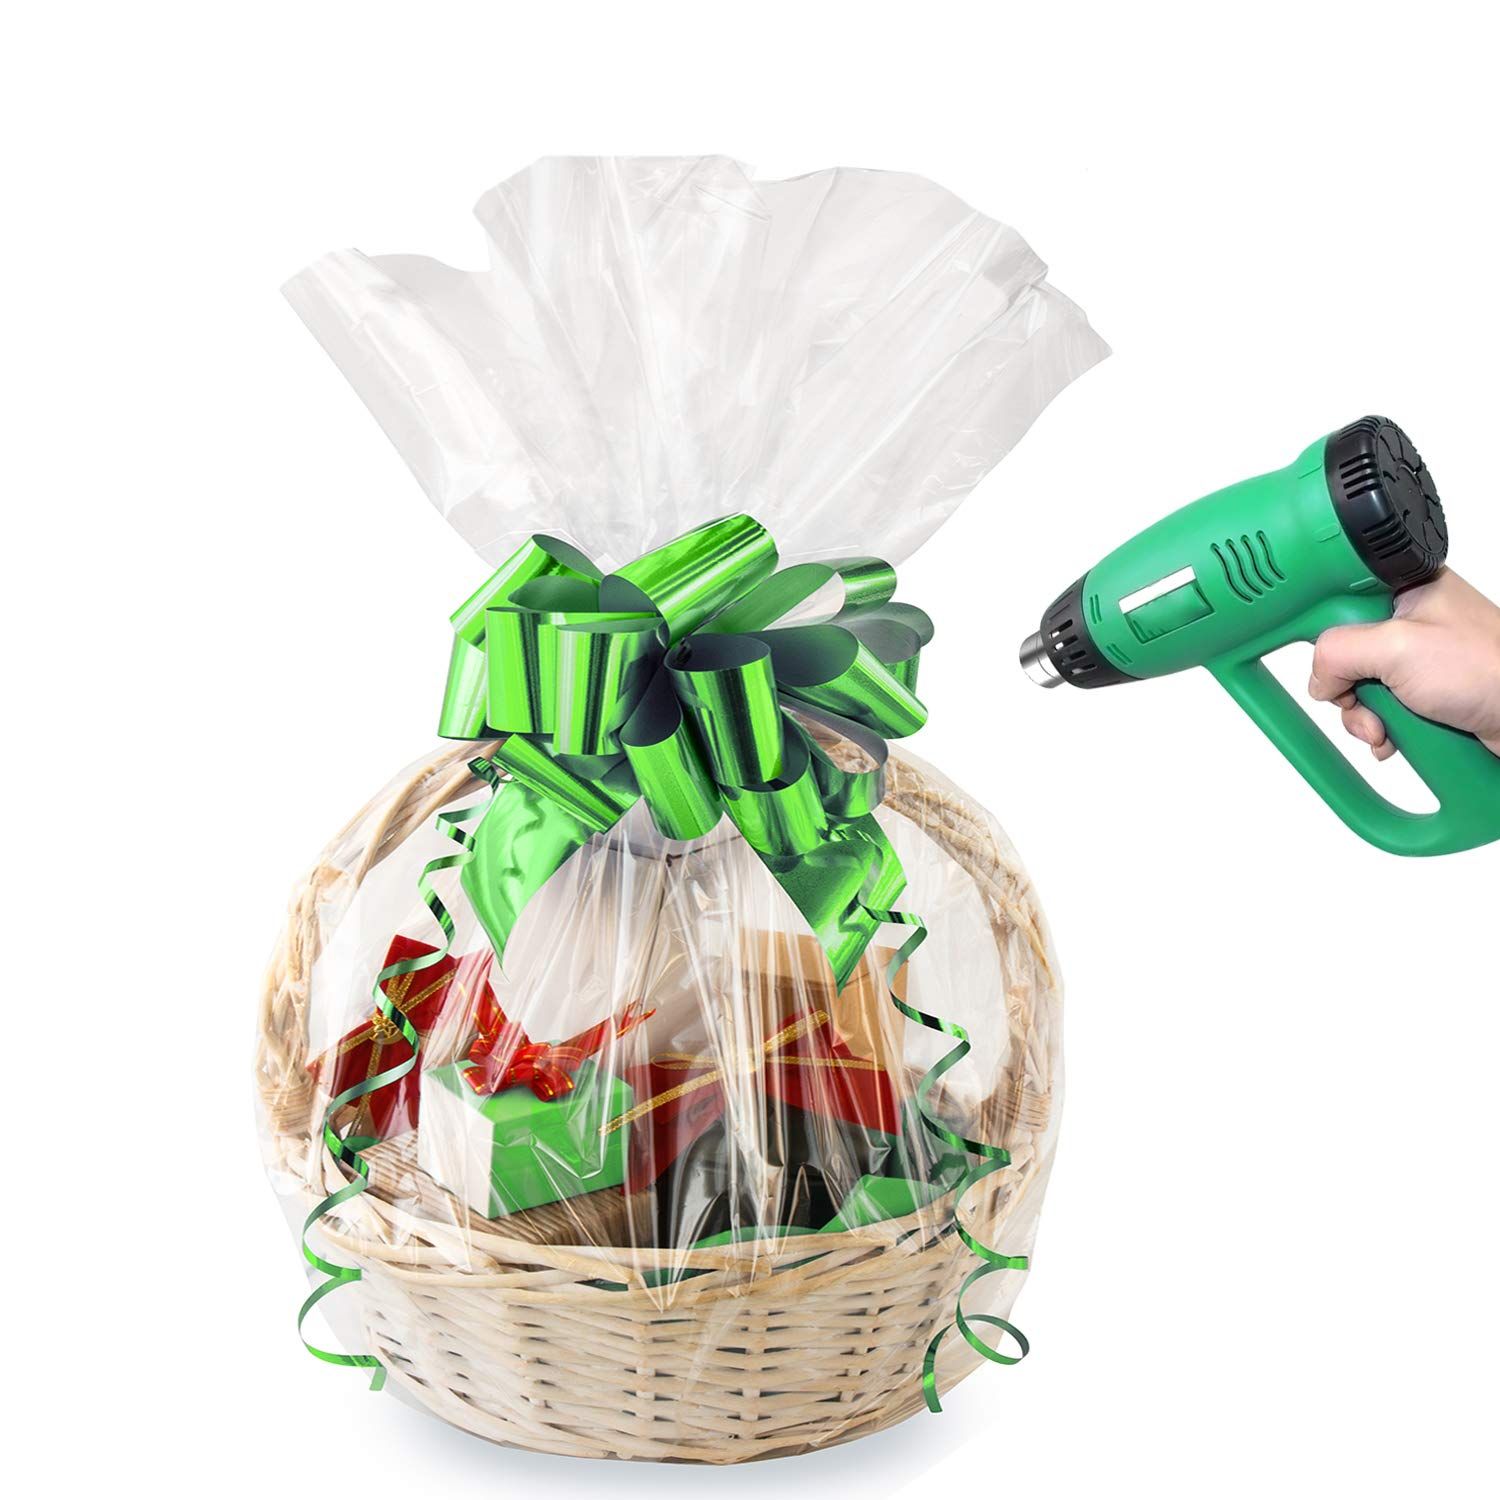
From safeguarding products for retail display to creating stunning gift baskets and protecting valuable items for storage or shipping, shrink wrap offers a versatile and effective solution for a myriad of applications. The seamless integration of a hair dryer as a heat source adds a layer of accessibility and simplicity to the shrink wrapping process, empowering individuals to achieve polished and secure packaging outcomes with ease.
As you continue to explore the possibilities of shrink wrapping, remember to leverage the tips and tricks shared in this guide to enhance your techniques and refine your approach. By carefully selecting the right materials, exercising precision during the shrink wrapping process, and incorporating best practices, you can consistently produce professional and visually appealing results.
Whether you’re a small business owner seeking to elevate the presentation of your products, a creative enthusiast embarking on DIY projects, or an individual looking to streamline your packaging efforts, the knowledge and skills acquired through this guide will serve as valuable assets in your endeavors.
Embrace the art of shrink wrapping with confidence and creativity, and witness the transformative impact it can have on the presentation, protection, and professionalism of your packaged items. With each successful shrink wrapping endeavor, you’ll further solidify your expertise and contribute to the seamless and secure packaging of a diverse range of items.
So, armed with your newfound knowledge, gather your materials, unleash the power of the hair dryer, and embark on your shrink wrapping journey with enthusiasm and determination. The world of shrink wrapping awaits, ready to showcase your items in a professional and captivating light!
Frequently Asked Questions about How To Use Shrink Wrap With A Hair Dryer
Was this page helpful?
At Storables.com, we guarantee accurate and reliable information. Our content, validated by Expert Board Contributors, is crafted following stringent Editorial Policies. We're committed to providing you with well-researched, expert-backed insights for all your informational needs.


0 thoughts on “How To Use Shrink Wrap With A Hair Dryer”