Home>Home Appliances>Bathroom Appliances>How To Shrink Wrap Bath Bombs With Hair Dryer
Bathroom Appliances
How To Shrink Wrap Bath Bombs With Hair Dryer
Modified: August 17, 2024
Learn how to shrink wrap bath bombs with a hair dryer for a professional finish. Find out the best techniques and tools for bathroom appliances.
(Many of the links in this article redirect to a specific reviewed product. Your purchase of these products through affiliate links helps to generate commission for Storables.com, at no extra cost. Learn more)
Introduction
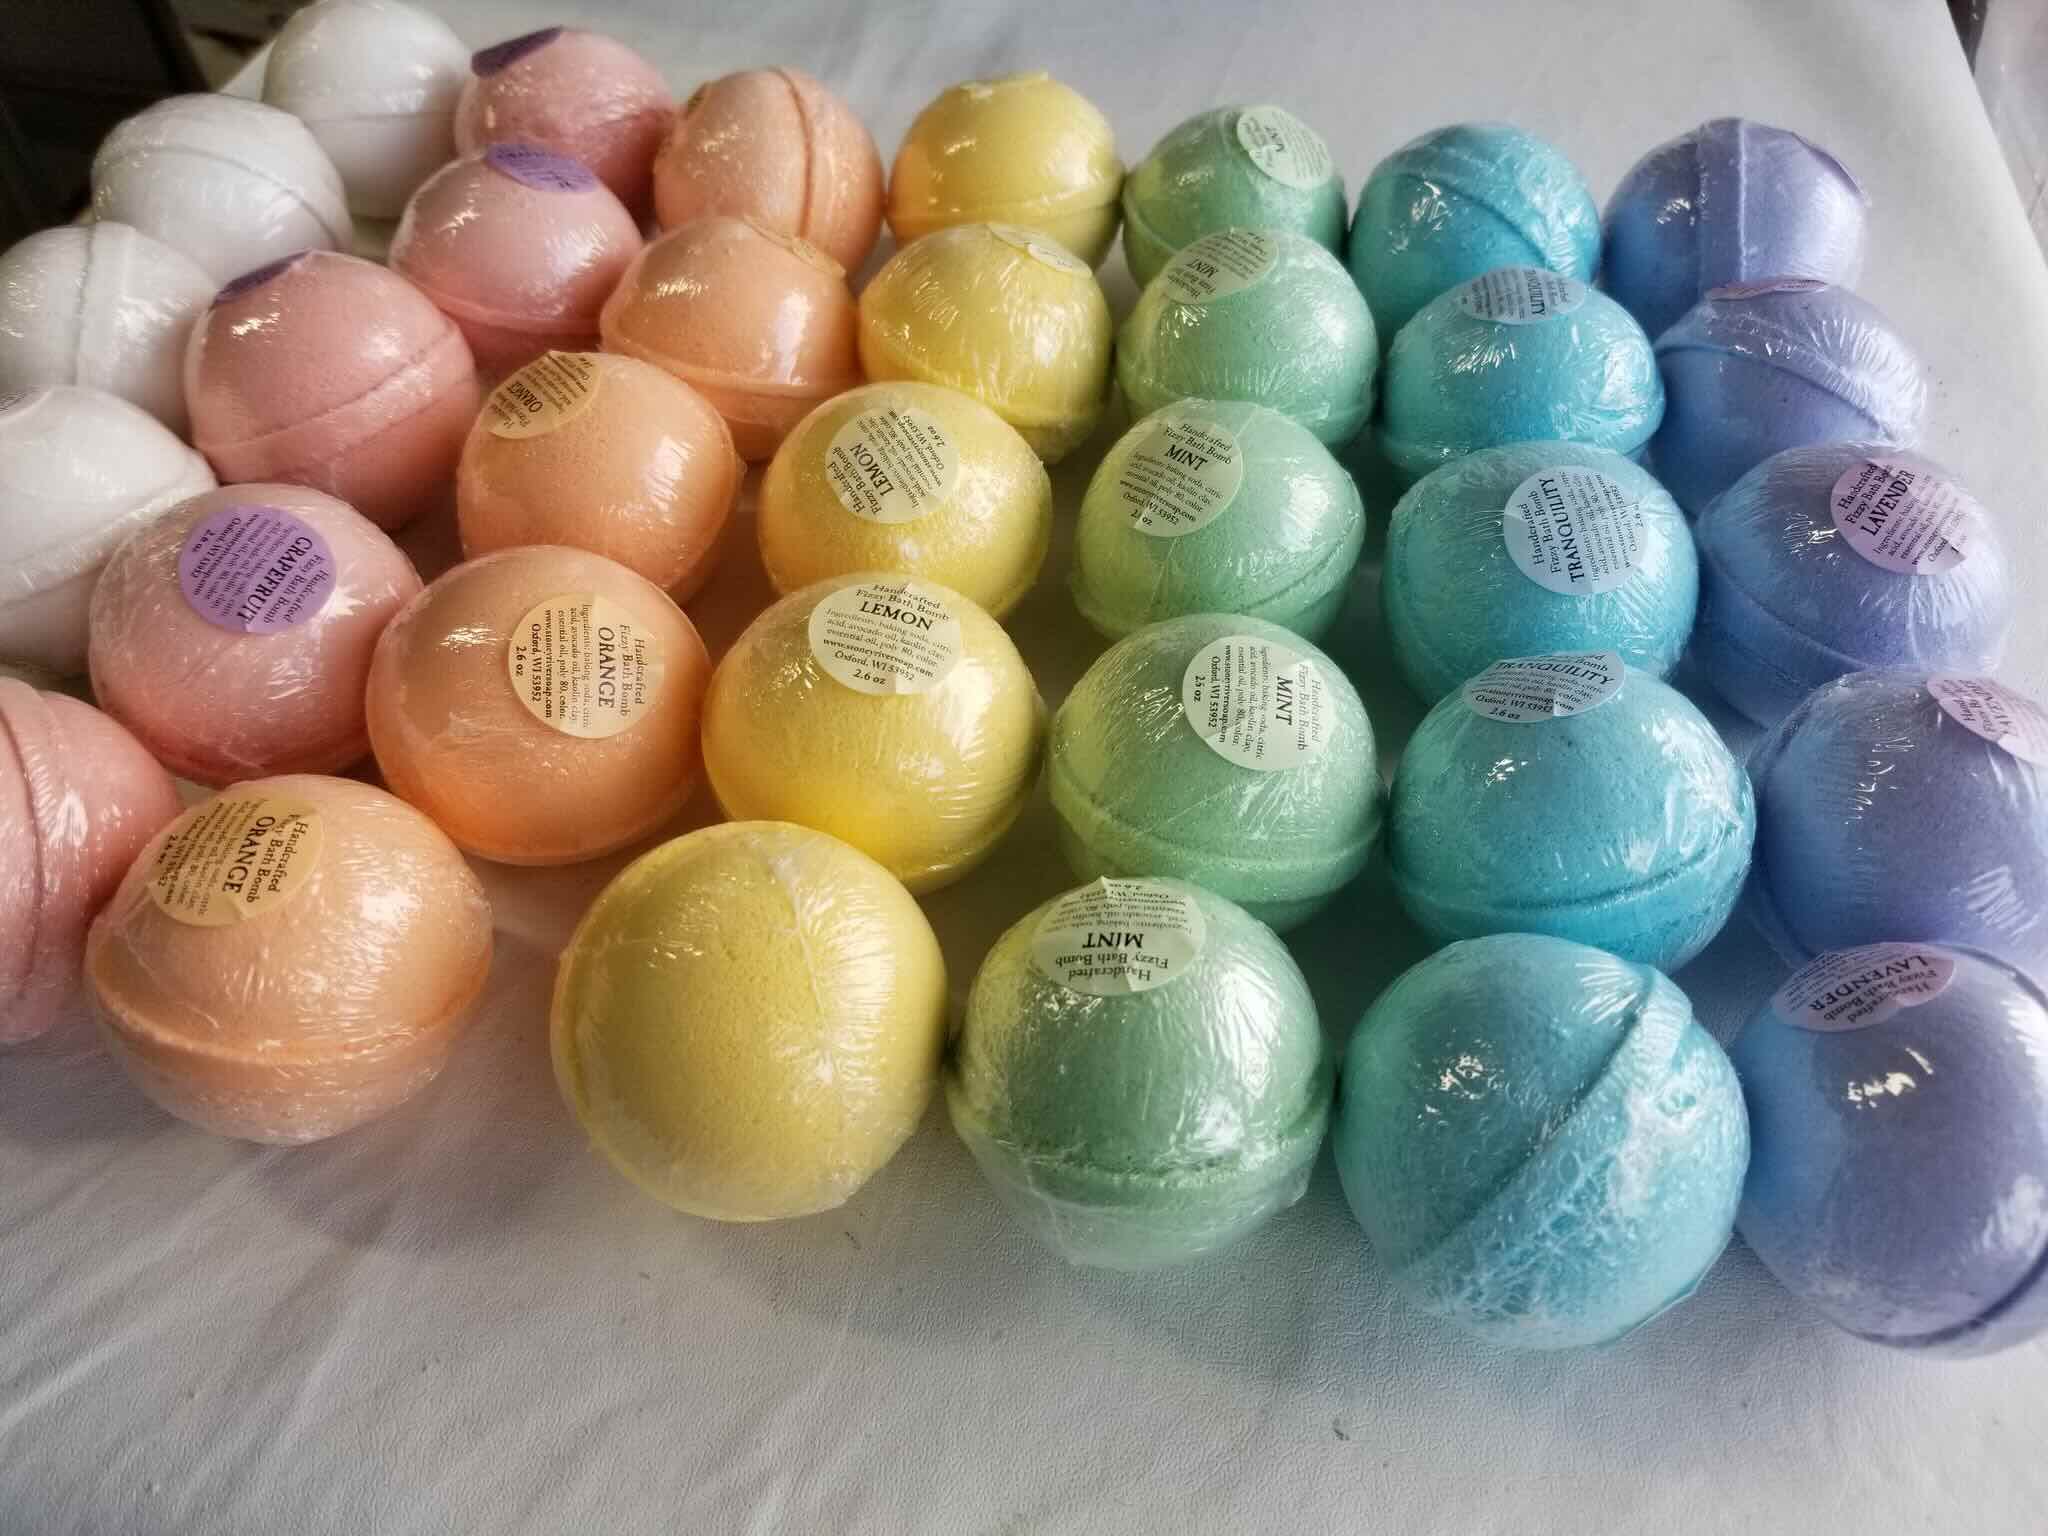
Welcome to the wonderful world of bath bombs! These delightful, fizzy spheres of aromatic goodness have taken the self-care industry by storm, transforming ordinary baths into luxurious, spa-like experiences. As a bath bomb enthusiast, you’ve likely experimented with various scents, colors, and ingredients to create the perfect bath time indulgence. However, once you’ve perfected your bath bomb recipe, you may want to preserve their beauty and freshness for gifting or selling. This is where shrink wrapping comes in. In this comprehensive guide, we’ll explore the art of shrink wrapping bath bombs using a hair dryer, allowing you to maintain the integrity of your creations while adding a professional touch to your presentation.
Shrink wrapping not only protects your bath bombs from moisture and damage but also enhances their visual appeal, making them irresistible to potential customers or recipients. With the right materials and techniques, you can achieve a sleek, professional finish that showcases your bath bombs in all their glory. So, let’s dive into the world of shrink wrapping and discover how to elevate your bath bomb game to the next level!
Key Takeaways:
- Elevate your bath bomb game by shrink wrapping with a hair dryer for a professional, protective, and visually stunning finish. Perfect for gifting or selling your delightful creations!
- Master the art of shrink wrapping bath bombs with precision and finesse, preserving their beauty and freshness until they’re ready to be enjoyed. Add a touch of professionalism to your bath bomb presentation!
Read more: How To Use Shrink Wrap With A Hair Dryer
Materials Needed
Before embarking on your shrink wrapping journey, it’s essential to gather the necessary materials to ensure a smooth and successful process. Here’s a list of items you’ll need:
- High-quality bath bombs: Ensure that your bath bombs are fully set and dry before attempting to shrink wrap them.
- Shrink wrap bags: Opt for transparent, heat-safe shrink wrap bags specifically designed for bath bombs. These bags come in various sizes to accommodate different bath bomb dimensions.
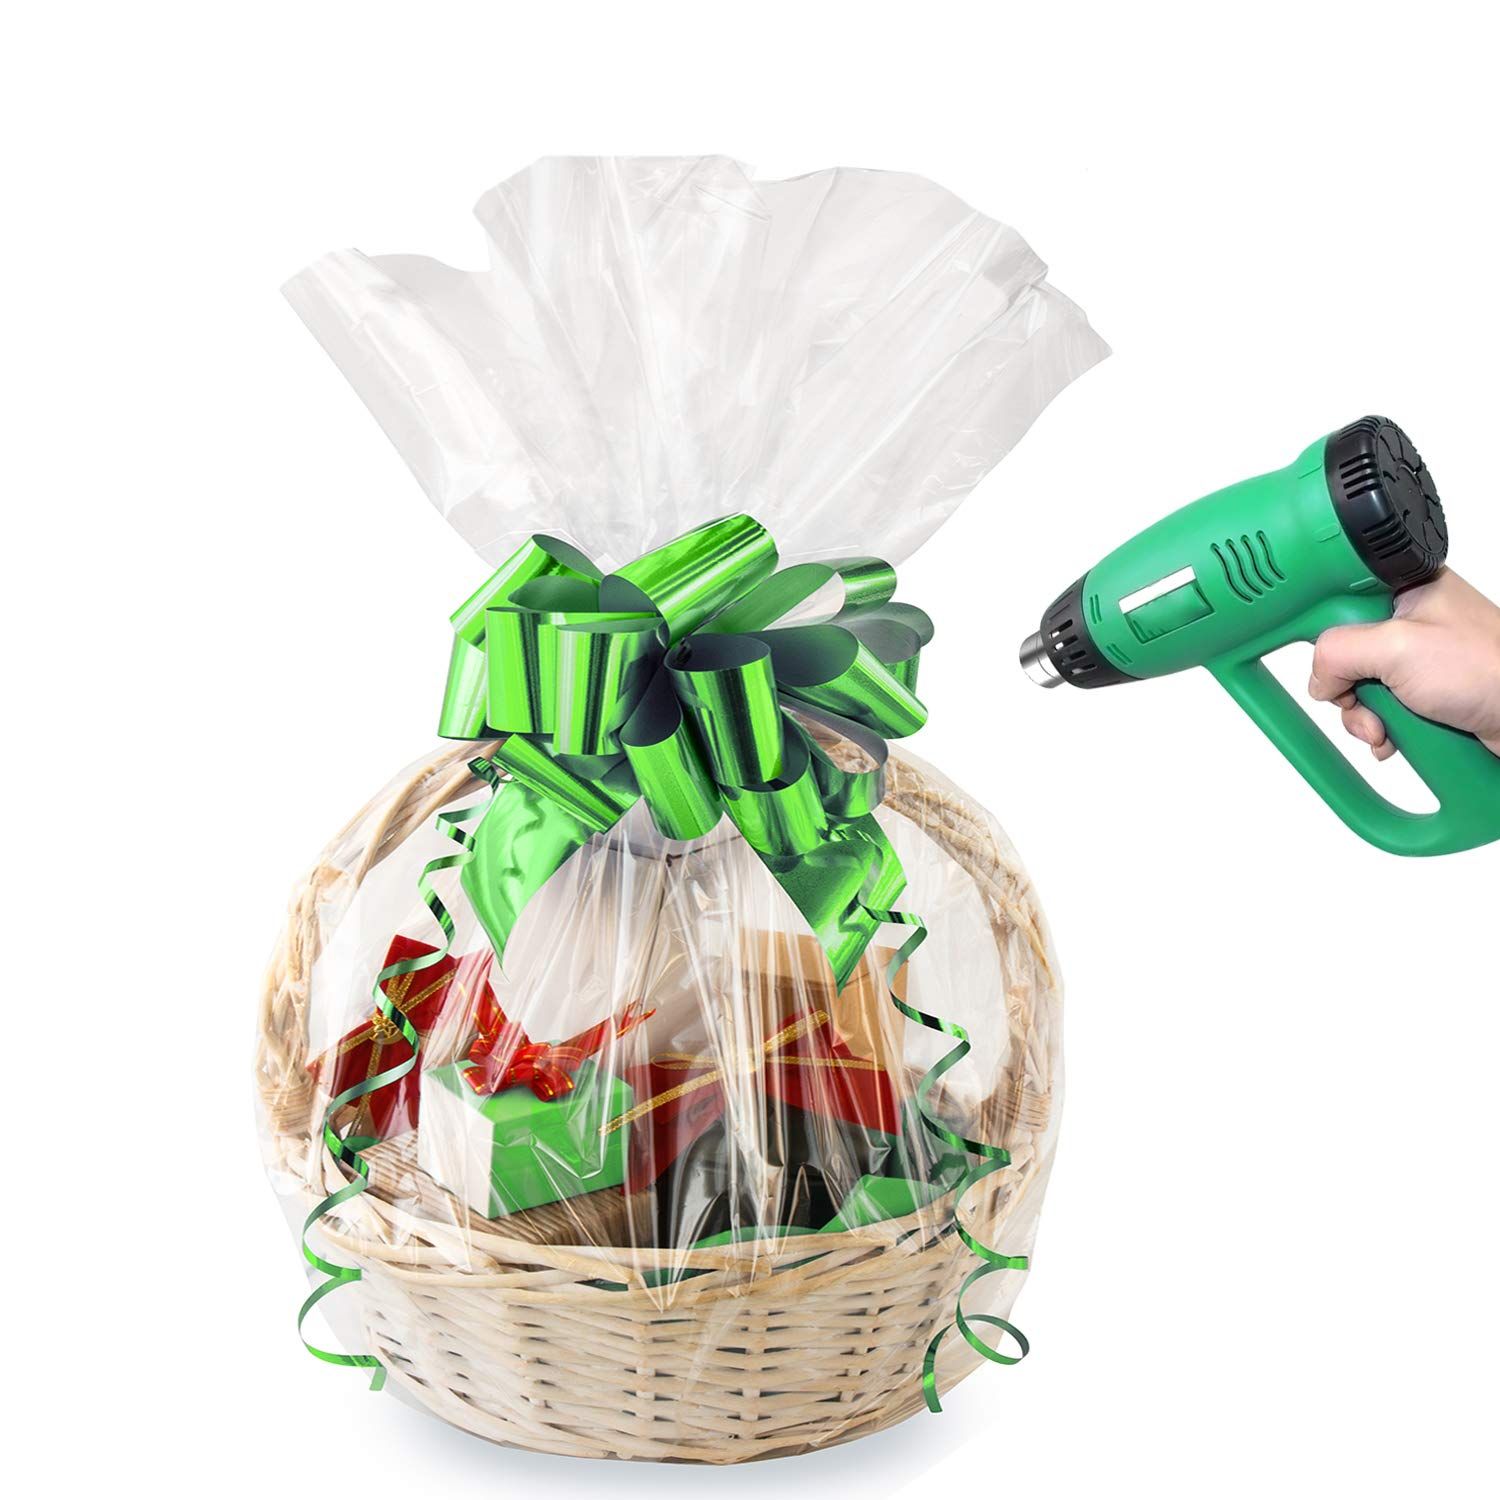
- Hair dryer: A standard hair dryer with adjustable heat settings will serve as your primary tool for shrinking the wrap around the bath bombs.
- Sealer or tape: Depending on the type of shrink wrap bags you use, you may need a sealer or heat-resistant tape to secure the open ends of the bags.
- Labels (optional): If you’re preparing bath bombs for sale or gifting, consider designing and printing labels to affix to the wrapped products, adding a personalized touch.
- Work surface: A clean, flat surface with ample space to maneuver the hair dryer and shrink wrap bags is essential for a hassle-free wrapping process.
- Scissors: Keep a pair of scissors handy to trim excess shrink wrap and ensure a neat, professional finish.
By assembling these materials, you’ll be well-equipped to embark on the shrink wrapping process and present your bath bombs in a visually stunning and protective package.
Steps to Shrink Wrap Bath Bombs With a Hair Dryer
Now that you have gathered all the necessary materials, it’s time to dive into the step-by-step process of shrink wrapping your bath bombs with a hair dryer. Follow these simple and effective steps to achieve professional-looking results:
- Prepare Your Work Area: Find a clean, flat surface with ample space to comfortably maneuver the hair dryer and shrink wrap bags. Ensure that the area is free from any obstructions or potential hazards.
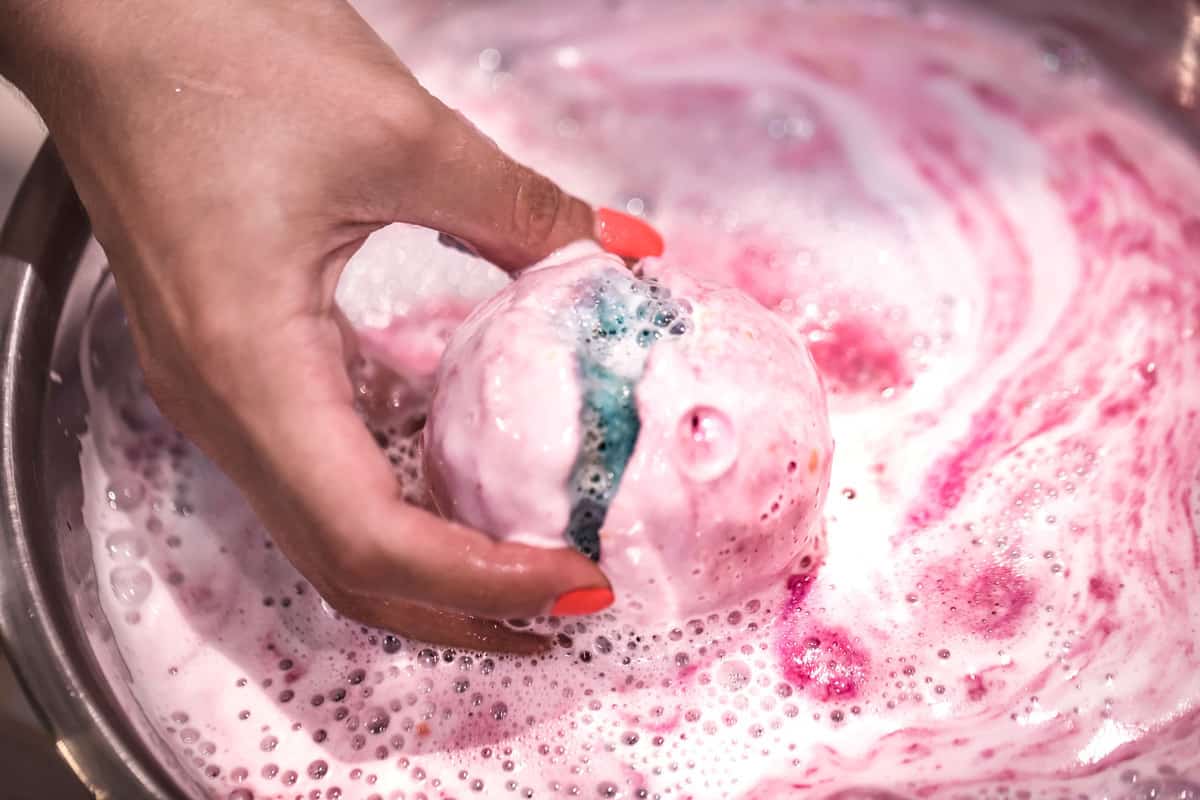
- Insert the Bath Bomb: Place a fully set and dry bath bomb into a shrink wrap bag, ensuring that it fits comfortably without excessive space around it. If you’re wrapping multiple bath bombs, repeat this step for each one.
- Seal the Bag: Depending on the type of shrink wrap bags you have, use a sealer or heat-resistant tape to securely seal the open end of the bag. This step is crucial for creating a contained environment for the shrink wrapping process.
- Apply Heat: Hold the hair dryer set on low or medium heat about 6-8 inches away from the shrink wrap bag. Move the hair dryer back and forth, evenly distributing the heat across the surface of the bag. As the heat is applied, the shrink wrap will begin to tighten and conform to the shape of the bath bomb, creating a smooth, sealed finish. Be mindful not to overheat or hold the dryer too close, as this may cause the shrink wrap to tear or melt unevenly.
- Inspect and Trim: Once the shrink wrap has fully conformed to the bath bomb, turn off the hair dryer and allow the wrapped product to cool for a few seconds. Then, carefully inspect the sealed edges for any uneven or excess shrink wrap. Use scissors to trim any overhanging wrap, ensuring a neat and professional presentation.
- Label and Display (Optional): If you’re preparing the bath bombs for sale or gifting, affix any optional labels to the wrapped products and arrange them attractively on your display or packaging. The beautifully shrink-wrapped bath bombs are now ready to be showcased and enjoyed!
By following these steps with precision and care, you’ll be able to shrink wrap your bath bombs with a hair dryer, adding a touch of professionalism and protection to your delightful creations.
Use a hair dryer on the lowest heat setting to shrink wrap bath bombs. Hold the hair dryer 6-8 inches away from the bath bomb and move it around to evenly shrink the wrap. Be careful not to overheat and melt the bath bomb.
Tips for Shrink Wrapping Bath Bombs
As you venture into the art of shrink wrapping bath bombs, consider the following tips to enhance your technique and achieve impeccable results:
- Choose the Right Size: Select shrink wrap bags that closely fit the dimensions of your bath bombs. A snug fit minimizes excess material and ensures a smooth, professional appearance after shrinking.
- Even Heat Distribution: When using a hair dryer to shrink wrap, maintain a consistent distance and motion to evenly distribute heat across the entire surface of the bag. This prevents uneven shrinking and potential damage to the bath bomb inside.
- Practice Patience: Avoid rushing the shrinking process. Allow the heat to gradually shrink the wrap, ensuring a tight and secure seal. Patience is key to achieving a flawless finish.
- Mindful Trimming: When trimming excess shrink wrap, exercise caution to avoid cutting too close to the sealed edge, which could compromise the seal. A steady hand and precise trimming will result in a polished presentation.
- Quality Control: Before presenting or packaging the shrink-wrapped bath bombs, conduct a thorough quality check to ensure that each product meets your standards. This includes inspecting the seal, overall appearance, and any optional labels or branding.
- Personalize with Labels: If you’re creating bath bombs for sale or gifting, consider designing custom labels to attach to the shrink-wrapped products. Personalized branding adds a thoughtful and professional touch, elevating the presentation of your bath bombs.
- Storage Considerations: Once shrink wrapped, store the bath bombs in a cool, dry place away from direct sunlight and moisture. Proper storage preserves the freshness and visual appeal of the products until they are ready for use or distribution.
By incorporating these tips into your shrink wrapping process, you’ll refine your technique and produce stunning, professionally wrapped bath bombs that are sure to impress and delight.
Conclusion
Congratulations! You’ve mastered the art of shrink wrapping bath bombs with a hair dryer, elevating your bath bomb presentation to a new level of professionalism and allure. By following the steps outlined in this guide and implementing the valuable tips provided, you’re well-equipped to shrink wrap your bath bombs with precision and finesse.
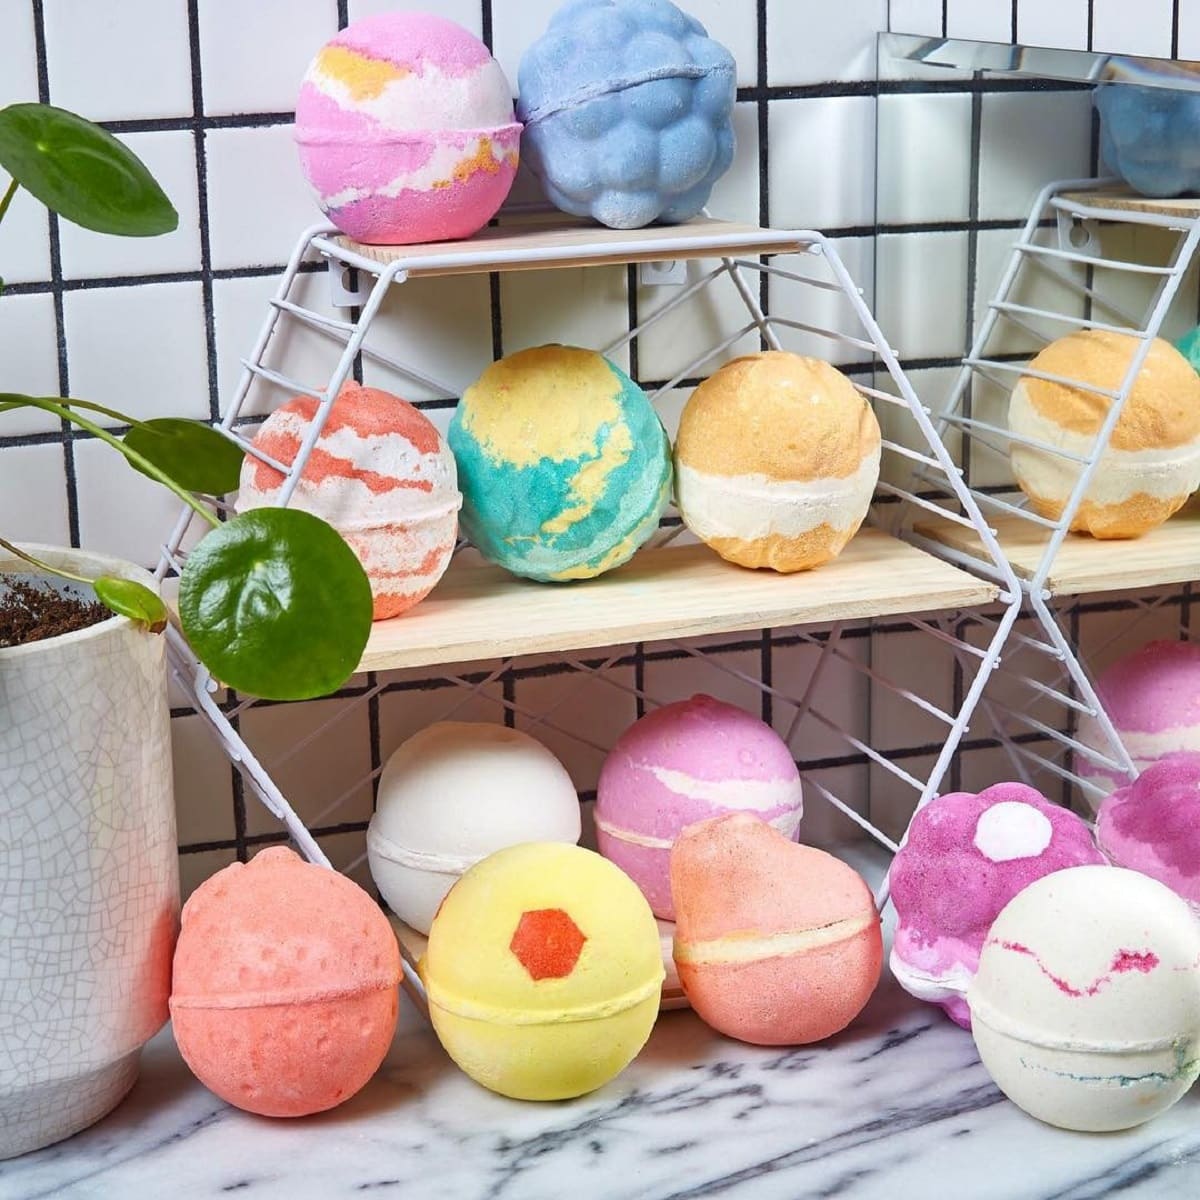
Shrink wrapping not only protects your bath bombs from external elements but also enhances their visual appeal, making them irresistible to customers and recipients. The transparent, snugly wrapped packages showcase the vibrant colors and enticing scents of your bath bombs, inviting users to indulge in a luxurious bathing experience.
Whether you’re preparing bath bombs for sale, gifting them to loved ones, or simply adding a touch of elegance to your personal bath time rituals, the shrink wrapping process ensures that your creations are preserved in pristine condition until they are ready to be enjoyed.
As you continue to explore the art of bath bomb crafting, remember that attention to detail and presentation can make a significant impact. The artful shrink wrapping of your bath bombs not only protects them but also communicates your dedication to quality and aesthetics.
So, go ahead and unleash your creativity, experiment with different scents and colors, and delight in the joy of presenting your bath bombs as exquisite works of art, beautifully encased in shrink wrap. Your passion for bath bomb creation, combined with the professional touch of shrink wrapping, is sure to captivate and enchant those who have the pleasure of experiencing your delightful creations.
Embrace the art of shrink wrapping, and let your bath bombs shine in all their glory!
Frequently Asked Questions about How To Shrink Wrap Bath Bombs With Hair Dryer
Was this page helpful?
At Storables.com, we guarantee accurate and reliable information. Our content, validated by Expert Board Contributors, is crafted following stringent Editorial Policies. We're committed to providing you with well-researched, expert-backed insights for all your informational needs.


0 thoughts on “How To Shrink Wrap Bath Bombs With Hair Dryer”