Home>Seasonal Storage>How To Shrink Wrap Gift Baskets
Seasonal Storage
How To Shrink Wrap Gift Baskets
Modified: August 17, 2024
Learn how to shrink wrap gift baskets for seasonal storage. Protect your items from dust and damage with this easy and effective method.
(Many of the links in this article redirect to a specific reviewed product. Your purchase of these products through affiliate links helps to generate commission for Storables.com, at no extra cost. Learn more)
Introduction
Shrink wrapping gift baskets is a fantastic way to create a professional and polished presentation. Whether you are preparing a gift for a special occasion or looking to add an extra touch to your gift-giving, shrink wrapping can elevate the overall look and feel of your gift baskets. In this article, we will guide you through the step-by-step process of how to shrink wrap gift baskets.
By using this method, you can securely enclose the items in your gift basket, provide protection from damage, and give it a visually stunning appearance. Additionally, shrink wrap helps in preserving the freshness of perishable items like food and flowers.
To get started, you will need a few essential materials. These include a shrink wrap roll, a heat gun or blow dryer, scissors, and decorative ribbons or bows to add a final touch. Once you have gathered all the necessary materials, you are ready to begin the shrink wrapping process.
Key Takeaways:
- Elevate your gift-giving game by learning how to shrink wrap gift baskets. Create visually stunning and professionally polished presentations that will impress and delight your loved ones on any occasion.
- With the right materials and step-by-step guidance, you can shrink wrap gift baskets like a pro. Add thoughtful finishing touches to make your gifts truly special and memorable for the recipients.
Read more: How To Wrap Gift Baskets
Materials Needed
Before you start shrink wrapping your gift baskets, make sure you have the following materials:
- Shrink wrap roll: Choose a shrink wrap roll that is wide enough to wrap around your gift basket and sturdy enough to withstand heat.
- Heat gun or blow dryer: You will need a heat source to shrink the wrap. A heat gun specifically designed for shrink wrapping is recommended, but a blow dryer works as well.
- Scissors: You will need a pair of scissors to cut the shrink wrap to the appropriate size.
- Decorative ribbons or bows: To add a final decorative touch to your gift basket, have some ribbons or bows available.
These materials can be easily found at craft stores, online retailers, or even your local supermarket.
Note: If you are planning to use shrink wrap for food items, it is important to ensure that the shrink wrap material is food-safe and suitable for direct contact with consumables. Look for shrink wrap that is specifically labeled as food-grade or approved for food packaging.
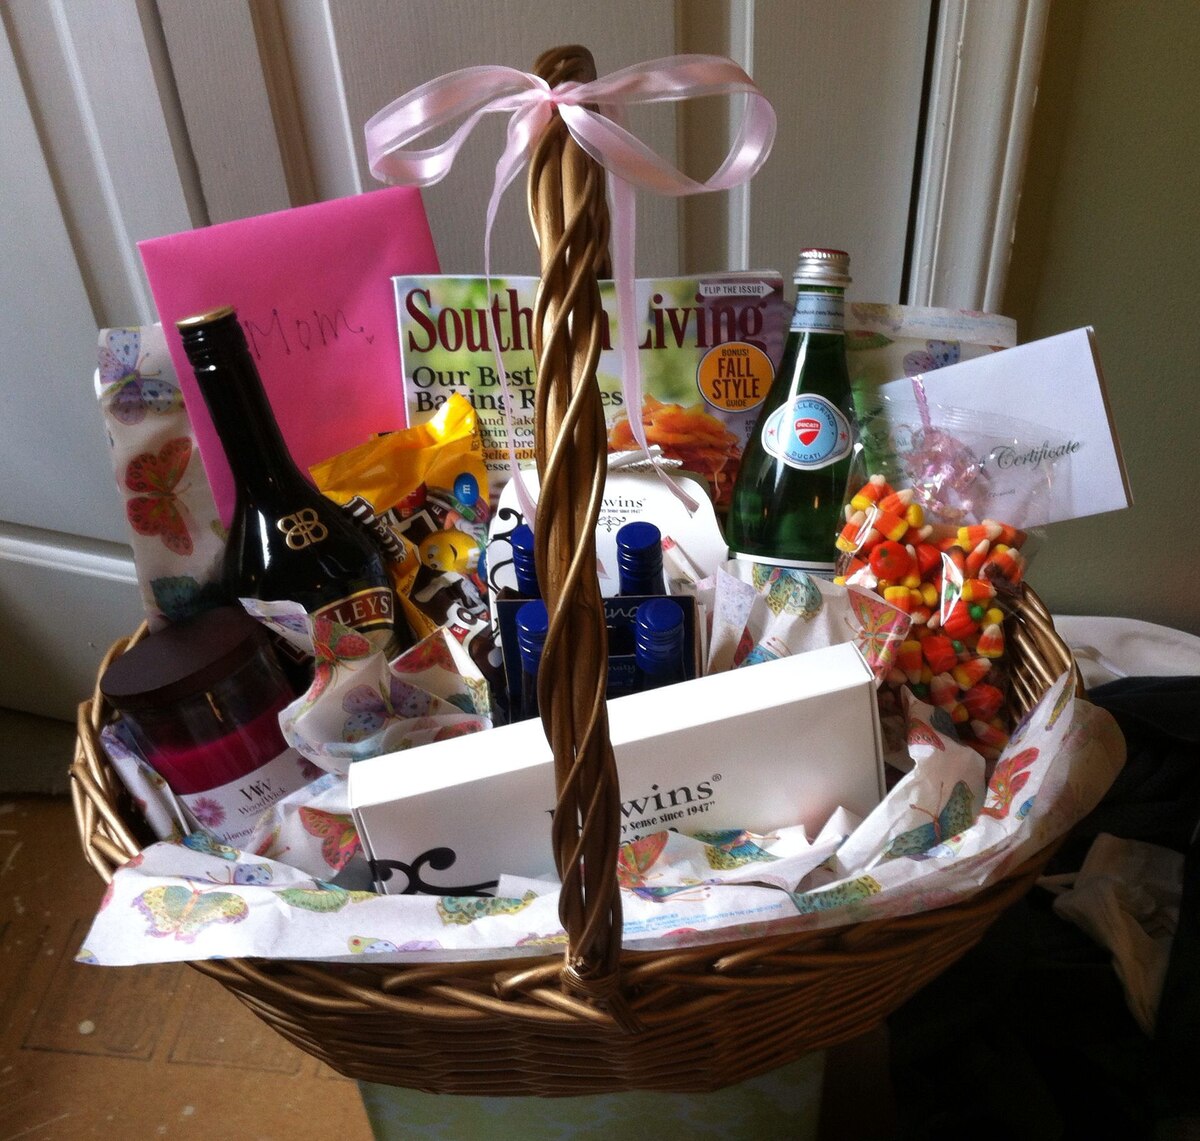
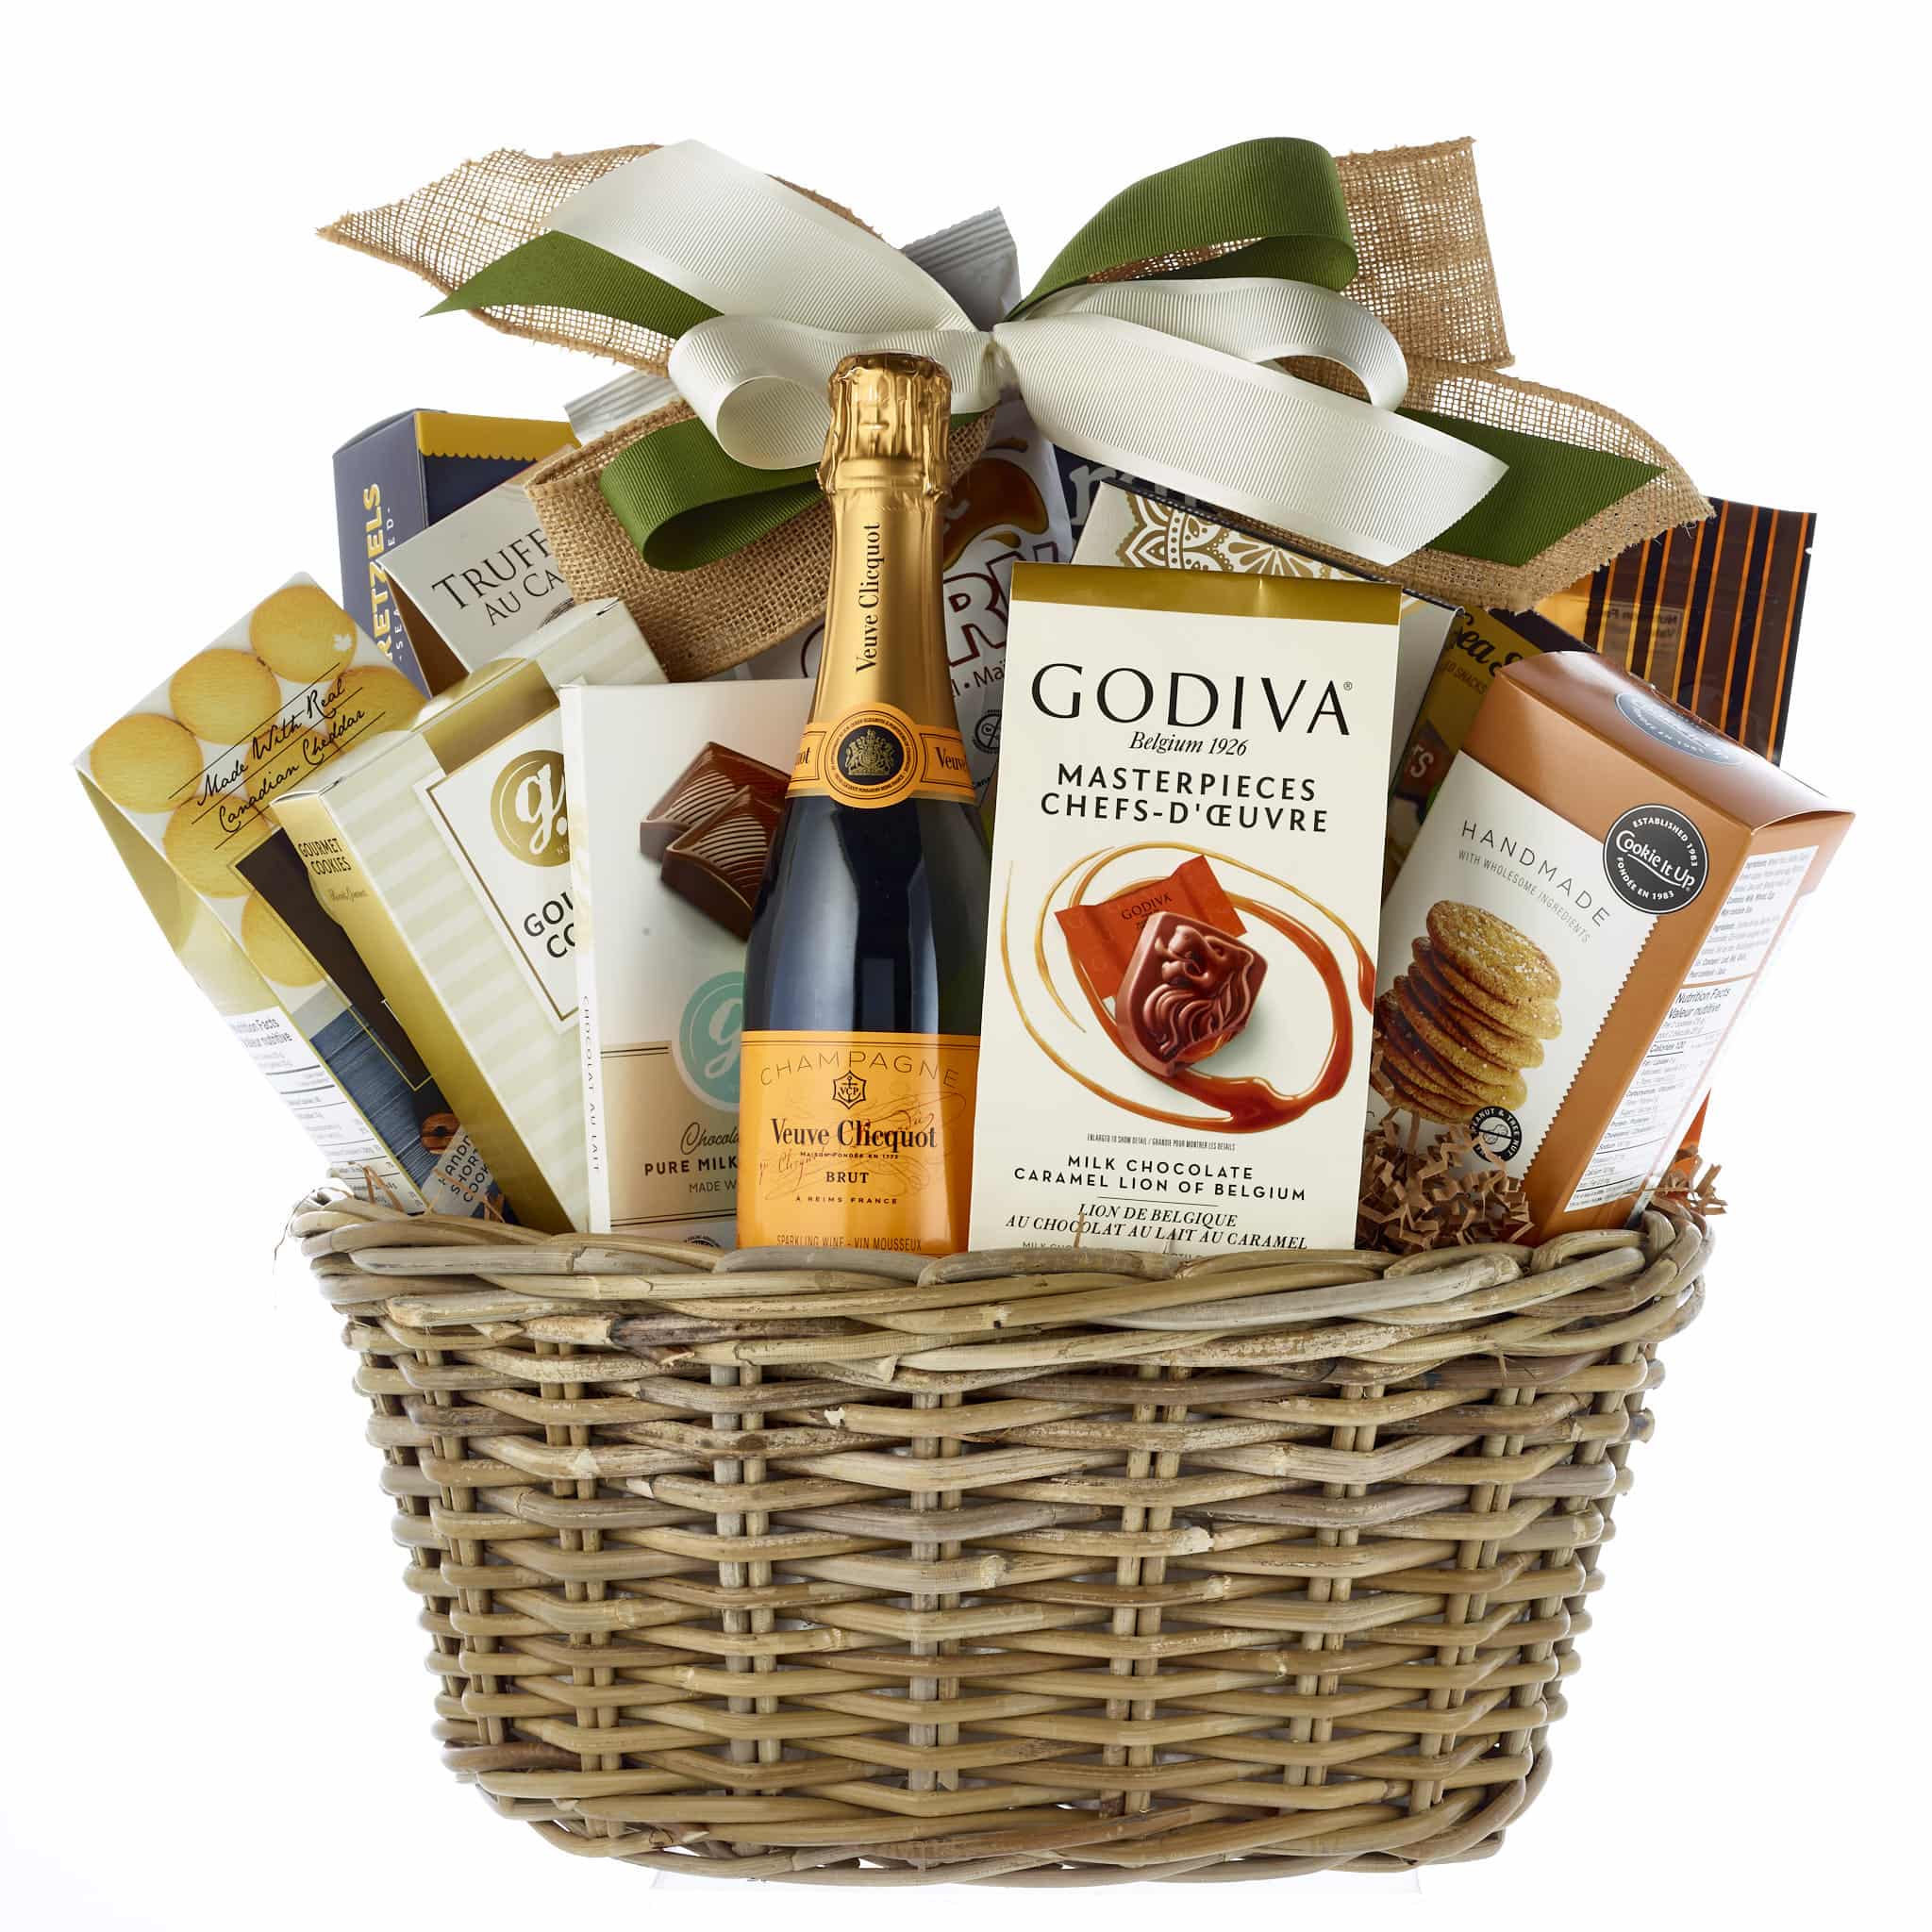
Step 1: Gather the Gift Basket Items
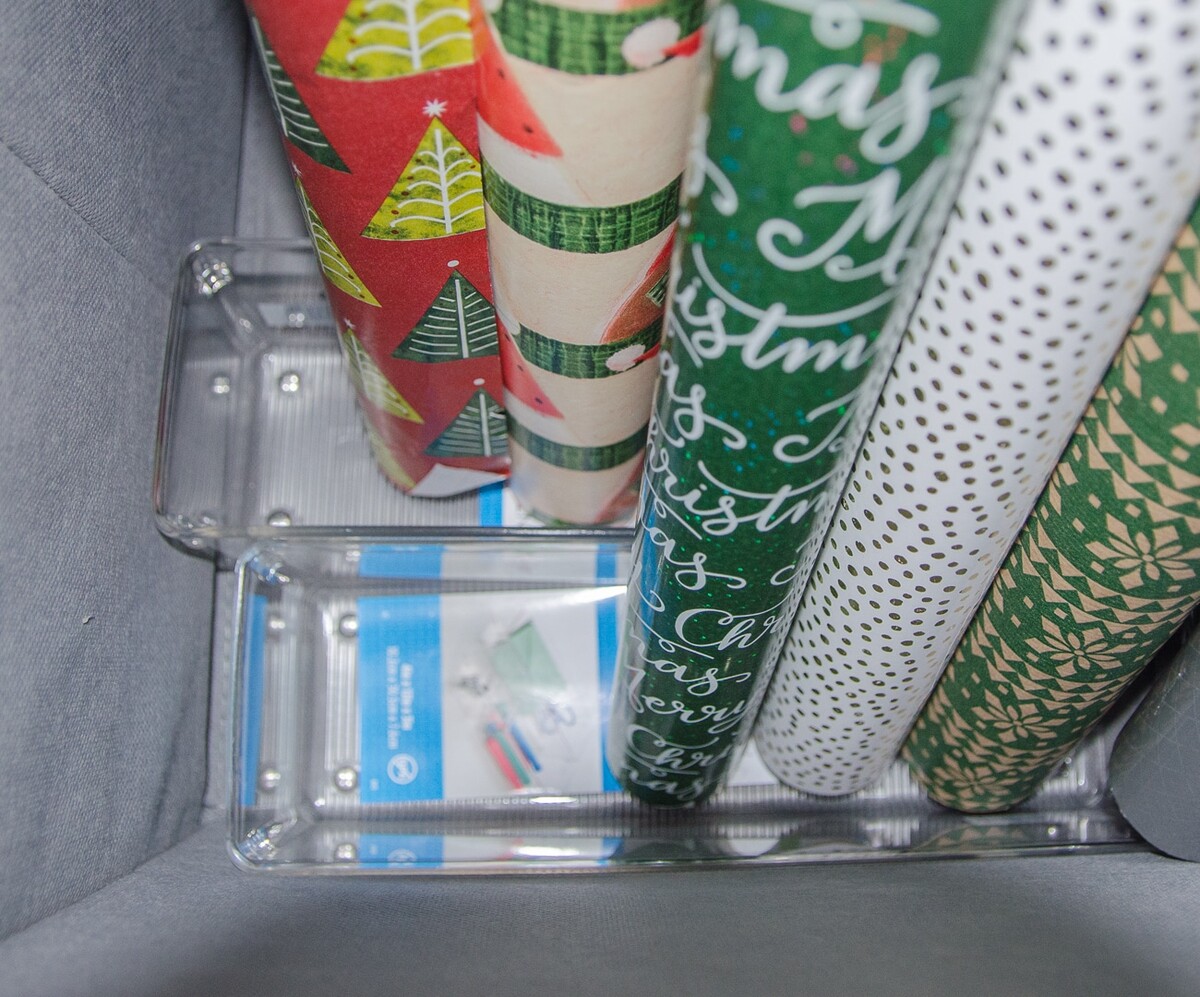
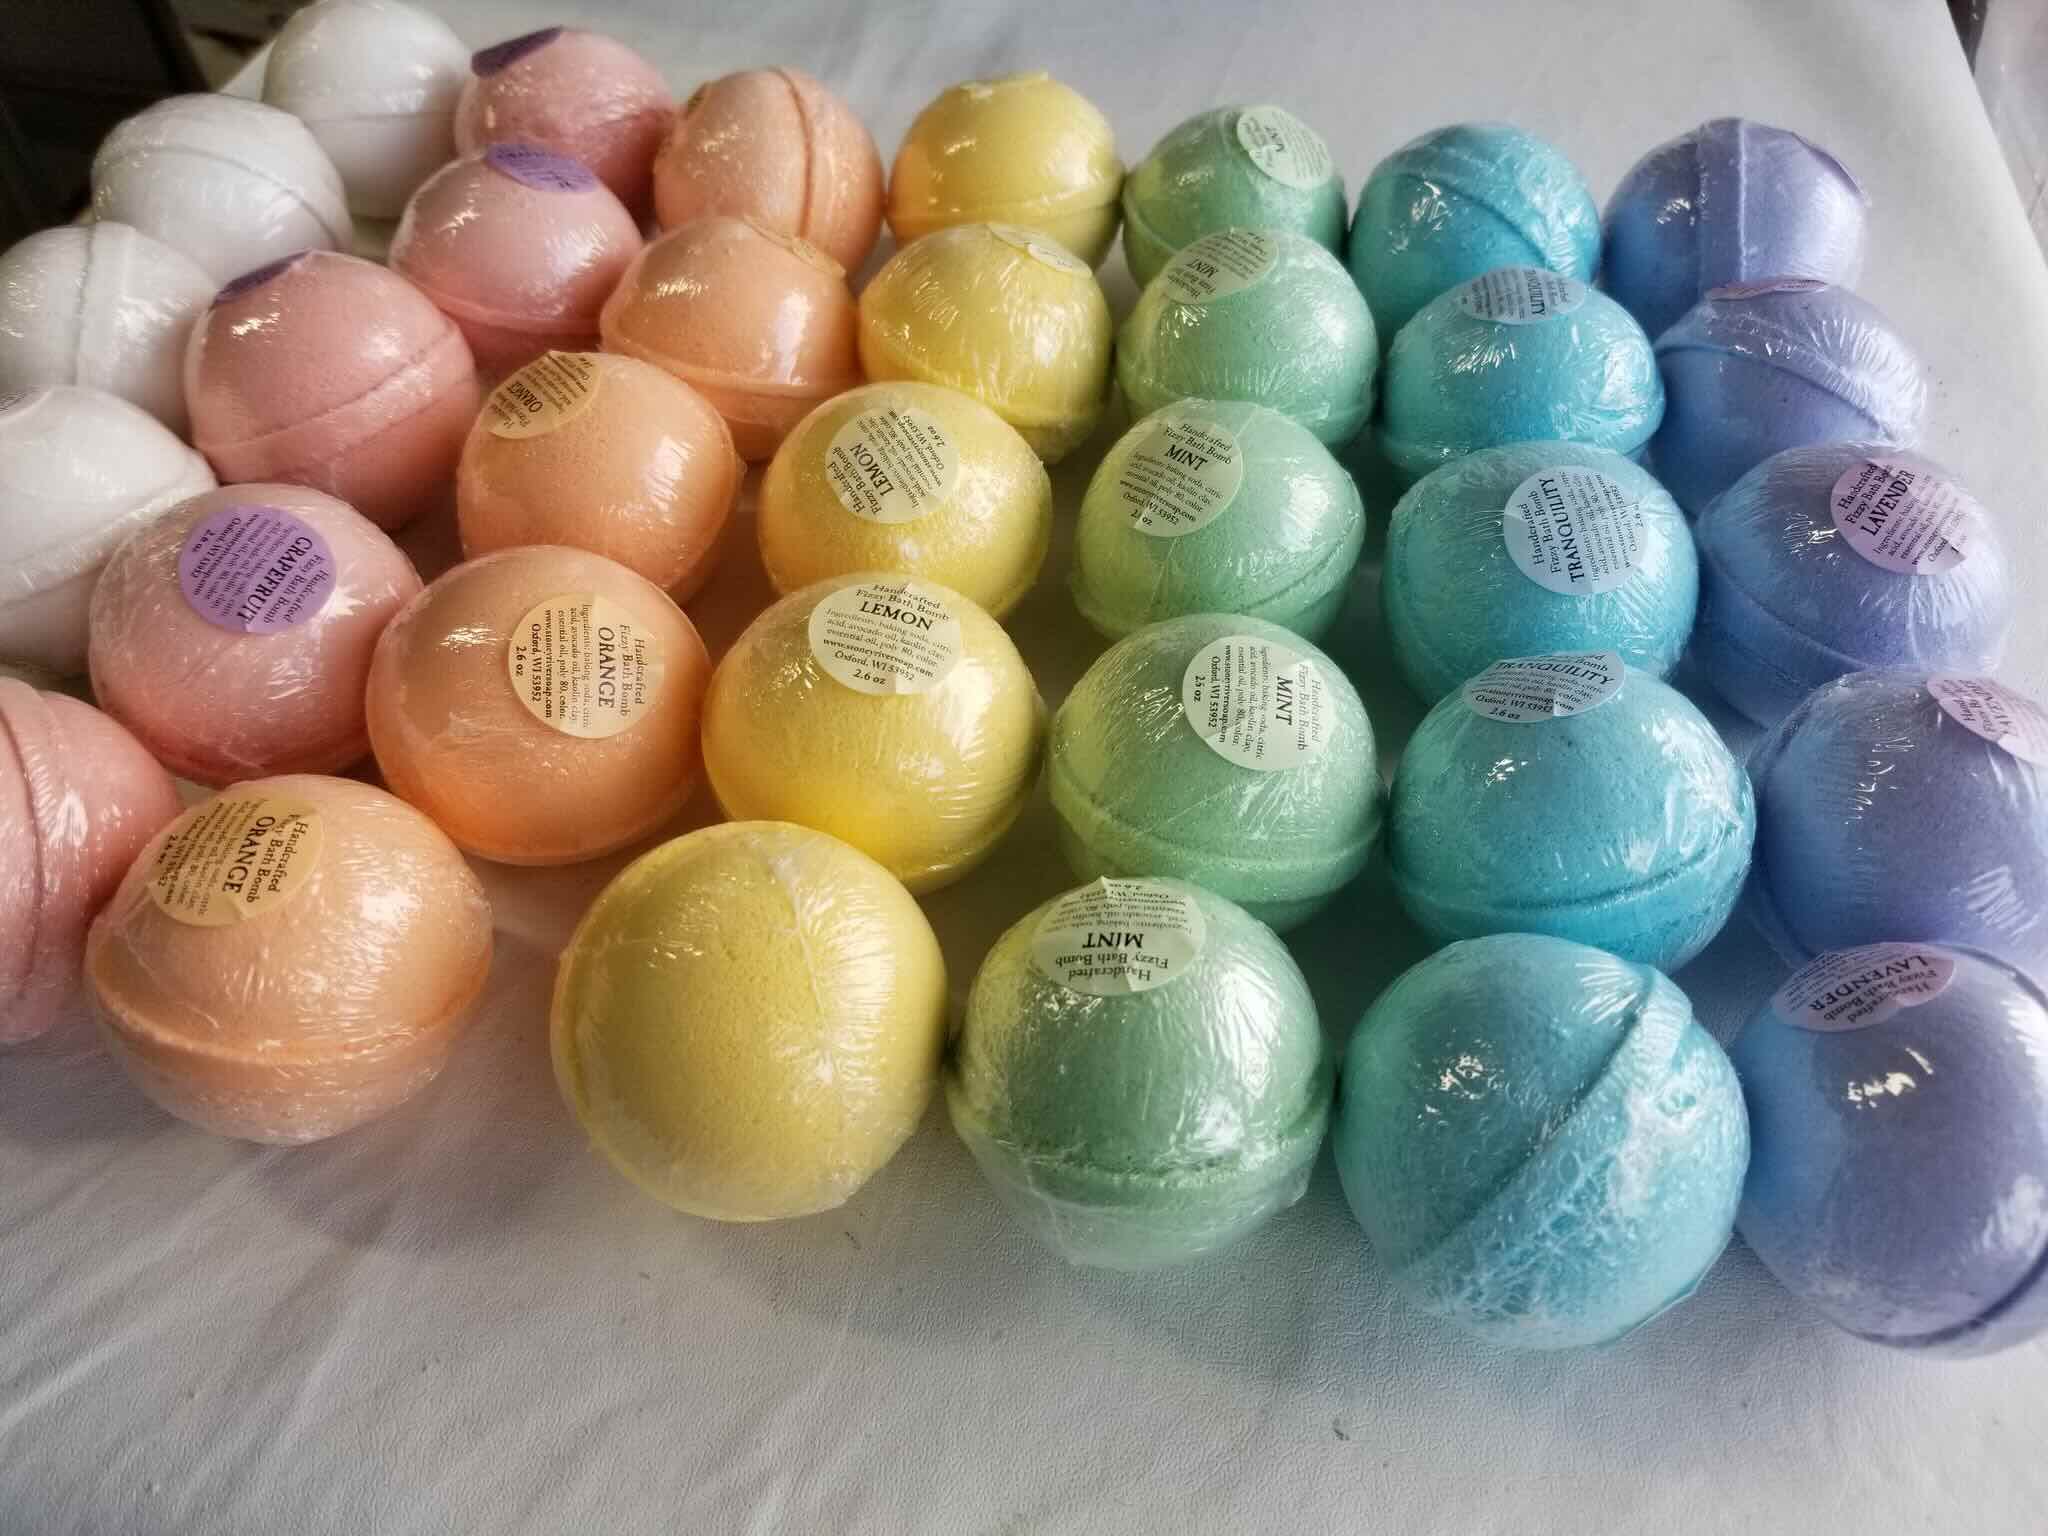
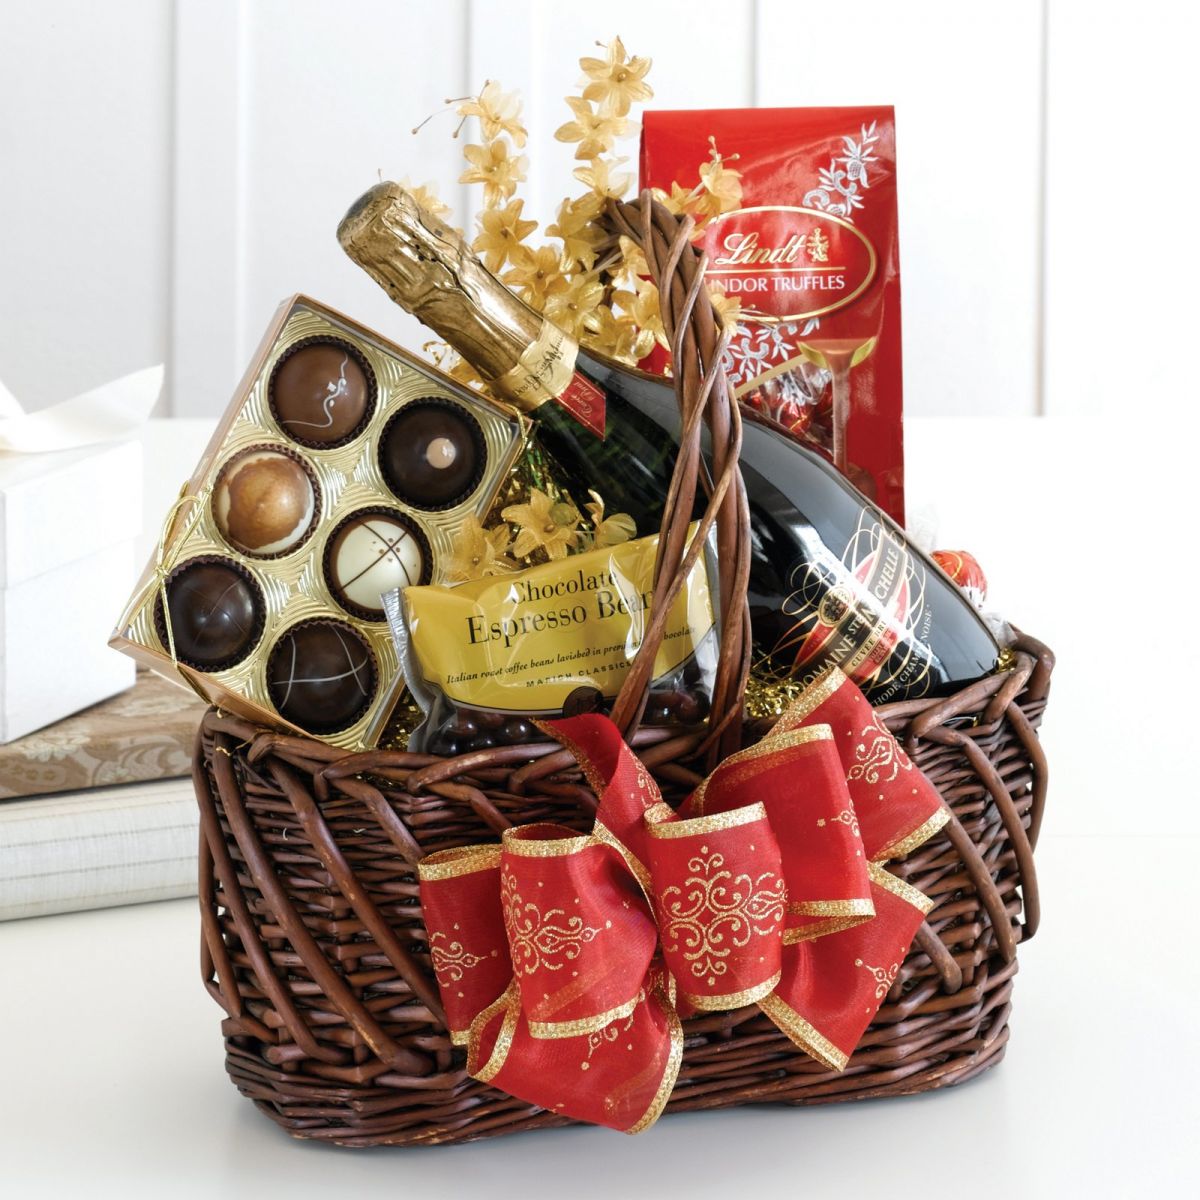
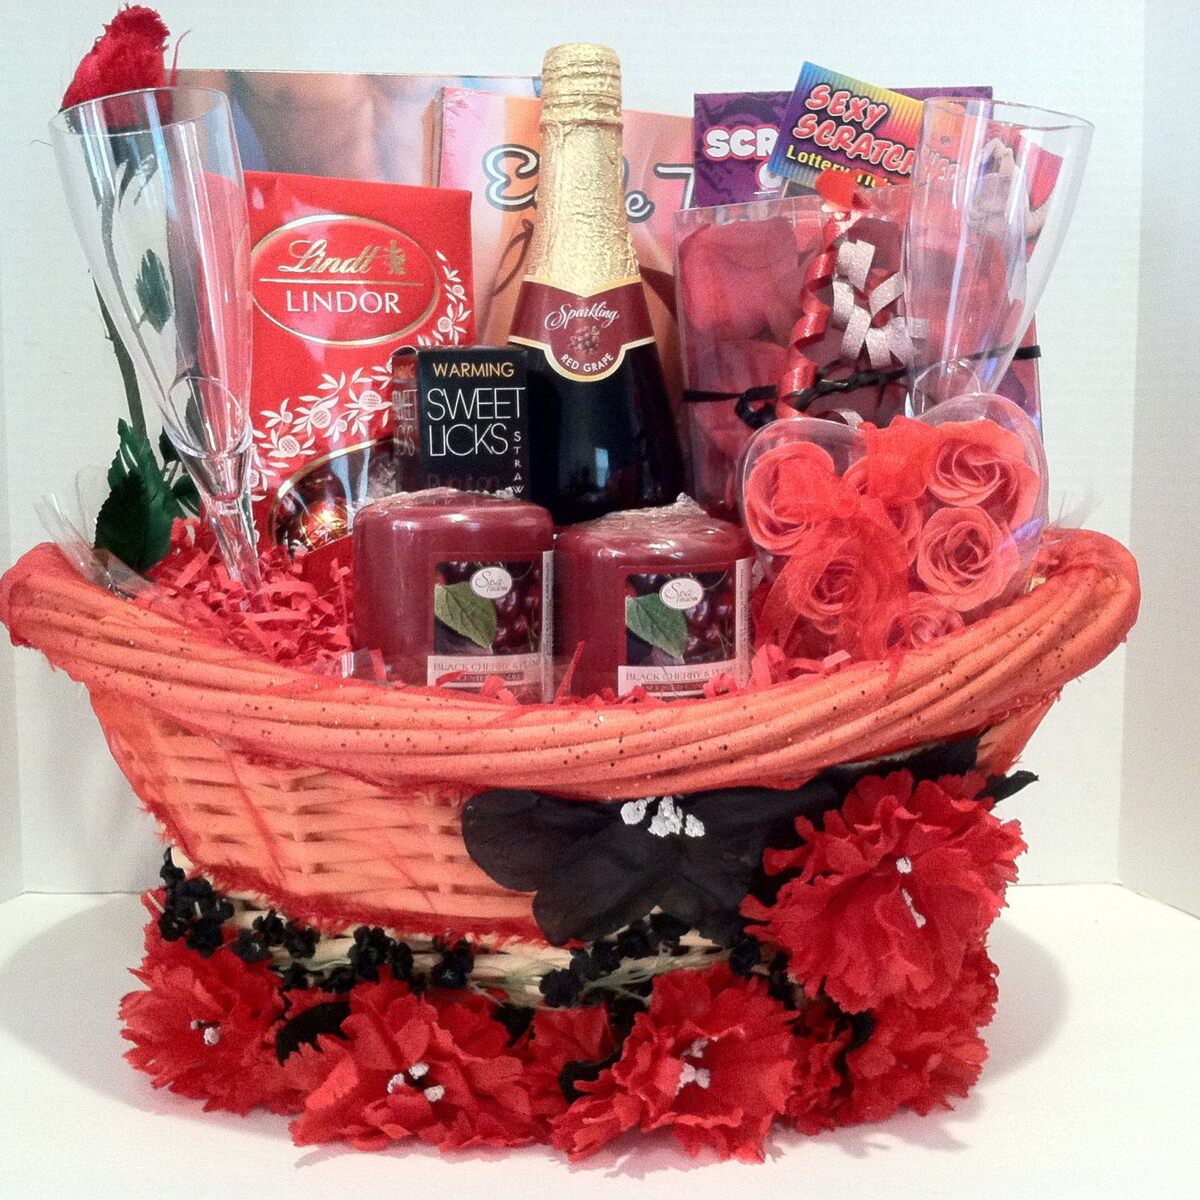
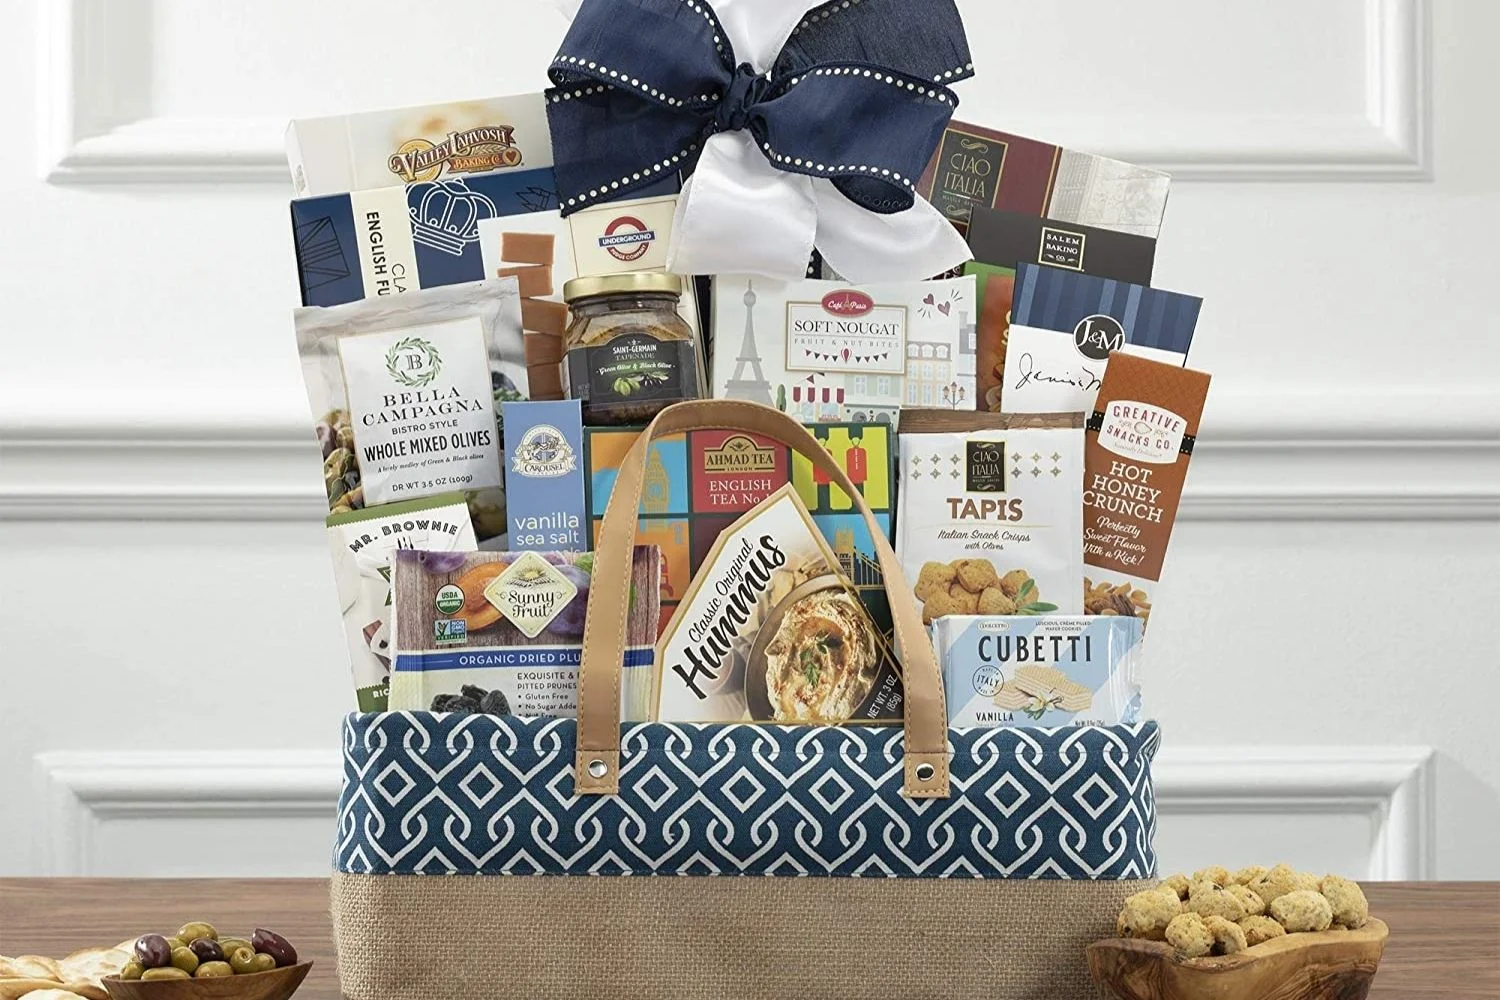
The first step in shrink wrapping a gift basket is to gather all the items you want to include in the basket. This could be an assortment of products like gourmet food items, bath and body products, toys, or any other items you want to gift.
Take the time to select items that not only align with the recipient’s interests and preferences but also fit well within the dimensions of the gift basket you have chosen. Consider the size, shape, and weight of the items to ensure they can fit comfortably and securely inside the basket.
If you are creating a themed gift basket, choose items that complement each other and reflect the theme. For example, if you are putting together a spa-themed gift basket, include products like bath salts, scented candles, and a loofah.
Once you have gathered all the gift basket items, arrange them neatly inside the basket. You can use tissue paper or filler material to add height and create a visually appealing presentation.
Take a moment to ensure that everything is arranged nicely and that no items are sticking out too much from the top or sides of the basket, as this can make the shrink wrapping process more challenging.
Step 2: Prepare the Shrink Wrap
With your gift basket items neatly arranged, it’s time to prepare the shrink wrap for wrapping. Start by unrolling a sufficient amount of shrink wrap from the shrink wrap roll. The length should be enough to completely cover the entire gift basket with a slight overlap for sealing.
If your shrink wrap roll has a dispenser or built-in cutting edge, it will make the process easier. However, if not, you can use a pair of scissors to carefully cut the shrink wrap to the desired length.
Before proceeding, ensure that the shrink wrap is smooth and free from any wrinkles or creases. This will give your gift basket a sleek and professional appearance once it is sealed and shrunk.
Pro Tip: If you want to add an extra layer of protection or decorative element to your gift basket, you can place a layer of clear cellophane or colored plastic wrap over the items before applying the shrink wrap. This can create a unique visual effect and add an additional barrier against moisture or damage.
Step 3: Wrap the Gift Basket
Now that you have prepared the shrink wrap, it’s time to wrap it around the gift basket. Carefully lift the basket, holding it from the bottom to prevent any items from shifting or falling out.
Position the shrink wrap roll in such a way that the edge of the wrap is aligned with the bottom or base of the gift basket. Begin wrapping the shrink wrap around the basket, ensuring a tight but not overly constricting fit. Hold the shrink wrap firmly in place as you wrap it around the basket.
Continue wrapping the shrink wrap around the gift basket in a spiral motion, making sure to cover the entire basket completely. Pay attention to any handles or protruding elements of the basket, ensuring that they are fully enclosed in the shrink wrap.
As you wrap, make use of your hands to smooth out any wrinkles or air bubbles that may form. This will help to create a clean and professional finish.
Once the entire basket is wrapped, fold the excess shrink wrap at the top of the basket and press it against the sides to create a neat and secure fold. This will ensure that the shrink wrap stays in place during the sealing and shrinking process.
Pro Tip: If you are using a transparent shrink wrap, take a moment to adjust the items inside the basket if needed. This will allow for a visually appealing presentation where the individual gift items are clearly visible through the wrap.
When shrink wrapping gift baskets, make sure to use a high-quality shrink wrap film to ensure a tight and secure seal. This will help protect the contents of the basket and give it a professional finish.
Read more: How To Wrap A Quilt For A Gift
Step 4: Seal the Shrink Wrap
Now that you have wrapped the gift basket with shrink wrap, it’s time to seal it. To keep the wrap securely in place, you have a few options for sealing:
- Adhesive Tape: Use a clear adhesive tape to secure the fold of the shrink wrap at the top of the basket. This will prevent the shrink wrap from unraveling during the shrinking process and ensure a clean and polished look.
- Heat-Sealing: If your shrink wrap material is heat-sealable, you can use a heat sealer to create a strong and permanent seal. Simply position the heat sealer along the top fold of the shrink wrap and press it down to melt the plastic together. Make sure to follow the instructions provided with your heat sealer for the best results.
Choose the sealing method that best suits your needs and the materials you have available.
Once the shrink wrap is sealed, take a moment to double-check all the folds and edges to ensure they are securely in place. This will prevent any accidental opening or loosening of the wrap during the shrinking process.
Note: If you are using an adhesive tape to seal the shrink wrap, make sure it is transparent and blends well with the wrap. This will maintain the clean and professional appearance of the gift basket.
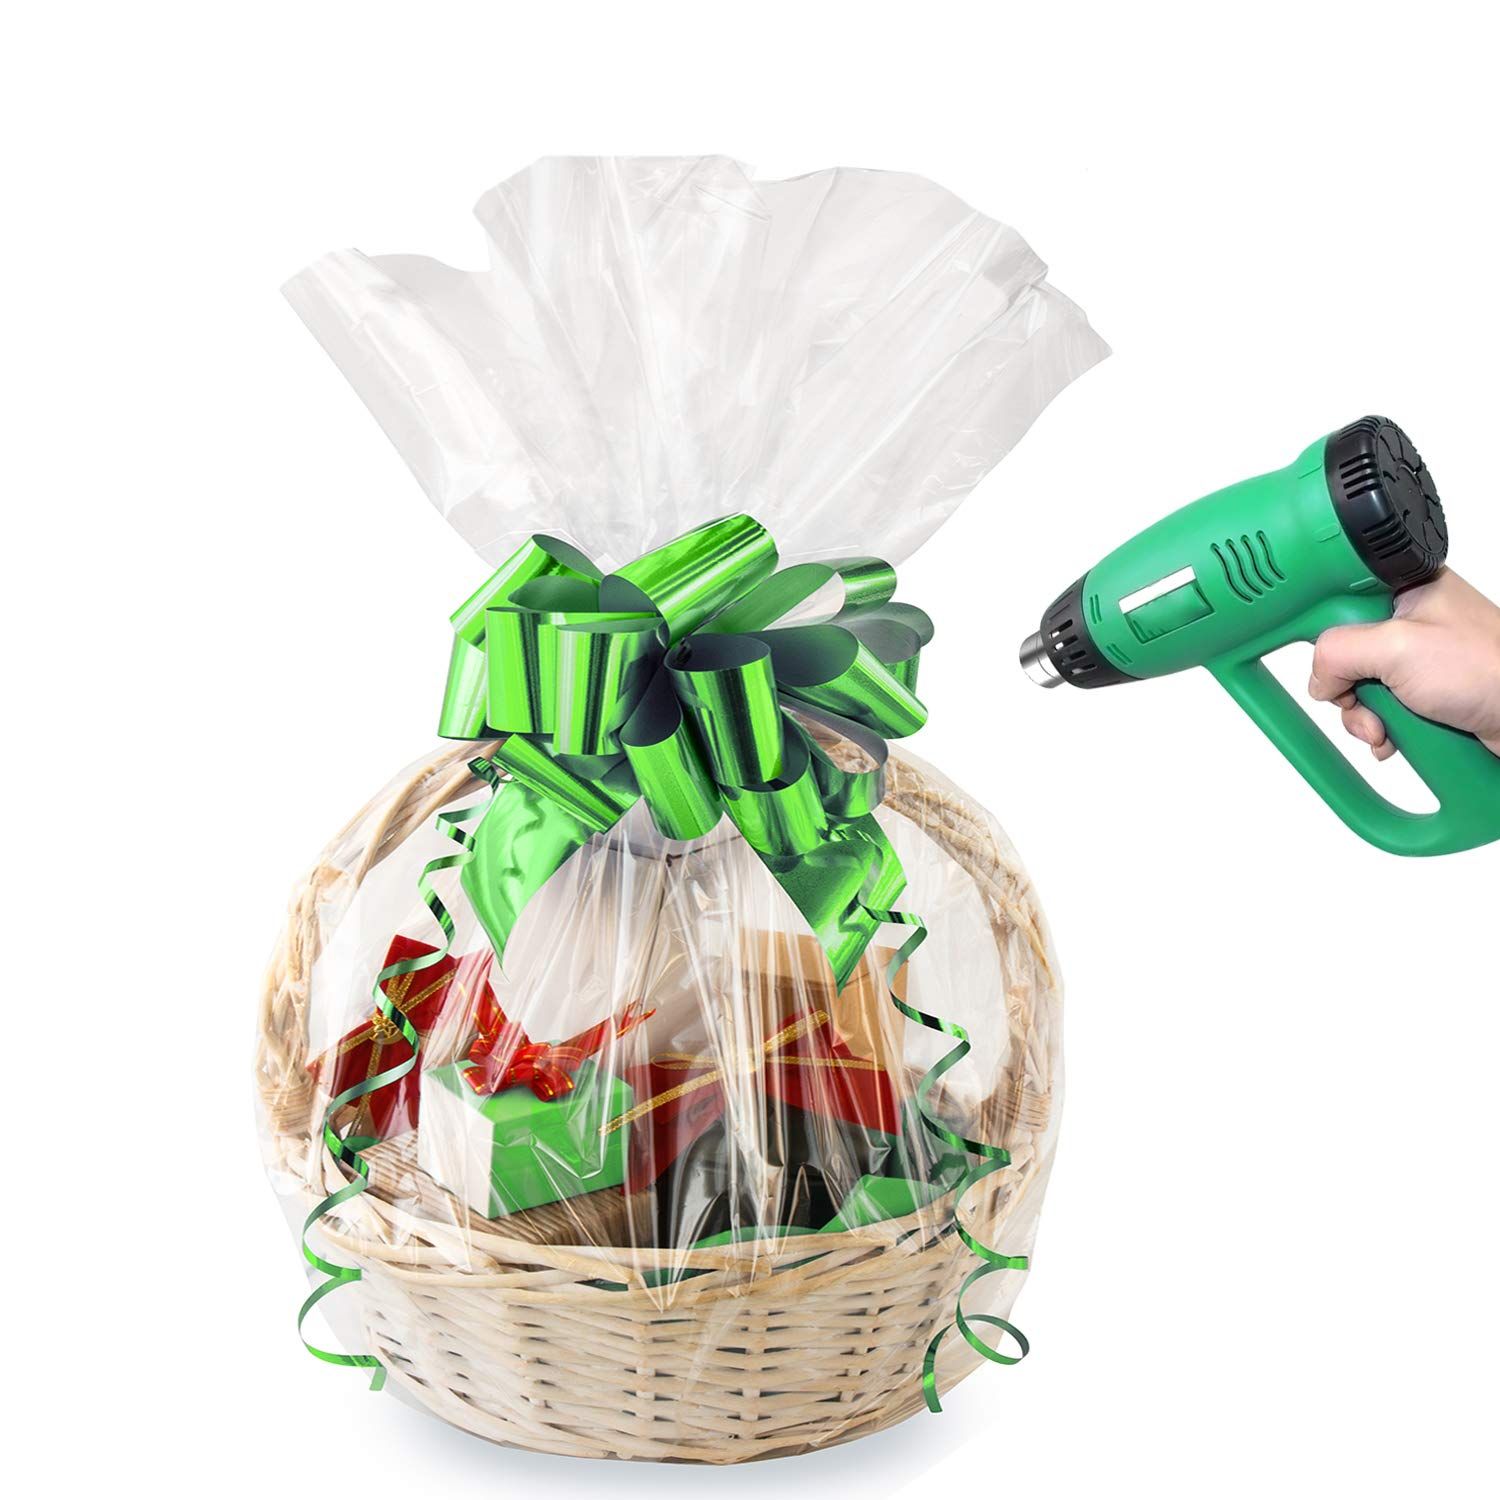
Step 5: Heat the Shrink Wrap
Now comes the exciting part – applying heat to shrink the wrap and give your gift basket a professional finish. This step requires caution, so be sure to follow these guidelines carefully:
- Heat gun: If you have a heat gun specifically designed for shrink wrapping, use it according to the manufacturer’s instructions. Be sure to adjust the heat setting to a moderate level, as excessive heat can cause the shrink wrap to melt or burn.
- Blow dryer: If you don’t have a heat gun, a blow dryer can be an effective alternative. Set the blow dryer to its highest heat setting and hold it a few inches away from the shrink wrap. Move the blow dryer in a steady motion, heating the shrink wrap evenly to ensure it shrinks uniformly.
As you apply heat, you will notice the shrink wrap beginning to tighten and conform to the shape of the gift basket. Pay attention to any areas that may need extra heat, such as corners or edges that are not shrinking as quickly as the rest of the wrap.
Important: Be cautious not to apply too much heat for too long, as this can cause the shrink wrap to over-shrink or even burn. Keep the heat source moving constantly to avoid localized overheating. If you notice any smoke or smell of burning, immediately remove the heat source.
Continue applying heat until the shrink wrap has fully tightened and adhered to the gift basket, creating a smooth and seamless wrap.
Note: If you used any moisture-sensitive items in the gift basket, such as food or perishable items, it’s important to ensure that the heat source does not come into direct contact with those items. Maintain a safe distance when applying heat to prevent any damage.
Step 6: Trim the Excess Shrink Wrap
After you have successfully shrunk the wrap around the gift basket, it’s time to trim any excess shrink wrap to create a clean and polished presentation. Follow these steps to trim the shrink wrap:
- Inspect the wrapped gift basket to identify any areas where the shrink wrap extends beyond the bottom or top of the basket.
- Use a pair of scissors to carefully trim the excess shrink wrap, making sure to leave a small margin for a neat and tidy finish.
- Take your time when trimming to ensure straight and even cuts. Be cautious not to cut too close to the basket or risk accidentally cutting into the wrap itself.
- Once you have trimmed all the excess shrink wrap, double-check for any loose or dangling pieces that may need further trimming.
Keep in mind that the key is to achieve a seamless and professionally wrapped appearance. Take care to create a clean edge without leaving any jagged or uneven cuts.
As you trim the excess shrink wrap, be mindful not to cut into the gift basket or damage any of the items inside. It’s always a good idea to use gentle, controlled movements when working with sharp objects.
Pro Tip: If you’re using a decorative ribbon or bow to finish off the gift basket, wait to add it until after you’ve trimmed the excess shrink wrap. This will give you a better idea of where to position the ribbon or bow for the best aesthetic outcome.
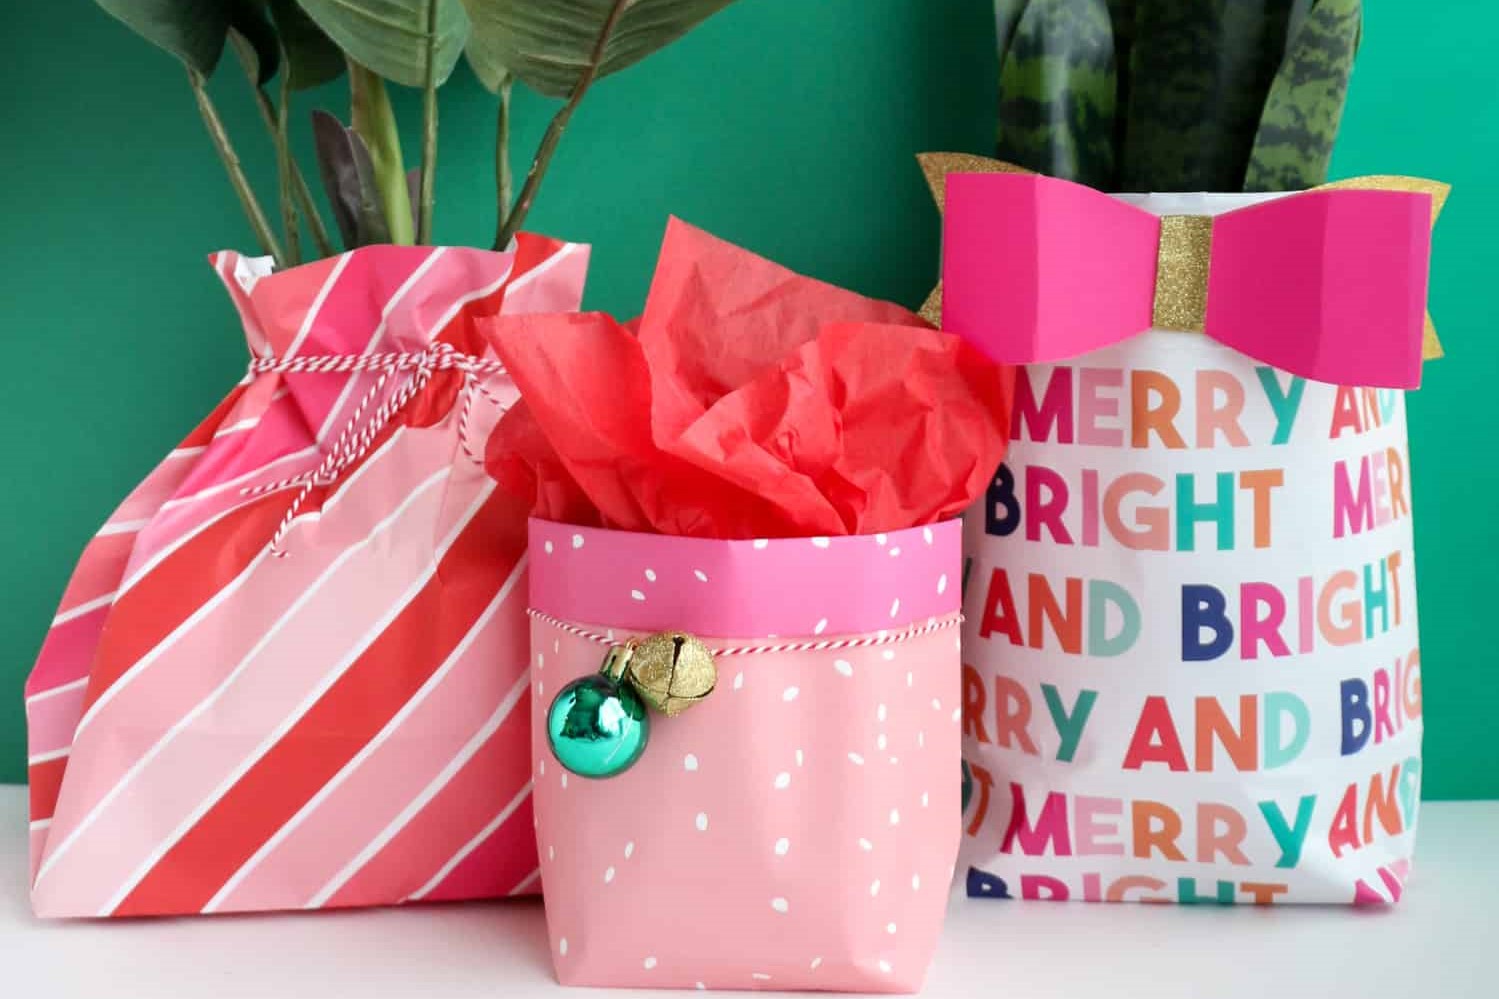
Step 7: Finishing Touches
With the shrink wrap neatly trimmed, it’s time to add the final touches to enhance the overall presentation of your gift basket. Here are some ideas for adding those finishing touches:
- Decorative Ribbon or Bow: Attach a decorative ribbon or bow to the top of the gift basket to add a touch of elegance and charm. Choose a ribbon that complements the theme or color palette of the gift basket for a cohesive look.
- Gift Tag or Card: Attach a personalized gift tag or card to the gift basket to convey your message to the recipient. This small gesture adds a thoughtful and personal touch to your gift.
- Cellophane or Shredded Paper: For an additional layer of visual appeal, place a layer of clear cellophane or colored shredded paper around the base of the gift basket. This creates a visually appealing backdrop and adds an extra pop of color.
- Embellishments: Consider adding embellishments such as silk flowers, decorative beads, or small trinkets to further enhance the aesthetic appeal of the gift basket. Be mindful not to overcrowd the basket, maintaining a harmonious balance of elements.
Remember, the finishing touches you choose should reflect the personality and preferences of the recipient. Tailor them accordingly to create a unique and memorable gift presentation.
Take a step back and admire your beautifully shrink-wrapped and embellished gift basket. The attention to detail and extra effort you put into the presentation will impress the recipient and make the gift even more special.
Follow these steps and let your creativity shine through as you present your perfectly wrapped gift basket. Enjoy the satisfaction of creating a professional-looking gift that will delight your loved ones on any occasion.
Read more: How To Wrap Candles For Gifts
Conclusion
Shrink wrapping gift baskets is a simple yet effective way to elevate the presentation of your gifts. By following the step-by-step process outlined in this guide, you can create beautifully wrapped gift baskets that are visually stunning and professionally polished.
Remember to gather all the necessary materials, arrange your gift basket items thoughtfully, and prepare the shrink wrap with care. Take the time to wrap the basket securely and seal it properly to ensure a clean and tight fit. Applying heat to shrink the wrap requires caution, so be mindful of the heat source and avoid overheating.
Trimming the excess shrink wrap and adding finishing touches like decorative ribbons, cellophane, or embellishments will further enhance the overall appearance of your gift basket presentation. These small details show that you have put thought, effort, and creativity into the gift, making it even more special for the recipient.
With the knowledge gained from this guide, you now have the skills to shrink wrap gift baskets like a pro. Whether for birthdays, holidays, or any other special occasion, your beautifully wrapped gift baskets are sure to impress and bring joy to your loved ones.
So go ahead and embark on your gift-giving journey with confidence. Use the art of shrink wrapping to create memorable and visually appealing gift baskets that will leave a lasting impression.
Frequently Asked Questions about How To Shrink Wrap Gift Baskets
Was this page helpful?
At Storables.com, we guarantee accurate and reliable information. Our content, validated by Expert Board Contributors, is crafted following stringent Editorial Policies. We're committed to providing you with well-researched, expert-backed insights for all your informational needs.


0 thoughts on “How To Shrink Wrap Gift Baskets”