Home>Home Appliances>Cleaning Appliances>How To Clean A Steam Cleaner
Cleaning Appliances
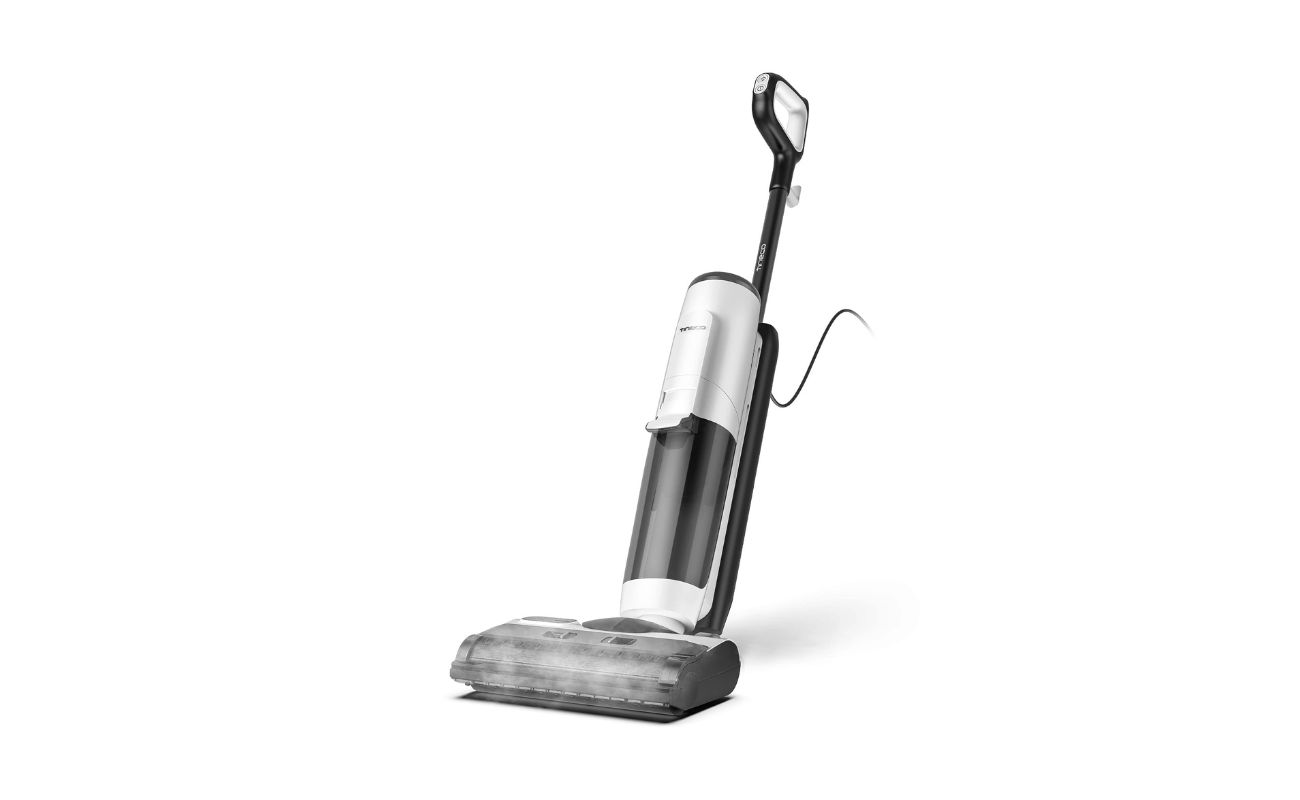
How To Clean A Steam Cleaner
Modified: February 29, 2024
Learn how to effectively clean your steam cleaner and keep your cleaning appliances in top condition. Follow our expert tips for maintaining your cleaning equipment.
(Many of the links in this article redirect to a specific reviewed product. Your purchase of these products through affiliate links helps to generate commission for Storables.com, at no extra cost. Learn more)
Introduction
Cleaning appliances play a crucial role in maintaining a hygienic and comfortable living environment. Among these appliances, steam cleaners are renowned for their exceptional ability to effectively sanitize various surfaces using the power of steam. However, to ensure that a steam cleaner continues to deliver optimal performance, regular cleaning and maintenance are essential. By following a few simple steps, you can keep your steam cleaner in top condition, prolong its lifespan, and continue enjoying its benefits for years to come.
In this comprehensive guide, we will walk you through the step-by-step process of cleaning a steam cleaner. Whether you're a seasoned user looking to refresh your knowledge or a newcomer eager to learn the ropes, this article will provide you with the insights and techniques needed to maintain your steam cleaner with ease. From emptying the water tank to descaling the machine and storing it properly, each step is designed to help you keep your steam cleaner in excellent working condition.
So, let's dive in and explore the best practices for cleaning a steam cleaner, ensuring that it remains a reliable ally in your quest for a spotless, germ-free home.
Key Takeaways:
- Regularly emptying the water tank, cleaning the nozzles, and descaling the machine are essential to maintain a steam cleaner’s performance and longevity.
- Properly storing a steam cleaner, including ensuring thorough drying and protecting it from dust, is crucial for preserving its condition and accessibility for future use.
Read more: How To Clean Carpet With A Steam Cleaner
Step 1: Empty the Water Tank
Before embarking on the cleaning process, it is crucial to start with an empty water tank. This ensures that any remaining water, which may have been used during the last cleaning session, is removed, preventing the risk of stagnation and the buildup of impurities. Here’s how to effectively empty the water tank of your steam cleaner:
- Unplug the Steam Cleaner: Begin by unplugging the steam cleaner from the power source. Safety should always be the top priority when handling electrical appliances.
- Allow the Steam Cleaner to Cool: If the steam cleaner has been in use, it’s essential to let it cool down before proceeding. Hot water or steam can cause burns, so exercising caution is paramount.
- Remove the Water Tank: Carefully detach the water tank from the steam cleaner. Depending on the model, this may involve pressing a release button or simply lifting the tank away from the unit.
- Empty the Water: Dispose of the water in a sink or drain. Take care to pour it away from yourself to avoid any accidental spills or splashes.
- Rinse the Tank: Once the water is emptied, rinse the tank with clean water to remove any residual impurities. This step helps prevent the accumulation of mineral deposits and ensures that the tank remains clean and odor-free.
- Dry the Tank: After rinsing, allow the tank to air dry completely before reattaching it to the steam cleaner. This helps prevent the growth of mold or mildew, maintaining a hygienic environment within the tank.
By diligently following these steps, you can ensure that your steam cleaner’s water tank is thoroughly emptied and prepared for the next cleaning cycle. This foundational process sets the stage for the subsequent cleaning steps, allowing you to maintain the performance and longevity of your steam cleaner.
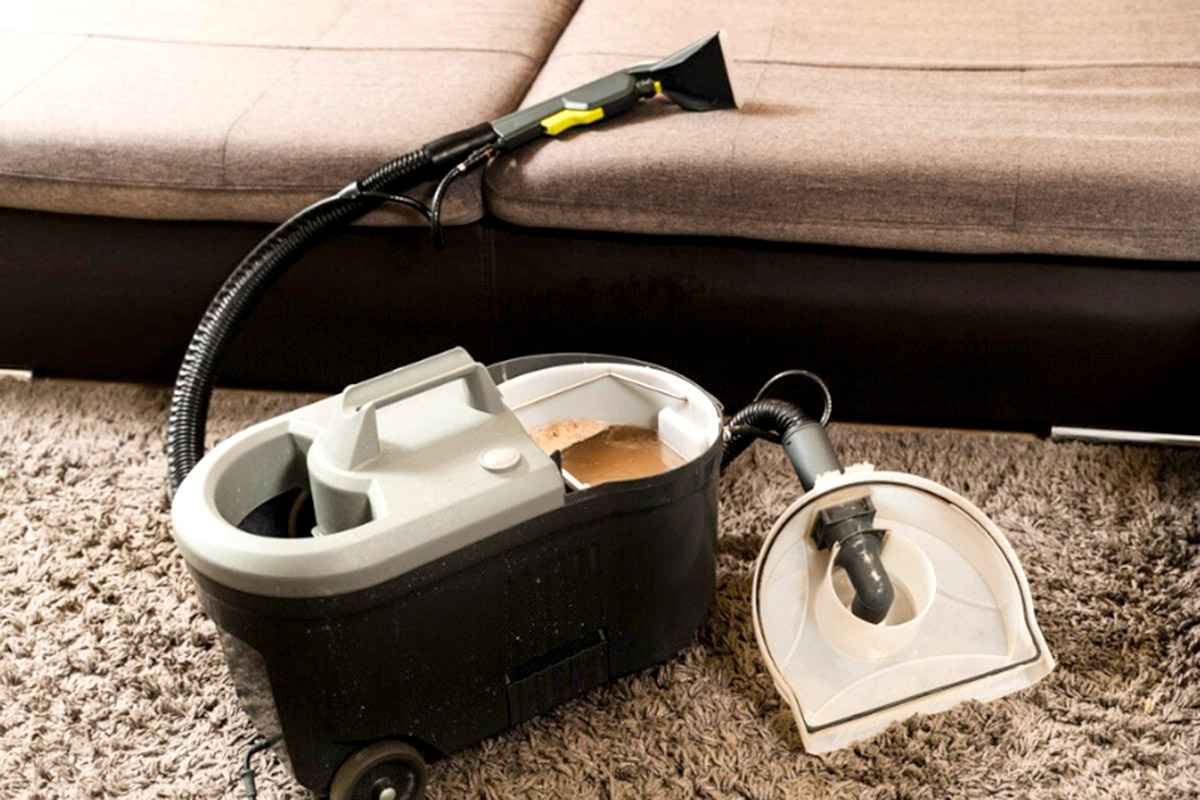
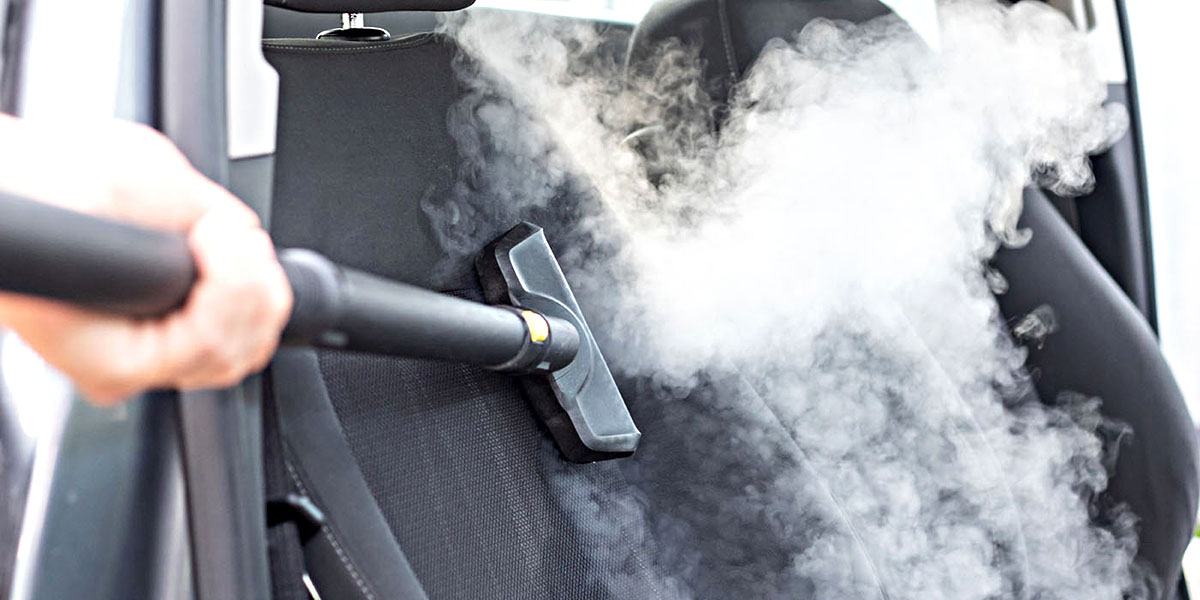
Step 2: Clean the Nozzles and Attachments
As with any cleaning tool, the nozzles and attachments of a steam cleaner require regular maintenance to ensure optimal performance and longevity. Over time, mineral deposits, dirt, and grime can accumulate in these components, potentially impeding the flow of steam and diminishing the cleaning efficacy. To maintain the effectiveness of your steam cleaner, it is essential to clean the nozzles and attachments thoroughly. Here’s a detailed guide on how to accomplish this:
- Inspect the Nozzles and Attachments: Before cleaning, carefully inspect the nozzles and attachments for any visible debris, mineral buildup, or blockages. This initial assessment helps identify areas that require focused attention during the cleaning process.
- Use a Cleaning Solution: Prepare a gentle cleaning solution by mixing warm water with a mild detergent or vinegar. This solution effectively breaks down mineral deposits and eliminates stubborn residue without causing damage to the components.
- Soak the Nozzles and Attachments: Submerge the nozzles and attachments in the cleaning solution, ensuring that they are fully immersed. Allow them to soak for a sufficient period to loosen any accumulated grime and mineral deposits.
- Scrub and Rinse: After soaking, use a soft-bristled brush or cloth to gently scrub the surfaces of the nozzles and attachments. Pay close attention to crevices and hard-to-reach areas where debris may be lodged. Once scrubbed, thoroughly rinse the components with clean water to remove the cleaning solution and dislodged residue.
- Dry Completely: After rinsing, allow the nozzles and attachments to air dry completely. Ensuring that no moisture remains trapped within the components helps prevent the development of mold or mildew, maintaining a hygienic environment within the steam cleaner’s attachments.
- Reassemble and Store: Once dry, reassemble the nozzles and attachments, ensuring that they are securely fitted and ready for future use. Proper storage of the steam cleaner’s components helps prevent damage and ensures that they remain clean and functional until the next cleaning task.
By diligently following these steps, you can effectively clean the nozzles and attachments of your steam cleaner, ensuring that they remain free from debris and mineral buildup. This proactive maintenance not only enhances the performance of the steam cleaner but also contributes to its longevity, allowing you to continue enjoying its cleaning prowess for years to come.
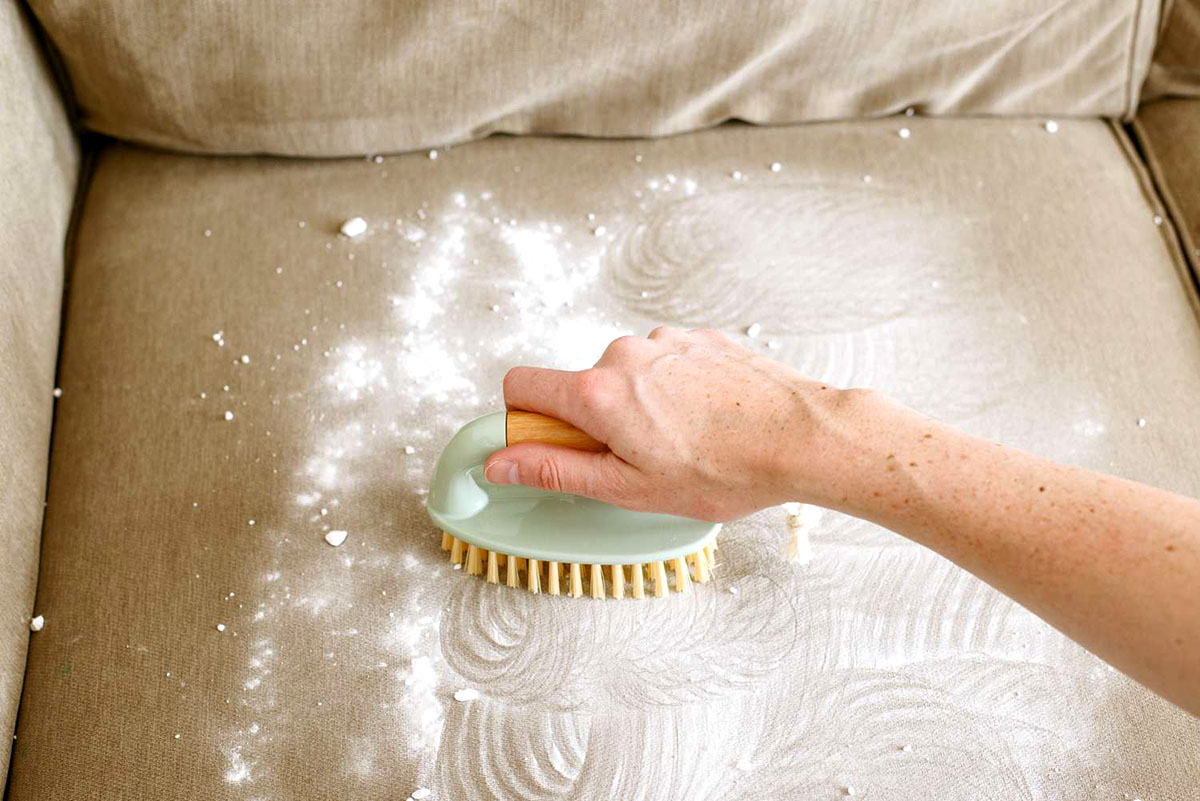
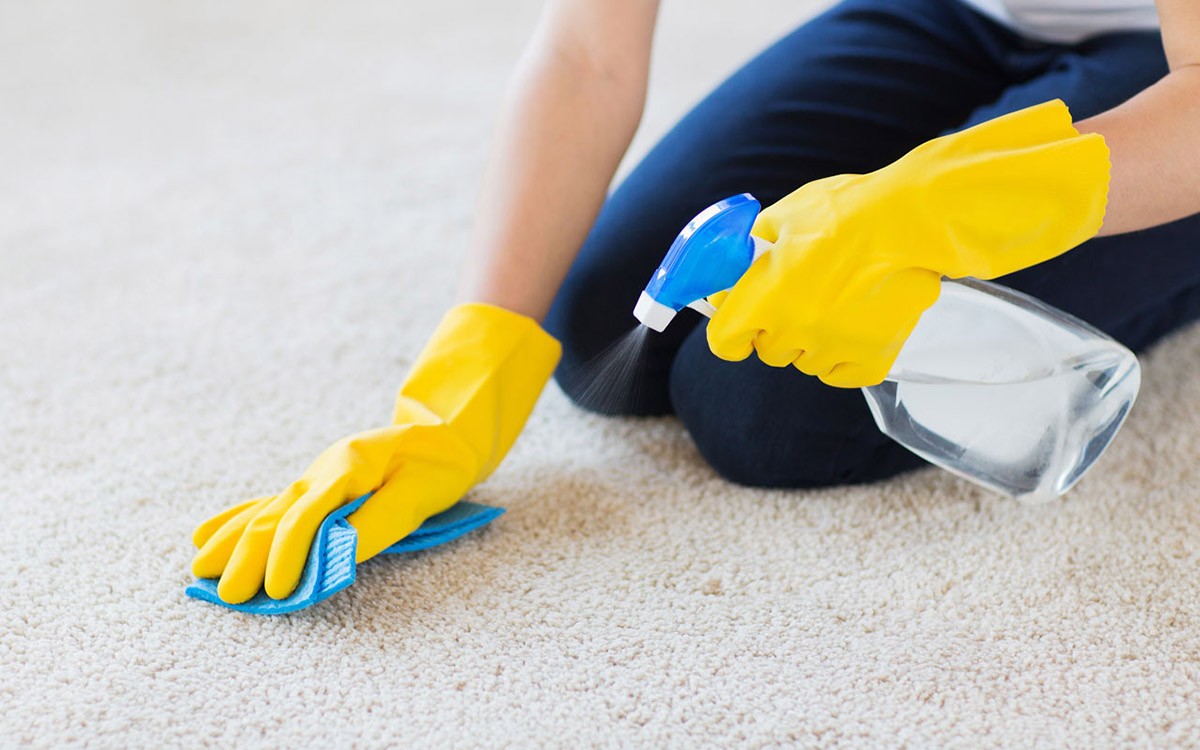
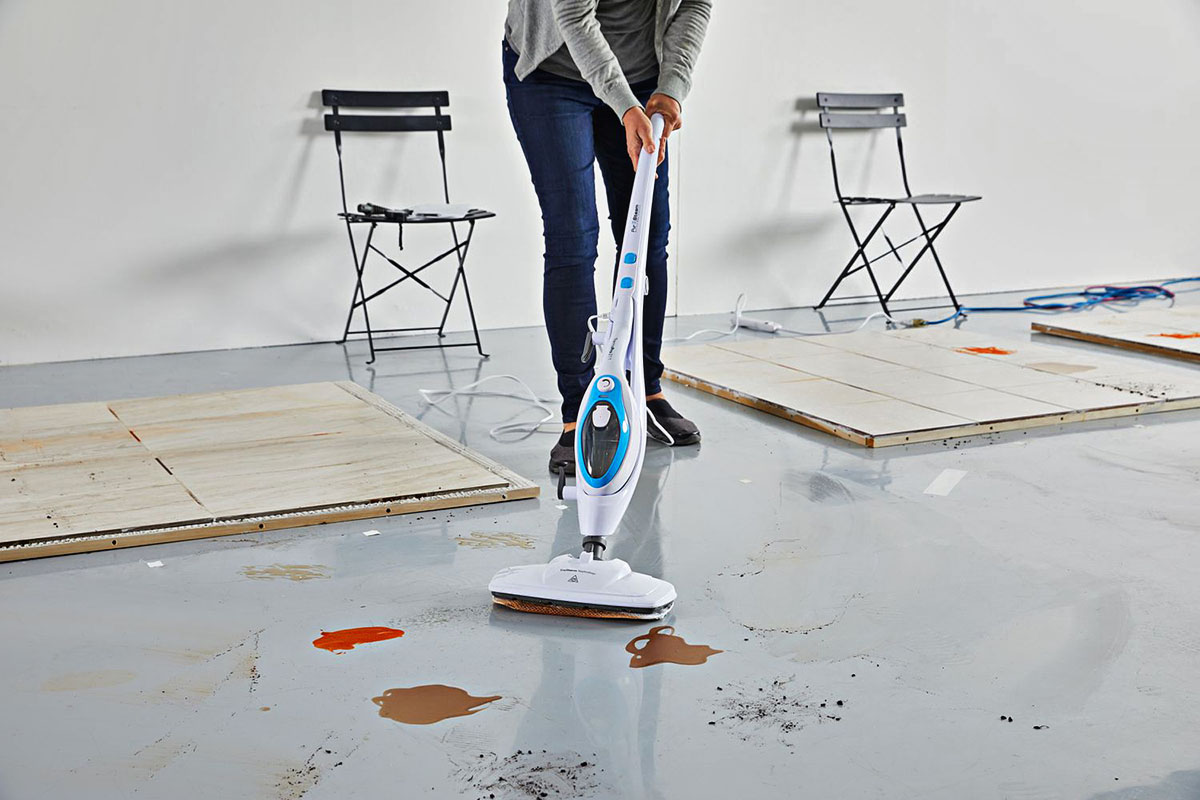
Before using a steam cleaner, make sure to empty and clean out the water tank to prevent mold and bacteria growth. Run a vinegar and water solution through the machine to remove any mineral buildup.
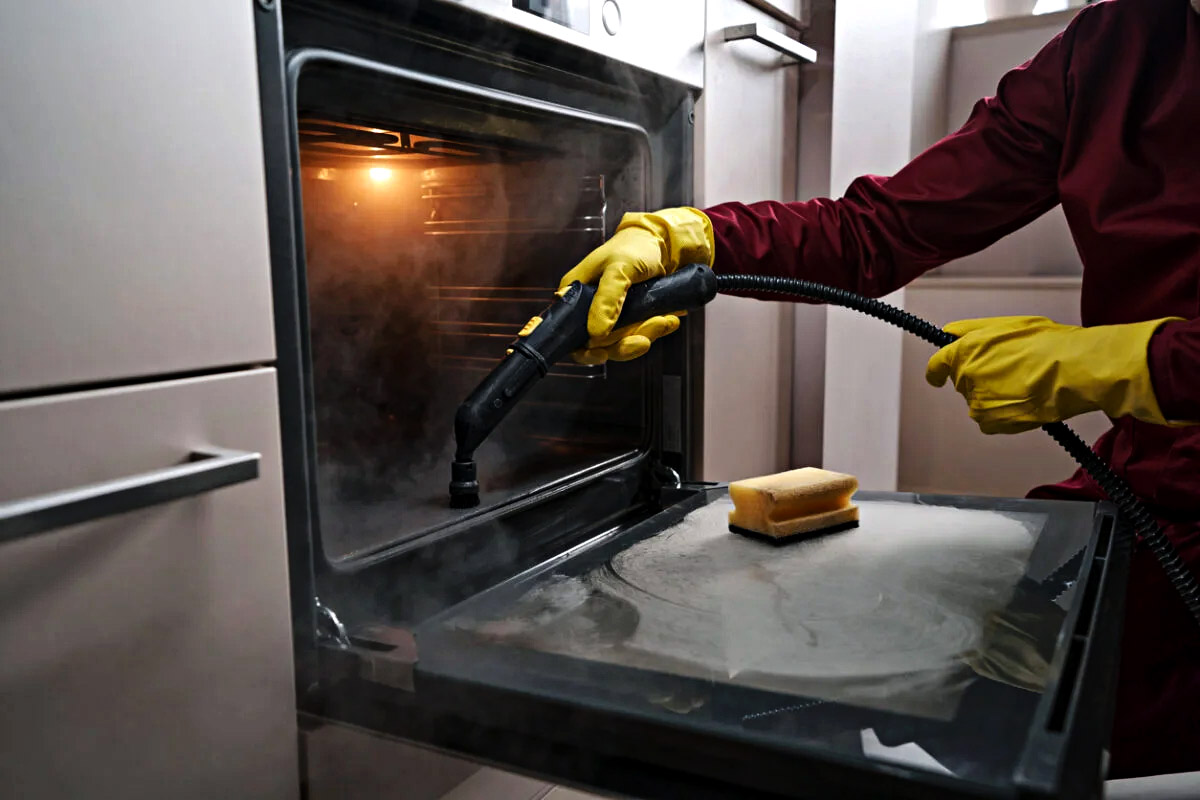
Step 3: Descale the Machine
Over time, mineral deposits from hard water can accumulate within the internal components of a steam cleaner, leading to limescale buildup. This can hinder the machine’s performance and compromise its effectiveness in delivering powerful steam for cleaning. To combat this issue and maintain the optimal functionality of your steam cleaner, descaling is a crucial step in its regular maintenance. Here’s a comprehensive guide on how to descale the machine effectively:
- Prepare the Descaling Solution: Begin by preparing a descaling solution, which typically involves mixing equal parts of water and white vinegar. This natural and cost-effective solution effectively dissolves limescale and mineral deposits without causing harm to the internal components of the steam cleaner.
- Fill the Water Tank: Pour the descaling solution into the water tank, ensuring that it is adequately filled to allow the solution to reach the internal components of the machine. The goal is to thoroughly coat the interior surfaces with the descaling solution to facilitate the removal of limescale buildup.
- Run the Steam Cleaner: Plug in the steam cleaner and allow it to heat up, enabling the descaling solution to reach the optimal temperature for effective limescale removal. Once heated, activate the steam emission, allowing the machine to expel the descaling solution as steam. This process helps dislodge and flush out limescale deposits from the internal pathways and components.
- Repeat if Necessary: Depending on the severity of limescale buildup, it may be necessary to repeat the descaling process to ensure thorough removal. For stubborn deposits, allowing the descaling solution to sit within the machine for an extended period before running the steam emission can enhance its effectiveness.
- Rinse the Machine: After descaling, thoroughly rinse the water tank and internal components with clean water to remove any residual descaling solution. This step is crucial to prevent the lingering scent of vinegar and ensure that the machine is ready for future use.
- Dry and Test: After rinsing, allow the machine to dry completely before conducting a test run. This ensures that no moisture remains within the internal pathways, preventing potential damage and ensuring that the steam cleaner is ready for action.
By diligently descaling your steam cleaner at regular intervals, you can effectively combat limescale buildup and maintain its peak performance. This proactive maintenance not only extends the lifespan of the machine but also ensures that it continues to deliver powerful steam for thorough and hygienic cleaning tasks.
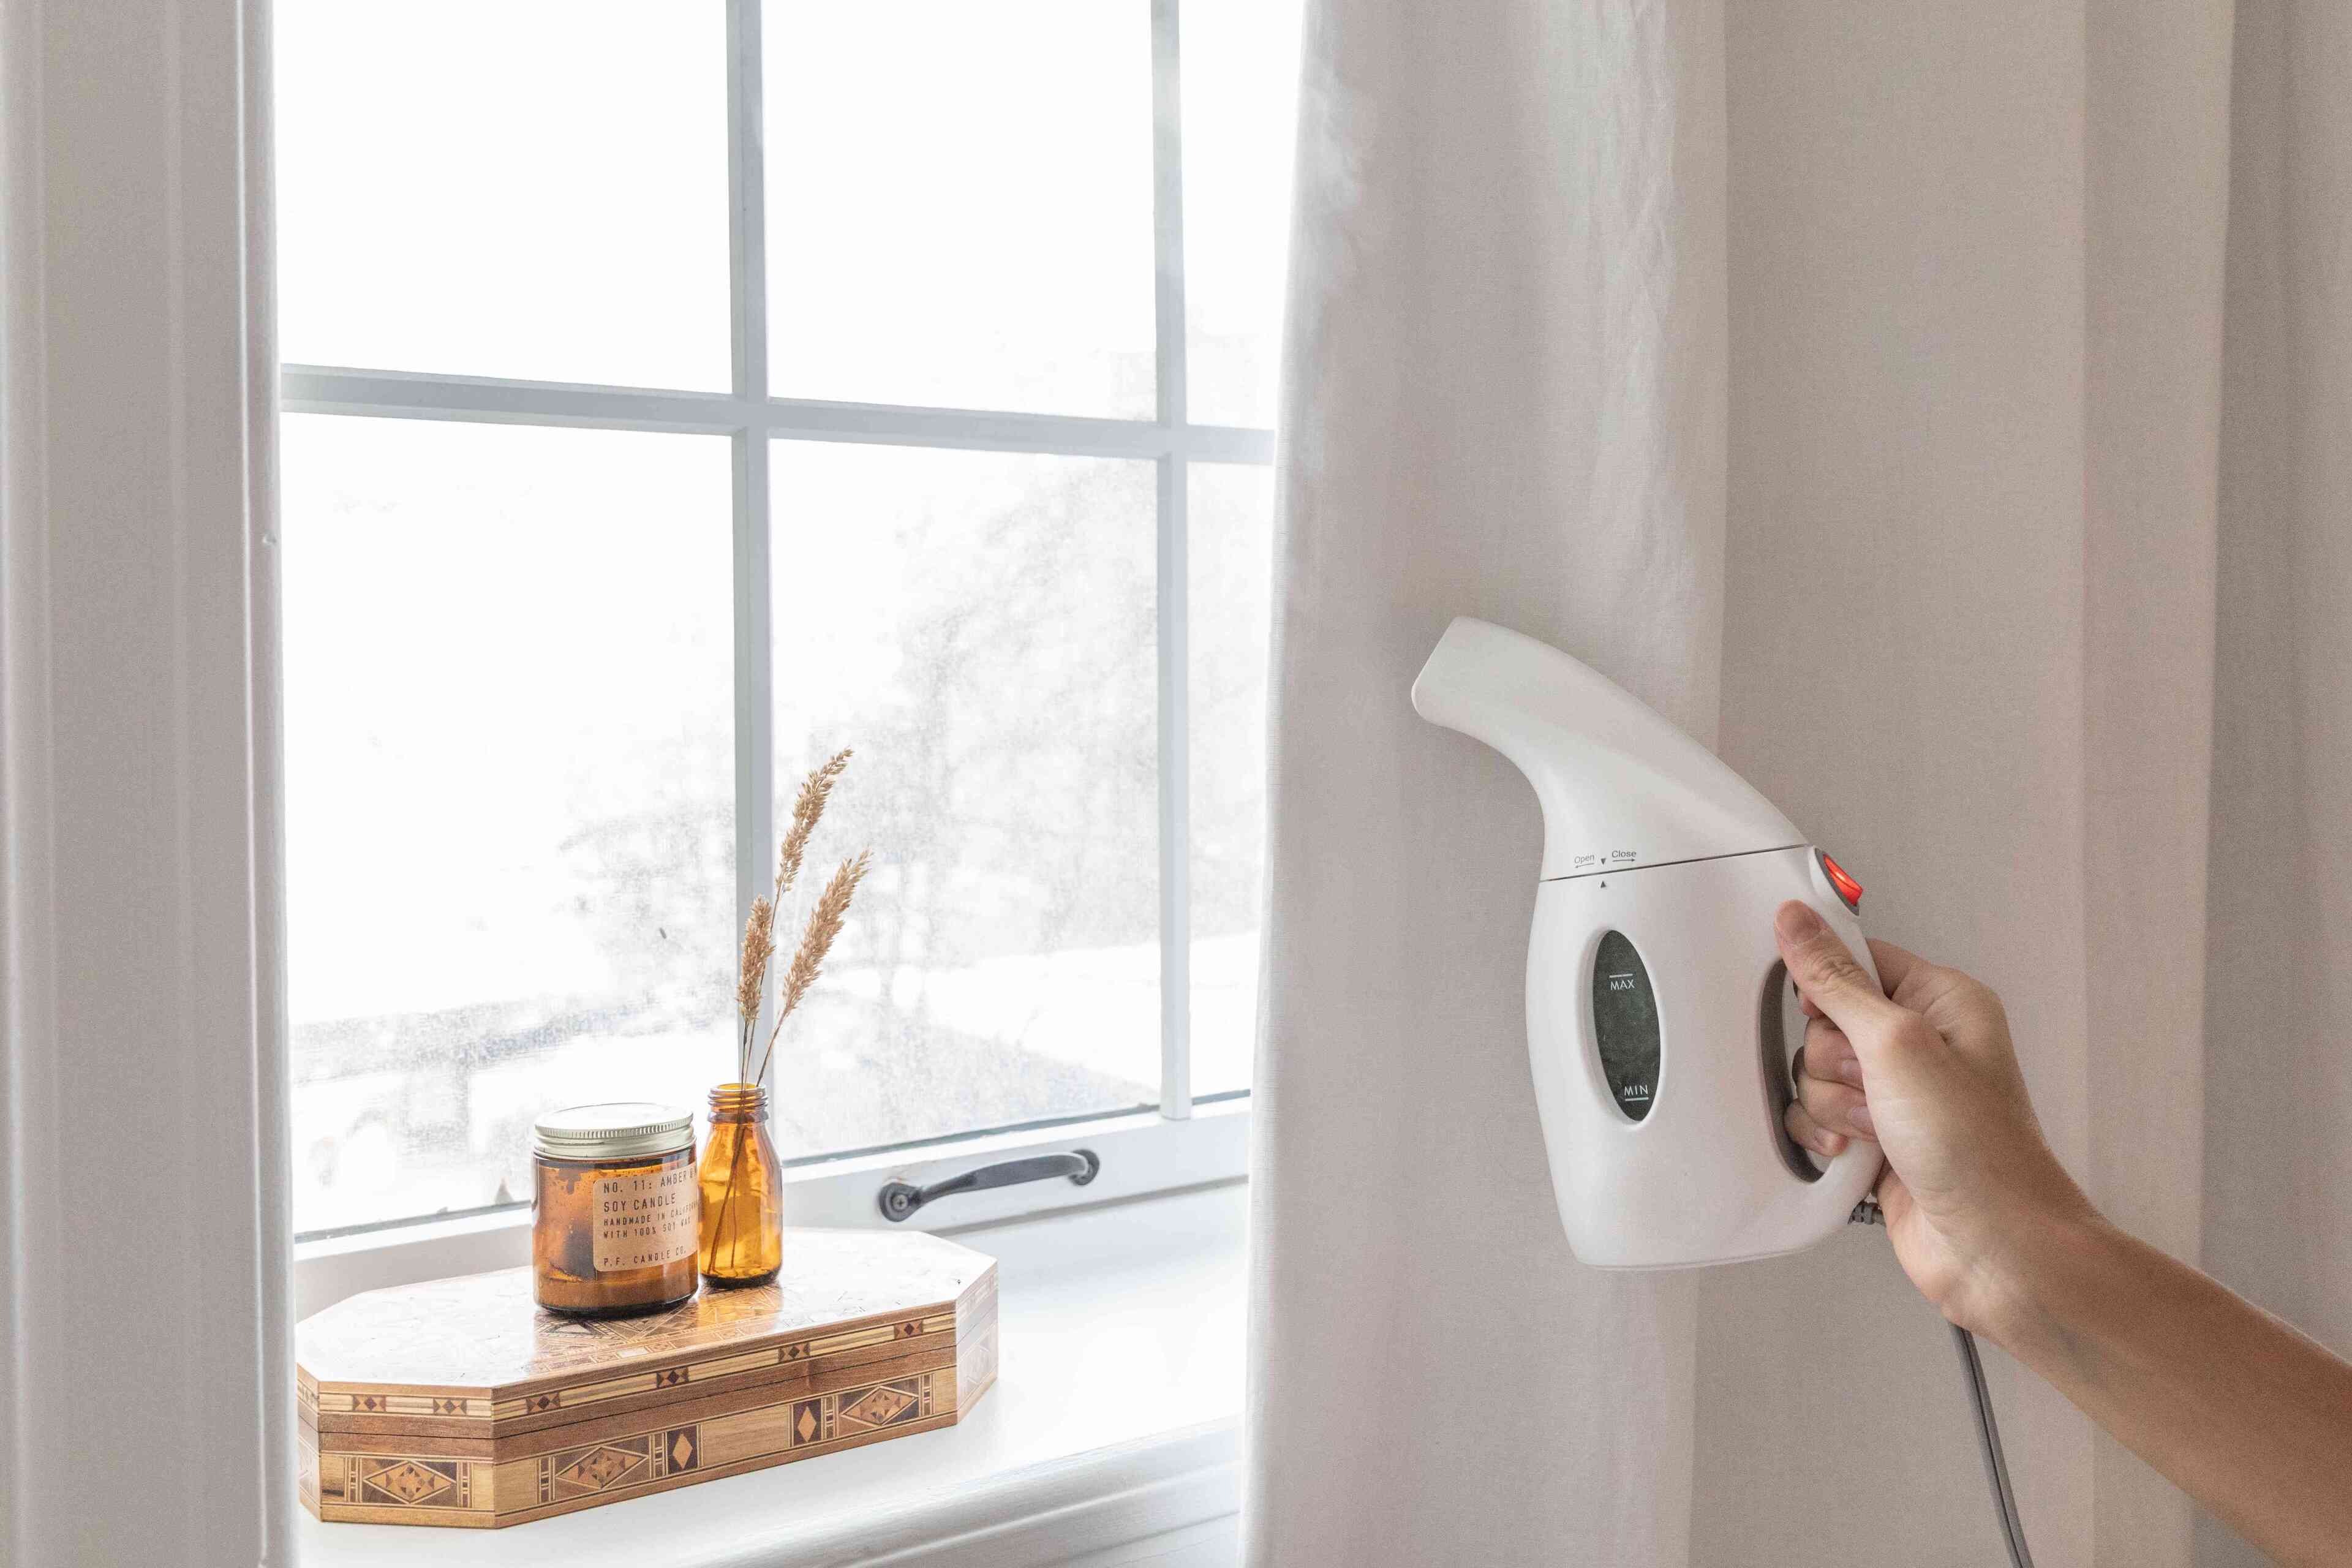
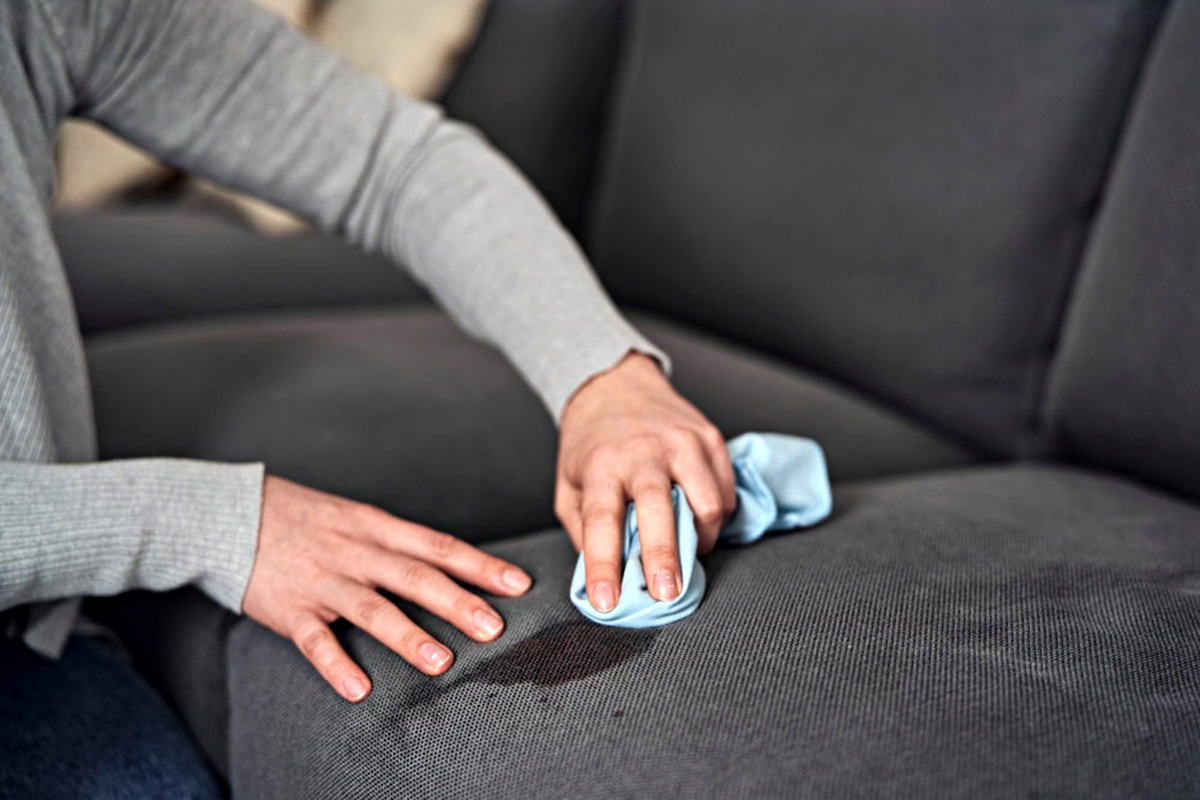
Step 4: Clean the Exterior
While it’s essential to focus on the internal components of a steam cleaner, maintaining the exterior is equally important. The exterior surfaces of the machine, including the housing, handles, and control buttons, are exposed to dust, dirt, and potential spills during use and storage. Regular cleaning of the exterior not only enhances the aesthetic appeal of the steam cleaner but also contributes to a hygienic and well-maintained appliance. Here’s a detailed guide on how to clean the exterior of your steam cleaner:
- Unplug the Steam Cleaner: Prior to cleaning the exterior, ensure that the steam cleaner is unplugged from the power source. This precautionary measure eliminates the risk of electrical accidents and ensures a safe cleaning process.
- Use a Damp Cloth: Begin by wiping down the exterior surfaces of the steam cleaner with a soft, damp cloth. This helps remove surface dust, fingerprints, and light stains, restoring the cleanliness of the machine’s exterior.
- Address Stubborn Stains: For stubborn stains or dried-on residue, consider using a mild detergent solution applied to the damp cloth. Gently scrub the affected areas to lift the stains, taking care to avoid excessive moisture near the control buttons and electrical components.
- Dry Thoroughly: After cleaning, use a dry, clean cloth to thoroughly dry the exterior surfaces of the steam cleaner. Ensuring that no moisture remains prevents potential damage and maintains the pristine appearance of the appliance.
- Polish if Desired: If the steam cleaner features stainless steel or polished surfaces, consider using a specialized stainless steel cleaner or polish to restore its luster and shine. This step adds a final touch of elegance to the exterior of the machine.
- Inspect for Residue: After cleaning and drying, inspect the exterior surfaces to ensure that no cleaning residue remains. Address any overlooked areas to achieve a uniformly clean and well-maintained appearance.
By incorporating regular exterior cleaning into your steam cleaner maintenance routine, you can uphold its visual appeal and ensure that it remains a pristine addition to your cleaning arsenal. A clean exterior not only reflects your dedication to appliance care but also contributes to a welcoming and organized cleaning environment.
Read more: How To Clean A Mattress With A Steam Cleaner
Step 5: Store the Steam Cleaner Properly
After completing the cleaning and maintenance procedures, proper storage is essential to safeguard the longevity and performance of your steam cleaner. By storing the appliance correctly, you can protect it from potential damage, maintain its pristine condition, and ensure that it is readily accessible for future cleaning tasks. Here’s a comprehensive guide on how to store your steam cleaner properly:
- Ensure Thorough Drying: Before storage, it’s crucial to ensure that all components of the steam cleaner, including the water tank, attachments, and exterior surfaces, are completely dry. This prevents the growth of mold or mildew and mitigates the risk of corrosion in metal components.
- Wrap Cords Neatly: If your steam cleaner features power cords or hoses, take the time to wrap them neatly to prevent tangling and potential damage. Secure the wrapped cords with twist ties or cord organizers to maintain a tidy storage configuration.
- Store Attachments Together: Keep all attachments and nozzles in a designated storage area, ensuring that they are organized and easily accessible for future use. This minimizes the risk of misplacement and streamlines the preparation process for upcoming cleaning tasks.
- Choose a Dry Storage Location: Select a dry and well-ventilated storage area for your steam cleaner. Avoid areas prone to high humidity or temperature fluctuations, as these conditions can compromise the integrity of the appliance and its components.
- Protect from Dust and Debris: Consider covering the steam cleaner with a breathable fabric cover or utilizing a designated storage cabinet to shield it from dust and debris. This measure helps maintain the cleanliness of the appliance between uses.
- Regular Inspection: Periodically inspect the stored steam cleaner to ensure that it remains in optimal condition. Address any signs of dust accumulation or potential issues promptly to preserve the appliance’s functionality.
By following these storage guidelines, you can safeguard the condition and performance of your steam cleaner, ensuring that it remains a reliable and effective tool for your cleaning needs. Proper storage not only prolongs the lifespan of the appliance but also streamlines its accessibility for future use, allowing you to maintain a pristine and organized cleaning environment.
Frequently Asked Questions about How To Clean A Steam Cleaner
Was this page helpful?
At Storables.com, we guarantee accurate and reliable information. Our content, validated by Expert Board Contributors, is crafted following stringent Editorial Policies. We're committed to providing you with well-researched, expert-backed insights for all your informational needs.


0 thoughts on “How To Clean A Steam Cleaner”