Home>Home Appliances>Cleaning Appliances>How To Use A Steam Cleaner On A Couch
Cleaning Appliances
How To Use A Steam Cleaner On A Couch
Modified: January 4, 2024
Learn the best techniques for using a steam cleaner to refresh and sanitize your couch. Discover effective cleaning methods for your upholstery with cleaning appliances. Keep your furniture looking and feeling fresh!
(Many of the links in this article redirect to a specific reviewed product. Your purchase of these products through affiliate links helps to generate commission for Storables.com, at no extra cost. Learn more)
Introduction
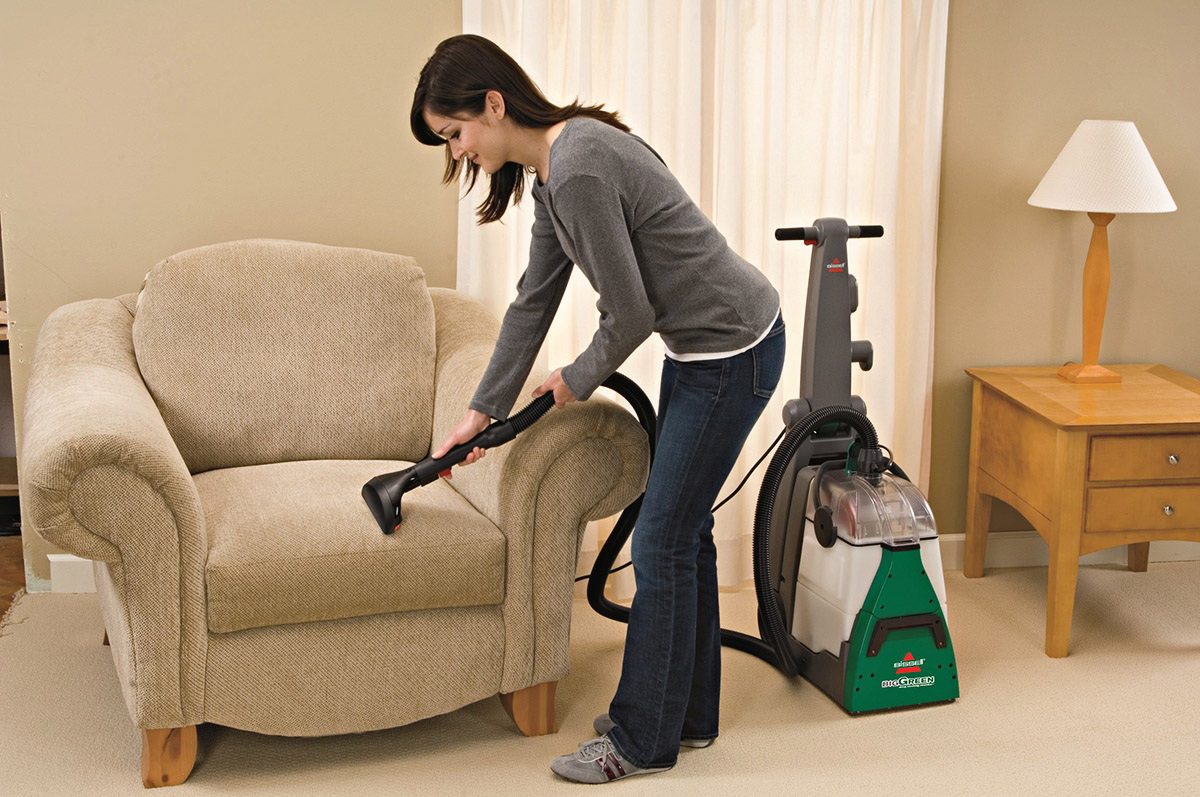
Welcome to the ultimate guide on using a steam cleaner to revitalize your couch. Over time, our couches endure a myriad of spills, stains, and everyday wear and tear, leaving them looking lackluster and in need of a deep clean. Fortunately, steam cleaners offer a convenient and effective solution for restoring the vibrancy and freshness of your beloved couch.
In this comprehensive guide, we will walk you through the step-by-step process of using a steam cleaner to rejuvenate your couch, ensuring that it not only looks immaculate but also remains free from harmful germs and bacteria. By following these instructions, you can breathe new life into your couch and create a healthier living environment for you and your family.
Whether you are dealing with stubborn stains, unpleasant odors, or simply want to refresh the appearance of your couch, a steam cleaner is a versatile and powerful tool that can deliver remarkable results. With the right techniques and a bit of know-how, you can harness the cleaning power of steam to achieve professional-quality results in the comfort of your own home.
So, grab your steam cleaner and let’s embark on a journey to transform your couch into a spotless and inviting centerpiece of your living space.
Key Takeaways:
- Transform your couch with steam cleaning! Follow the steps to banish stains, odors, and grime, creating a healthier and inviting living space for you and your family.
- Harness the power of steam to revitalize your couch. Achieve professional-quality results at home, extending the lifespan of your furniture and creating a pristine living environment.
Preparing the Steam Cleaner
Before diving into the cleaning process, it’s crucial to prepare your steam cleaner for the task at hand. Start by carefully reading the manufacturer’s instructions to familiarize yourself with the specific features and functionalities of your steam cleaner. This will ensure that you can make the most of its capabilities while avoiding any potential mishaps.
Next, gather all the necessary supplies, including the steam cleaner itself, upholstery attachment, distilled water, and any recommended cleaning solutions suitable for upholstery. It’s important to use distilled water to prevent mineral buildup and prolong the life of your steam cleaner.
Once you have assembled the required items, begin by filling the steam cleaner’s reservoir with the appropriate amount of distilled water, following the manufacturer’s guidelines. Avoid overfilling the reservoir, as this can lead to leaks or inadequate steam production.
If the manufacturer recommends using a specific upholstery cleaning solution, carefully add the appropriate amount to the designated compartment or mix it with the water in the reservoir, as per the instructions. Some steam cleaners also have a separate tank for cleaning solutions, so be sure to follow the guidelines provided.
After filling the reservoir and adding any necessary cleaning solutions, securely attach the upholstery tool to the steam cleaner. This attachment is specifically designed to deliver steam effectively to the fabric without causing damage. Ensure that it is firmly connected to the steam wand or hose, as a loose attachment can compromise the cleaning process.
Before powering up the steam cleaner, take a moment to inspect the couch for any loose items, such as coins, small toys, or debris that could obstruct the cleaning process or potentially damage the upholstery. Clearing the couch of these items will help you achieve thorough and uninterrupted cleaning results.
With the steam cleaner primed and ready, and the couch cleared of any obstructions, you are now fully prepared to embark on the journey of transforming your couch into a pristine and inviting focal point of your living space.
Testing the Steam Cleaner on a Small Area
Before tackling the entire couch, it’s prudent to perform a preliminary test of the steam cleaner on a small, inconspicuous area of the upholstery. This step is essential for several reasons, as it allows you to assess the impact of the steam and cleaning solution on the fabric, ensure that the colors do not bleed or fade, and determine the optimal steam intensity for effective cleaning.
Choose a discreet spot on the couch, such as the back or underside of the armrest, and conduct the test in accordance with the following steps:
- Preparation: Ensure that the steam cleaner is properly set up and ready for use, with the upholstery attachment securely in place and the reservoir filled with distilled water and any recommended cleaning solution.
- Steam Intensity: Begin by selecting a moderate steam intensity setting on the steam cleaner. It’s advisable to start with a lower setting to gauge the fabric’s reaction to the steam and prevent any potential damage from excessive heat or moisture.
- Testing the Steam: Direct the steam cleaner’s upholstery attachment onto the chosen test area and activate the steam flow. Move the attachment in slow, overlapping strokes to ensure thorough coverage of the fabric. Observe how the fabric responds to the steam, noting any changes in texture or color.
- Assessing the Results: After treating the test area with steam, allow it to dry completely. Inspect the fabric for any adverse effects, such as discoloration, shrinkage, or texture alteration. If the results are satisfactory and the fabric remains unharmed, you can proceed with confidence to clean the entire couch.
By conducting this preliminary test, you can fine-tune the steam cleaner’s settings and techniques to suit the specific characteristics of your couch’s upholstery. This cautious approach minimizes the risk of unintentional damage and ensures that the subsequent cleaning process will yield outstanding results without compromising the integrity of the fabric.
With the successful completion of the test, you are now ready to harness the full potential of the steam cleaner to banish stains, odors, and grime from your cherished couch, restoring its allure and comfort for years to come.
Before using a steam cleaner on your couch, make sure to vacuum it thoroughly to remove any loose dirt and debris. Then, test the steam cleaner on a small, hidden area of the couch to ensure it doesn’t cause any damage before proceeding with the entire cleaning process.
Cleaning the Couch with the Steam Cleaner
With the preliminary test completed and the steam cleaner primed for action, it’s time to embark on the transformative journey of cleaning your couch. By following these step-by-step instructions, you can effectively harness the power of steam to revitalize your couch and eliminate stubborn stains, odors, and accumulated grime.
- Preparation: Before commencing the cleaning process, ensure that the couch is free of any loose items and debris. This includes removing cushions, pillows, and any other detachable components that may hinder the cleaning progress. Clearing the couch of these items will allow for thorough and unhindered access to the upholstery.
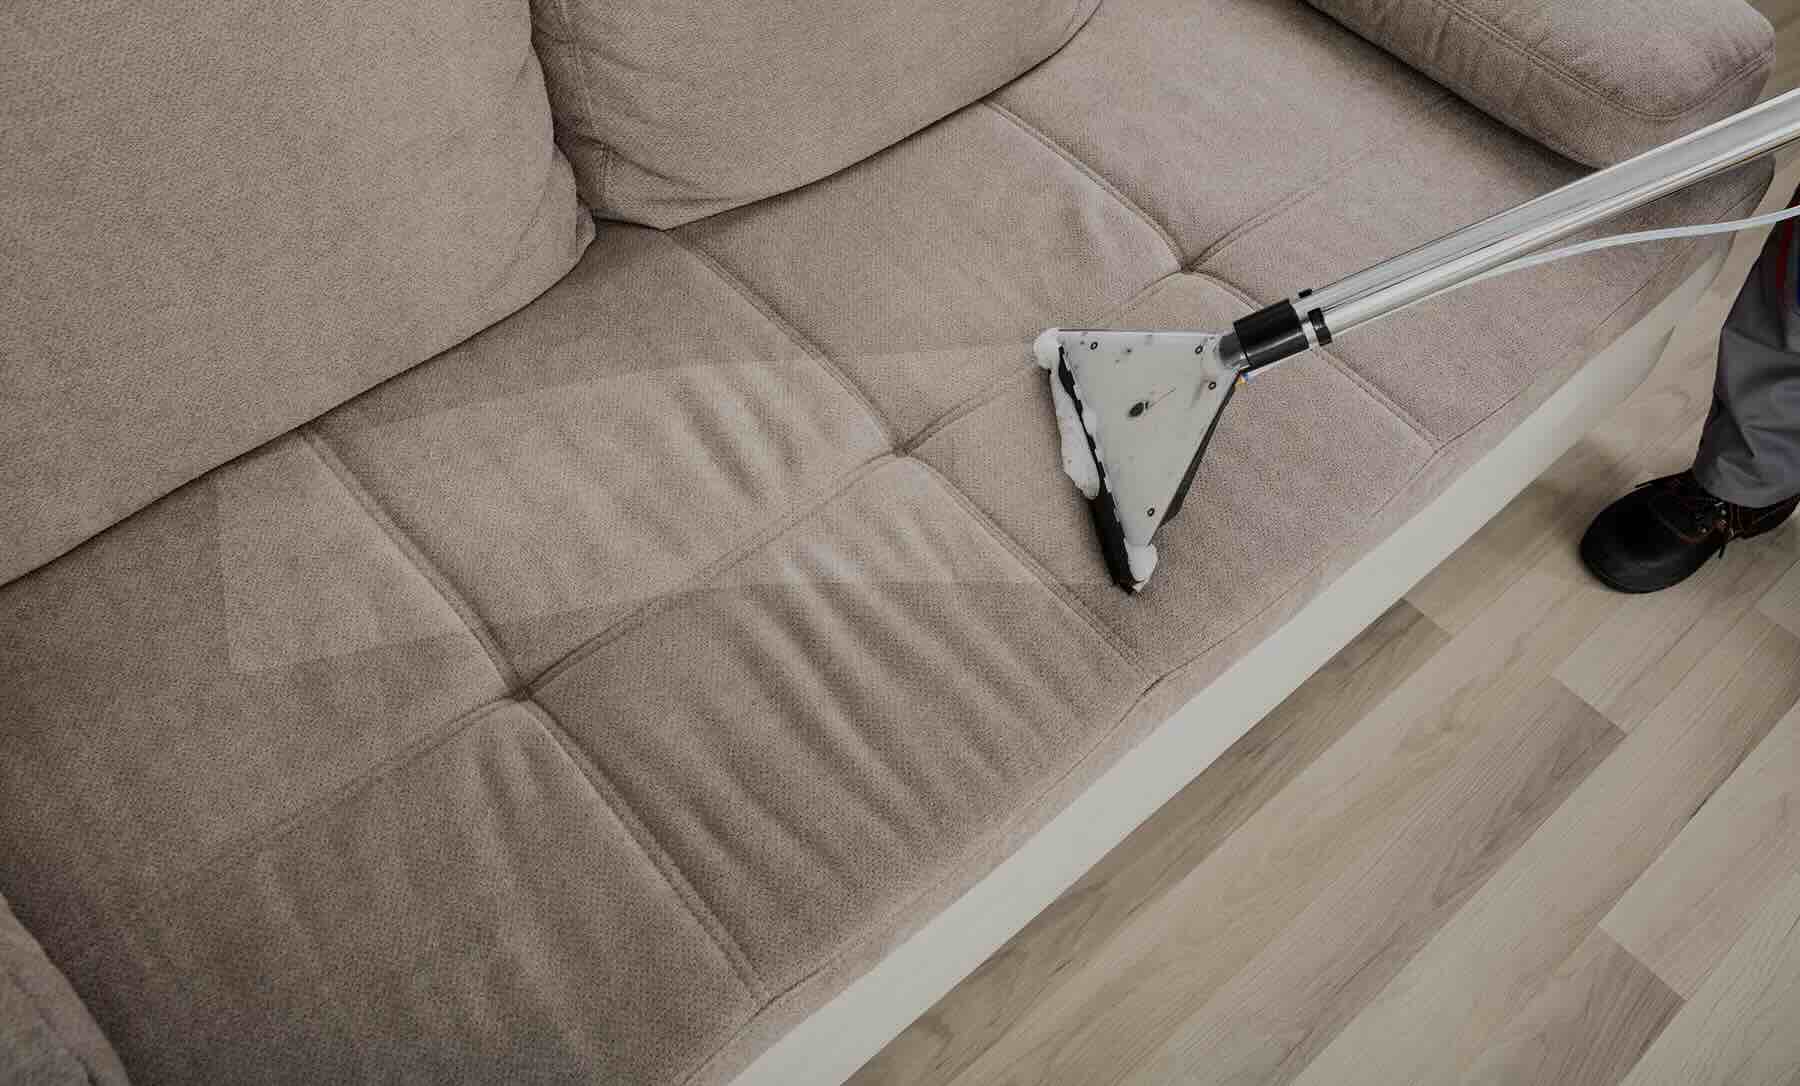
- Steam Application: Begin by selecting a suitable steam intensity setting on the cleaner, taking into account the fabric type and the level of soiling. Start with a moderate setting and adjust as needed. Direct the upholstery attachment to the first section of the couch, applying steam in slow, overlapping strokes to ensure comprehensive coverage. Work methodically, section by section, to effectively treat the entire surface of the upholstery.
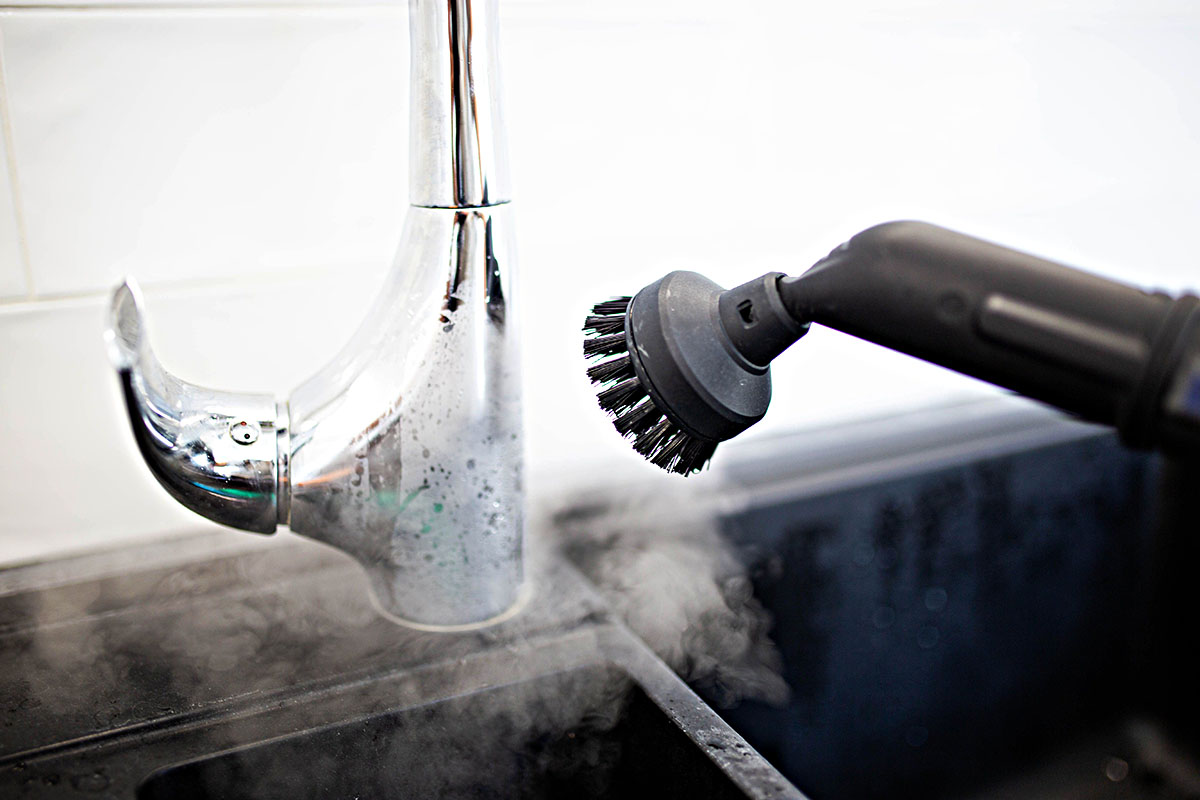
- Stain Treatment: For stubborn stains or heavily soiled areas, concentrate the steam on the affected spots to loosen and dissolve the grime. Utilize the steam cleaner’s nozzle or brush attachment for targeted cleaning, gently agitating the stained areas to facilitate the removal of embedded dirt and discoloration. The power of steam will help to dislodge and lift the most resilient stains, restoring the fabric’s pristine appearance.
- Extraction and Drying: As you apply steam to the upholstery, the cleaner simultaneously extracts the dislodged dirt and moisture, leaving the fabric damp but not saturated. To expedite the drying process and ensure thorough extraction, make slow passes with the steam cleaner, allowing it to effectively remove the accumulated grime and excess moisture from the fabric.
- Repeat as Needed: Depending on the extent of soiling and the size of the couch, you may need to repeat the steam cleaning process for particularly stubborn stains or heavily used areas. Exercise patience and thoroughness, addressing each section of the upholstery with the necessary attention to achieve consistent and impressive results.
By meticulously following these steps, you can harness the cleansing power of steam to breathe new life into your couch, effectively eradicating stains, odors, and dirt while preserving the fabric’s integrity and luster. The transformative impact of steam cleaning will leave your couch looking and feeling rejuvenated, ready to reclaim its role as a welcoming and immaculate centerpiece of your living space.
Drying and Finishing Touches
After completing the steam cleaning process, it’s essential to ensure that your couch dries thoroughly to prevent any lingering moisture and to allow the fabric to regain its natural texture and appearance. Additionally, incorporating a few finishing touches will elevate the overall results, leaving your couch looking and feeling impeccably clean and inviting.
- Adequate Ventilation: Position the freshly cleaned couch in a well-ventilated area to expedite the drying process. Open windows and doors to promote air circulation, facilitating the evaporation of residual moisture from the upholstery. This step is crucial for preventing the development of musty odors and mildew, ensuring that your couch dries completely and efficiently.
- Avoiding Direct Sunlight: While ventilation is essential, it’s important to shield the couch from direct sunlight during the drying process. Prolonged exposure to sunlight can cause fading and discoloration of the fabric, compromising the visual appeal of your freshly cleaned couch. Opt for indirect or diffused natural light to aid in the drying process while safeguarding the fabric’s vibrant hues.
- Using Fans or Air Purifiers: To expedite the drying process, consider utilizing fans or air purifiers to enhance air circulation around the couch. Positioning fans strategically to direct airflow towards the upholstery will help accelerate the evaporation of residual moisture, hastening the drying time and ensuring that the fabric dries uniformly and thoroughly.
- Fluffing and Restoration: Once the upholstery has dried completely, gently fluff and restore the fabric’s texture by lightly brushing or fluffing the fibers with a soft-bristled brush. This simple step helps to revive the plushness and resilience of the fabric, imparting a freshly cleaned and inviting appearance to your rejuvenated couch.
- Final Inspection: Take a moment to conduct a final inspection of the couch, ensuring that it has dried completely and that the results meet your expectations. Check for any residual stains or areas requiring additional attention, and address them promptly to achieve a flawless finish.
By following these guidelines for drying and applying the finishing touches, you can ensure that your freshly cleaned couch dries efficiently and emerges from the cleaning process looking and feeling impeccable. The combination of thorough drying and thoughtful finishing touches will elevate the visual appeal and comfort of your couch, allowing you to relish in the rejuvenating effects of steam cleaning.
Read more: How To Clean A Couch Without A Steam Cleaner
Conclusion
Congratulations on successfully revitalizing your couch using the power of steam cleaning! By following the comprehensive steps outlined in this guide, you have not only achieved remarkable results but also contributed to creating a healthier and more inviting living environment for you and your loved ones.
The transformative impact of steam cleaning has effectively banished stubborn stains, eliminated odors, and rejuvenated the appearance of your couch, breathing new life into a central piece of your home’s decor. Moreover, the thorough extraction of dirt and grime, coupled with the disinfecting properties of steam, has contributed to a cleaner and more hygienic living space.
By conducting a preliminary test, meticulously treating the entire upholstery, and ensuring thorough drying, you have harnessed the full potential of the steam cleaner to achieve professional-quality results in the comfort of your own home. The careful attention to preparation, testing, and execution has culminated in a couch that not only looks immaculate but also feels fresh and inviting, ready to be enjoyed by family and guests alike.
As you bask in the satisfaction of a successfully completed steam cleaning endeavor, take pride in the knowledge that you have extended the lifespan of your couch, preserved its aesthetic appeal, and created a more hygienic environment for relaxation and socializing. The investment of time and effort in steam cleaning will continue to yield dividends in the form of a pristine and inviting living space.
With your rejuvenated couch serving as a testament to the transformative power of steam cleaning, you are now equipped with the knowledge and confidence to maintain a clean and inviting home environment, ensuring that your cherished furnishings remain a source of comfort and pride for years to come.
So, kick back, relax, and revel in the renewed allure of your freshly cleaned couch, knowing that you have successfully harnessed the cleansing power of steam to elevate the comfort and aesthetics of your living space.
Frequently Asked Questions about How To Use A Steam Cleaner On A Couch
Was this page helpful?
At Storables.com, we guarantee accurate and reliable information. Our content, validated by Expert Board Contributors, is crafted following stringent Editorial Policies. We're committed to providing you with well-researched, expert-backed insights for all your informational needs.

0 thoughts on “How To Use A Steam Cleaner On A Couch”