Home>Home Appliances>Cleaning Appliances>How To Use Bissell Vacuum Cleaner
Cleaning Appliances
How To Use Bissell Vacuum Cleaner
Modified: January 18, 2024
Learn how to effectively use a Bissell vacuum cleaner for efficient cleaning of your home and other appliances. Discover tips and tricks for maintaining a spotless living space.
(Many of the links in this article redirect to a specific reviewed product. Your purchase of these products through affiliate links helps to generate commission for Storables.com, at no extra cost. Learn more)
Introduction
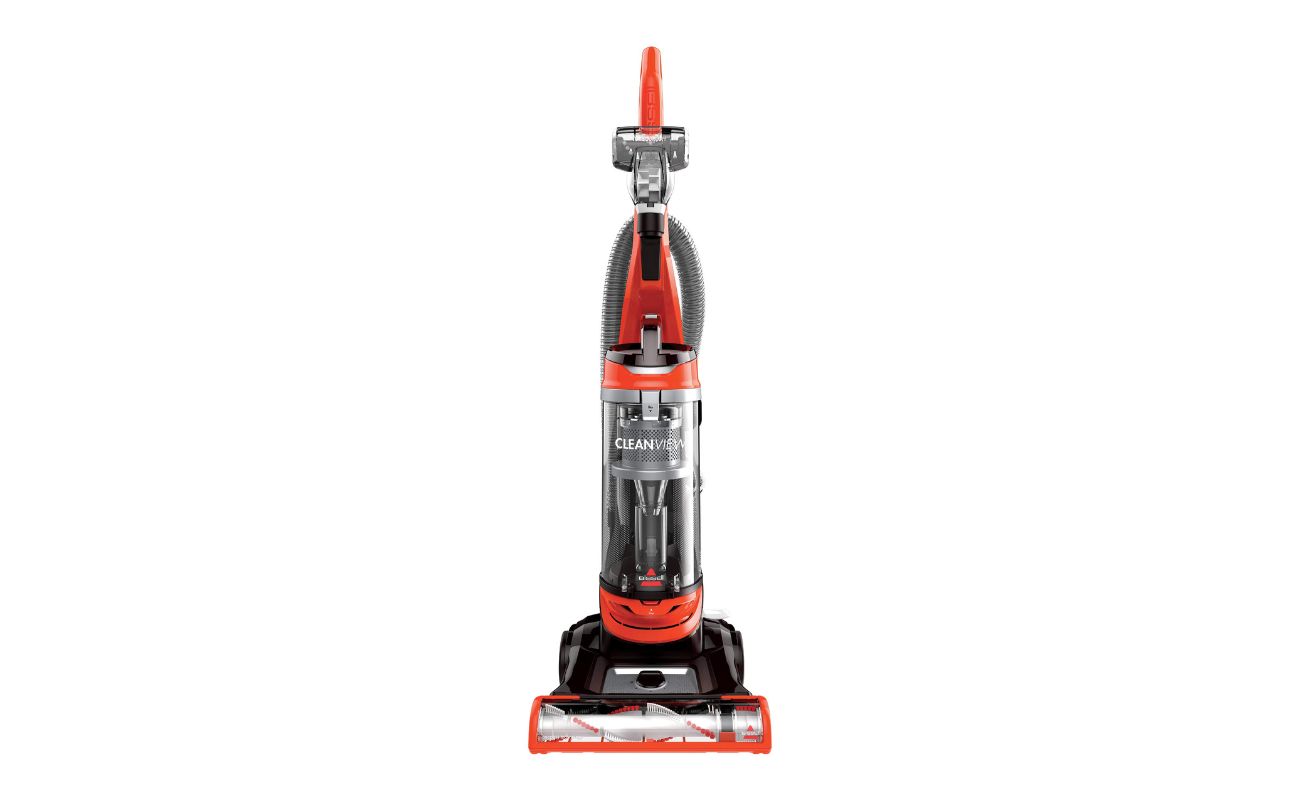
Welcome to the world of Bissell vacuum cleaners! These powerful cleaning appliances are designed to make your cleaning tasks easier and more efficient. Whether you are a seasoned Bissell user or a newcomer to the brand, this comprehensive guide will walk you through the ins and outs of using your Bissell vacuum cleaner effectively.
From unboxing and assembling your new vacuum to understanding the various attachments and optimizing cleaning performance on different surfaces, we will cover it all. Additionally, we will delve into the essential steps for emptying and cleaning the dirt tank, as well as provide valuable insights on maintaining and troubleshooting your Bissell vacuum cleaner to ensure its longevity and peak performance.
By the end of this guide, you will feel confident and empowered to harness the full potential of your Bissell vacuum cleaner, transforming your cleaning routine into a seamless and satisfying experience.
Key Takeaways:
- Unboxing and assembling your Bissell vacuum cleaner is a straightforward and satisfying process, setting the stage for a seamless transition from unboxing to cleaning with ease.
- Understanding the diverse attachments and surfaces your Bissell vacuum cleaner can handle empowers you to tackle cleaning challenges with confidence and precision, ensuring every area of your home receives the care it deserves.
Read more: How To Clean Bissell Vacuum Cleaner
Unboxing and Assembling Your Bissell Vacuum Cleaner
Excitement fills the air as you eagerly unbox your brand-new Bissell vacuum cleaner. The anticipation of harnessing its powerful suction and advanced cleaning capabilities is palpable. As you carefully unpack the components, you’ll find that the assembly process is straightforward, ensuring that you can swiftly transition from unboxing to cleaning with ease.
Begin by laying out the contents of the box, which typically include the main vacuum unit, a handle, extension wands, a cleaning head, and various attachments. With these components at your disposal, assembling your Bissell vacuum cleaner becomes an intuitive and hassle-free task. Follow the user manual’s clear instructions to attach the handle to the main unit, securing it firmly to ensure stability during operation.
Next, connect the extension wands to the handle, creating a customizable cleaning tool that adapts to your specific cleaning needs. The cleaning head, equipped with powerful brushes and suction, effortlessly attaches to the extension wand, completing the assembly process. As you snap each piece into place, you’ll feel the satisfaction of transforming a collection of components into a formidable cleaning powerhouse.
Once your Bissell vacuum cleaner is fully assembled, take a moment to appreciate its sleek design and ergonomic features. The thoughtful engineering behind its construction is evident, promising a comfortable and efficient cleaning experience. With the assembly complete, you are now ready to embark on a cleaning journey that promises to elevate your home’s cleanliness to new heights.
Embrace the sense of accomplishment that comes with assembling your Bissell vacuum cleaner, knowing that you have taken the first step toward unlocking its full potential. The next sections will delve into the various attachments and their specific uses, empowering you to tackle diverse cleaning challenges with confidence and precision.
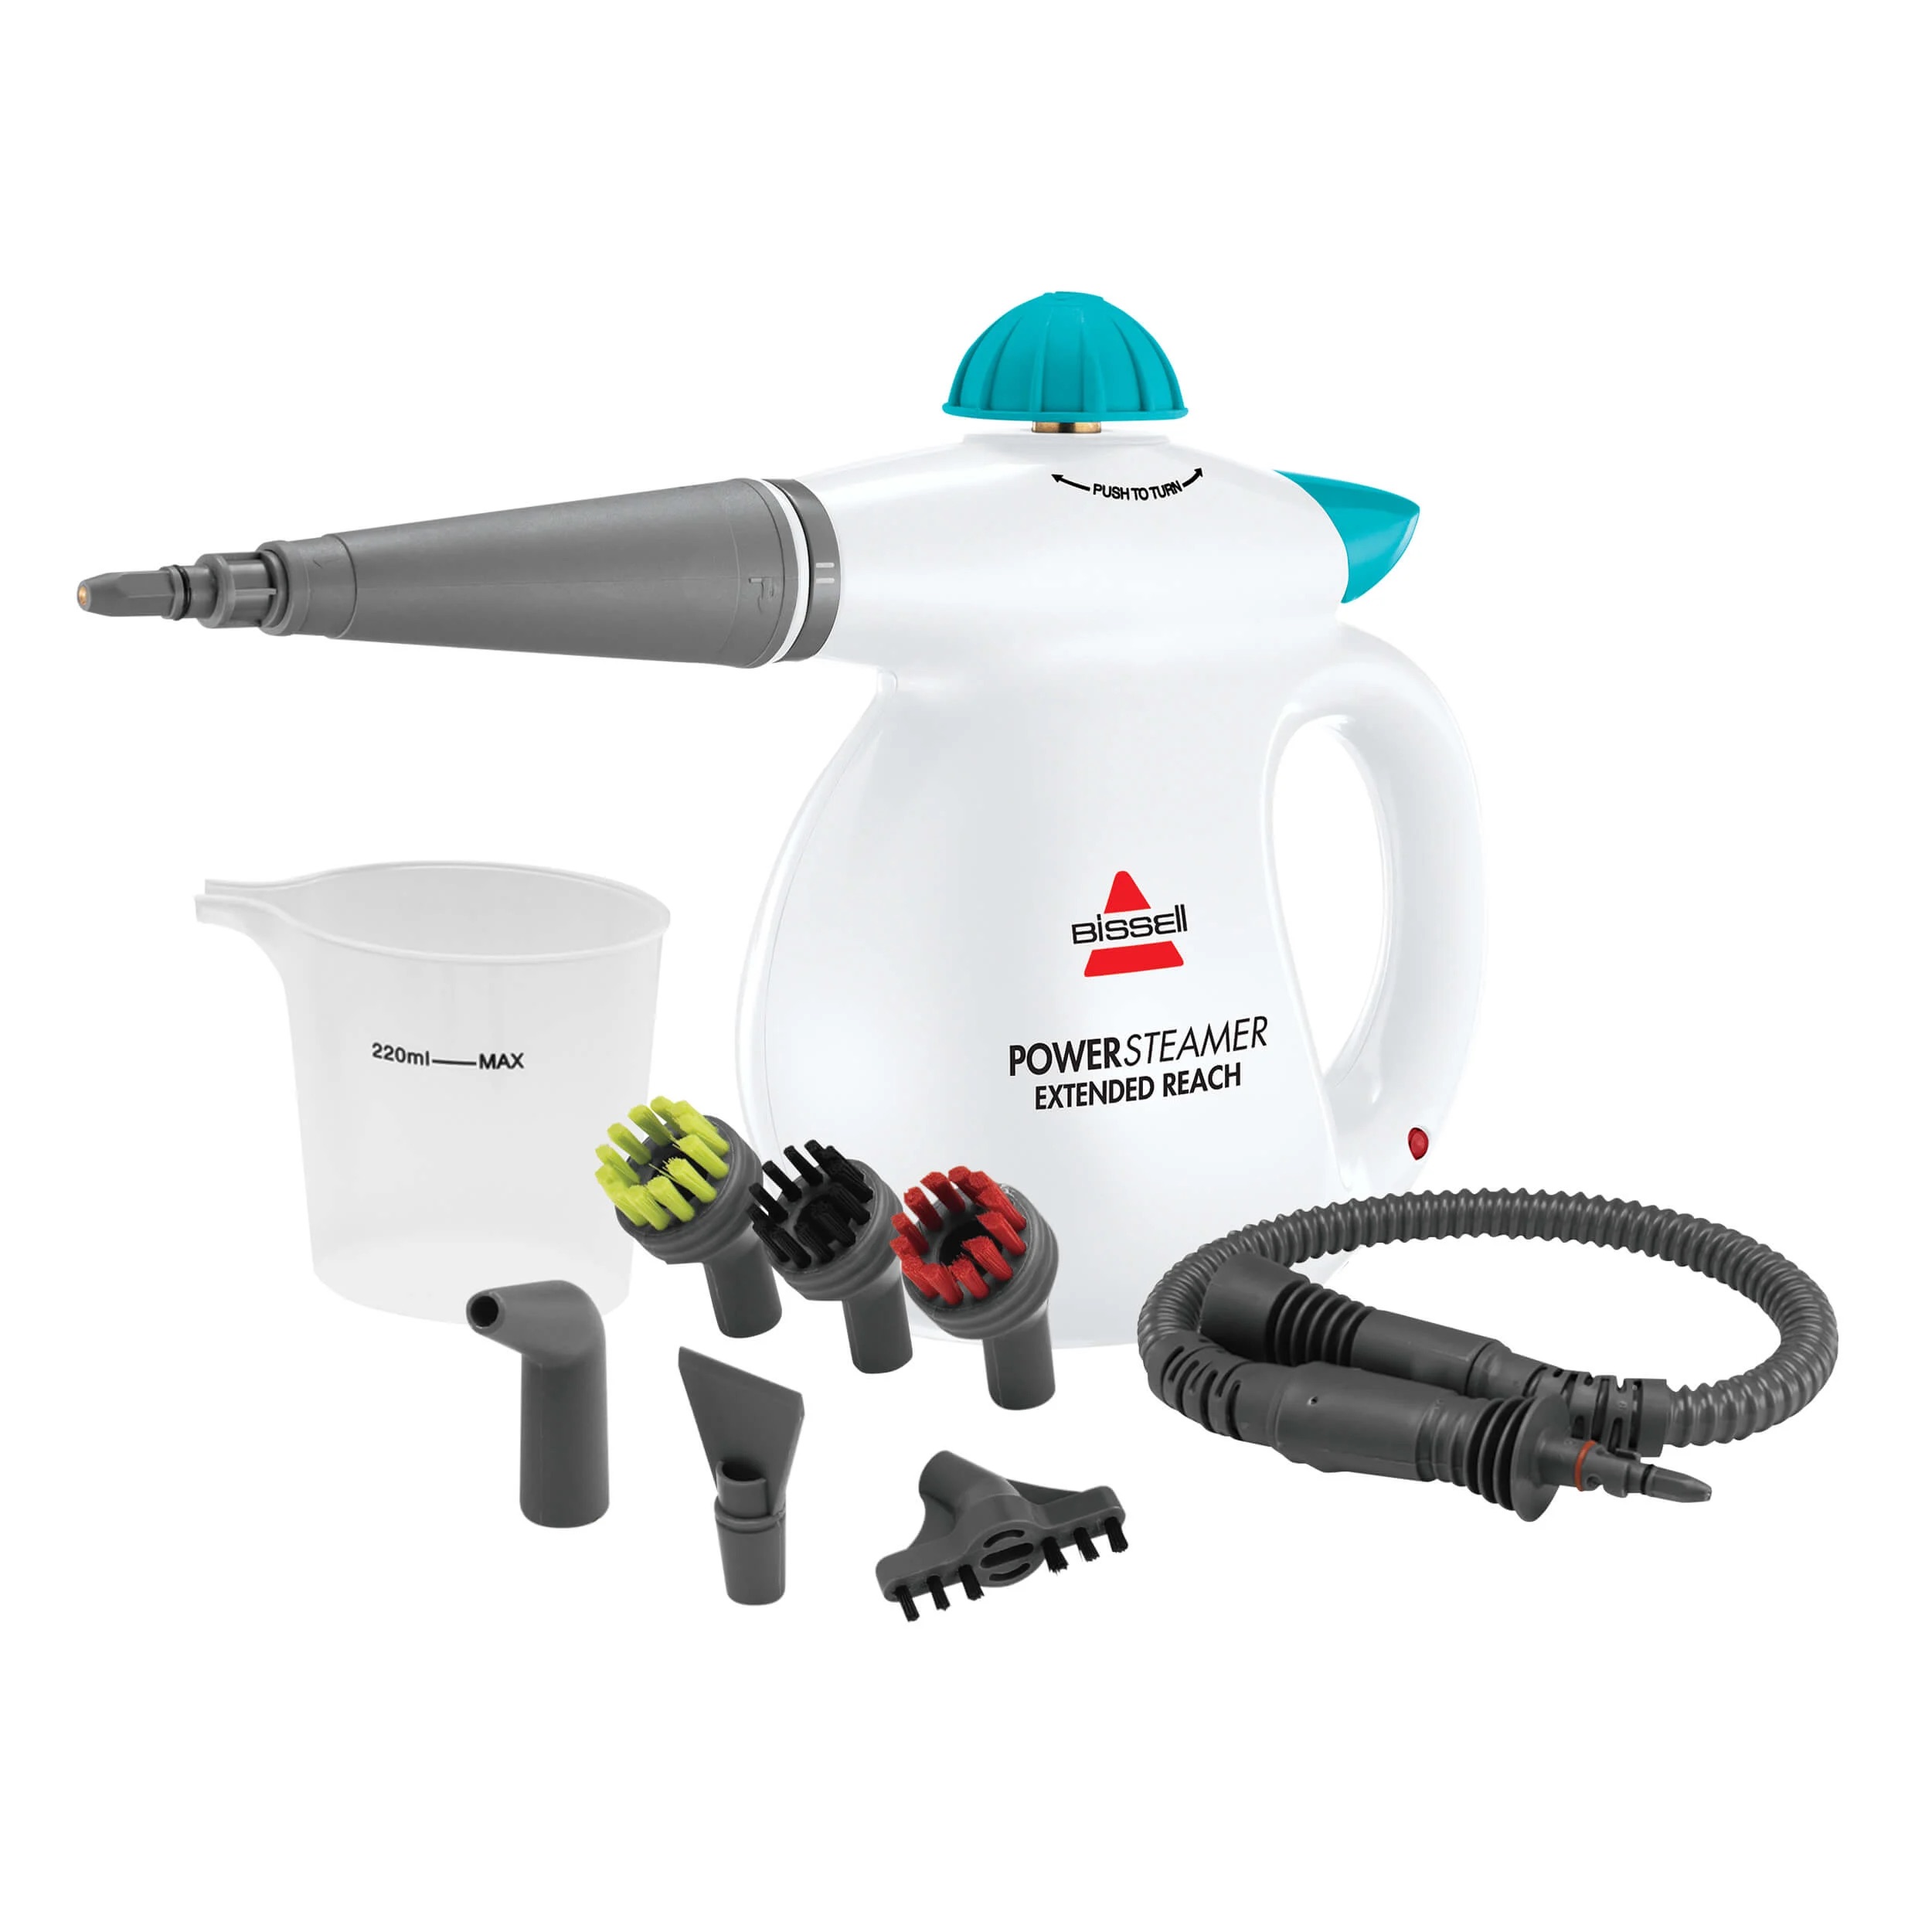
Understanding the Different Attachments
As you explore the array of attachments accompanying your Bissell vacuum cleaner, you’ll discover a versatile toolkit designed to address various cleaning scenarios with precision and efficiency. Each attachment serves a distinct purpose, allowing you to customize your cleaning approach based on the specific surfaces and areas in need of attention.
The crevice tool, a slender attachment with a narrow nozzle, is ideal for reaching tight spaces and corners that are inaccessible to standard cleaning heads. Whether it’s between couch cushions, along baseboards, or within car interiors, the crevice tool excels at extracting debris from confined areas, ensuring a thorough and meticulous cleaning process.
Equally essential is the dusting brush attachment, featuring soft bristles that gently sweep away dust and debris from delicate surfaces such as lampshades, blinds, and upholstery. Its gentle yet effective design makes it an indispensable tool for maintaining a pristine and dust-free environment without causing damage to sensitive materials.
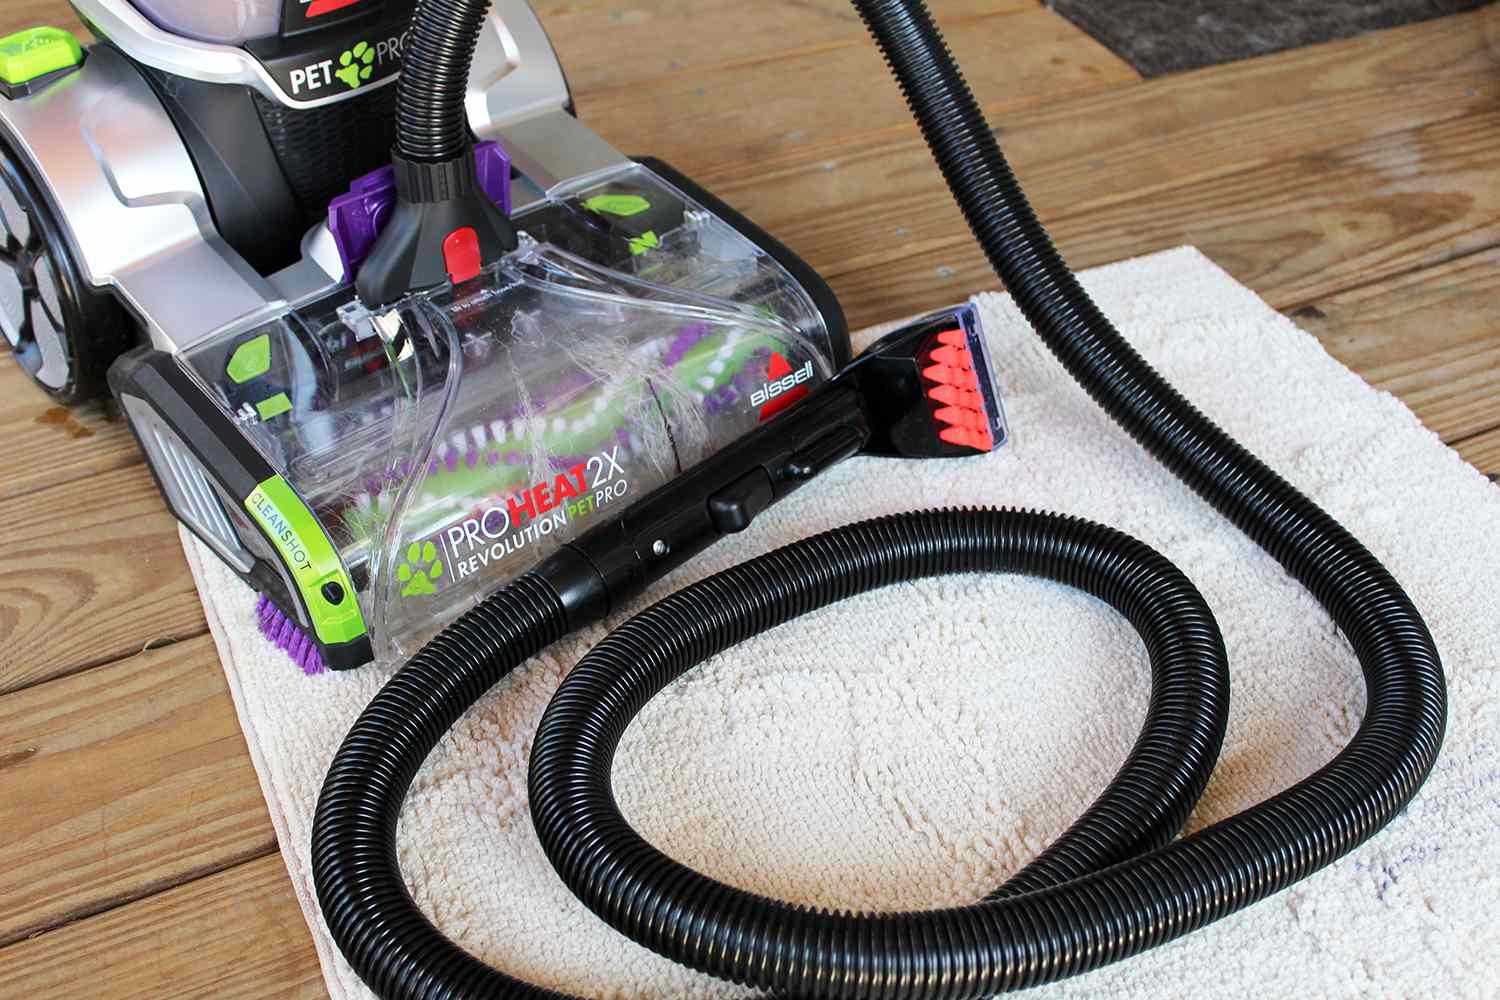
For more extensive cleaning tasks, the upholstery tool proves invaluable, effortlessly lifting embedded dirt and pet hair from furniture and mattresses. Its wide suction path and robust bristles work in harmony to revitalize upholstery, leaving it looking and feeling rejuvenated.
When faced with stubborn pet hair and dander, the pet hair eraser tool becomes your go-to attachment. Engineered with specialized rubber material, this attachment excels at lifting and removing pet hair from carpets, rugs, and upholstery, ensuring that your home remains free from pet-related allergens and debris.
Lastly, the turbo brush attachment, equipped with a motorized brush roll, is designed to tackle high-traffic areas and stubborn dirt with ease. Its agitating bristles penetrate deep into carpet fibers, loosening embedded dirt and revitalizing carpets for a thorough and rejuvenating clean.
By understanding the unique capabilities of each attachment, you can harness the full potential of your Bissell vacuum cleaner, tailoring your cleaning approach to achieve remarkable results across a wide range of surfaces and cleaning challenges.
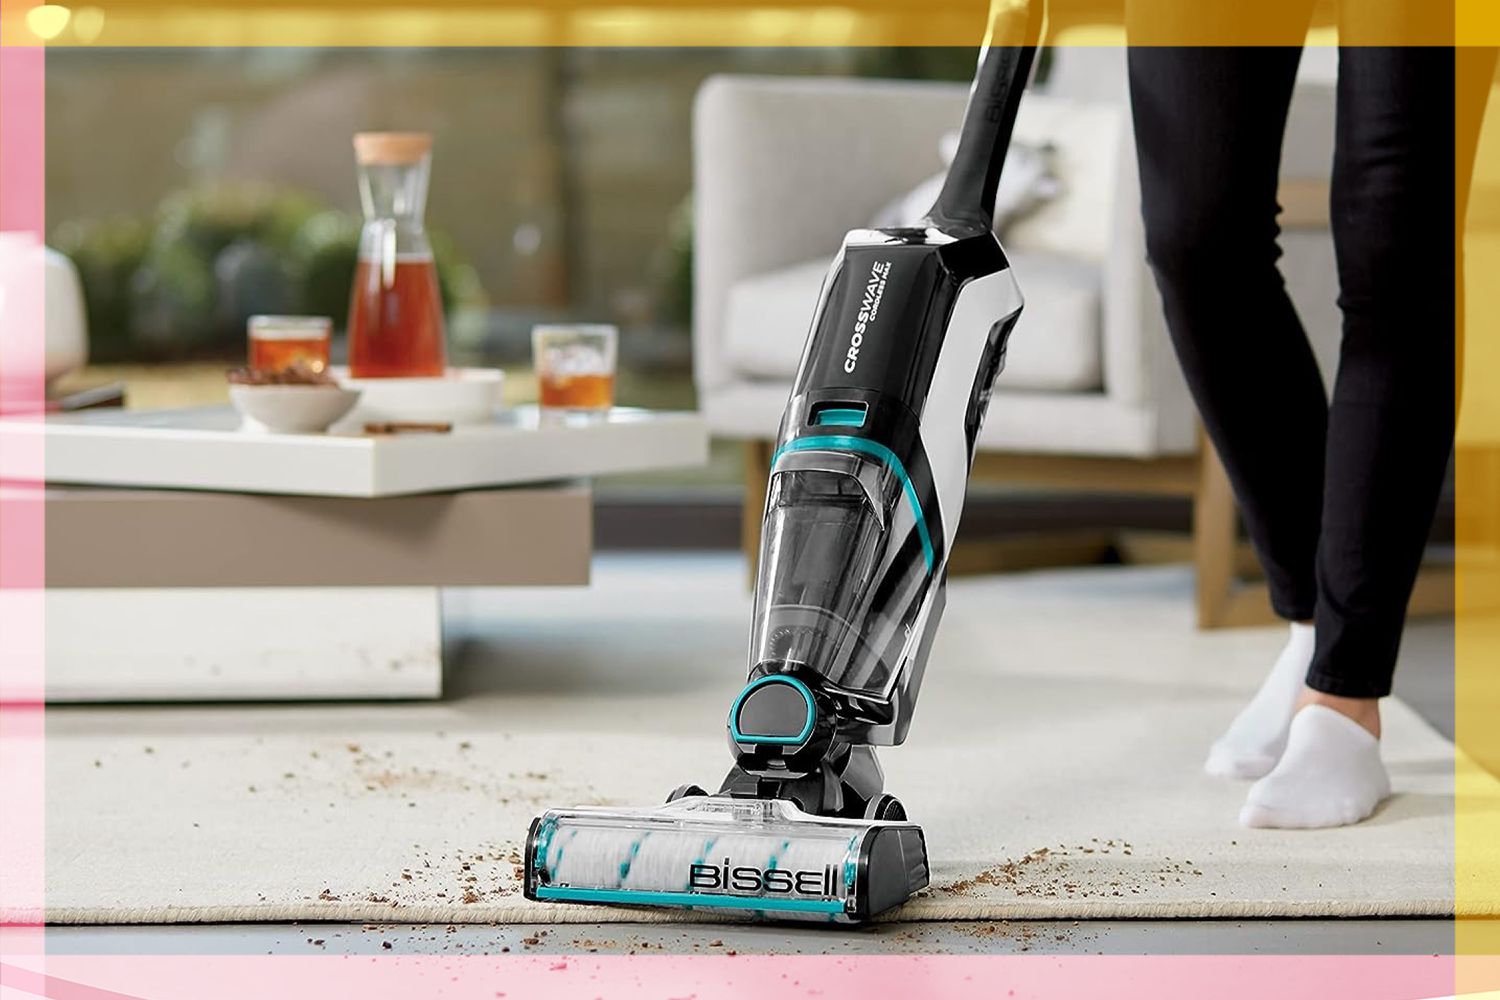
Using the Bissell Vacuum Cleaner on Different Surfaces
As you navigate through your home, you’ll encounter an assortment of surfaces, each presenting distinct cleaning requirements. From plush carpets to hard floors and everything in between, your Bissell vacuum cleaner is equipped to deliver exceptional cleaning performance across diverse surfaces, ensuring that every area of your home receives the care it deserves.
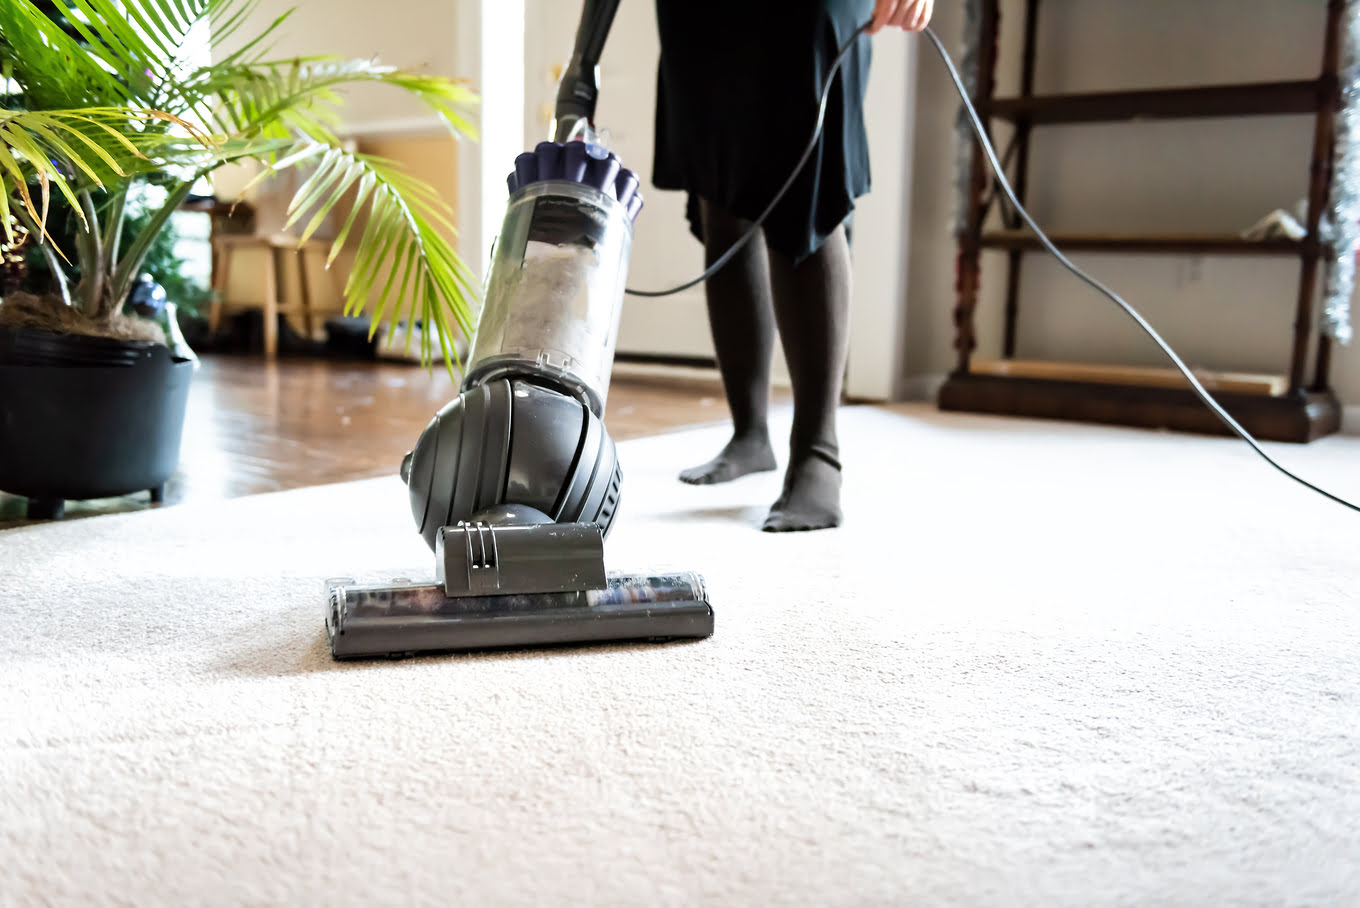
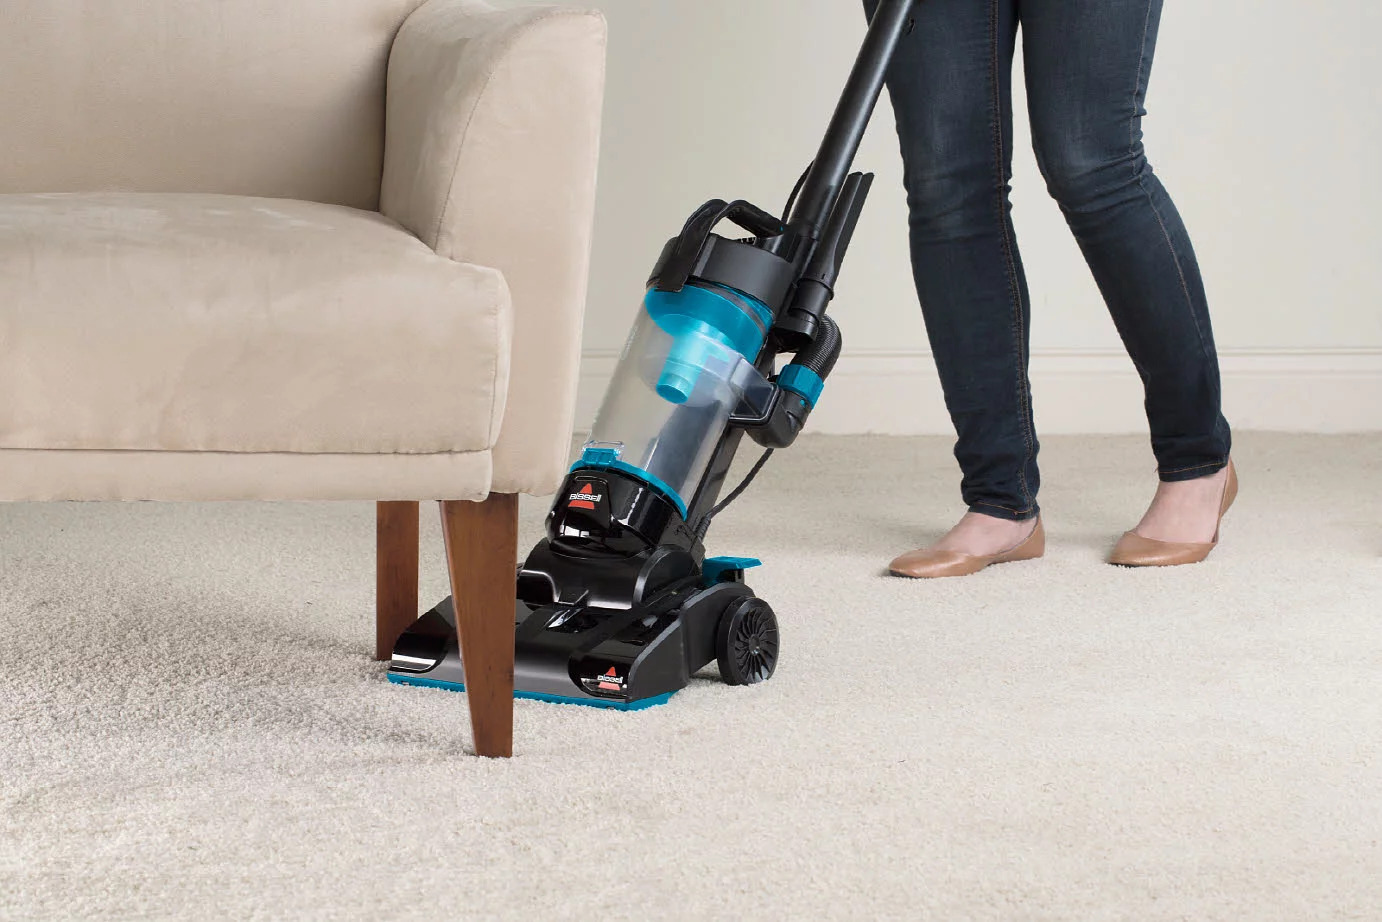
When it comes to carpets, your Bissell vacuum cleaner shines as a formidable ally in the battle against embedded dirt and debris. The powerful suction and rotating brush roll work in unison to lift and extract dirt from deep within carpet fibers, revitalizing and restoring their appearance. For high-traffic areas and stubborn dirt, consider utilizing the turbo brush attachment to achieve a deeper clean that leaves your carpets looking refreshed and renewed.
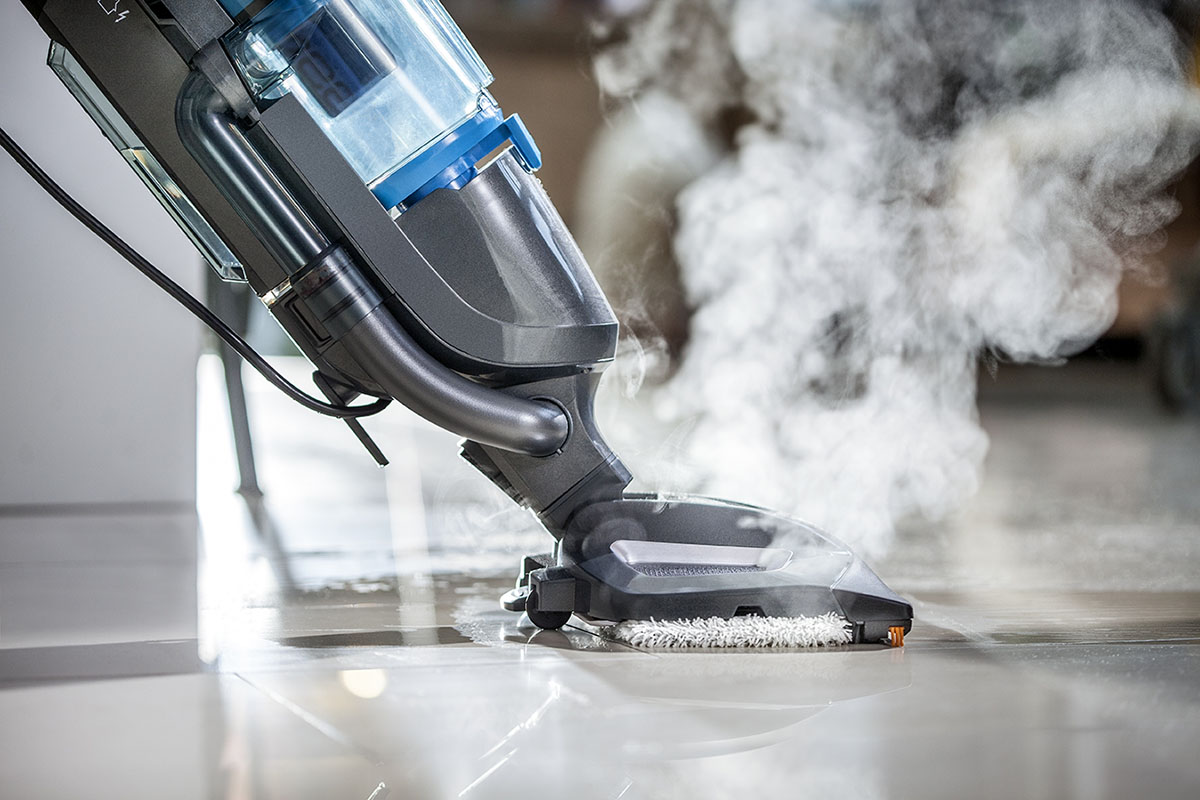
Transitioning to hard floors, your Bissell vacuum cleaner effortlessly adapts to effectively capture debris without causing damage. The multi-surface cleaning head, equipped with soft bristles and powerful suction, ensures that dirt and debris are efficiently lifted from hard surfaces, leaving them spotless and gleaming. Whether it’s hardwood, tile, or laminate, your Bissell vacuum cleaner delivers consistent and reliable performance, maintaining the pristine condition of your hard floors with ease.
Upholstered furniture and mattresses benefit from the specialized cleaning prowess of your Bissell vacuum cleaner. Utilize the upholstery tool to gently yet effectively extract dirt and debris from these surfaces, rejuvenating and renewing them for a fresh and inviting ambiance. The pet hair eraser tool proves invaluable in addressing pet-related debris, ensuring that your furniture remains free from allergens and odors.
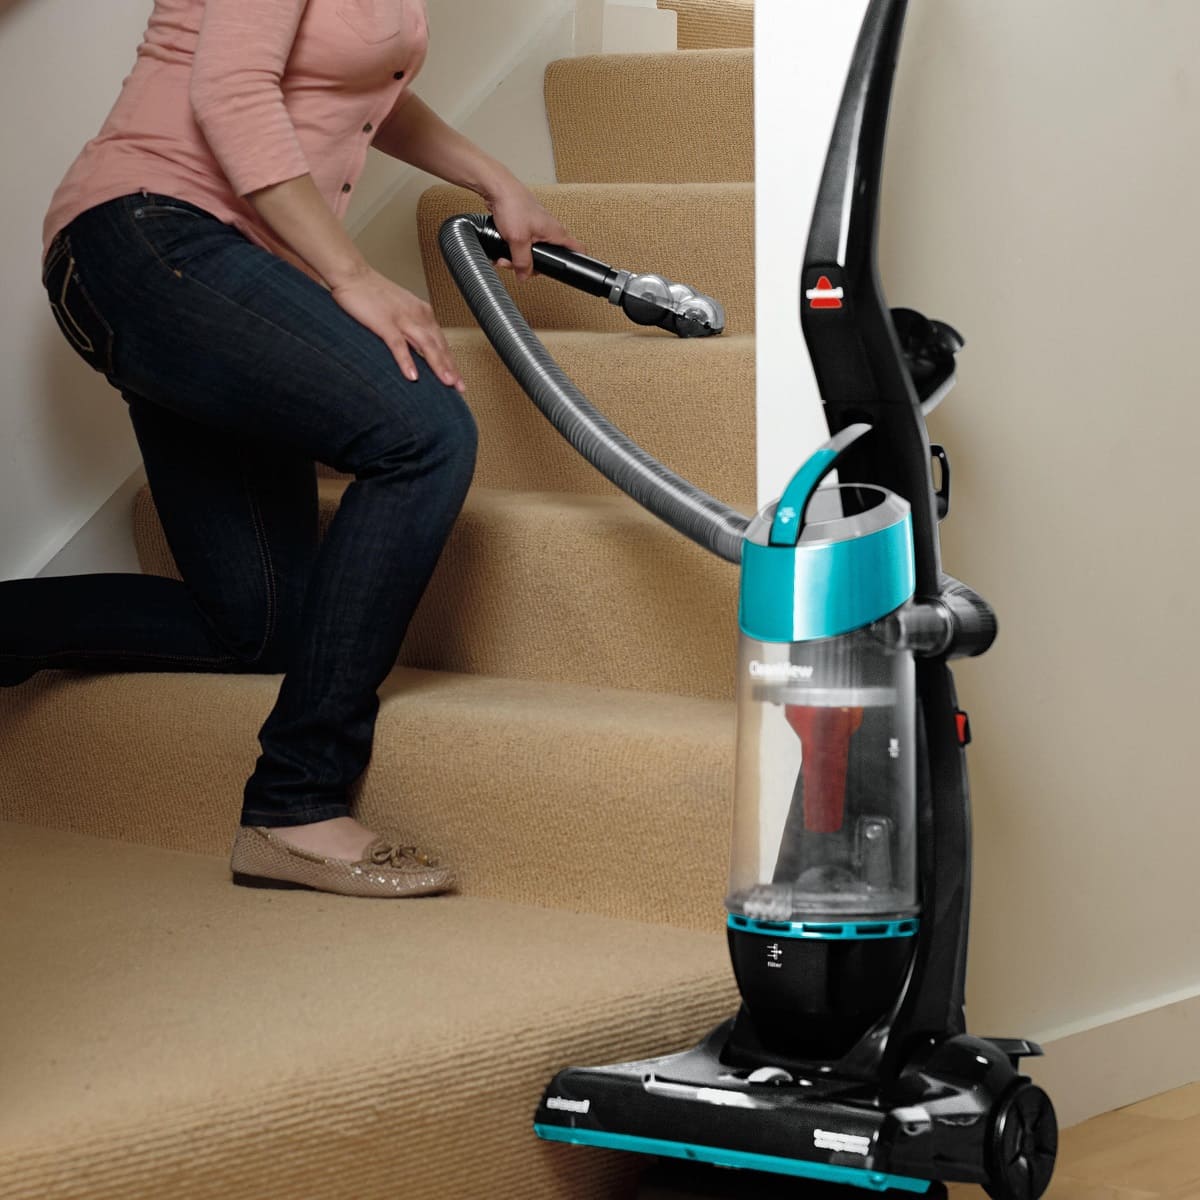
As you venture into more intricate spaces, such as stairs and tight corners, the crevice tool becomes an indispensable companion, allowing you to reach and extract debris from these challenging areas with precision and ease. Its slender design enables thorough cleaning in confined spaces, ensuring that no corner goes untouched.
By leveraging the adaptability and robust cleaning capabilities of your Bissell vacuum cleaner, you can confidently address the diverse cleaning needs of your home, achieving remarkable results across a multitude of surfaces and environments.
When using a Bissell vacuum cleaner, make sure to empty the dirt tank regularly to maintain suction power and prevent clogs. Check and clean the filters often to keep the vacuum running efficiently.
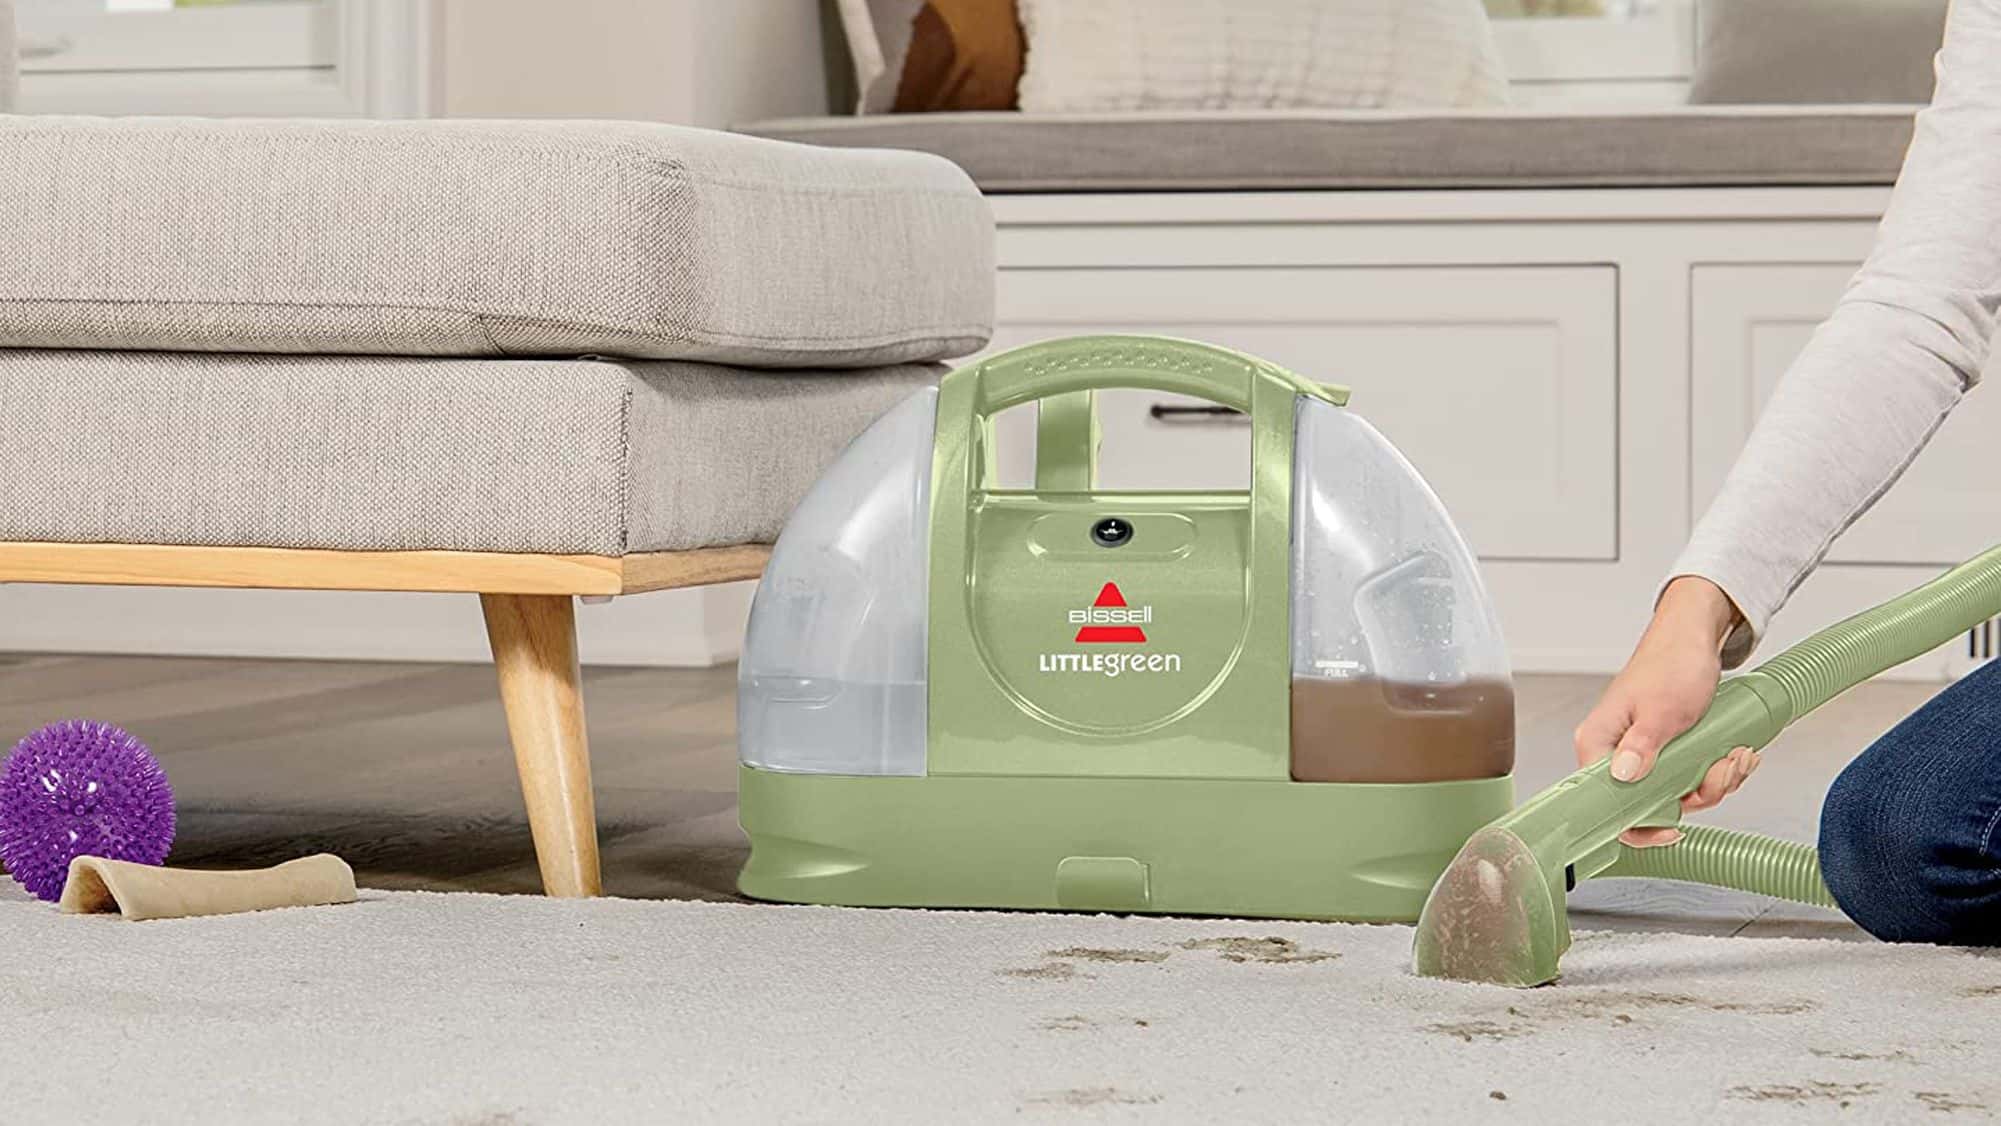
Emptying and Cleaning the Dirt Tank
As you harness the cleaning power of your Bissell vacuum cleaner, the accumulation of dirt and debris within the dirt tank is an inevitable outcome of its efficient operation. Emptying and cleaning the dirt tank is a crucial maintenance task that ensures the continued performance and longevity of your vacuum cleaner.
When the dirt tank reaches its capacity, the time has come to initiate the emptying process. Begin by removing the dirt tank from the main unit, following the intuitive release mechanism provided by your Bissell vacuum cleaner. With the dirt tank in hand, locate the designated release button or lever that facilitates effortless disposal of its contents.
Upon releasing the dirt tank, proceed to empty its contents into a waste receptacle. The transparent nature of the dirt tank allows you to monitor the level of accumulated debris, ensuring that you can promptly address its disposal when necessary. By maintaining a clean and empty dirt tank, you enable your Bissell vacuum cleaner to operate at peak efficiency, delivering consistent and reliable cleaning performance.
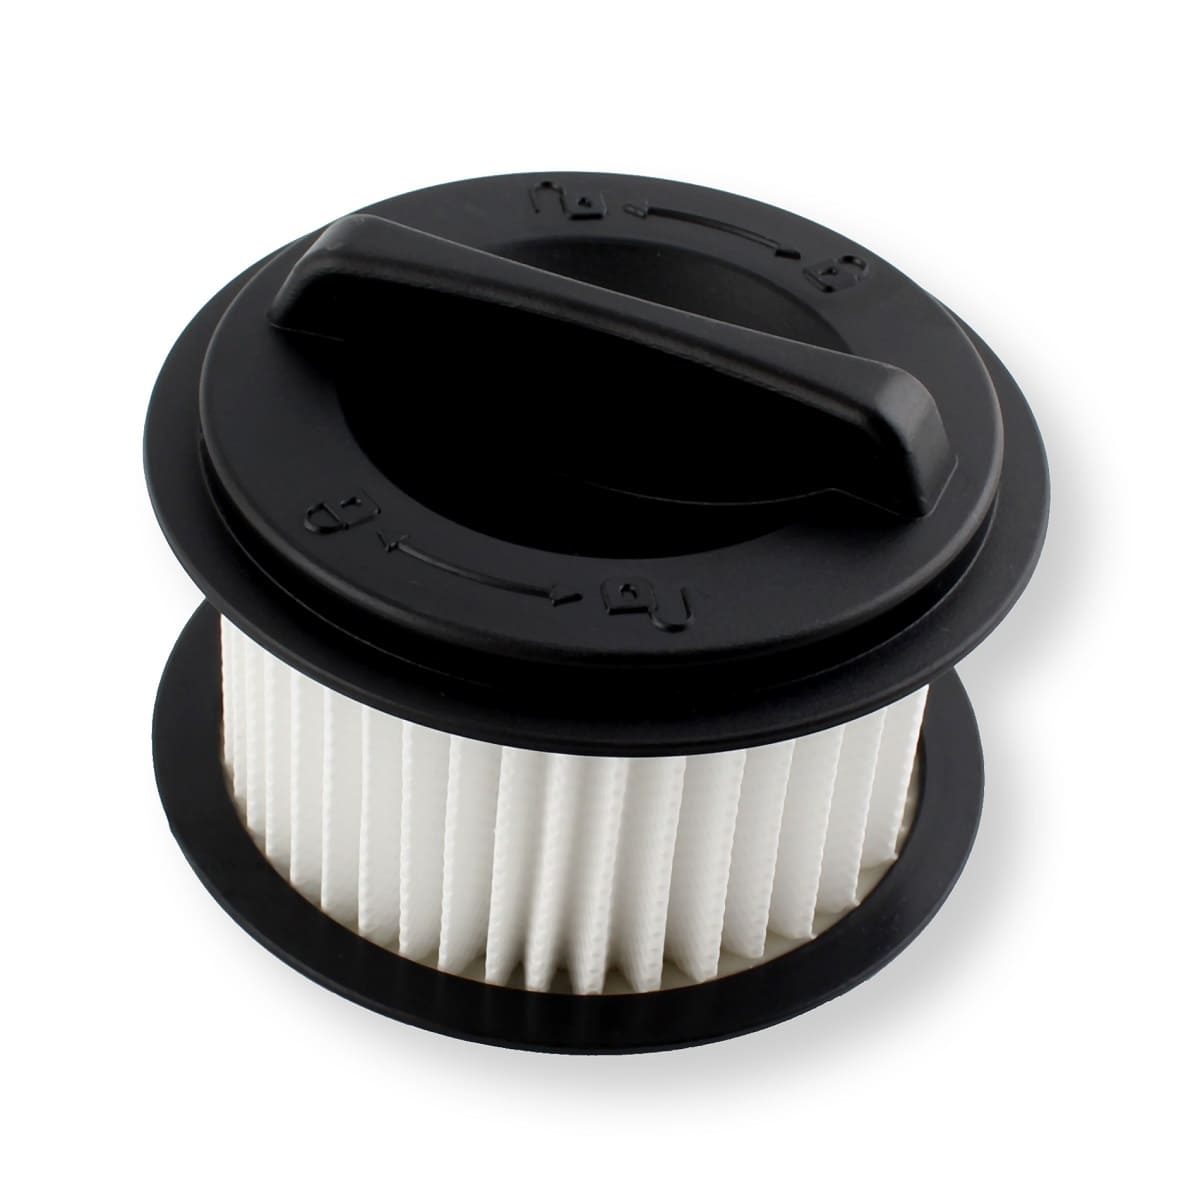
After emptying the dirt tank, it’s time to shift your focus to its cleaning and maintenance. Begin by rinsing the dirt tank with lukewarm water, ensuring that all residual debris and buildup are thoroughly removed. Take care to inspect the various components of the dirt tank, such as the filter and seals, to ensure that they are free from obstructions and debris.
For a more comprehensive cleaning, consider utilizing mild detergent to gently cleanse the dirt tank, removing any stubborn residue and odors that may have accumulated over time. Thoroughly rinse the dirt tank to ensure that it is free from detergent and residue, allowing it to dry completely before reassembling it with your Bissell vacuum cleaner.
By incorporating regular emptying and cleaning of the dirt tank into your maintenance routine, you contribute to the overall performance and longevity of your Bissell vacuum cleaner. This essential practice ensures that your vacuum cleaner remains a steadfast companion in your cleaning endeavors, consistently delivering exceptional results with each use.
Read more: How To Fix My Bissell Vacuum Cleaner
Maintaining and Troubleshooting Your Bissell Vacuum Cleaner
Proper maintenance and proactive troubleshooting are essential facets of ensuring that your Bissell vacuum cleaner operates at its best, delivering consistent and reliable cleaning performance. By incorporating routine maintenance practices and equipping yourself with troubleshooting insights, you can uphold the longevity and functionality of your vacuum cleaner, addressing potential issues with confidence and efficiency.
Regular maintenance tasks include inspecting and cleaning the brush roll, ensuring that it remains free from tangled hair, debris, and obstructions. The brush roll’s unimpeded rotation is vital for effective carpet cleaning, making this maintenance step a crucial aspect of preserving your vacuum cleaner’s cleaning prowess.
Additionally, periodic inspection and replacement of the filters are essential for maintaining optimal suction and filtration capabilities. Clean or replace the filters according to the manufacturer’s recommendations, ensuring that your Bissell vacuum cleaner consistently delivers clean and healthy air while capturing dirt and debris effectively.
Equally important is the inspection and maintenance of the vacuum’s seals and gaskets. Ensuring that these components remain intact and free from damage is crucial for maintaining optimal suction and preventing air leaks, preserving the vacuum cleaner’s efficiency and performance.
Should your Bissell vacuum cleaner encounter operational issues, troubleshooting becomes a valuable skill in swiftly identifying and resolving potential concerns. If the vacuum cleaner experiences a loss of suction, inspect the hoses, attachments, and dirt tank for potential clogs or obstructions. Clearing any blockages ensures that the vacuum can operate at its full potential, delivering powerful and consistent suction.
If the vacuum cleaner’s brush roll ceases to rotate, inspect the brush roll for entangled debris or hair. Clearing any obstructions allows the brush roll to resume its vital role in agitating and lifting dirt from carpets, restoring the vacuum cleaner’s effective cleaning performance.
In the event of unusual noises or odors emanating from the vacuum cleaner, inspect the brush roll, belts, and motor for signs of wear or damage. Addressing these issues promptly prevents potential complications and ensures that your Bissell vacuum cleaner continues to operate smoothly and effectively.
By embracing a proactive approach to maintenance and troubleshooting, you safeguard the performance and longevity of your Bissell vacuum cleaner, allowing it to remain a steadfast and reliable companion in your cleaning endeavors.
Conclusion
Congratulations on embarking on a journey toward harnessing the full potential of your Bissell vacuum cleaner. Throughout this comprehensive guide, you have gained valuable insights into unboxing and assembling your vacuum, understanding its diverse attachments, and optimizing its cleaning performance across various surfaces. Additionally, you have learned essential maintenance practices and troubleshooting techniques, empowering you to uphold the longevity and functionality of your cleaning appliance.
As you integrate these newfound insights into your cleaning routine, you are poised to experience a transformative shift in the way you approach household cleaning. With the adaptability and robust cleaning capabilities of your Bissell vacuum cleaner at your disposal, you can confidently address diverse cleaning challenges with precision and efficiency, ensuring that every surface and area of your home receives the care it deserves.
Embrace the sense of empowerment that comes with mastering the intricacies of your Bissell vacuum cleaner, knowing that you have unlocked its full potential to elevate your cleaning experience. Whether it’s revitalizing carpets, rejuvenating upholstery, or maintaining pristine hard floors, your Bissell vacuum cleaner stands ready to deliver exceptional cleaning performance, transforming your home into a clean and inviting sanctuary.
By incorporating the maintenance practices and troubleshooting techniques outlined in this guide, you are well-equipped to address potential issues with confidence and efficiency, ensuring that your Bissell vacuum cleaner remains a steadfast and reliable companion in your cleaning endeavors.
As you bid farewell to this guide, carry forward the knowledge and insights you have gained, allowing them to shape and enhance your cleaning routine. With your Bissell vacuum cleaner as a trusted ally, you can look forward to a future filled with effortless and satisfying cleaning experiences, knowing that you have the tools and expertise to maintain a clean and inviting home environment.
Now, armed with a deeper understanding of your Bissell vacuum cleaner, you are ready to embark on a cleaning journey that promises to elevate your home’s cleanliness to new heights, ensuring that every corner and surface receives the meticulous care it deserves.
Frequently Asked Questions about How To Use Bissell Vacuum Cleaner
Was this page helpful?
At Storables.com, we guarantee accurate and reliable information. Our content, validated by Expert Board Contributors, is crafted following stringent Editorial Policies. We're committed to providing you with well-researched, expert-backed insights for all your informational needs.

0 thoughts on “How To Use Bissell Vacuum Cleaner”